

Assembly Instructions
IMPORTANT: Please Follow These Instructions Carefully. It is very important, for the safe use of the merchandiser, that it is assembled according to these instructions. Place the merchandiser in the position it will be used for sales, ensuring it can be rotated without obstruction. This is very important as the merchandiser is very heavy when fully loaded and cannot be moved.
STEP 1: Place the Centre Pole (A) in position and slide one of the White Poly Thrust Washers (B) down the pole to sit on top of the centre pole flange.

STEP 2: Slide the Bottom Mounting Bracket (C) down the centre pole to sit on top of the white poly thrust washer and flange.
(Ensure label is facing up and brace rotates freely)
STEP 3: Install the panels
• Begin with Panel A (coded on the top left corner of the panel) and move in anti-clockwise direction. (Refer to Step 4)
• Ensure the locating pins are correctly located in the Bottom Mounting Bracket (C)
STEP 5: Slide the Top Mounting Bracket (D) over the Centre Pole (A)
• The threaded side panel mounting lugs point down. (Ensure label is facing up)
• The threaded mounting lugs line up on the same corner of the merchandiser.


• Locating pins on the top edge of each panel need to be correctly located in the mounting holes in end of the bracket arms.

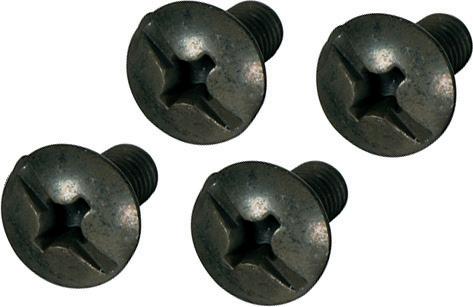
STEP 8: Your merchandiser is now ready for the Display Panel (J) , Thread Tester (K), and Corner Panels (L) (if applicable). These are attached to the top and bottom brackets using the threaded lugs and the supplied Screws (E). Finally, slide the Header Boards (H) in position at the top of each side of the merchandiser.
STEP 4: Use the supplied Cable Ties (G) to secure the panels as you go. Cable tie the panels in the middle of each side.

(Note: Assistance of a second person is recommended)
STEP 6: Slide the second White Poly Thrust Washer (B) down on the top bracket flange.
STEP 7: Apply pressure downwards to the Top Mounting Bracket (D) and insert the R-Clip (F) into the appropriate hole.
STEP 9: Now stock can be loaded in corresponding position.
Congratulations you have correctly assembled the merchandiser!
