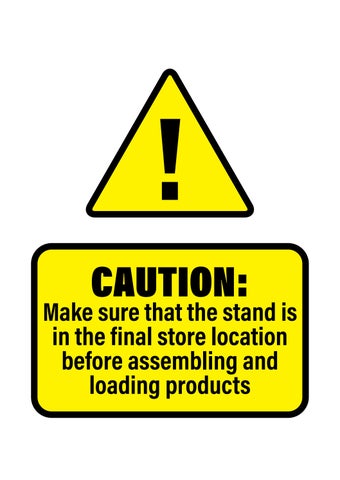
CAUTION:
Make sure that the stand is in the final store location before assembling and loading products
Merchandiser components:
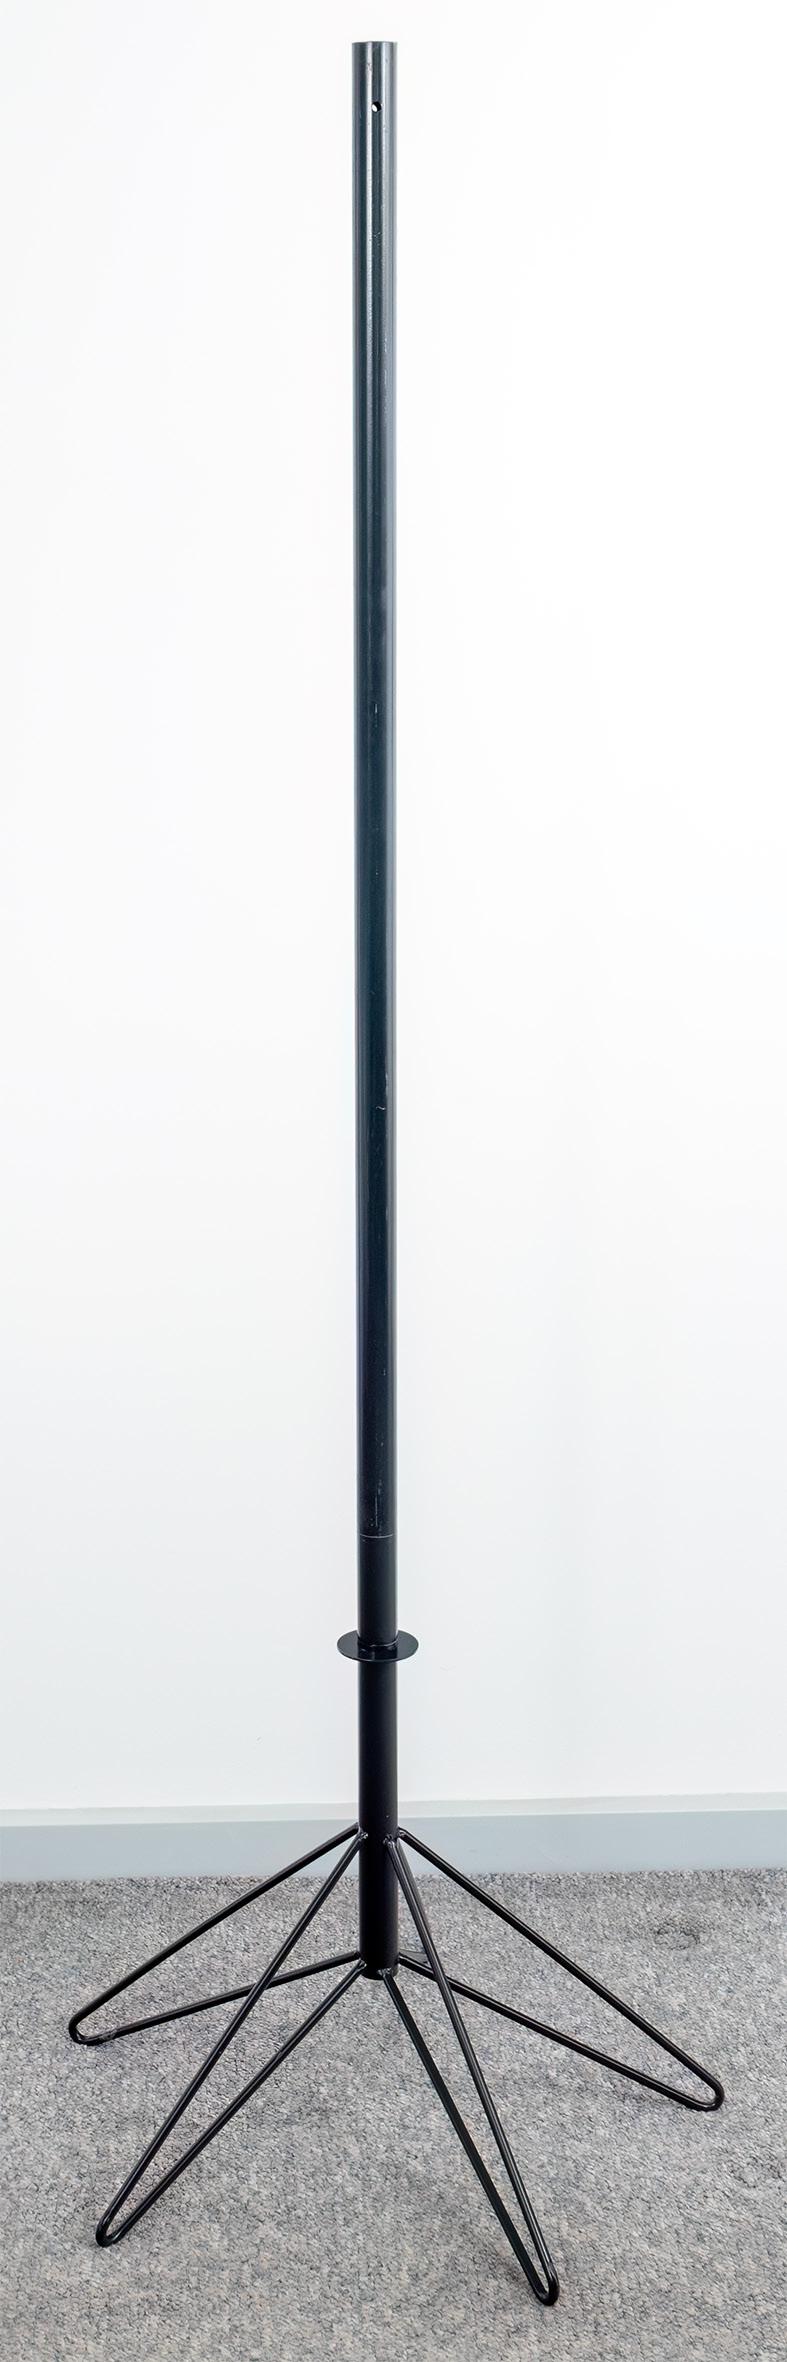
• Centre pole
• 2 white poly washers
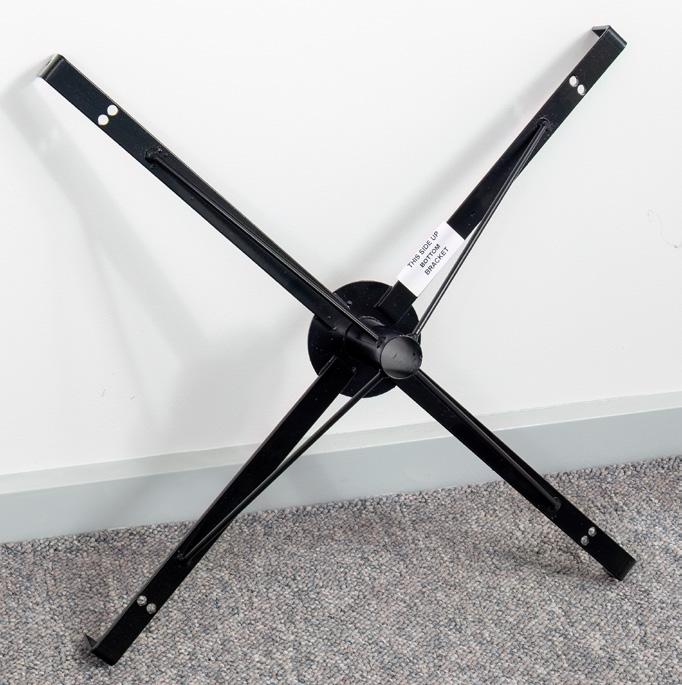
• Bottom mounting bracket
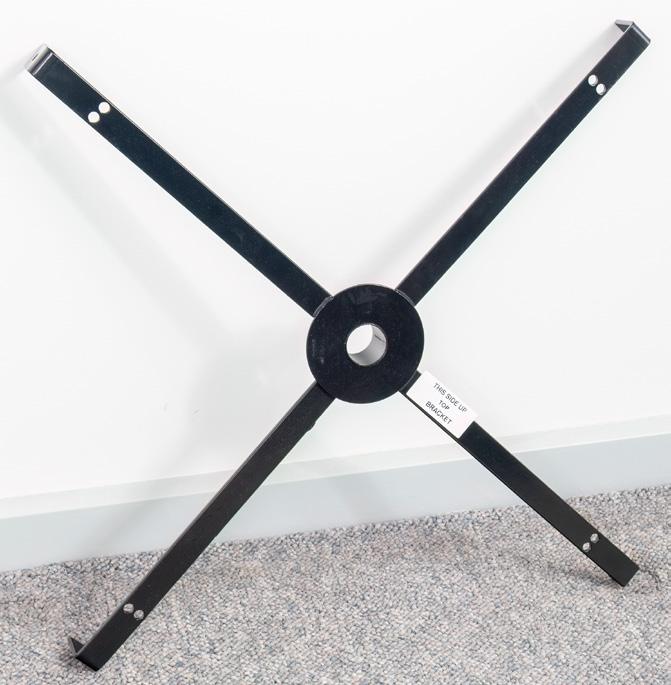
• Top mounting bracket
• 8 black mushroom head screws
• 1 R clip
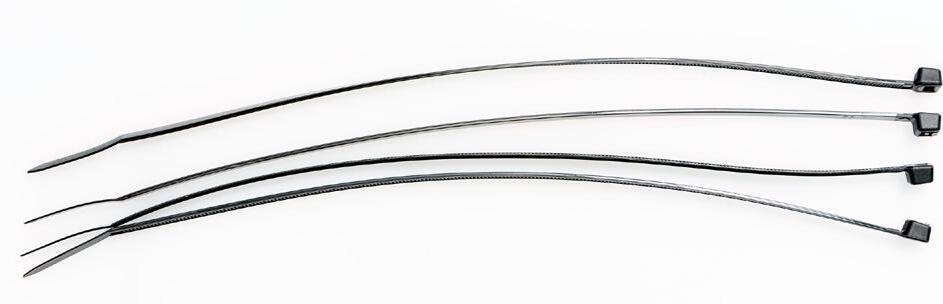
• 4 cable ties
• 4 header cards A.B.C.D (see page 2)
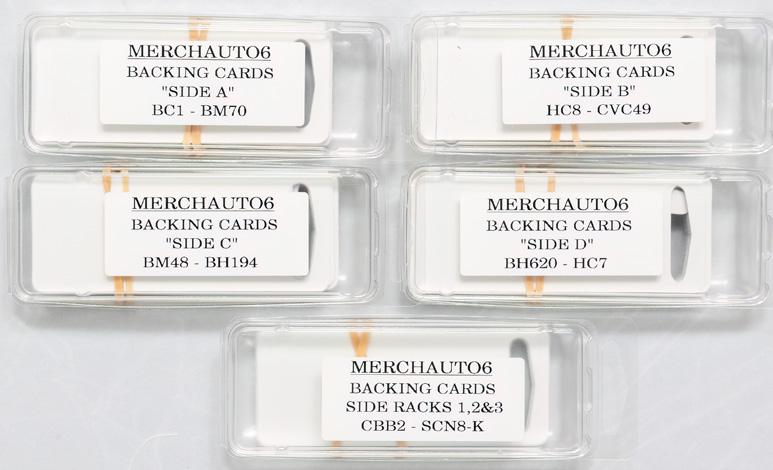
• 5 pack s of product backing cards
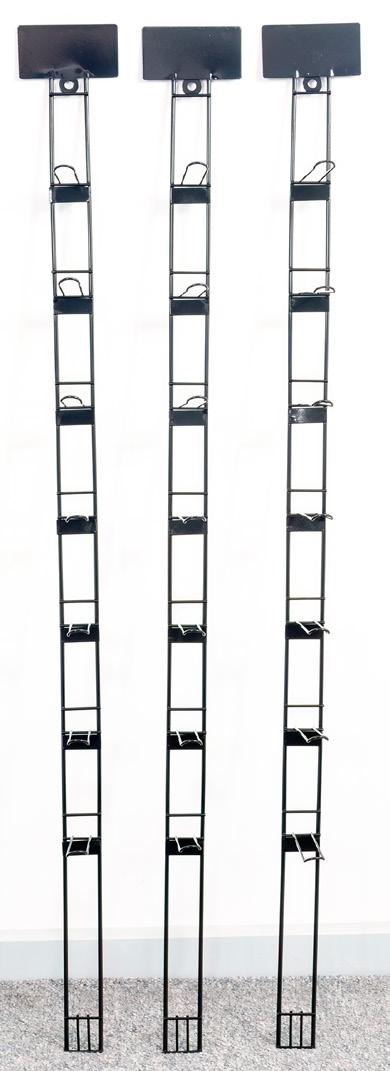
• 4 side panels
• 3 corner panels
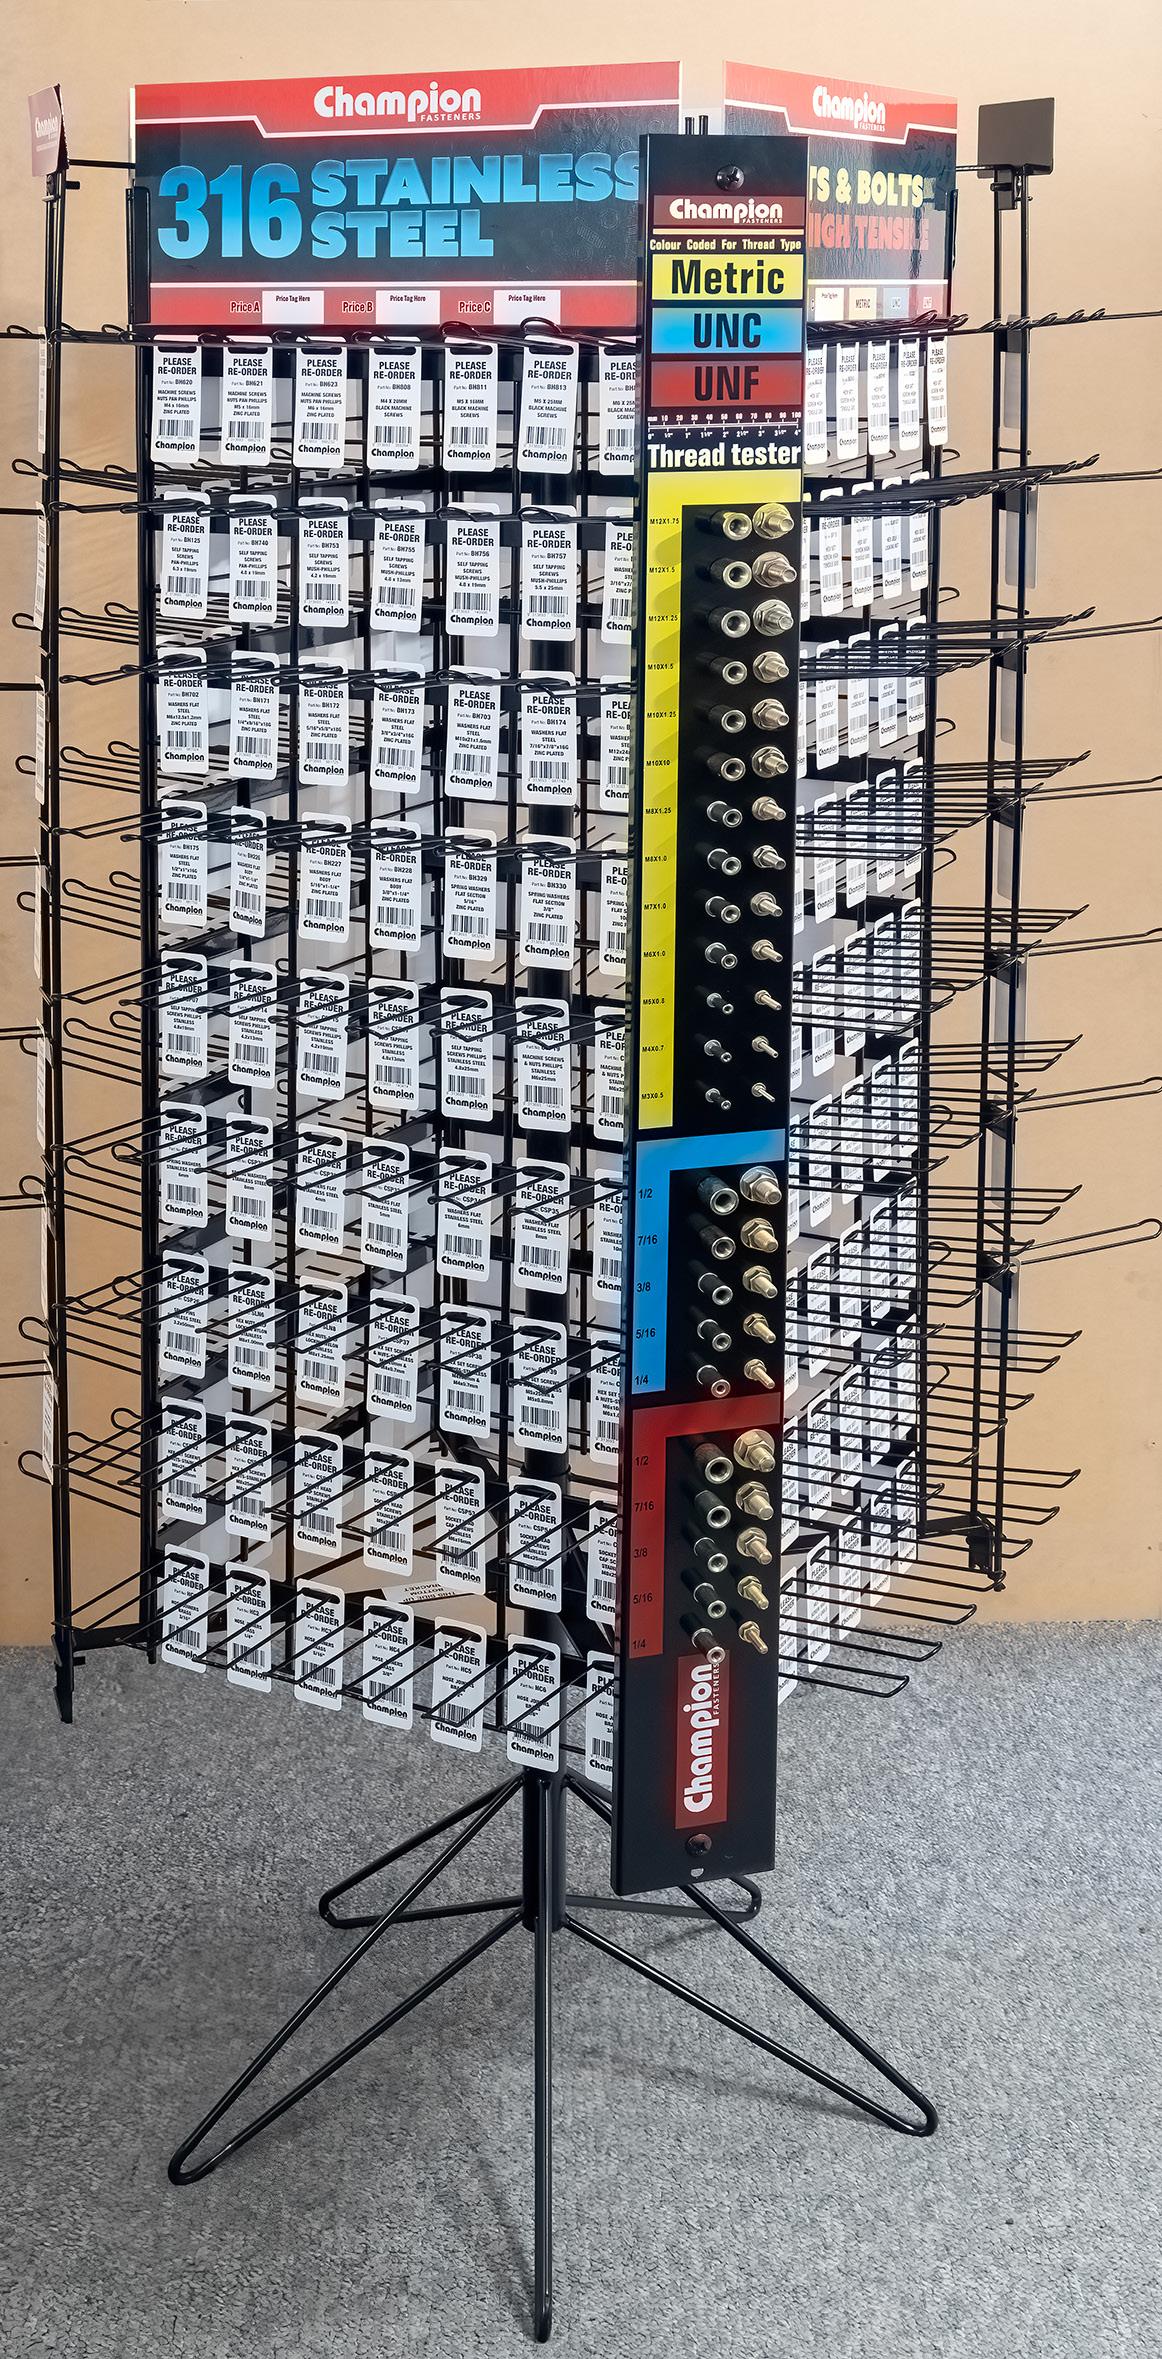
• 1 thread tester
• 4 corner panel stickers
Assembly instructions for rotary merchandiser
What you need:
• 2-person assembly minimum required
• Screwdriver (not supplied)
This stand is not compatible with any previous Champion merchandisers.

CAUTION: Under no circumstances move this merchandiser once fully assembled with


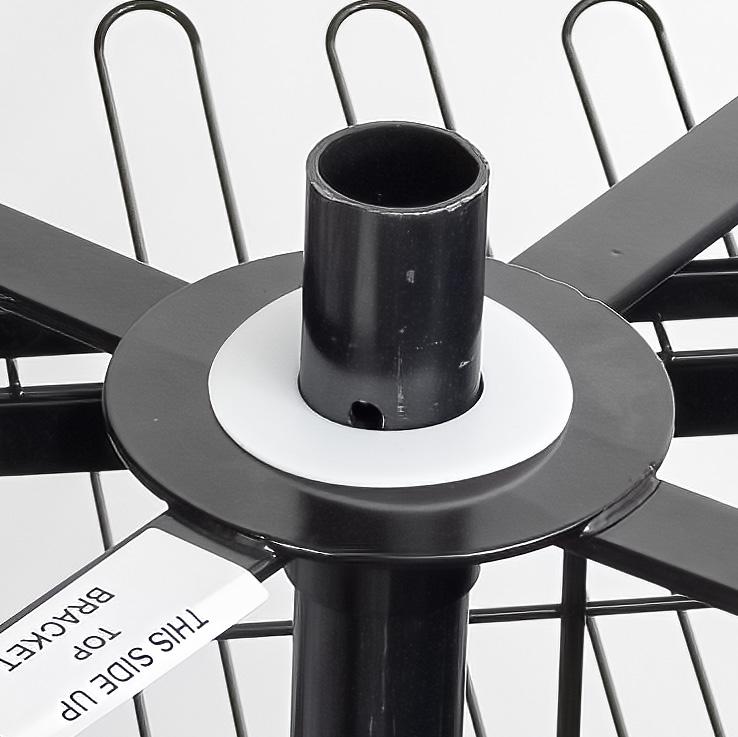
Place the centre pole at the chosen area for store sales. Slide 1 poly washer down the pole to sit on the centre pole flange.
CAUTION: Under no circumstances move this merchandiser once fully assembled with stock loaded.
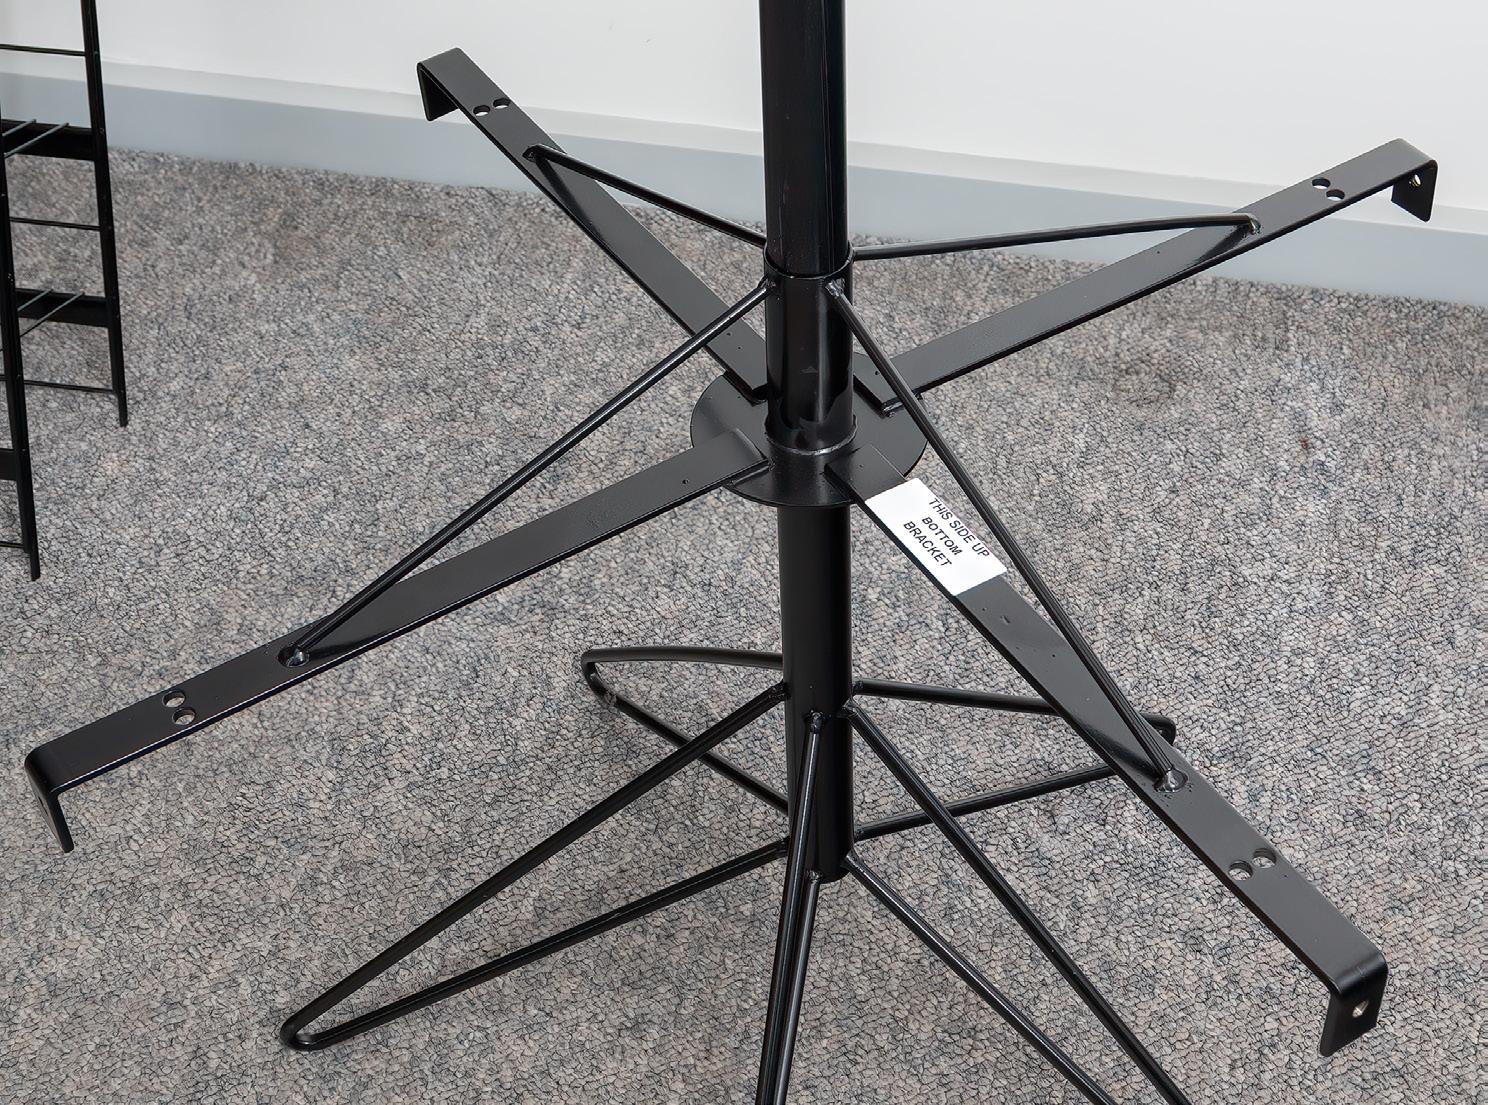
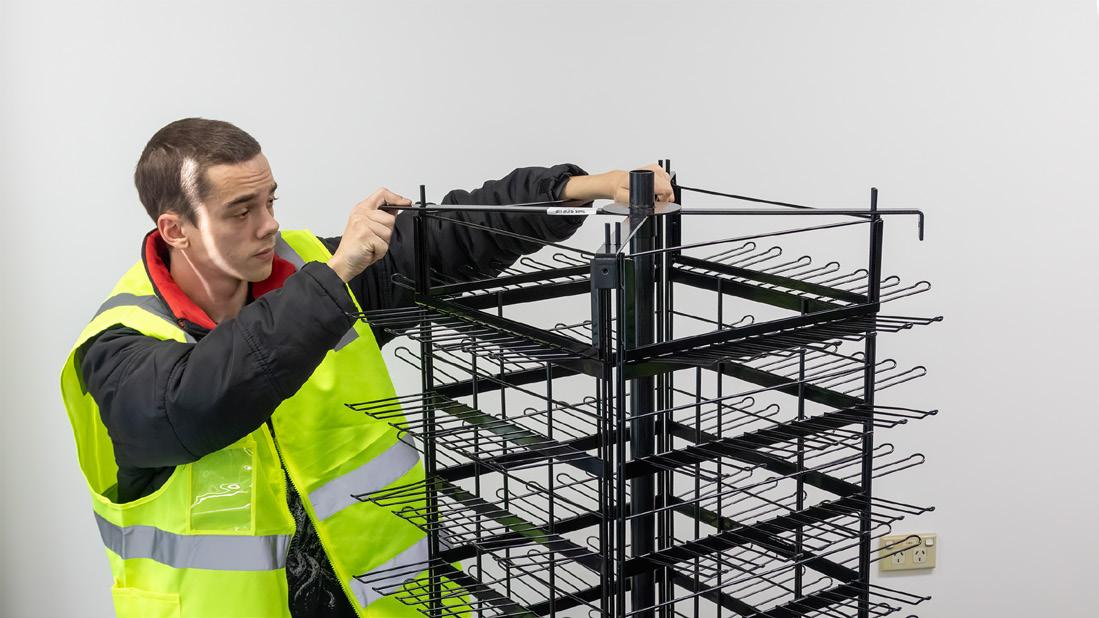
bottom mounting bracket down the pole with the label facing up and bracket lugs facing down, resting on poly washer. Rotate to ensure it turns freely.
Step 3.

With an assistant, install the four (4) panels into the locating holes in the bottom bracket. The assistant holds the 4 panels together.

CAUTION: Under no circumstances move this merchandiser once fully assembled with stock loaded.


CAUTION: Under no circumstances move this merchandiser once fully assembled with stock loaded.
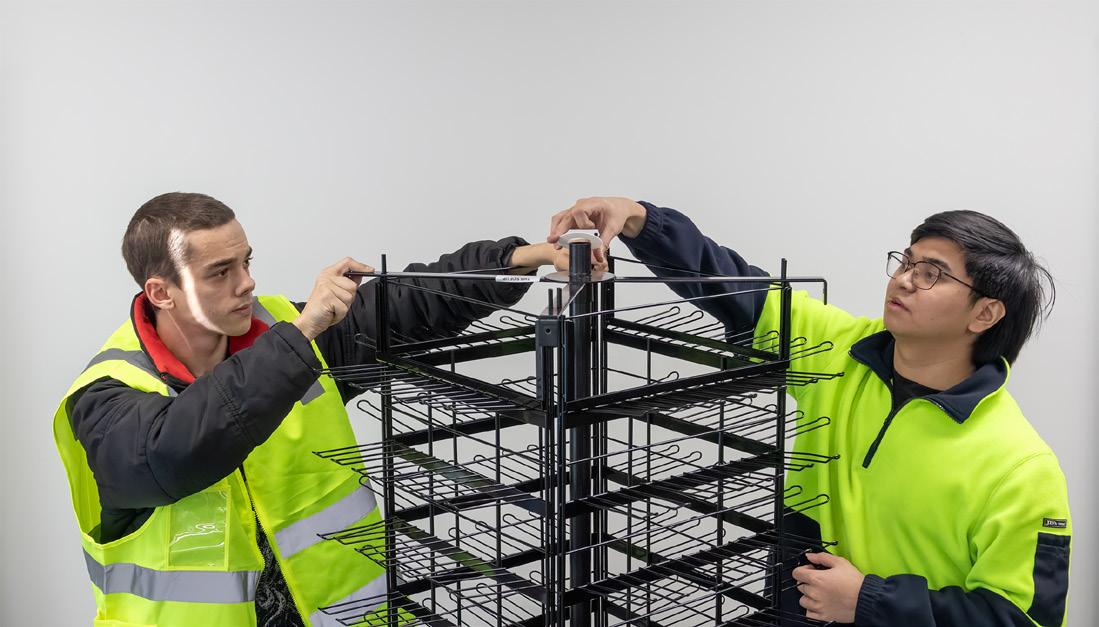
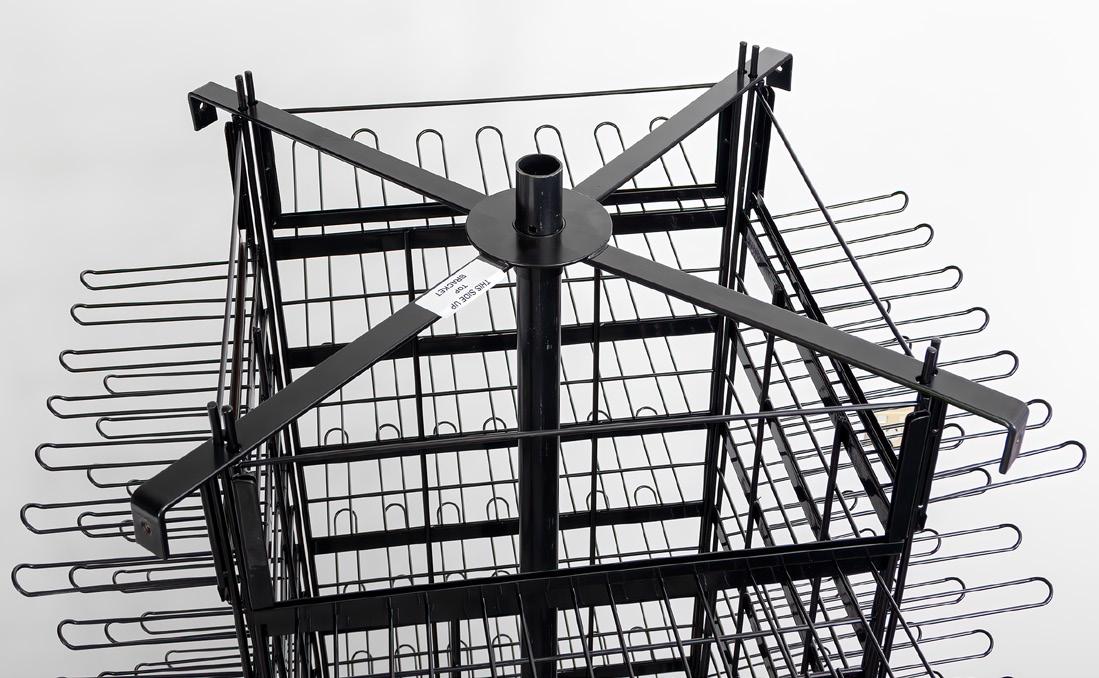
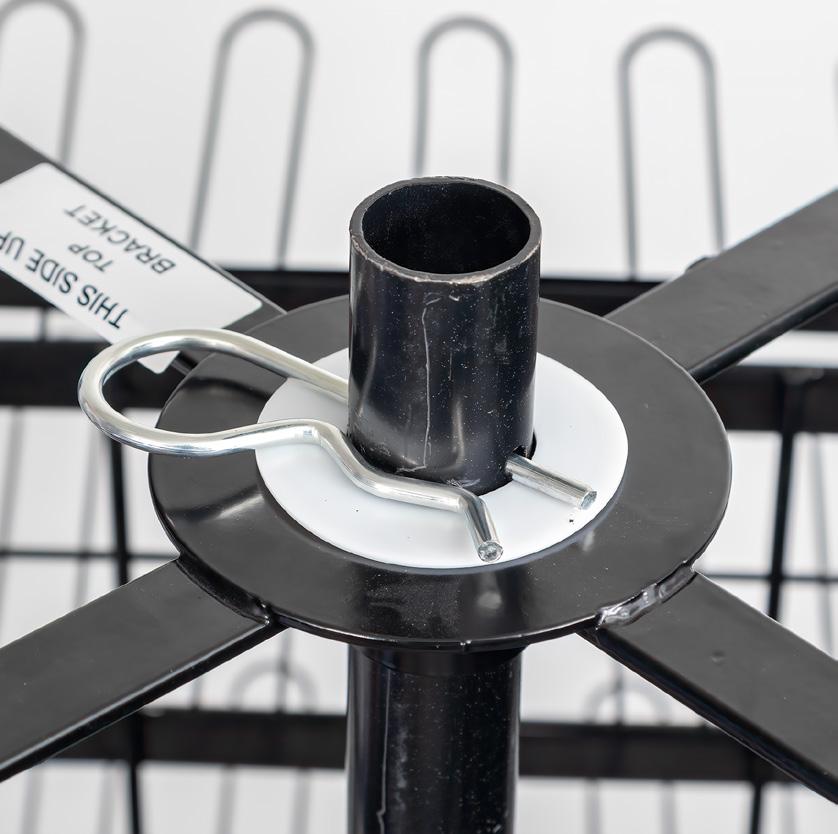
When all 4 panels are secure, place the second poly washer on top of the bracket.
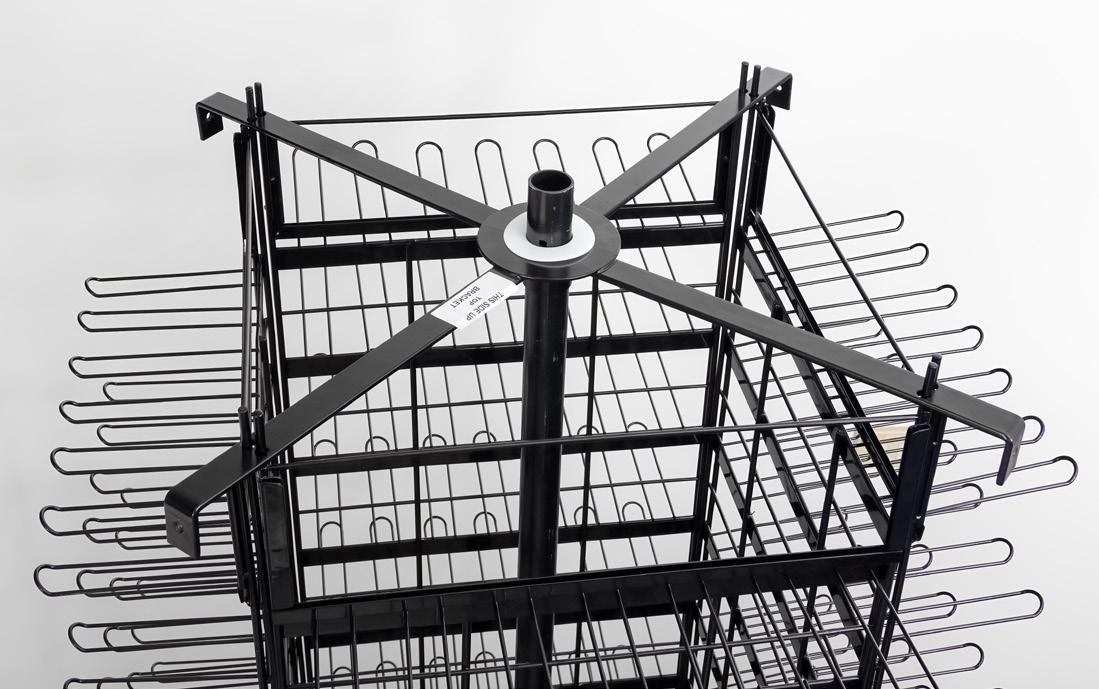
Using a little pressure downwards on the top of the mounting bracket, insert the R clip to lock everything together.
CAUTION: Under no circumstances move this merchandiser once fully assembled with stock loaded.

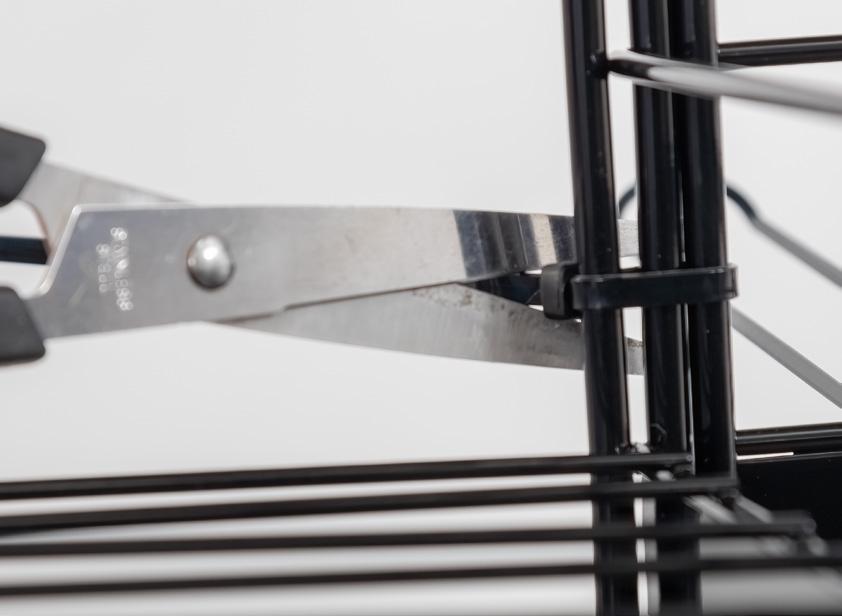
Use the 4 incuded cable ties to tightly secure the four side panels together, approximately midway. Snip off the excess length. Make sure the heads of the cable ties are facing towards the inside of the stand.

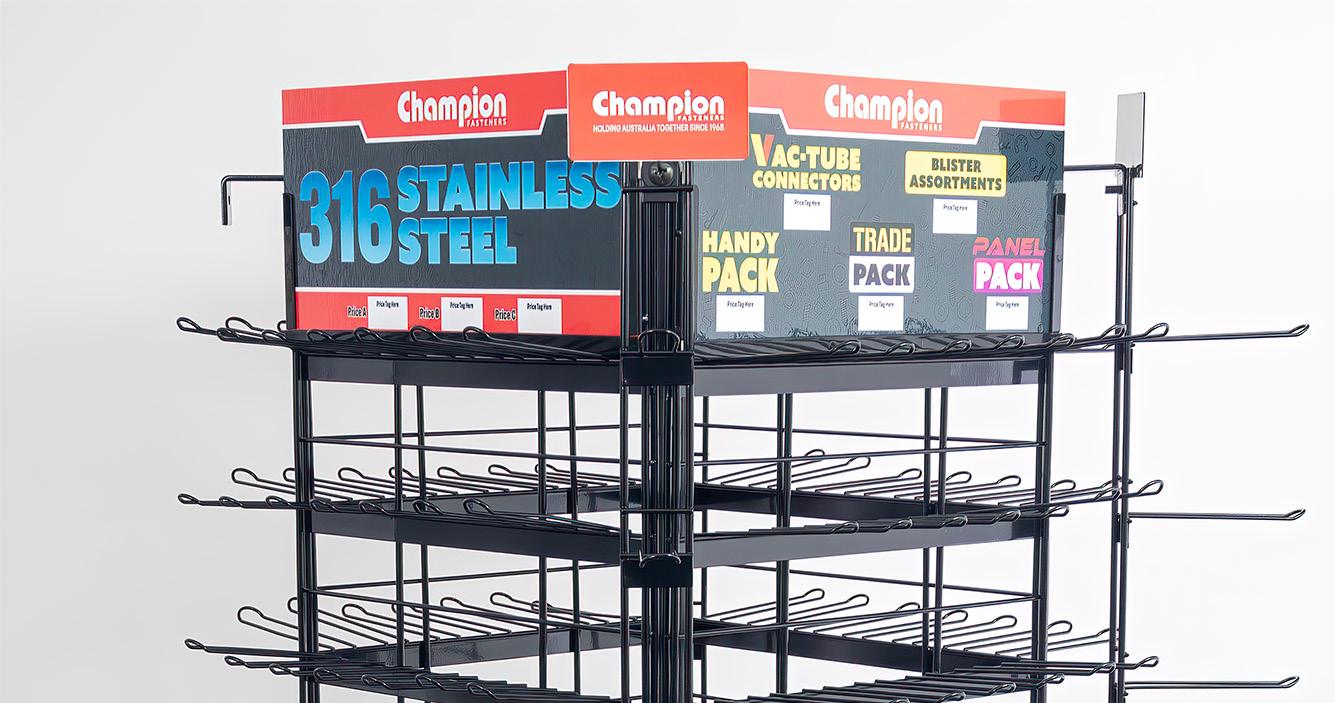
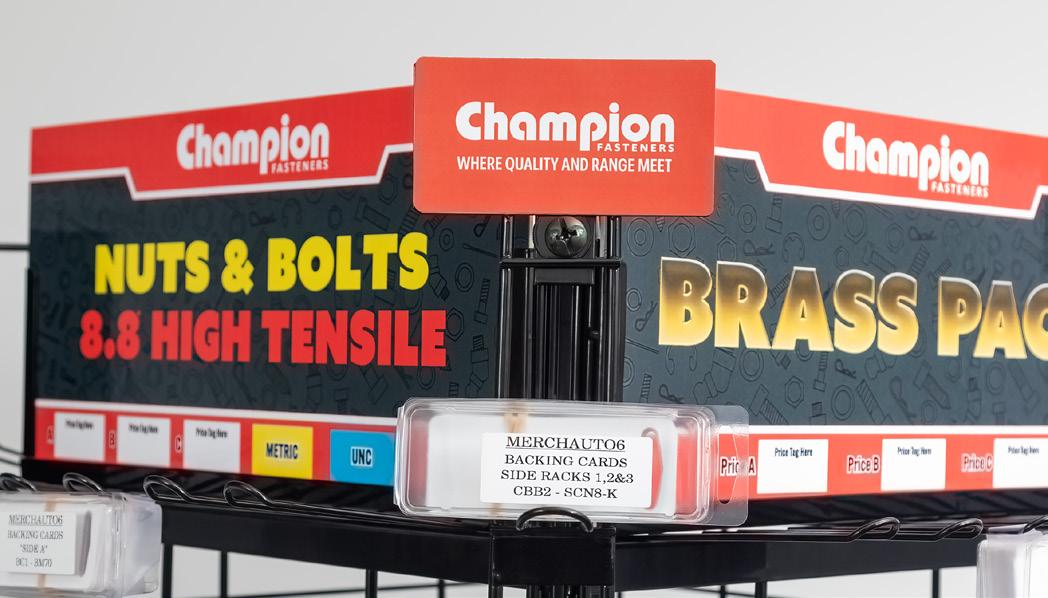
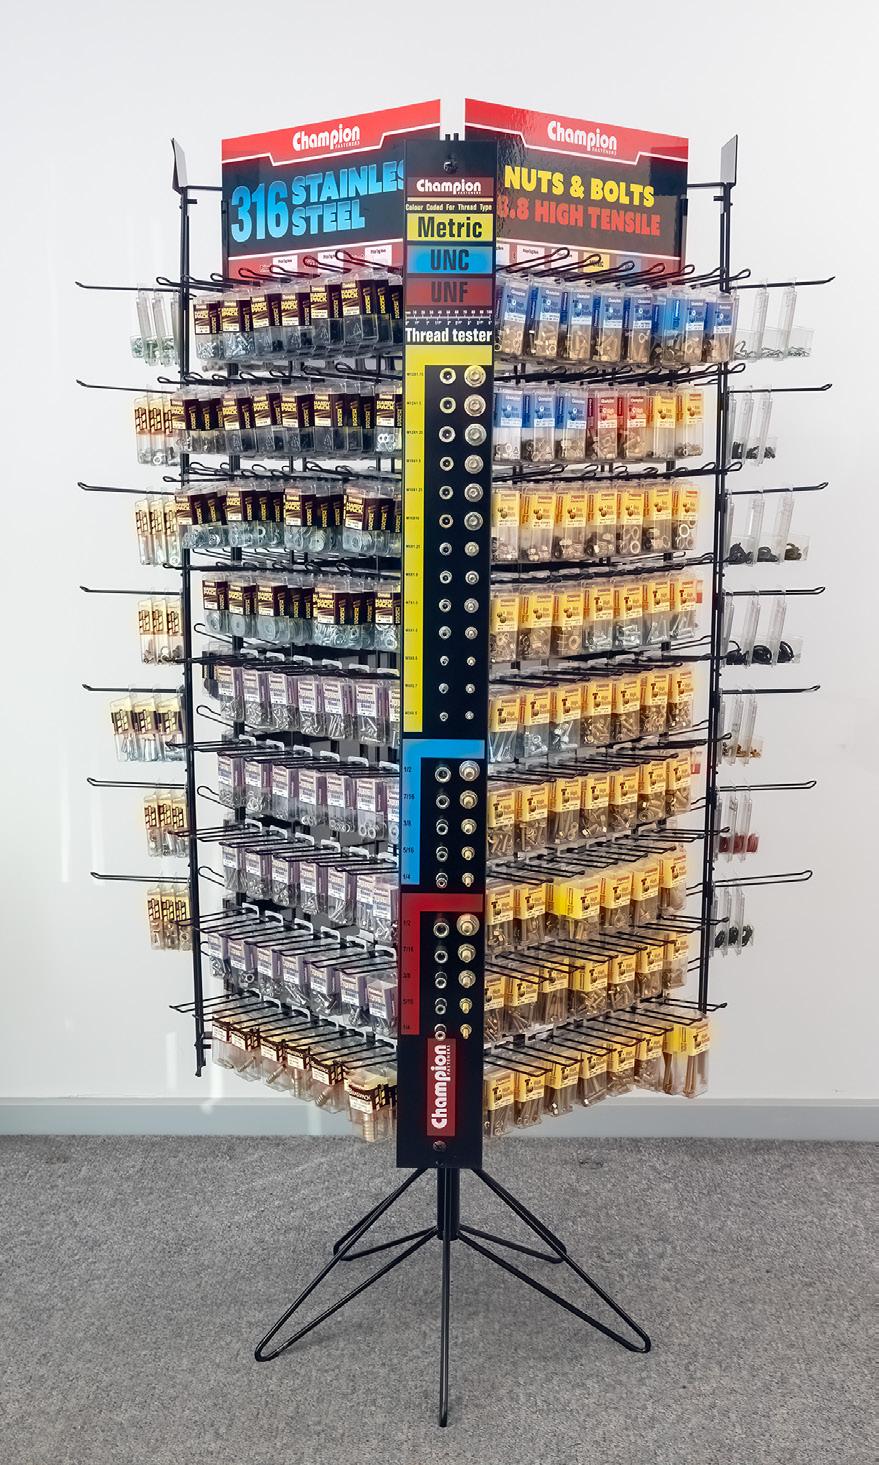
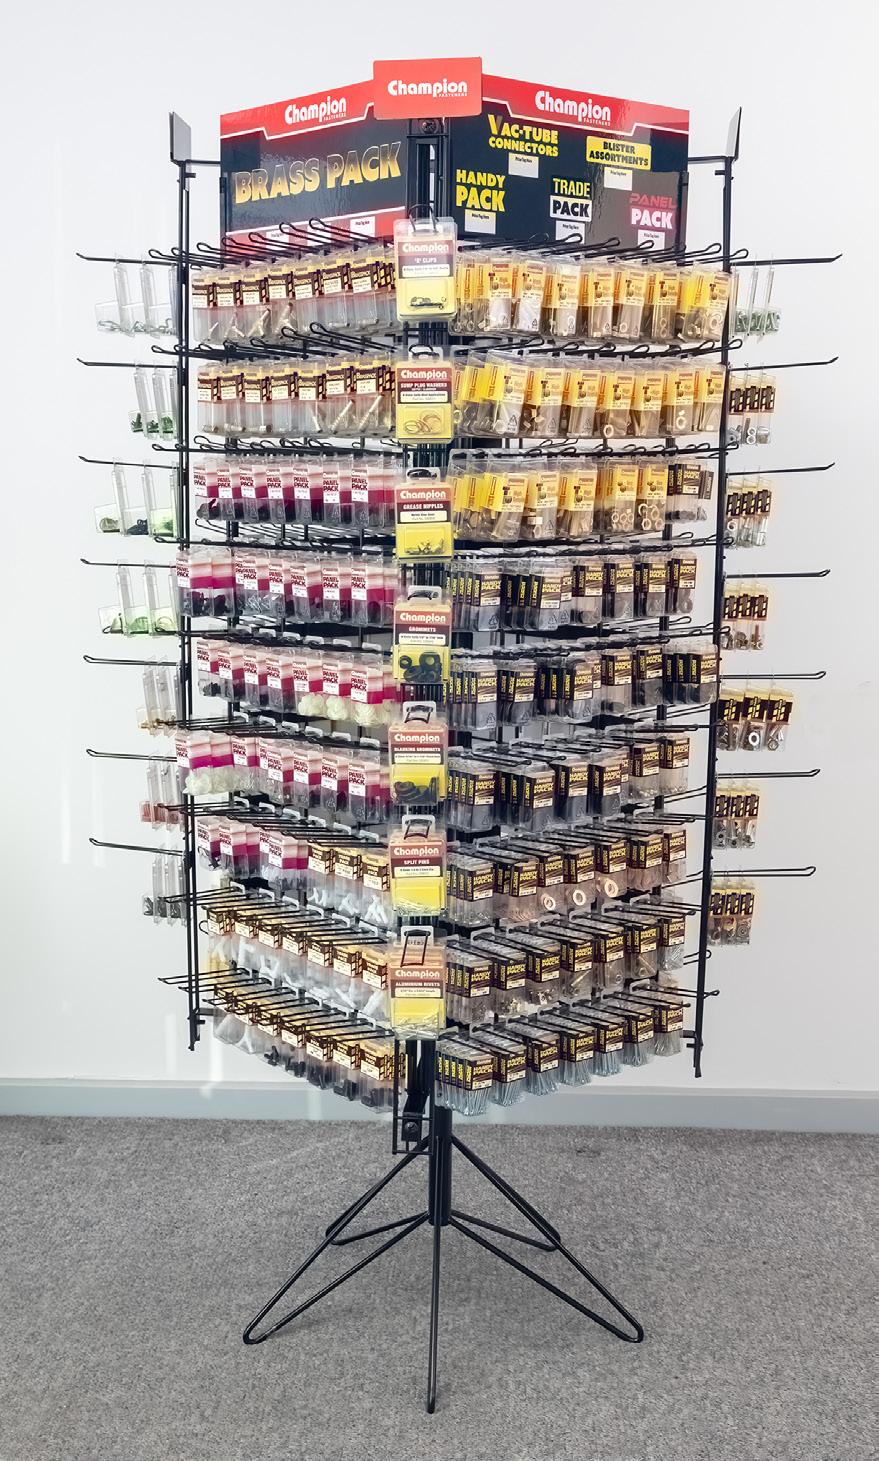
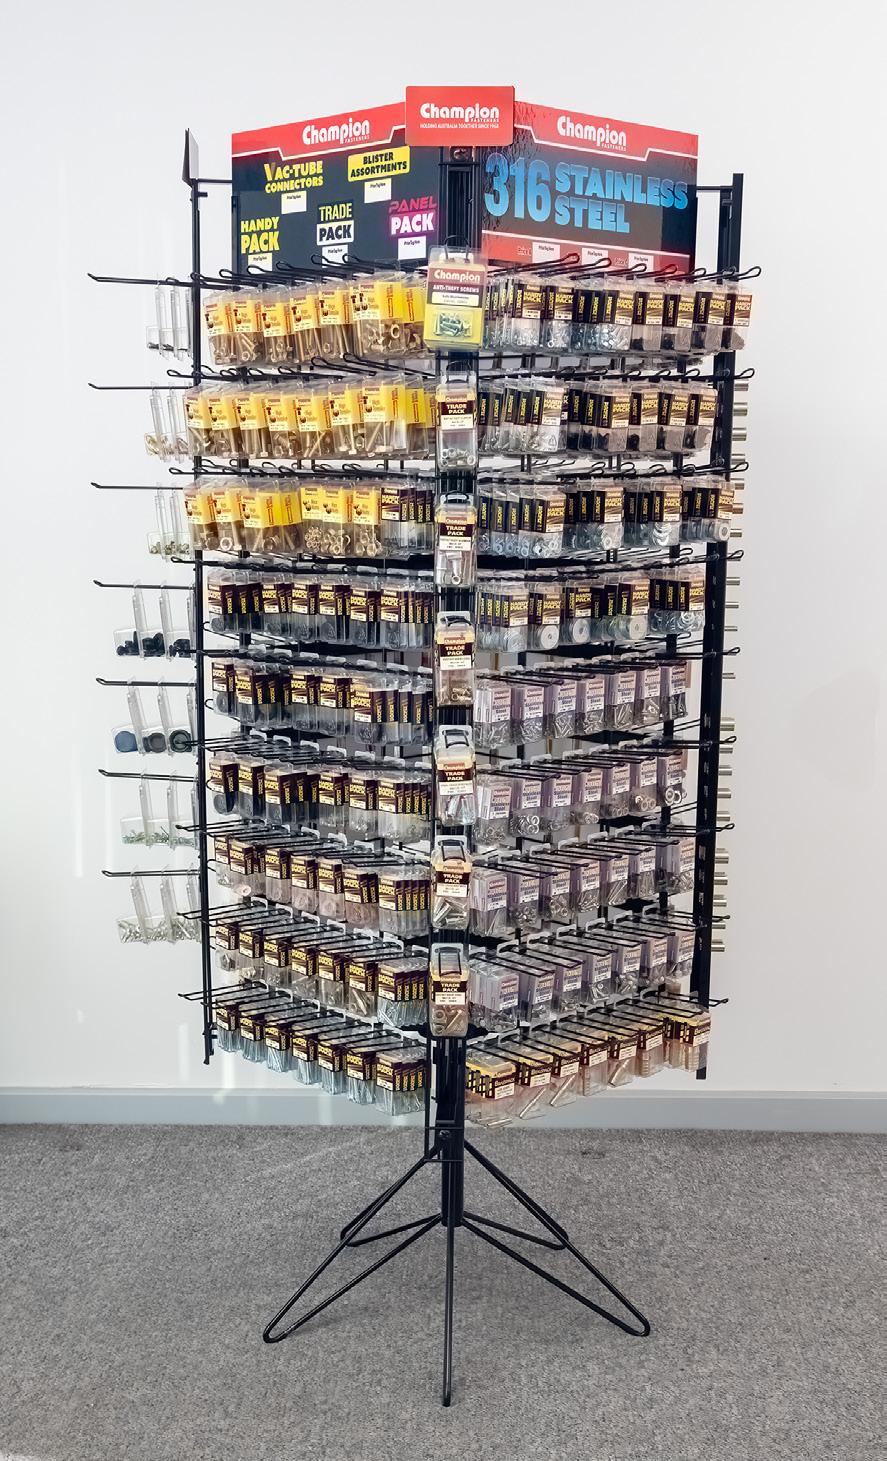
→Mount header cards A, B, C and D (see page 2) on top of the merchandiser, alphabetically and using a clock-ward rotation until all are secure.
CAUTION: Under no circumstances move this merchandiser once fully assembled with stock loaded.
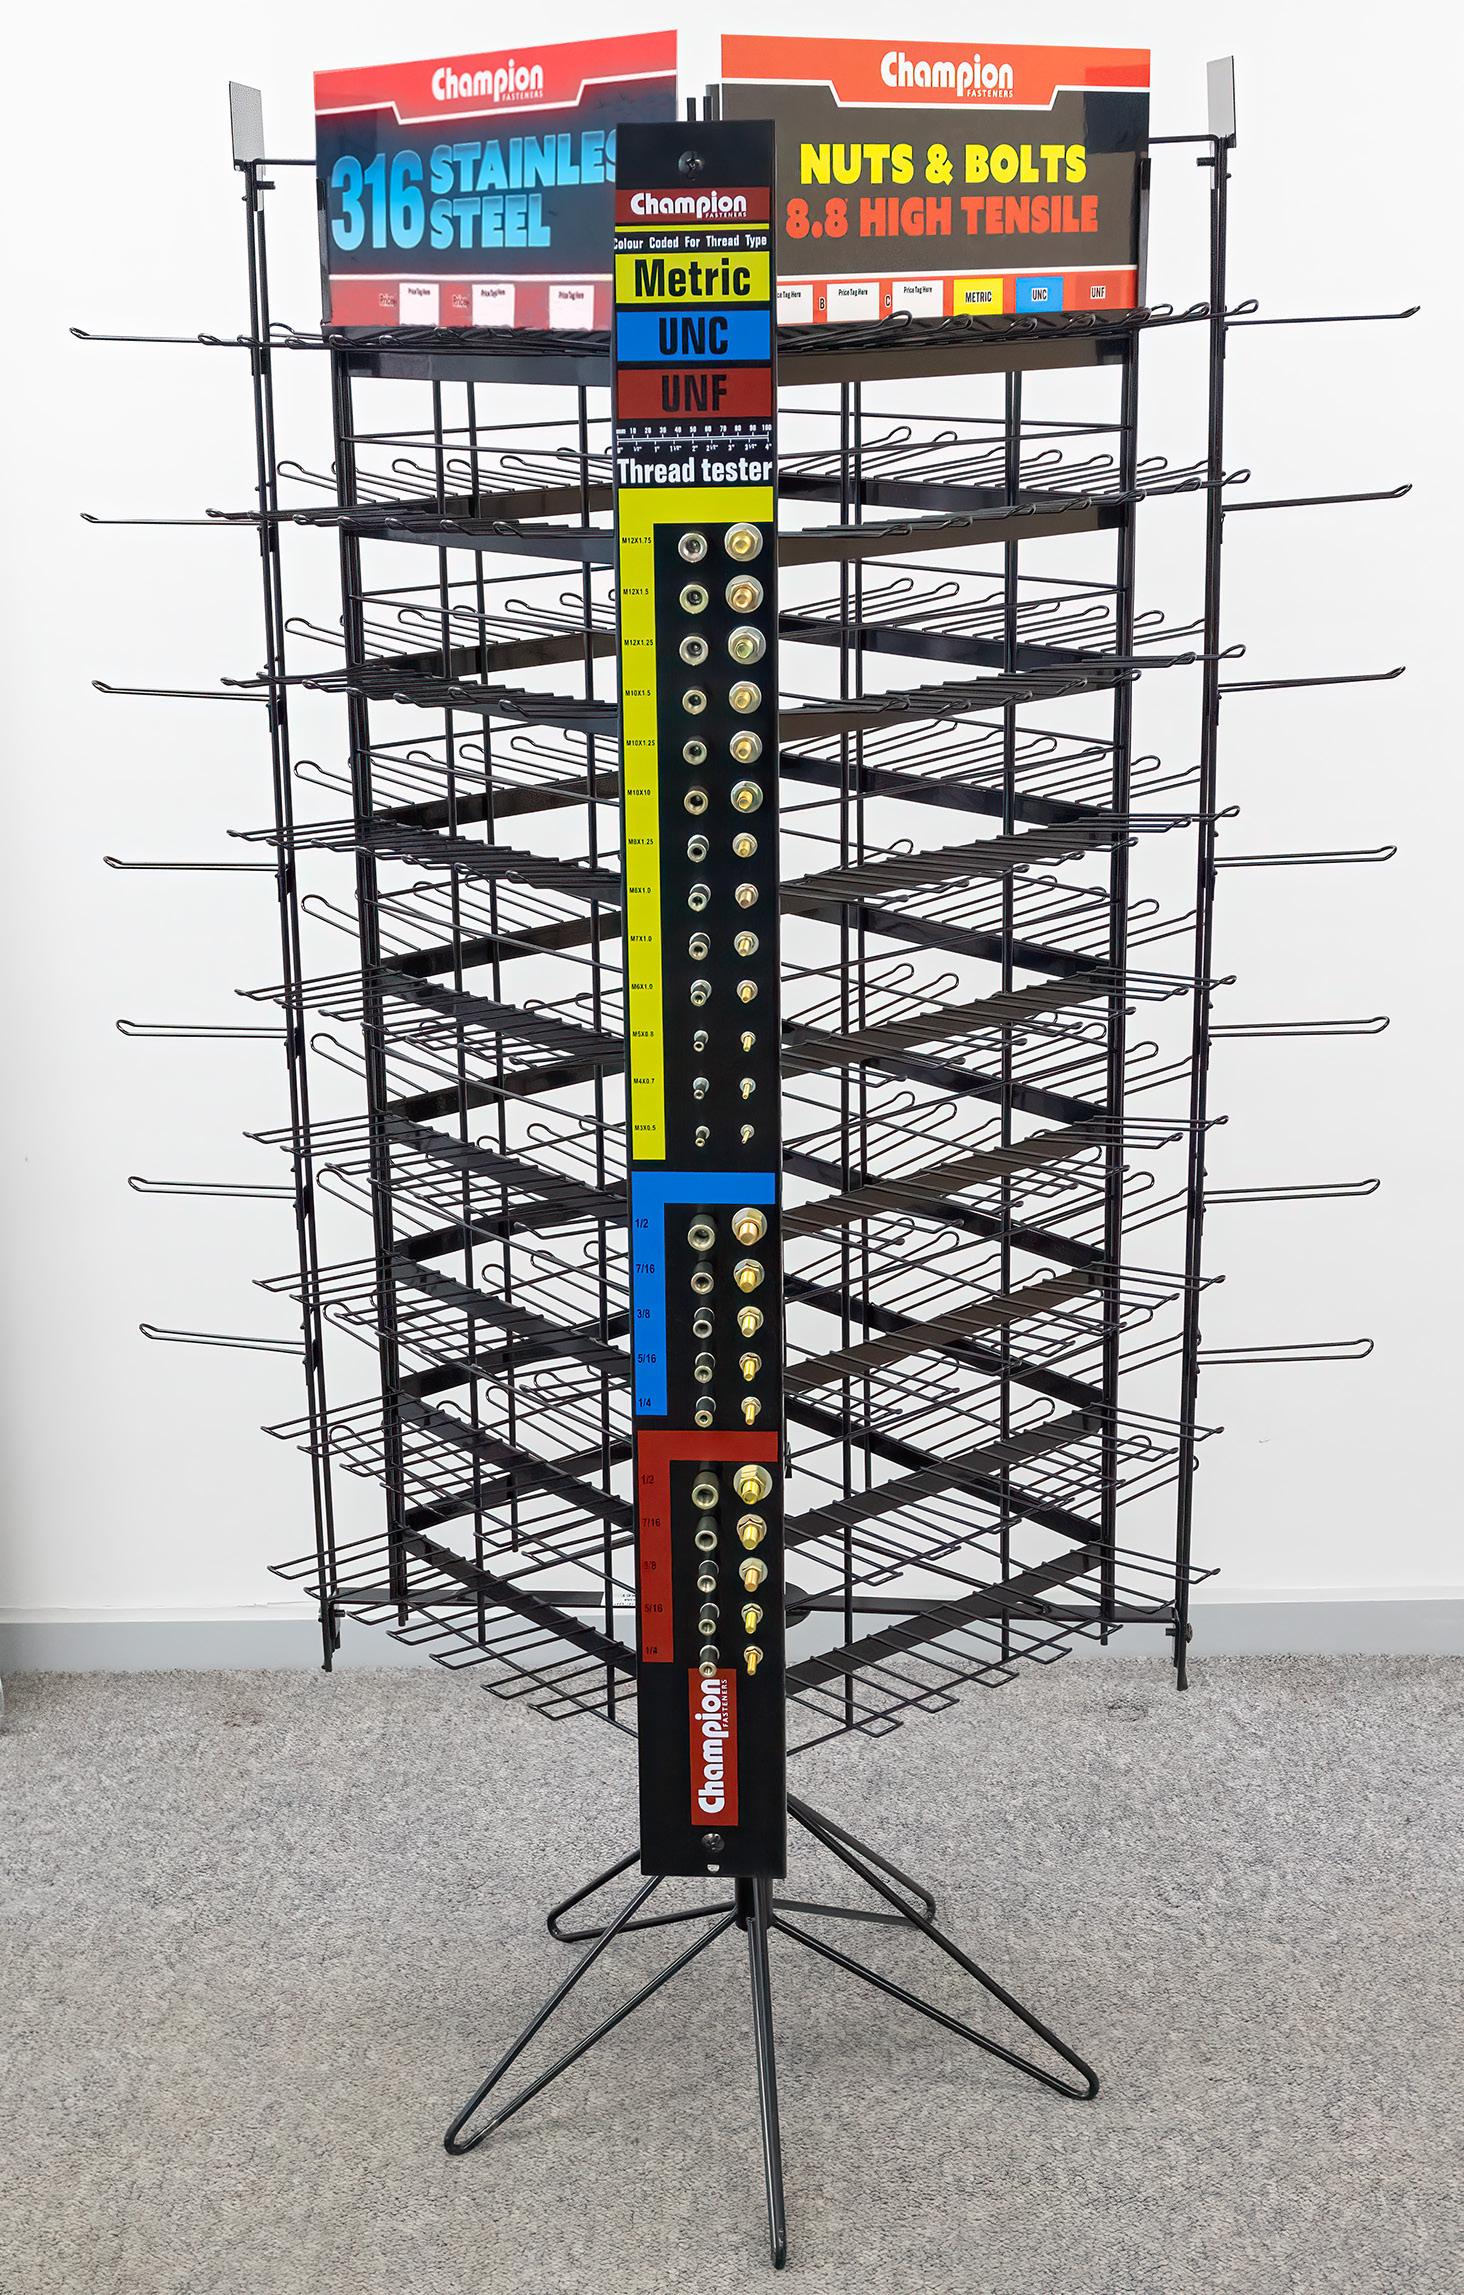
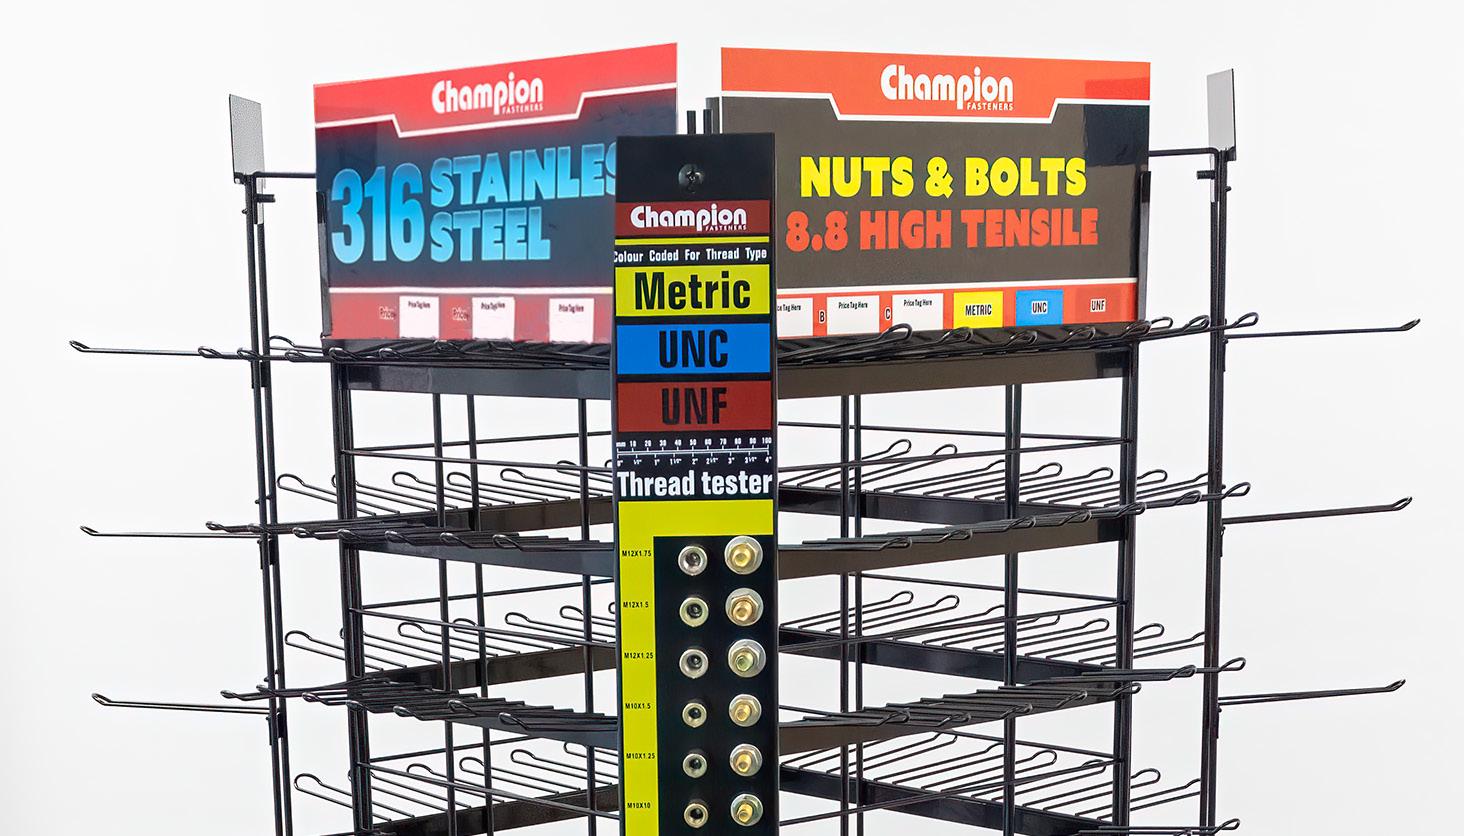
Mount the Champion thread tester with the black screws provided (screwdriver required). Place the thread tester on the left hand side of the ‘bolts and nuts’ header card.
Step 9.

Add the three stickers to the tops of the corners racks (there will be one sticker left over for this stand)
CAUTION: Under no circumstances move this merchandiser once fully assembled with stock loaded.
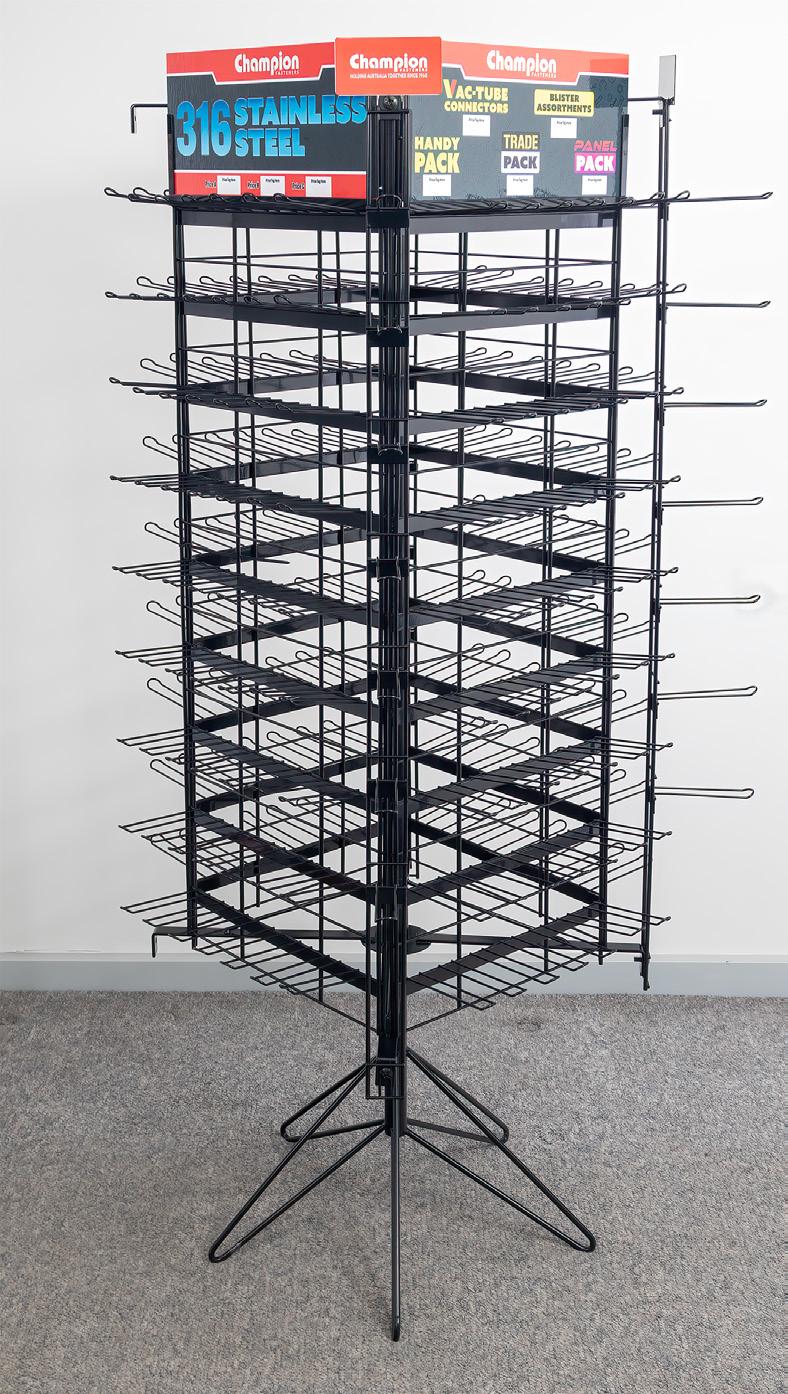
Screw the 3 corner racks in position.
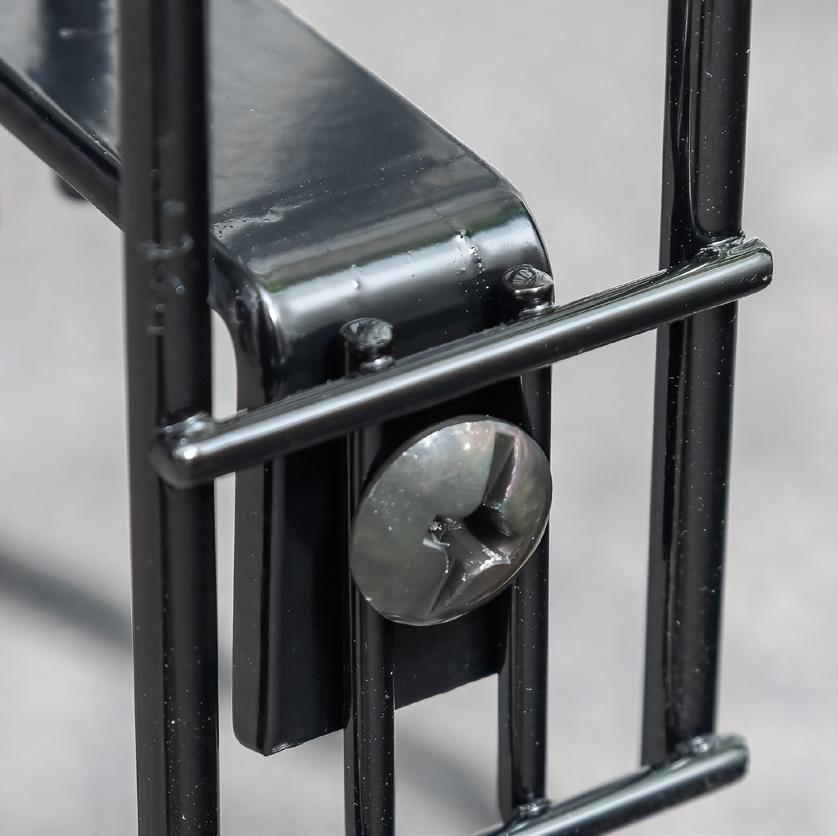
CAUTION: Under no circumstances move this merchandiser once fully assembled with stock loaded.
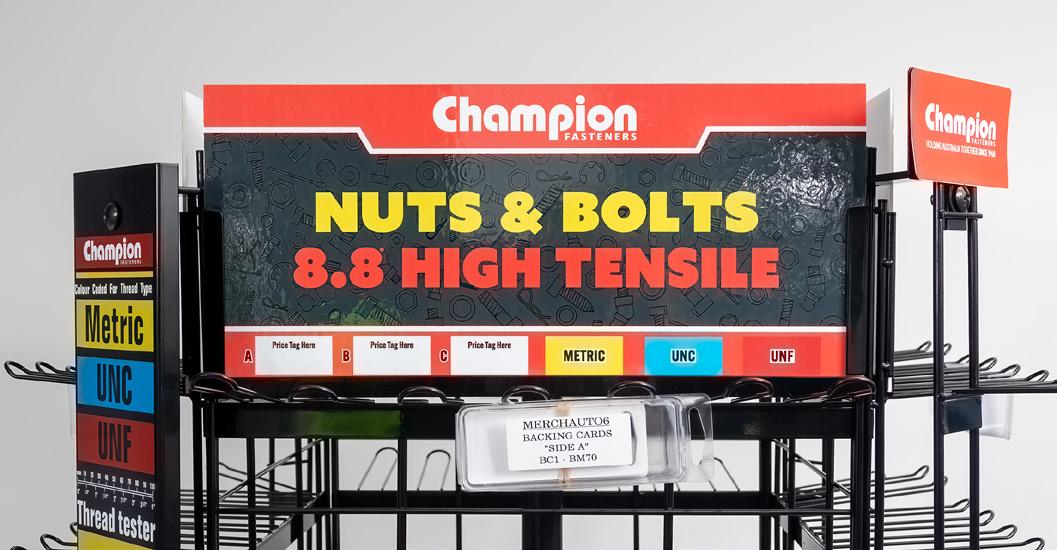
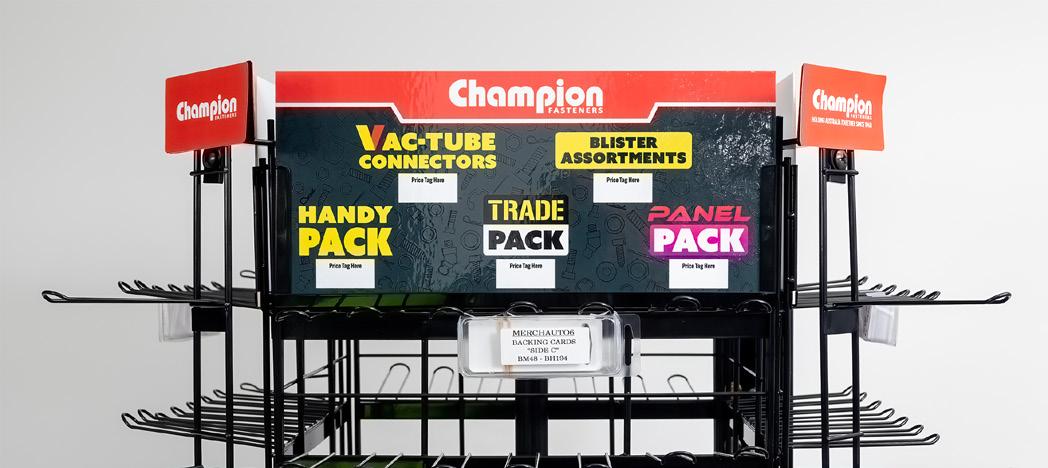
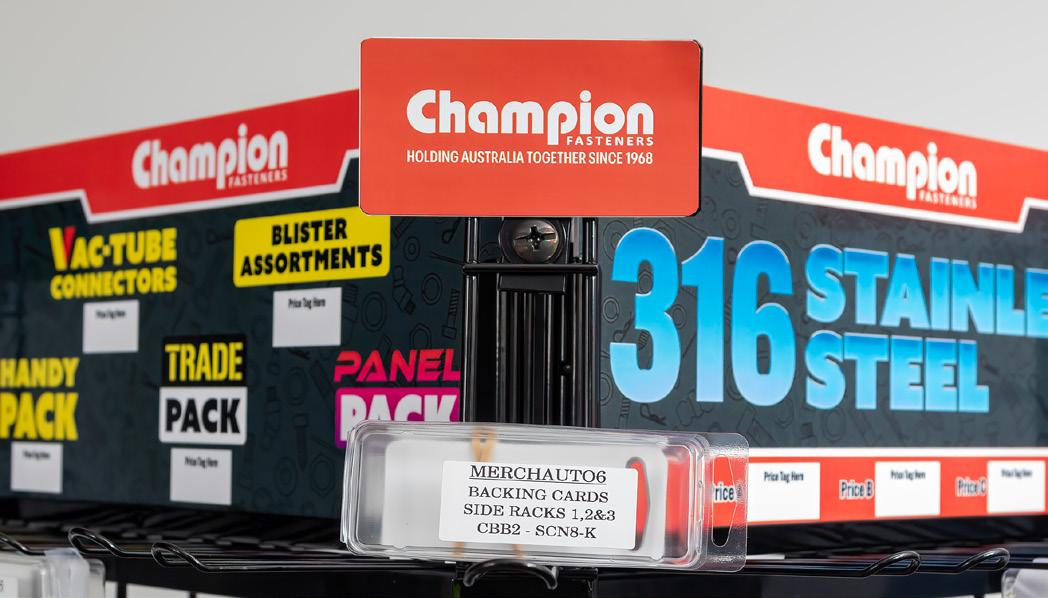
Place the backing-cards onto the pegs, following the supplied planogram. The backing-cards are in a left to right, top to bottom order.
No Backing cards on corner A due to thread tester.
C
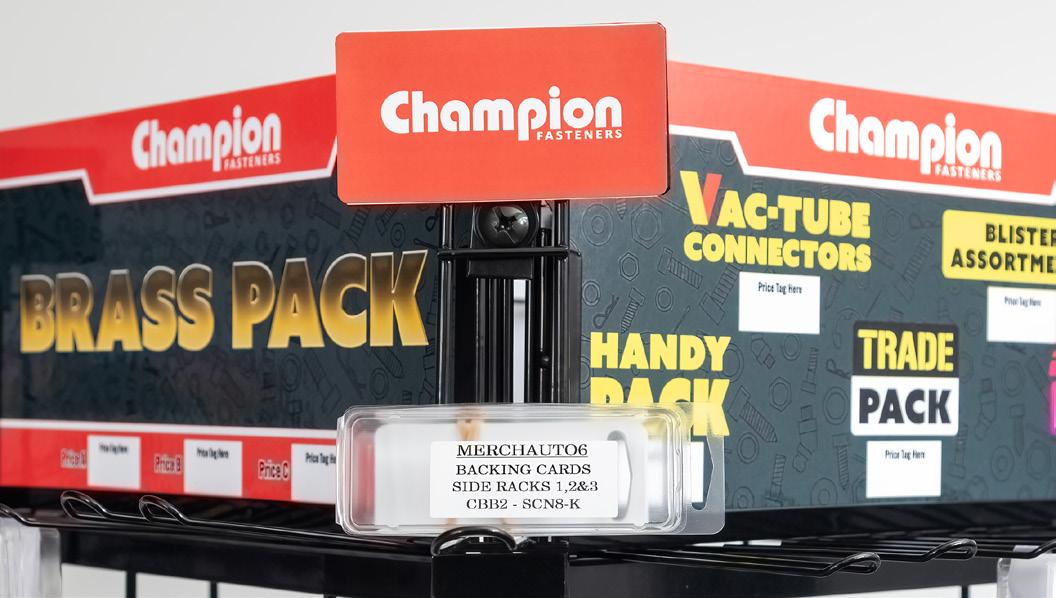
The corner backing cards are in a top to bottom order. See the supplied planogram for reference.


D
CAUTION: Under no circumstances move this merchandiser once fully assembled with stock loaded.
CAUTION: Under no circumstances move this merchandiser once fully assembled with stock loaded.

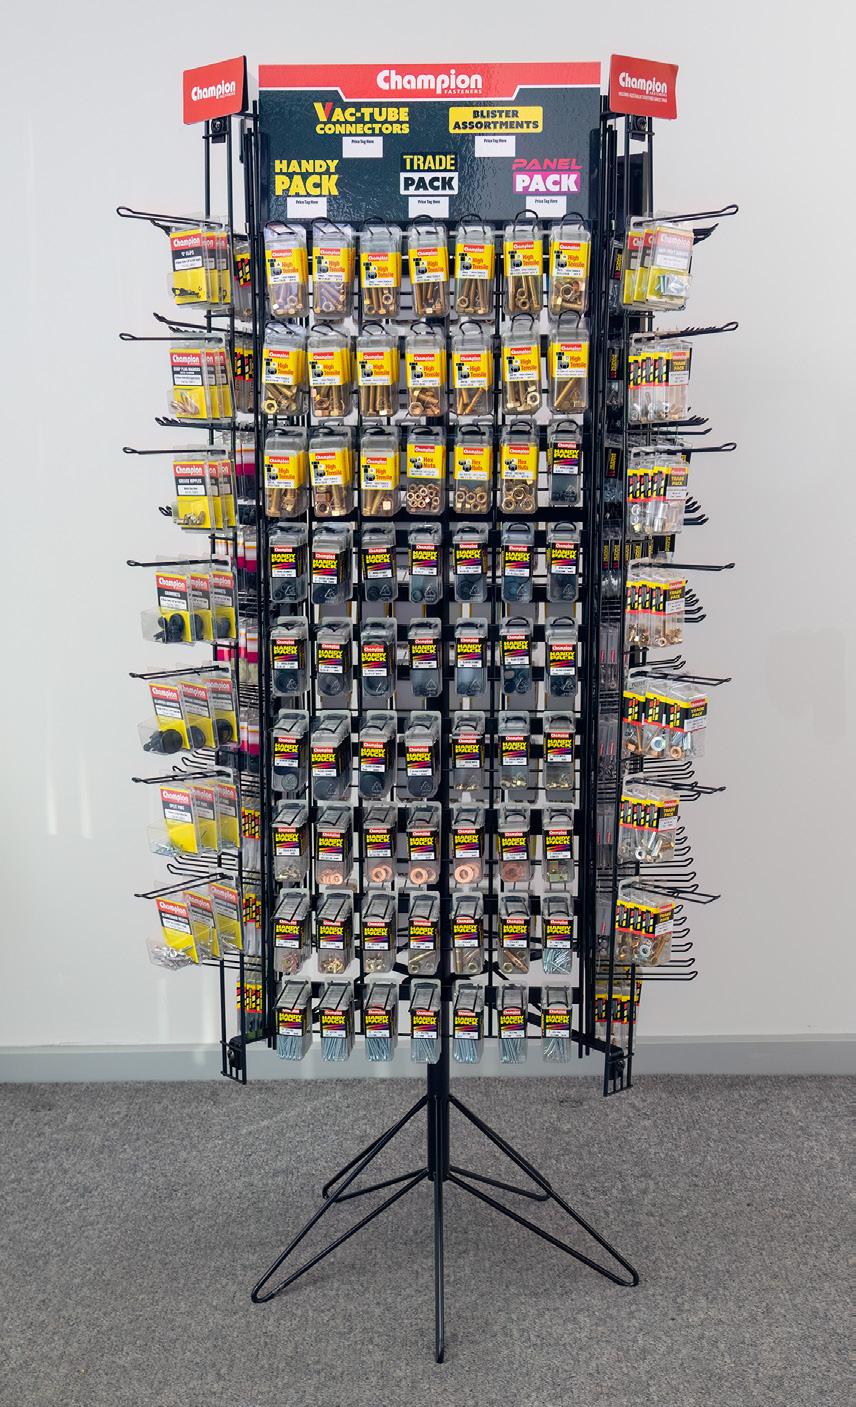
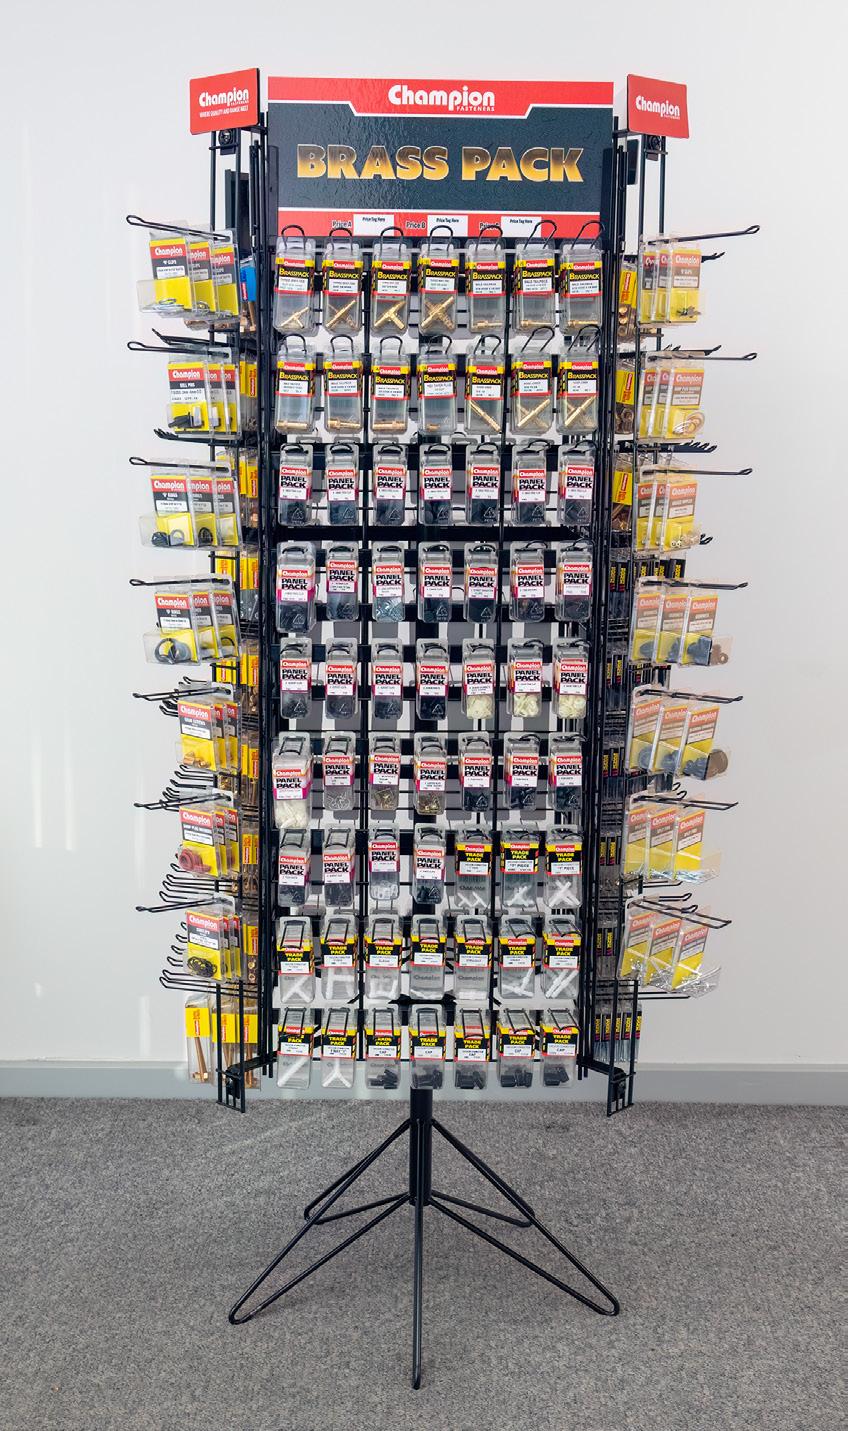

Place the blister packs onto the stand with the corresponding backing cards.
CAUTION: Under no circumstances move this merchandiser once fully assembled with stock loaded.

CAUTION: Under no circumstances move this merchandiser once fully assembled with stock loaded.