ServiceCentre

Easy Navigation Concept
The Lab Modular System EQUIPMENTS
Easy Navigation Concept
4.1 Frame heaters
• Single air flow 6
• Dual air flow - Two temperature settings 10
• Dual air flow - Multiple temperature settings ���� 11
4.2 Germicidal lamp for frames
• Germicidal device with timer - 8 frames 14
• Germicidal device with timer - 15,30 frames 15
4.3 Ultrasonic cleaners
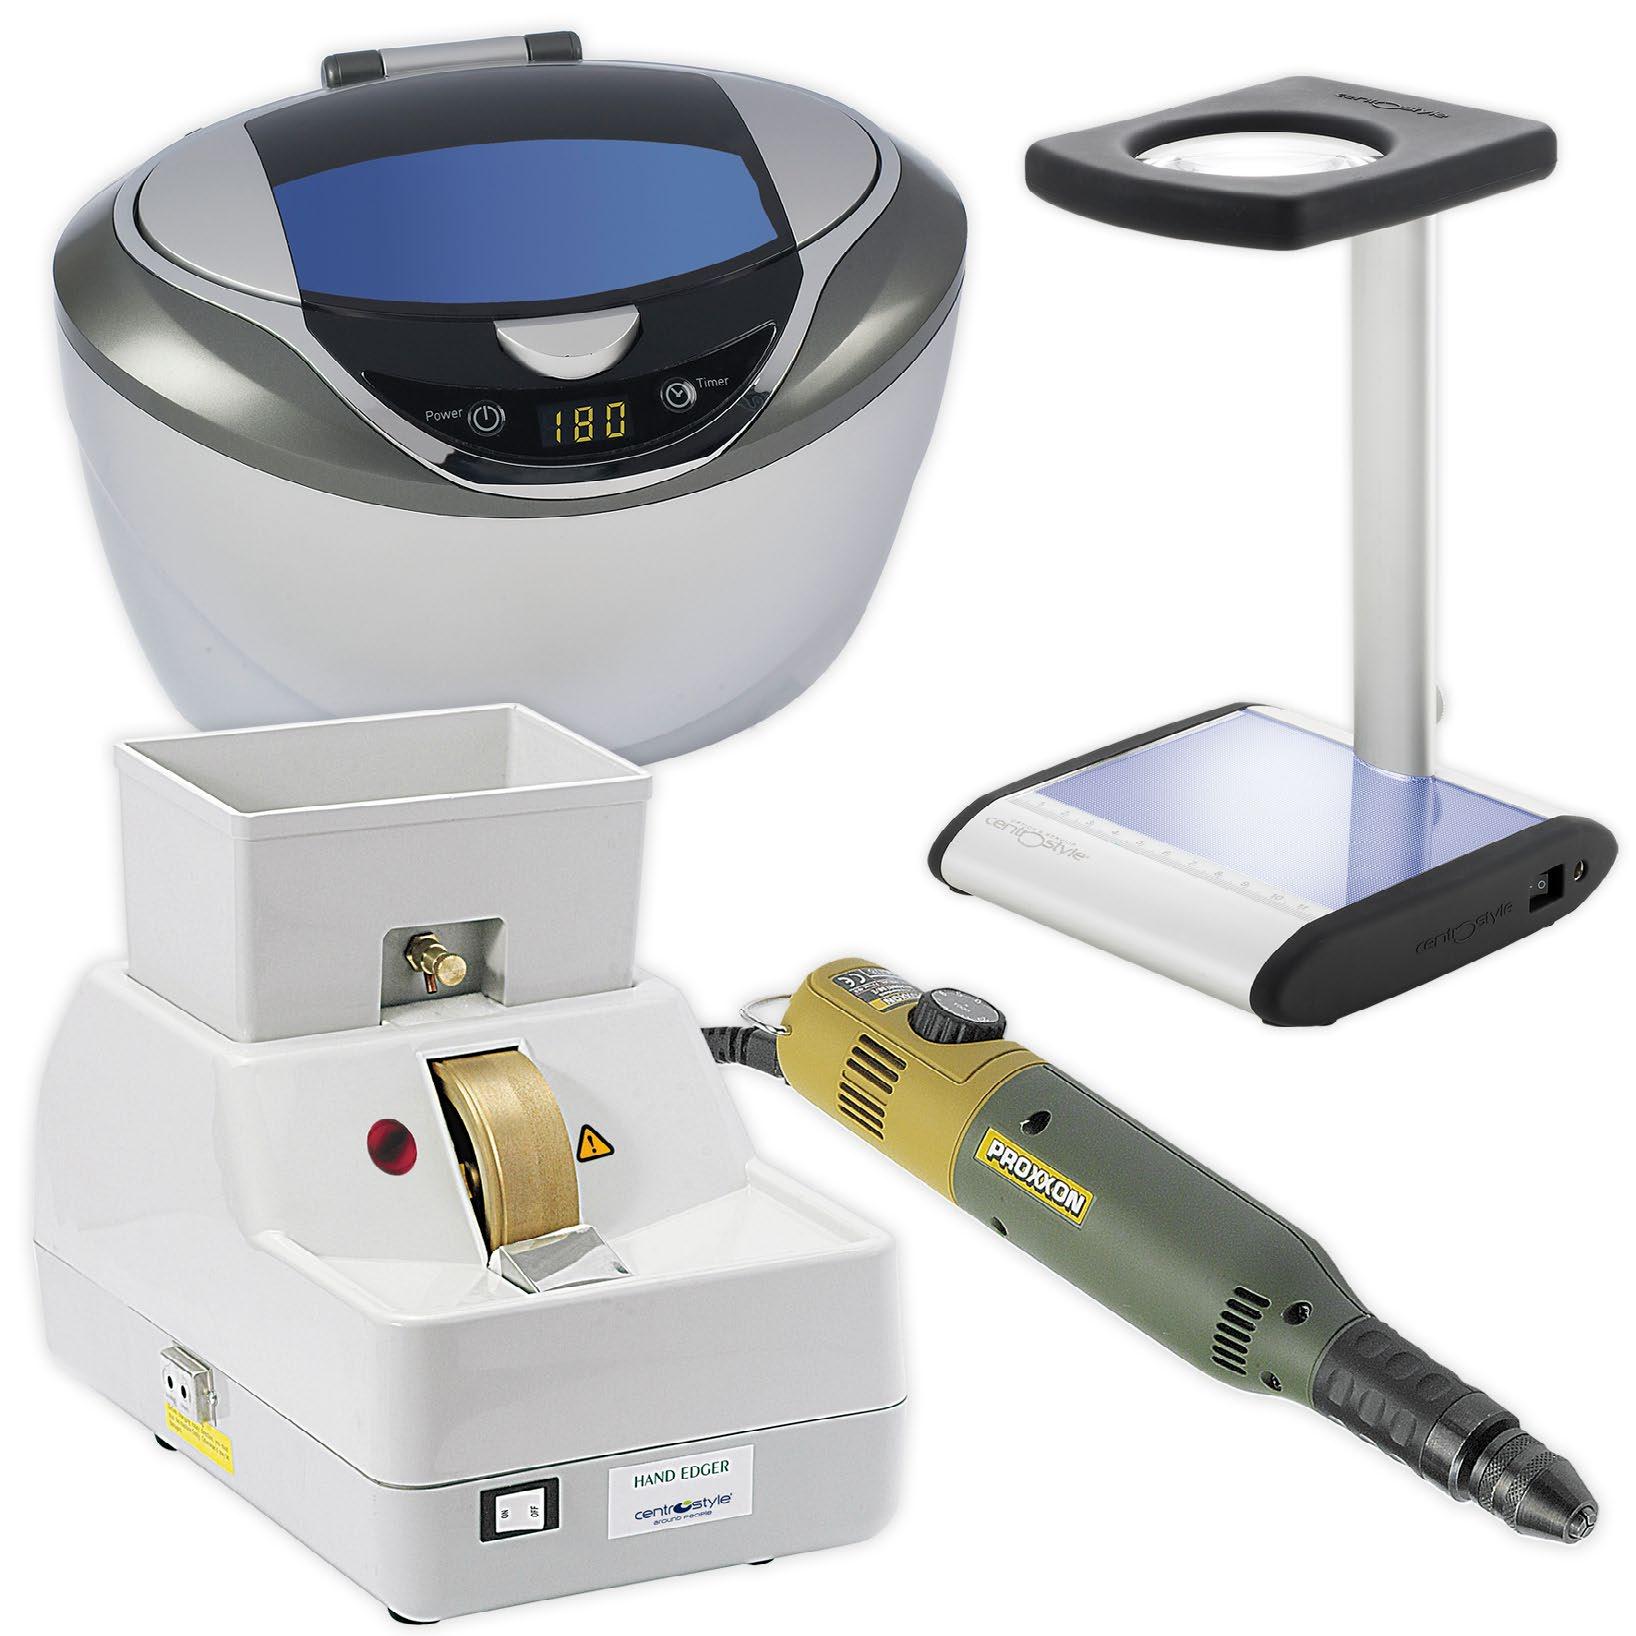
• Digital setting - Continuous vibrations 0,6 l 18
• Digital setting - Continuous vibrations 1,4 l 19
• S/steel - Variable Timer Switch ������������������������� 20
• S/steel with adjustable heating 21
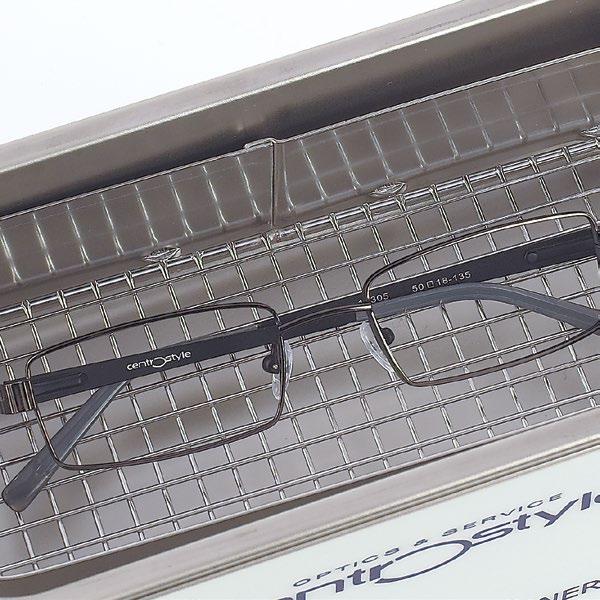
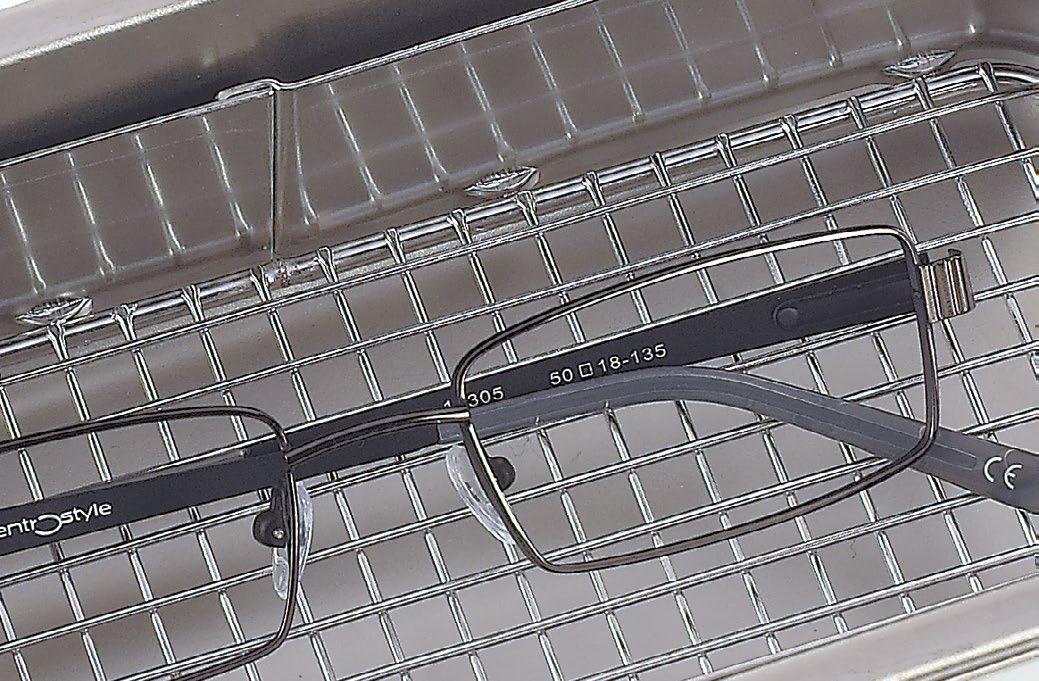
• Lens and frame cleaning in the lab 23
4.4 Testers
• Led light marking identifier
• Led strain gauge
• Photochromic lens tester with led light pad ������
• Polarized test
• Light pad
4.6
4.7 Soldering
4.8

The
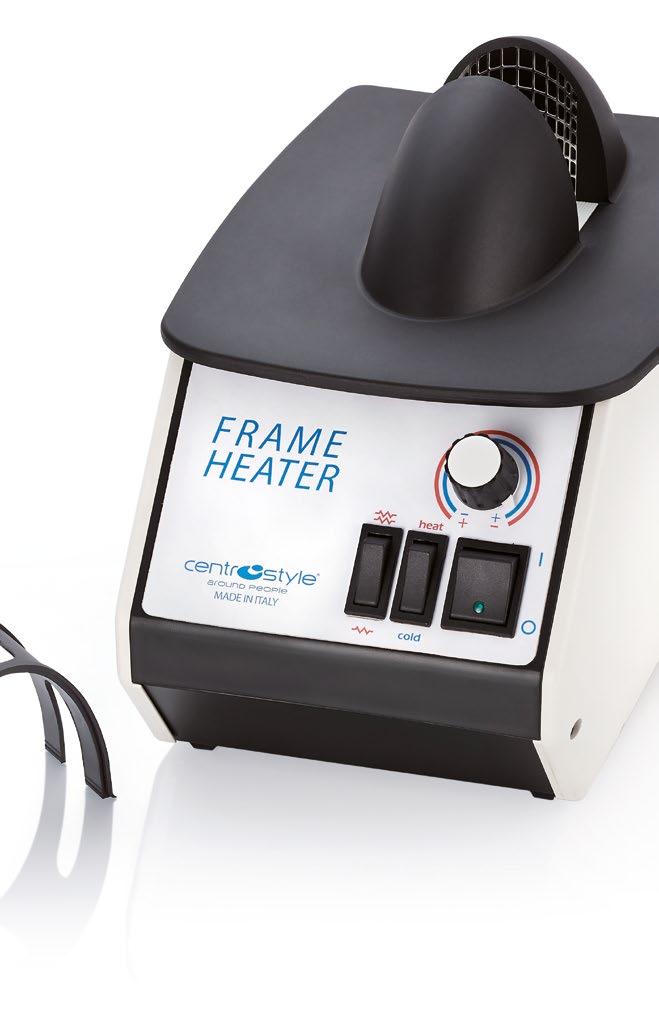
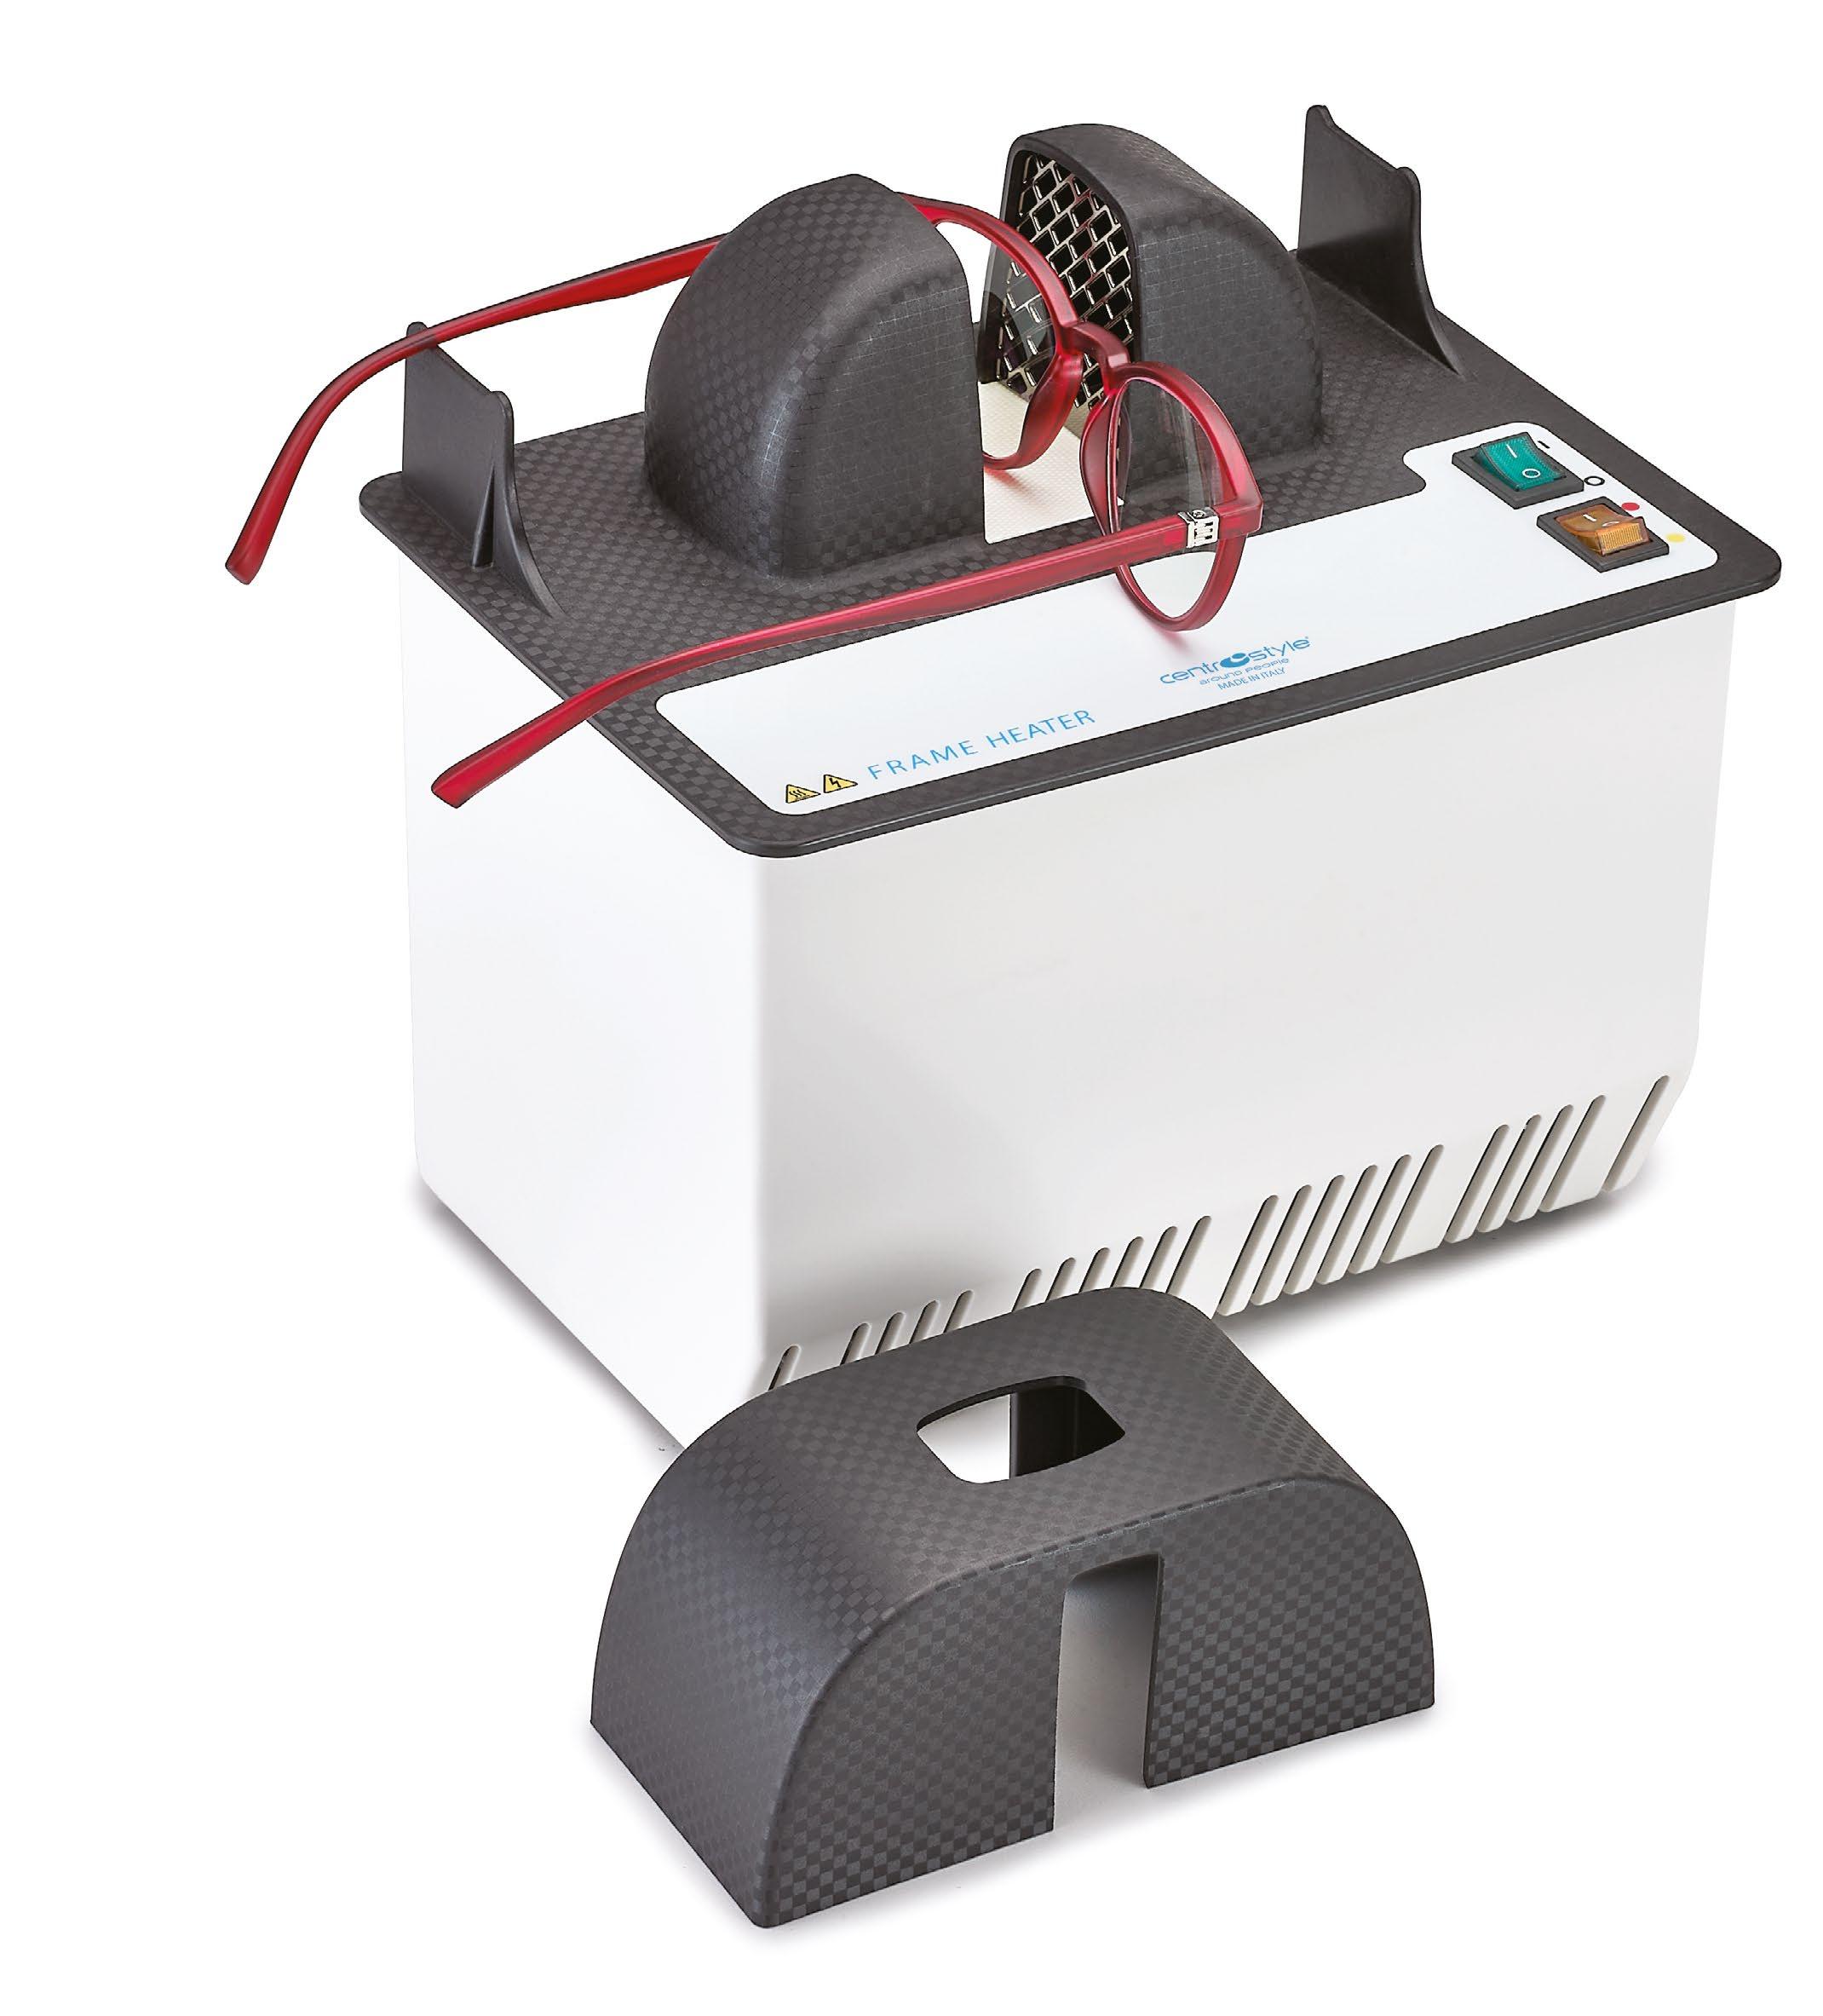
Heater systems, more commonly called frame heaters, are used with plastic frames to make them malleable and modifiable, both to facilitate the insertion of the lenses, and to adjust temple tips, temples and fronts based on the facial features of the person who will then be wearing the glasses. The adjustment of the frame will make the glasses more stable and more comfortable by ensuring the correct positioning of the optical centre of the lenses on the face.
There are various types of frame heaters: laboratory or bench and vertical or horizontal, depending on the habits and needs of the user. The units take advantage of a single or double airflow to ensure greater heating uniformity of the frame to be adjusted.
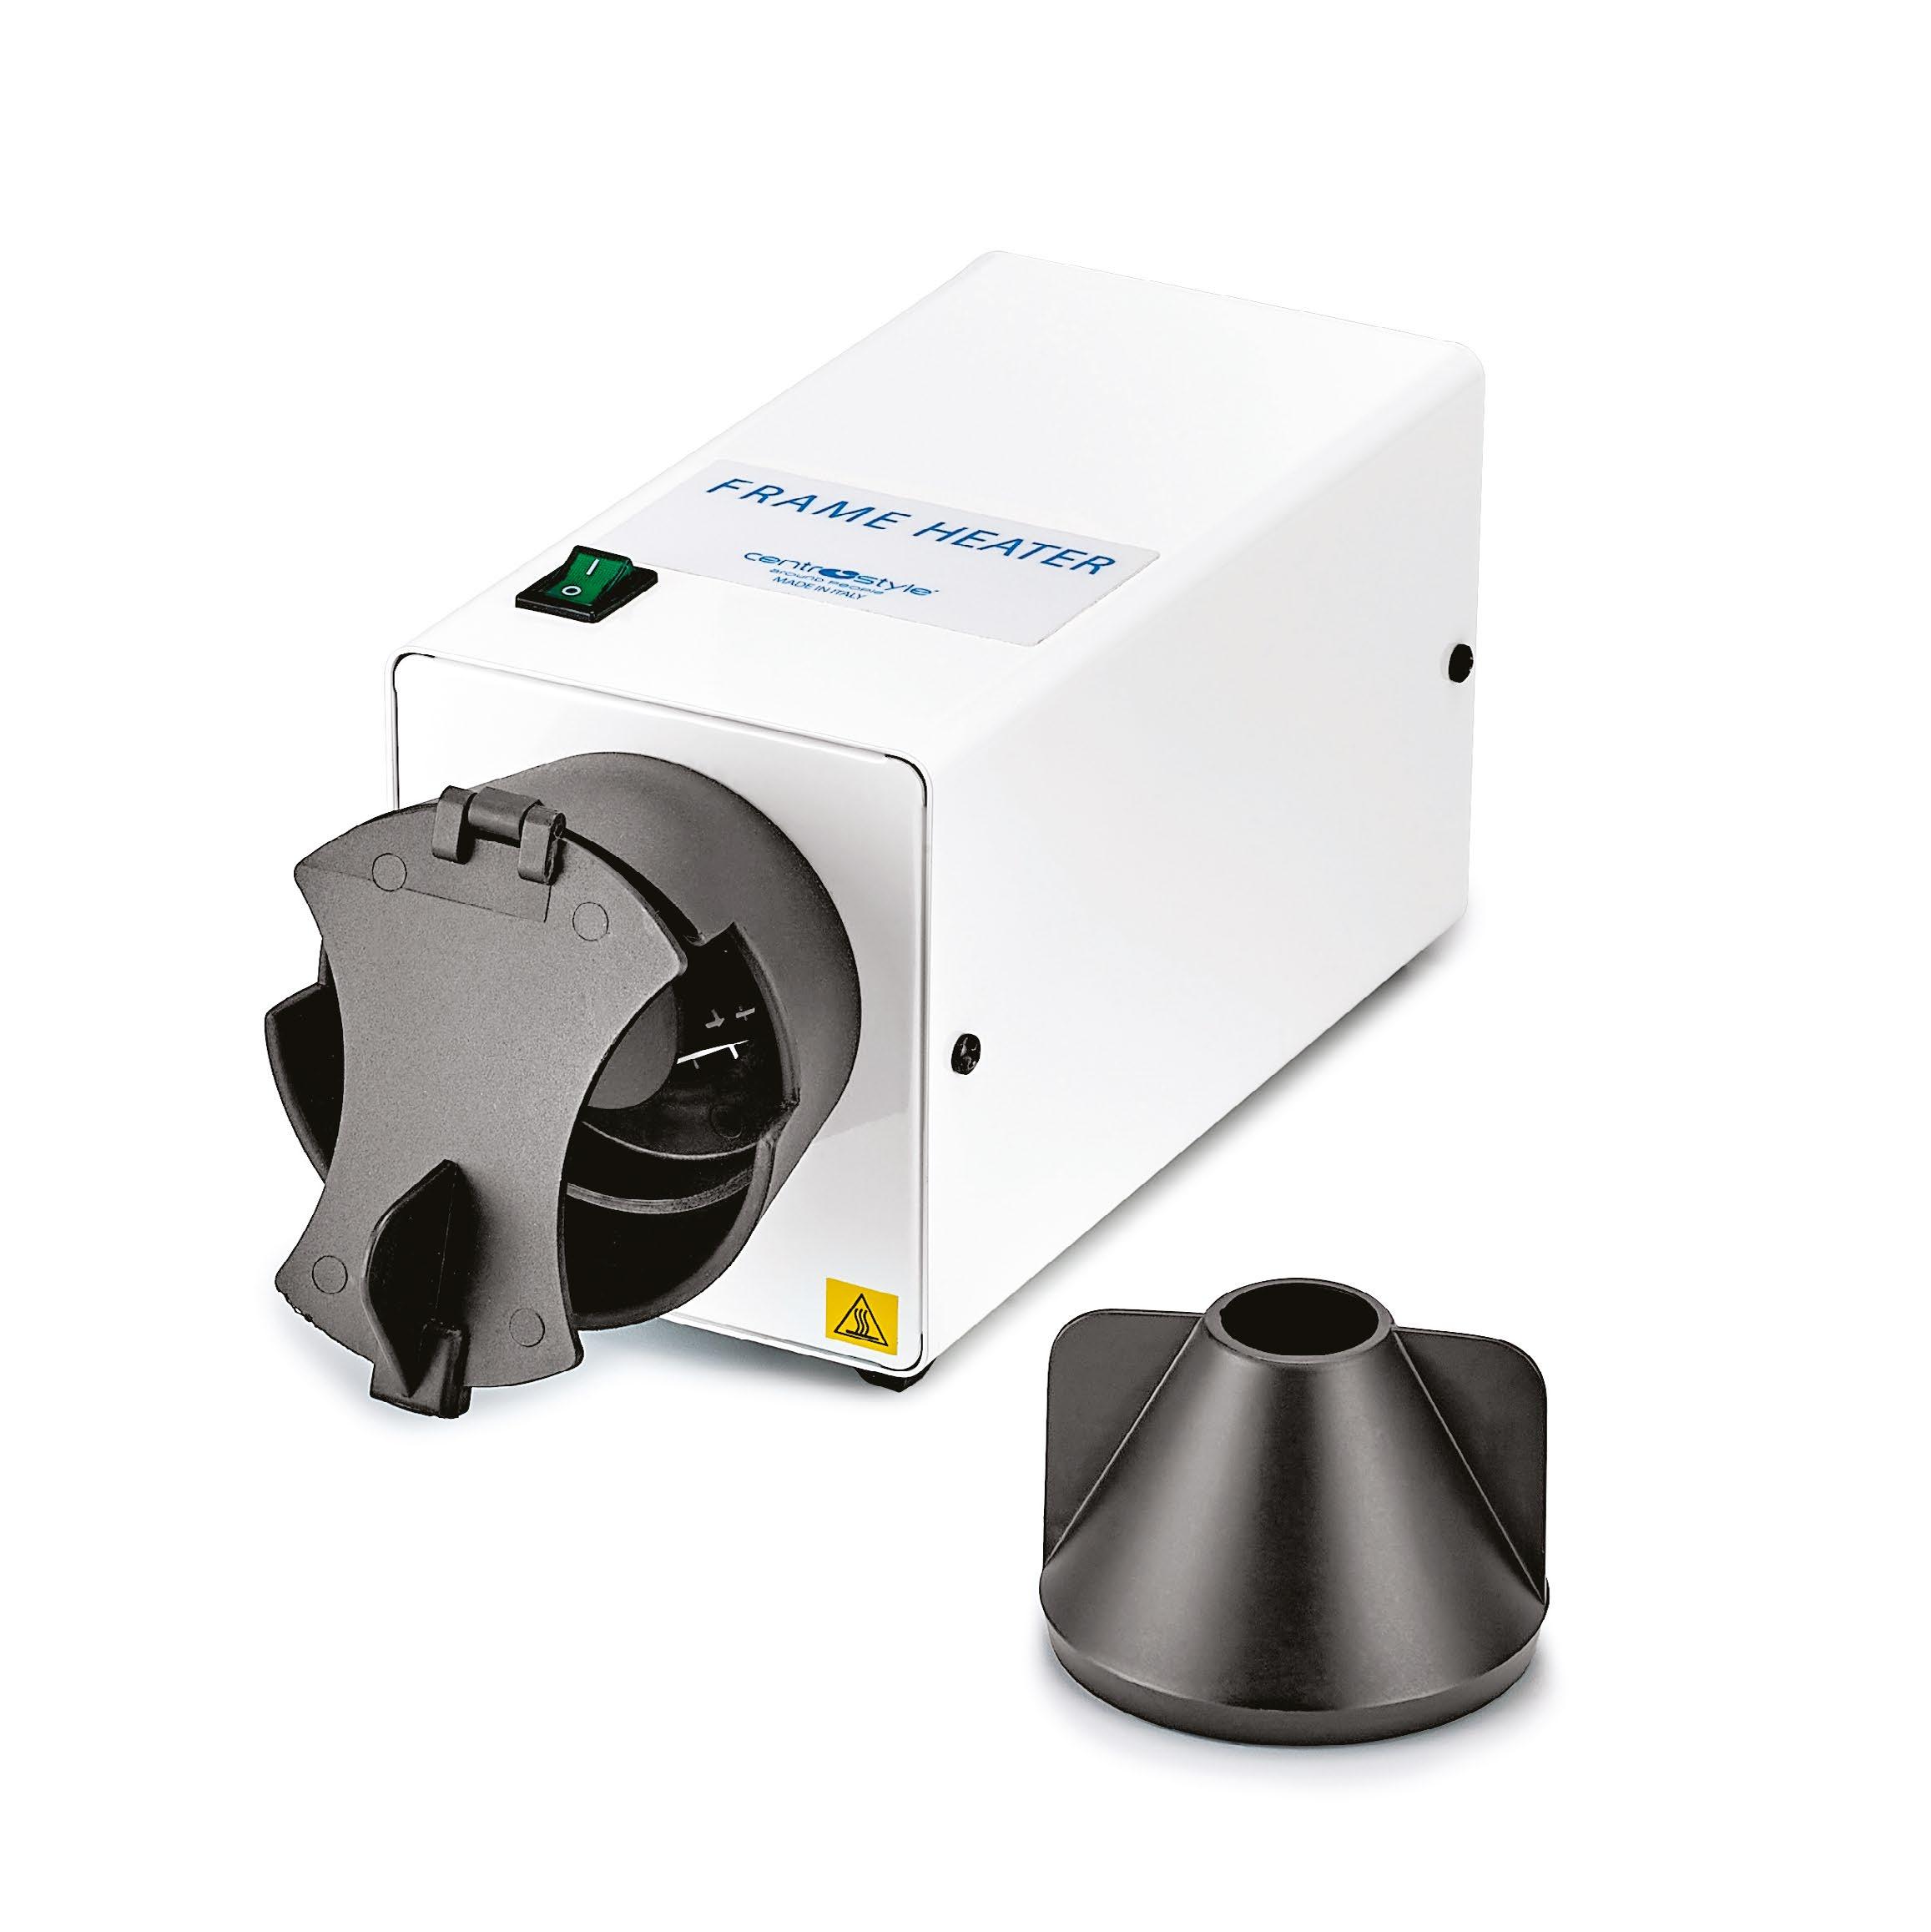
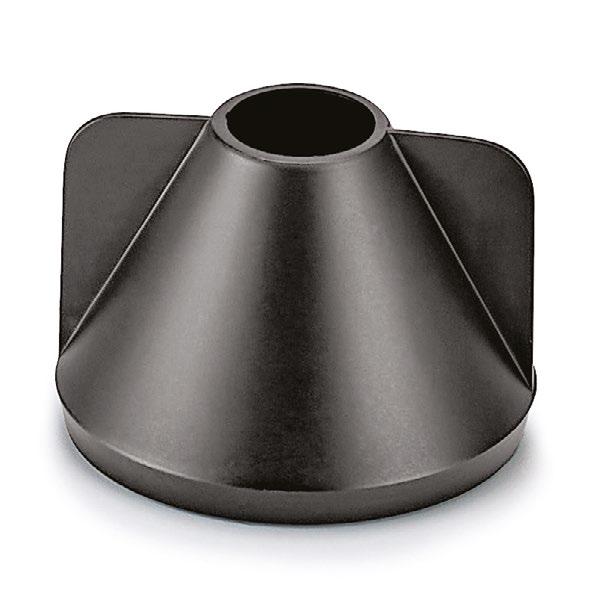
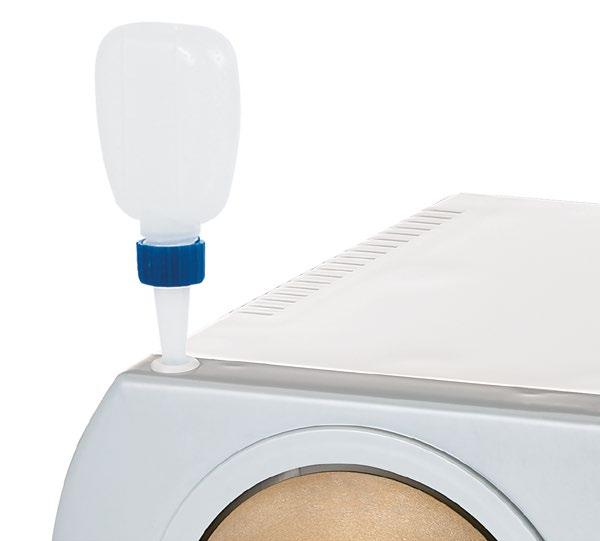
Sometimes it may be useful to be able to concentrate the heat at a more specific point such as the bridge of the glasses. To do this, there is an accessory called a heat concentrator that can be easily applied to the frame heater when needed.
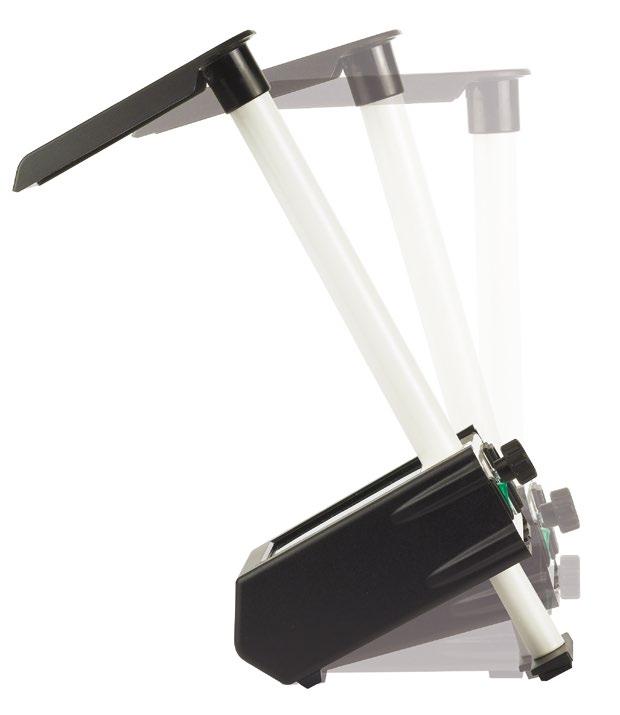
With closed lid temperature rises up to +20/30°C
The diffuser allows an even temperature in the cup and reduces the risk of frame damage from overheating
Concentrated temperature
• Designed to direct the hot air onto a specific part of the frames, e.g. the bridge
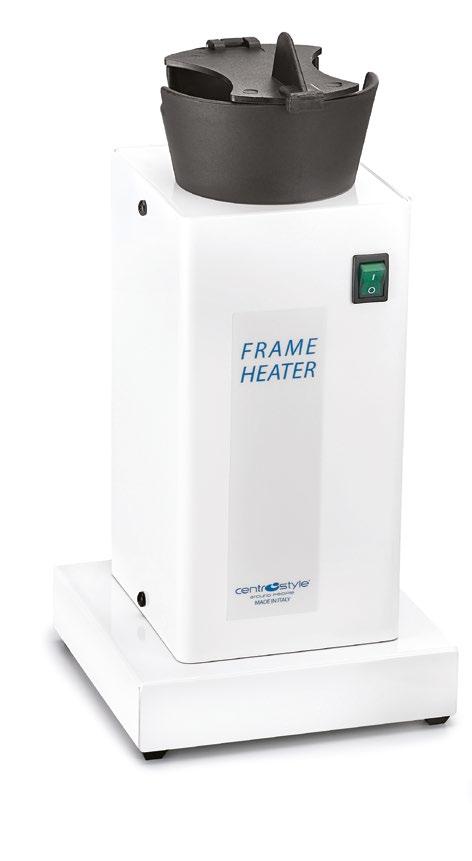
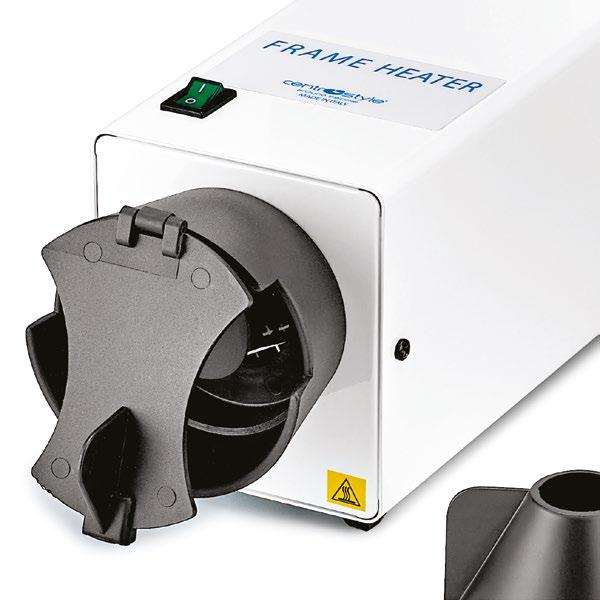
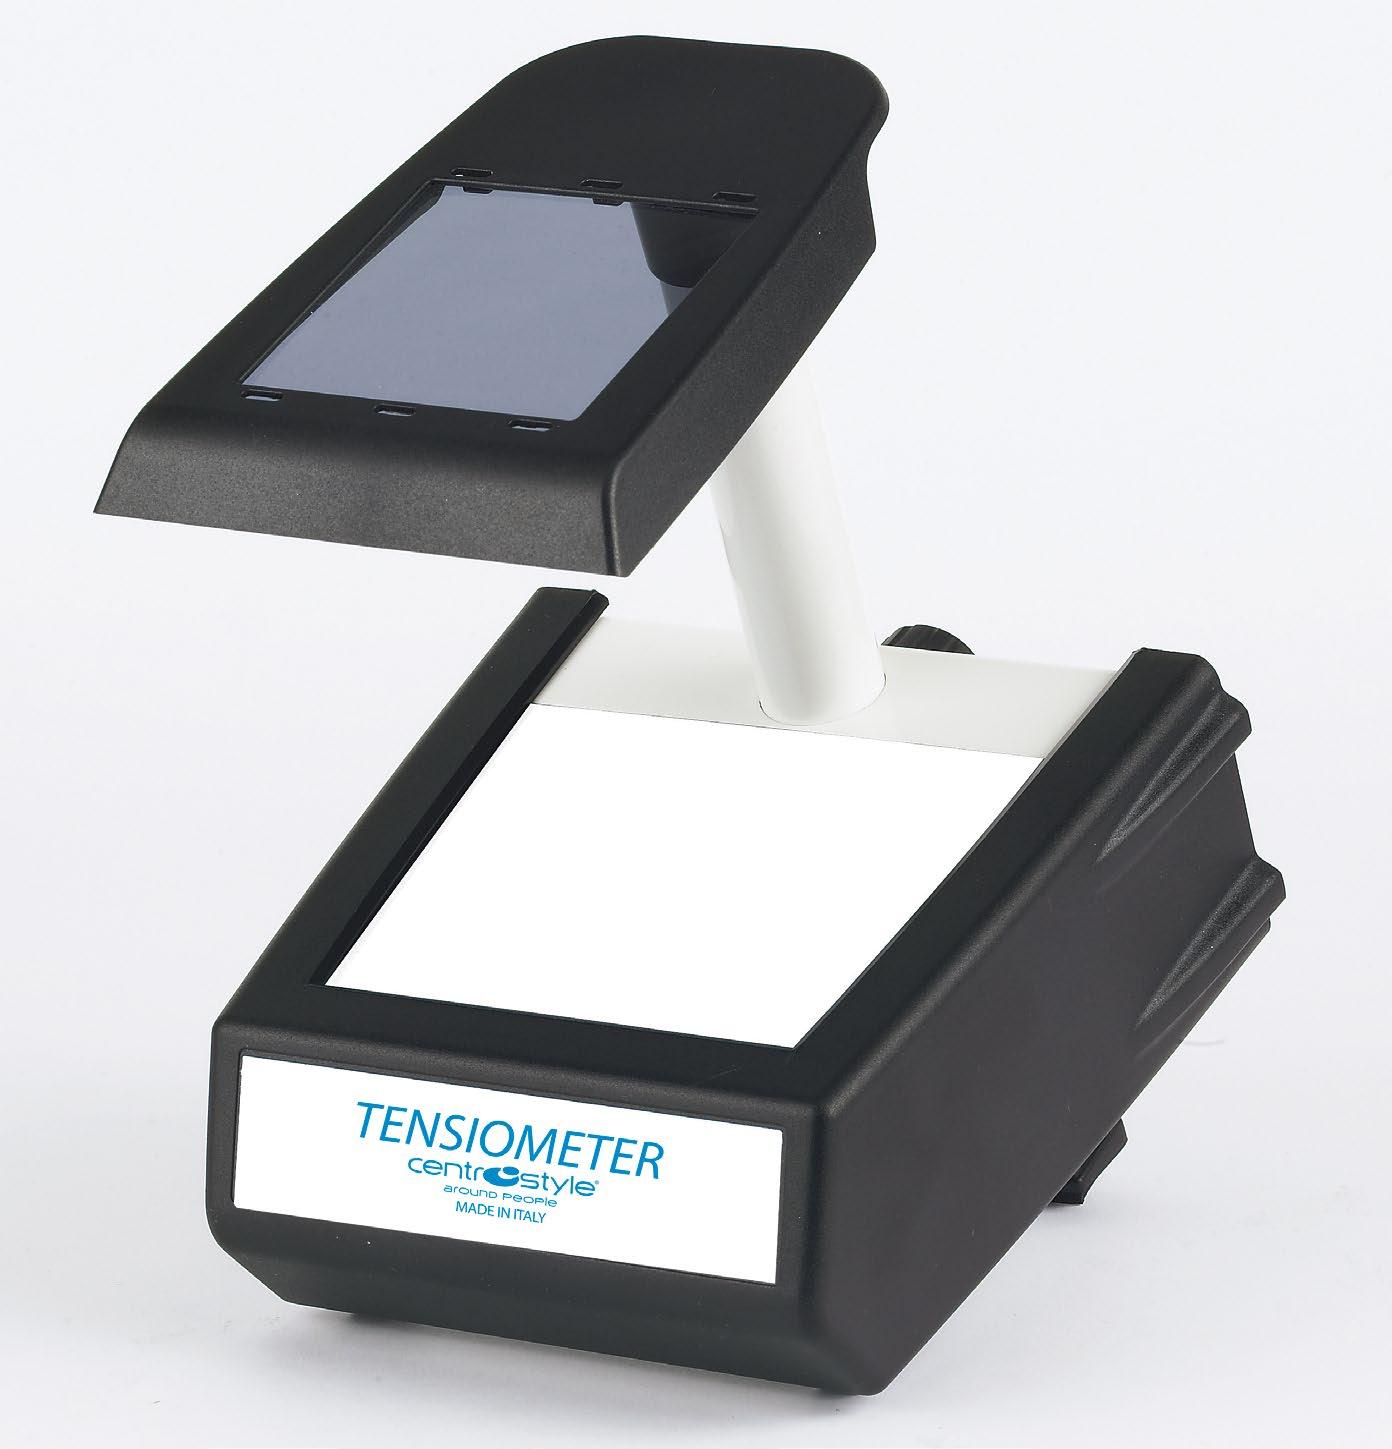
FRAME HEATER HORIZONTAL
Ref. 05020
Dim. 100x110x250 mm
Weight: 1.8 kg.
• Heat concentrator included.
• Internal temperature regulator.
• Heat resistant plastic cup and lid.
Air temperature: with open lid 120°C with closed lid 140°C
SPARE PARTS
Per Ref. 05020 e 05022
Ref. 05020.3
Heat concentrator Ref. 05020.1
Heating element
Ref. 05020.5
Switch ON/OFF
TEMPERATURE RANG

POWER CONSUMPTION FRAME HEATED UP IN ~120° ~140°
450 WATT
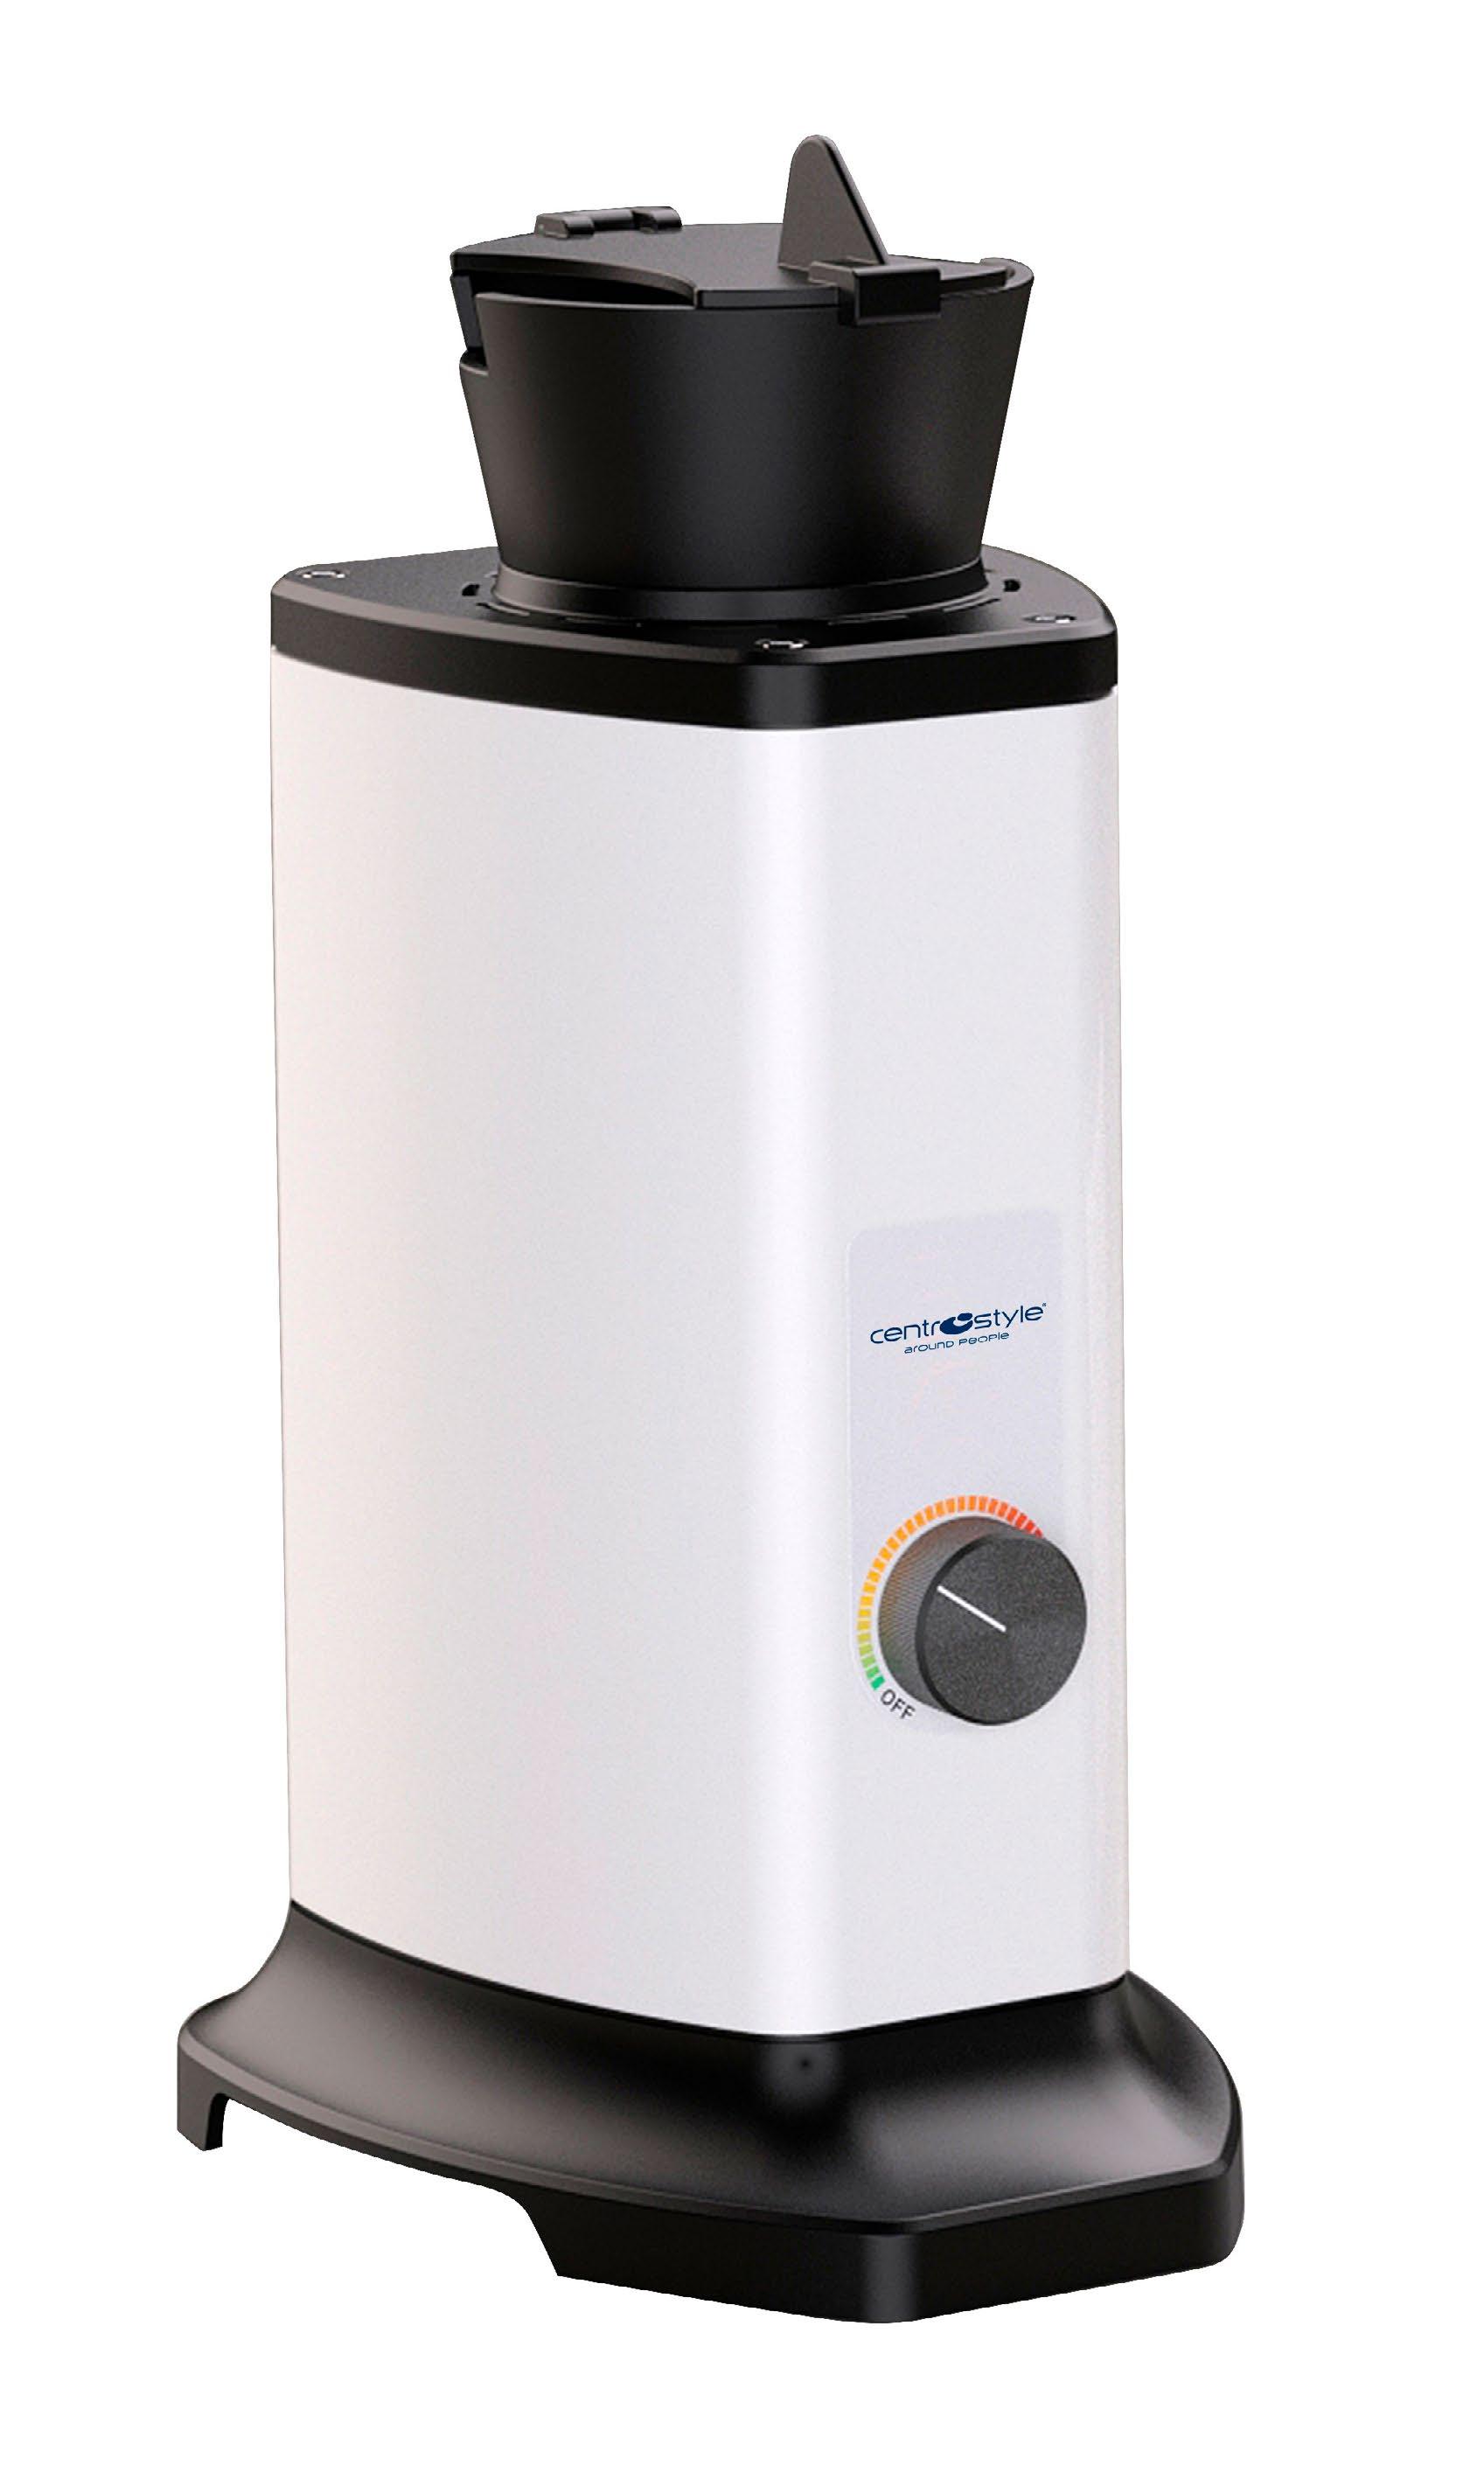
FRAME HEATER UPRIGHT
Ref. 05022
Overall measurements: 140x140x300 mm
Base: 140x140 mm
Weight: 1.8 kg
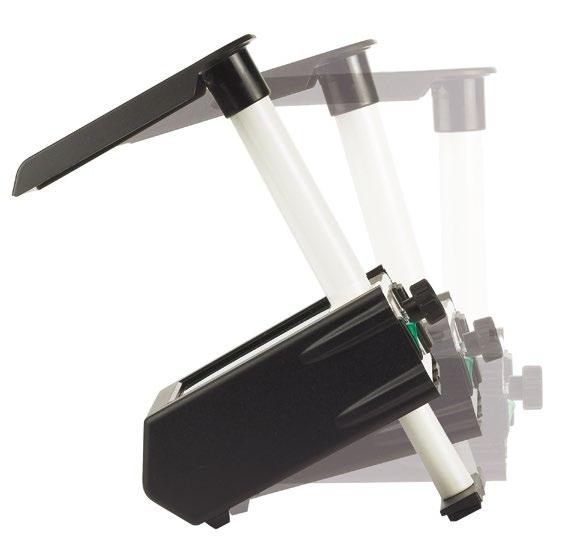
With closed lid temperature rises up to +20/30°C
The diffuser allows an even temperature in the cup and reduces the risk of frame damage from overheating
• Designed to direct the hot air onto a specific part of the frames, e.g. the bridge
• Heat concentrator included.
• Internal temperature regulator.
• Heat resistant plastic cup and lid.
Air temperature: with open lid 120°C with closed lid 140°C
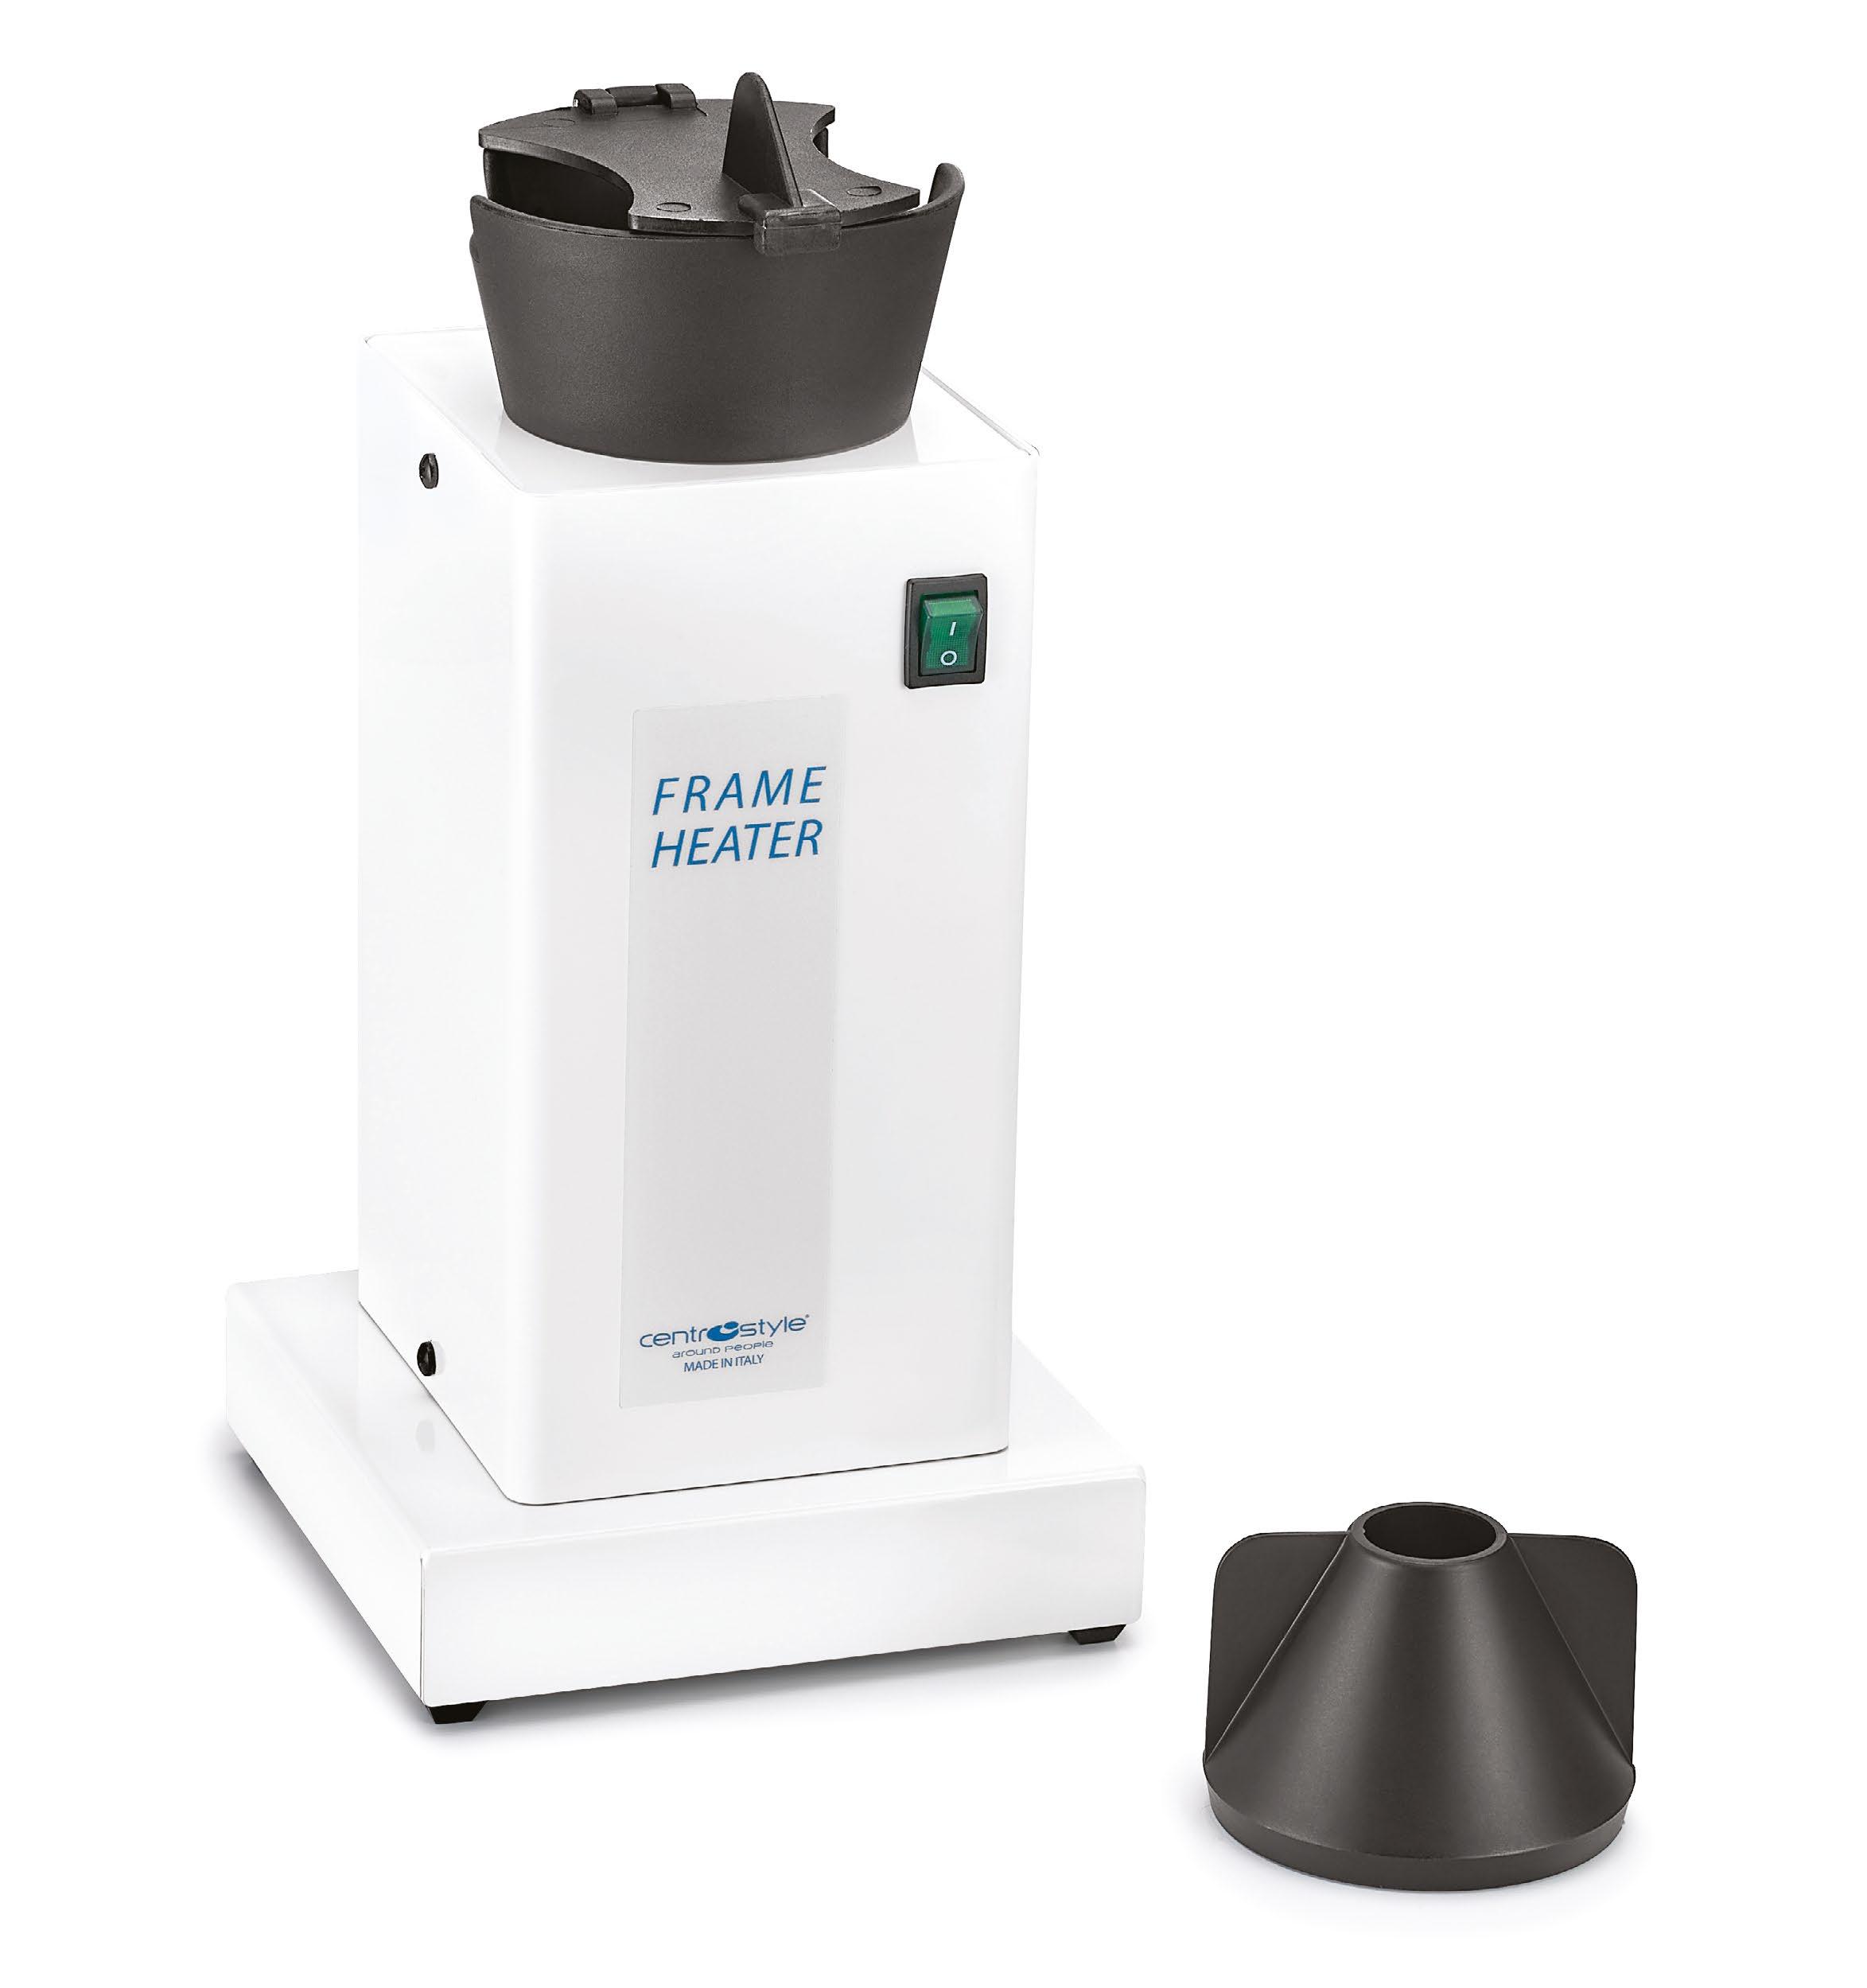
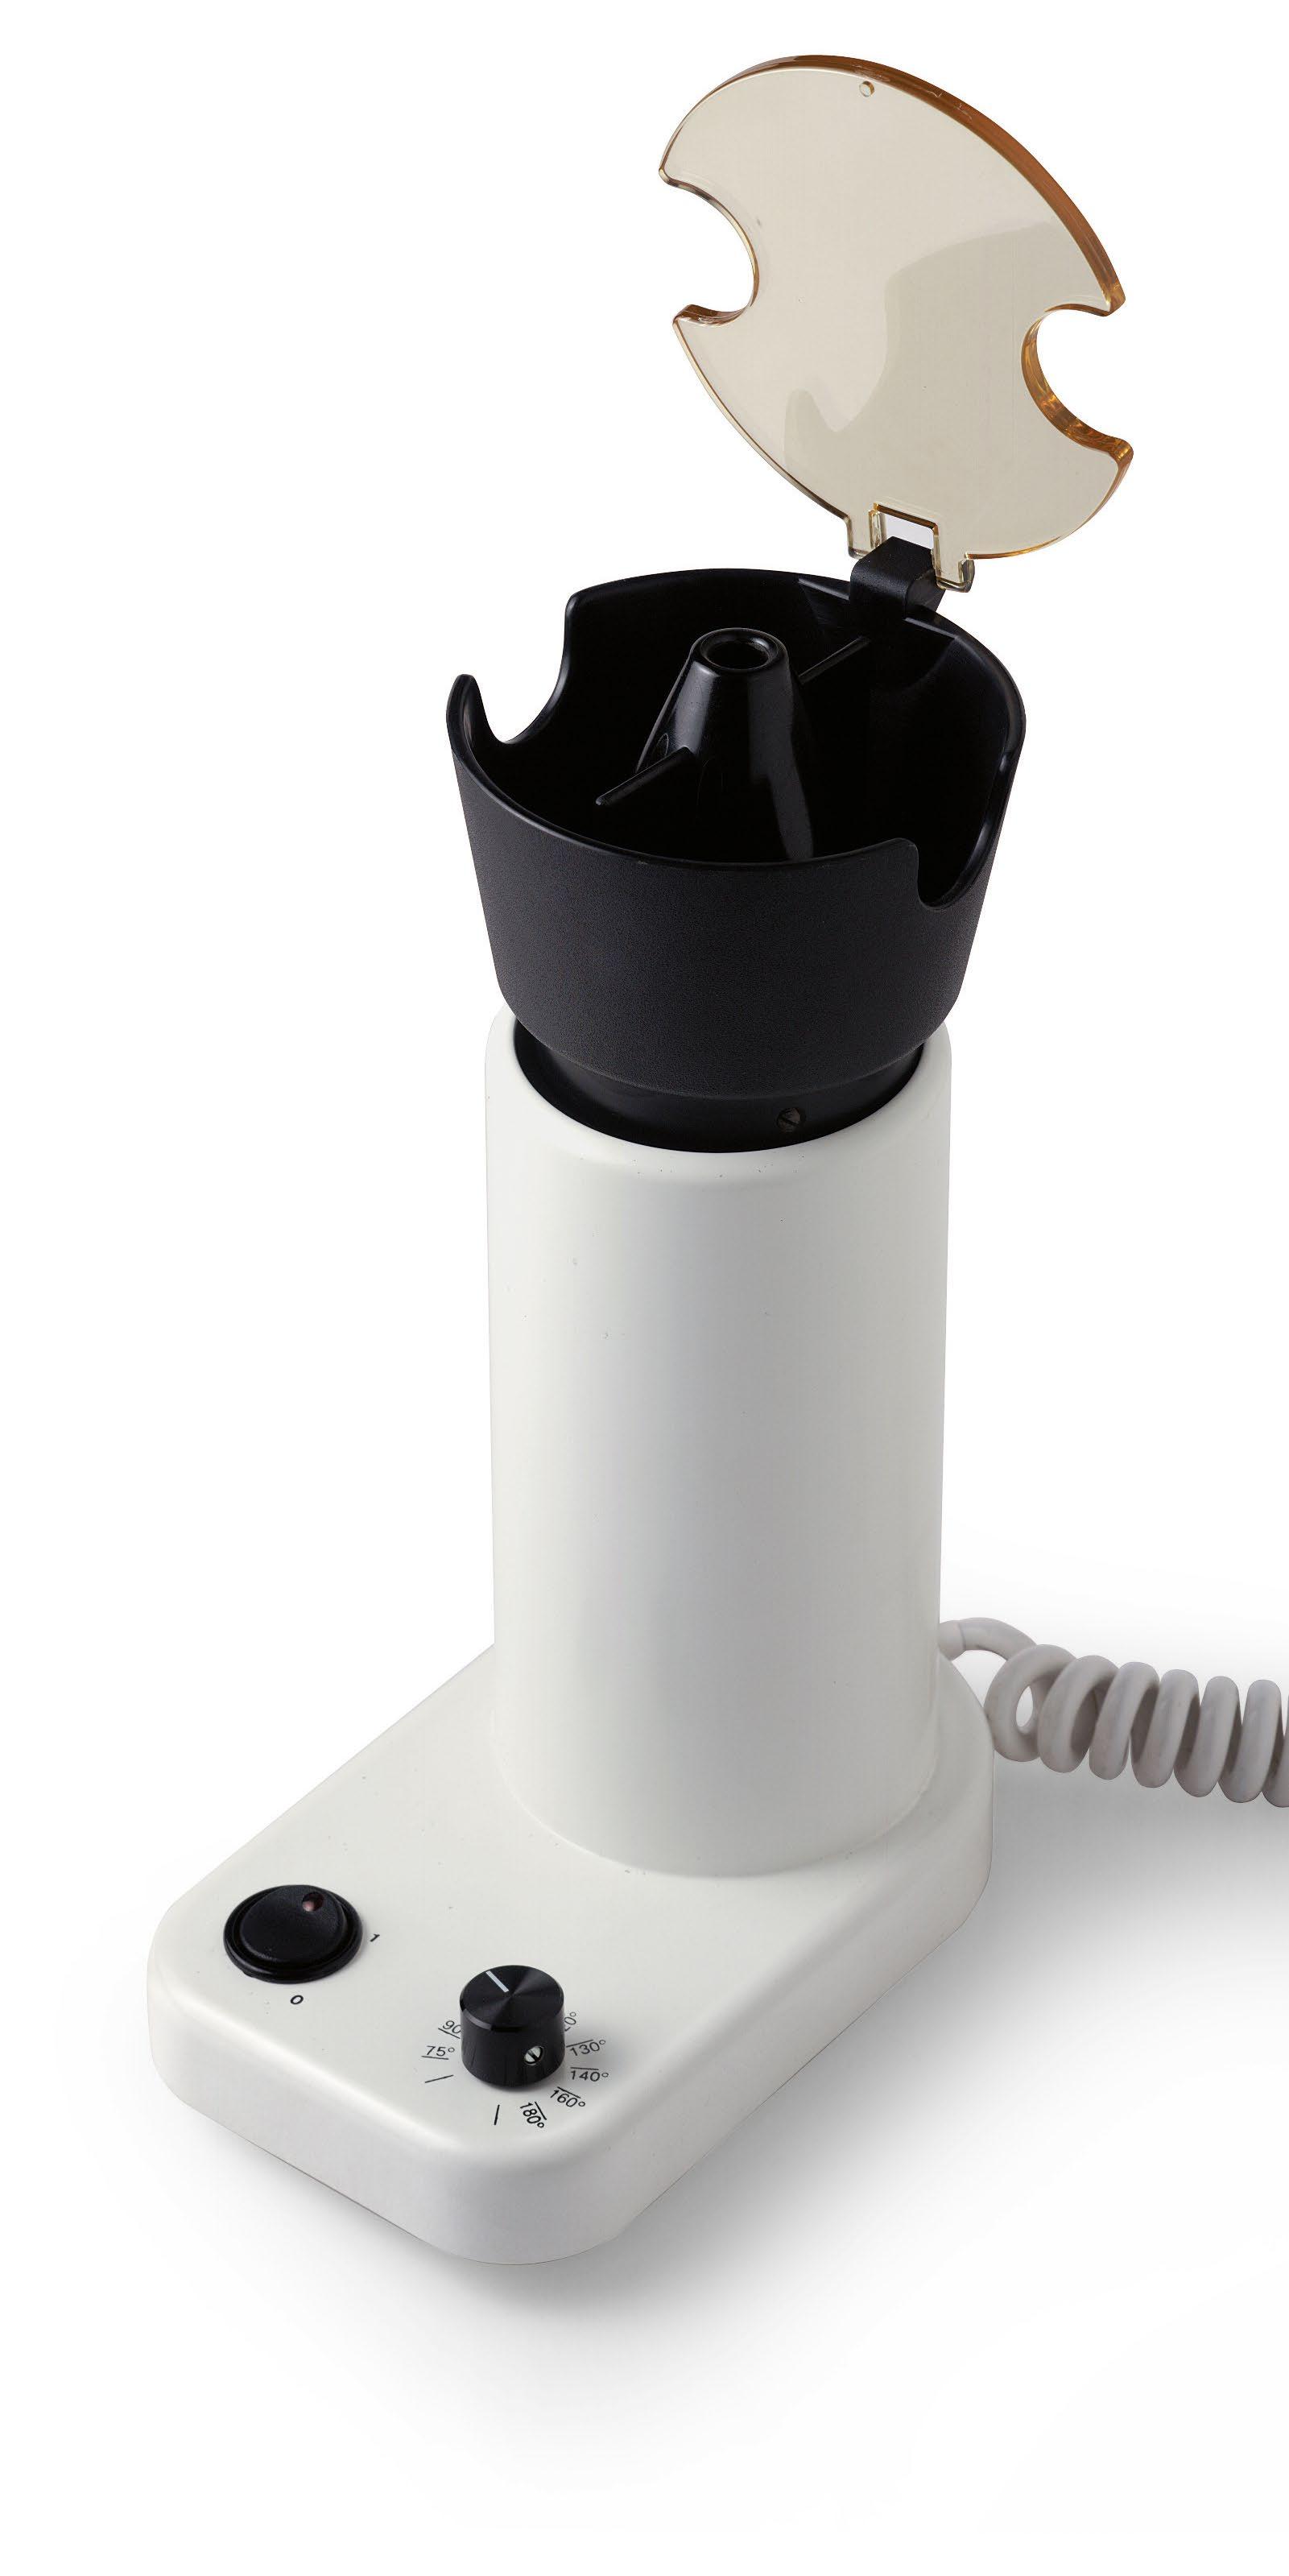
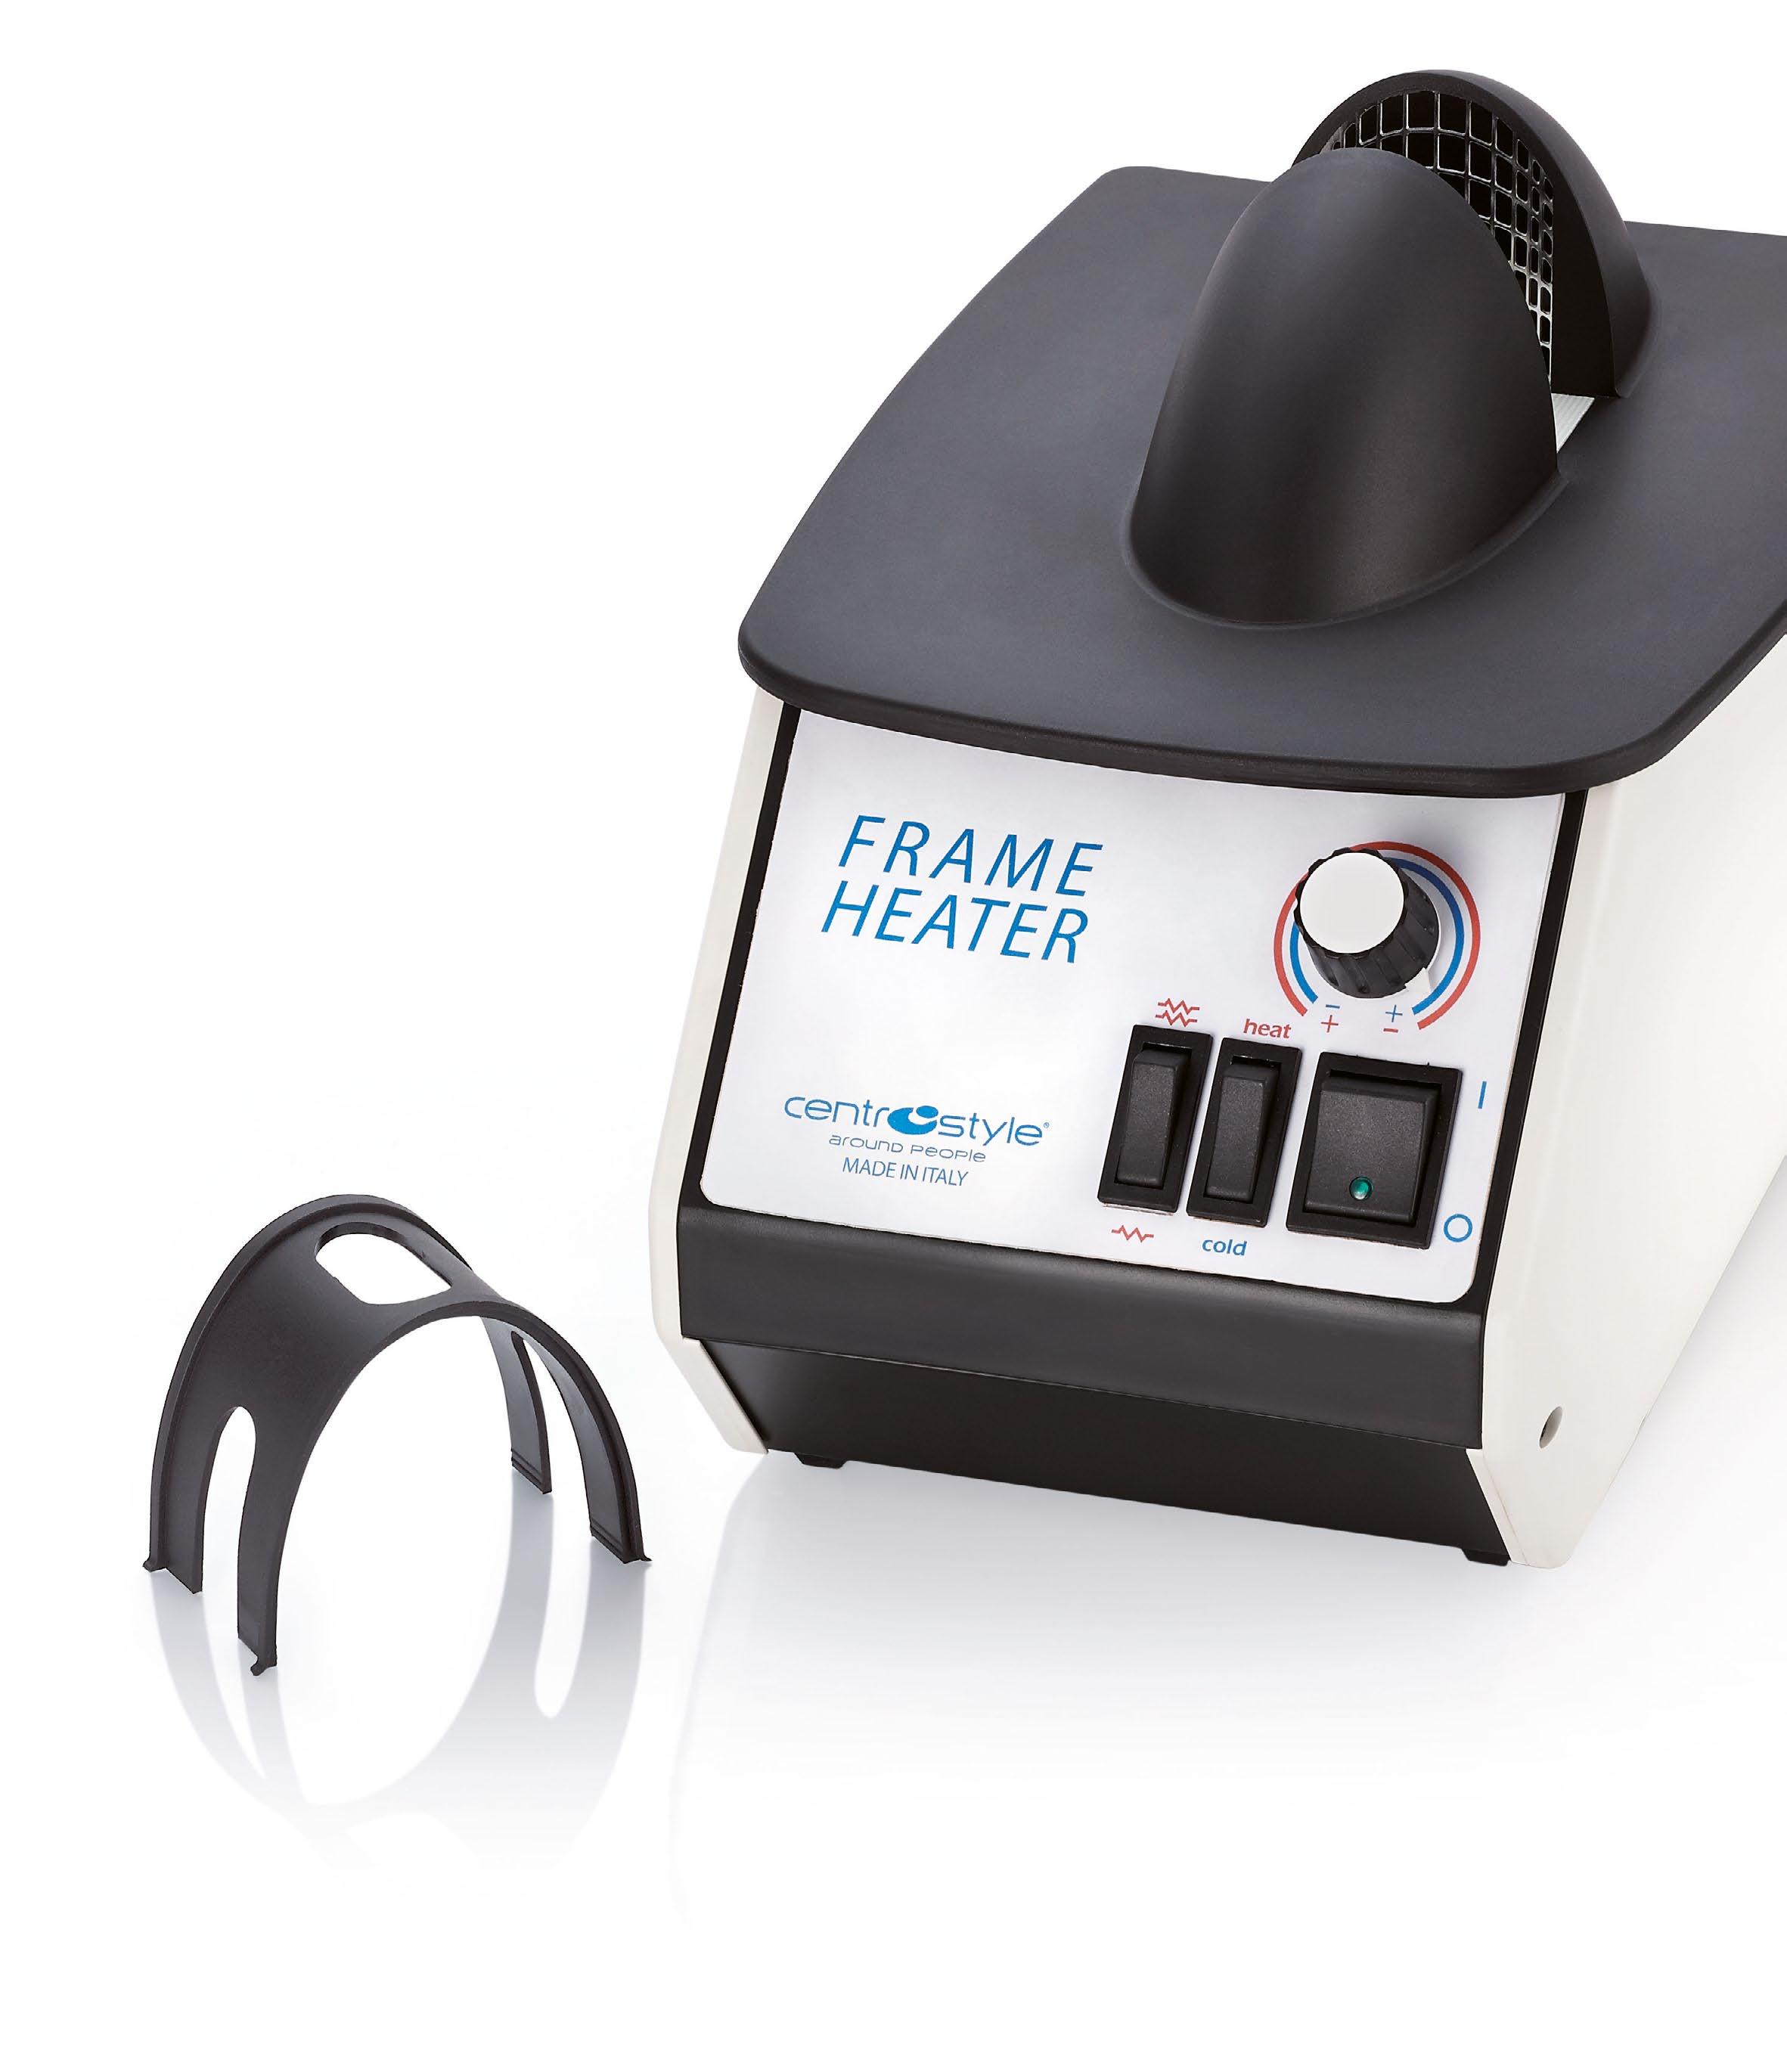
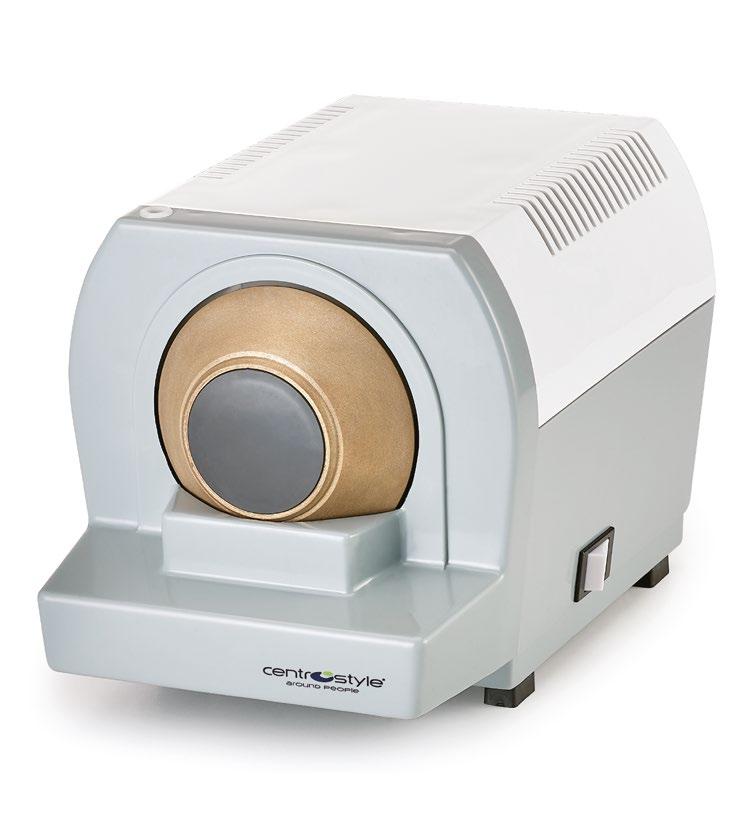
Single air flow - Multiple temperature setting
•Designed to direct the hot air onto a specific part of the frames, e.g. the bridge
FRAME HEATER
UPRIGHT
Ref. 05019
Constant air temperature, controlled by variable thermostat with one cooling setting
• Heat concentrator included.
• Internal temperature regulator.
• Heat resistant plastic cup and lid. Air temperature: with open lid 150°C with closed lid 190°C
Overall measurements 152x180x322 mm
Weight: 1.8 kg.


SPARE PARTS
The diffuser allows an even temperature in the cup and reduces the risk of frame damage from overheating
• Designed to direct the hot air onto a specific part of the frames, e.g. the bridge
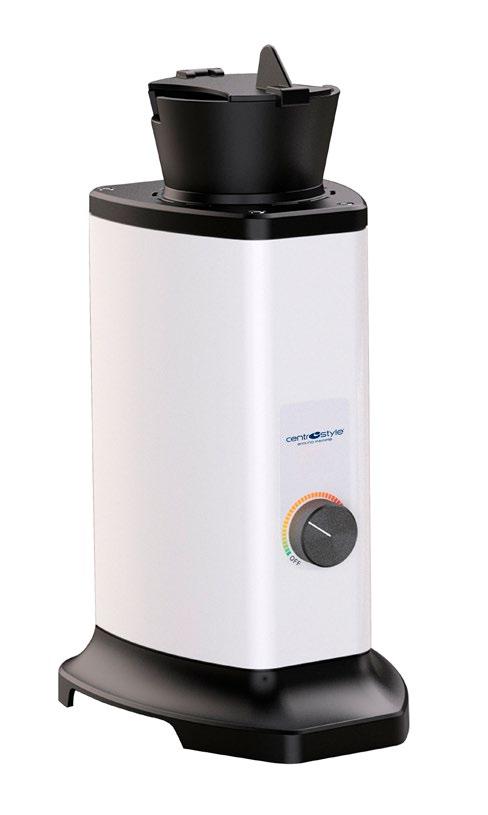
FRAME HEATER MULTIPLE TEMPERATURE
Ref. 05030
• Variable electronic temperature
• control from 75°C to 180°C.
• Constant air stream.
• Heat concentrator.
• Heat diffuser cup with lid.
Size: 105x160x255 mm
Weight: 1.5 kg. Ref. 05030.1 - Heating element
SPARE PARTS
05030.2 - Heat diffuser cup with lid
05030.3 - Heat concentrator
TEMPERATURE
RANG
• Designed to direct the hot air onto a specific part of the frames, e.g. the bridge
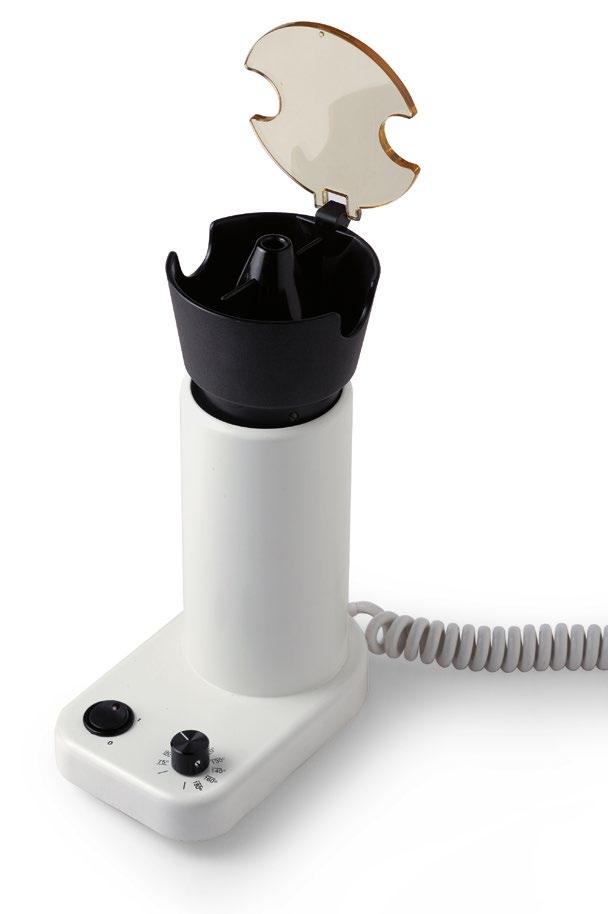
FRAME HEATER
75°C E 140°C
Ref. 05024
• Constant air temperature
• controlled by internal thermostat.
• Two temperature settings,
• 75°C and 140°C.
• Heat resistant plastic vents and lid.
• Heat resistant plastic heat concentrator included.
• Incorporates safety thermal cut-out switch.
Size: 200x144x213 mm
Weight: 1.6 kg.
Ref. 05024.3
Heat concentrator
Ref. 05024.1
Heating element
Ref. 05020.5
Switch ON/OFF
Ref. 05024.6
SPDT Switch
LOW TEMPERATURE 75°C: for polycarbonate and special frame materials
e.g. optyl, polyamide, compounds. MEDIUM/HIGH TEMPERATURE 140°C: for traditional materials.
• Designed to direct the hot air onto a specific part of the frames, e.g. the bridge
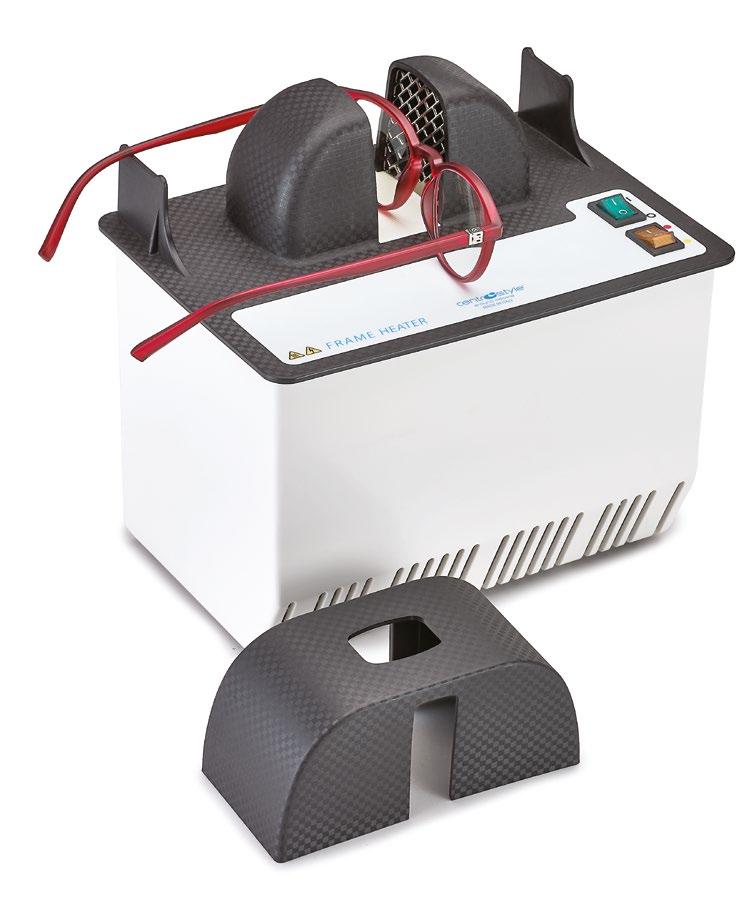
Ref. 05015
Constant air temperature, controlled by variable thermostat.
Two heat and one cooling settings:
1. Using the 1st heat setting:
• Middle temperature 75°C – 100°C (167-212°F), controlled by variable thermostat.
2. Adding the 2nd heat setting:
• High temperature 120°C -160°C (248-320°F), controlled by variable thermostat.
3. Cooling setting:
• Separate cooling setting for cool air.
• Heat resistant plastic concentrator included Ref. 05014.
• Incorporates safety thermal cut-out switch.
Dimensions:
190x300x200 mm - Weight: 2.4 kg
Ref. 05011
Heating element Ref. 05014
Heat concentrator SPARE PARTS

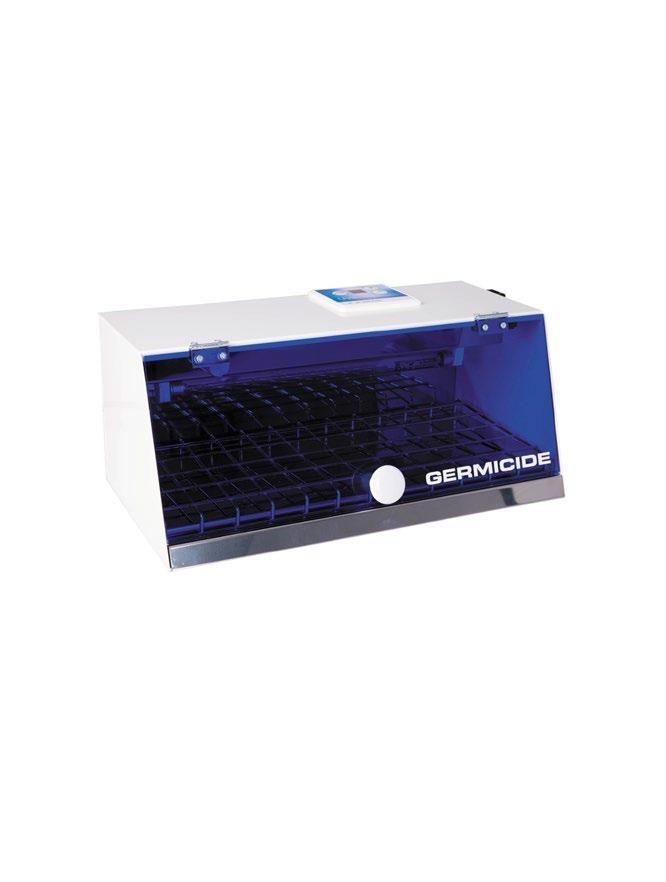
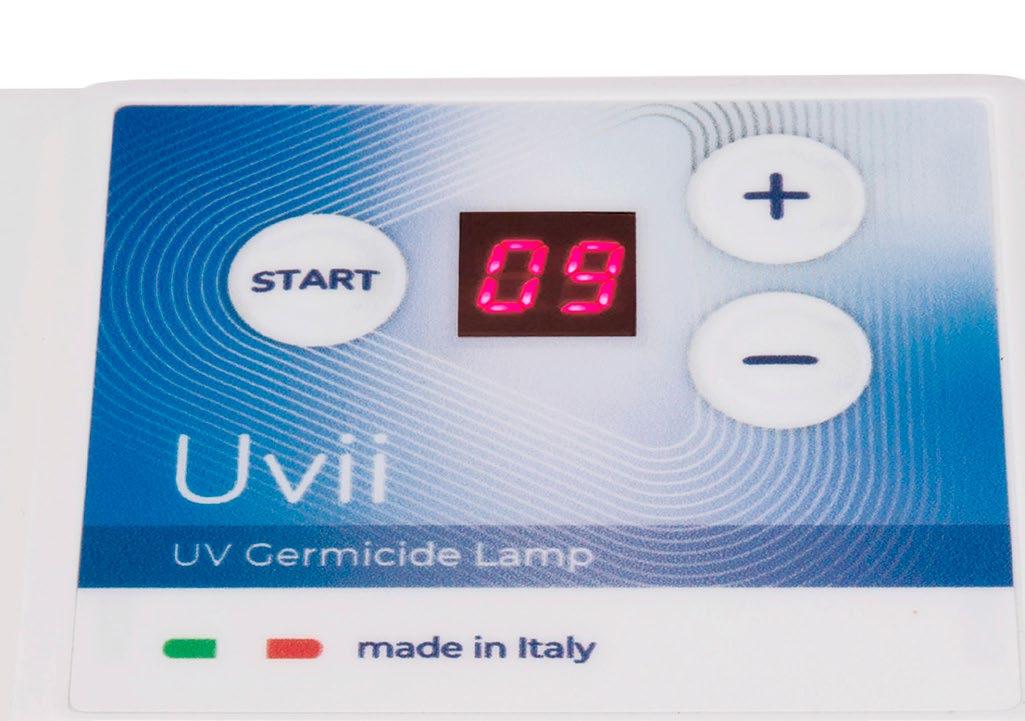
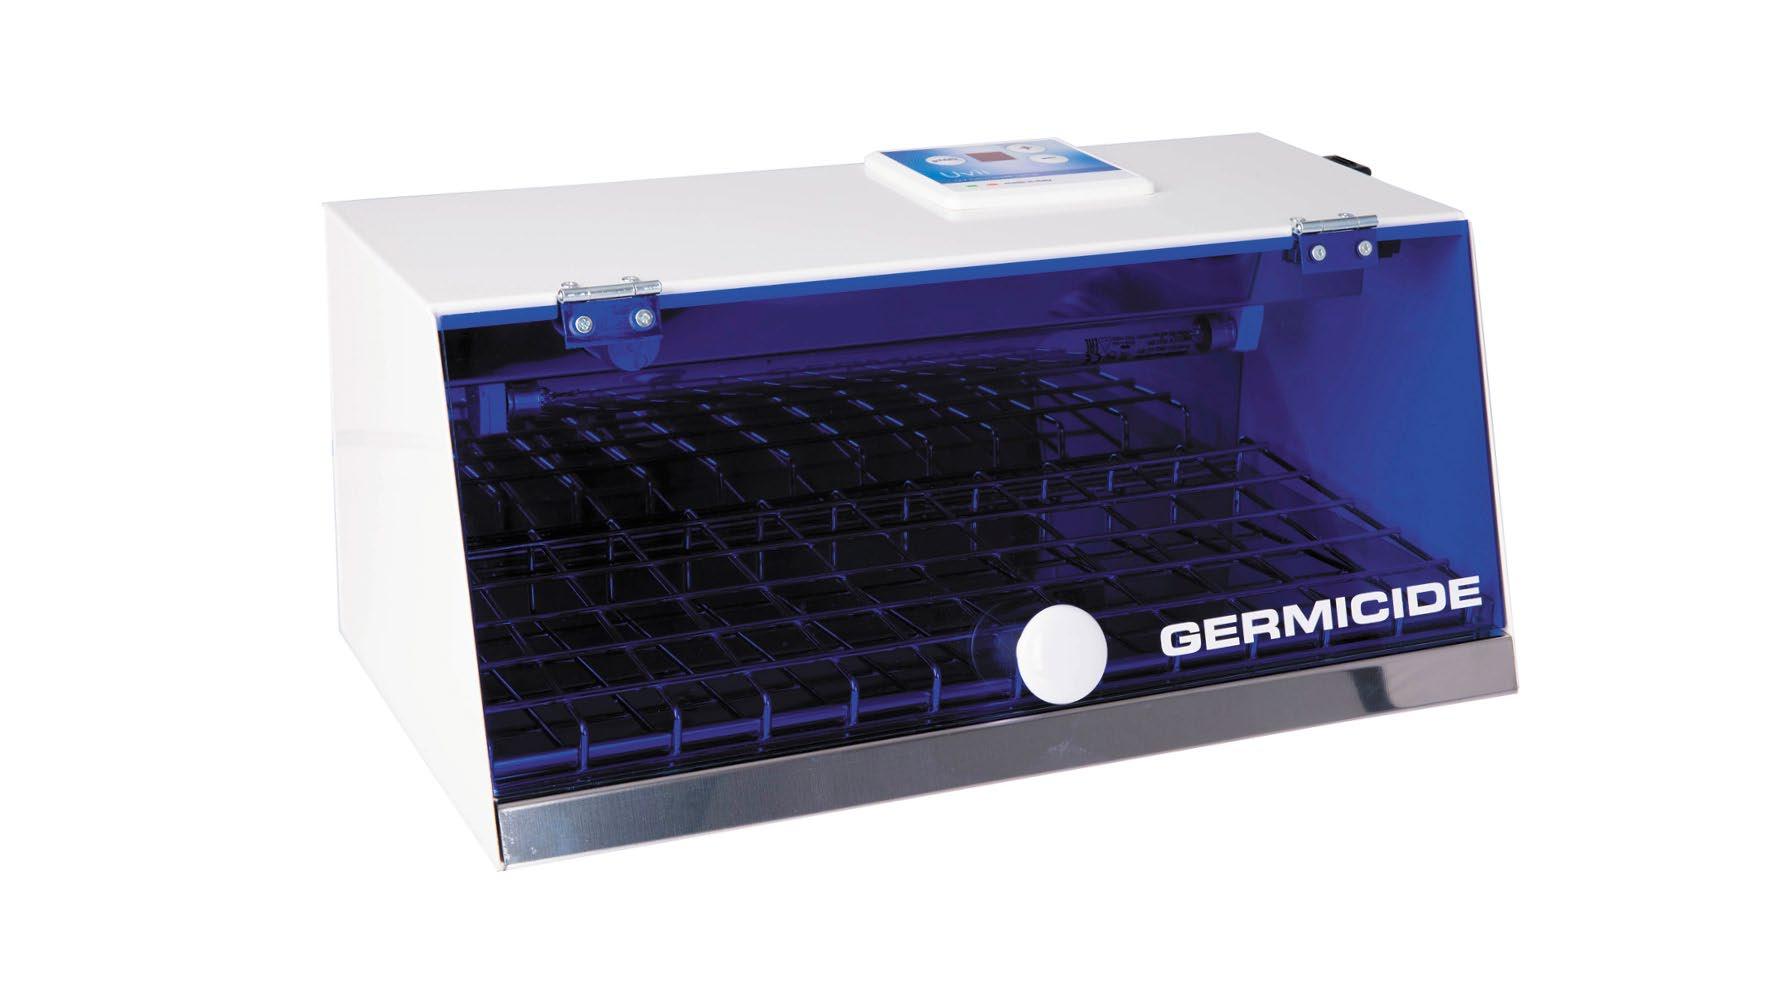
Germicidal device with UVC rays 253.7 nm with timer

14 Page 15

15
• This machine has a special germicidal lamp powered with 253.7 nm UVC rays that quickly remove every single micro-organism.
• Frames and tools once disinfected can be kept for a long time, enabling them to be stored and ready for use. The treatment does not generate heat.
• Ideal for the treatment of frames, test lenses and flippers.
• The inside shelf keeps the items away from the reflective surface in order that the rays uniformly coat the products, so as to optimize germicidal action. For a better result we suggest you do not place items on top of each other.
• The security of the operator is guaranteed by a micro-switch that switches off the lamp whenever the door is open.
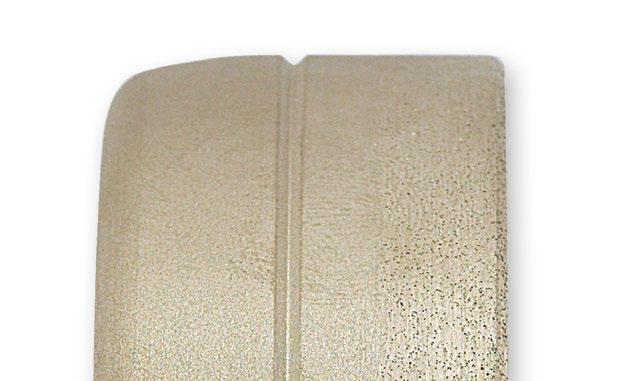
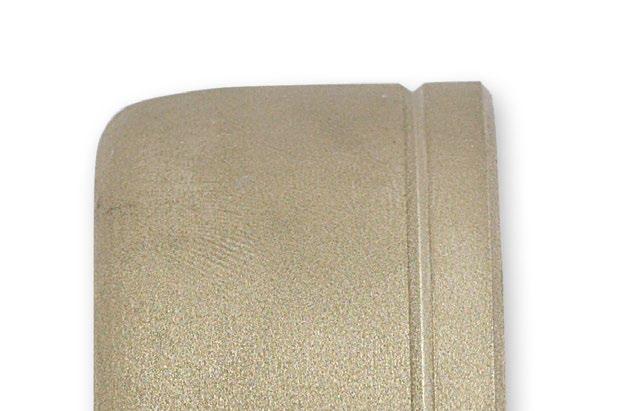
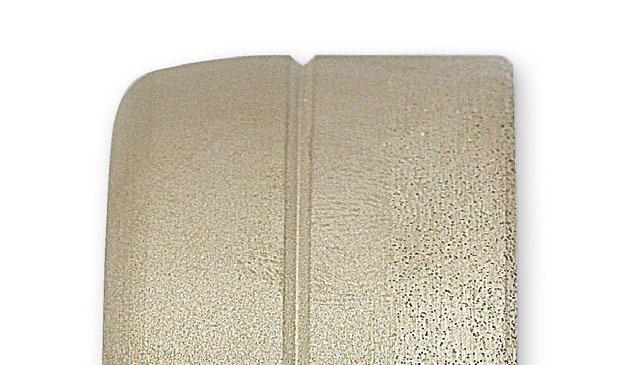
• Solidly built, the external metal parts have a coated surface whilst the inside is shiny stainless steel with the viewing door fitted to protect from the UVC rays.
• We suggest you disinfect any frames chosen by your customer prior to fitting/wearing.
• For frames with ophthalmic and special treatment lenses we suggest you remove the lenses first.
• A continuous treatment can cause the lenses to yellow.

Germicidal device with UVC rays 253.7 nm with timer
8 FRAMES
Ref. 05040
It can holds up to 8 frames.
Accessories included:
• 1 Spray Clean 60 ml antibacterial
• 3 microfibre gloves
Smaller dimensions, ideal for a practice with limited space.
Energy consumption: 10W Power consumption: 8W Power Supply: 230V/50 Hz

Ref. 05040.1
Germicidal lamp 8W
L = 28.5 cm
Ref. 05041.1
Germicidal lamp 15W
L = 43.5 cm
Ref. 05042.1
Germicidal lamp 30W
L = 89.5 cm
Per Ref. 05040, 05041, 05042.


EUROPEAN DIRECTIVE 2014/35/EU, 2014/30/EU, 2011/65/EU
Time for bacteriological load reduction from 60 to 90 seconds
Complete germicidal action: 5 minutes
We suggest you do not leave the frames for longer than suggested, and insert them with open temples.

Germicidal device with UVC rays 253.7 nm with timer
15 FRAMES
Ref. 05041
It can holds up to 15 frames.
• 1 Spray Clean 60 ml antibacterial
• 3 microfibre gloves
TECHNICAL FEATURES
30 FRAMES
Ref. 05042
It can holds up to 30 frames. Accessories
• 1 Spray Clean 60 ml antibacterial
• 3 microfibre gloves

TECHNICAL FEATURES

18 Page 19
0,8 litres
0,8 litres with heating
2,75 litres with heating
Ultrasonic cleaners employ high frequency energy generated electronically by a transmitter in the unit. The electrical energy generated is transformed into sound waves by a device known as “transducer”. Ultrasonic cleaners are easy to operate, require no maintenance and are economical to utilize due to the semiconductors technology. They are the ideal equipment for the cleaning of frames and parts. The use of antibacterial detergent Active Liquid Ref. 06859 is recommended.

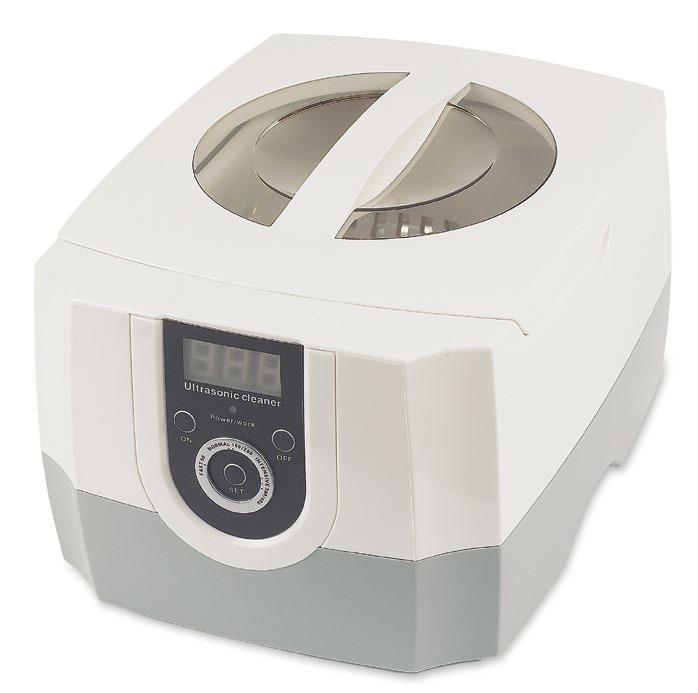
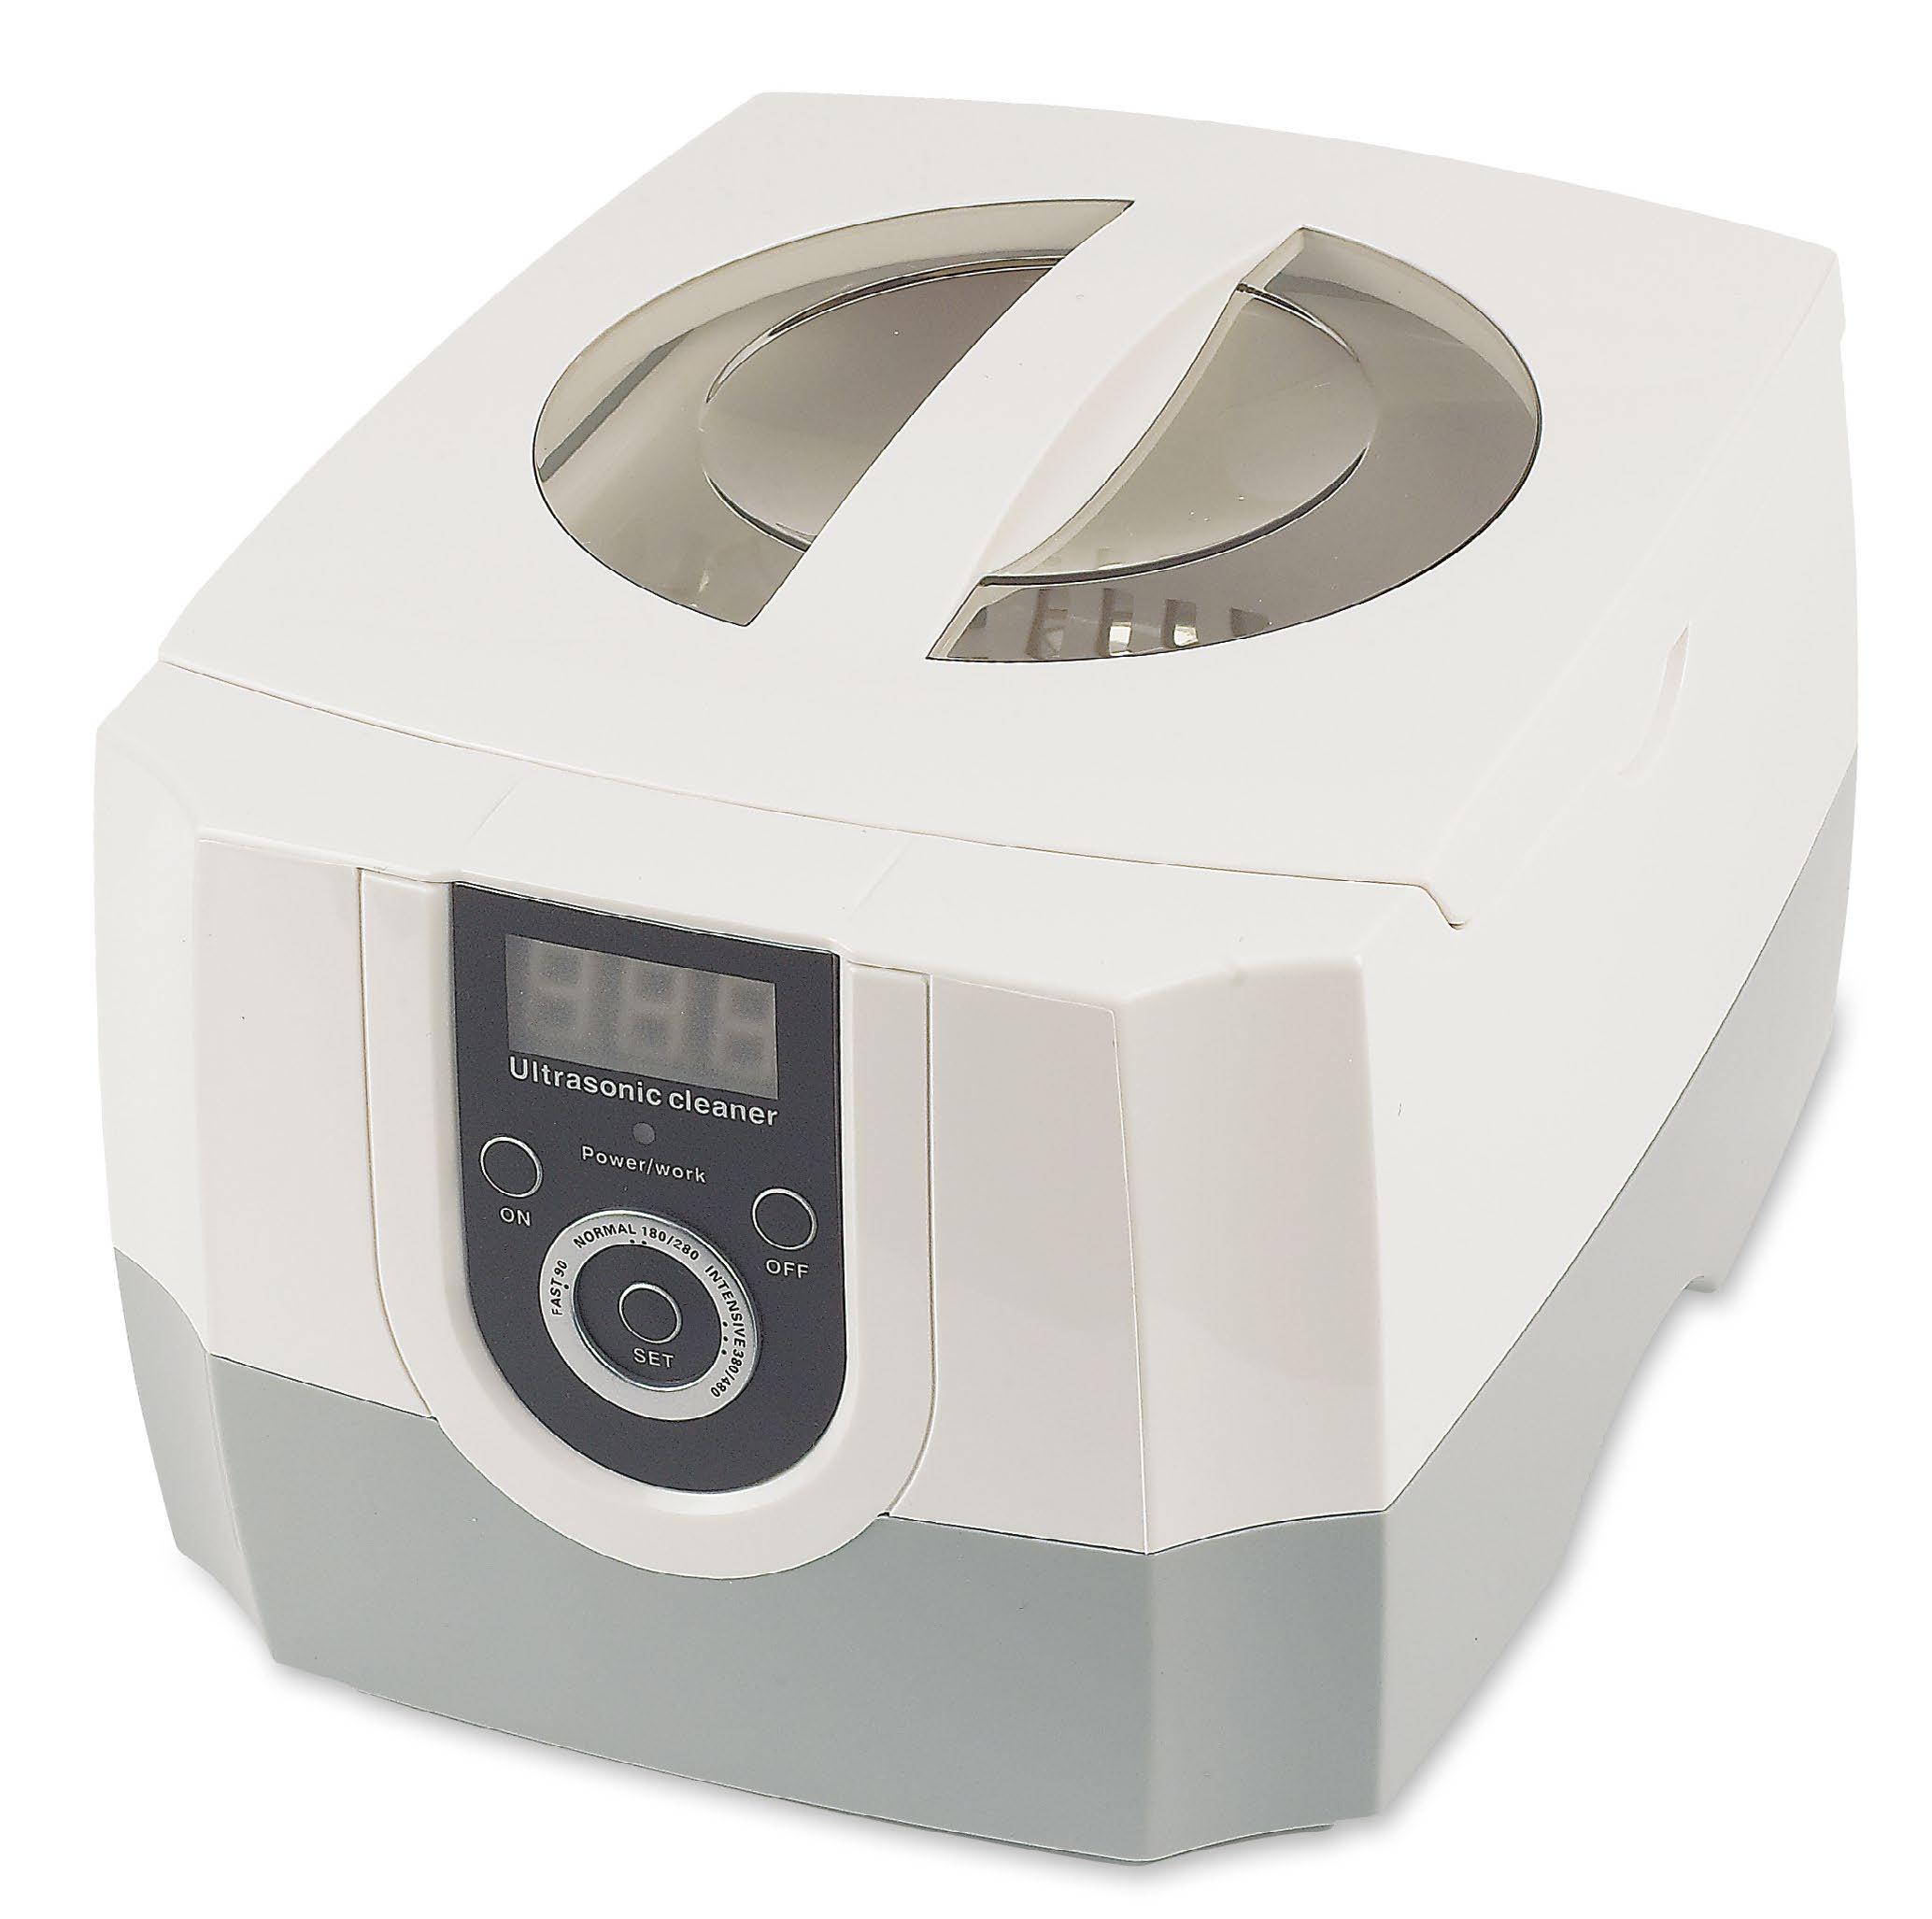
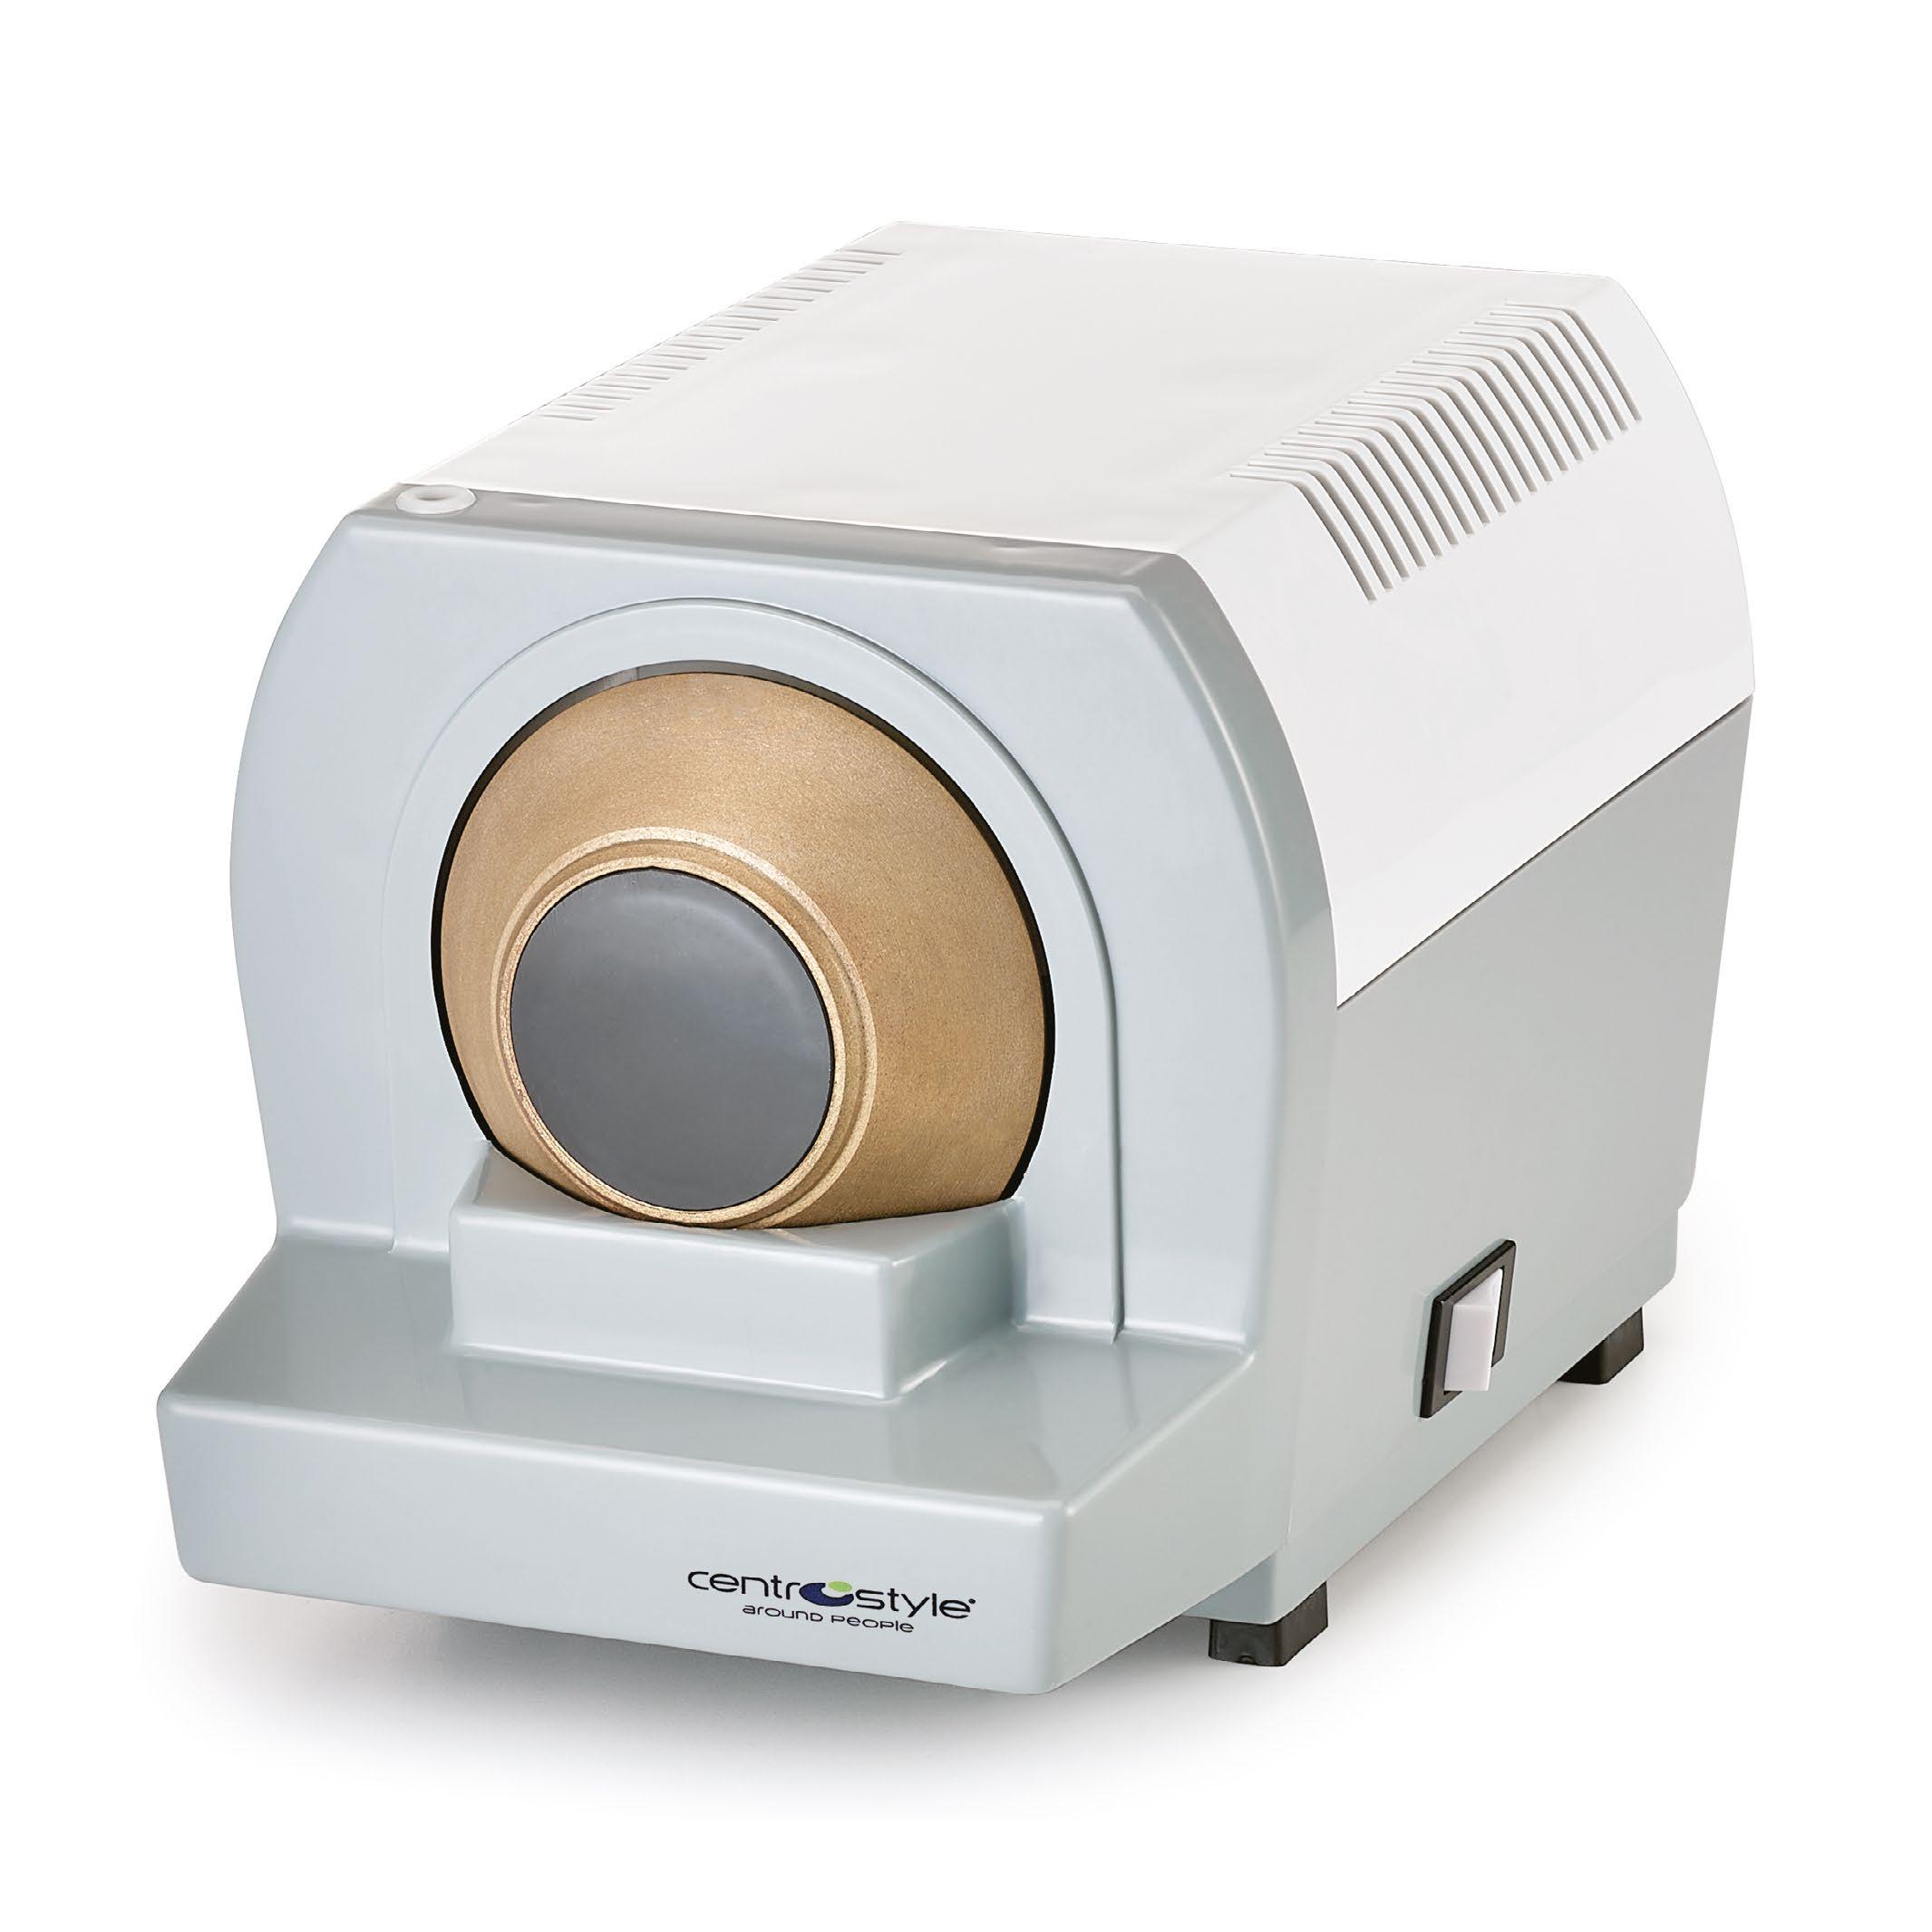
Digital setting - Continuous vibrations - 0,6 litres
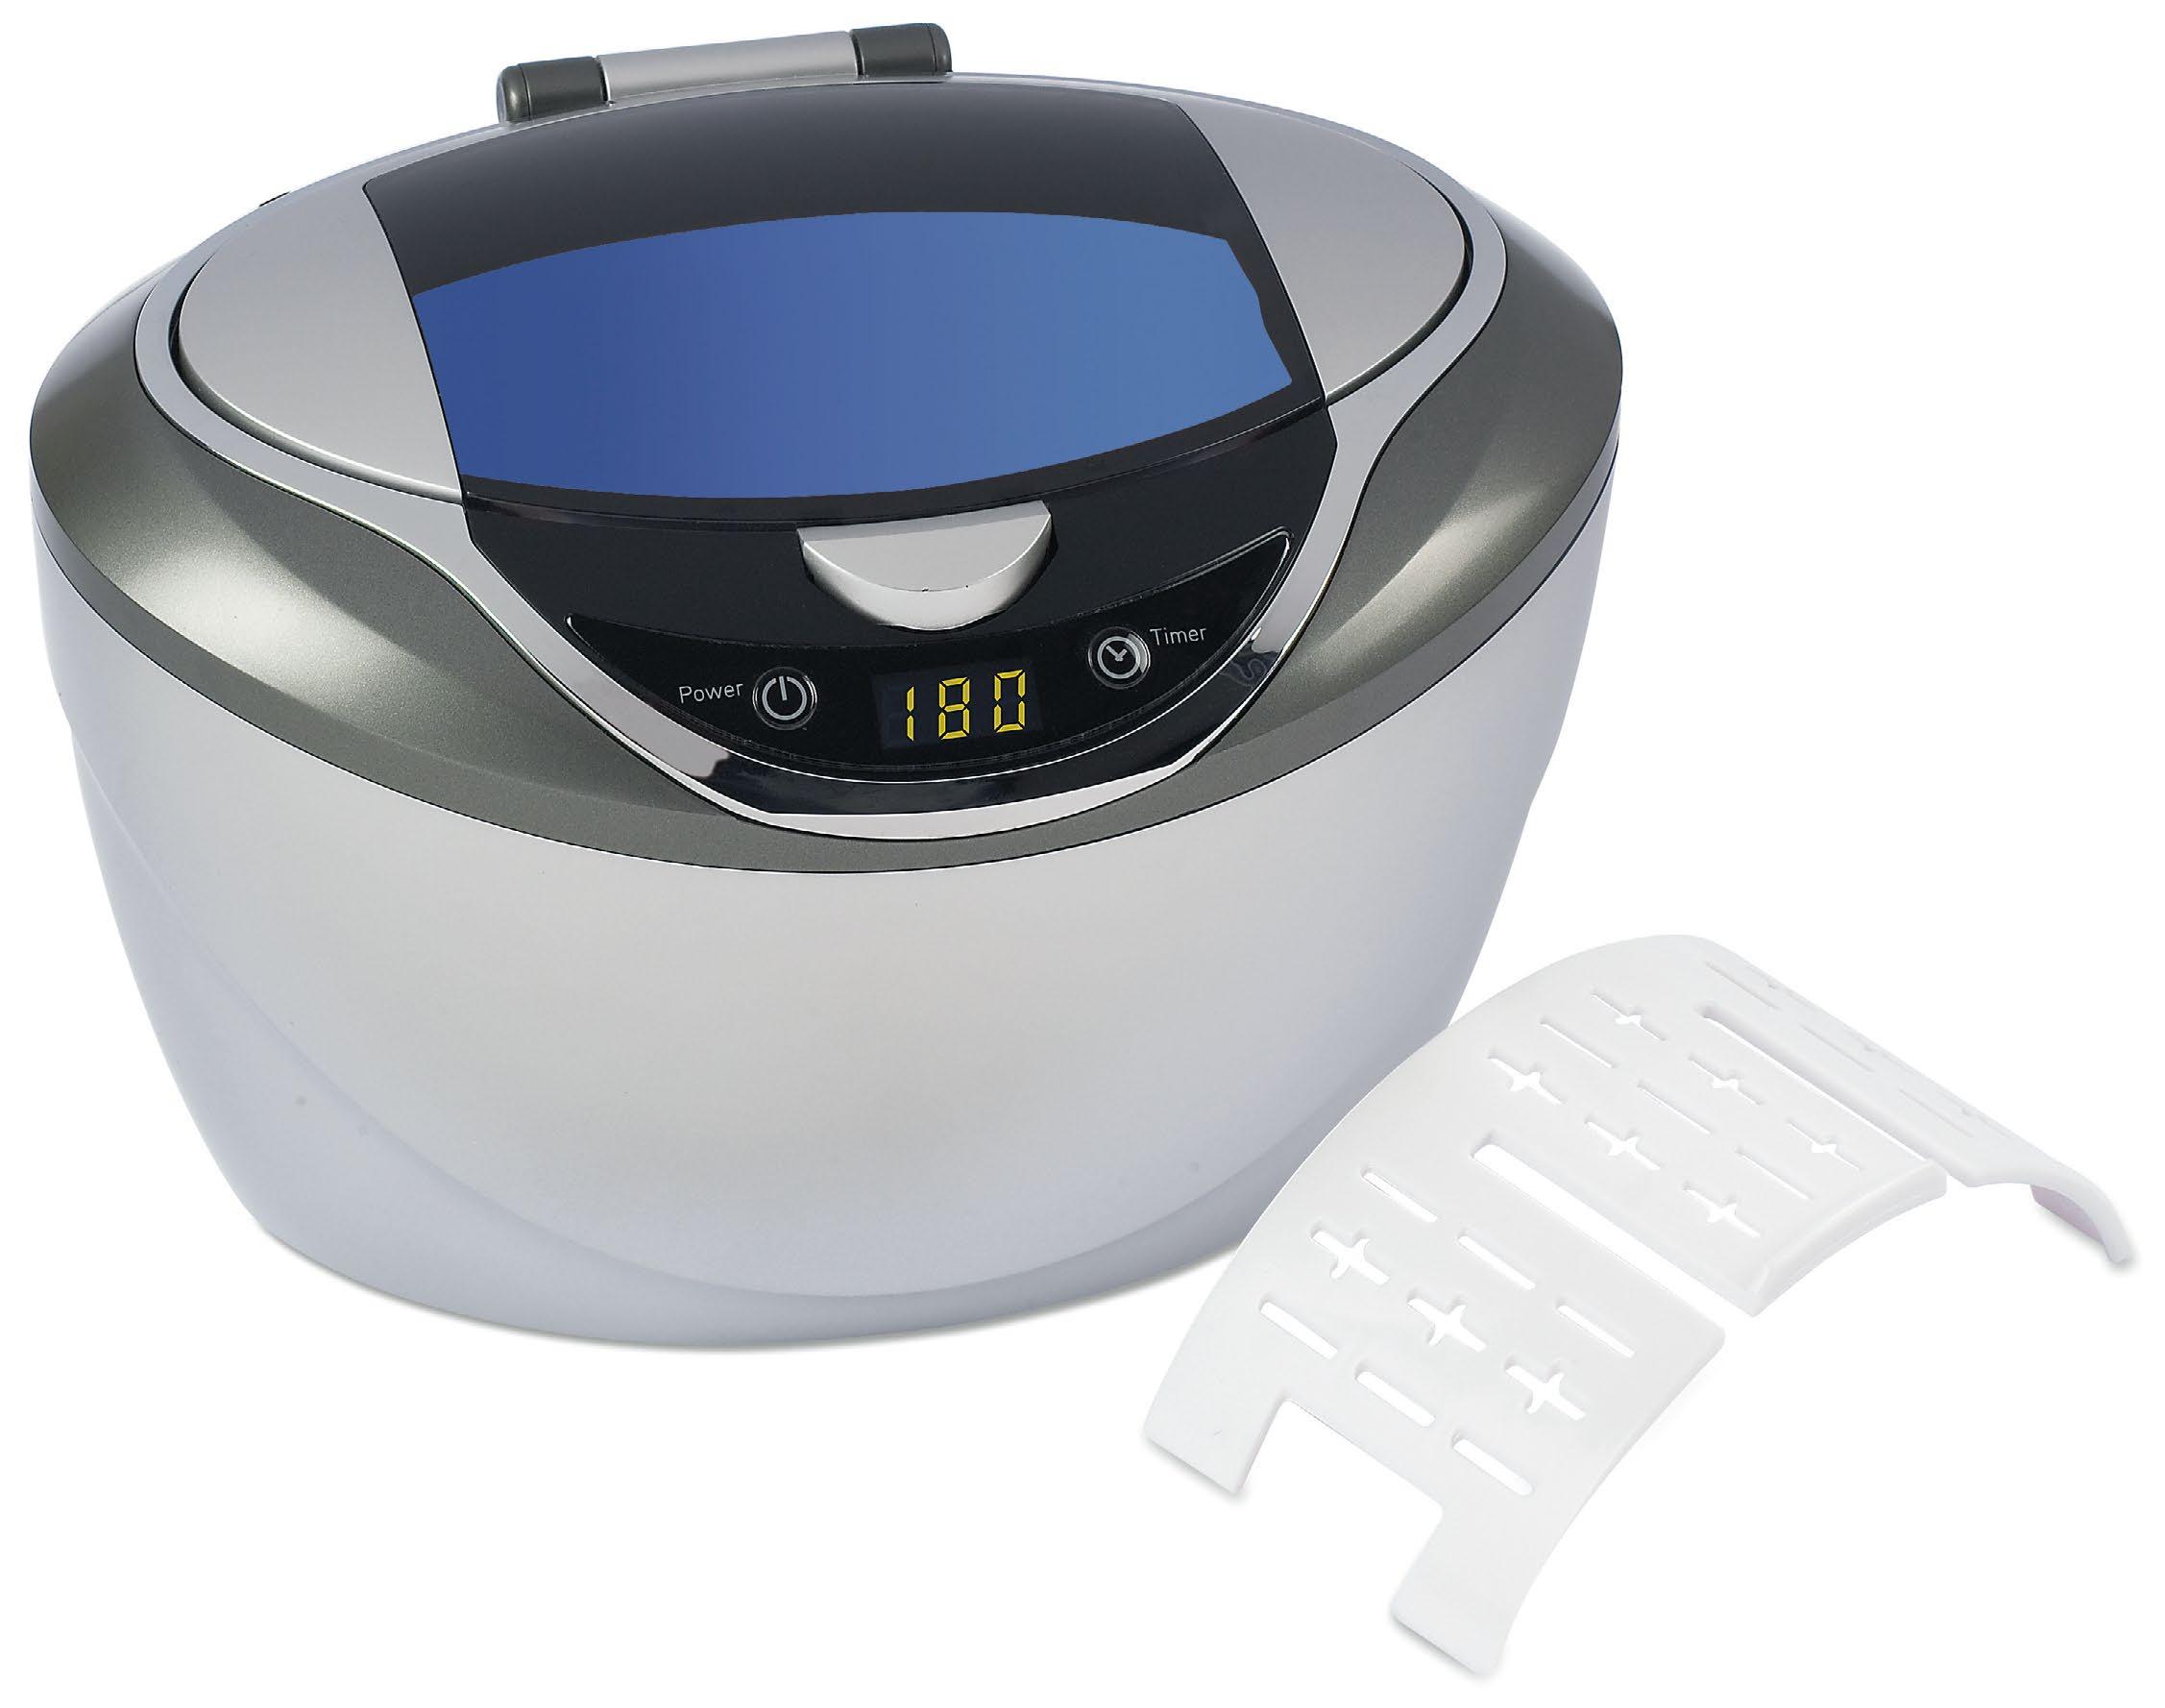
DIGITAL ULTRASONIC CLEANER - 0,6 LITRES Ref. 05443
Ultrasonic cleaner with stainless steel 0,6 l tank ideal for the cleaning of frames.
• Programming of 5 washing cycles from 90 to 480 seconds.
• Automatic stop at the end of the cycle.
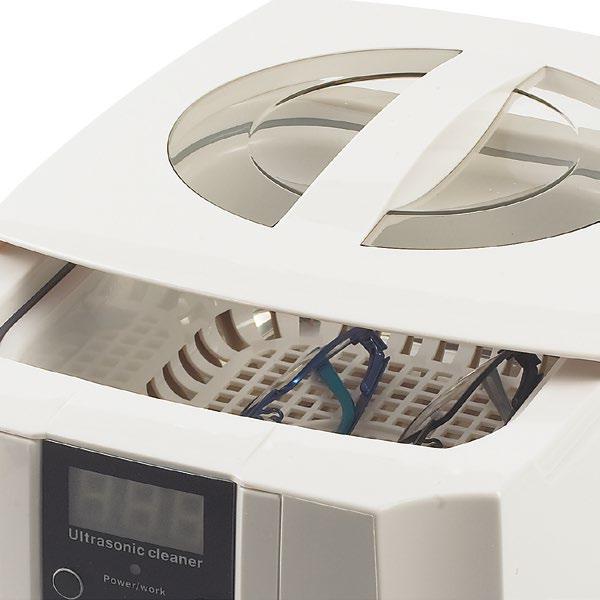
• Transparent cover with automatic opening.
• Internal blue led illumination. Accessories included:
• Plastic mesh basket.
• Watch, jewellery and CD holders.
• Antibacterial detergent Active Liquid 150 ml (for re-orders Ref. 06859 1 litre).
Dimensions:
External: 158x210x125 mm.
Basket: 122x144x42 mm.
Weight: 1,10 kg

Digital setting - Continuous vibrations - 1,4 litres
DIGITAL ULTRASONIC CLEANER 1,4 LITRES
Ref. 05446
Ultrasonic cleaner with stainless steel 1,4 l tank:
• Programming of the washing cycles from 90 to 480 seconds.
• Memorization up to 5 washing programs.
• Automatic stop at the end of the cycle.
Accessories included:
• Plastic mesh basket.
• Antibacterial detergent Active Liquid 150 ml
• (for re-orders Ref. 06859 1 litre).
Dimensions:
External:180x230x160 mm.
Tank:140x170x160 mm.
Weight: 1,75 kg
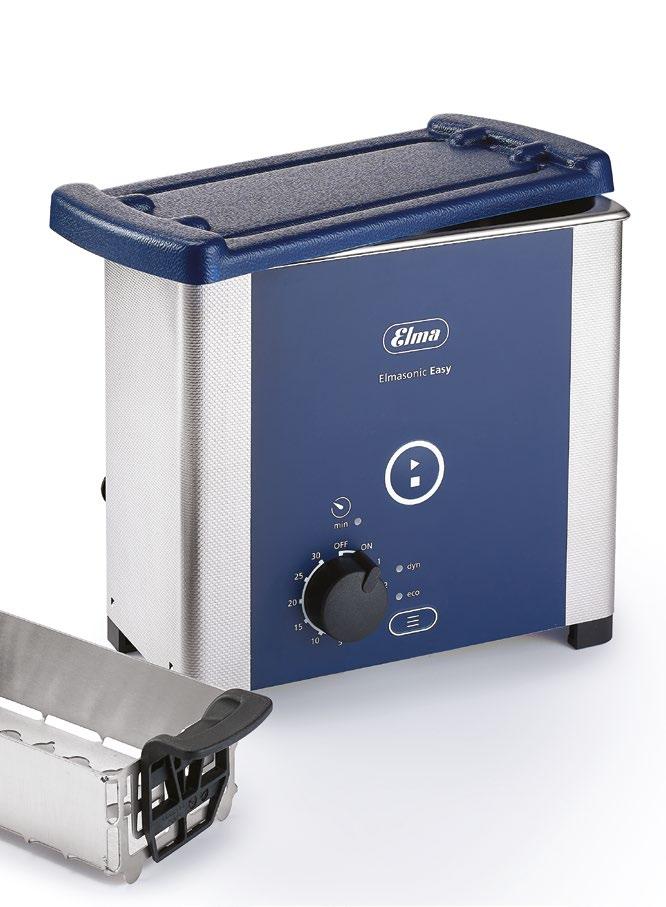
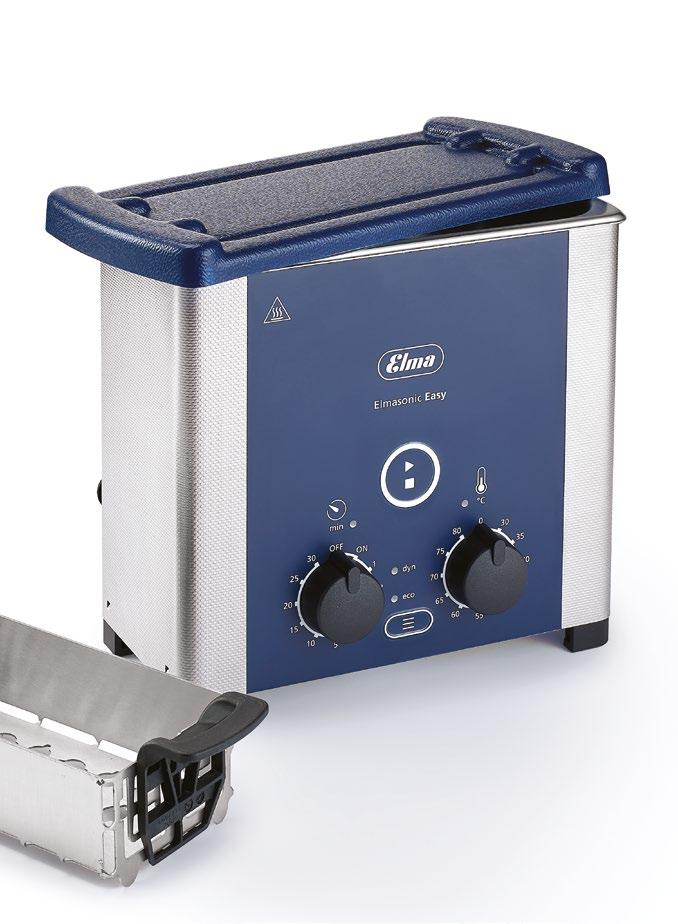
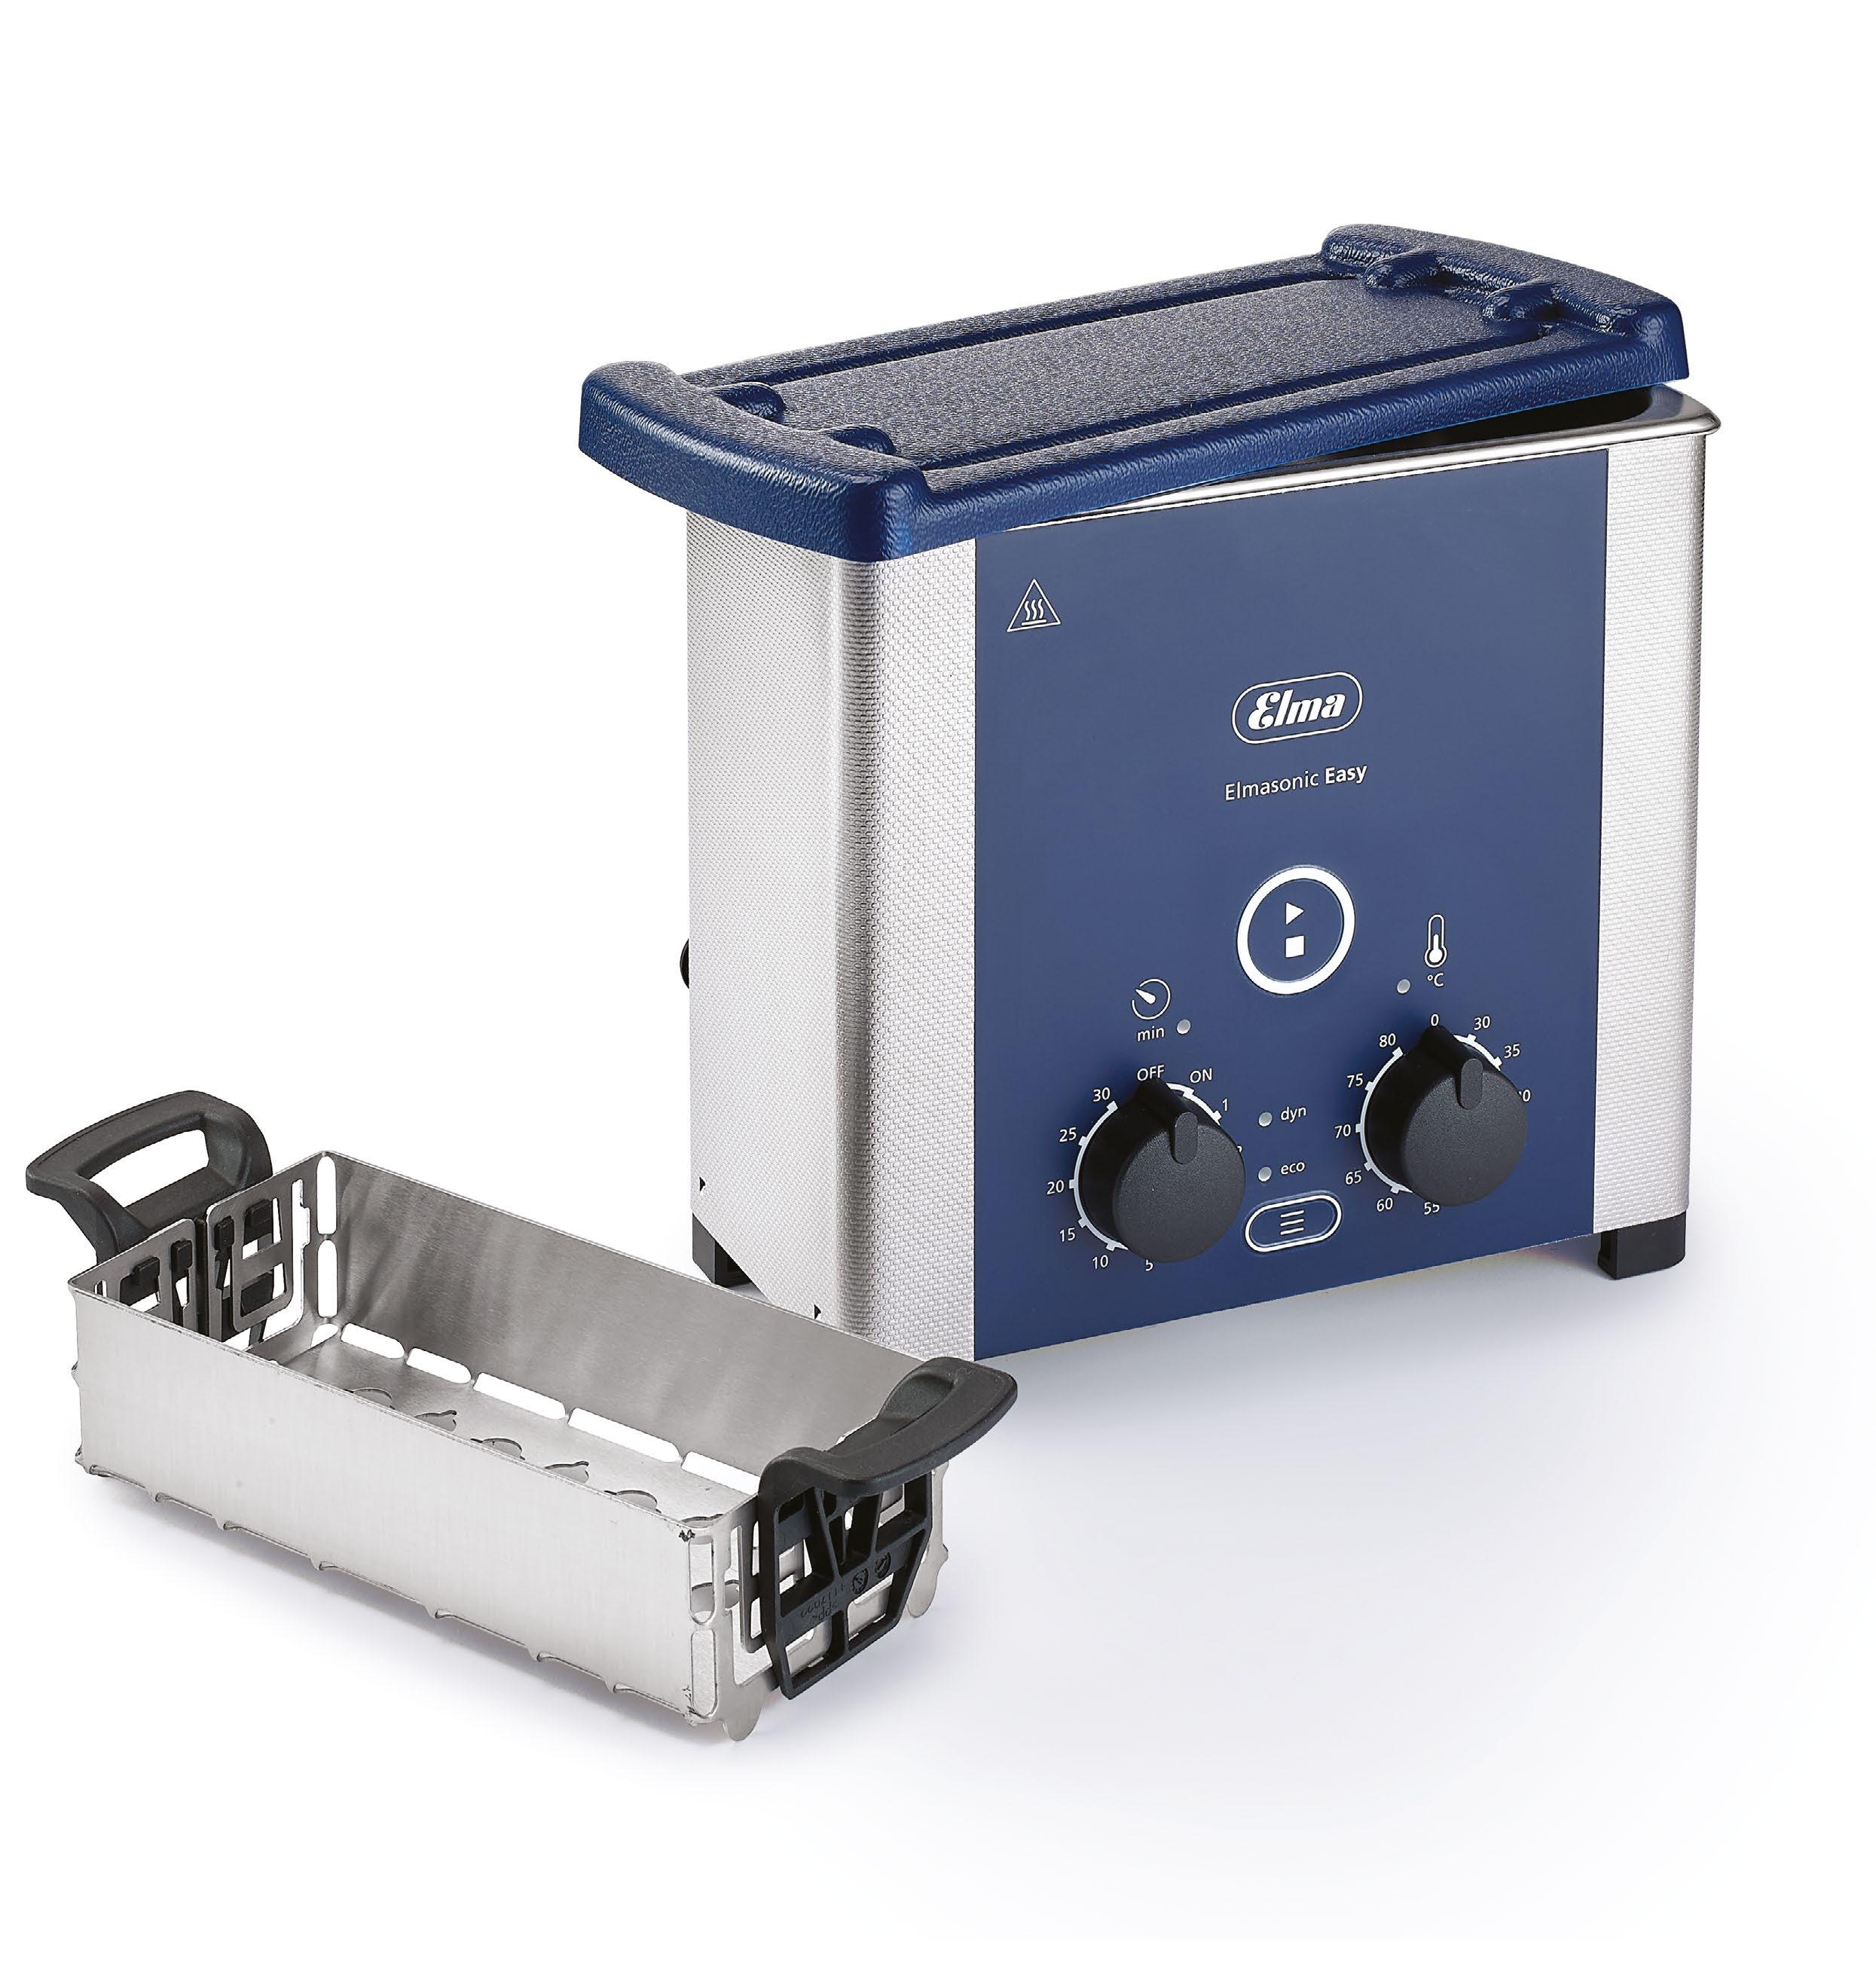
Variable timer switch - 0,8 litres

ULTRASONIC CLEANER - 0,8 LITRES
Ref. 05452
• Stainless steel ultrasonic cleaner:
• Variable ± timer switch 0-30 min.
• Sweep function for optimised sound field distribution in the cleaning liquid
• Degas function for the efficient degassing of the cleaning liquid and for laboratory purposes
• Plastic lid included
• Antibacterial detergent Active Liquid 150 ml (for re-orders Ref. 06859 1 litre).
• Made in Germany.
Dimensions:
External: 235x130x200 mm.
Tank: 190x85x60 mm.
Weight: 2.0 kg.
ACCESSORIES
Ref. 05451N
Stainless steel mesh basket for ultrasonic cleaner Ref. 05452 and Ref. 05454.
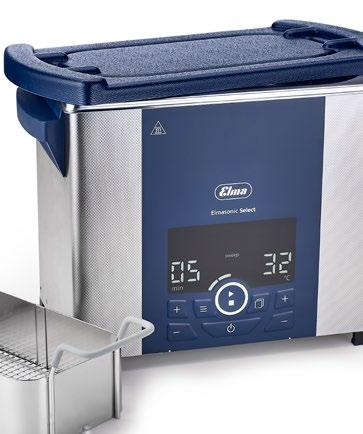
With adjustable heating - 0,8 litres
ULTRASONIC CLEANER - 0,8 LITRES
Ref. 05454
• Stainless steel ultrasonic cleaner:
• Variable ± timer switch 0-30 min.
• Adjustable temperature range from 30°C to 80ºC
• Sweep function for optimised sound field distribution in the cleaning liquid
• Degas function for the efficient degassing of the cleaning liquid and for laboratory purposes
• Plastic lid included
• Antibacterial detergent Active Liquid 150 ml (for re-orders Ref. 06859 1 litre).
• Made in Germany.
Dimensions:
External: 235x130x200 mm.
Tank: 190x85x60 mm.
Weight: 2.0
ACCESSORIESES
Ref. 05451N
Stainless steel mesh basket for ultrasonic cleaner Ref. 05452 and Ref. 05454.
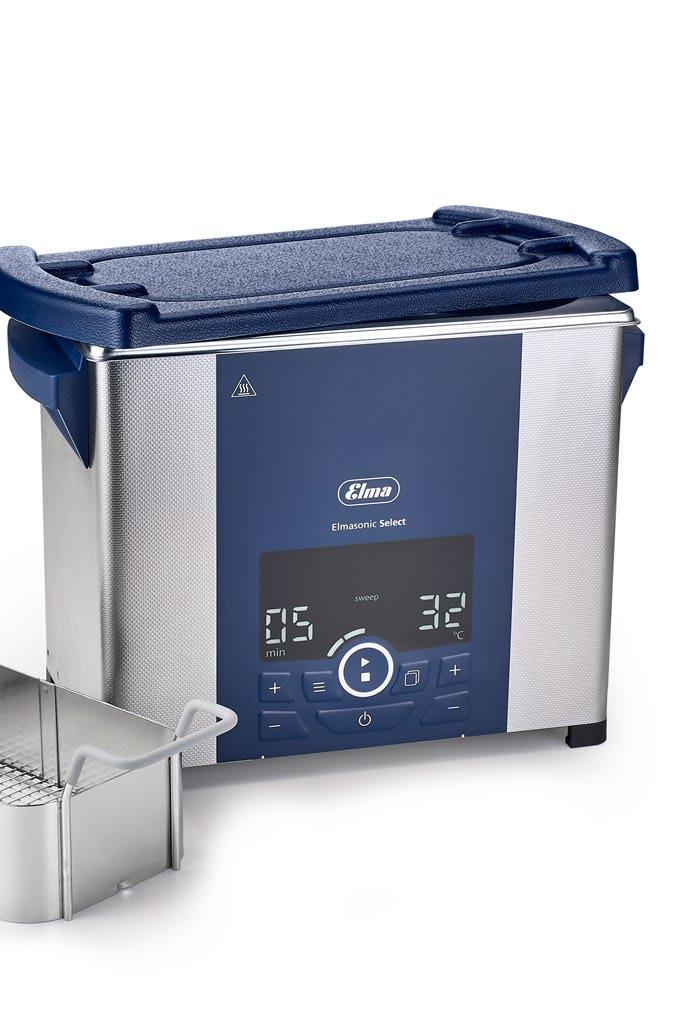
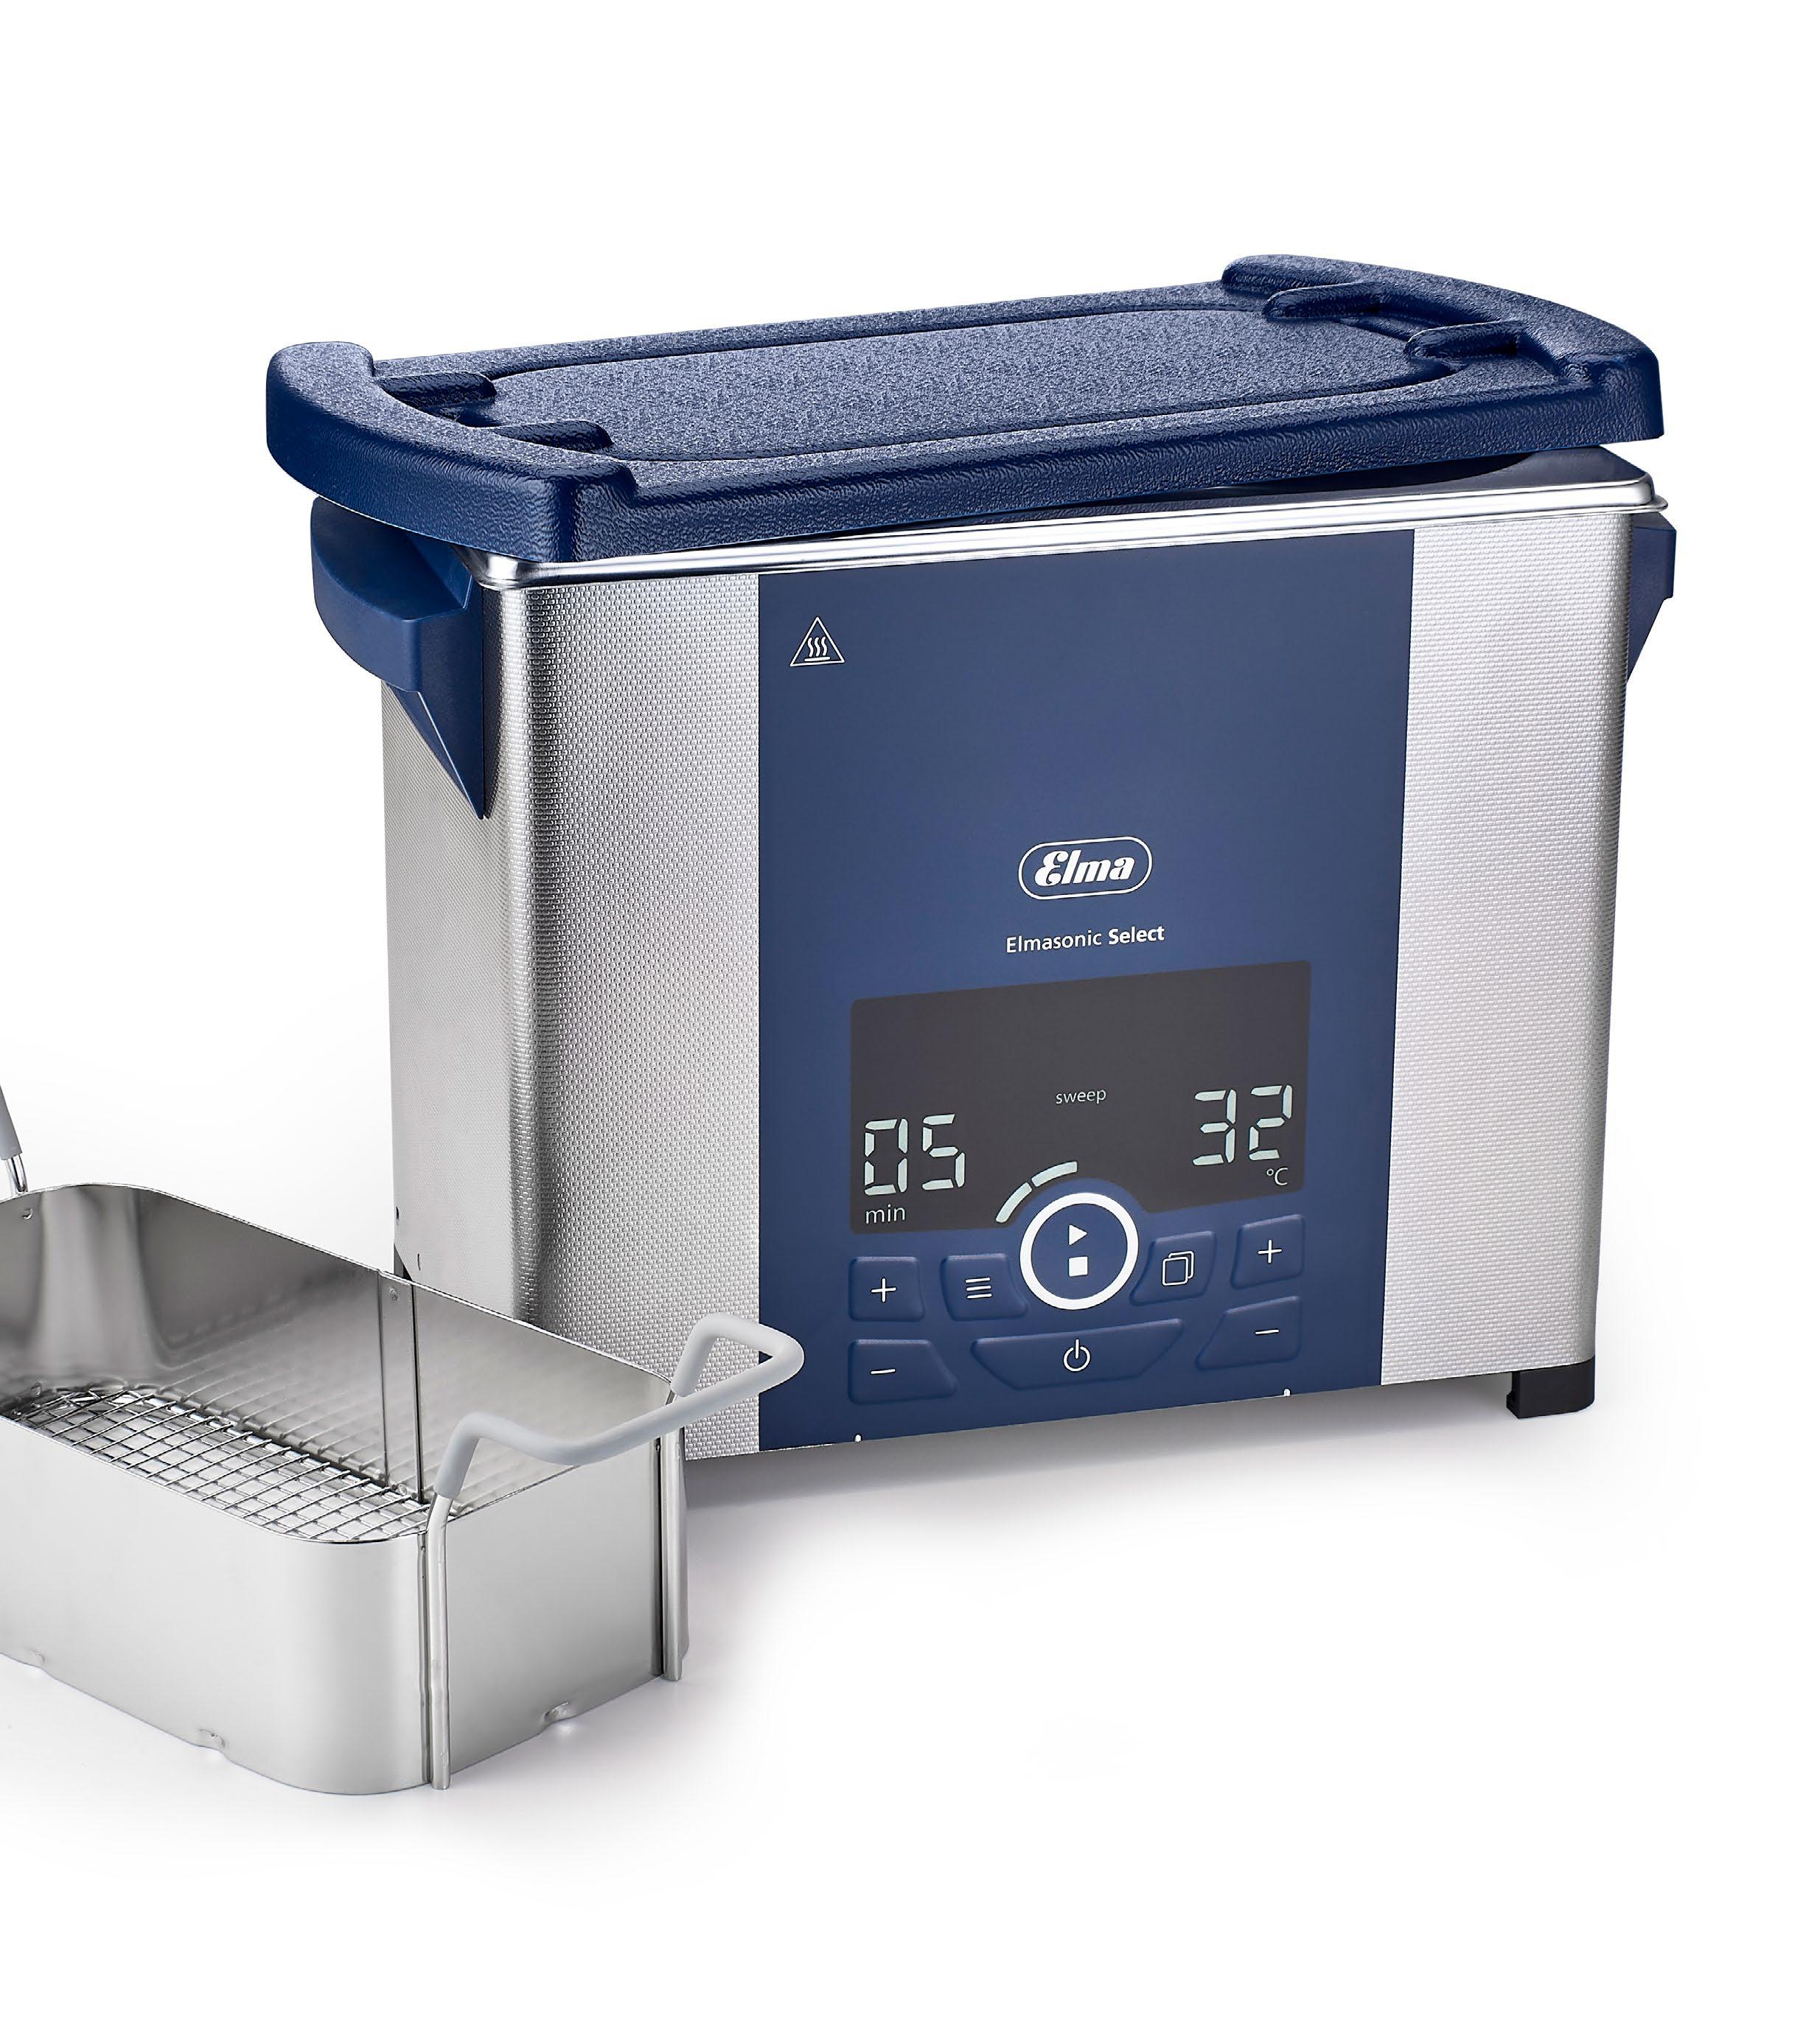
With adjustable heating - 2,75 litres

ACCESSORIES
Ref. 05461
Stainless steel mesh basket for ultrasonic cleaner Ref. 05471
NEW
ULTRASONIC CLEANER - 2,75 LITRES
Ref. 05471
Stainless steel ultrasonic cleaner:
• Variable ± timer switch 0-30 min.
• Adjustable temperature range from 30°C to 80ºC
• Sweep function for optimised sound field distribution in the cleaning liquid
• Degas function for the efficient degassing of the cleaning liquid and for laboratory purposes
• Plastic lid included
• Antibacterial detergent Active Liquid 150 ml (for re-orders Ref. 06859 1 litre).
• Made in Germany.
Dimensions:
External: 305x190x230 mm.
Tank: 240x137x100 mm.
Weight: 3.3 Kg.
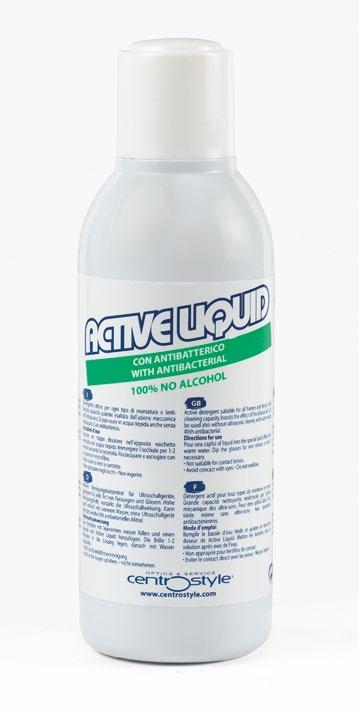
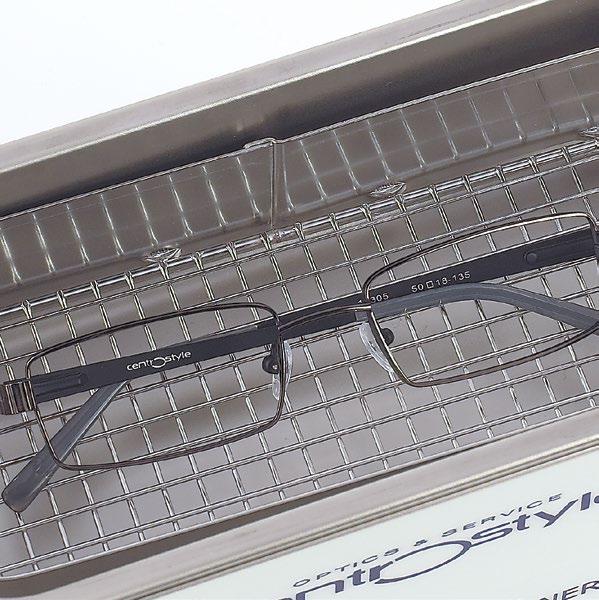
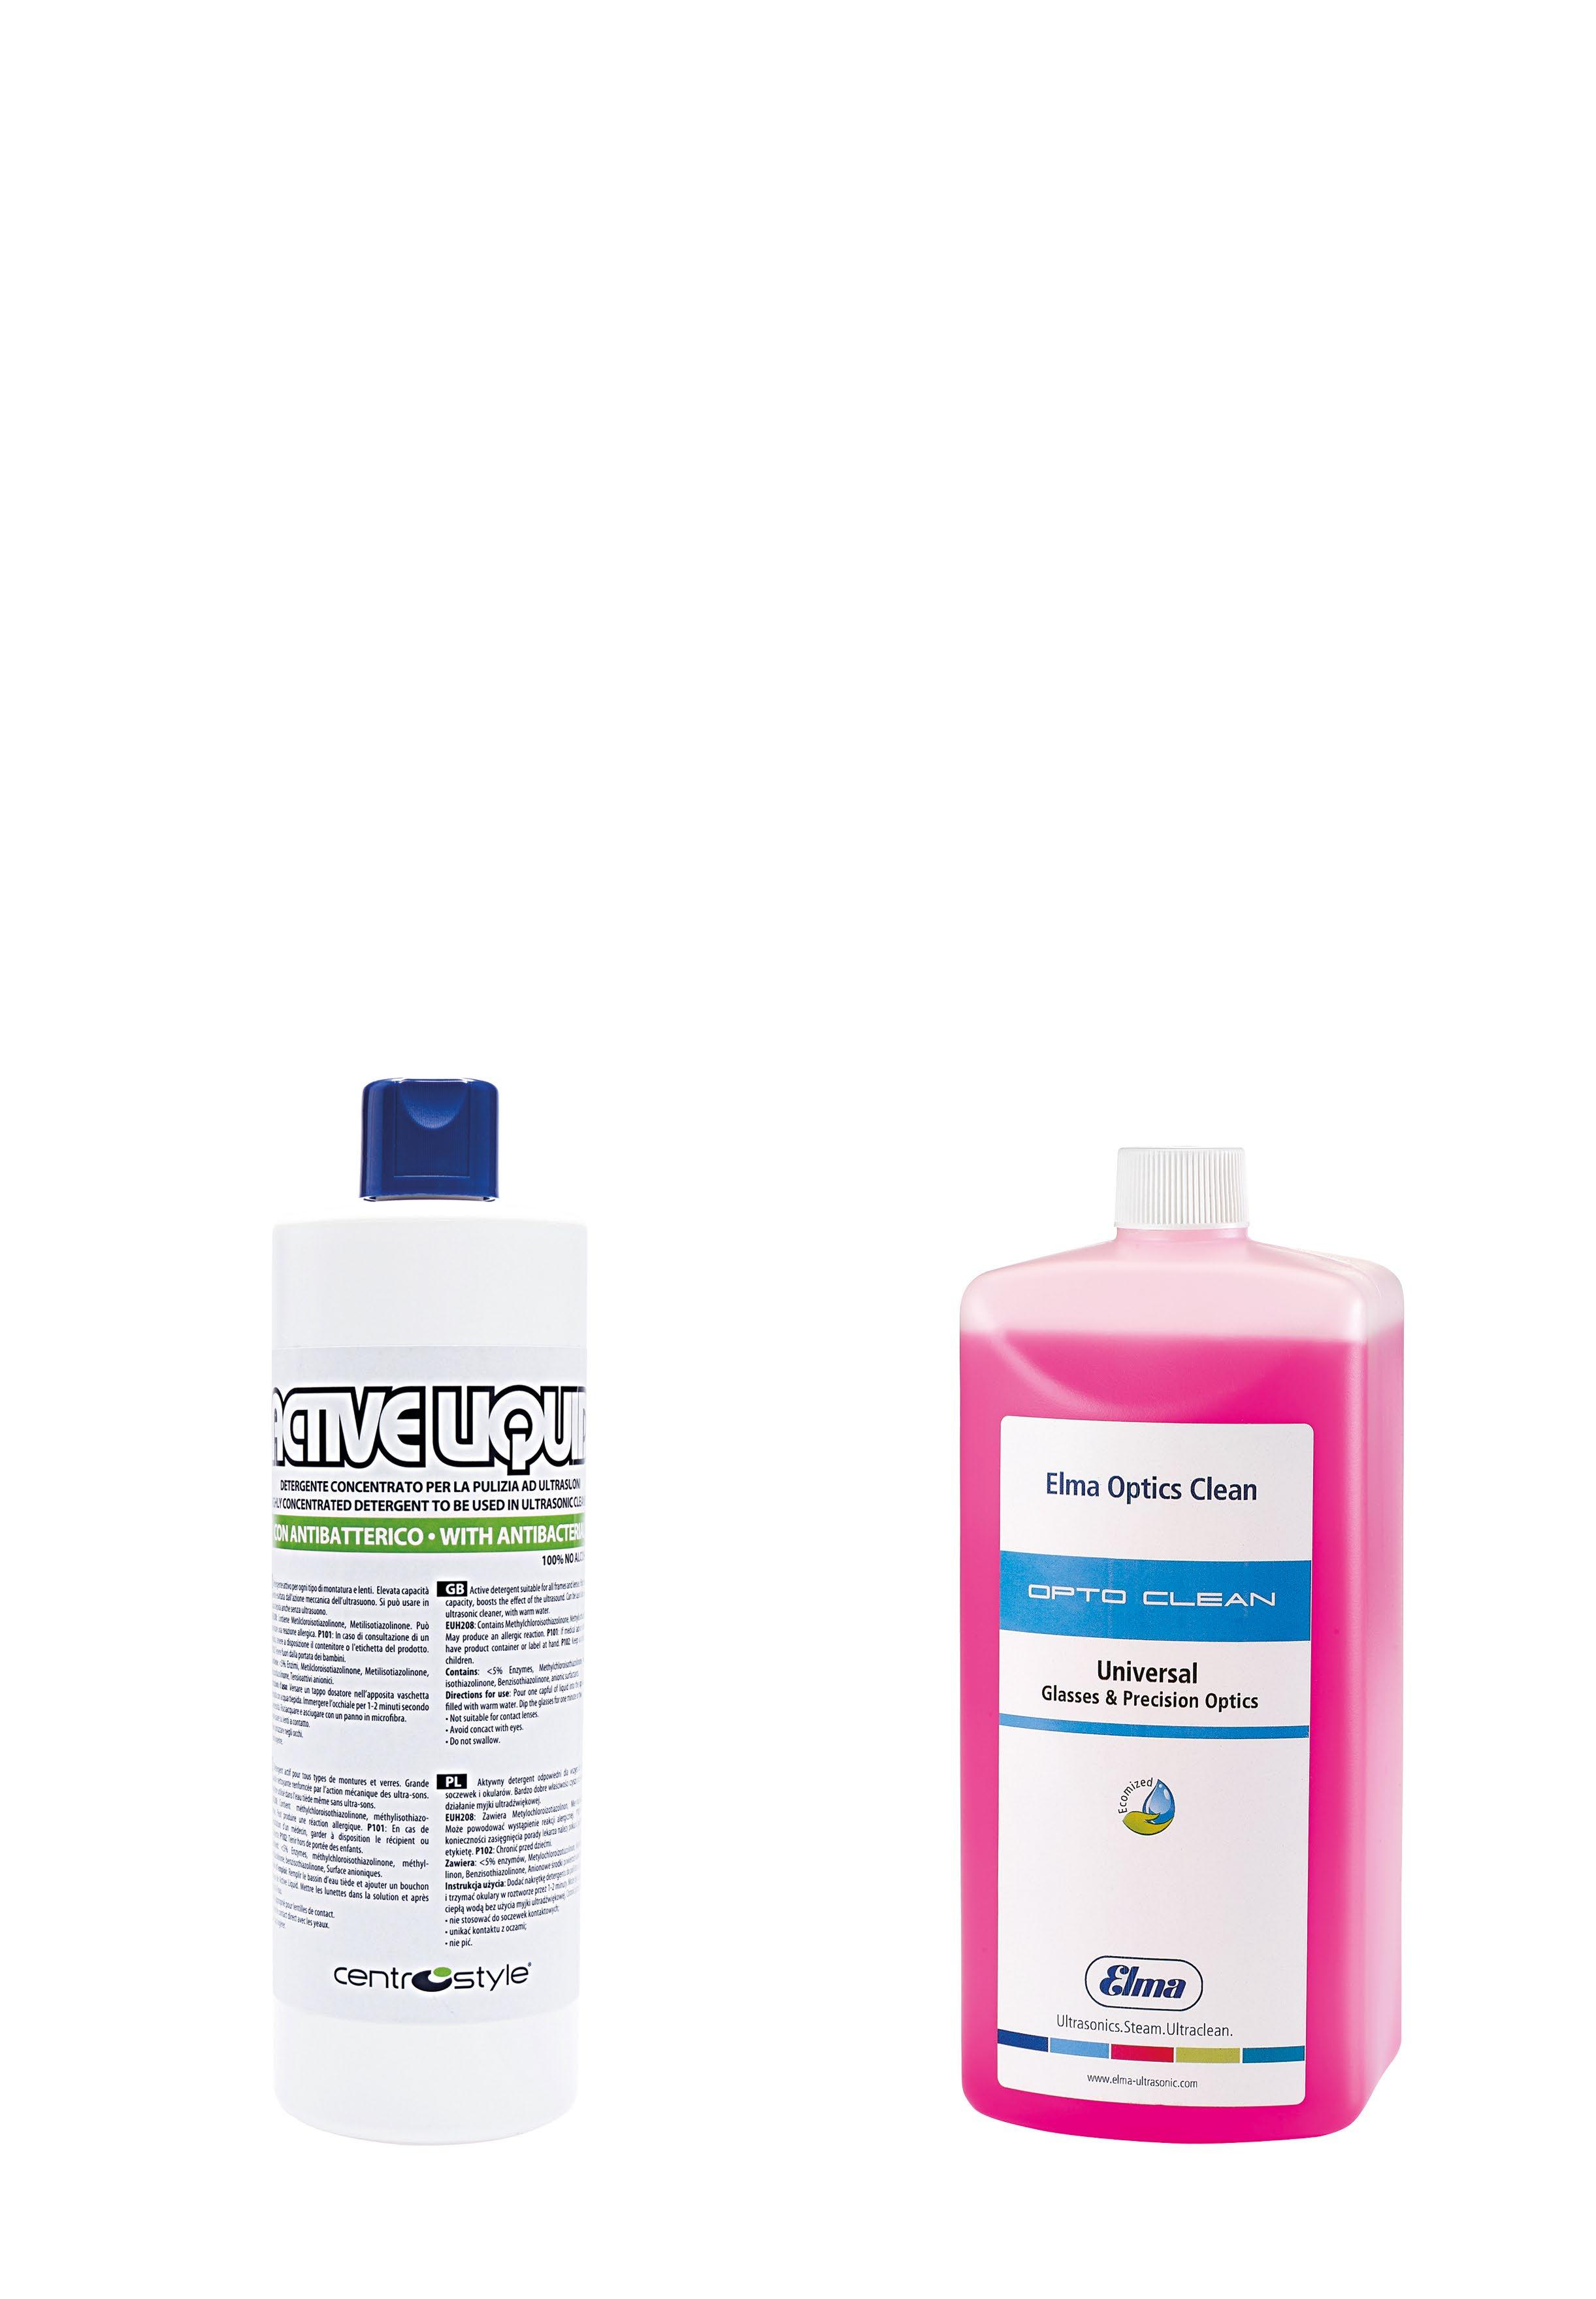
Do not corrode the frames or lenses
High cleaning capacity, enhanced by the mechanical effect of the ultrasound
Thanks to its active enzymes, this detergent can also be used without ultrasonic cleaner, just with lukewarm water. Its antibacterial properties sanitize the spectacles. Made in italy - 100% NO ALCOHOL
Ref. 06859 1 litre bottle concentrated
Add one/two cupfuls of detergent to 1 litre of water
Ultrasonic cleaners employ high frequency energy that is generated electronically by a transmitter in the unit.
The electrical energy is then transformed into sound waves by a device known as a transducer.
Ultrasonic cleaners are easy to operate, require no maintenance and are economical to utilise due to the semiconductors technology.
They are the ideal equipment for the cleaning of frames and parts.
Cleaning concentrate specifically for ultrasonic cleaners. Made in Germany.
Ref. 05491 1 litre bottle concentrated
Add one/two cupfuls of detergent to 1 litre of water
Marking Identifier Strain Gauge

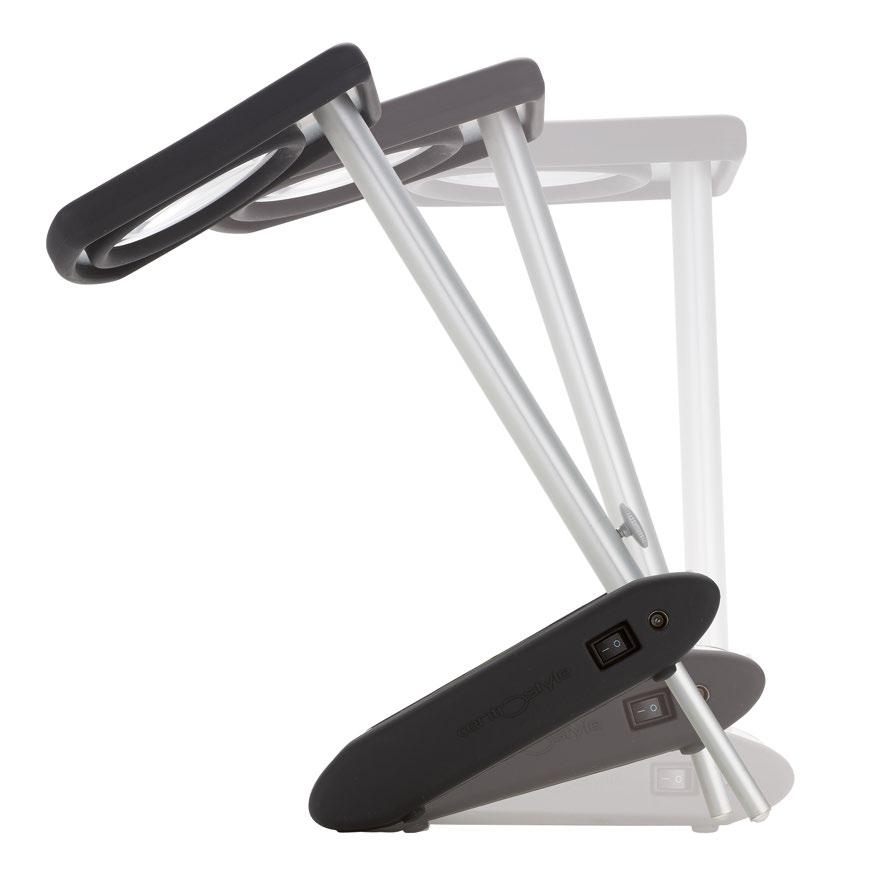
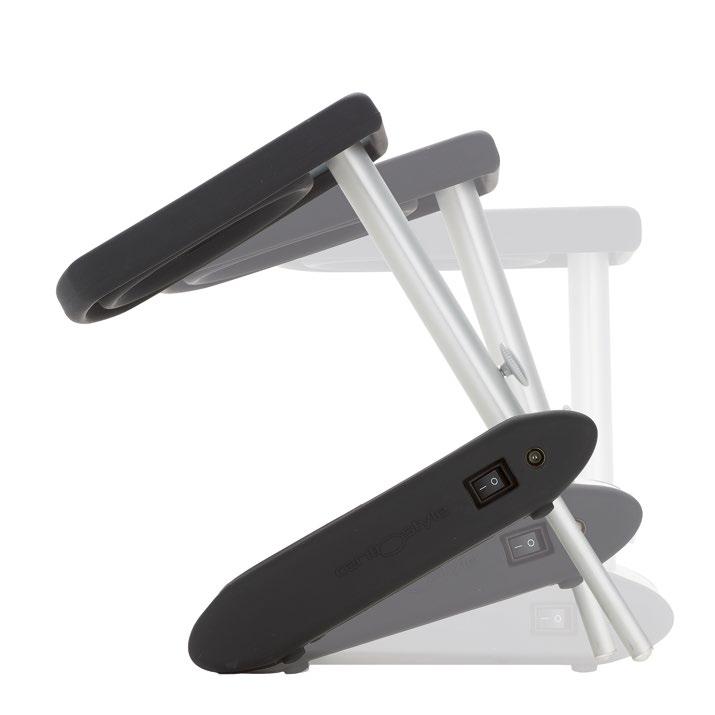
Photochromic Lens Tester

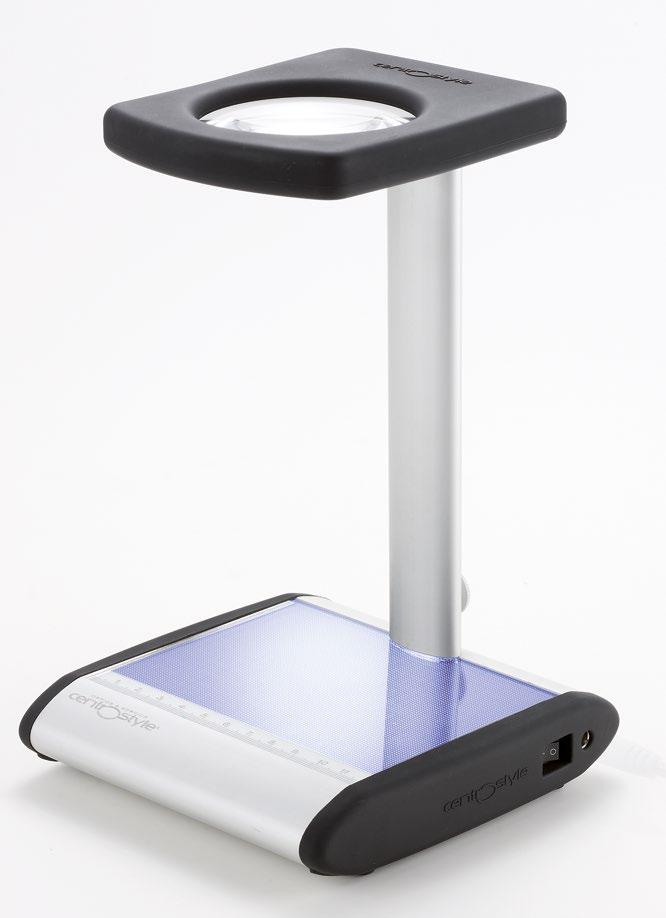
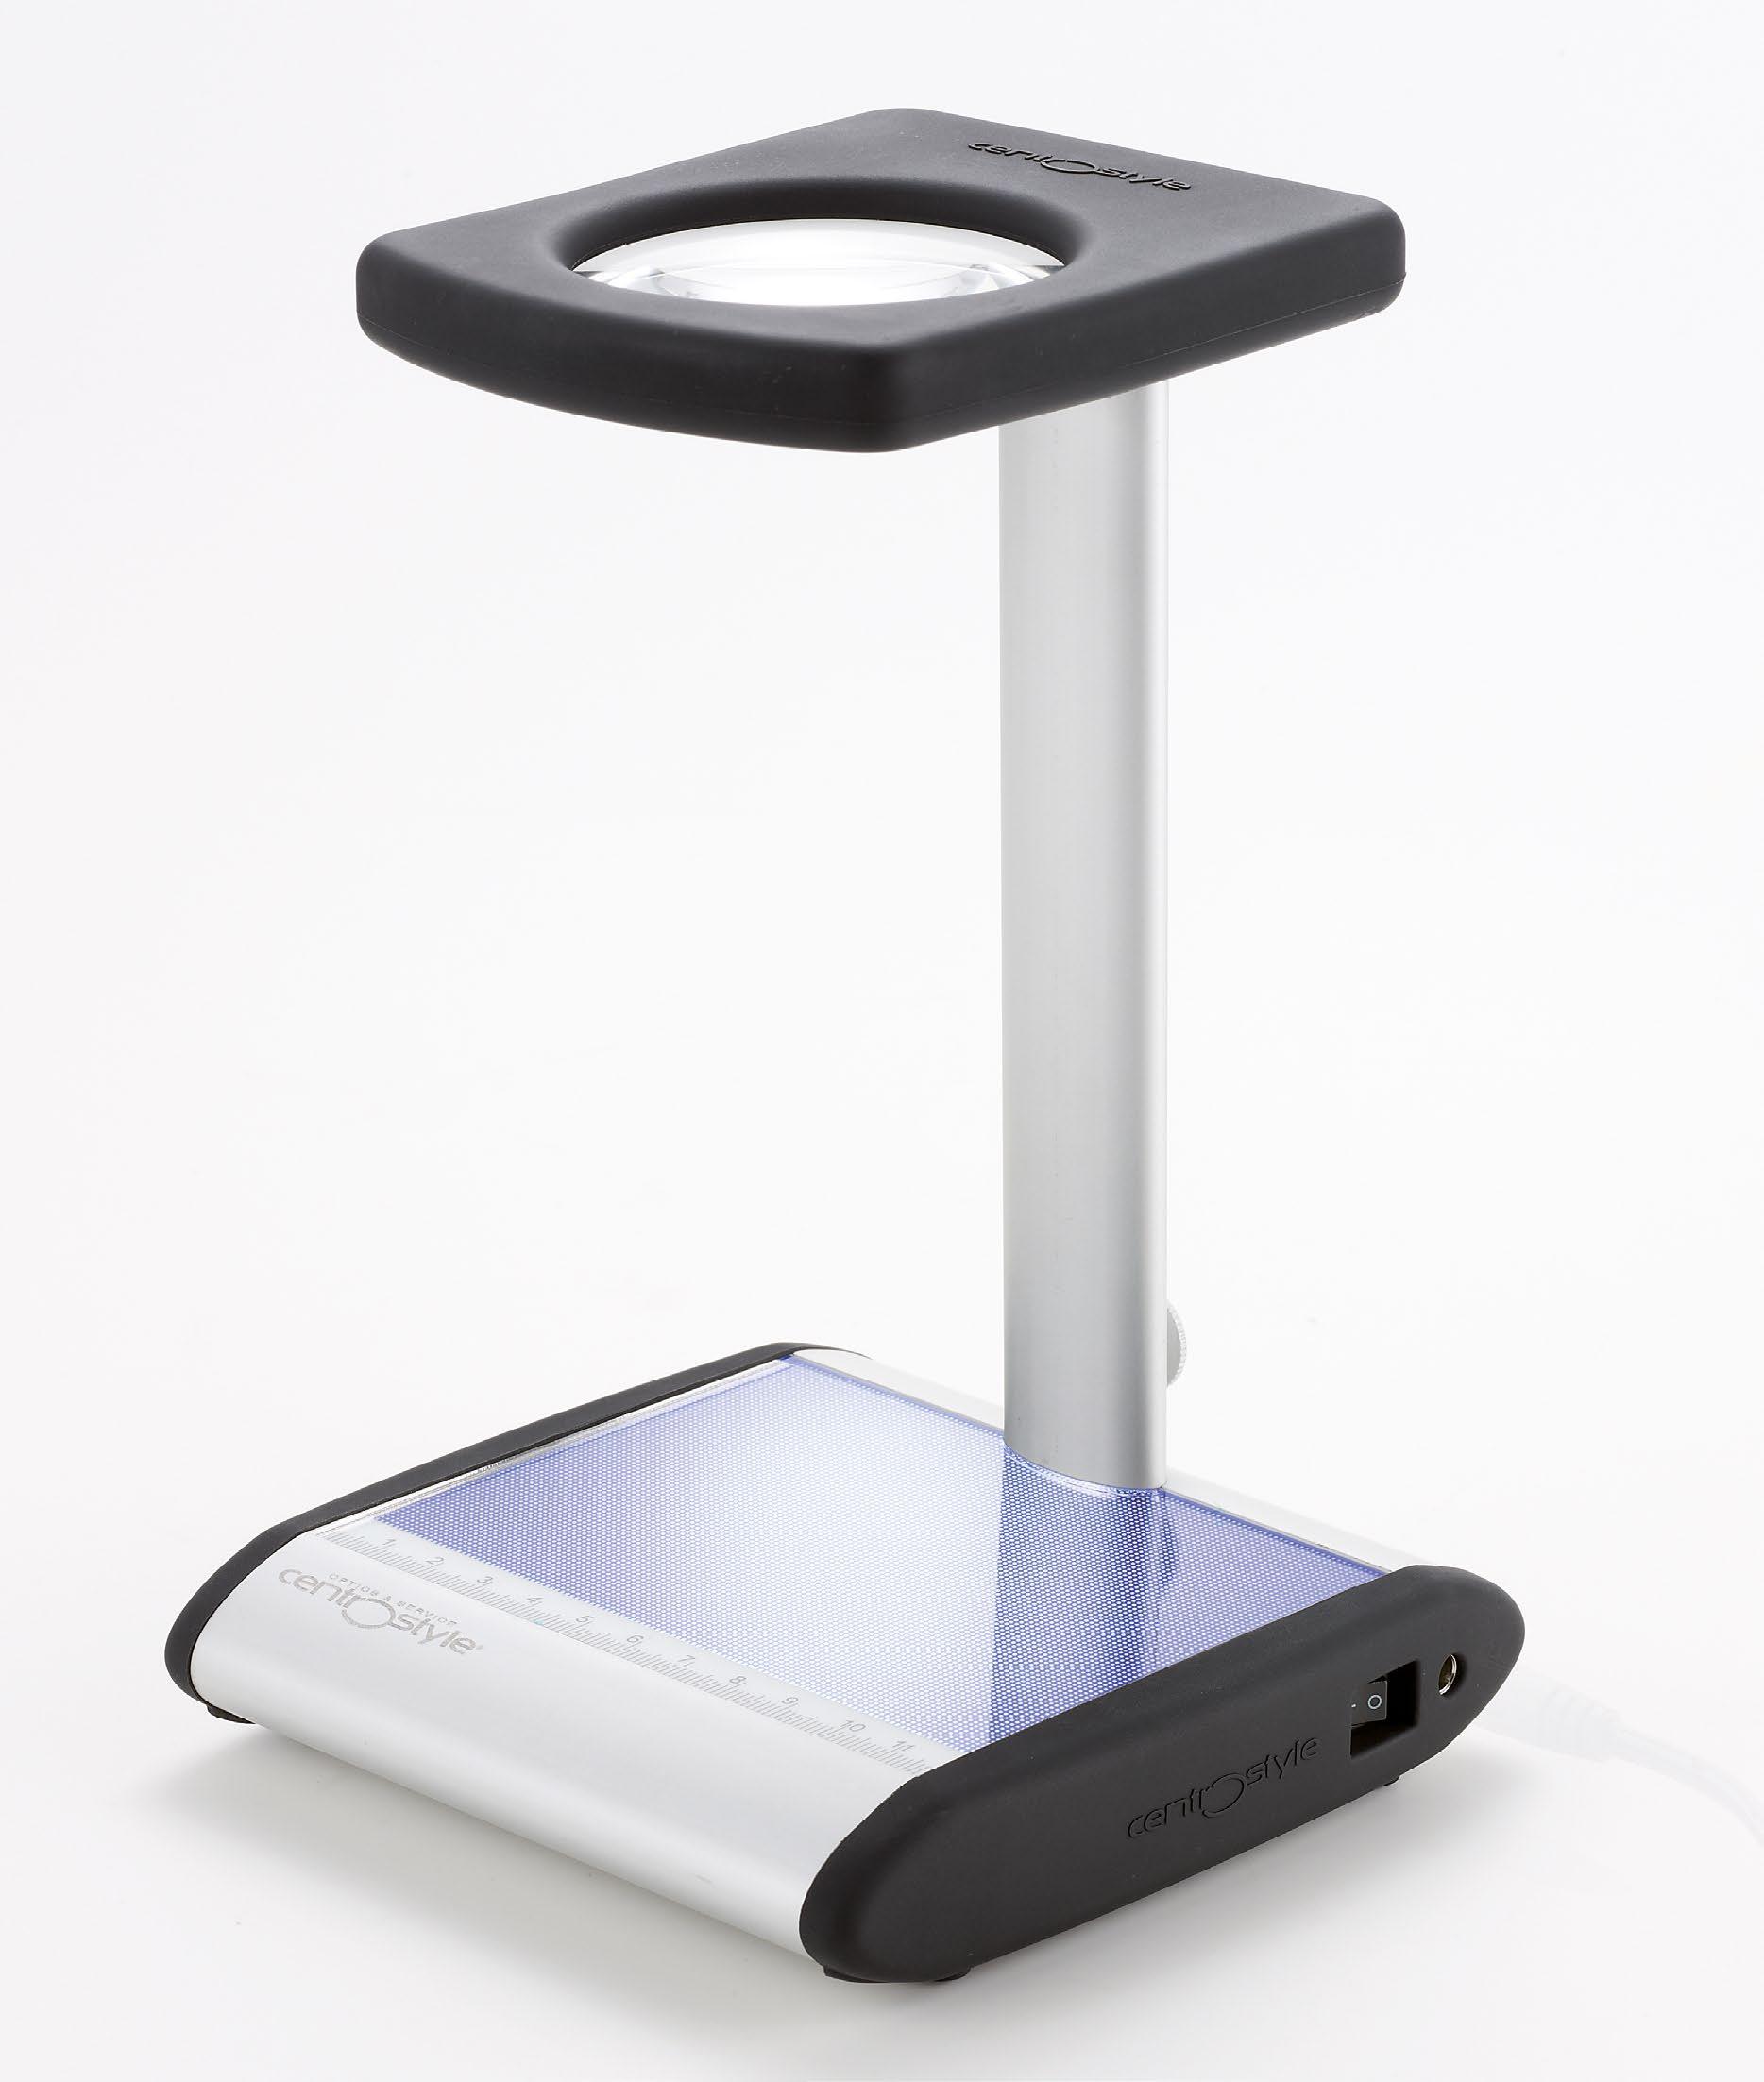
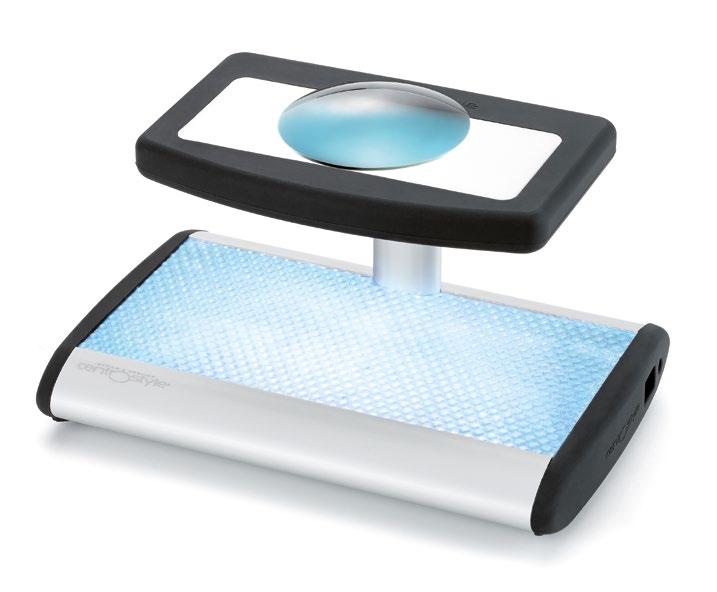
Innovative equipment with long-lasting and low-consumption LED technology. Specifically designed to help opticians check lenses or sunscreens.
• Led light marking identifier to check the markings on progressive lenses.
• Led strain gauge to detect stress in fitted lenses.
• Photochromic test to demonstrate the photochromic properties of the lenses and verify the correct colour shade.
• Light pad to faithfully display the tint of the sun lenses.
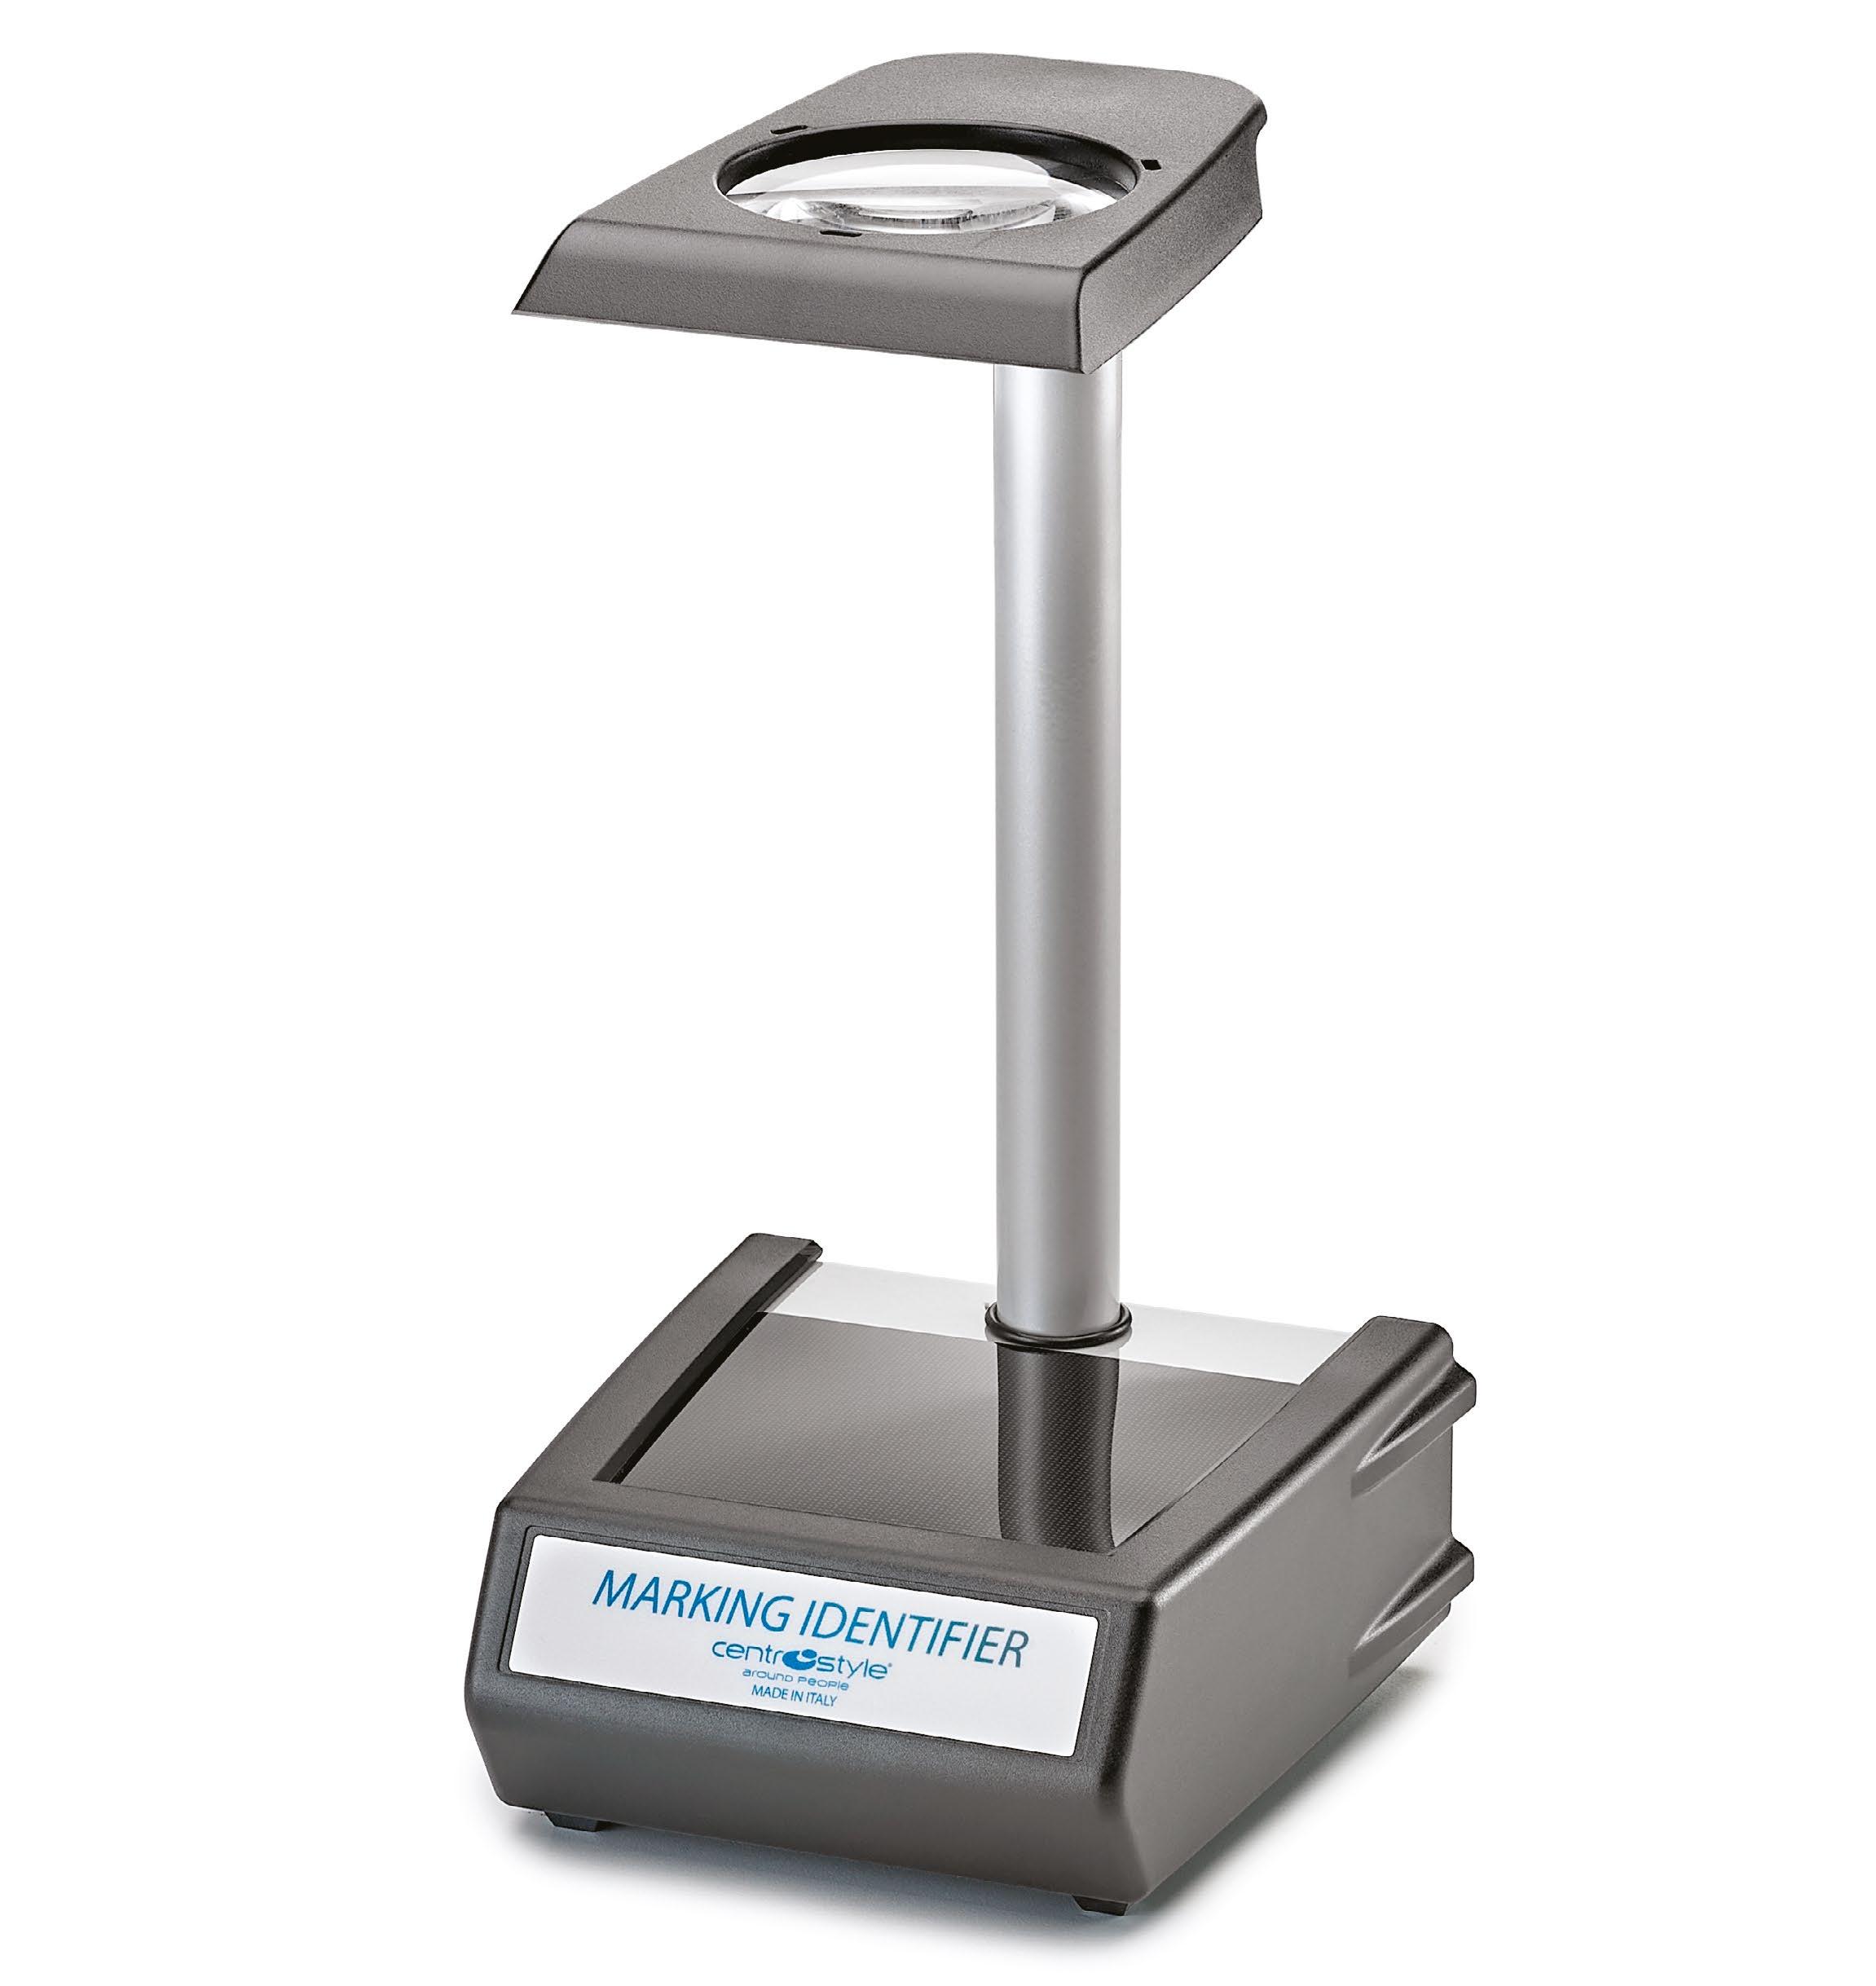
To check manufacturer’s markings on progressive lenses - 5350°K
Long lasting LED technology
White light
Low power consumption
Ref. 05054
The LED technology marking identifier has:
• High luminosity LED illumination
• Adjustable inclination for improved reading
• Pre-printed background to highlight contrast On progressive lenses this instrument allows identification of:
• Manufacturer’s markings
• Lens type ID
• Added power
This instrument is suitable to check the values of a lens or to redefine the centres of a progressive lens for re-glazing.
How to use:
• Place the lens or the frame with the lens onto the contrast base and approach it to the magnifier until you can read the manufacturer’s markings.
Size: 143 x 145 x 220 mm
Maximum height (at highest extension): 255 mm
Weight: 0.66 kg
Power supply: 230V AC (12V 1A with transformer)

To detect stress in fitted lenses - 5350°K
Long lasting LED technology
White light
Low power consumption
Ref. 05057
This instrument shows:
• Stress in fitted lenses, usually in the parts of the lens with the highest curvature or pressure
• Chips in glass lenses
• Tempering treatment of a glass lens (shown by a cross shaped shadow in the centre of the lens)
The strain gauge has:
• High luminosity large diffusion LED illumination for better contrast
• Adjustable inclination for improved reading
Size: 143 x 145 x 145 mm
Maximum height (at highest extension): 200 mm
Weight: 0.6 kg
Power supply: 230V AC (12V 1A with transformer)
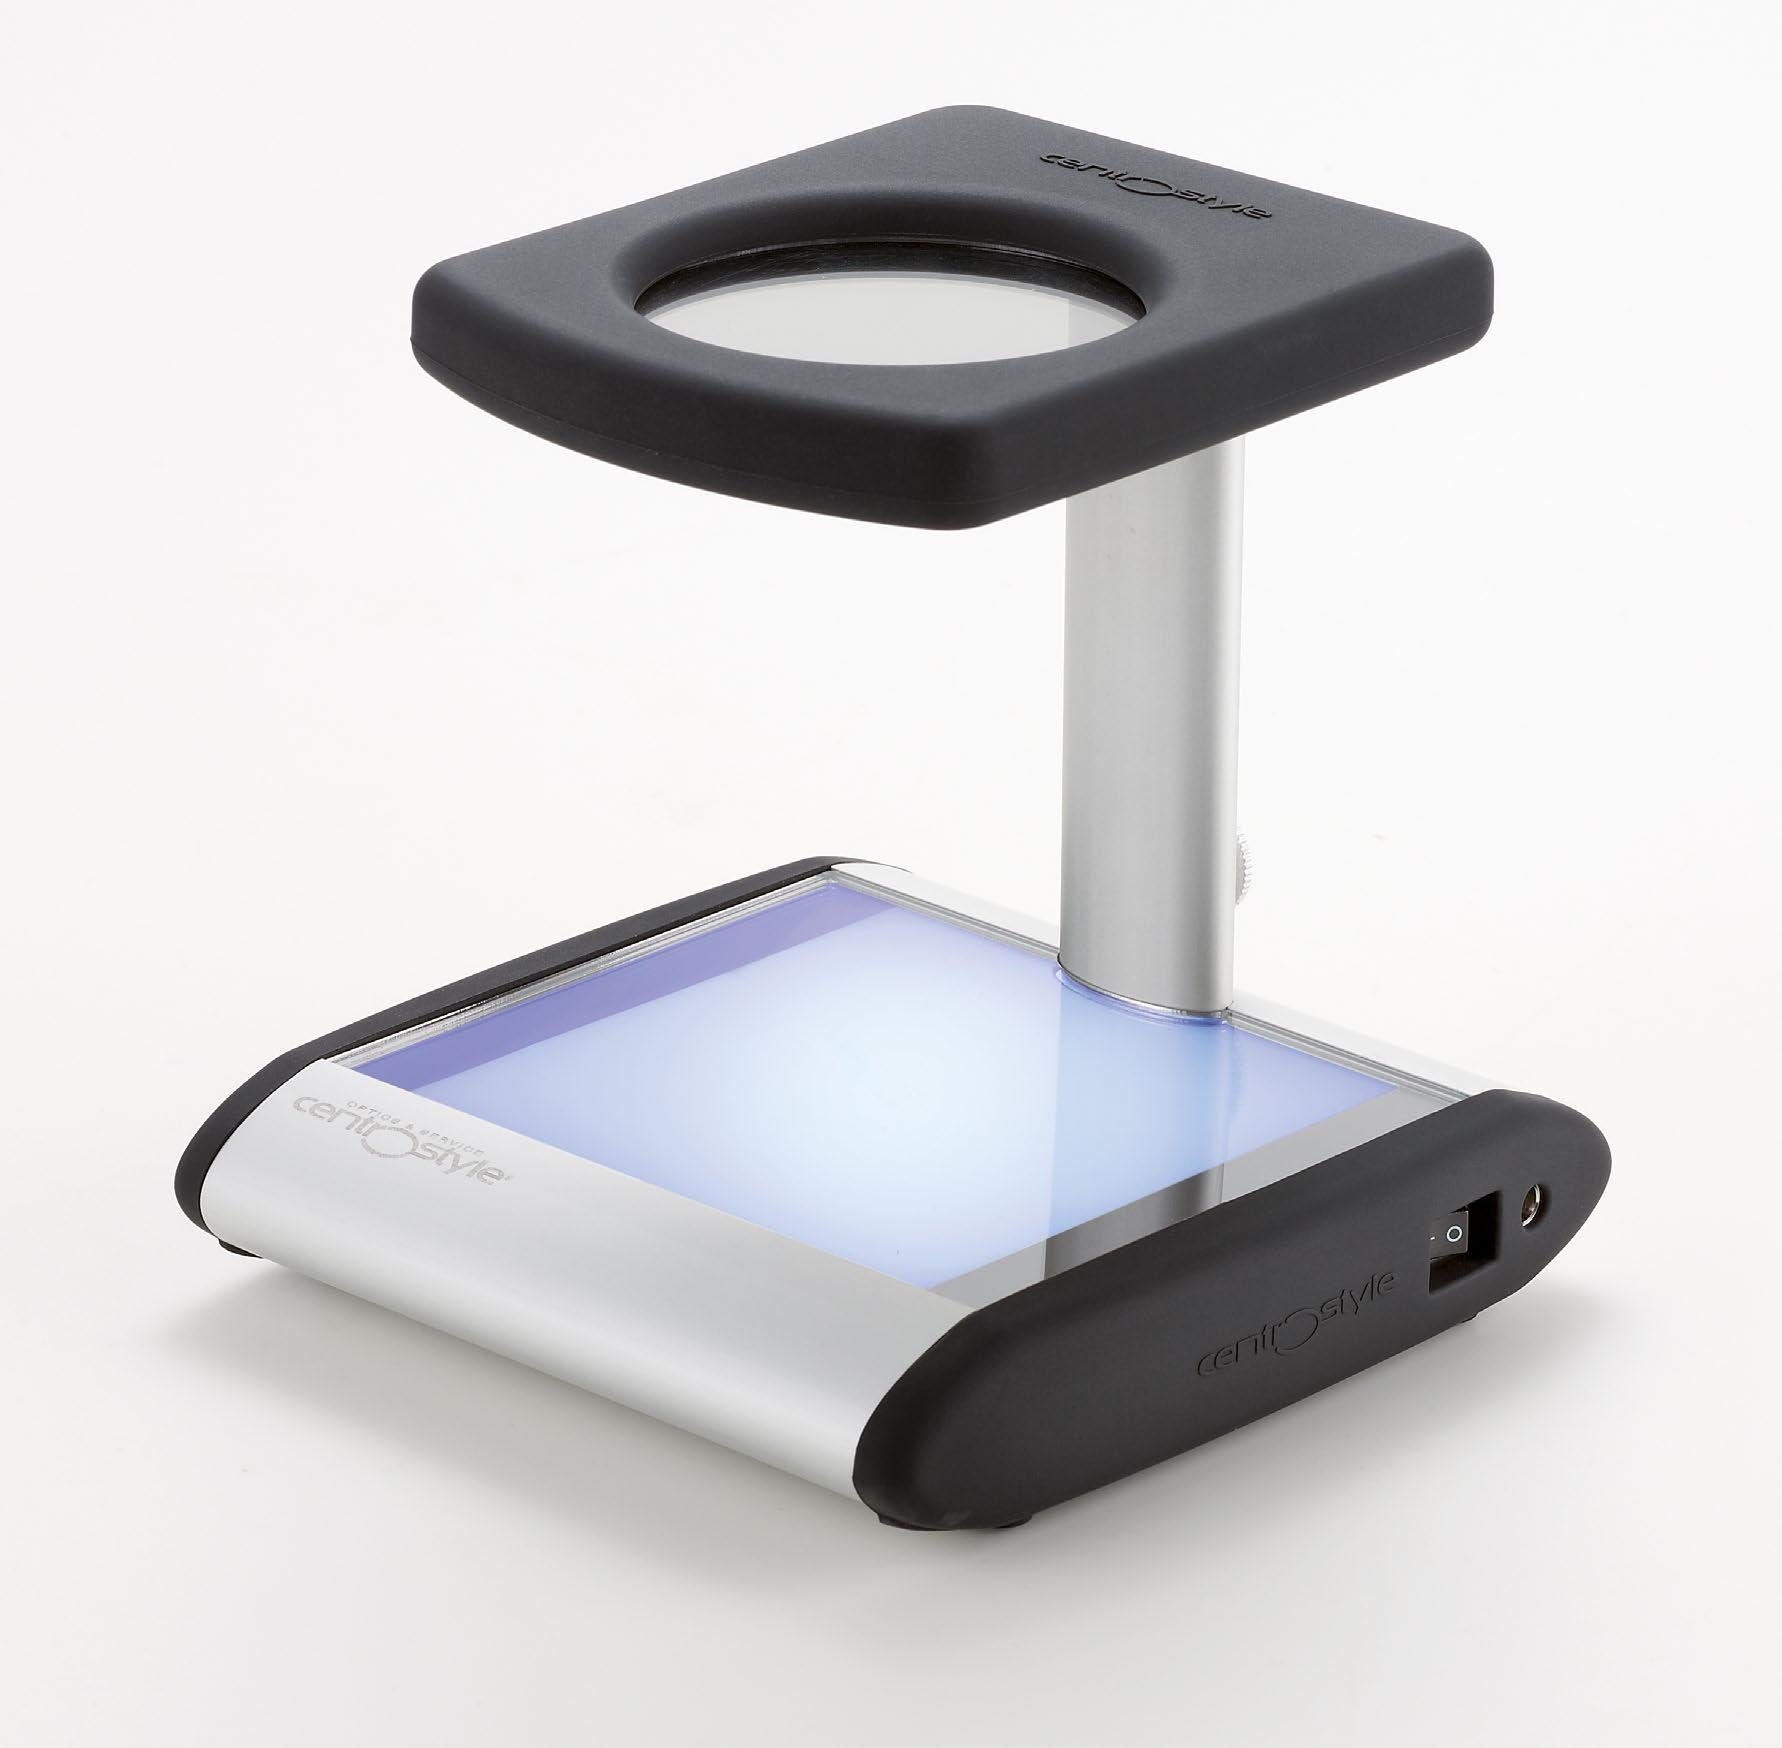
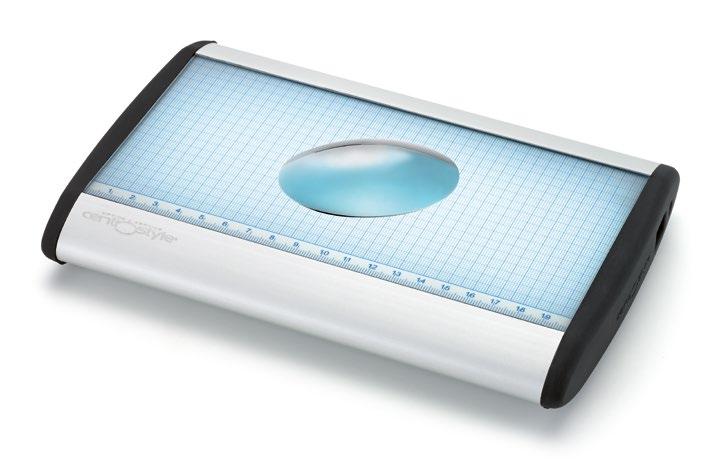
To test and demonstrate the photochromic properties of a lens
Long lasting LED-technology
UV-LED for photochromic testing
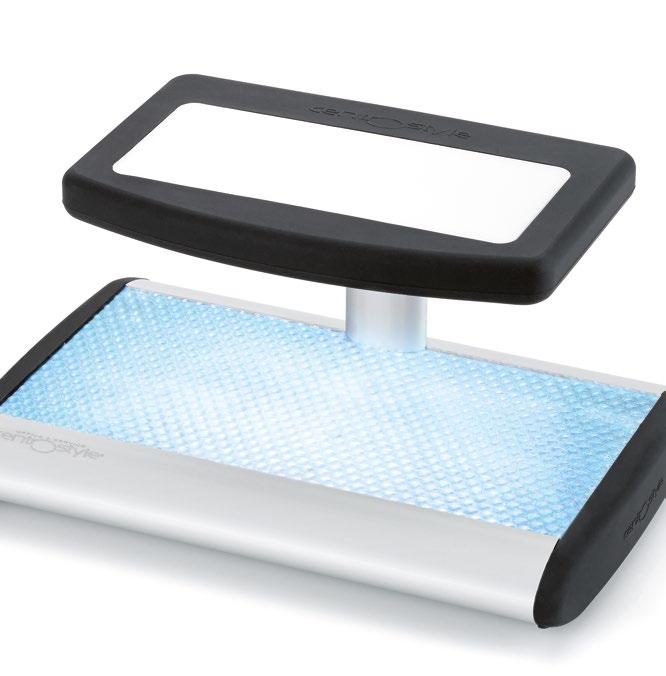
Light pad with white LED light (5350 K)
Low power consumption

Ref. 05063
The photochromic lens tester with LED technology allows to quickly demonstrate the photochromic properties of a lens.
• Place the lens onto the lower surface under the UV LED lamps. The lens will darken in approx. 10 sec. The UV LED light does not alter the lens’s photochromic properties.
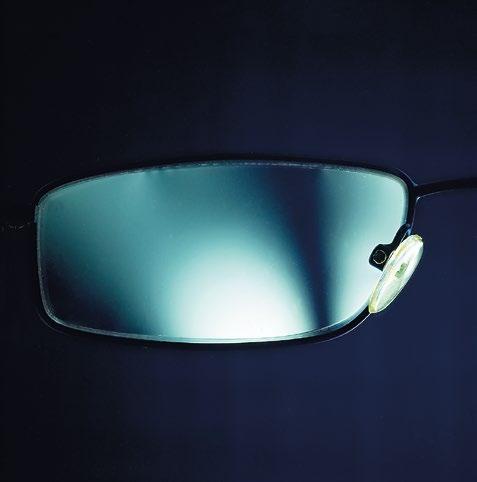
• Place the lens onto the upper light pad to check the colour intensity.
The white LED light simulates sunlight and allows to show the colour shade of a sunlens in a realistic way. It avoids colour alteration caused by artificial light.
Power supply: 230 V AC (12V 2A with transformer)
Dimensions: 220x145x210 mm.
Weight: 0.80 kg.
IDEAL TEST TO HIGHLIGHT THE ADVANTAGES OF A POLARIZED VISION USING GLASSES WITH POLARIZED LENSES.
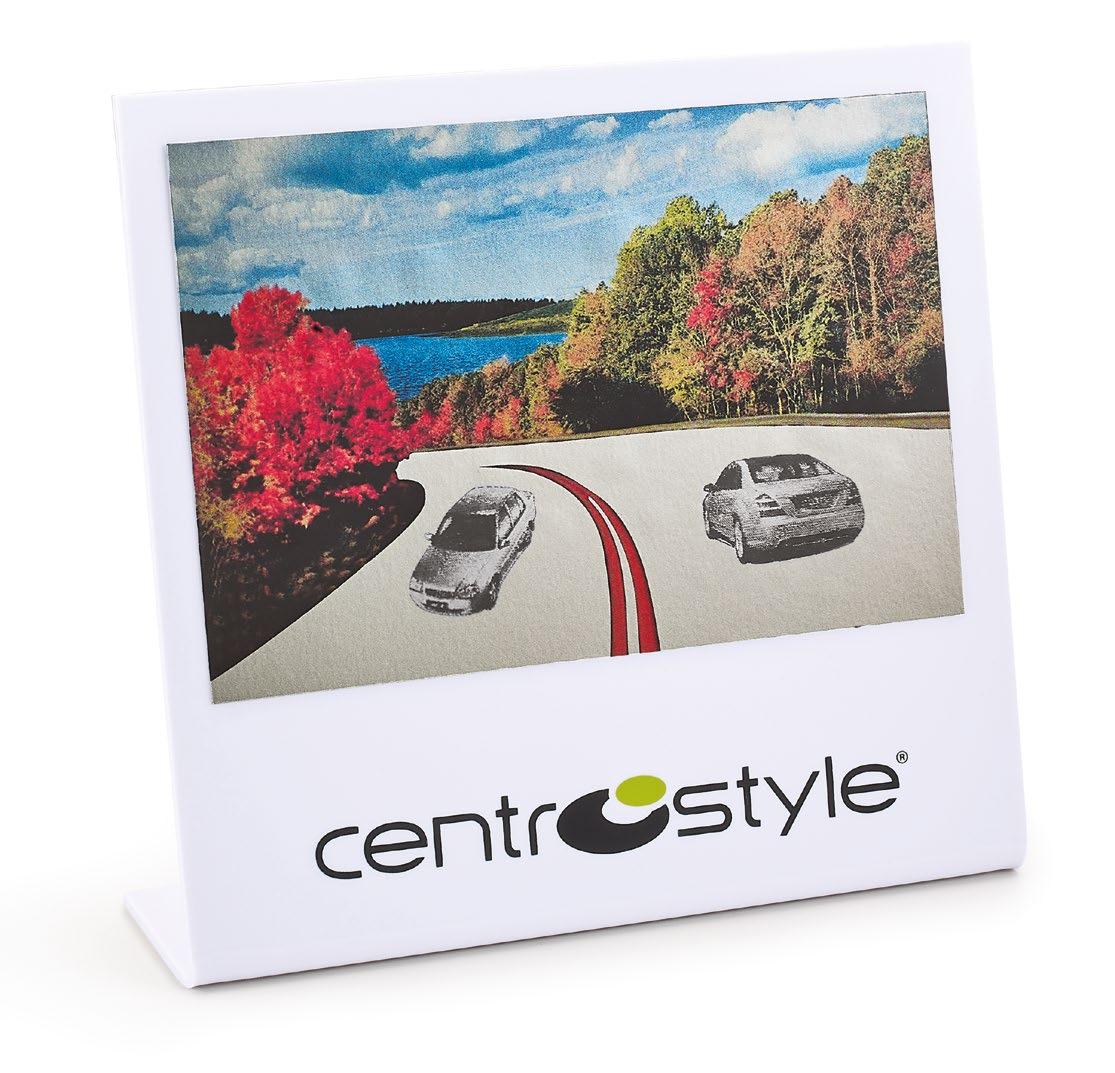


Ref. 06596
Plexiglass display with road safety-oriented graphics.
Dim.: Display: 170x160 mm - Imagine: 150x100 mm
Weight: 110 gr 1 pc.
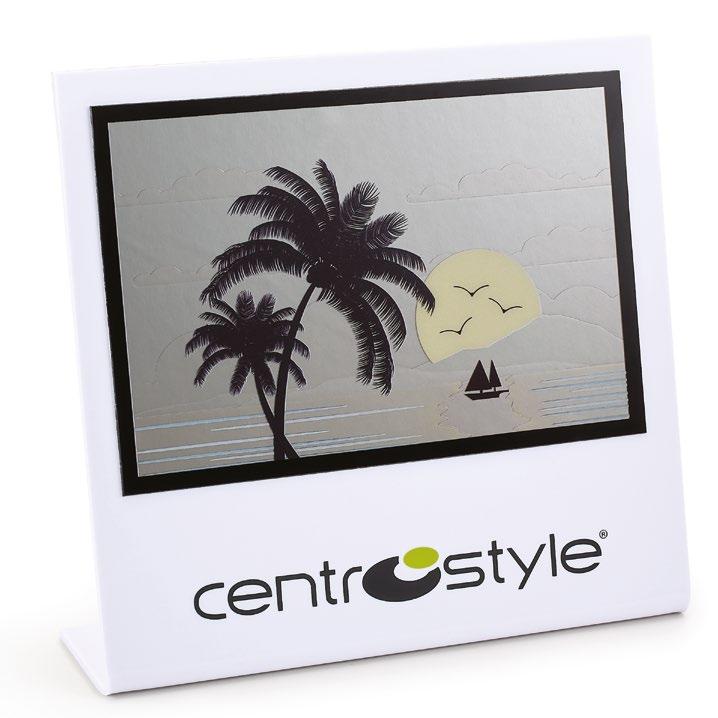
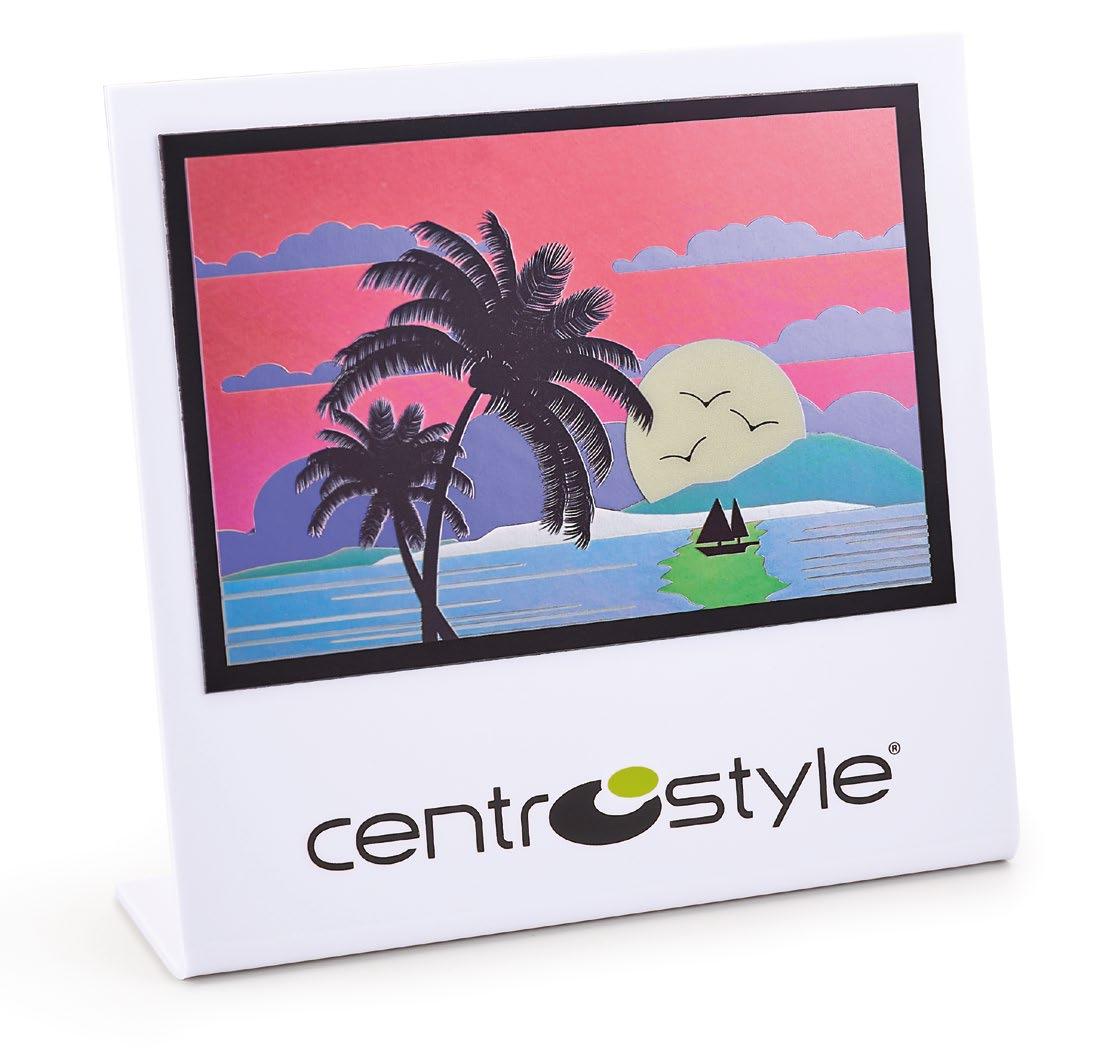
Ref. 06597
Plexiglass display with graphics to highlight the contrast of colors in full sun.
Dim.: Display: 170x160 mm - Imagine: 150x100 mm
Weight: 110 gr. 1 pc.

Ref. 06598
PVC Card with color effect for a quick polarized vision test.
Dim.: Card: 85x55 mm - Imagine: 50x20 mm
Weight: 5 gr. 10 pcs.
White LED 5350 Kelvin sunlight
Long lasting LED technology
White LED light 5350 Kelvin
Low power consumption
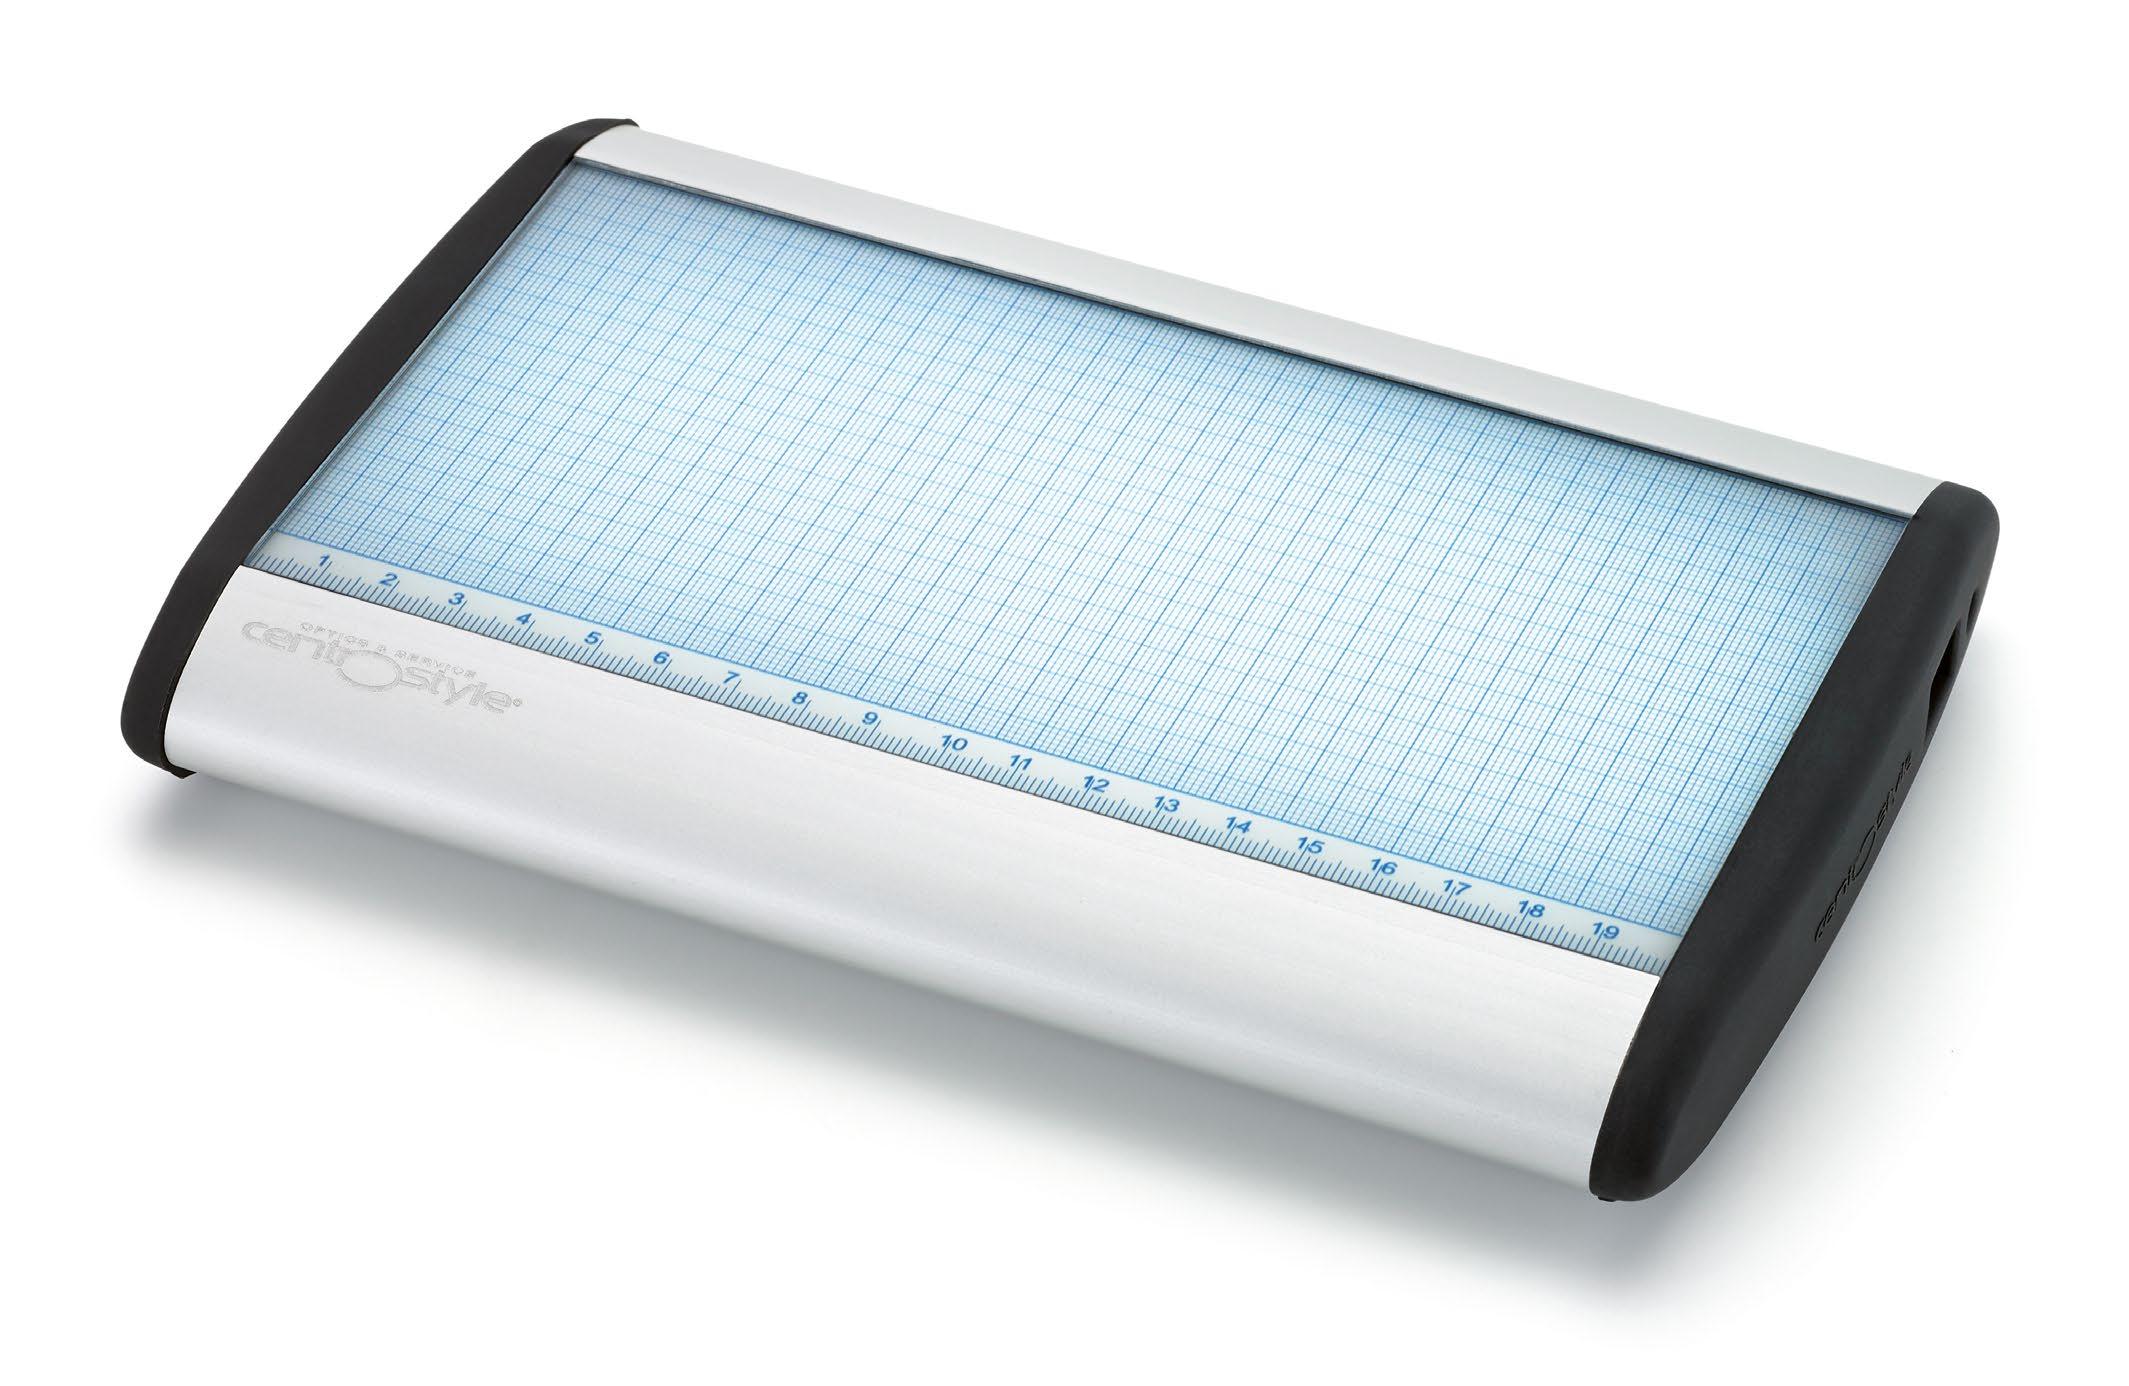
Ref. 05049
The LED technology light pad allows to quickly demonstrate the colour intensity of a lens.
The white LED light simulates sunlight and allows to show the colour shade of a sunlens in a realistic way. It avoids colour alteration caused by artificial light.
Power supply: 230 V AC
(12V 0.3A with transformer)
Dimensions: 220x145x31 mm.
Weight: 0.60 kg.
Lens tester for lenses with photochromic treatments - UV - Blue light + polymerising UV glues.
TEST ACTIVATION BUTTON 10 SECOND TEST TIMER
BLUE LIGHT TEST ACTIVATION
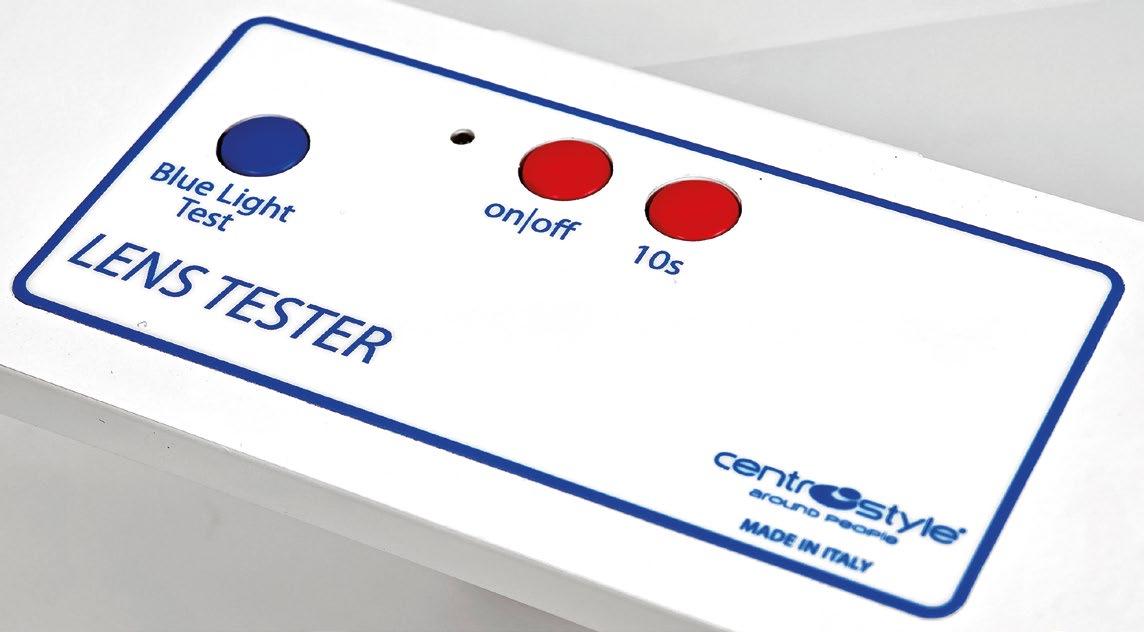

Ref. 05047
• To demonstrate the photochromic properties of lenses
• To verify the “UV” protection treatment of transparent lenses
• To verify blue light protection treatment
• For the polymerisation of UV adhesives
Power supply: 230 V AC
Dimensions: 240x180x95mm
Weight: 1.0 Kg
LED wavelength used: 395-405nm
Ref. 05065
Instrument for checking CR39, polycarbonate and high index lenses.
This device will greatly assist in the quick and easy location of the various manufacturers’ marks placed on progressive lenses.
This is achieved by special background contrasting and lighting. The mounted magnifier assists in the reading of these marks.
• manufacturer’s markings.
• lens type ID.
• added power.
These markings identifications have been improved by:
• 5000°K led illumination.
• Adjustable inclination for a better reading.
Power supply: 230 V AC (12V with transformer)
Size: 155x135x270 mm
Weight: 0.9 kg

STRAIN GAUGE
Ref. 05068
To detect stress in fitted lenses. Fitting lenses into frames always produces stress in lenses. Identifying the stress quickly with the help of this Strain Gauge will prevent chipping and breaking of glass lenses and distortions in organic lenses.
This instrument has been improved by:
• 5000°K led illumination.
• Adjustable inclination for a better check.
The Strain Gauge will also indicate if a lens has been toughened by the heat method. This is shown by a “cross” shadow in the lens. We recommend that you test the lens stress using our Size Testing Plier Ref. 03330 before assembly.
Power supply: 230V AC (12V with transformer)
Size: 155x135x167 mm.
Weight: 0.8 kg.

Page 38
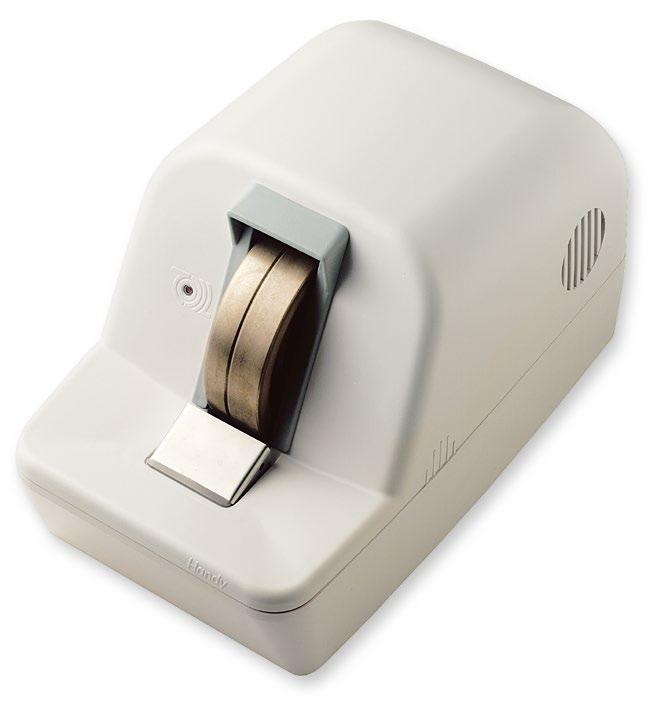
Hand
Bench
Page 40 Page 41
Water tank
Water flux regulation for the cooling system
Sensor for automatic starting and stopping
Standard diamond wheel
Sponge holder
Switch for the direction of rotation
Hand edger complete with:
• Removable water tank
• Hand valve for water flux regulation
• Internal water tray with tail pipe
• Wheel can be set to rotate in either direction
• One cleaning stick included. Available with three different diamond wheels Ø 100 mm for CR39, glass (not for Ref. 05110), high index, polycarbonate lenses.
Switch ON/OFF
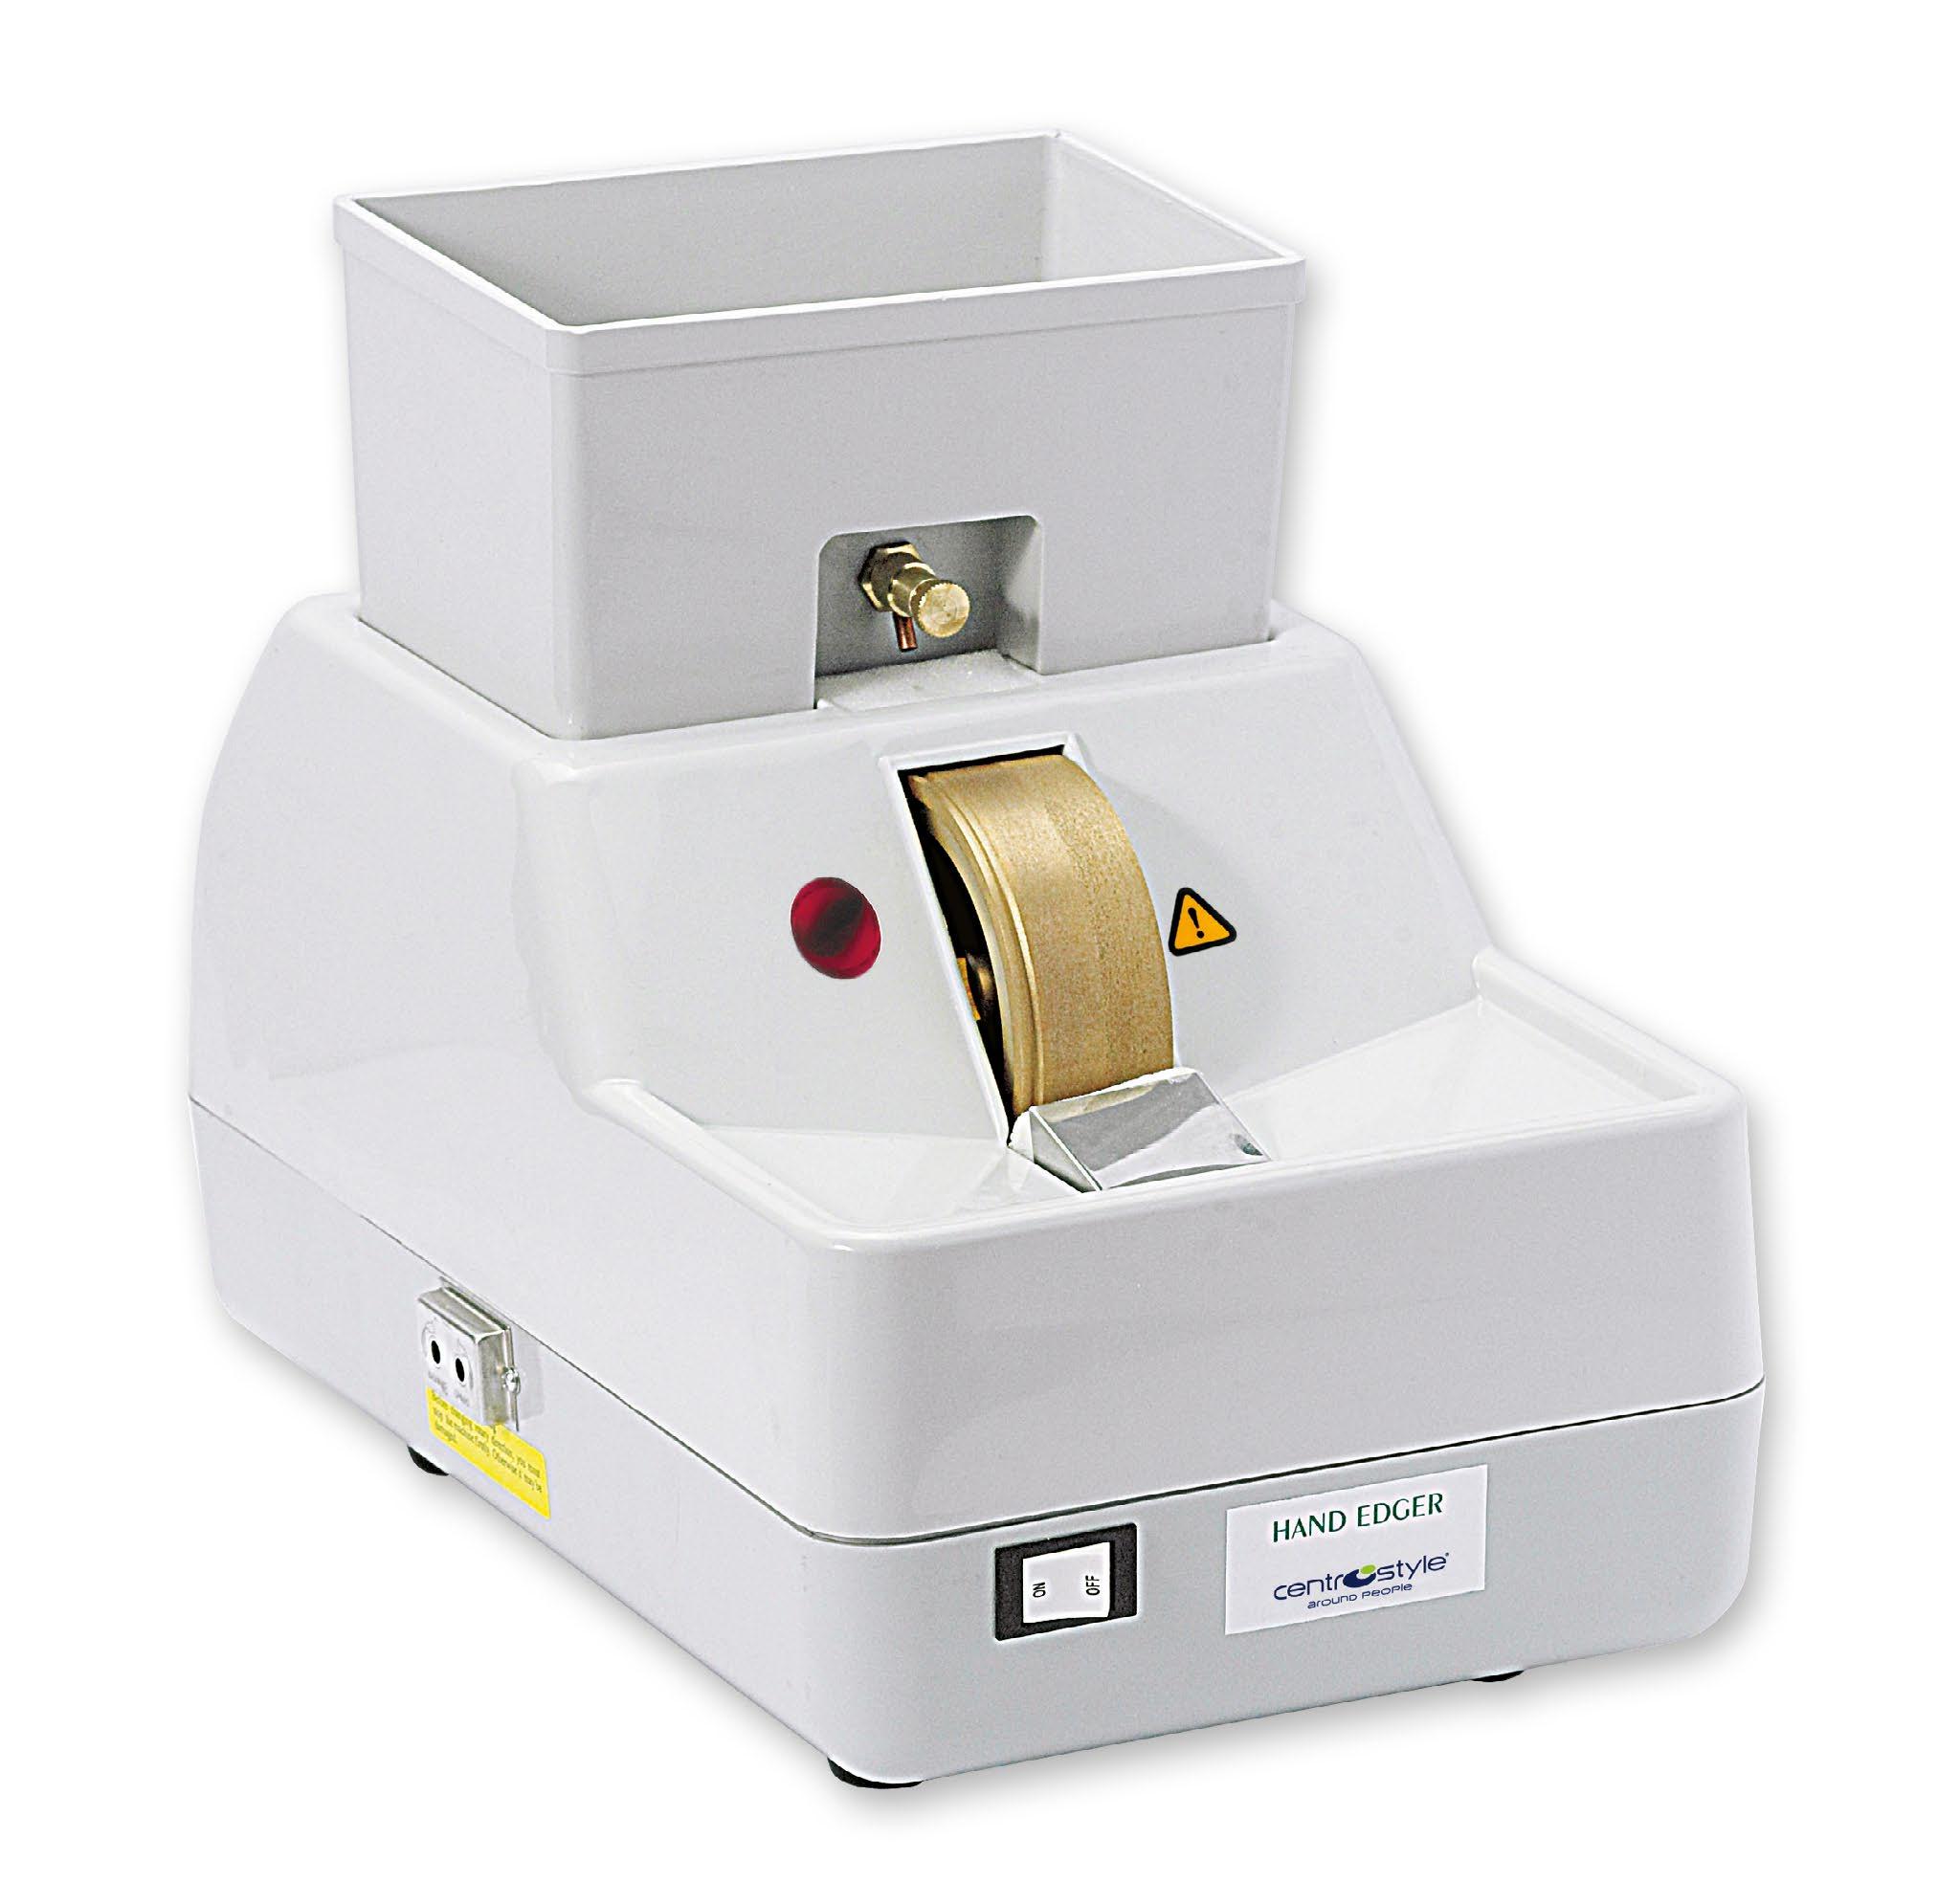
Power supply: 230V AC - 50Hz
Size: 220x360x280 mm
Weight: 8 kg
Hand edger with standard diamond wheel Ref. 05116 for rough and finishing. Cleaning sticks Ref. 07300 included.
Hand edger with special diamond wheel Ref. 05117 for rough and finishing. Cleaning sticks Ref. 07300 included.
Hand edger with special diamond wheel Ref. 05118 for finishing.
Compact design and very quiet running
Long life ABS casing and non-corroding metal parts
Infra-red sensor for automatic starting and stopping
Wheel can be set to rotate in either direction
TWO DIFFERENT COOLING OPTIONS
• From the main water supply incorporating automatic cut-off valve when not in use (frequently use).
• An internal water tank (for light duty work)

With front facing diamond wheel - For finishing
With front facing diamond wheel
Technical features:
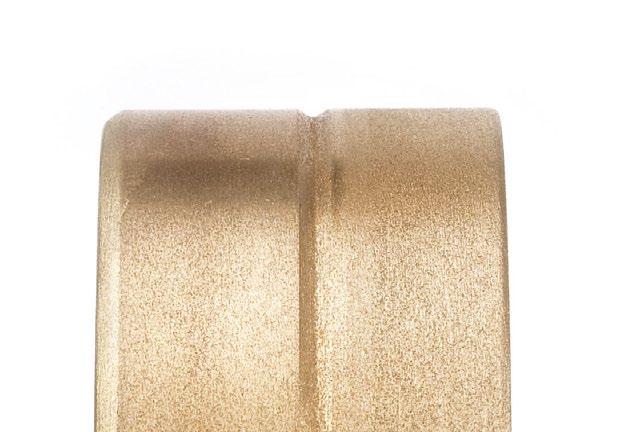
• Surface of the wheel with increased area of finishing, provided with V profile for chamfering.
• Wheel can be set to rotate in either direction.
• Internal tank can be easily removed for cleaning or for replacement of the refrigeration sponge.
Available with two different finishing wheels for CR39, glass, high index, polycarbonate lenses.
Ref. 05121
Frontal Hand Edger with Standard diamond wheel for finishing
Ref. 05122
Frontal Hand Edger with High Quality diamond wheel for finishing.
Complete with:
• • Removable internal tank
• • Water-bottle for cooling diamond wheel
• • Spare sponge
• • One cleaning stick.
Size. 175x175x260 mm.
Weight: 3,6 kg.
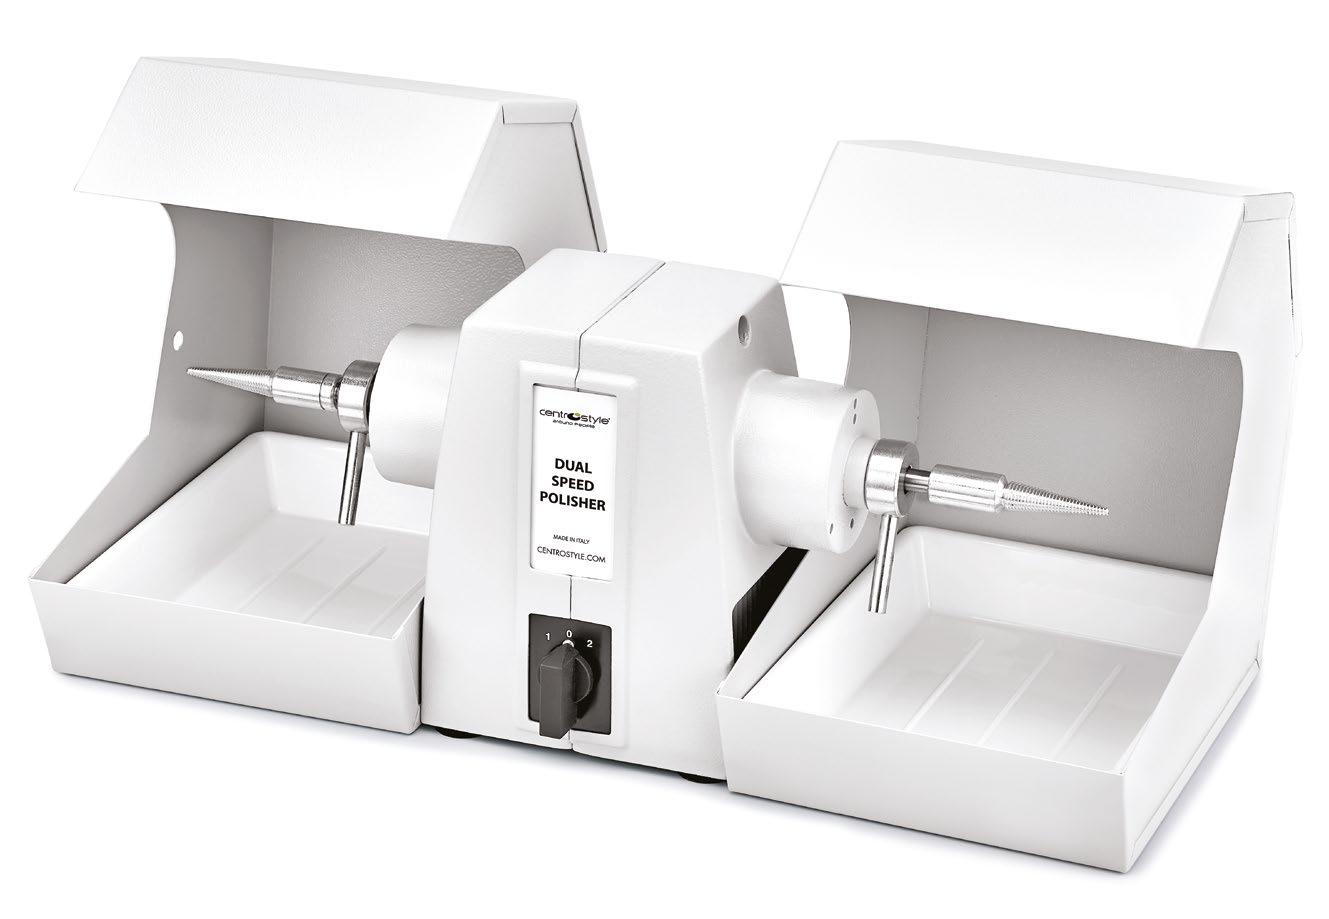
Dual speed 1.400-2.800 rpm
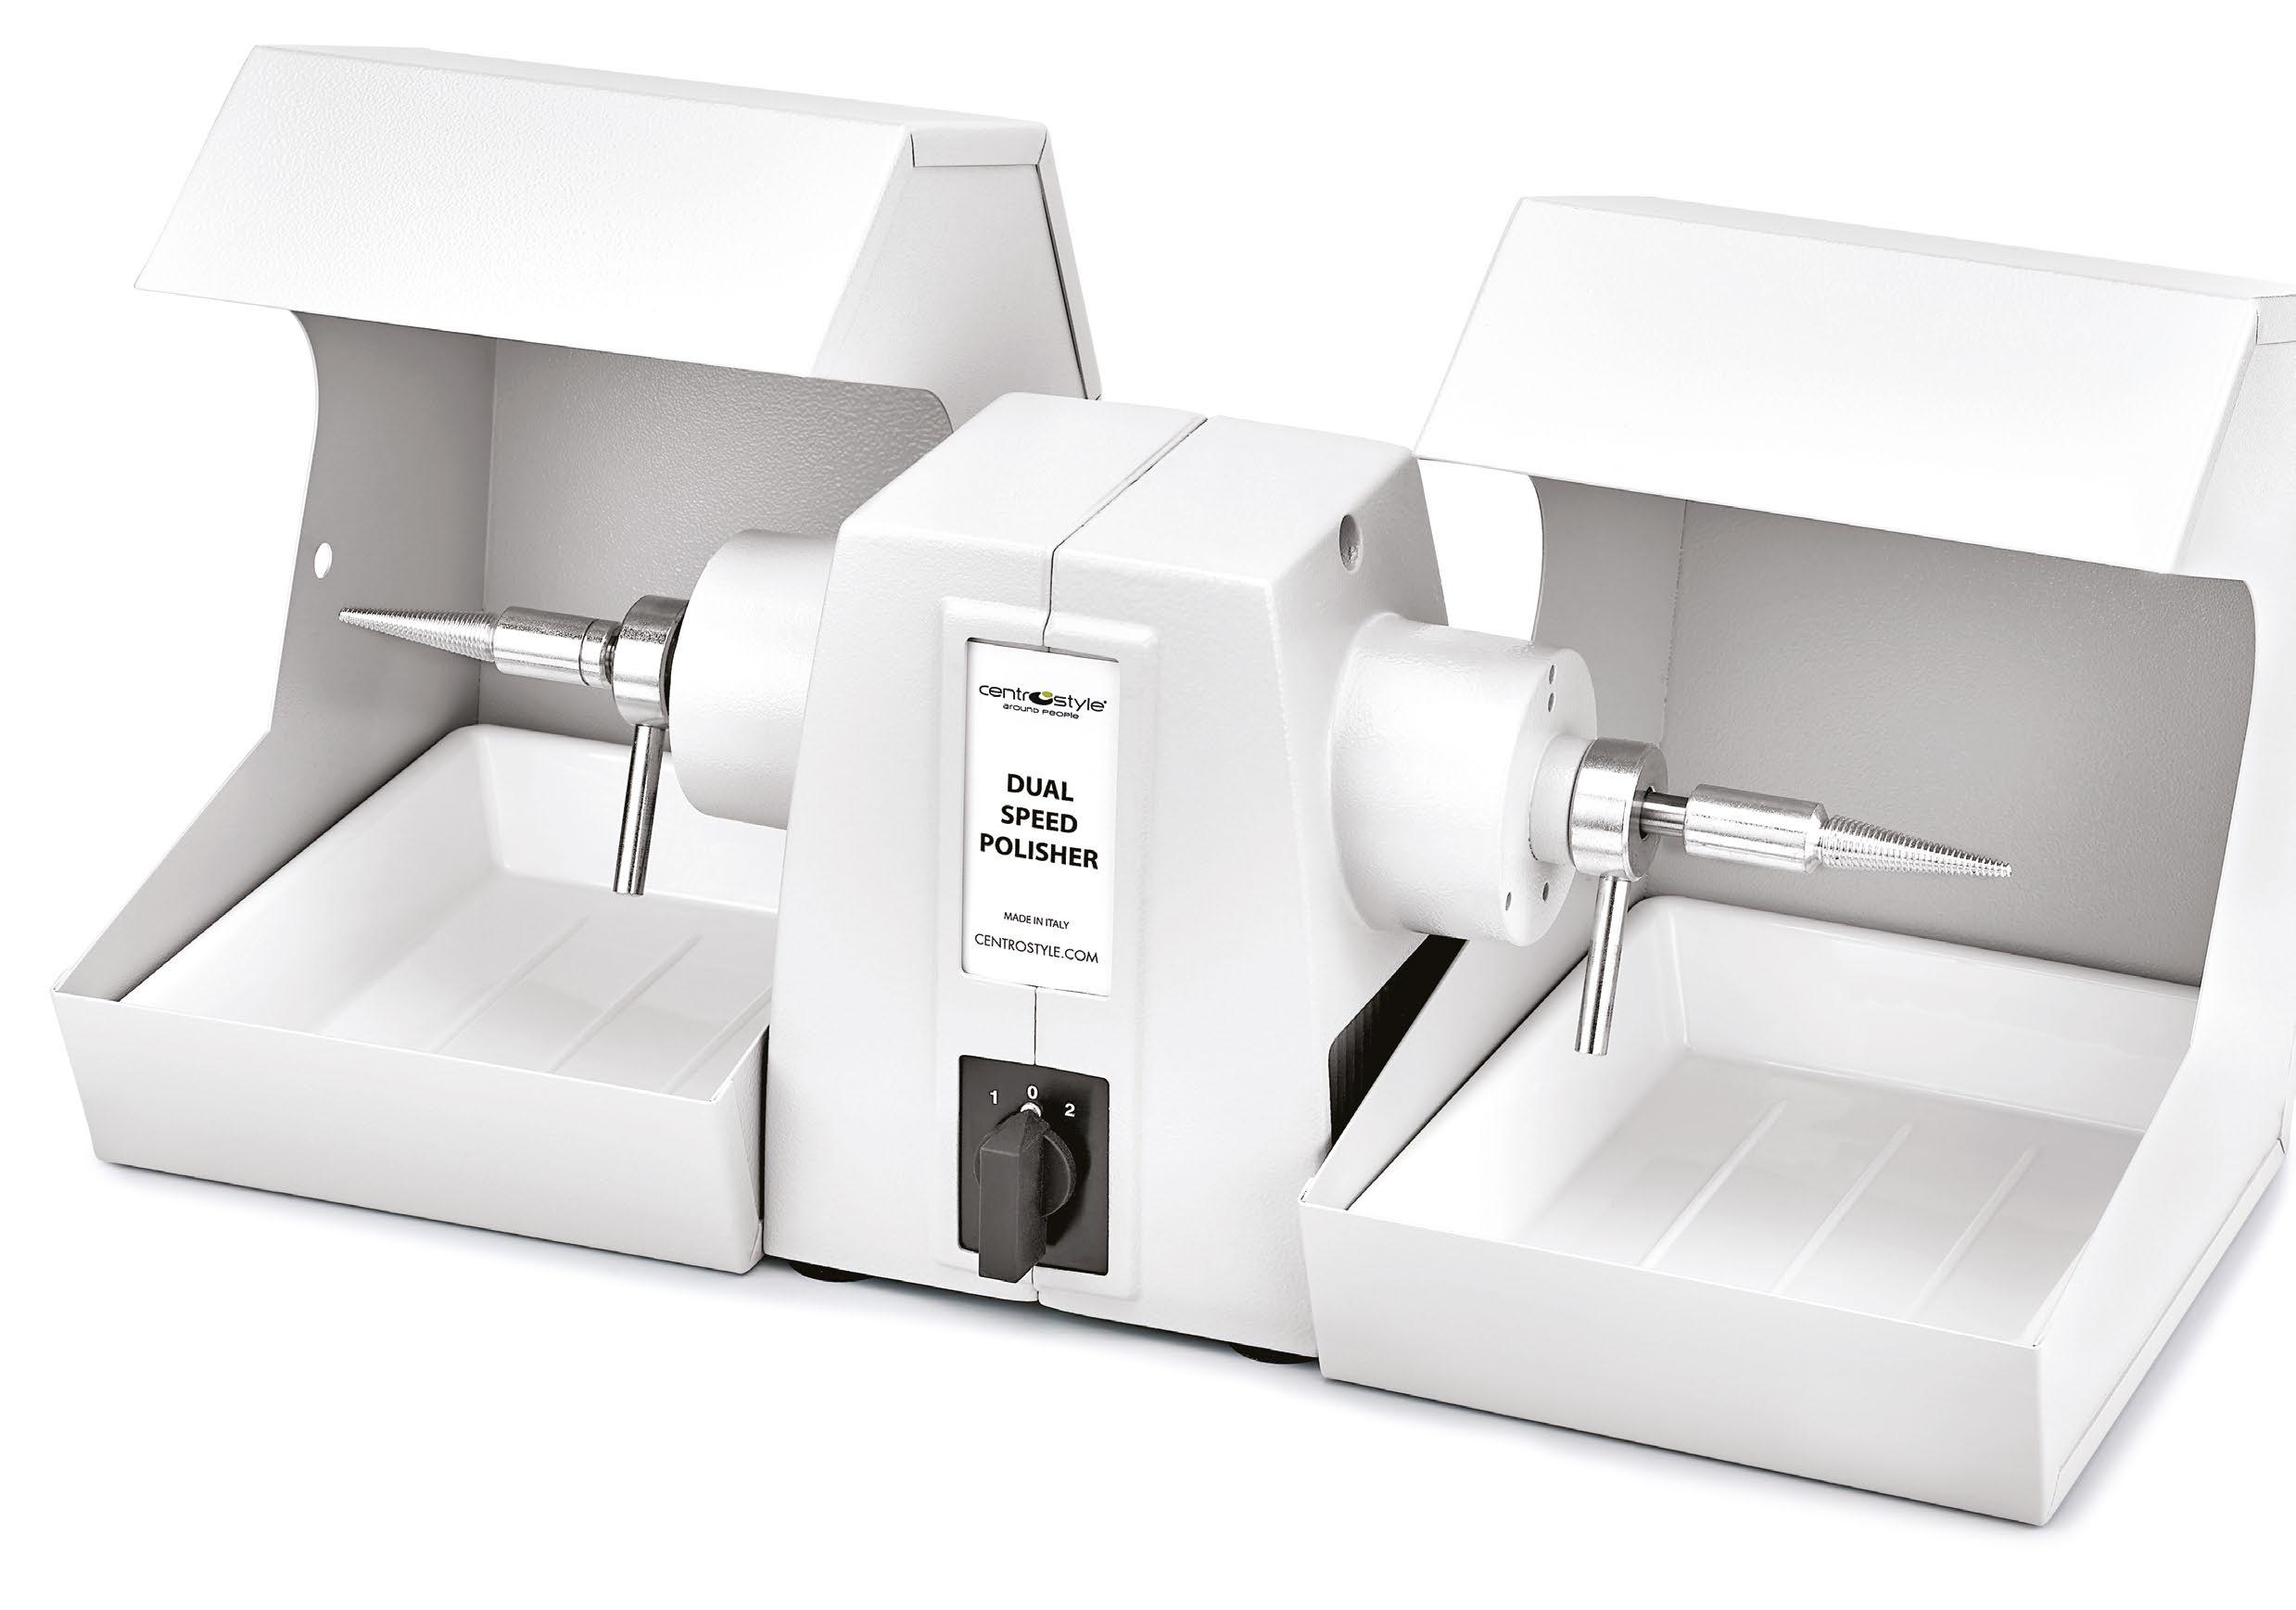
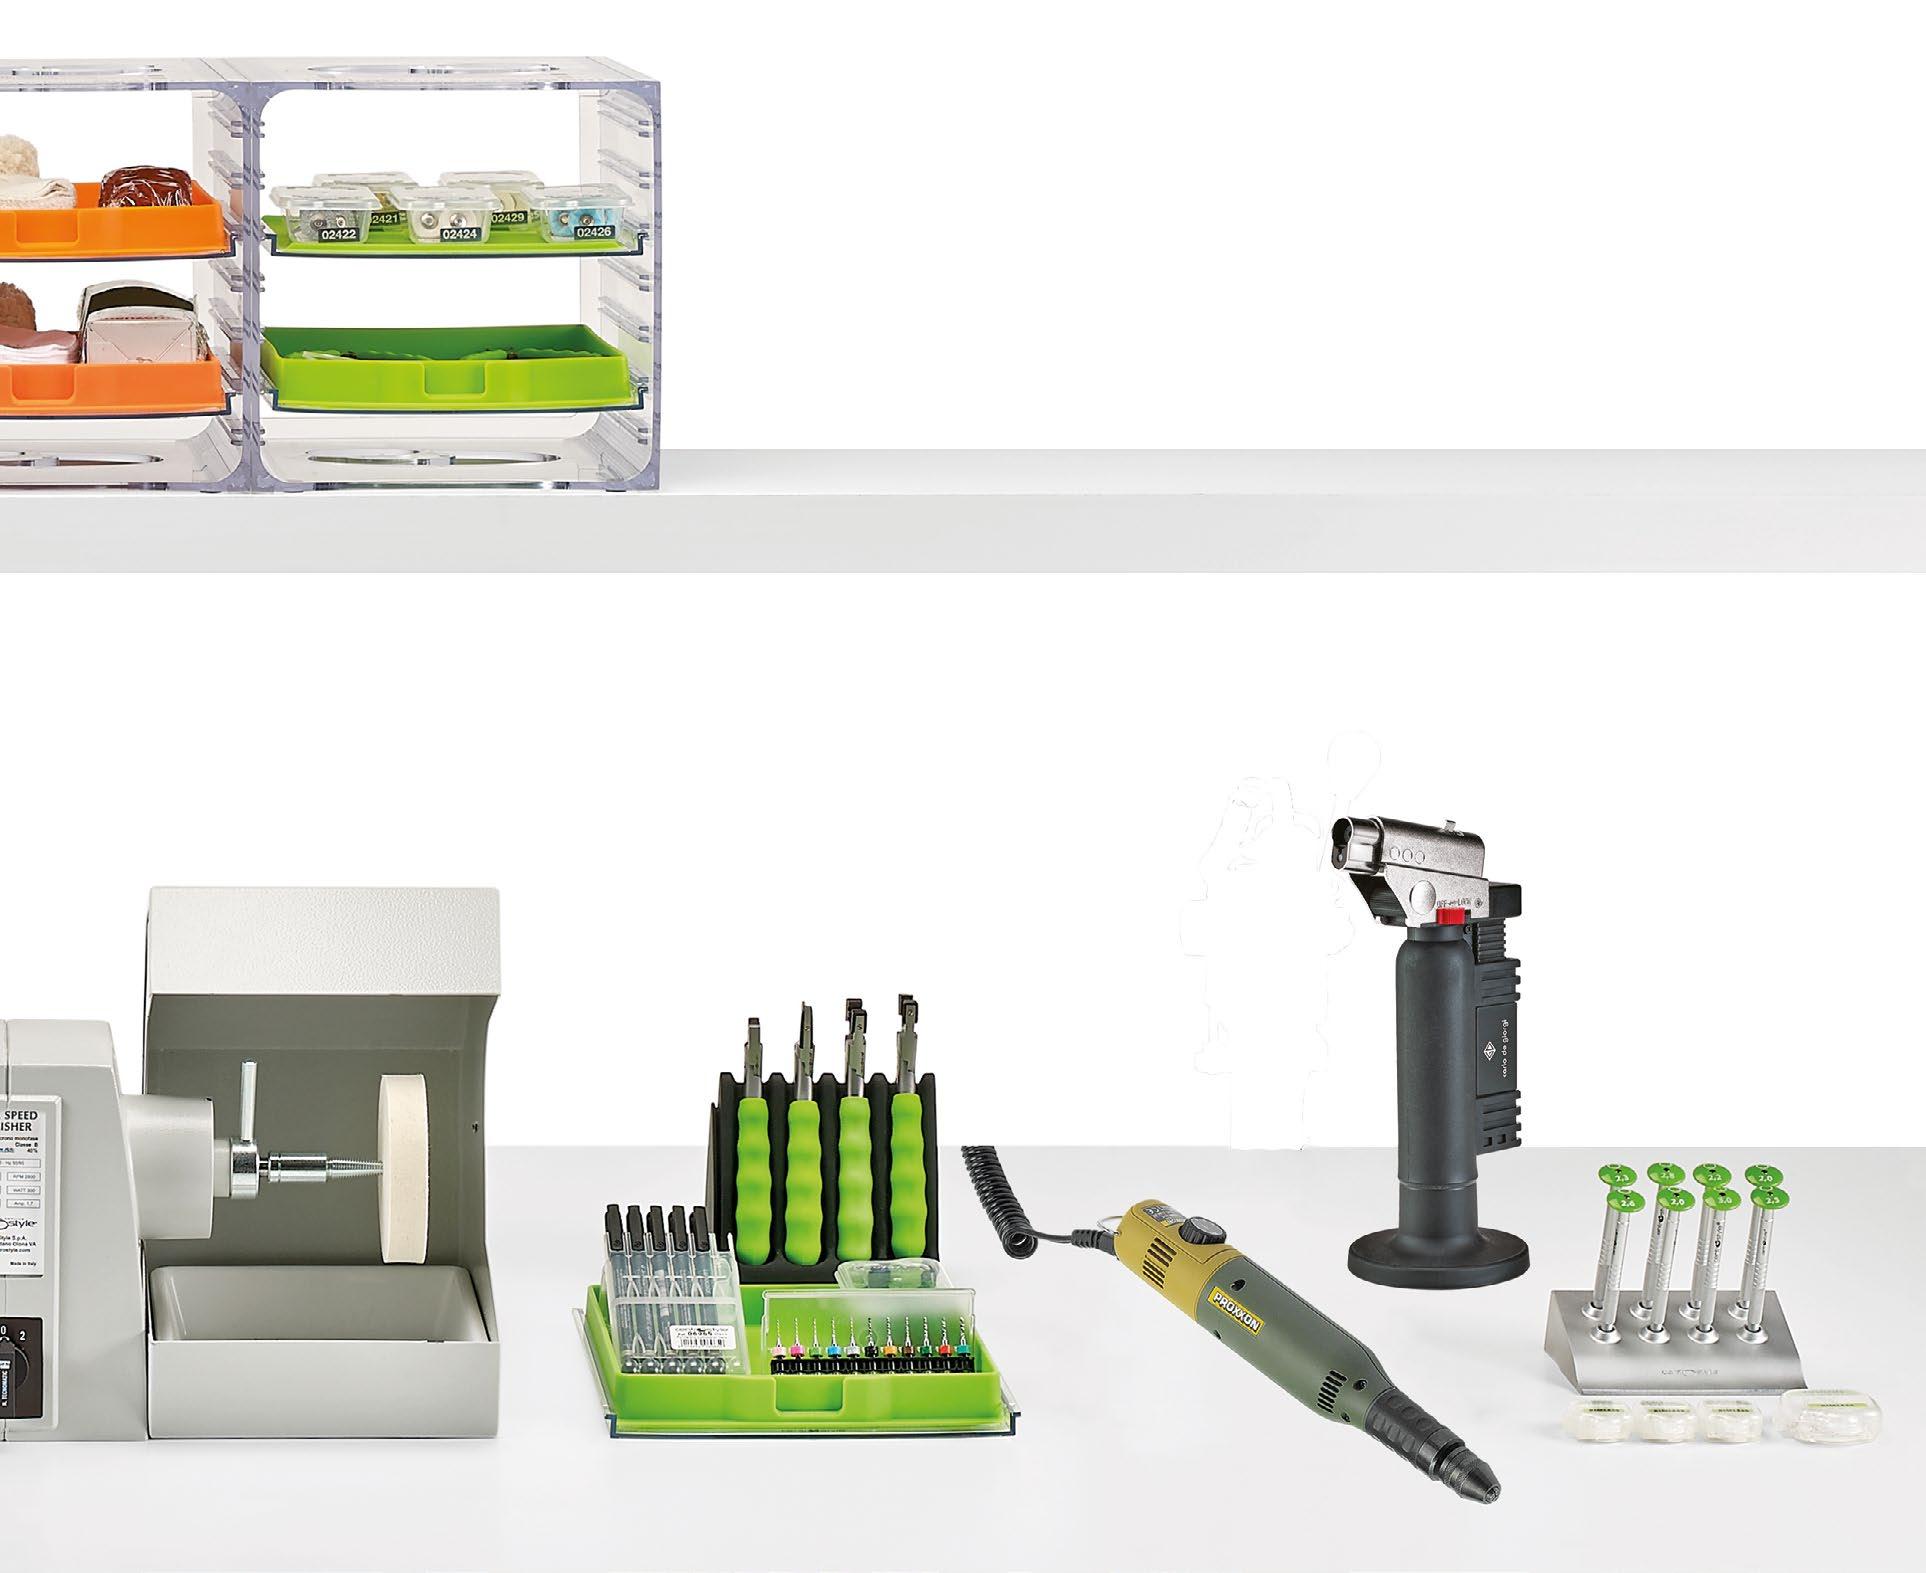
BENCH POLISHER WITH 2 DUST GUARDS
Ref. 05109
Polishing system complete with:
• Two speed motor 1.400-2.800 rpm (Ref. 05100).
• Two safety/dust guards with removable plastic trays
• Twin taper spindles for “quick” mount and removal of brush chucks
• Two threaded “quick mount” brush chucks, left and right handed threads
• One “quick mount” wheel chuck.
Size. 540x270x280 mm.
Weight: 12 kg.
POLISHING MOTOR
Ref. 05100
Two speed motor 1.400-2.800 rpm, complete with two threaded “quick mount” brush chucks and one “quick mount” wheel chuck.
Size: 440x130x210 mm
Weight: 6.4 kg
SPARE PARTS
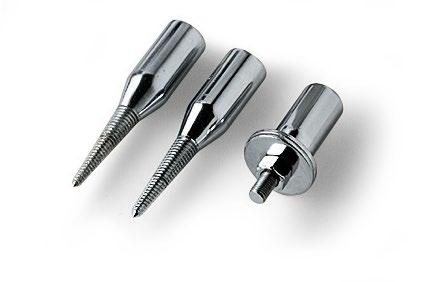
TAPER BRUSH CHUCKS AND WHEEL MANDREL
Ref. 05104
Pair of threaded “quick mount” brush chucks, left and right handed threads.
Ref. 05105
Taper wheel mandrel Ø 8 mm.
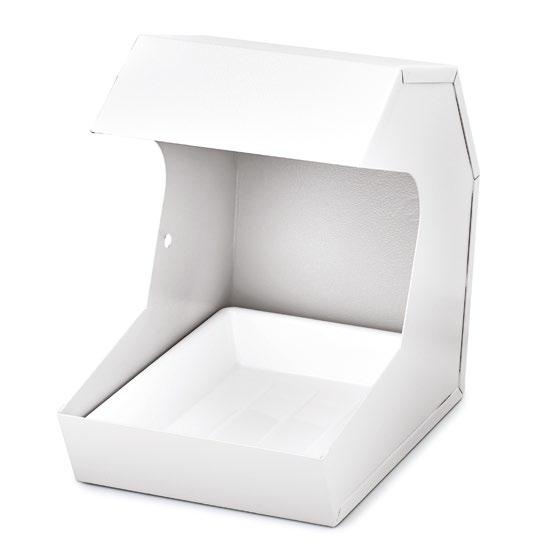
SAFETY / DUST GUARD
Ref. 05147
Safety / dust guard with removable tray - 1 pc.
Size: 190x270x280 mm
Weight: 2.6 kg.
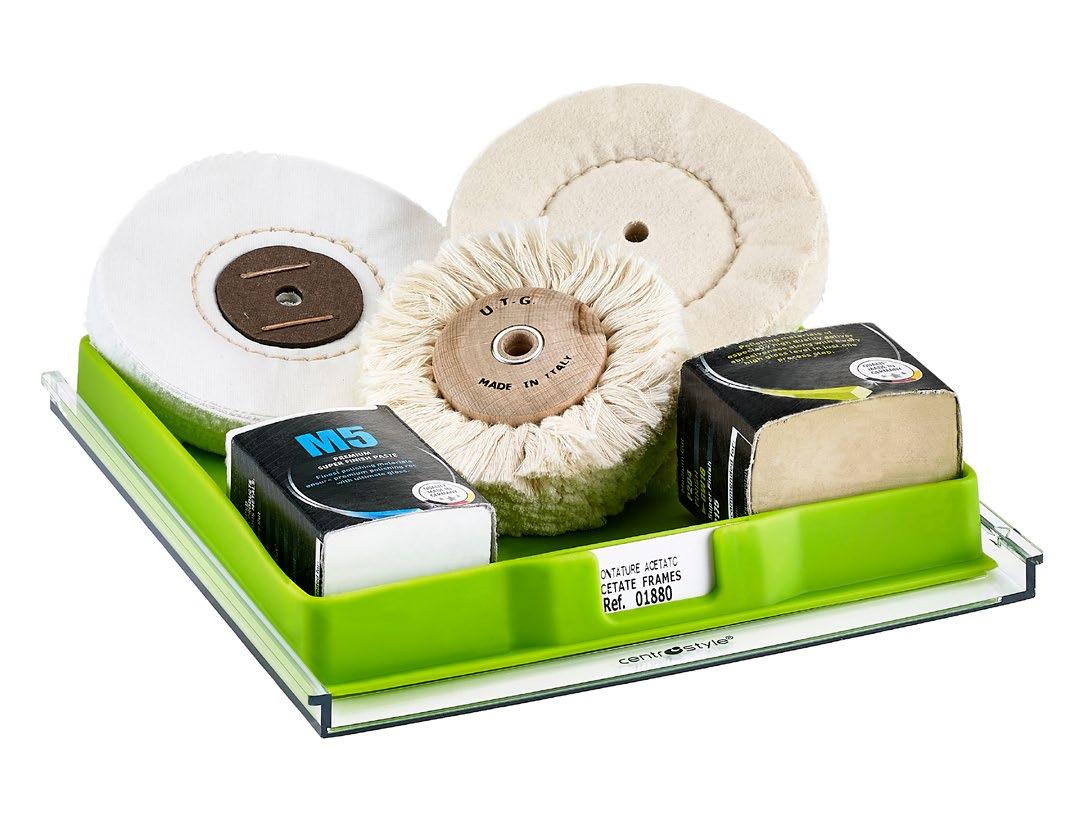
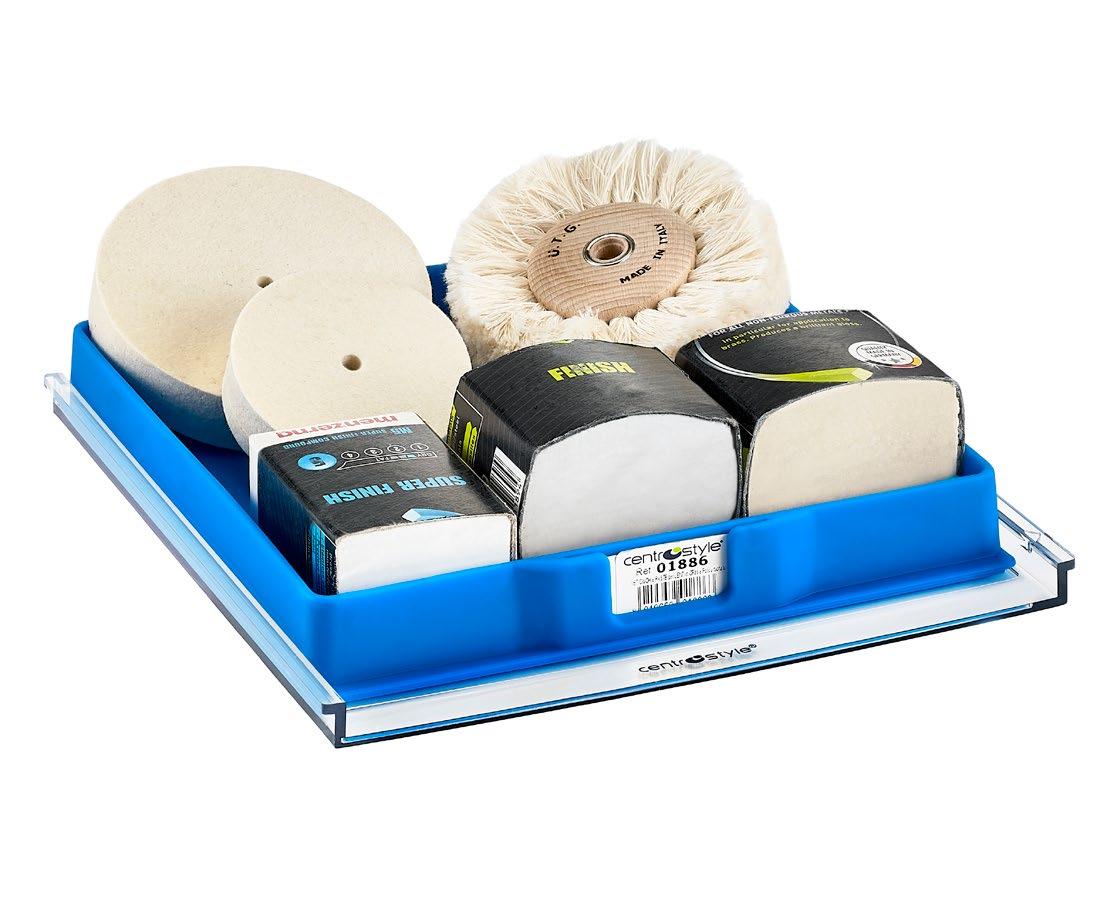
Ref. 01880
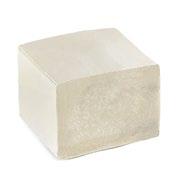
SET OF WHEELS AND COMPOUNDS FOR ACETATE FRAMES
Wheels: Ref. 05200, 05205, 05225
Compounds: Ref. 05280, 05282N.
Tray included, suitable for new LMS Cube.
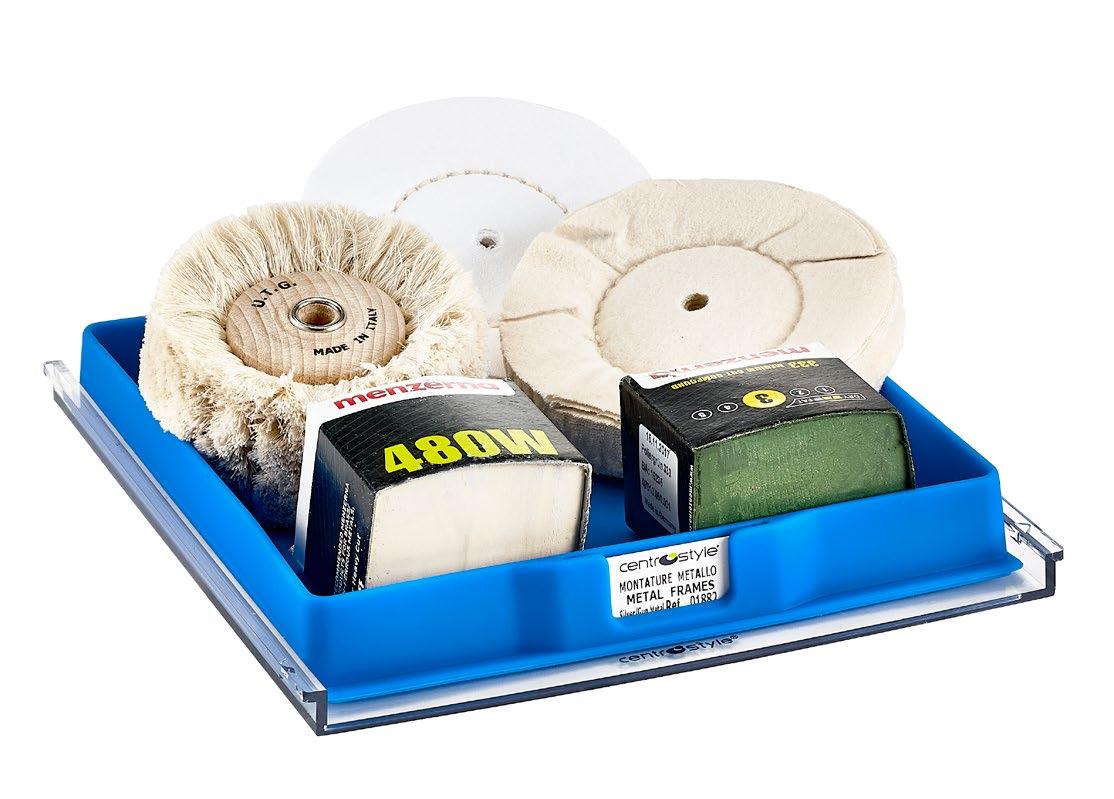
Ref. 01882
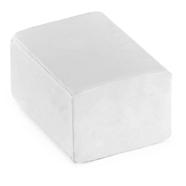
SET OF WHEELS AND COMPOUNDS FOR WHITE OR GUN METAL FRAMES
Wheels: Ref. 05200, 05205, 05225
Compounds: Ref. 05285, 05286.
Tray included, suitable for new LMS Cube.
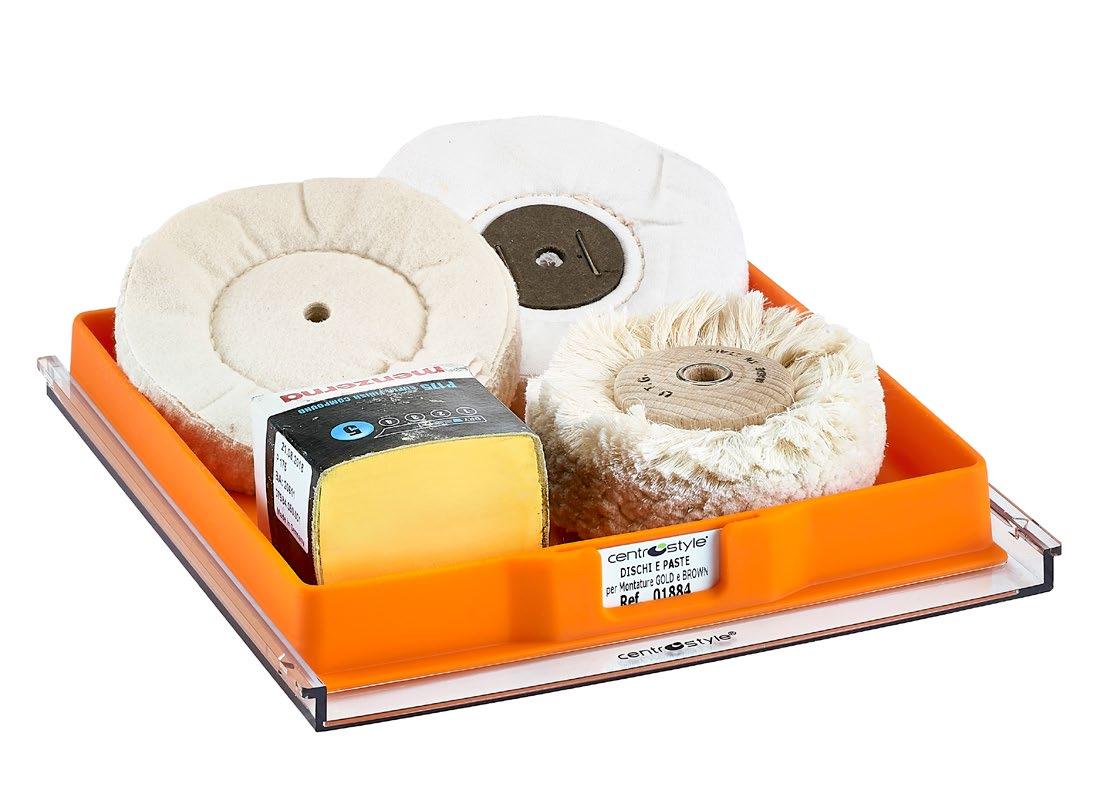
Ref. 01884
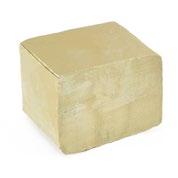
SET OF WHEELS AND COMPOUNDS FOR GOLD METAL FRAMES
Wheels: Ref. 05200, 05205, 05225
Compounds: Ref. 05289.
Tray included, suitable for new LMS Cube.
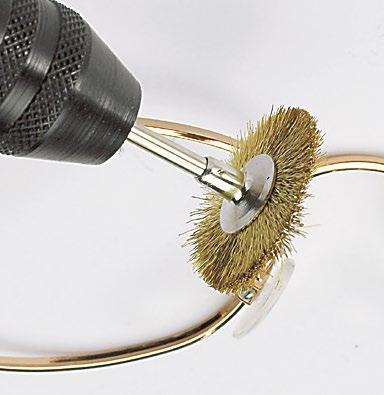
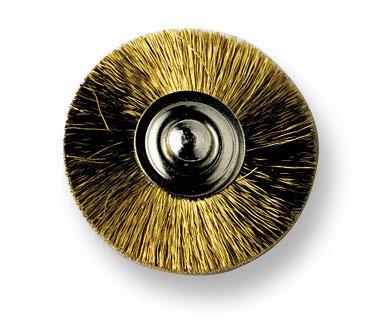
Ref. 05235
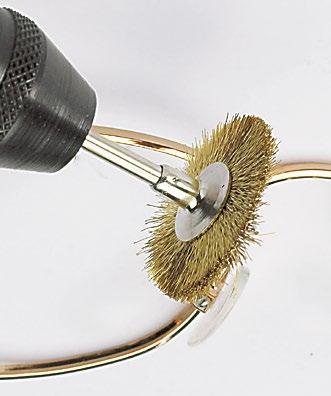
Brass wire
Ø 90 mm 8 mm Bore Ø 6.5 mm
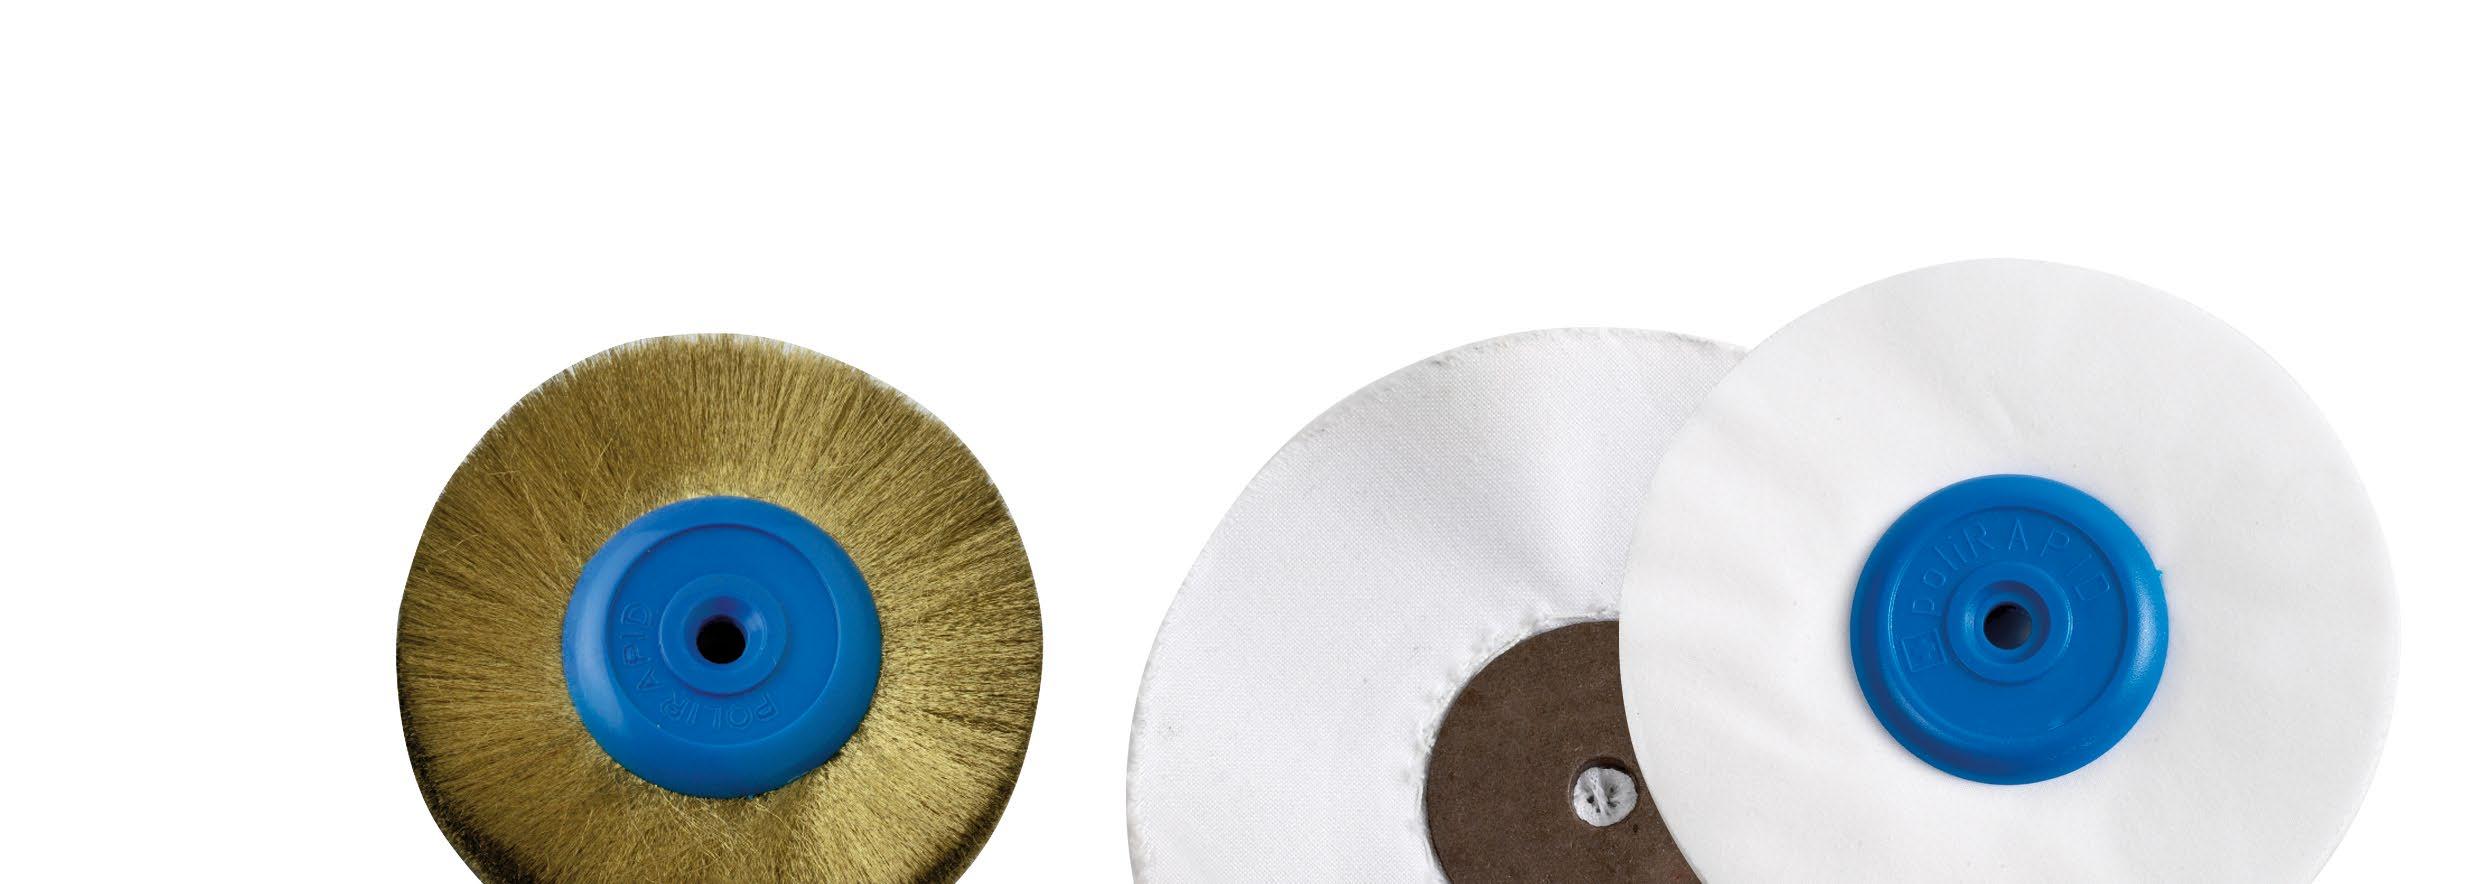
05205
Ref. 05220 Cotton Ø 100 mm 6 mm Tapered bore from Ø 8 a 6.5 mm
POLISHING
Apply gentle pressure to avoid overheating.
FINE POLISHING
Apply gentle pressure to avoid overheating. Use a thin layer of compound frequently.
GLOSSING
Apply gentle pressure to avoid overheating. After glossing always wipe off compound residue with a soft cloth. Clean in ultrasonic bath.
POLISHING
Apply gentle pressure to avoid overheating.
FINE POLISHING
Apply gentle pressure to avoid overheating. Use a thin layer of compound regularly.
GLOSSING
Apply gentle pressure to avoid overheating. After glossing always wipe off compound residue with a soft cloth. Clean in ultrasonic bath.
HARD POLISHING
Apply gentle pressure to avoid overheating.
POLISHING
Apply gentle pressure to avoid overheating.
FINE POLISHING
Apply gentle pressure to avoid overheating. Use a thin layer of compound regularly.
GLOSSING
Apply gentle pressure to avoid overheating. After glossing always wipe off compound residue with a soft cloth. Clean in ultrasonic bath.
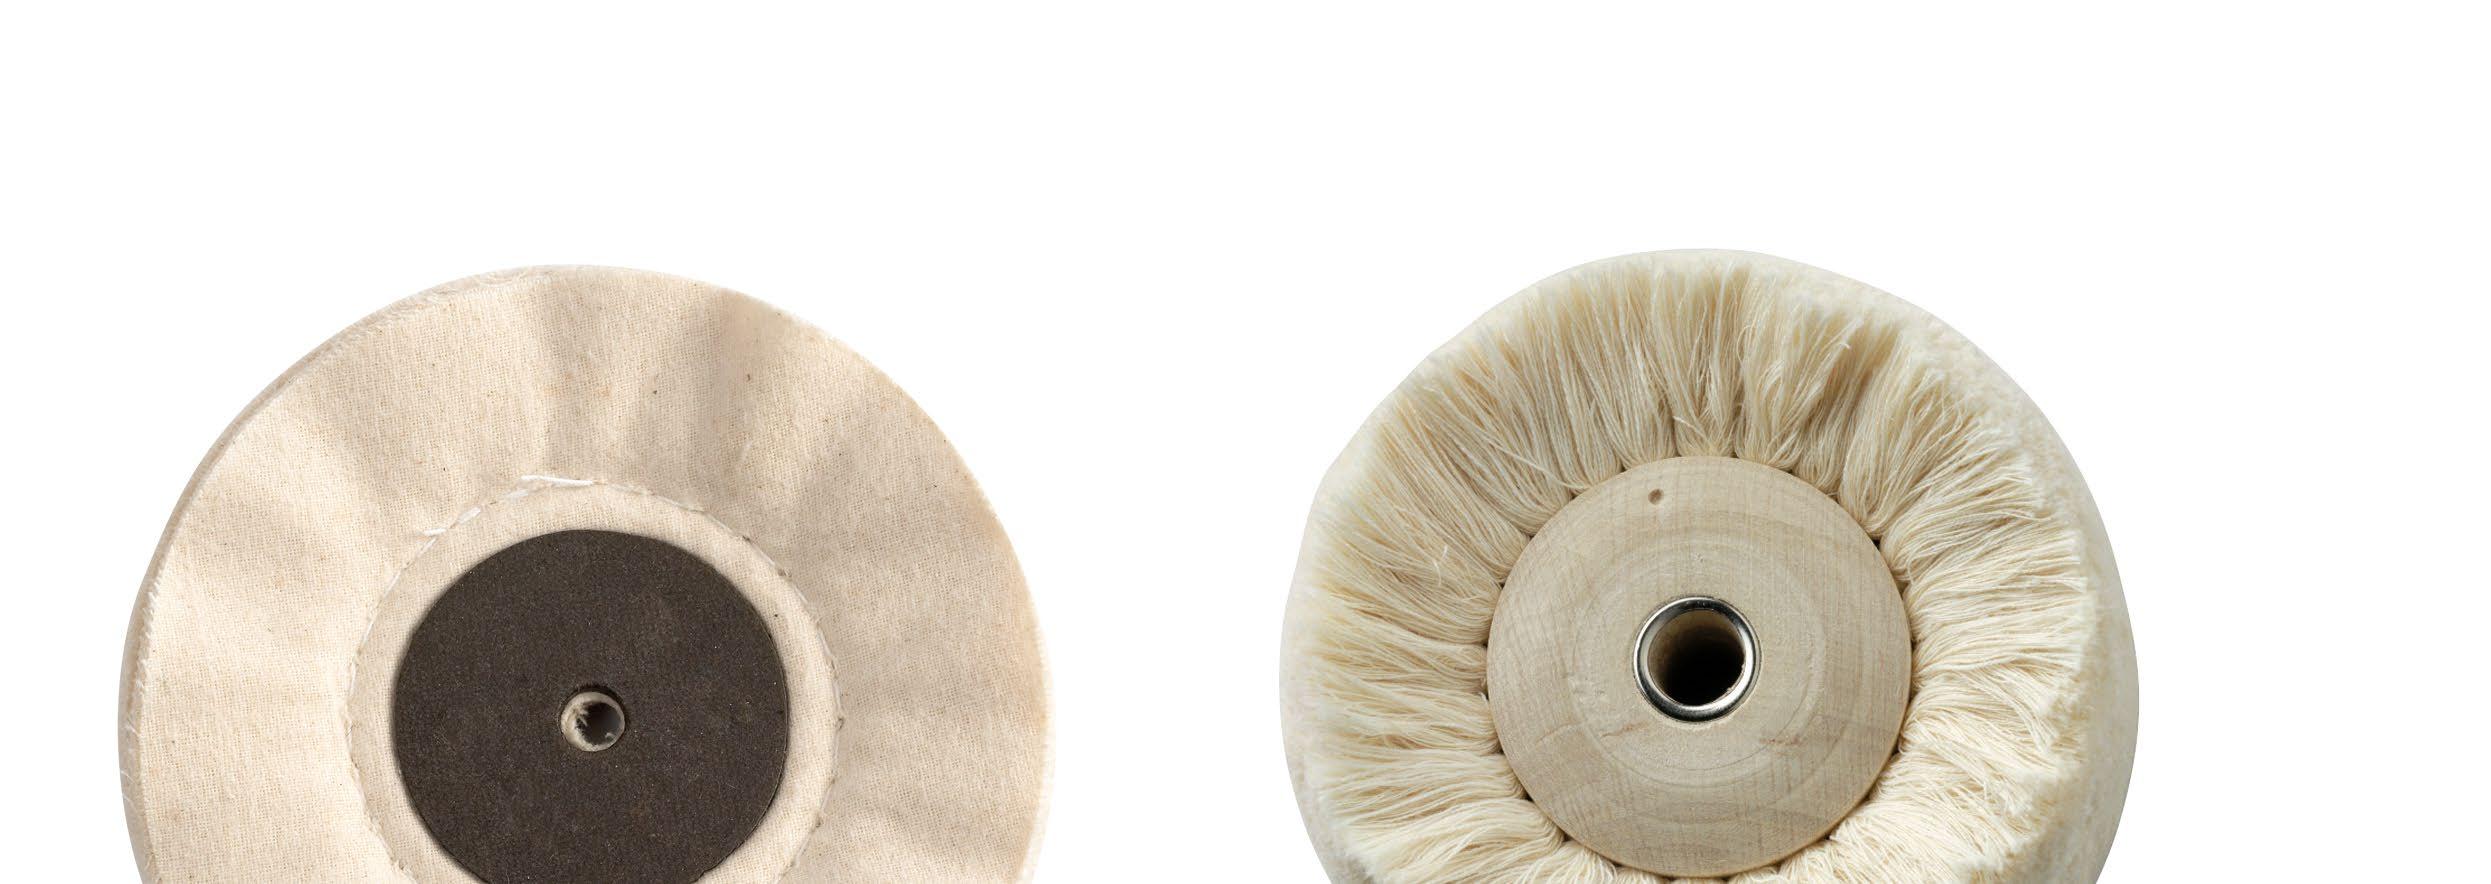
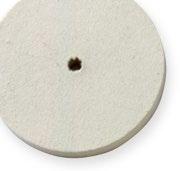
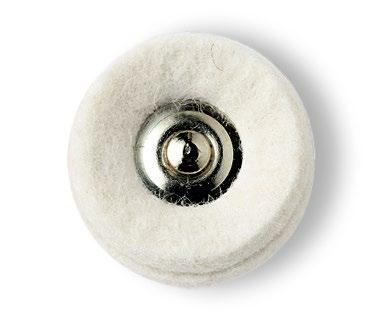
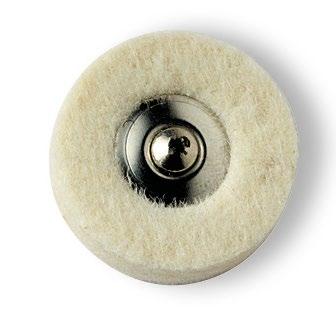
FINE POLISHING MOPS
Ref. 05200
Flannel
Ø 120 mm 10 mm Bore Ø 8 mm


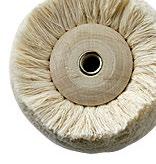
Ref. 05205
Ref. 05220 Cotton
Ref. 05200 Flannel
Ref. 05225 Soft Cotton
Ref. 05205 Ref. 05220 Cotton
Ref. 05200 Flannel
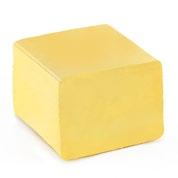
Ref. 05280 Sand
Ref. 05282N White
Ref. 05282N White


Ref. 05285 White
Ref. 05286 Green
Ref. 05225 Soft Cotton
Ref. 05286 Green


Ref. 05235 Brass wire No compound required
Ref. 05205 Ref. 05220 Cotton
Ref. 05200 Flannel
Ref. 05225 Soft Cotton
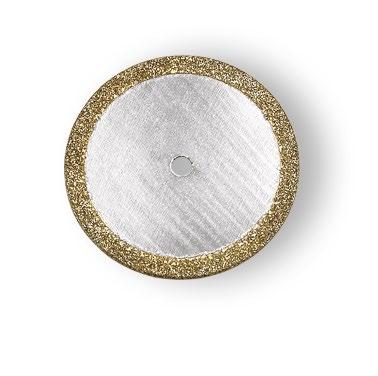
GLOSSING MOP
Ref. 05225 Soft cotton Ø 100 mm 35 mm Tapered bore from Ø 9 to 6.5 mm Reinforced wooden centre
Ref. 05289 Yellow
Ref. 05289 Yellow
Ref. 05289 Yellow
For polishing and glossing CR39, polycarbonate or glass lenses
POLYCARBONATE LENSES
Ref. 01886
SET OF WHEELS AND COMPOUNDS FOR CR39 AND POLYCARBONATE LENSES
Wheels: Ref. 05225, 05226, 05228
Compounds: Ref. 05282N, 05285, 05291. Tray included, suitable for new LMS Cube.
GLASS LENSES
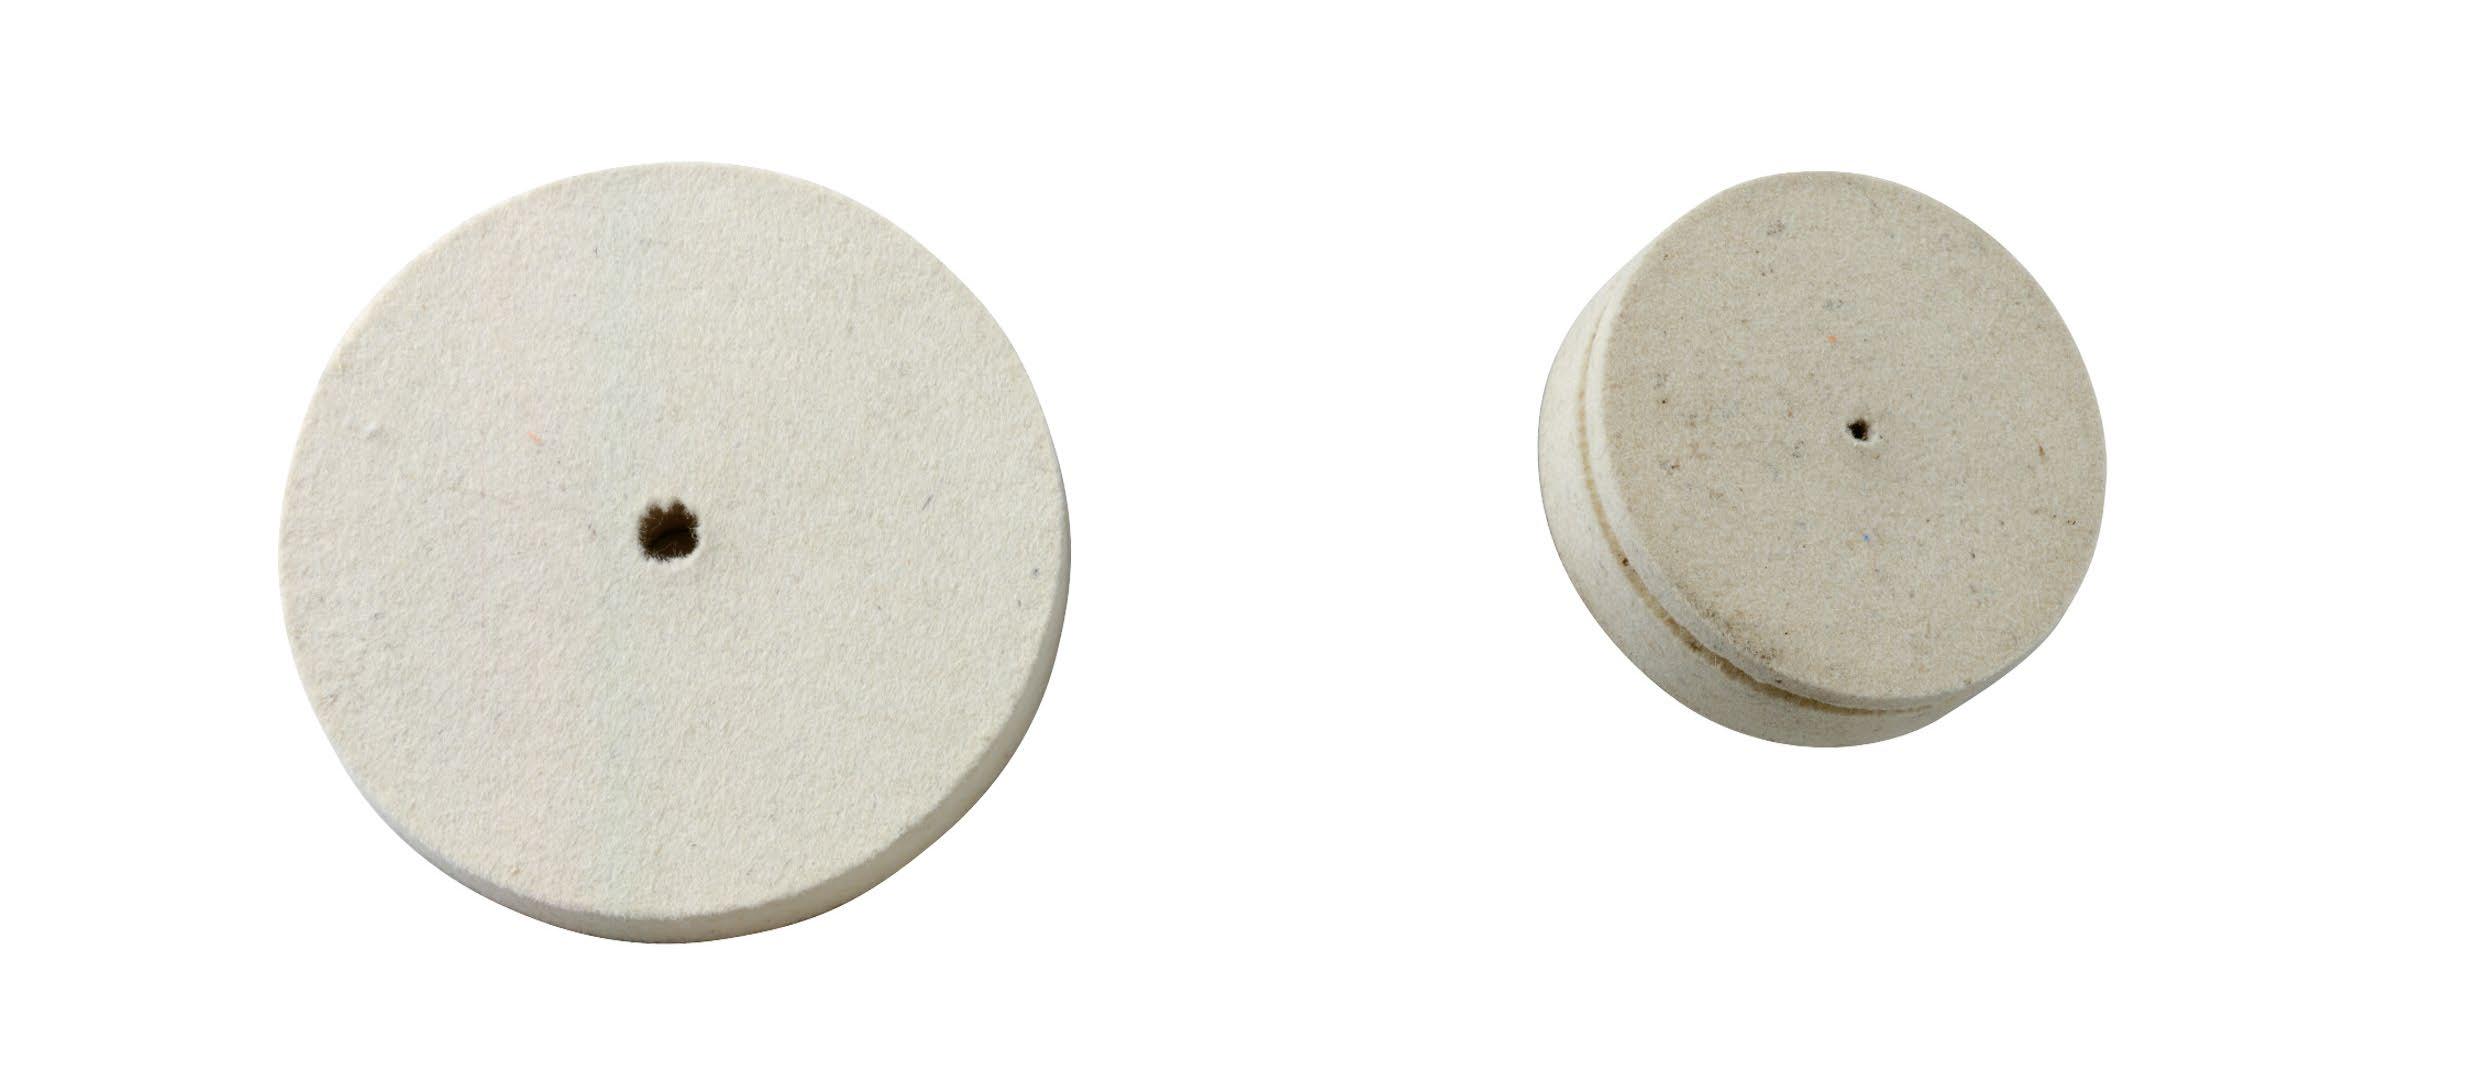
CR39 AND POLYCARBONATE LENS POLISHING
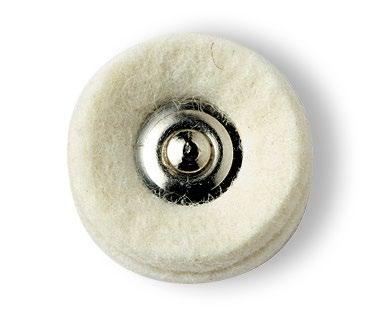
Ref. 05226
Hard felt for flat edge polishing.
Ø 100 mm 20 mm
Bore Ø 6 mm
Ref. 05228
Hard felt, for bevel and flat edge polishing.
Ø 70 mm 20 mm
Bore Ø 6 mm
POLISHING
Apply gentle pressure to avoid overheating. Use a thin layer of compound. Apply frequently.
Ref. 05226 Hard felt

Ref. 05228 Hard felt with groove
Ref. 05285 White
Ref. 05285 White
GLOSSING
Apply gentle pressure to avoid overheating. After glossing, always wipe off compound residue with a cloth.
Clean in ultrasonic bath.
POLISHING
Apply gentle pressure to avoid overheating. Use a thin layer of compound. Apply frequently.
GLOSSING
Apply gentle pressure to avoid overheating. After glossing, always wipe off compound residue with a cloth.
Clean in ultrasonic bath.
POLISHING
Apply slightly more pressure, keep lens turning. After polishing always wipe off compound residue with a cloth.
Clean in ultrasonic bath.
rpm FOR COMPACT GLOSSING WITH COMPOUND
Ref. 05225
Soft cotton
Ø 100 mm 35 mm
Tapered bore from Ø 9 to 6.5 mm
Reinforced wooden centre
Ref. 05225 Soft Cotton
Ref. 05226 Hard felt
Ref. 05282N White
Ref. 05291 Ivory
Ref. 05228 Hard felt with groove
Ref. 05291 Ivory
Ref. 05225 Soft Cotton
Ref. 05226 Hard felt
Ref. 05282N White
Ref. 05282N White
Ref. 05228 Hard felt with groove
Ref. 05282N White

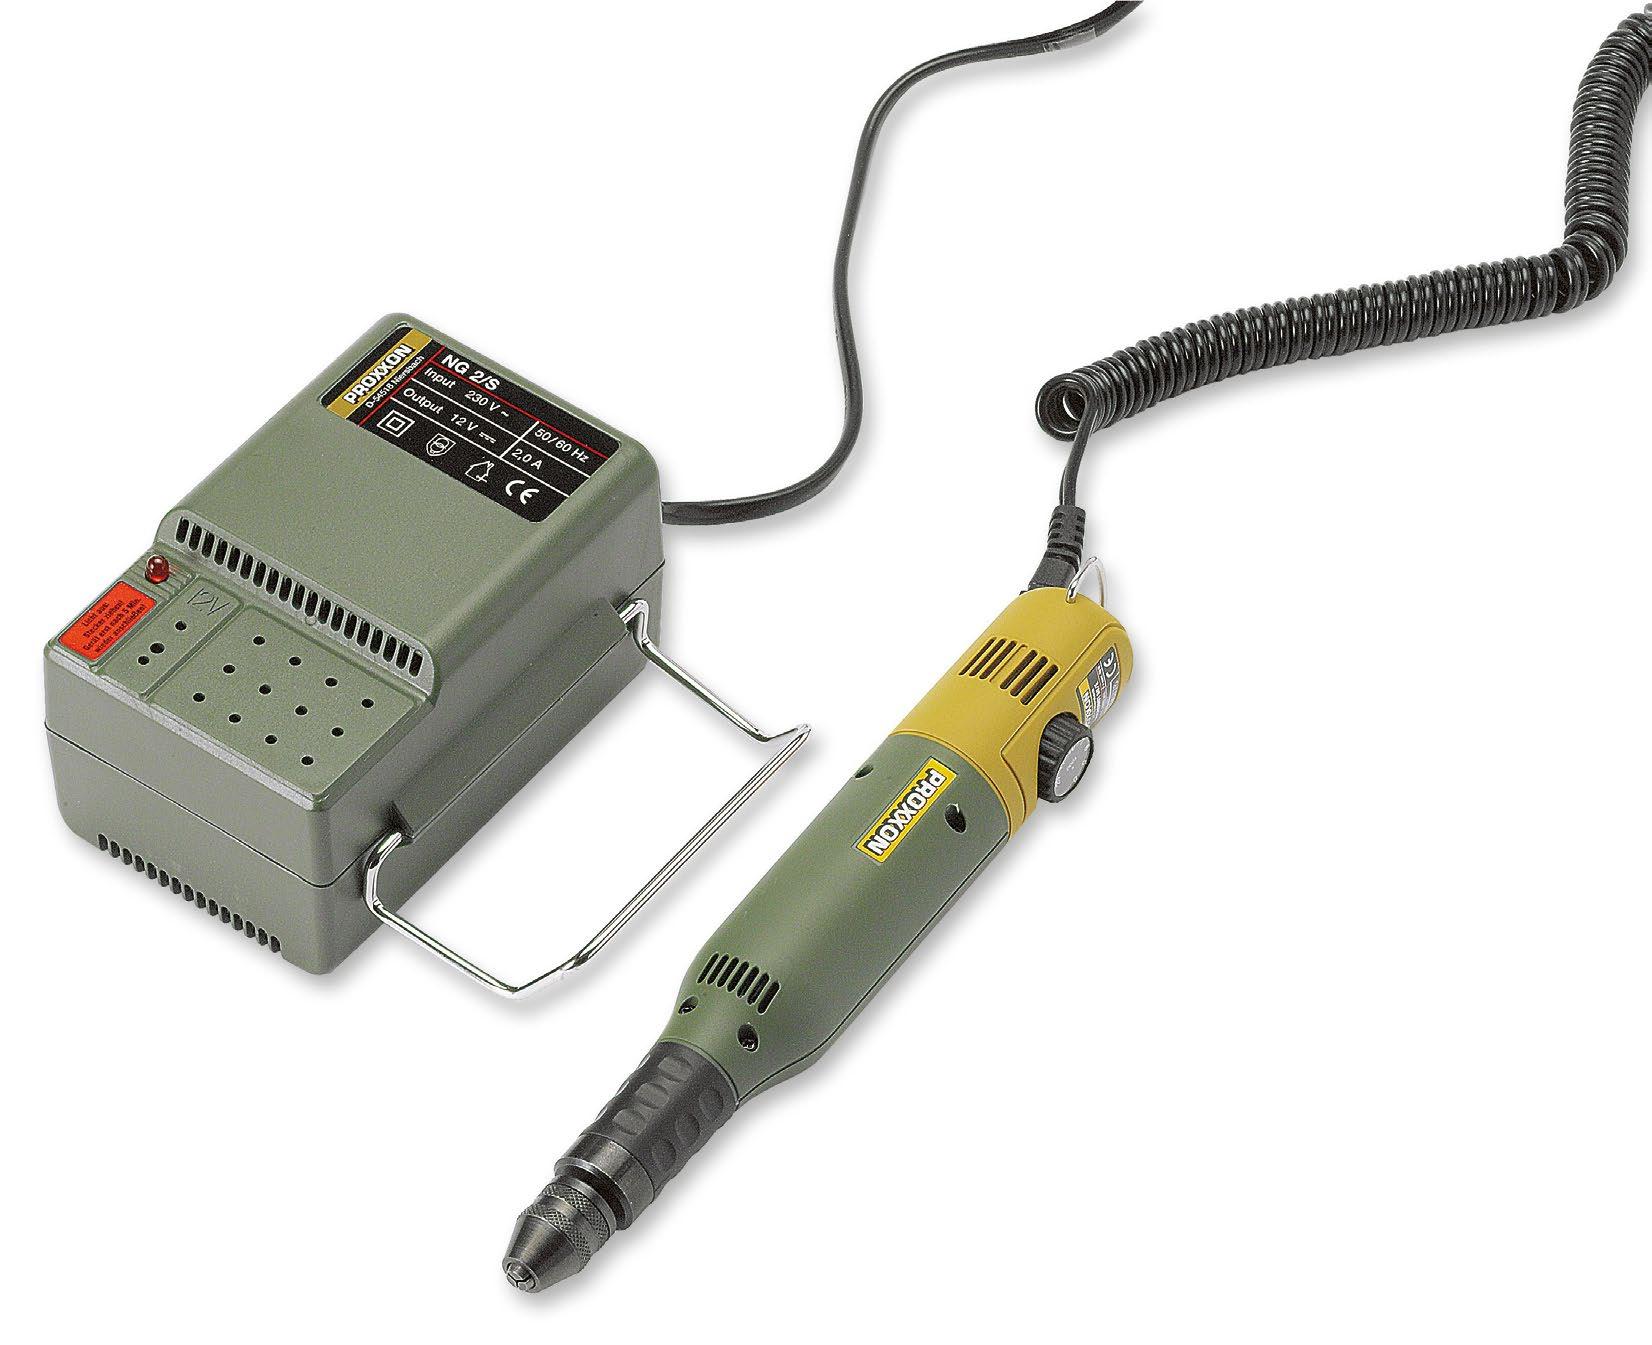

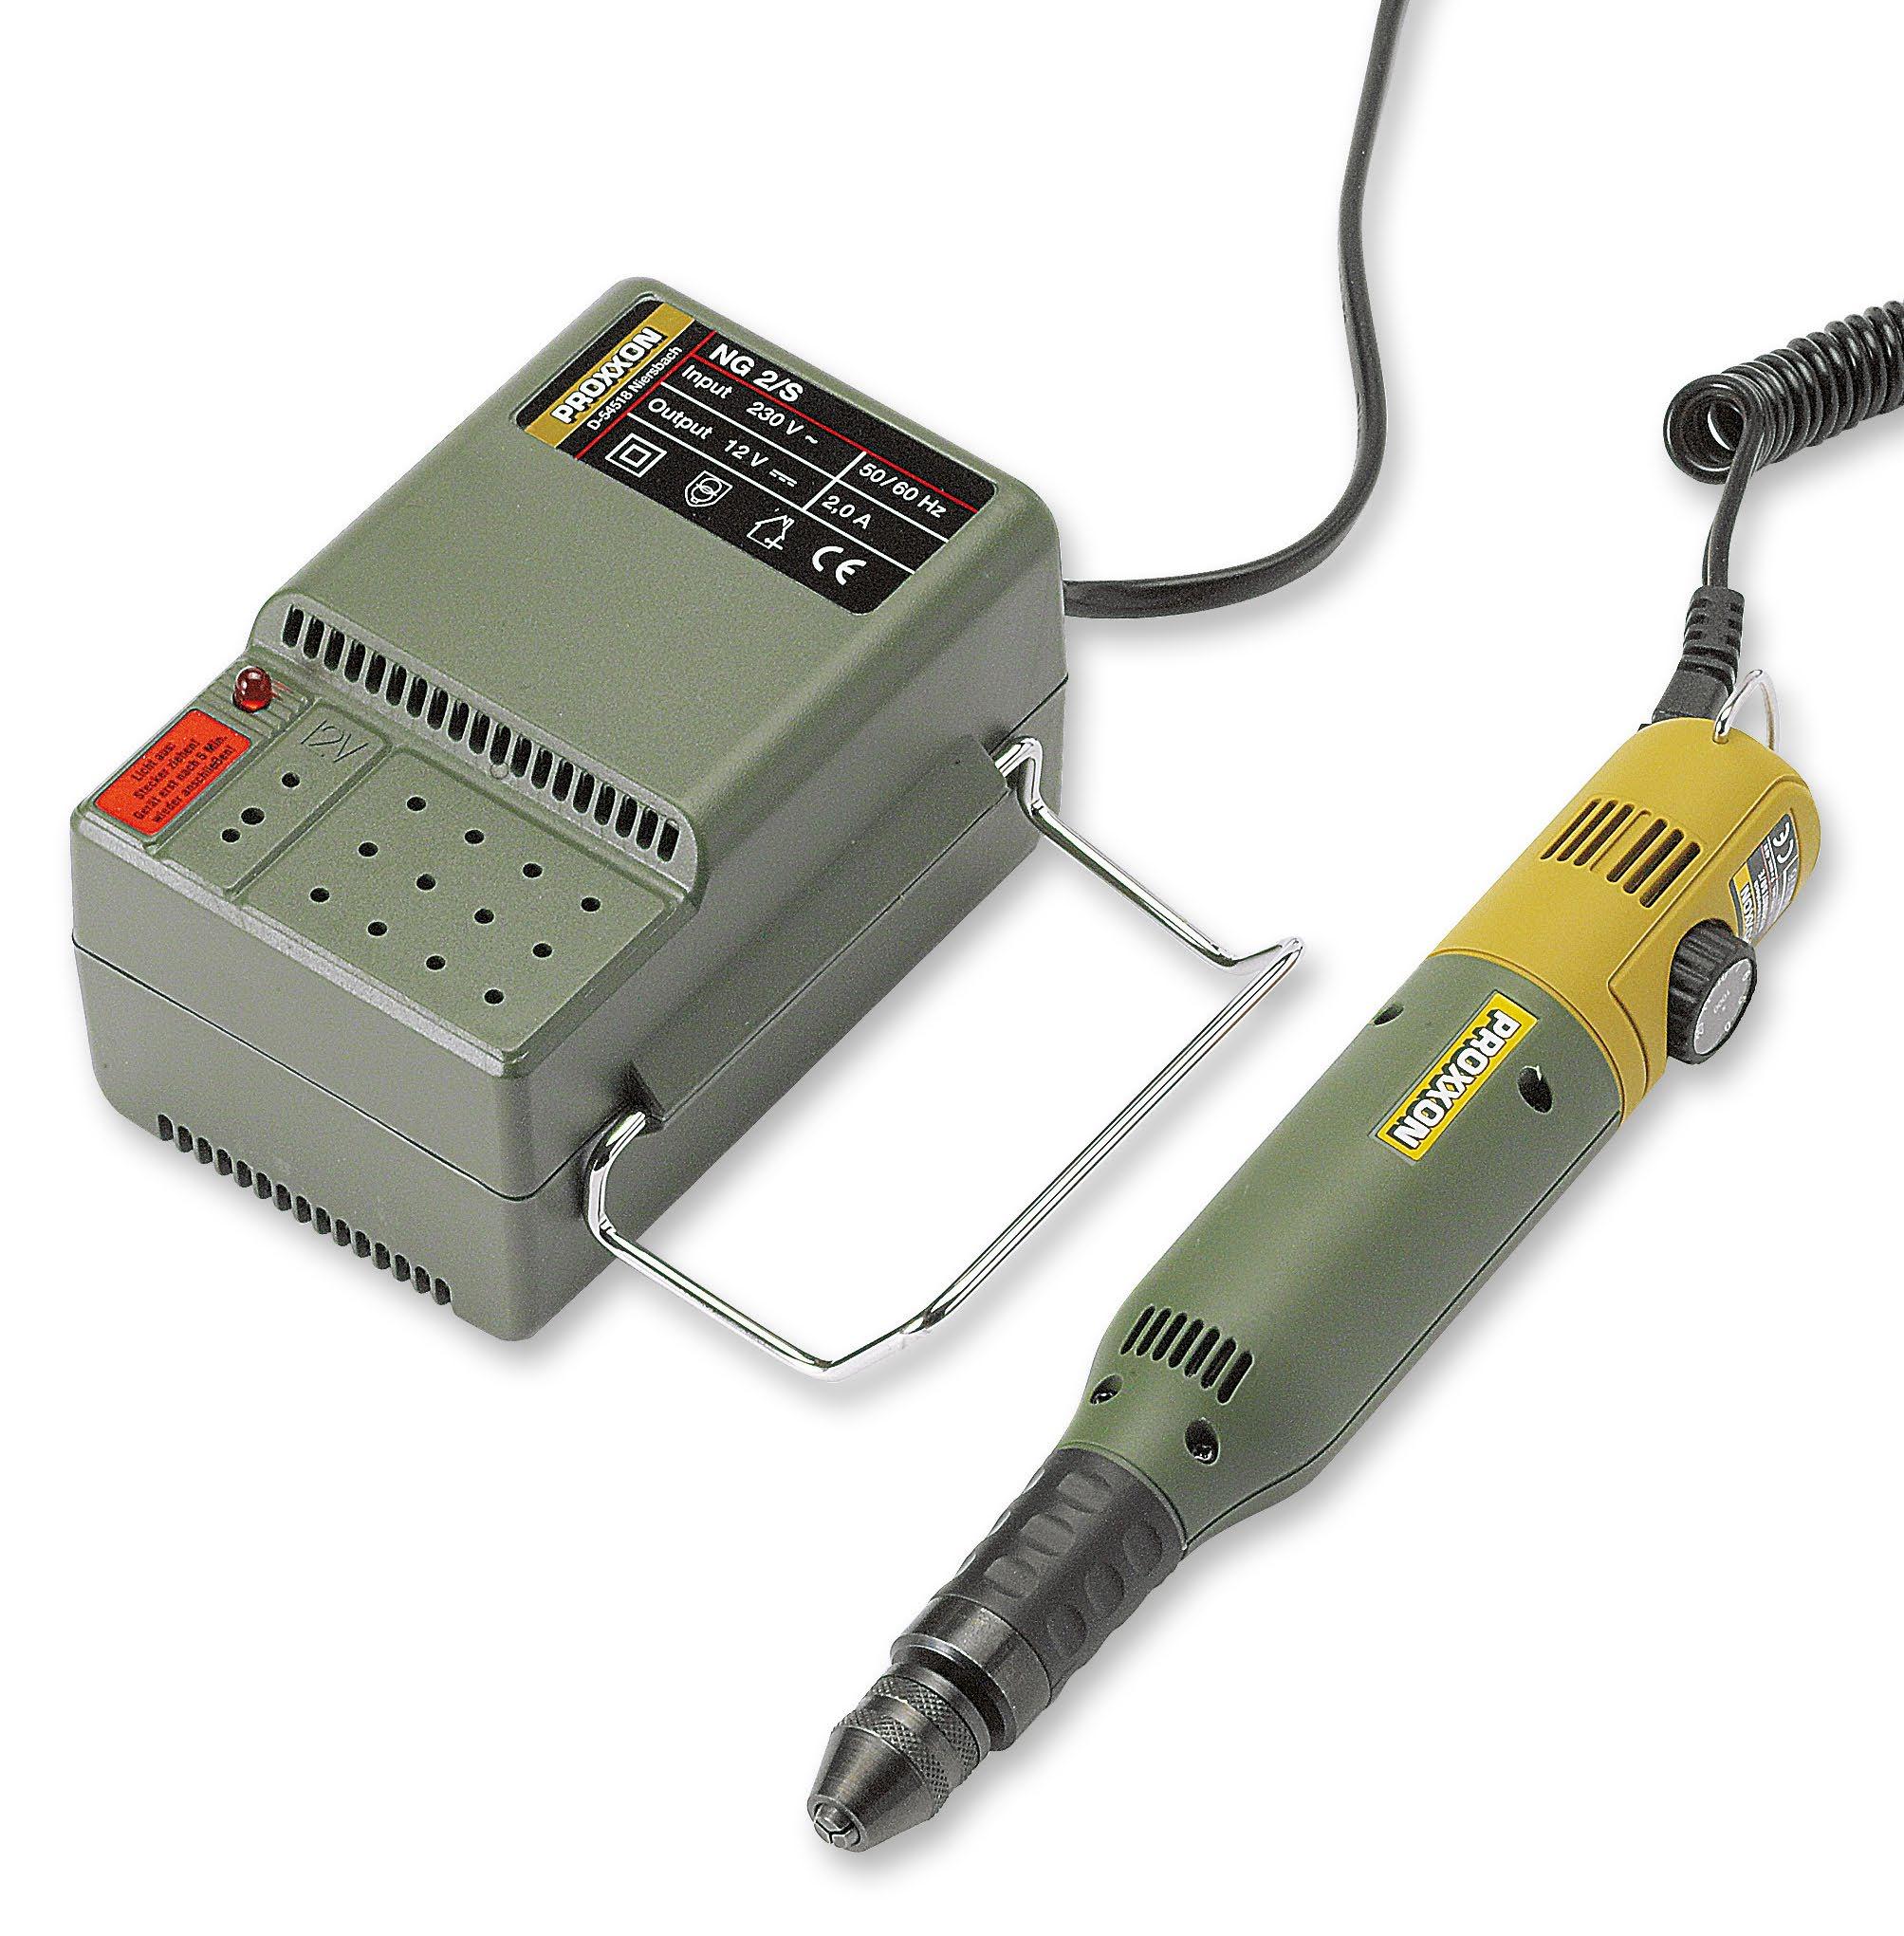
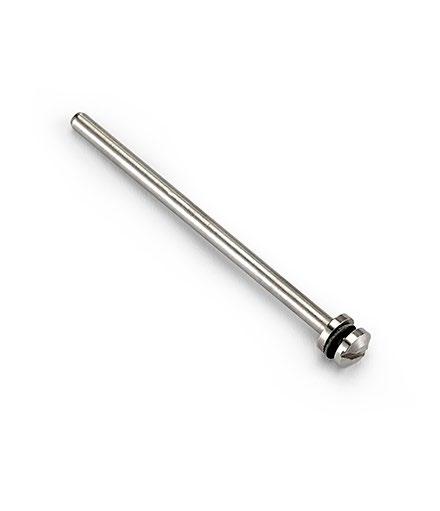
Ref. 05520
Low voltage Size: 130x145x65 mm
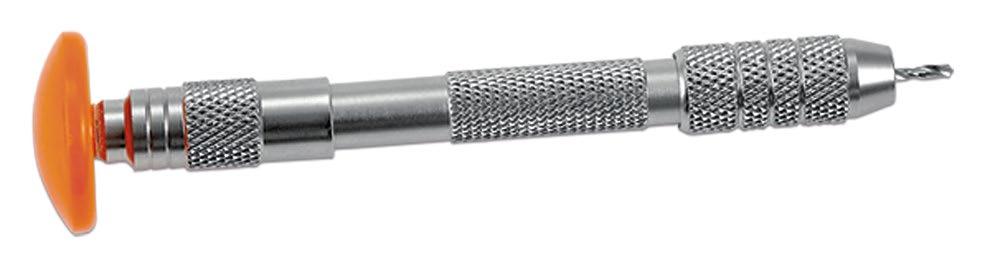
MINIMOT DRILL AND TRANSFORMER
Ref. 05511
Variable speed drill from 5.000 to 20.000 rpm Ref. 05512 with transformer Ref. 05520.
• High torque at low speeds.
• Safe to use with coolants.
Accessories included:
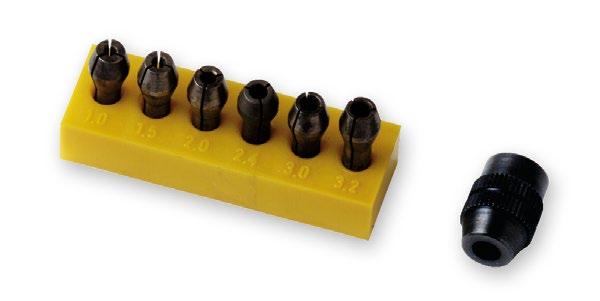
• Keyless chuck (0.5 ÷ 3.2 mm)
• 6 collets with keyless chuck Ref. 05518.
INCLUDED
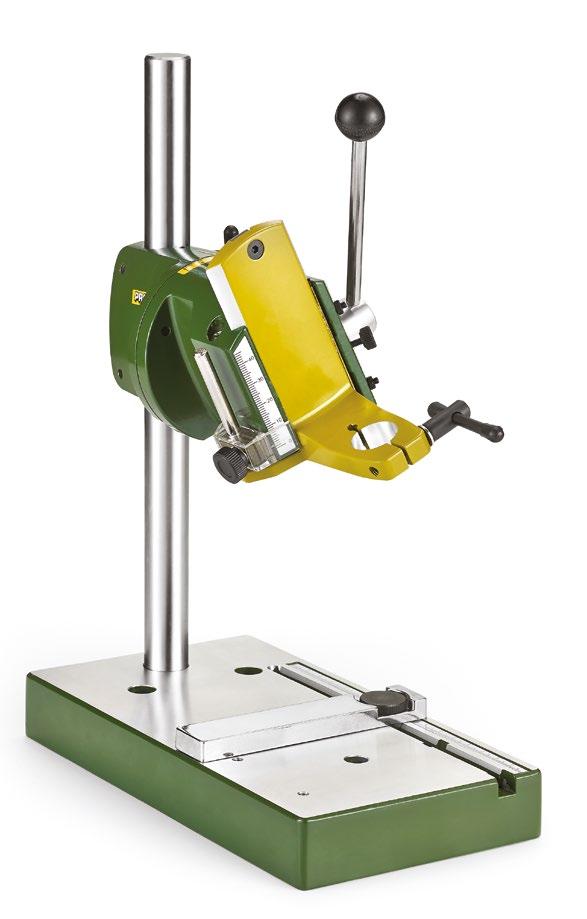
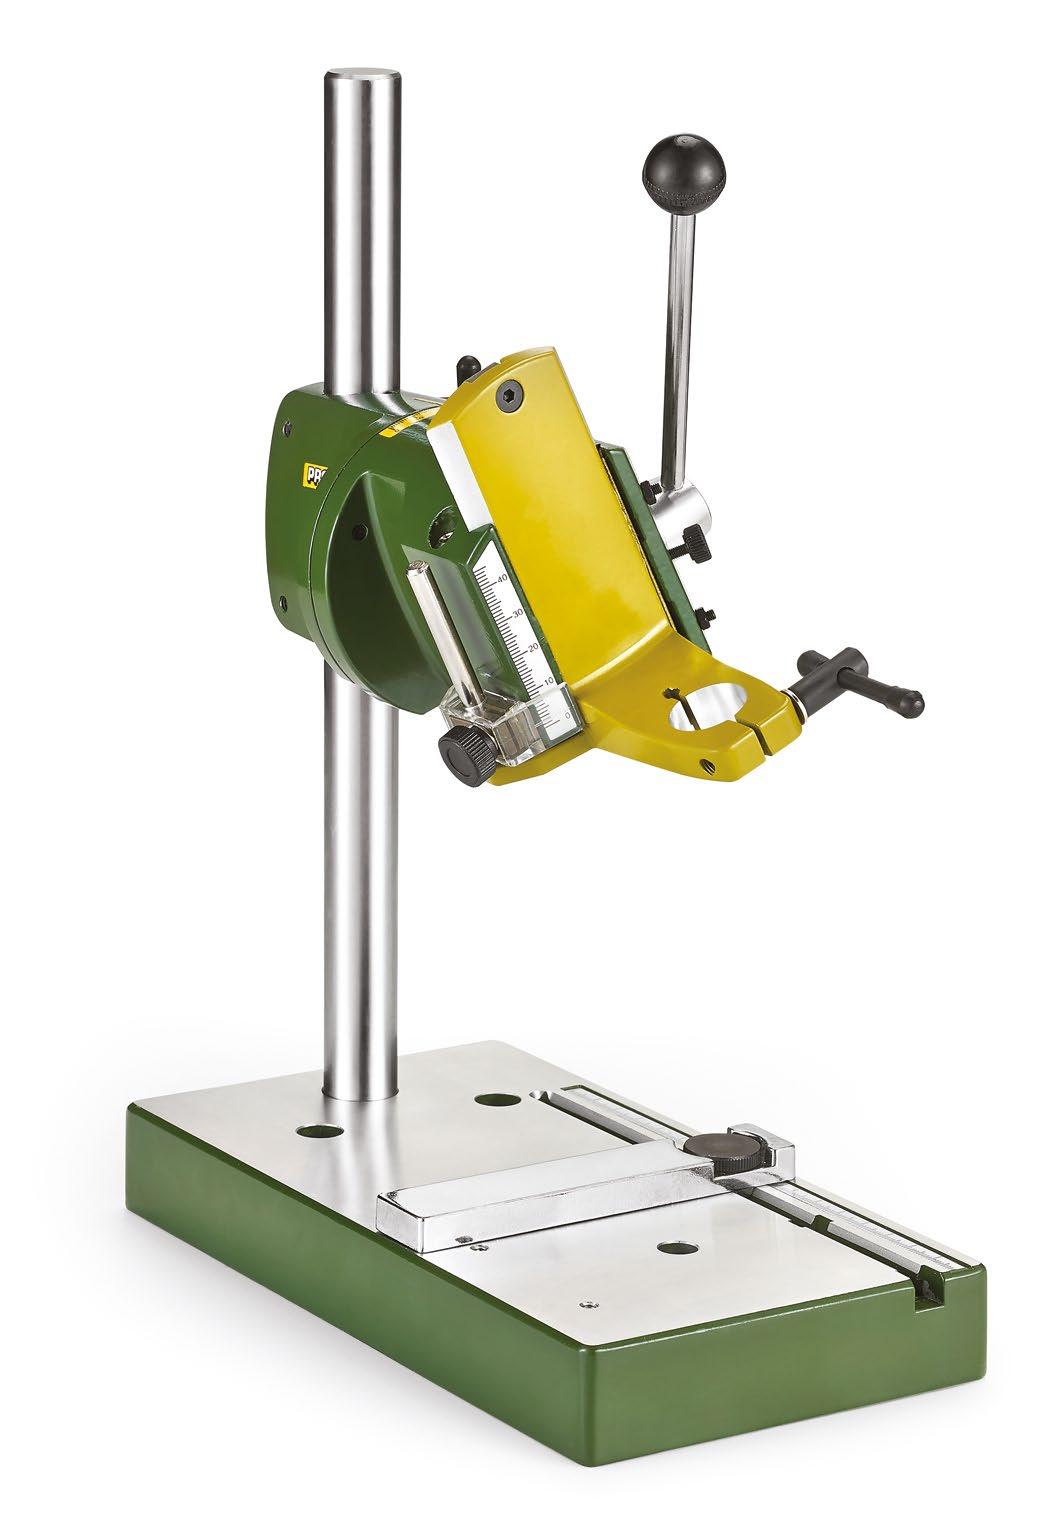
DRILL STAND
Ref. 05525
Column with vertical adjustment by means of a rack rod with return spring.
Connection for drill Minimot Ø 20 mm.
90° tiltable head on both sides with dovetail guides.
Practical indication of the drilling depth with adjustable end stop.
Maximum stroke 40 mm. Rectified worktop with millimetre scale.
Size: 120x220x280 mm.
: 2.2 kg
MINIMOT 60 DRILL
Ref. 05512
Variable speed drill.
5,000 - 20,000 rpm.
Transformer not included.
Size: 230 mm - Ø 35 mm
Weight: 230 gr
BENCH PRESS DRILL Ref. 05530
• 3-spindle speed belt driven drill (1.800 - 4.500 - 8.500 rpm.).
• Throat distance 140 mm.
• Drill stroke 30 mm.
• Adjustable working column height 280 mm and depths stop. Accessories included:
• Chuck Ref. 05532 with key.
• Machine vice (Ref. 05535)
• 6 individual collets (Ref. 05518).
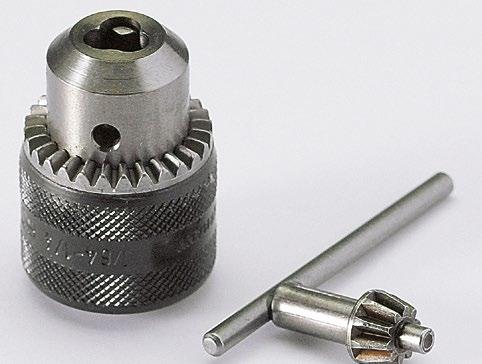
Ref. 05532 Chuck with key 0,0 ÷ 5,0 mm
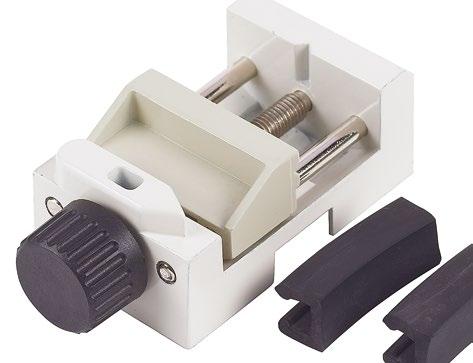
Ref. 05535
Machine vice. 50x10 mm jaws 34 mm clamping width

Ref. 05518
Set 6 collets, keyless chuck included
3 SPEED RPM 85 WATT POWER CONSUMPTION

SPARE PARTS
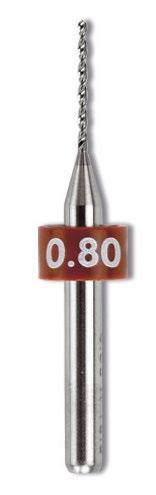
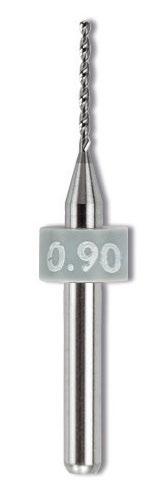
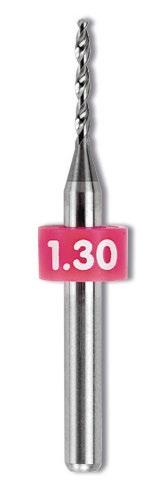
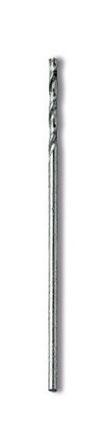
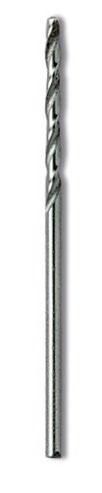
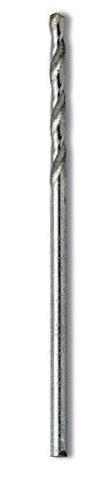
Ref. 02399
Assortment of 11 hard metal drills 1 pc./Ref.
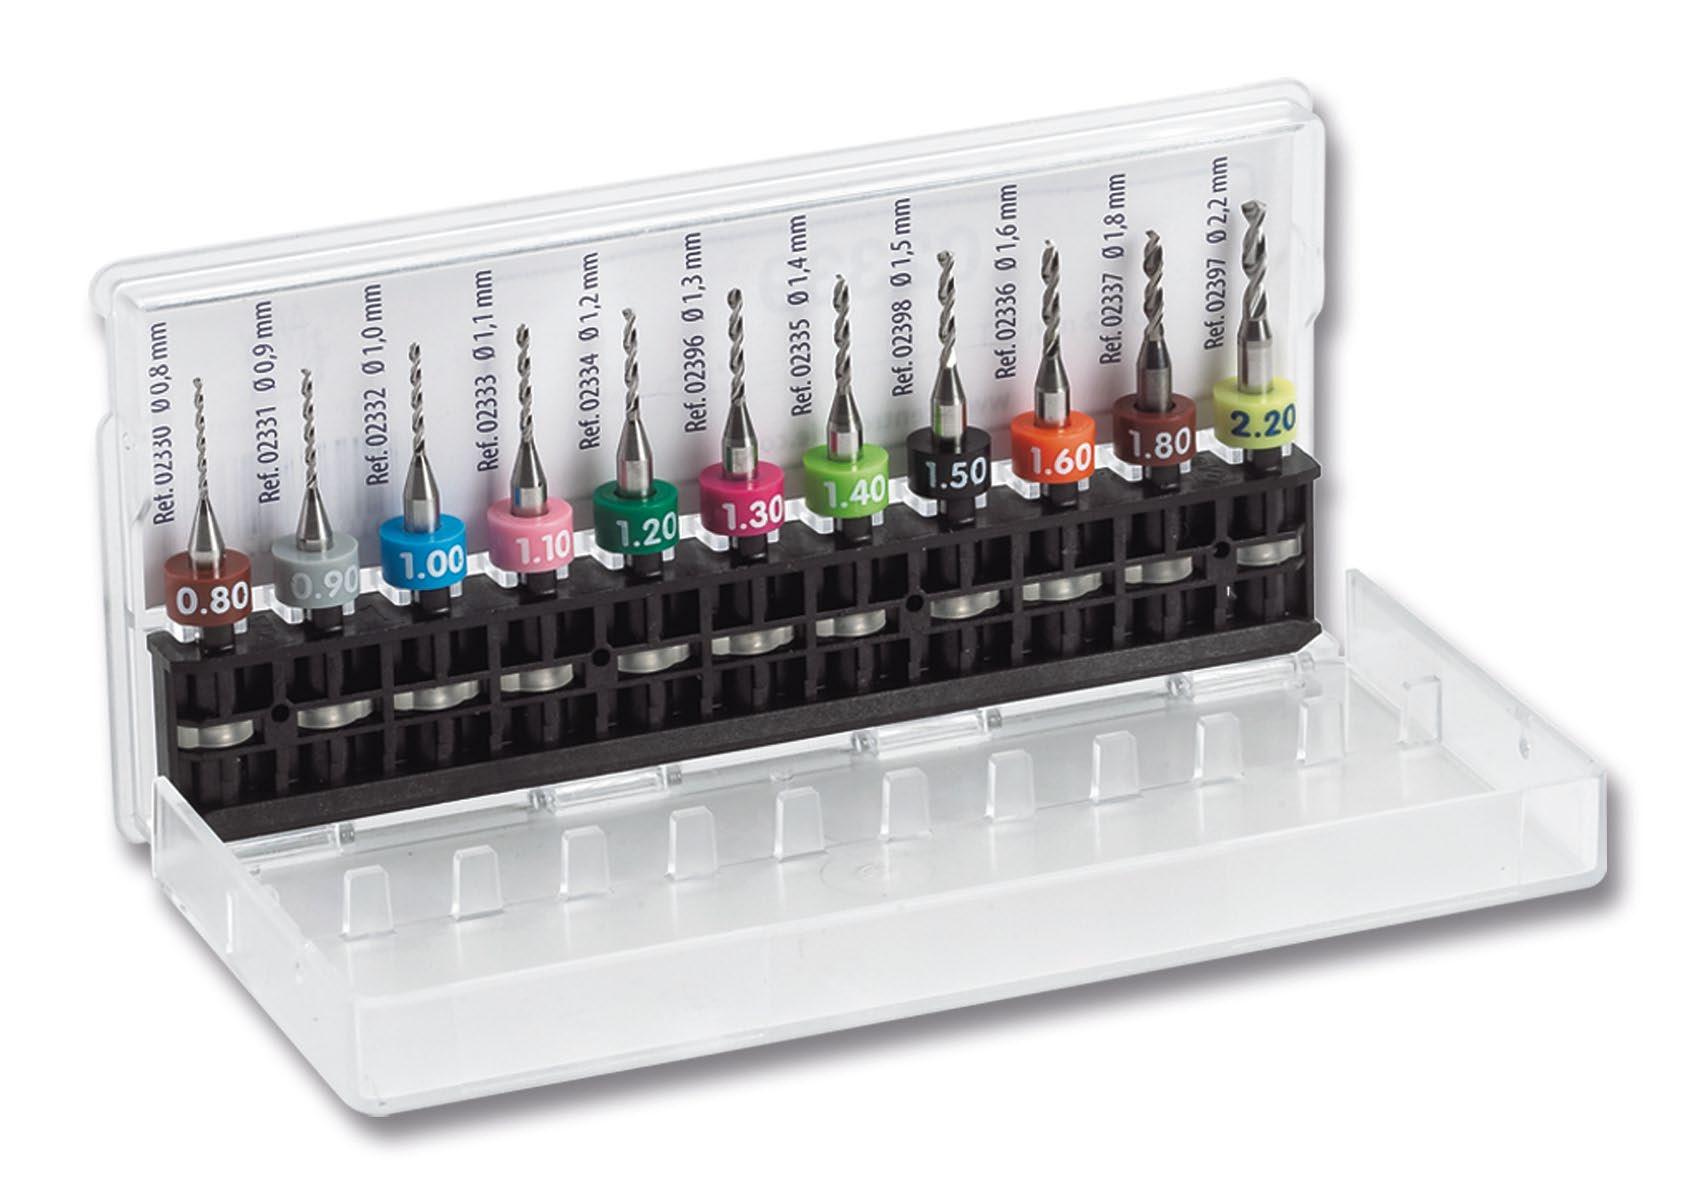
Very hard drills ideal for plastic materials, polycarbonate and trivex.
Optimal in high rotation (1000 to 5000 rpm). Brittle in case of bending or shock.

2 pcs. HARD METAL DRILLS AND MILLERS Shaft Ø 3.2 mm
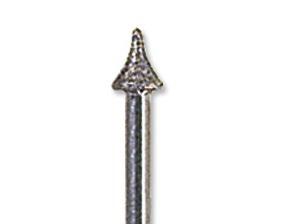
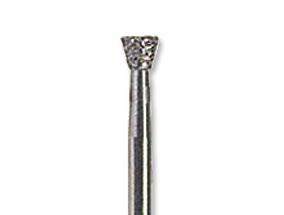
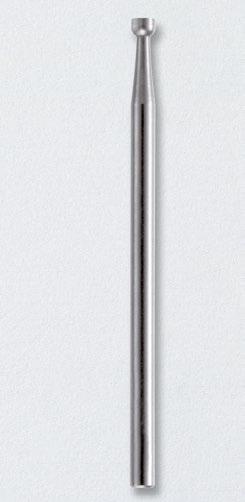
COUNTERSINKING MILLER

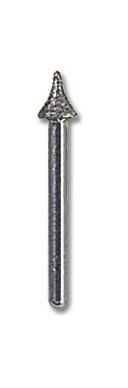

Ref. 02374
Hand mill only. Removes sharp edges and lens stress. Reduces edge chipping and splitting. Use with tool holder Ref. 02544
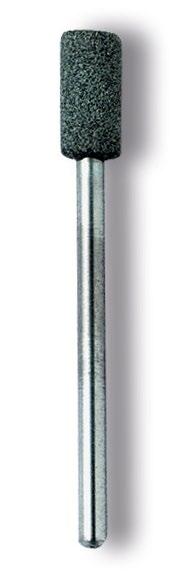
CYLINDRICAL MILLER
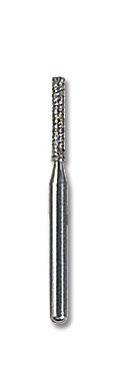
Ref. 02371
For drilling notches (in plastic and glass lenses).
Ø 1.6 mm

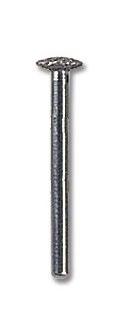
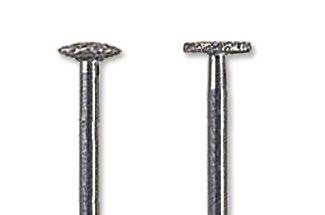
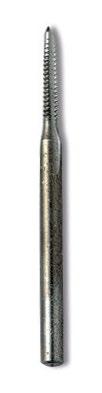
TAPERED MILLER
Ref. 02379
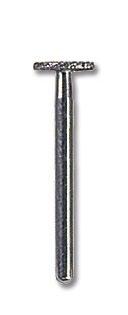
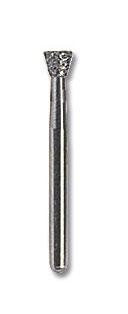
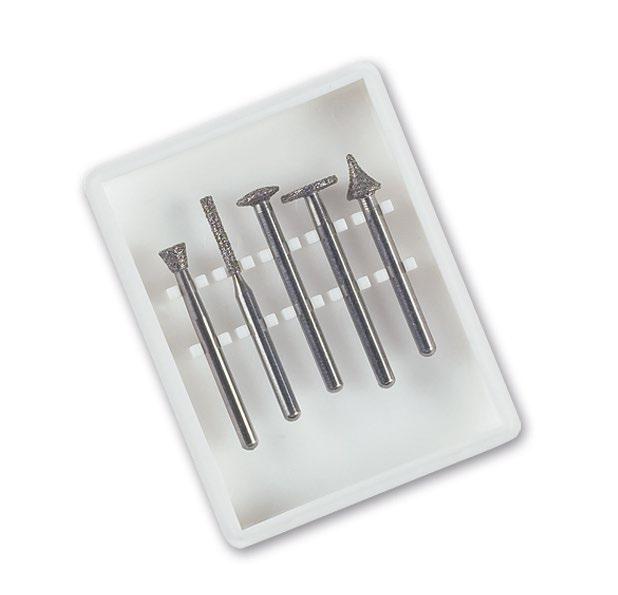
DIAMOND MILLER KIT
To cut the protruding screws beyond frame rim or to re-slot broken screws.
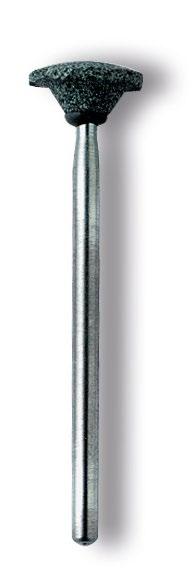
Ref. 02370
For cleaning and polishing the frame groove after soldering.
Assortment of 5 diamond tools
1 pc./Ref.
For lenses: Ref. 02371
Ref. 02374
Per montature: Ref. 02370
Ref. 02372 Ref. 02373

02430 02432
Ref. 02440
Mandrel Ø 2.34 mm. 2 pcs.

Ref. 02445
Parting wheel Ø 25 mm.
Ref. 02449

Mandrel not included 12 pcs.
Ref. 02448
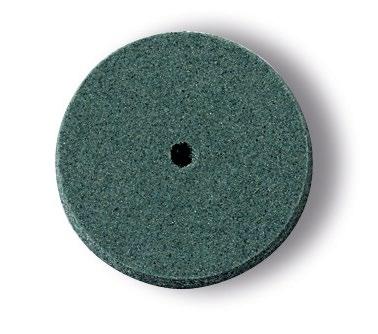
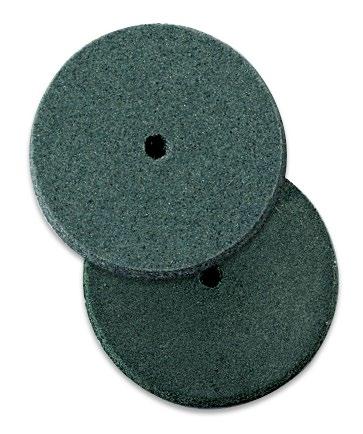
Ref. 02442 Polishing wheel.
Metal cutting wheel Ø 16-19-22 mm. Mandrel included 3 pcs.
Ref. 02444 Fine abrasion rubber wheel.
Abrasive cutting wheel Ø 20 mm. 0,6 mm. Mandrel included 1 pc.
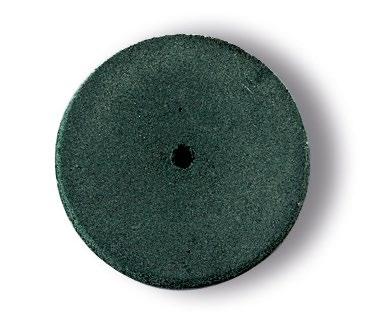
Ref. 02447 Coarse abrasion rubber wheel.


Ref. 02312
Assortment of 18 twist drills in plastic wallet (2 each size).

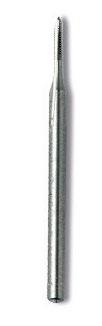
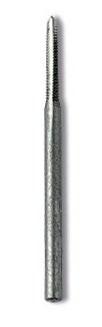
Ref. 02324, 02329 not included. SCREW TAPS
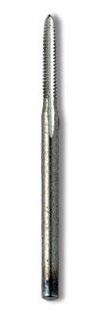
Ref. 02365
Assortment of 9 taps in plastic wallet (1 each size).


Ref. 02544 Broach holder FOR RIMLESS SCREWS Ref. 02389 For smoothing rimless screw ends.

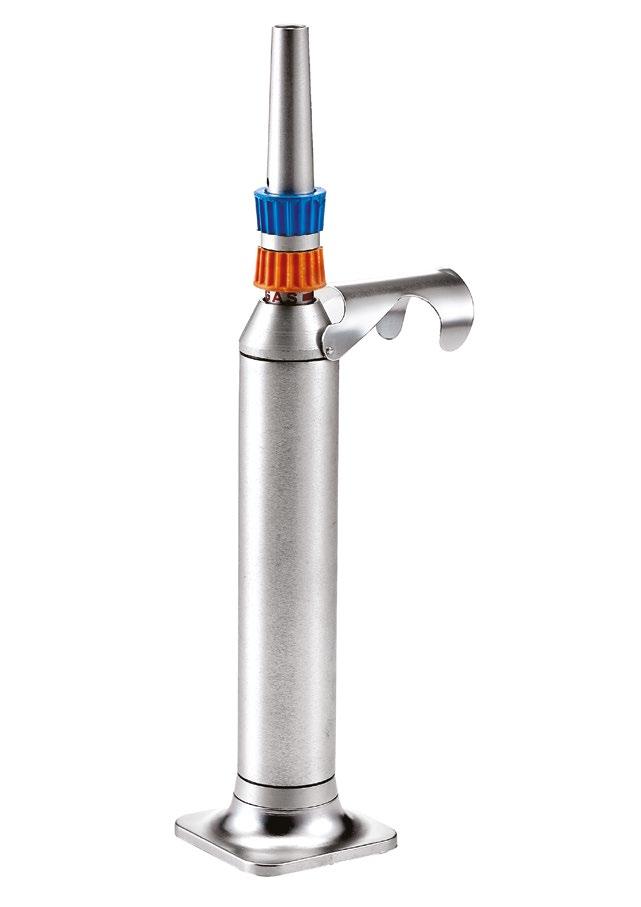
Professional Soldering Machine
For laboratory Miniflam Solder Torch For occasional use

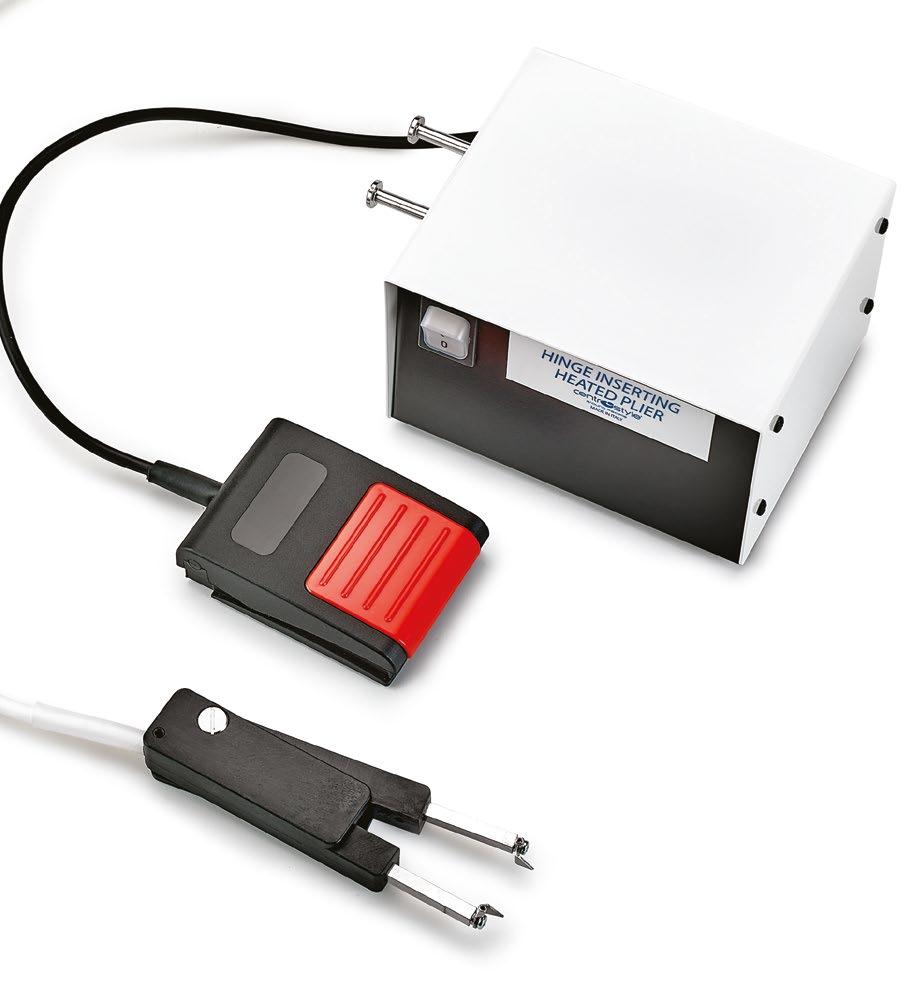
Hinge Embedding Unit
Page 59
Hydrogen soldering unit suitable for:
• Hard and soft soldering
• Soldering metal frames quickly and with very good results
Ref. 06051
Micro-soldering unit complete with:
• soldering tips
Ø 0.7 - 0.8 - 0.9 mm.
• Boric acid solution Ref. 06022.
• Caustic solution electrolyte Ref. 06020 liquid for Europe, Ref. 06054 in grains for overseas shipments.
Size: 280x235x290 mm; Weight: 14 kg.
Ref. 06050
Micro-soldering unit Ref. 06051 with soldering set Ref. 06058.

Ref. 06065N - Soldering tip Ø 0.7 mm (4 pcs.)
Ref. 06066N - Soldering tip Ø 0.8 mm (4 pcs.)
Ref. 06067 - Soldering tip Ø 0.9 mm (4 pcs.)
Ref. 06051.3 Plastic tube 1,5 mt.
Ref. 06051.50 Set of 4 rubber gaskets
Ref. 06056 Check valve
Ref. 06053 Hand piec
Ref. 06058
Soldering set complete with:
• Soldering tweezers Ref. 03730,
• Third hand table Ref. 06195,
• Solder wire Ø 0.5 mm Ref. 06200,
• Solder wire Ø 0.3 mm Ref. 06202,
• Powder borax flux 100 gr.
• 3 solder rods with flux core Ref. 06210,
• Heat-shielding paste Ref. 06221.
Tray included suitable for the new LMS Cube.
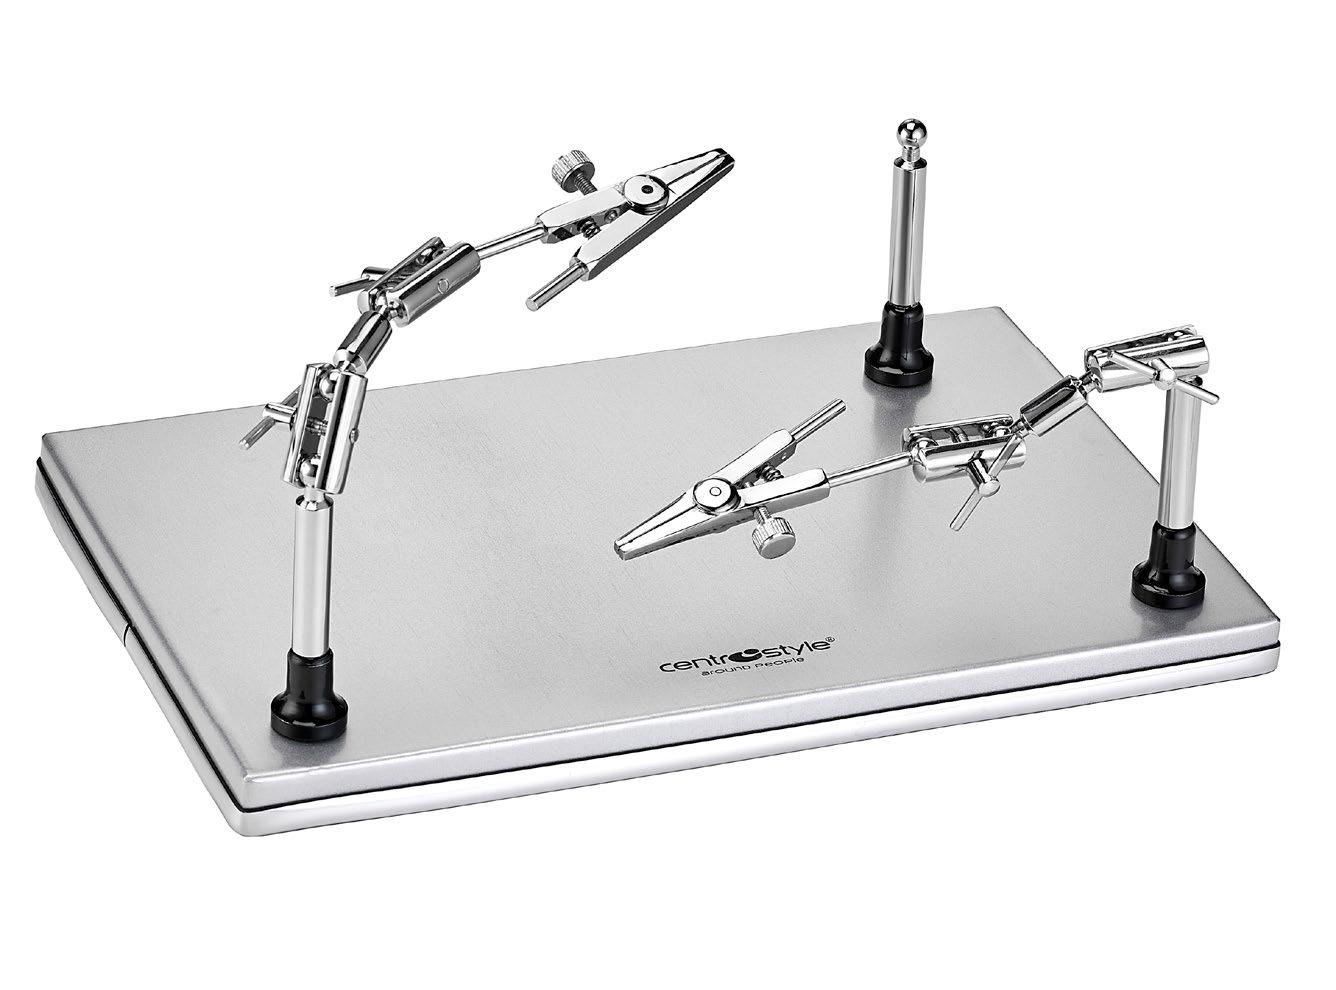

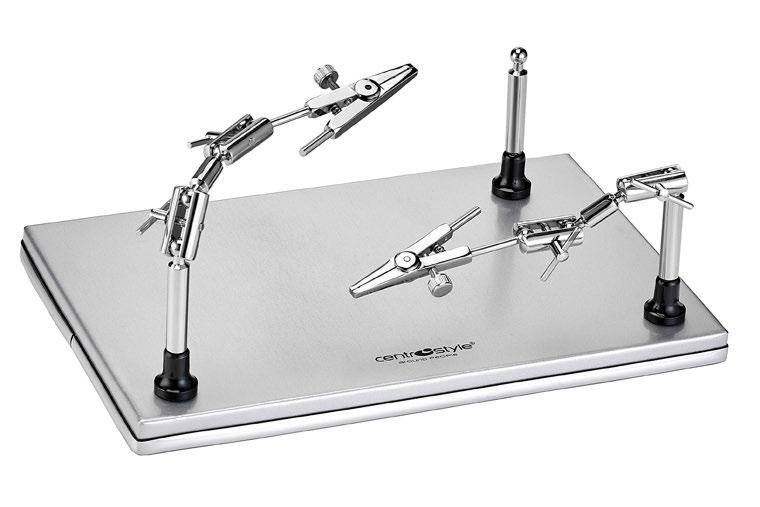
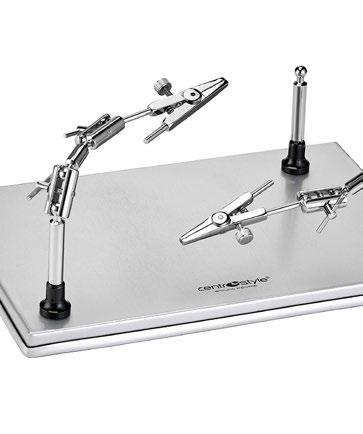
Ref. 06195
Third hand soldering table with two clamps connected to universal joints.
Size: 305x195x90 mm.
SPARE PARTS
Ref. 06199
Clamp with extended universal joint.
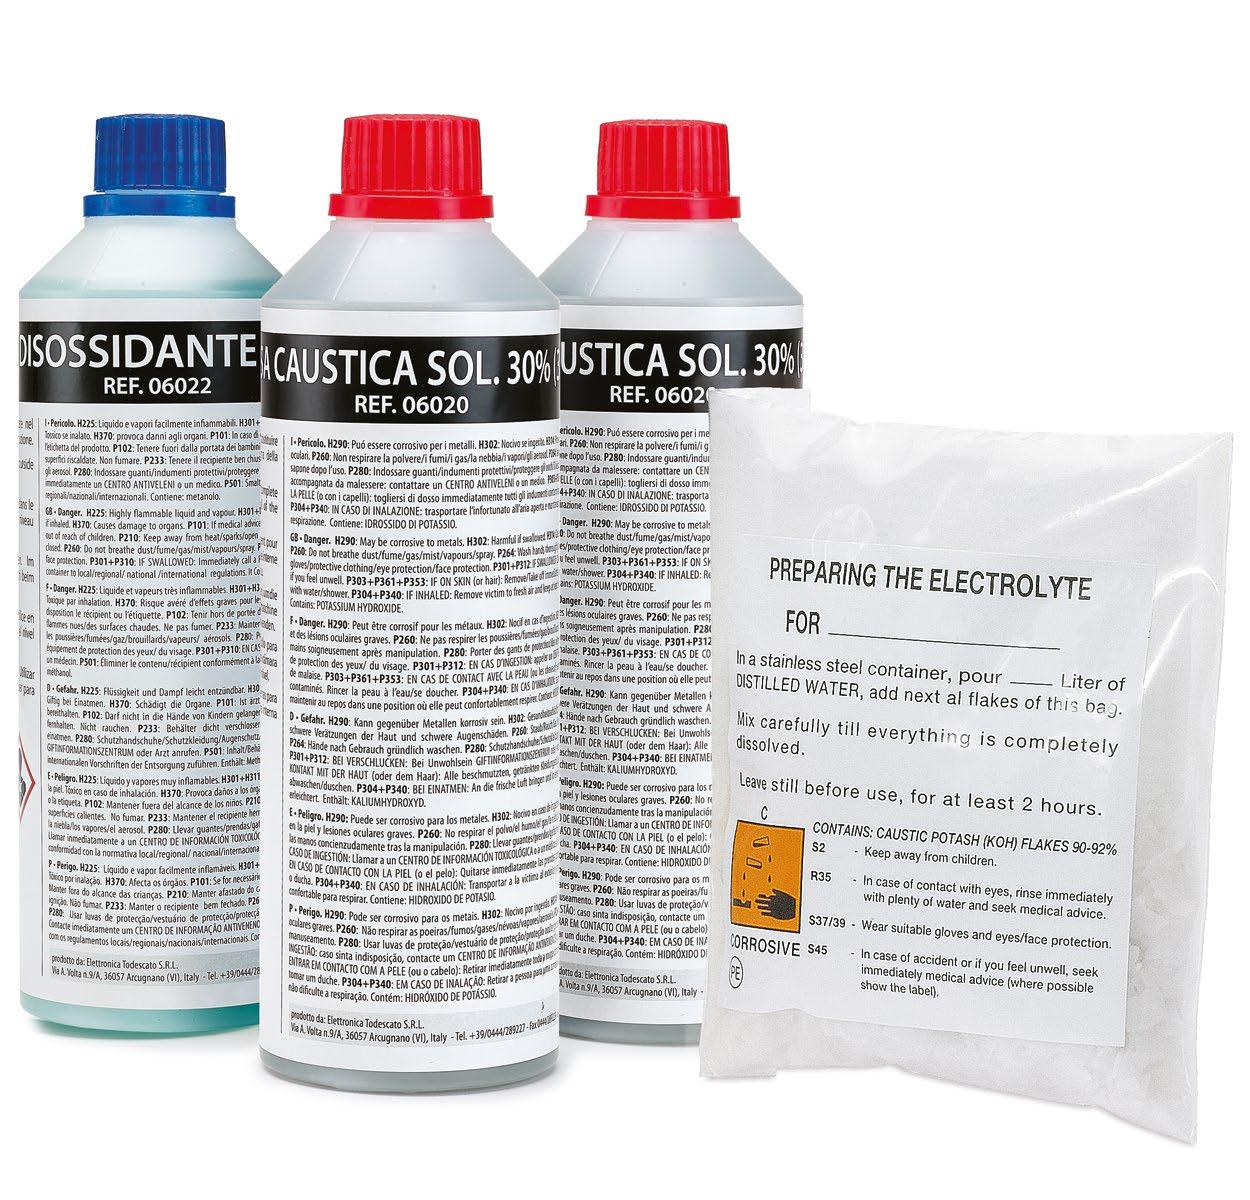
Ref. 06020
Caustic solution - for Europe electrolyte 0.5 lt. - 2 pcs.
Ref. 06022
Boric Acid solution - flux 0.5 lt.
FOR SHIPMENTS BY AIR
Ref. 06055
Boric Acid in grains
25 g
1.300°C
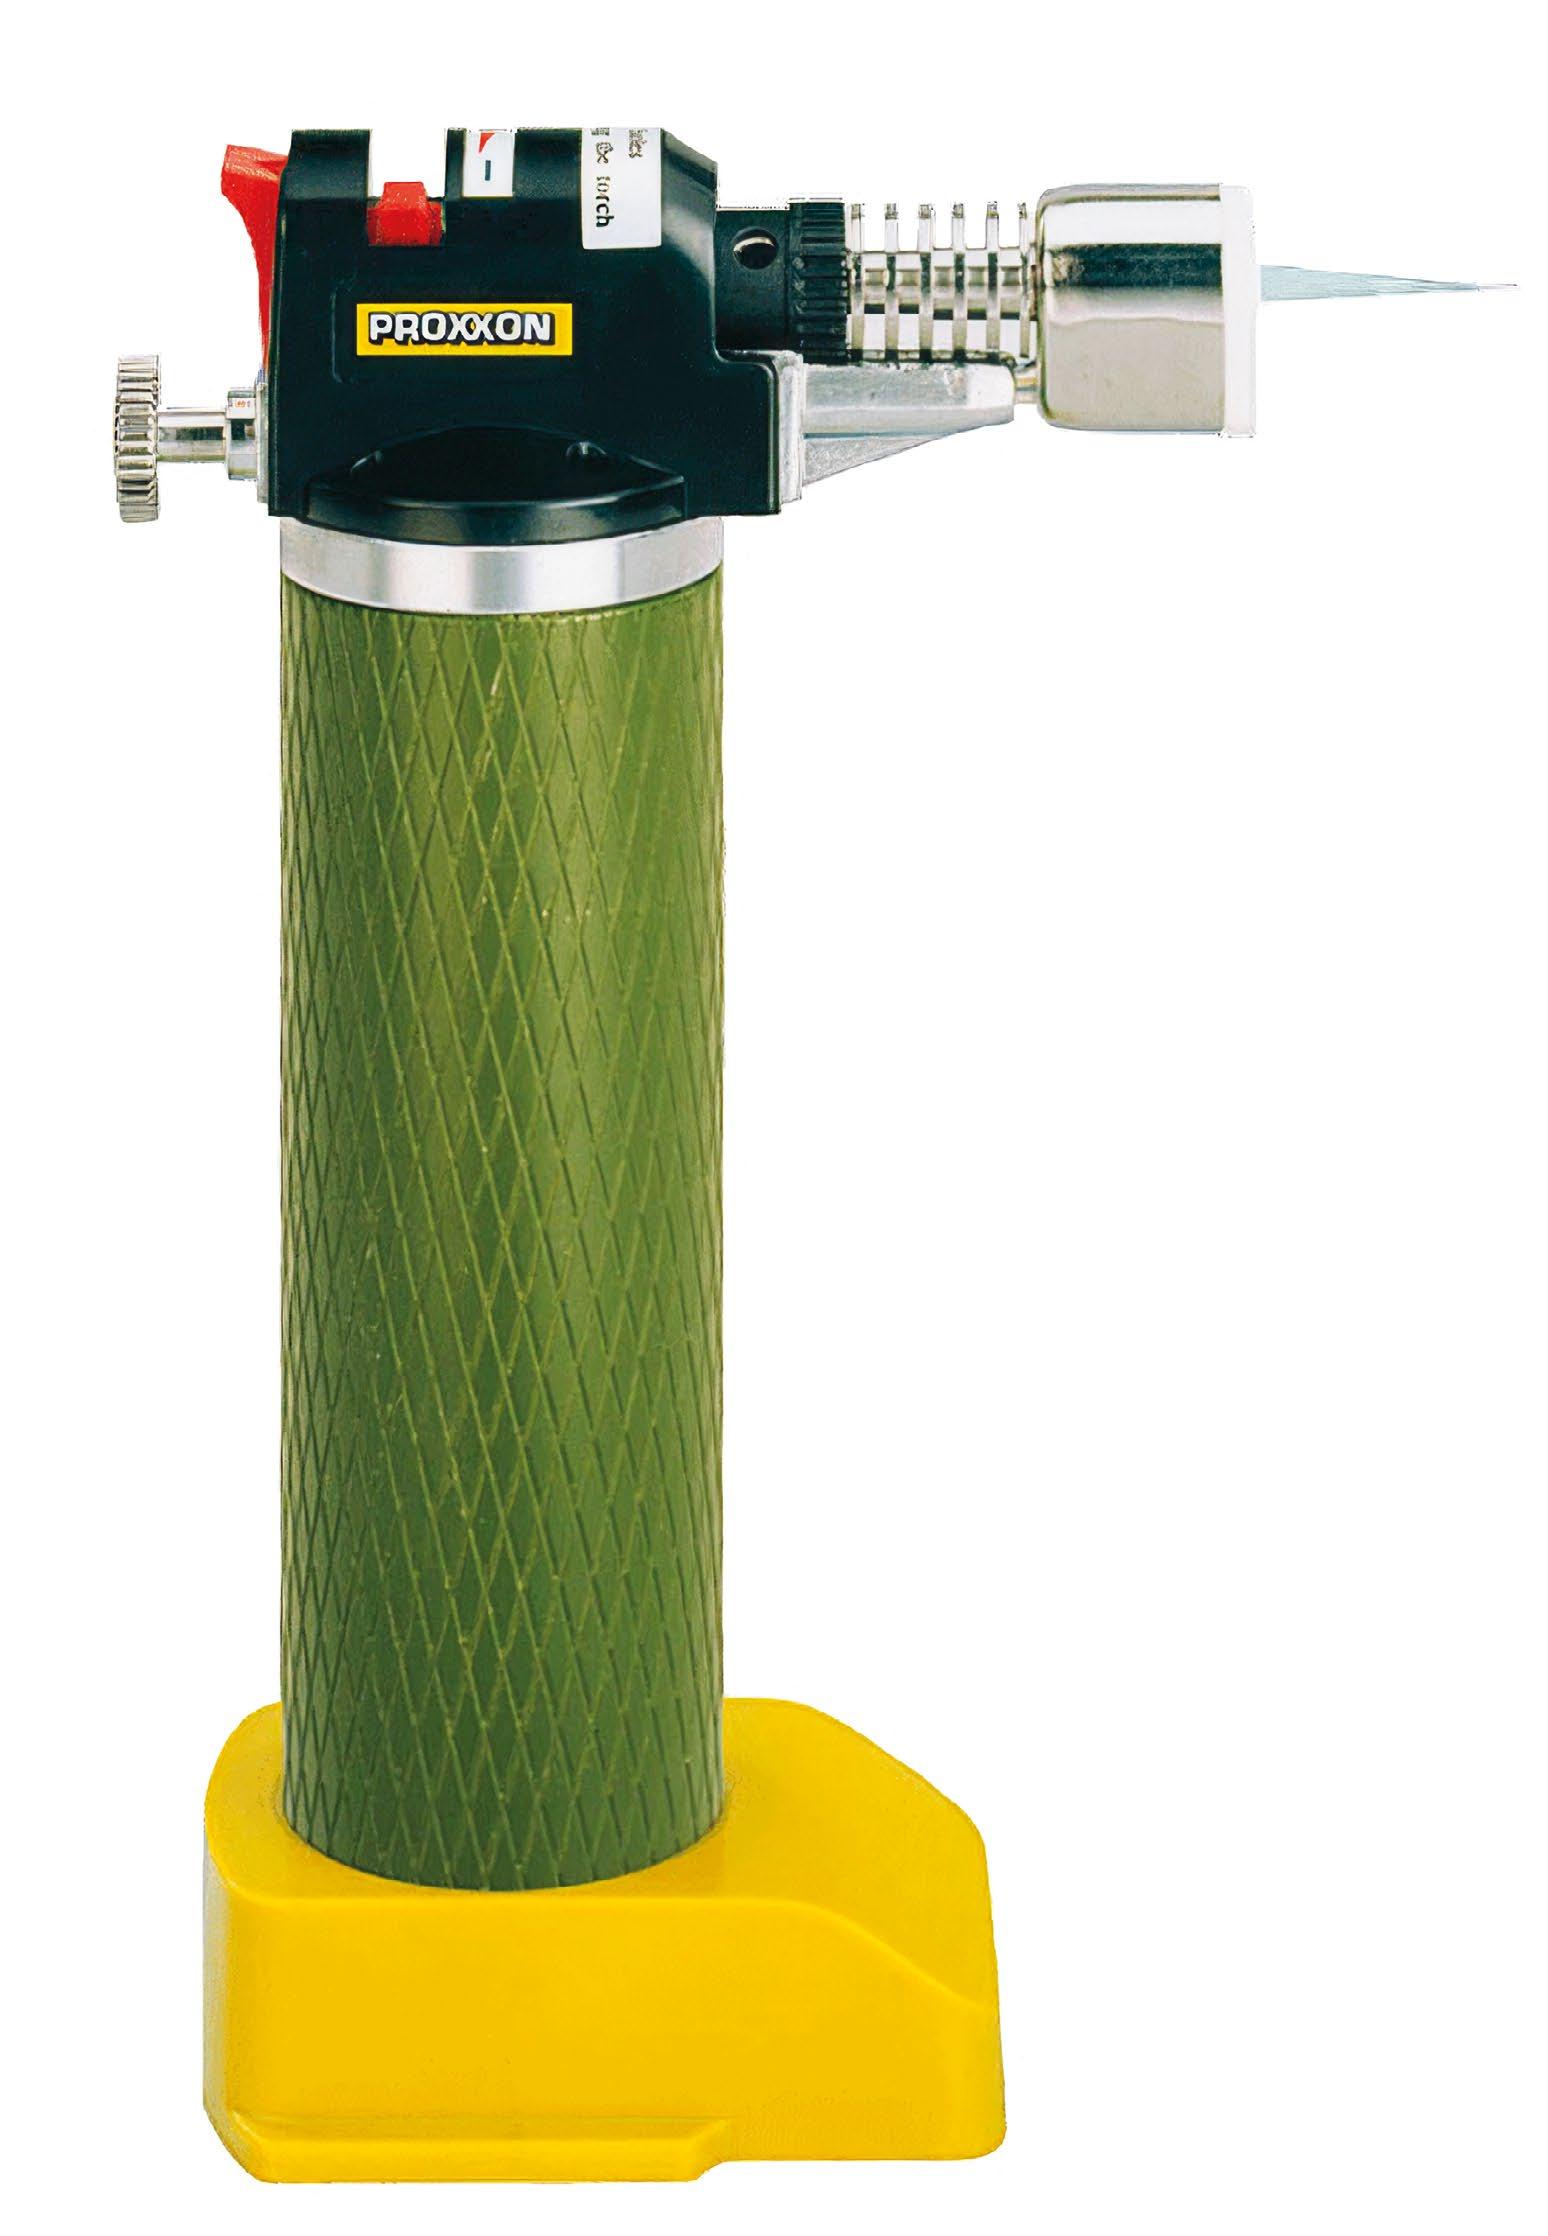
Ref. 06110
Size: 93x150 mm Ø 35 mm
Weight: 200 gr
Cylinder capacity: 50 ml
Autonomy: 60 minutes
06108
Butane gas. 400 ml bottle
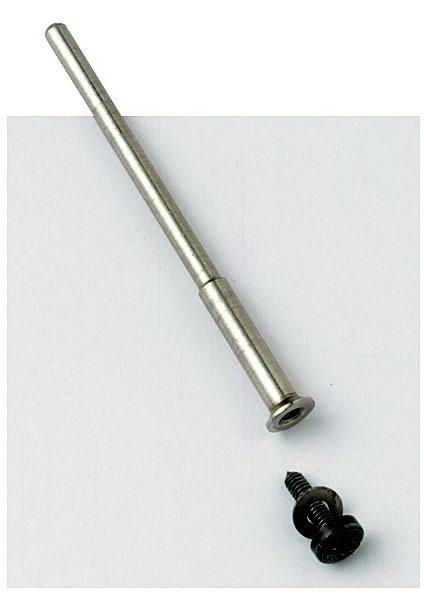
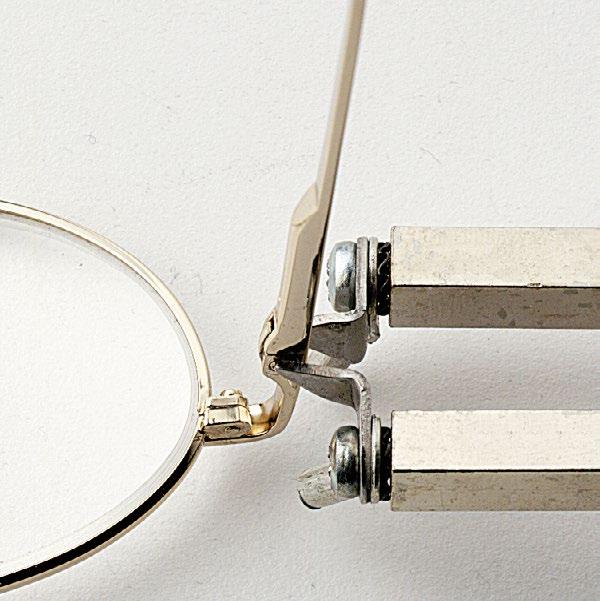
Ref. 06450
Foot pedal controlled also used to:
• Place metal pad arms on to plastic frames
Size: 185x155x105 mm
Weight: 2.2 Kg

REPLACEMENT OF
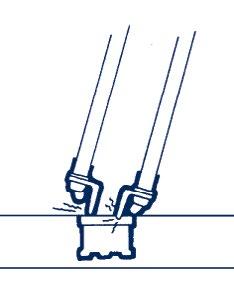

1 • Press the two tips on to the plate of the broken hinge and press the foot pedal to start. Keep a gap between the tips.
2 • When the plastic around the hinge begins to soften release the foot pedal and quickly remove hinge.
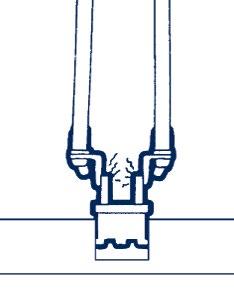
Heat up and loosen screws stuck with glue or thread lock.
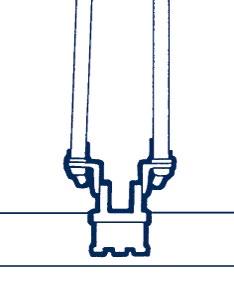
3 • Hold new hinge into position and press the foot pedal to heat. As soon as the plastic begins to melt, stop heating and gently press on the hinge with the plier so that the hinge sinks into the frame.
4 • Correctly position the new hinge and release the foot pedal. Keep holding the hinge in position for a few seconds until plastic hardens.
SOLDER RODS WITH FLUX CORE

SOLDER WIRE
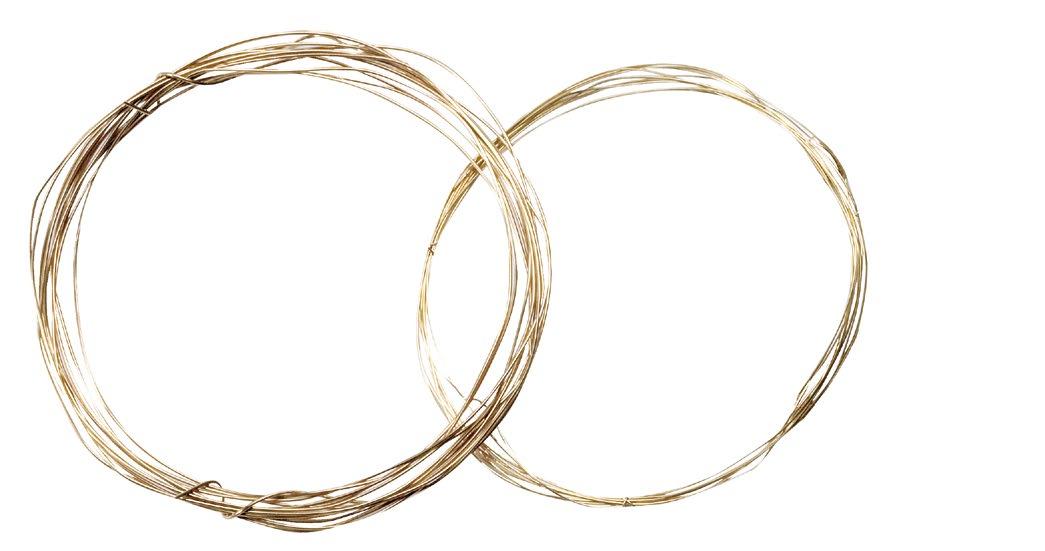
Ref. 06210
Soft yellow solder. Melting range: 655°C - 680°C
Pack of 10 rods - 250 mm each Ø 1,15 mm
Ref. 06214
Yellow gold solder. Melting range: 605°C- 635°C
Pack of 10 rods - 250 mm each Ø 1,15 mm
Heat the parts to be soldered together. As the metal is heated keep touching the parts to be soldered with the solder rod. Be very careful not to heat the soldering rod directly with the flame. The solder will melt when the temperature of the two parts reaches the critical soldering temperature.
All-purpose soldering wire in silver alloy (40%).
Easy flowing, suitable for nickel silver and monel metal.
Melting range: 610°C - 650°C.
Ref. 06200 Ø 0,5 mm.
Ref. 06202 Ø 0,3 mm.
Length: 2,5 mt
Solder wire is used for soldering small parts, where little solder is required. Heat the area to be soldered first, then dip into borax flux paste (borax flux powder. mixed with some drops of distilled water).
Protect those parts that are close to the area being heated with ISOFLAM heat shielding paste (Ref. 06221).
BORAX ISOFLAM
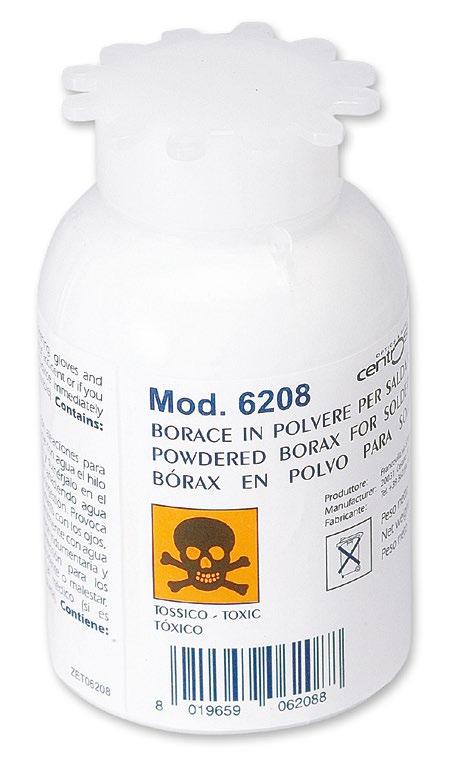
Borax flux powder to be mixed with hot distilled water to make a paste. Promotes quick and easy flow of solder between the surfaces being soldered. Melting range: 500°C - 700°C. Essential when using soldering wire (Ref. 0620006202). 100 g
SOLDERING SET
Ref. 06058
Soldering set complete with:
• Soldering tweezers Ref. 03730,
• Third hand table Ref. 06195,
• Solder wire Ø 0.5 mm Ref.06200,
• Solder wire Ø 0.3 mm Ref.06202,
• Powder borax flux 100 gr.
• 3 solder rods with flux core Ref. 06210,
• Heat-shielding paste Ref. 06221. Tray included suitable for the new LMS Cube..
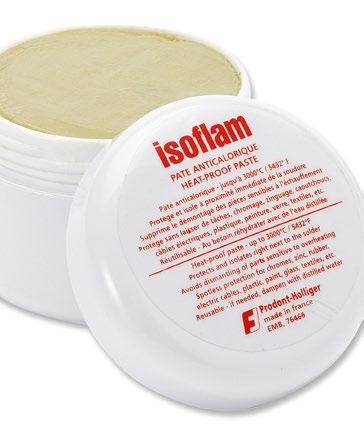
Ref. 06221
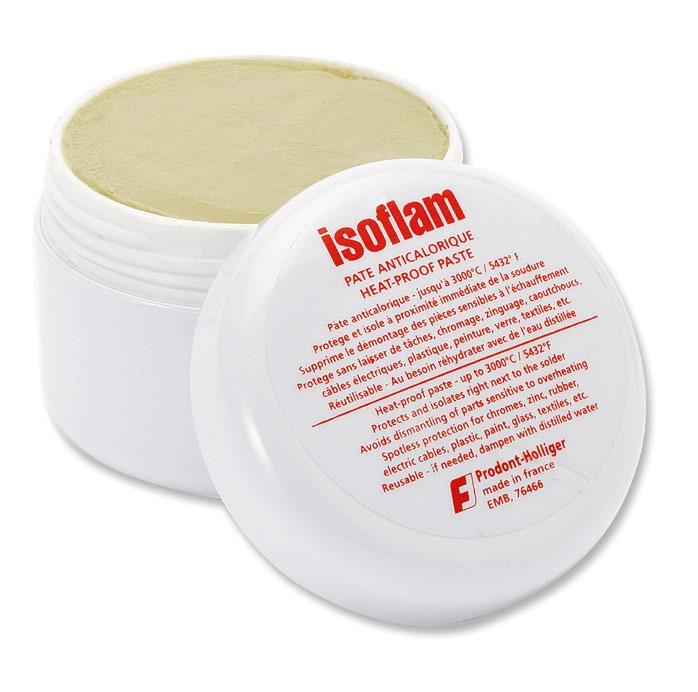
Heat shielding paste. It will protect the non-soldered area by dissipating heat for temperatures up to 3,000°C 5,432°F. It isolates parts close to the soldering point and reduces the risk of damage to plastic and painted parts. It does not stain and washes off in water.
50 g

CONSUMABLES FOR MINIFLAM
GAS FOR MINIFLAM
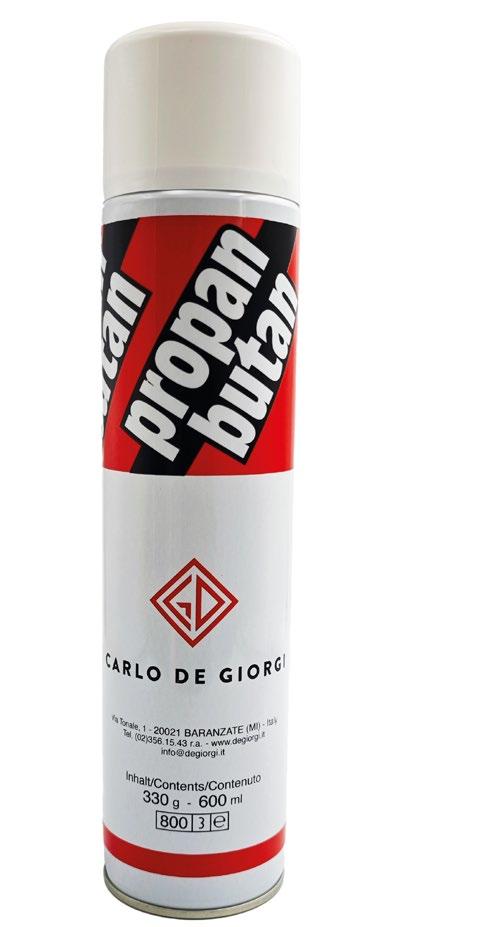
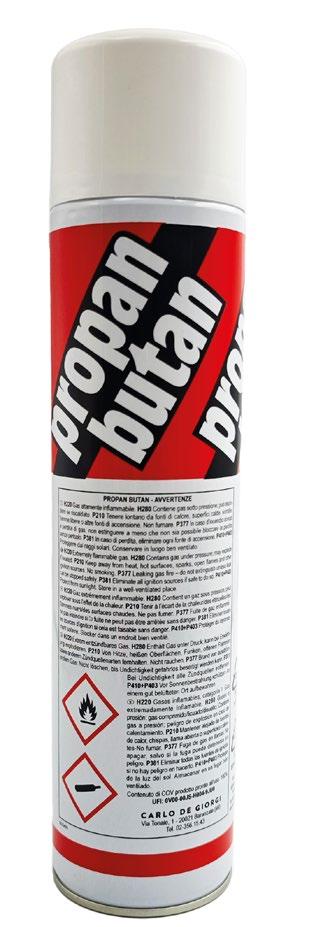
Ref. 06109
Butane gas.
600 ml bottle.
CONSUMABLES FOR SOLDERING UNITS
Ref. 06020
Caustic solution
Electrolyte
0.5 litre - 2 pcs.
Ref. 06022
Boric acid solution - flux 0.5 litre
FOR AIRFREIGHT DELIVERIES
Ref. 06055
Boric acid in grains
25 g
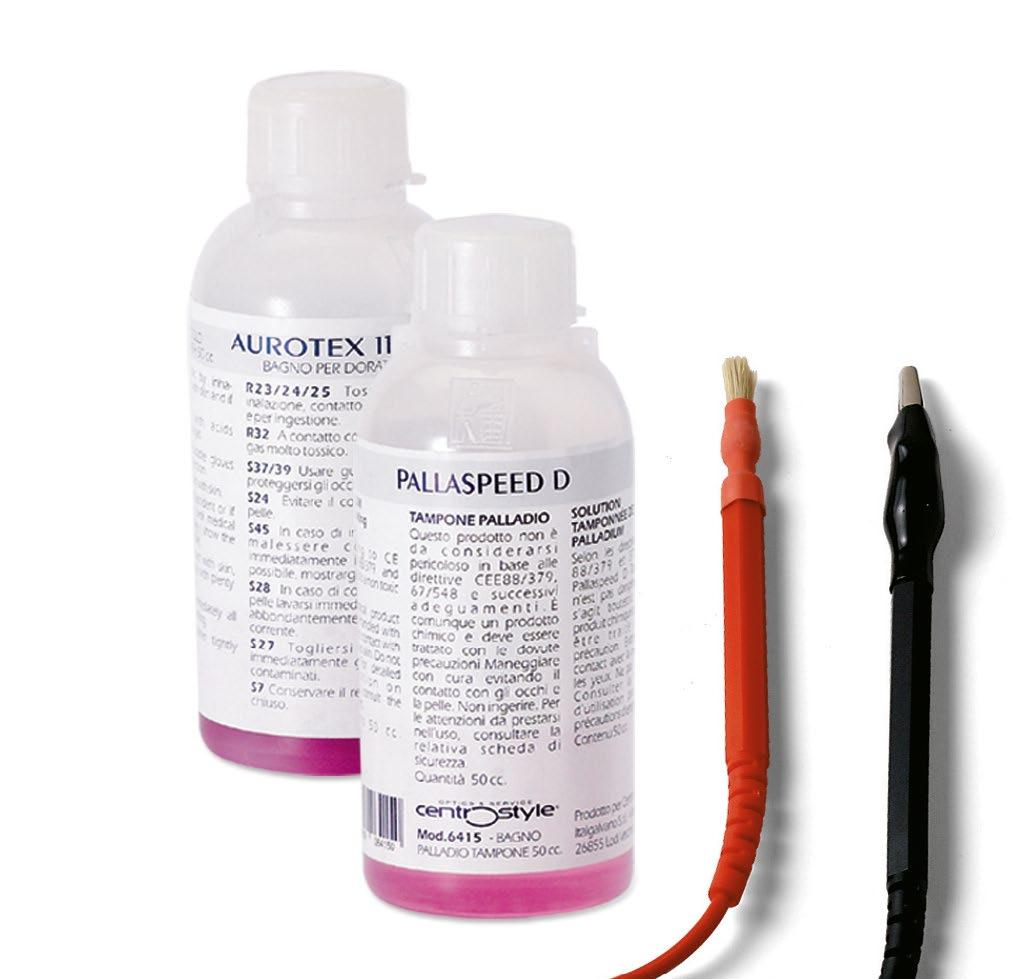
PLATING SOLUTIONS
Ref. 06411
Gold plating solution
50 ml
Ref. 06415
Palladium plating solution
50 ml
Ref. 06423
• Clamp electrode
• Brush electrode


• Always wear safety glasses.
• First, remove any parts that will be affected by heat, e.g. pads, rim cover, temple tips.
• Before heating, it may be necessary to apply a large amount of protective heat shield paste
• ISOFLAM (Ref. 06221) over those parts that are close to the area being heated.
• Next, remove broken part by heating the area until it becomes detached.
• Use tweezers Ref. 03730 to help.
• Always prepare the surfaces to be soldered first by using the rubber abrasion wheels (Ref. 02444 - Ref. 02447). A clean, smooth surface ensures a good result.
• Alternatively use a file.
• Apply ISOFLAM protection paste (Ref. 06221) around the soldering point and on any components (nose pads, enamelled parts, etc.).
• After soldering, the paste can be recovered and reused by adding a few drops of distilled water.
• Place the frame on the soldering table (Ref. 06195) to give easy access to the part being soldered.
• The clamps should be kept away from the soldering area to avoid overheating.
• Rest your elbows to support the hands.
• The parts to be soldered should not be close to the table top.
• If you are not using SOLDER rods (Ref. 06210-6214), prepare the solder wire (Ref. 0620006202) in advance by wetting it and dipping it in borax flux powder.
• Always heat first the thicker surface as it reaches the melting point in longer time by absorbing more heat.
• Dip the soldered part in water.
• Use protective goggles during all soldering steps.
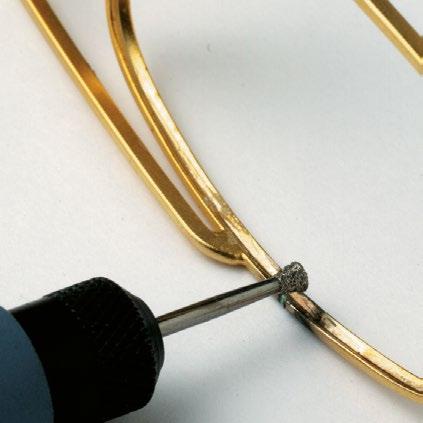
The part connecting the temple hinge to the eye wire rim is subject to great stress. Having a large supporting surface it is recommended to use the solder rods Ref. 06210 - Ref. 06214, or the 0.5 mm solder wire Ref. 06200.
When soldering the closing block to the rim, as the surface area is quite small, it is recommended that a small amount of solder is carefully placed. Recommend 0.3 mm wire Ref. 06202.
Part of the frame that allows the temple to pivot. Recommended to use the solder rods Ref. 06210 and Ref. 06214, or the 0.5 mm solder wire Ref. 06200.
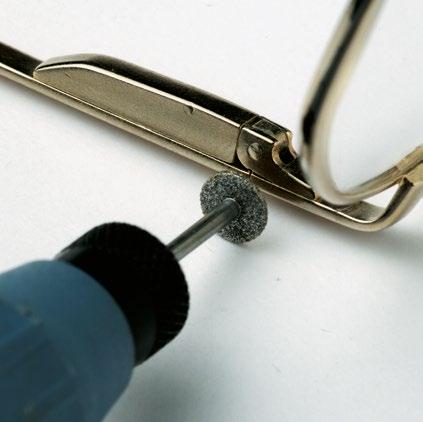
After de-scaling remove and smooth residues of solder with rubber abrasion wheels (Ref. 02444 -Ref. 02447). Alternatively, use the brass (Ref. 02421) or steel brushes (Ref. 02422). Next polish with silicone wheels (Ref. 02442) or hard felt brushes (Ref. 02429).
For best results clean the frame with an ultrasonic cleaner using concentrated detergent for ultrasonic cleaners, not to damage the frames and any type of lenses. High cleaning capacity enhanced by the mechanical action of the ultrasonic cleaner.
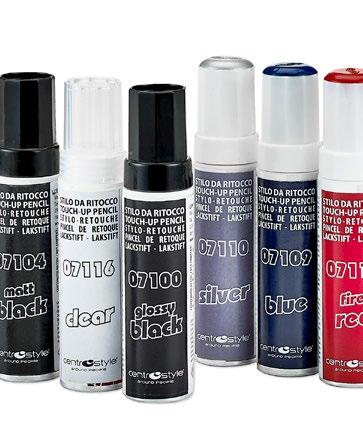
To touch-up soldered parts use these coloured lacquers. Ideal for individualising or personalising frame parts.
ACTIVE LIQUID WITH ANTIBACTERIAL PROPERTIESThanks to its active enzymes, this detergent can also be used without ultrasonic cleaner, just with lukewarm water. Its antibacterial properties sanitize the spectacles. Ref. 06859 1litre bottle
Add one/two cupfuls of detergent to 1 litre of water. 100% NO ALCOHOL
TOUCHUP BRUSH KIT
Ref. 07100 - 07104 - 07106 - 0710907110 - 07111 - 07112 - 0711607117 - 07120 - 07121.
Ref. 07118
Set of 12 lacquers. (Ref. 07100 Shiny Black - 2 pcs.)
Two and four plates
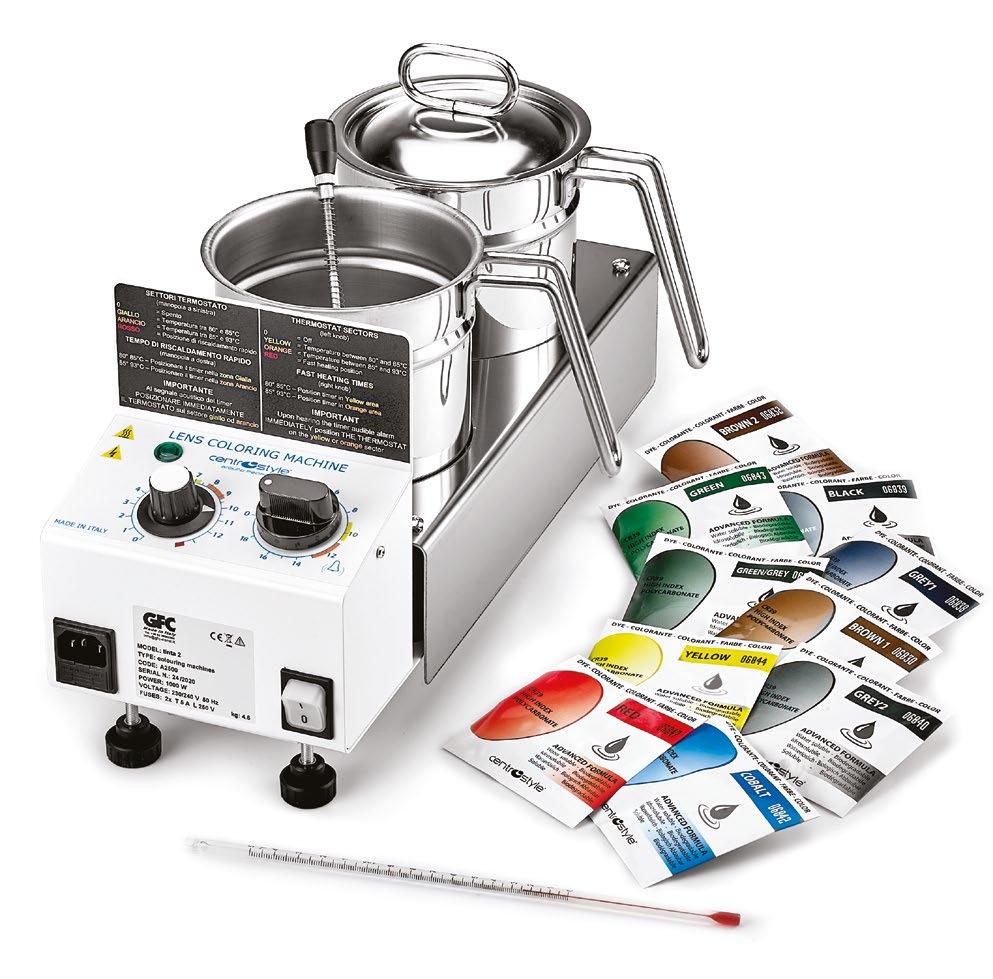
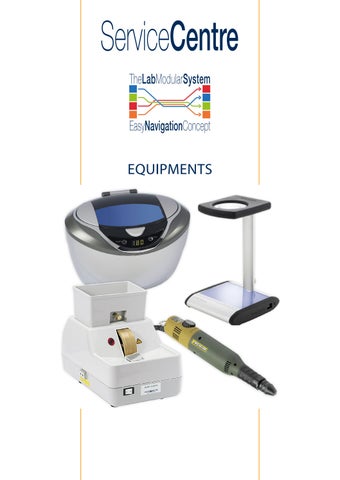
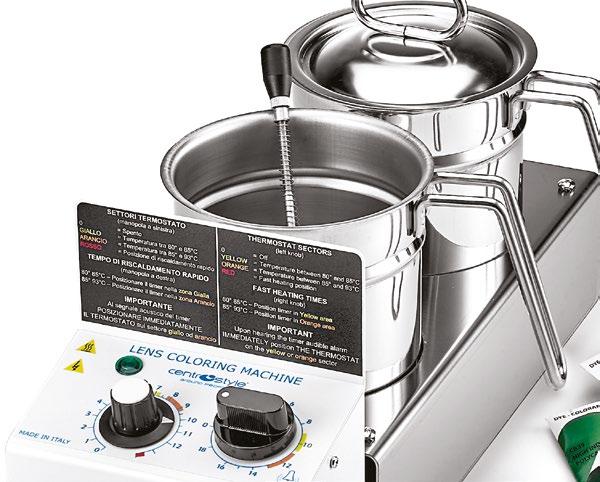
Lens tinting is a treatment carried out for sun protection, medical and aesthetic reasons.
Tinting techniques depend on the material with which the lens is made.
The technique commonly used for plastic materials in CR39, Polycarbonate and High Index is by immersion into hot tinting liquid.
Ref. 06520
• Thermostat for temperature control
• Timer for regulation of the pre-heating phase
Dye pots not included. Plates Ø 120 mm.
Power consumption: 450 W each plate
Size: 155x415x210 mm
Weight: 4.2 kg.
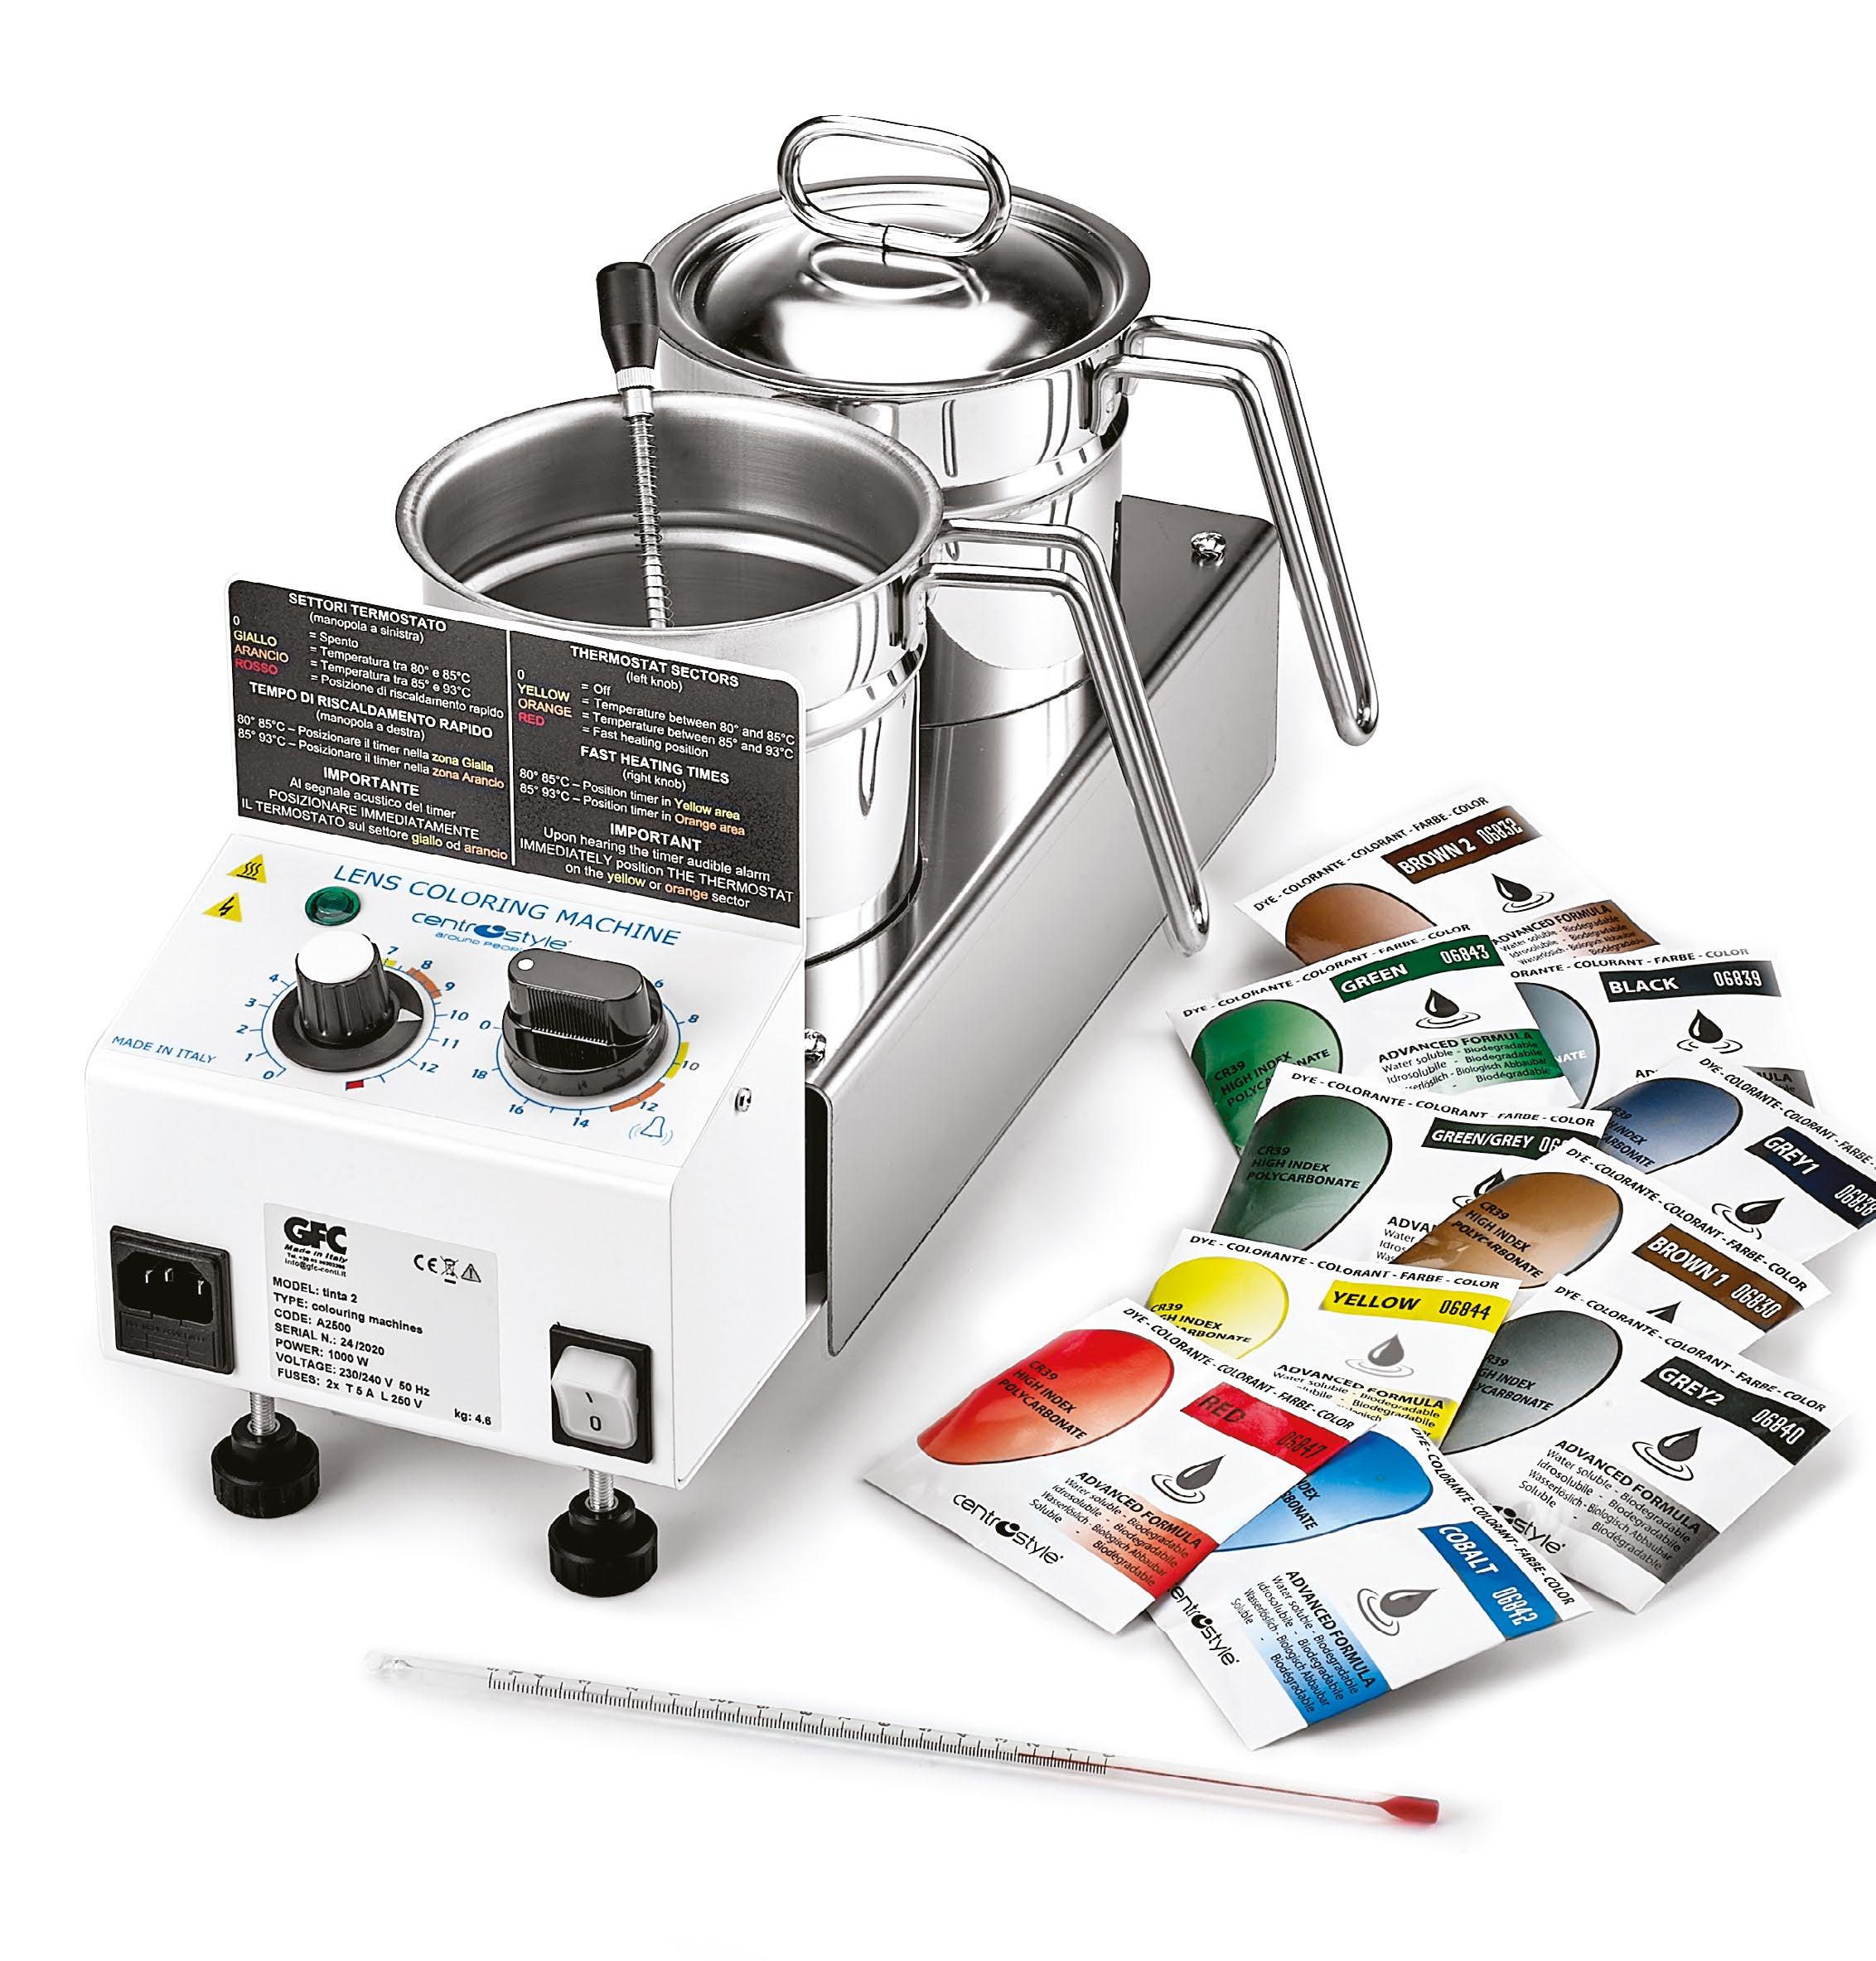
Ref. 06518
Complete with:
• Two plate tinting unit
Ref. 06520
• 2 stainless steel dye pots with lids Ref. 06529
• 1 stainless steel lens holder
Ref. 06525
• 1 package of 12 clear plano lenses Ref. 06660
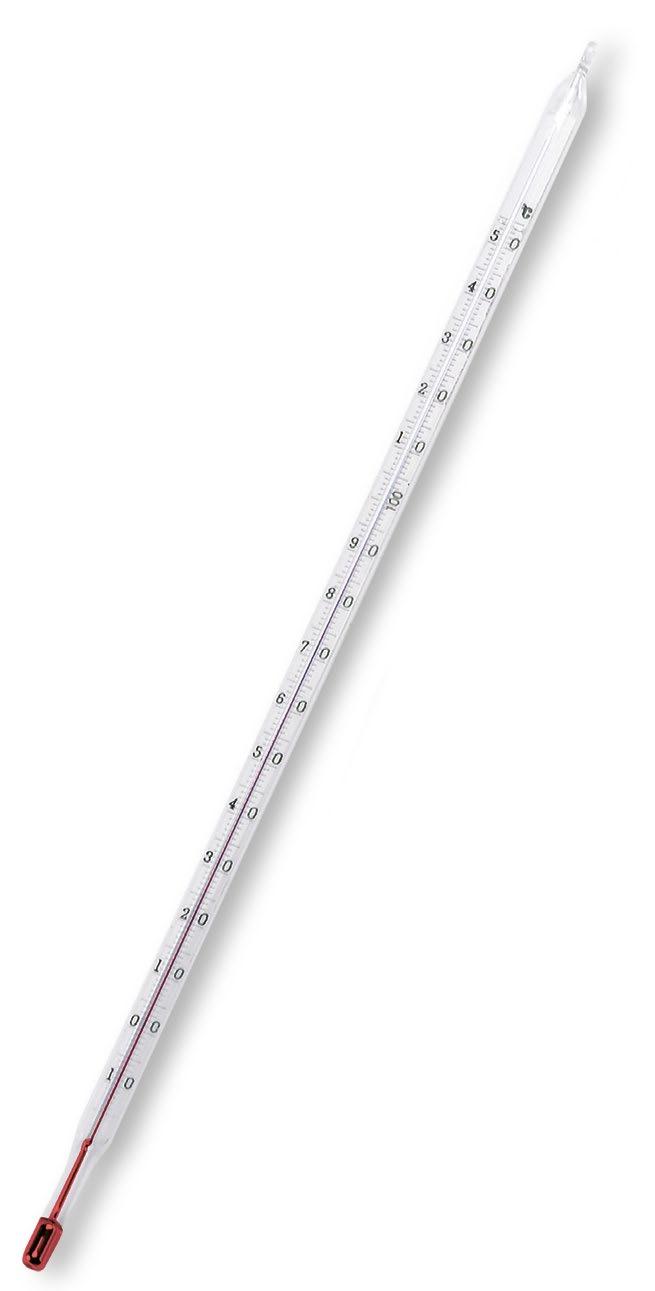
• 1 celsius thermometer
• 1 litre neutralising solution
• 10 assorted dyeing powders
Ref. 23564
Ref. 06850
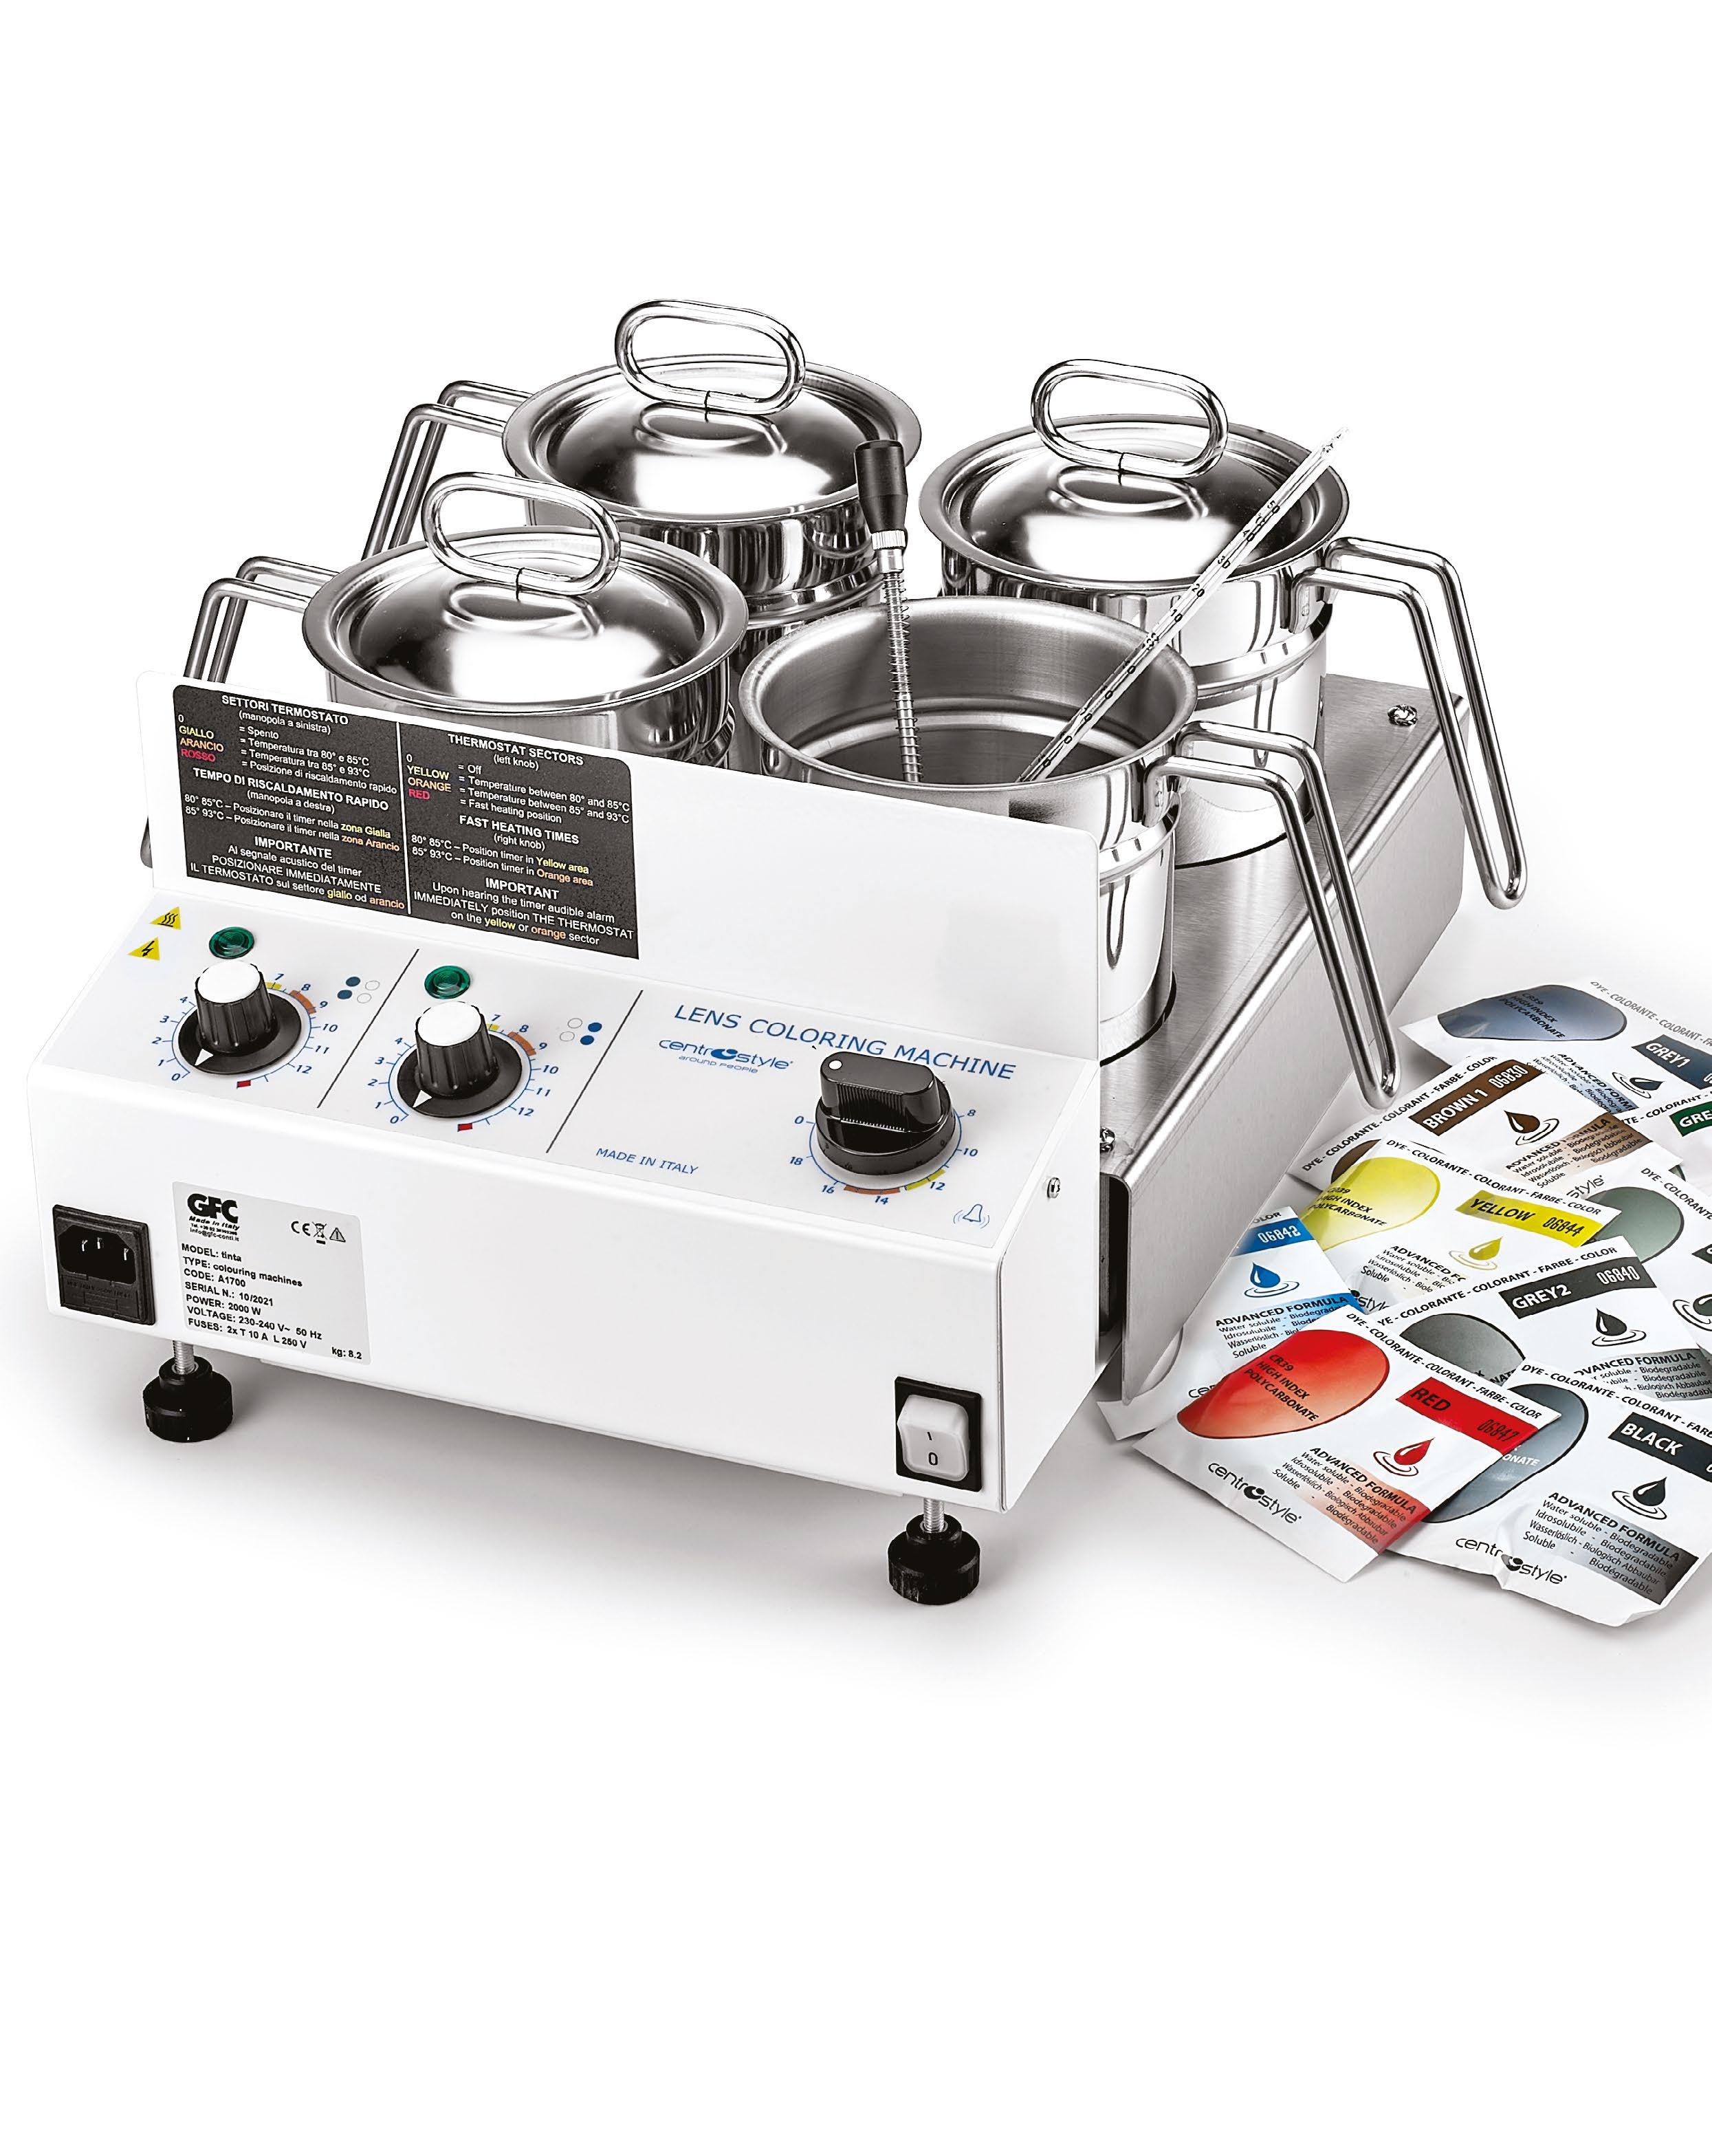
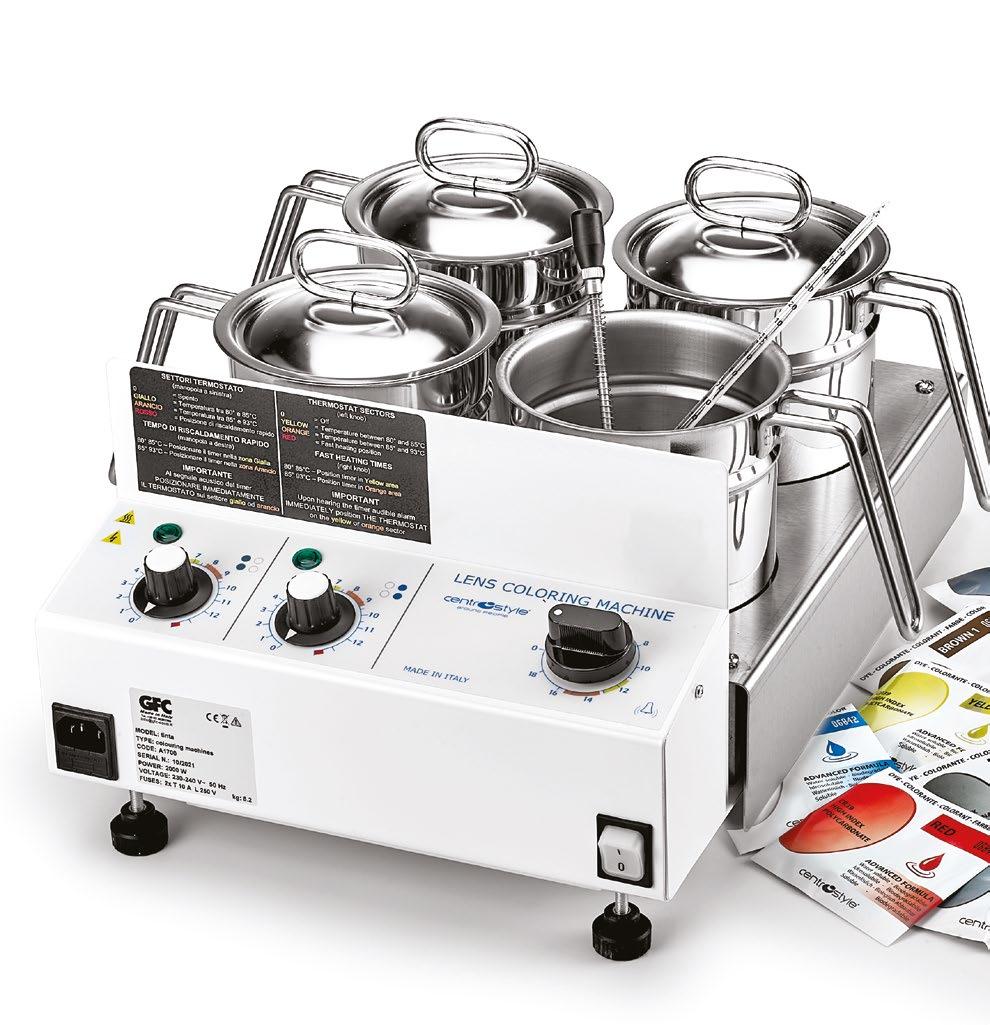
FOUR PLATE TINTING UNIT
Ref. 06505
Four plate tinting unit.
Operates as two independent tinting units with two plates per unit.
• Thermostat for temperature control.
• Timer with alarm.
Dye pots not included.
Plates: Ø120 mm
Power consumption: 900 W /double plates
Size: 345x440x215 mm
Weight: 8.9 kg.
SPARE PARTS
Ref. 06511 Heating element.
Ref. 06507
Complete with:
• Four plate tinting unit Ref. 06505
• 4 stainless steel dye pots with lids Ref. 06529
• 1 stainless steel dual lens holder Ref. 06525
• 1 package of 12 clear plano CR39 lenses Ref. 06660
• 1 celsius thermometer Ref. 23564
• 1 neutralising solution Ref. 06850
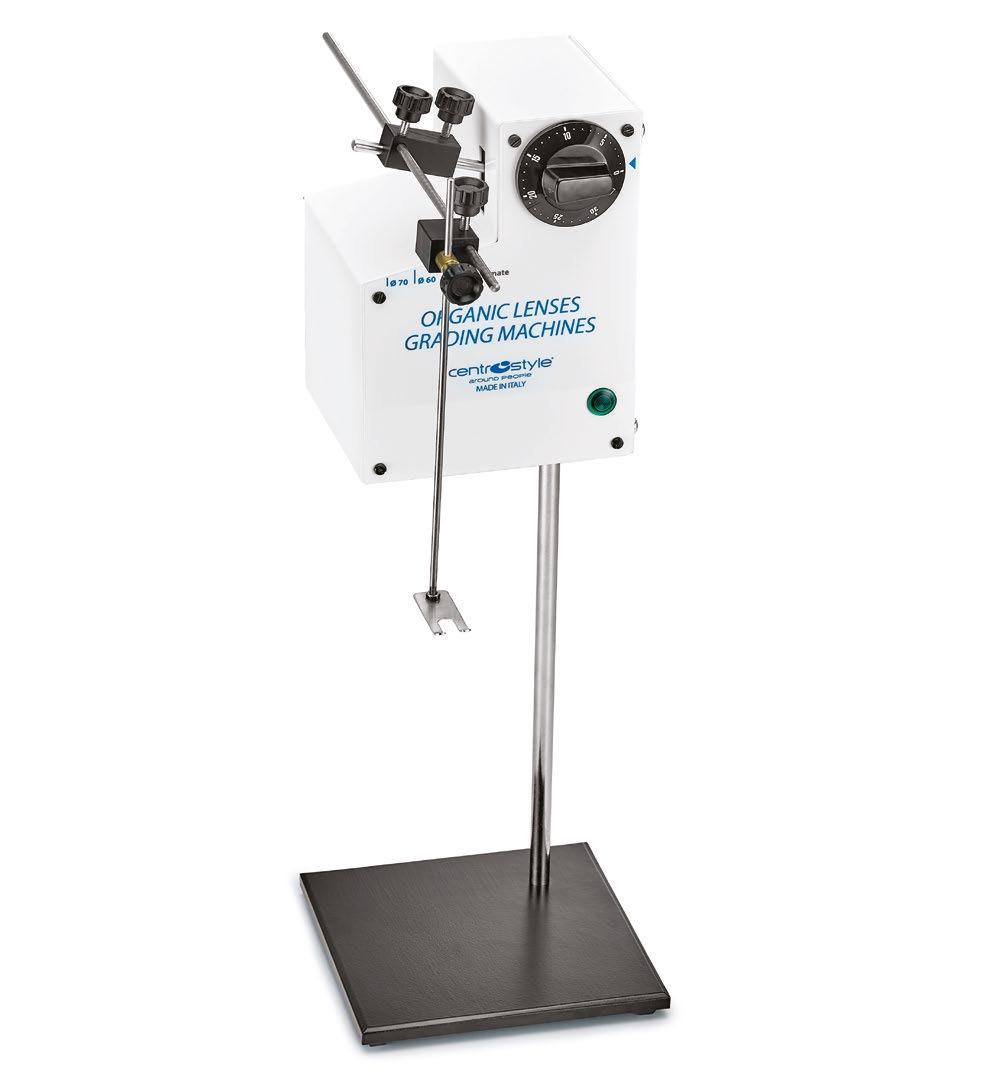
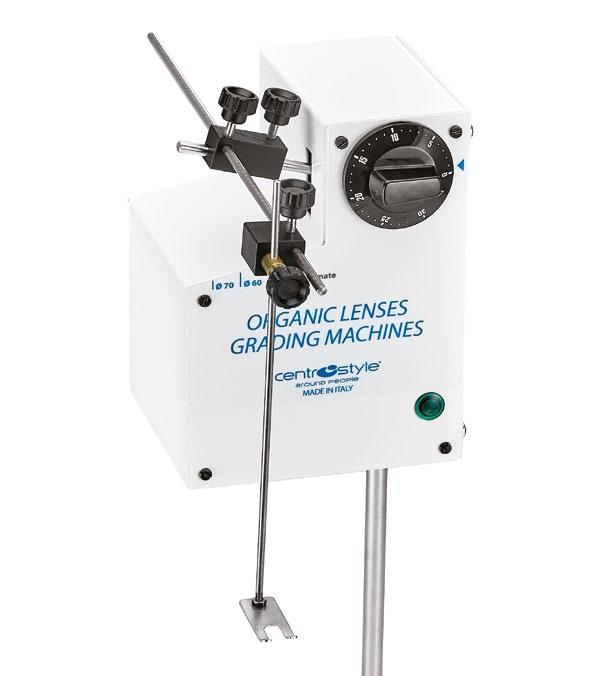
With timer
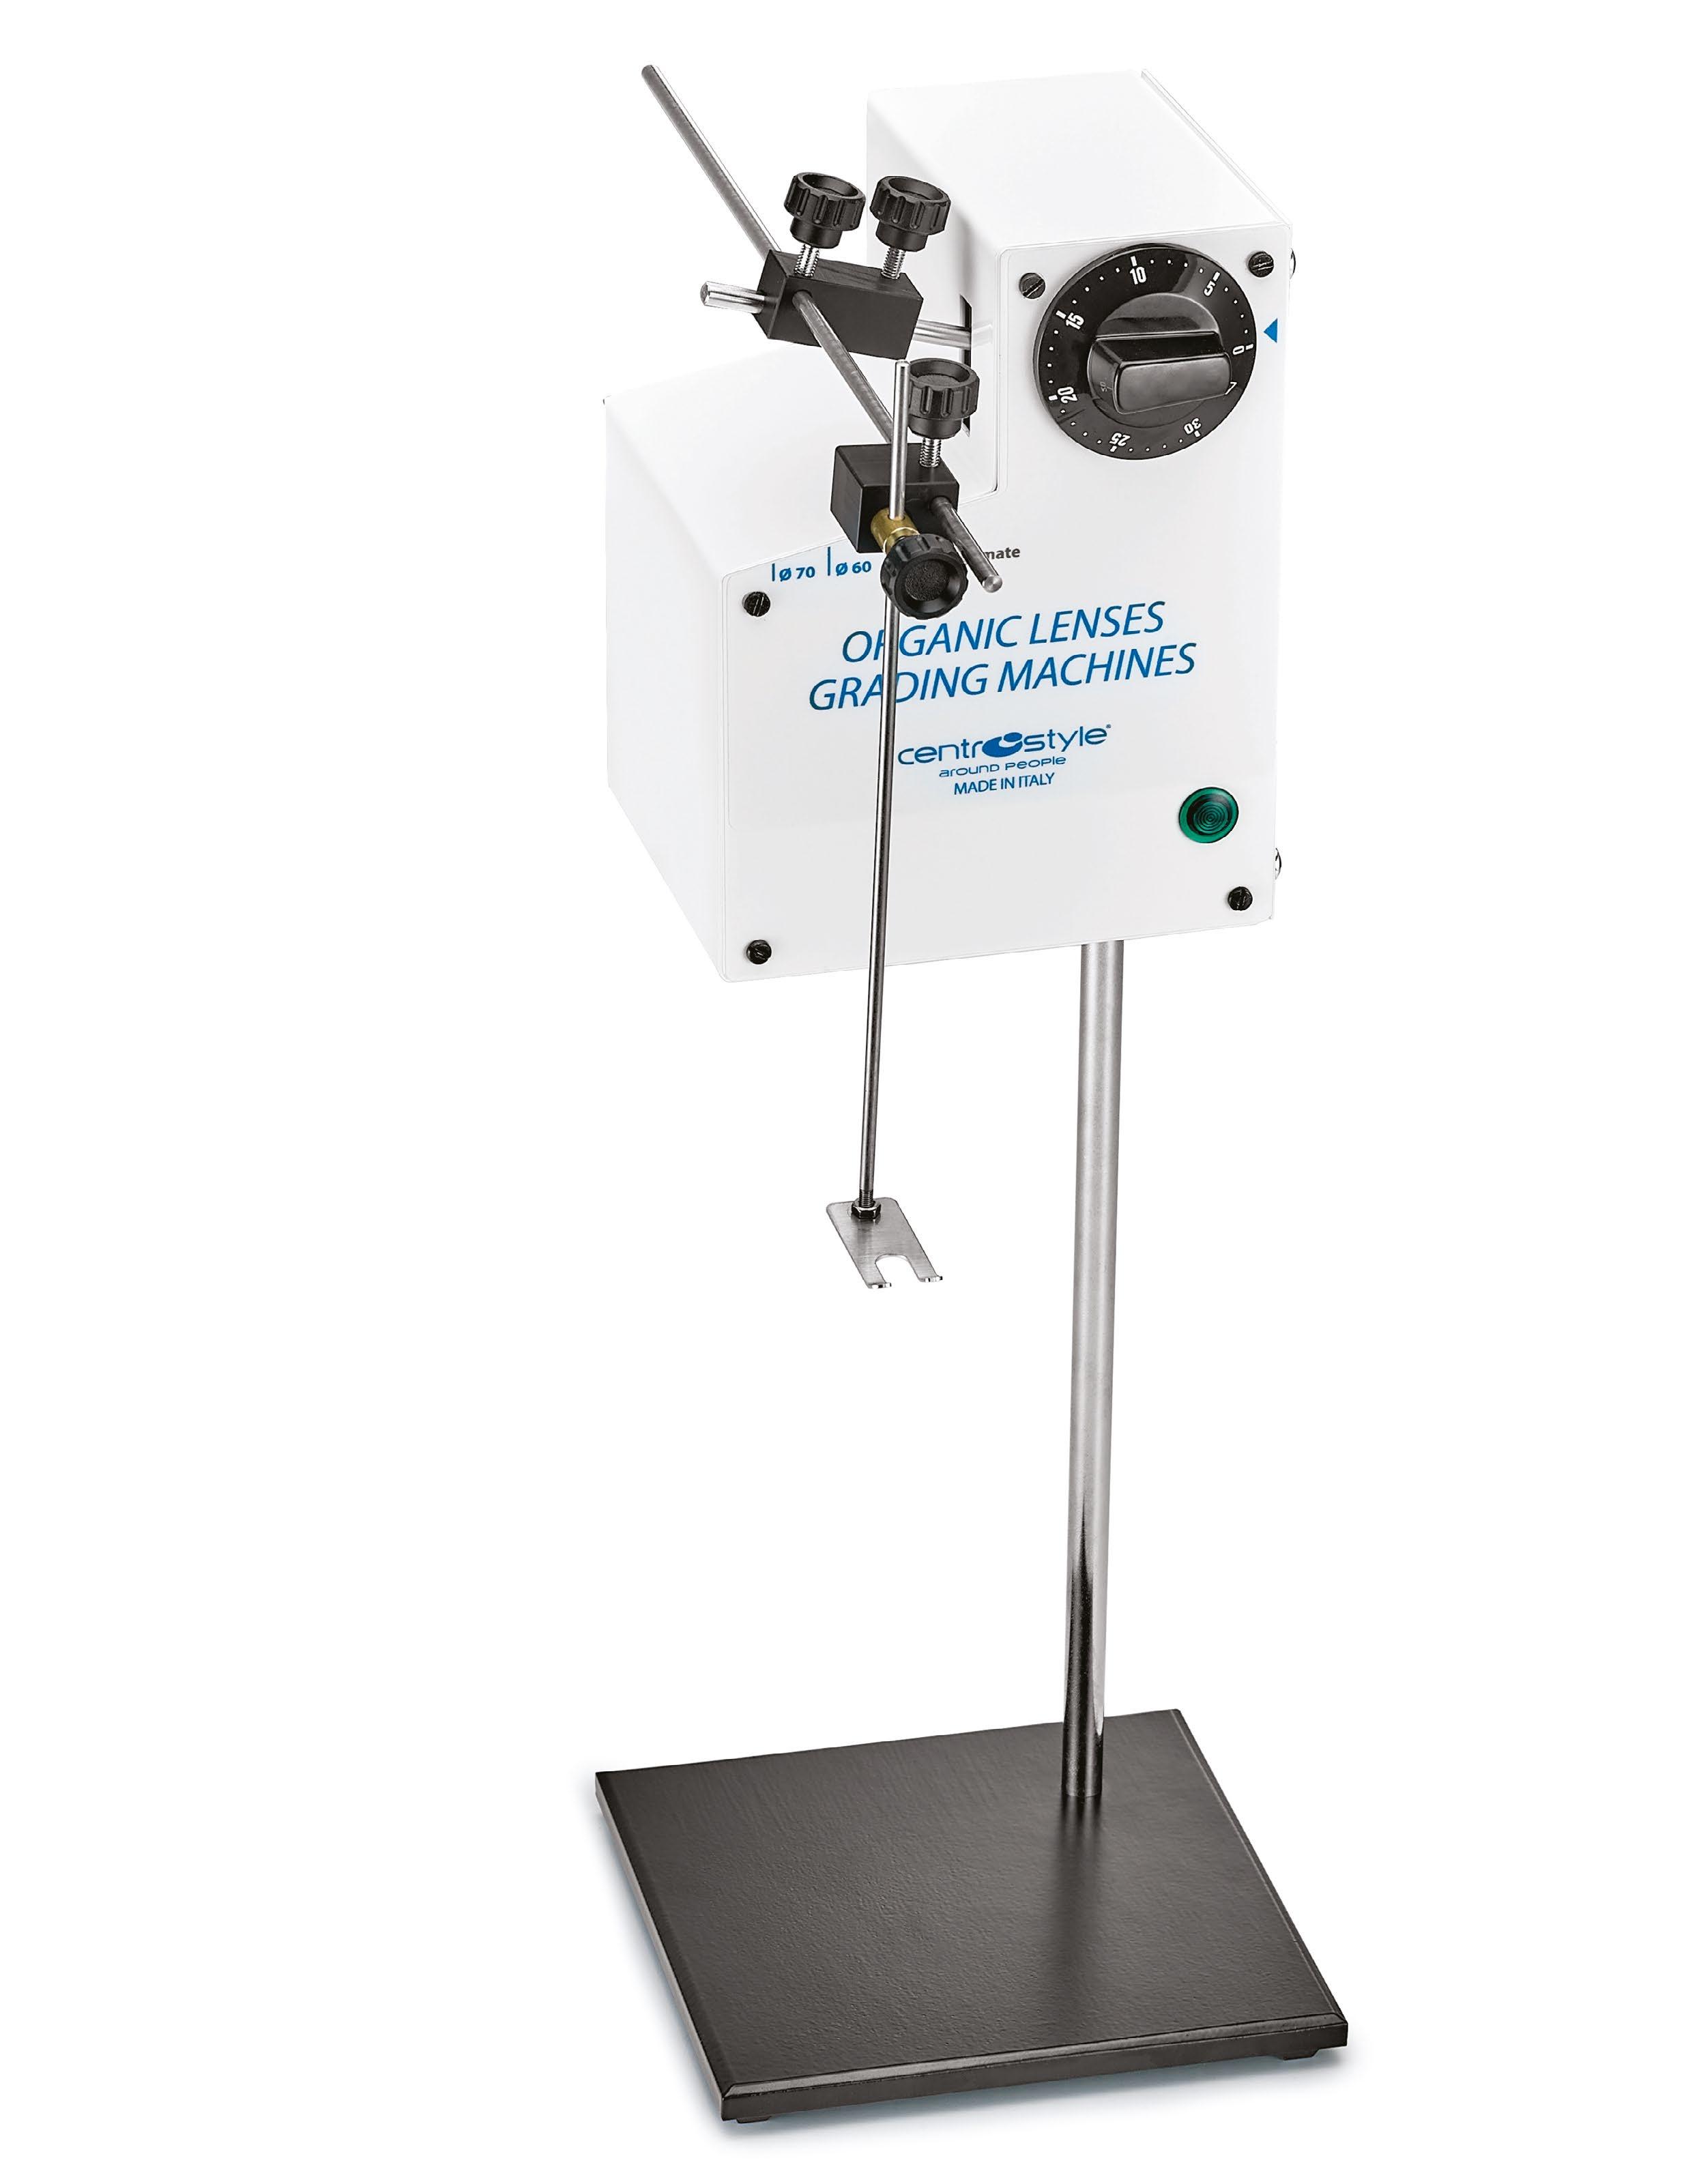
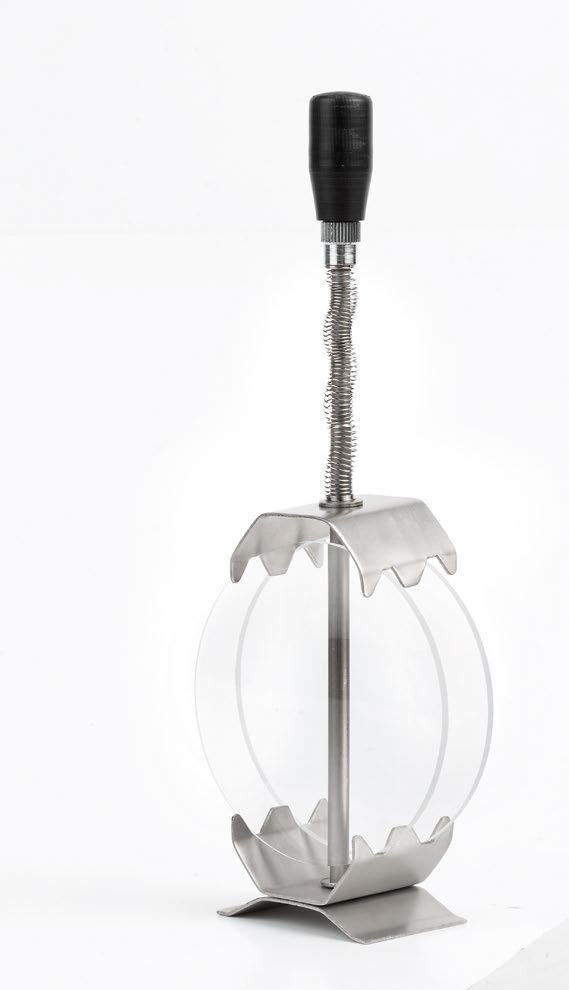
AUTOMATIC GRADATION UNIT WITH TIMER
Ref. 06580
Allows to gradate all plastic lens types gradually.
Incorporates a 30 minutes timer.
A mechanical arm allows alternate dipping of the lens into the bath in order to reach identical graduation on all plastic lenses. The oscillation time is programmed by the operator.
The graduated effect on the lens can be adjusted.
Size: 150x150x455mm
Weight: 4.1 kg.
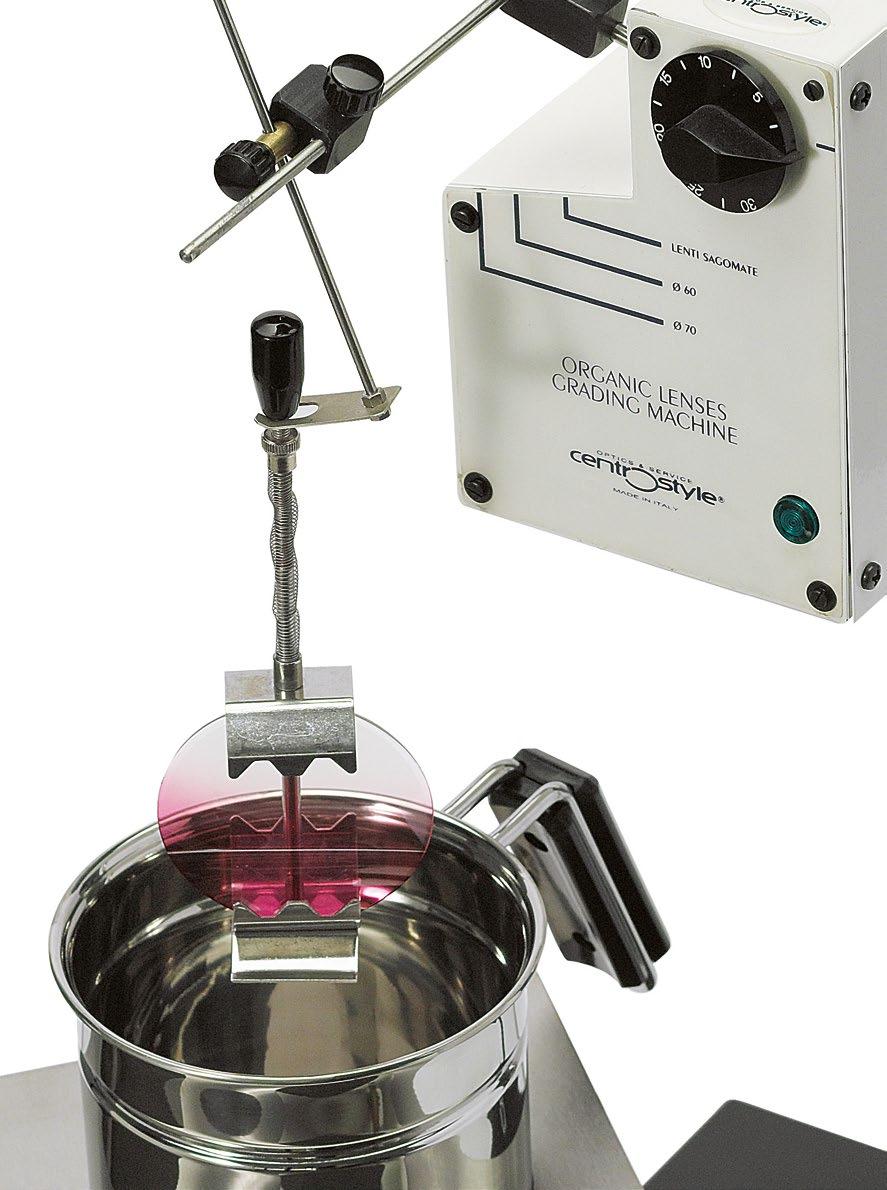
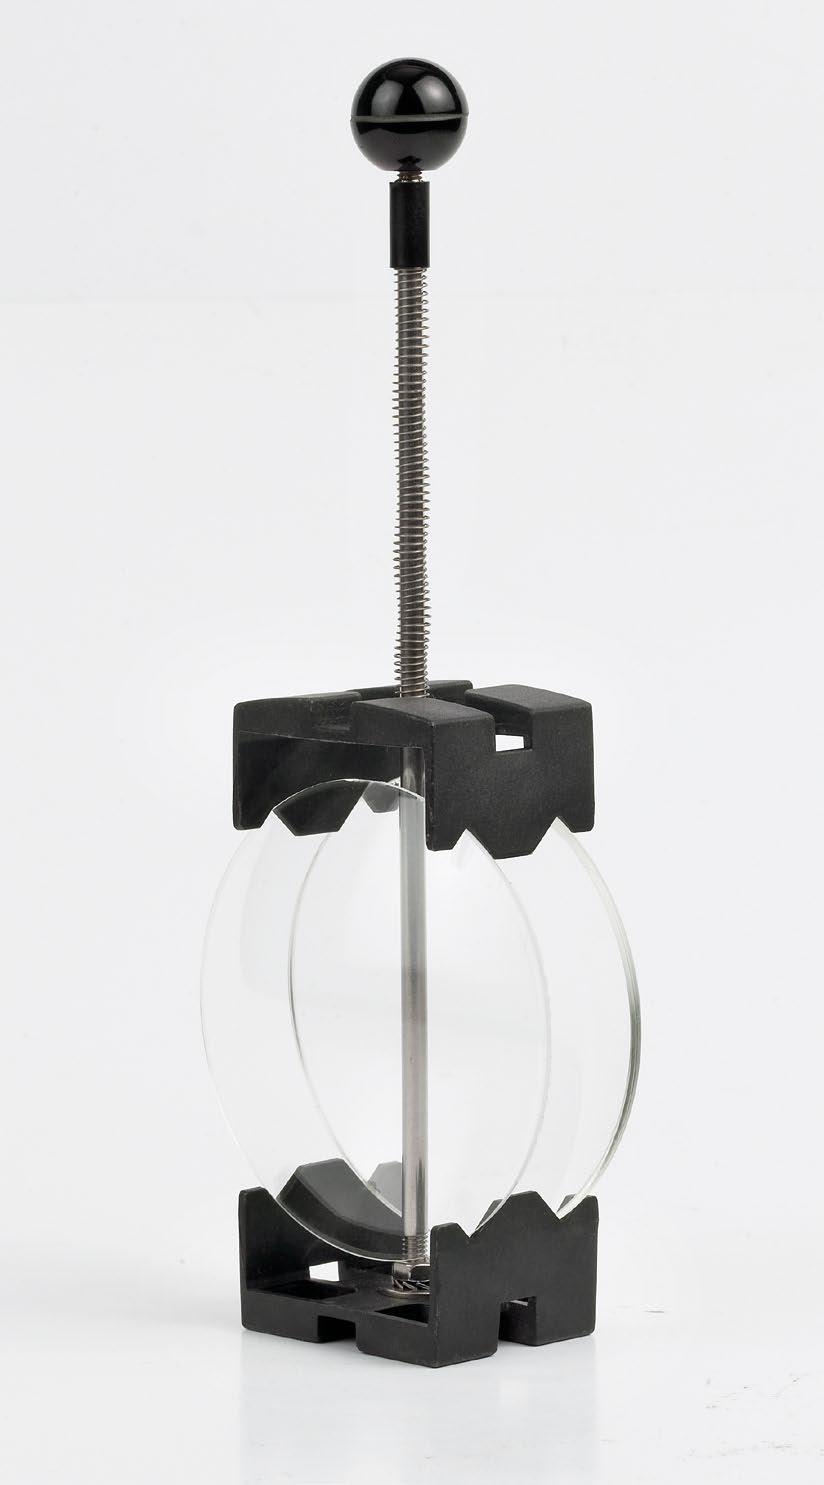
Ref. 06525
Holds one or two lenses of the same size under spring pressure. A large base keeps the stand free in the pot.
Stainless steel

Ref. 06527
Holds one or two lenses of the same size under spring pressure. Made of s/steel and heat resistant plastic.
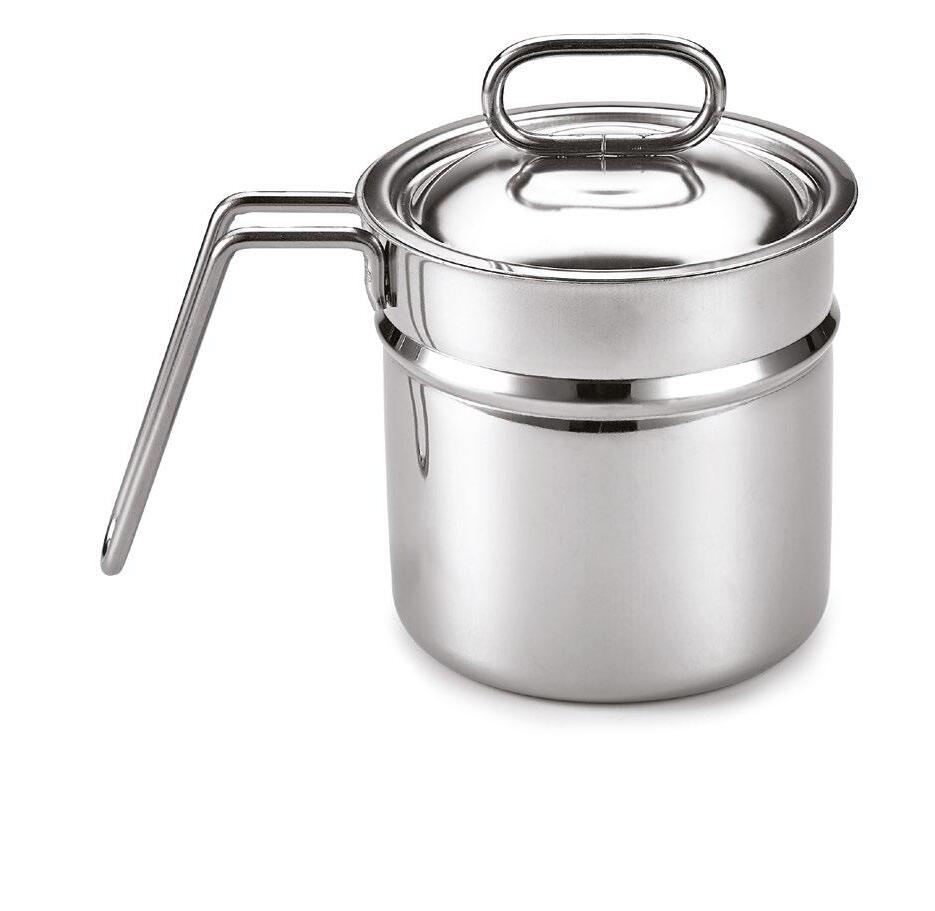
Ref. 06529
Stainless steel pot with lid, large heat proof knob.
Capacity 1 litre - Ø 120 mm
The special bottom allows for a uniform heat distribution and maintains the temperature constant. Suitable for tinting units Ref. 0650506520.
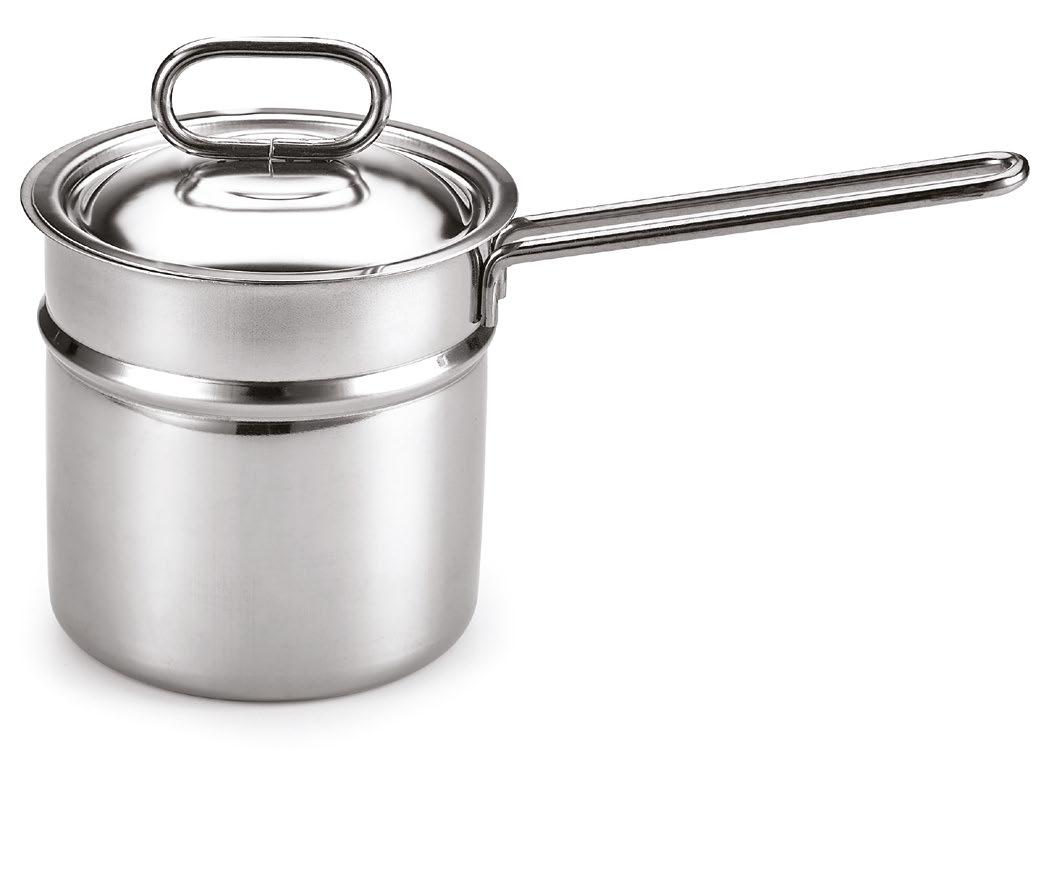
Ref. 06547
Stainless steel pot with lid. Capacity 1 litre - Ø 120 mm Suitable for oil bath tinting units.
Ref. 23564
Celsius thermometer -10 °C / +150 °C.

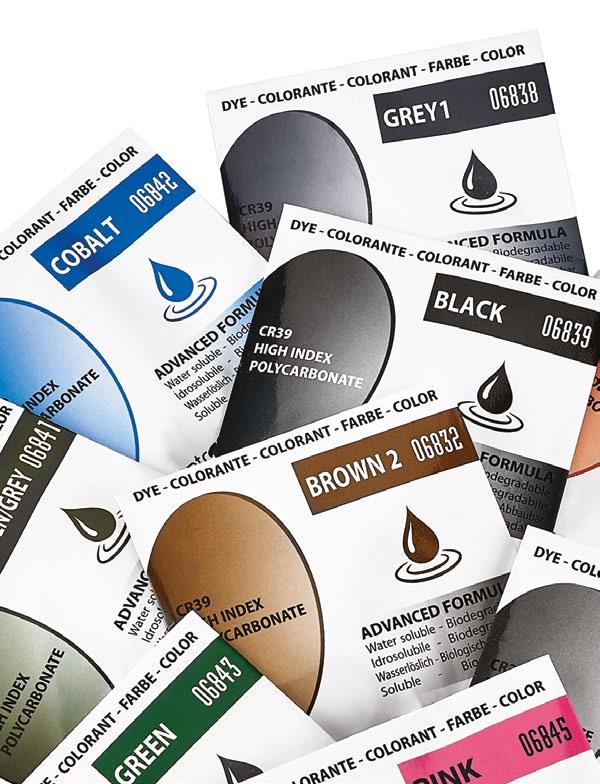
2 Ref. 06832

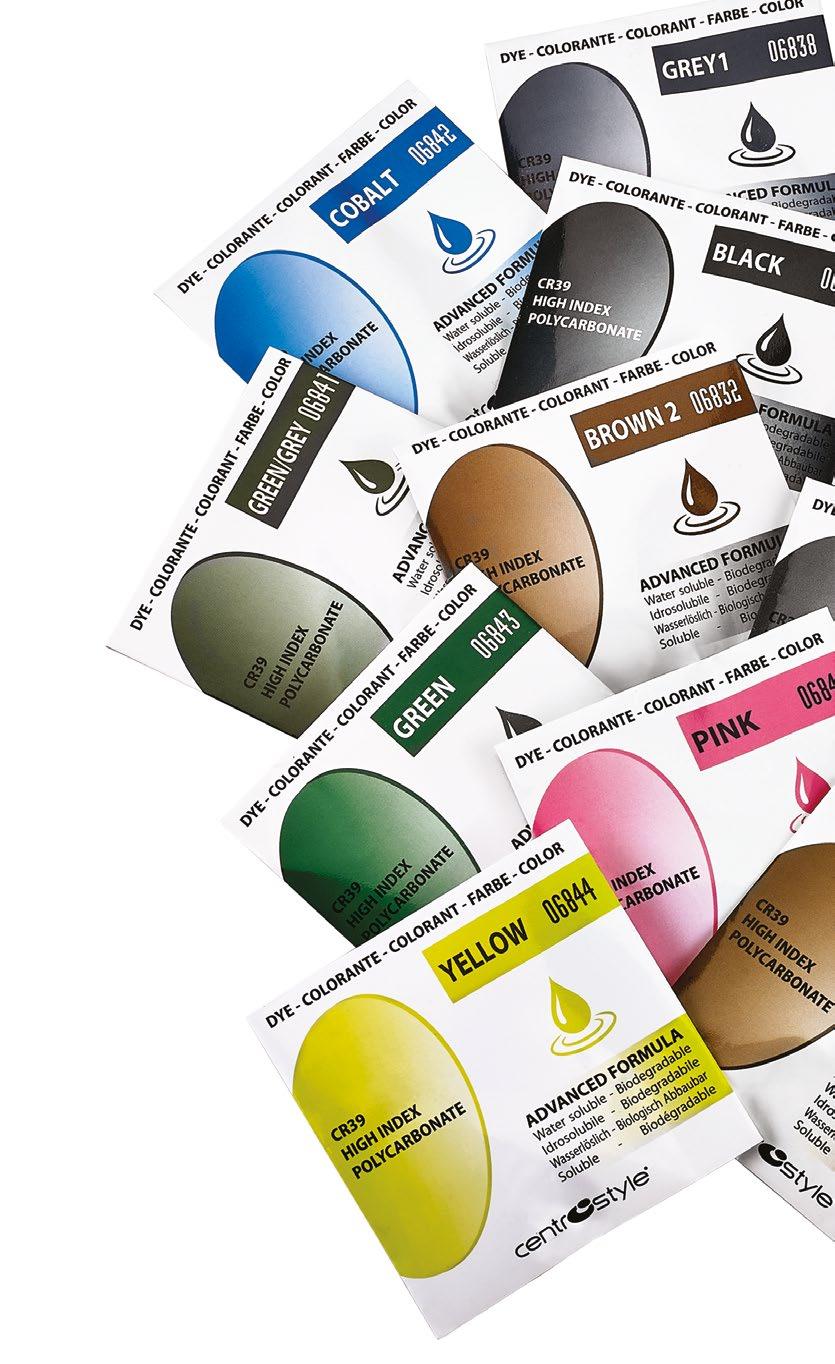
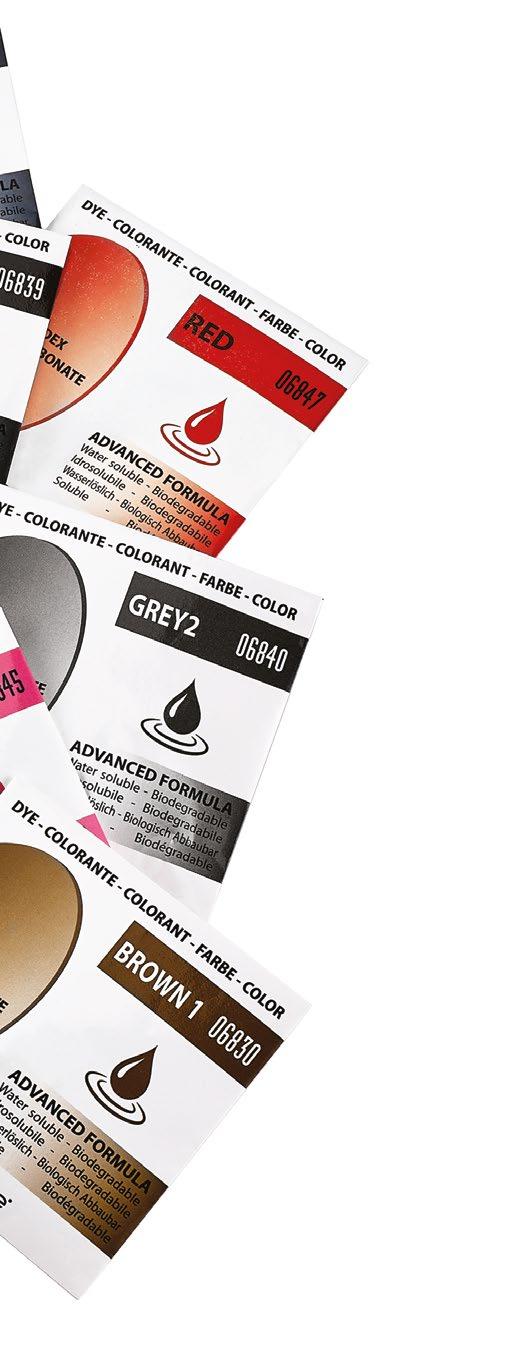
Biodegradable - For CR39 - High index - Polycarbonate - 10 g sachets
INSTRUCTIONS
SUITABLE FOR NIGHT DRIVING
• Heat 1 litre of demineralized water at 60°C and add the bag with the dye.
• Heat solution to 93 °C and dip lens in using lens holder Ref. 06525.
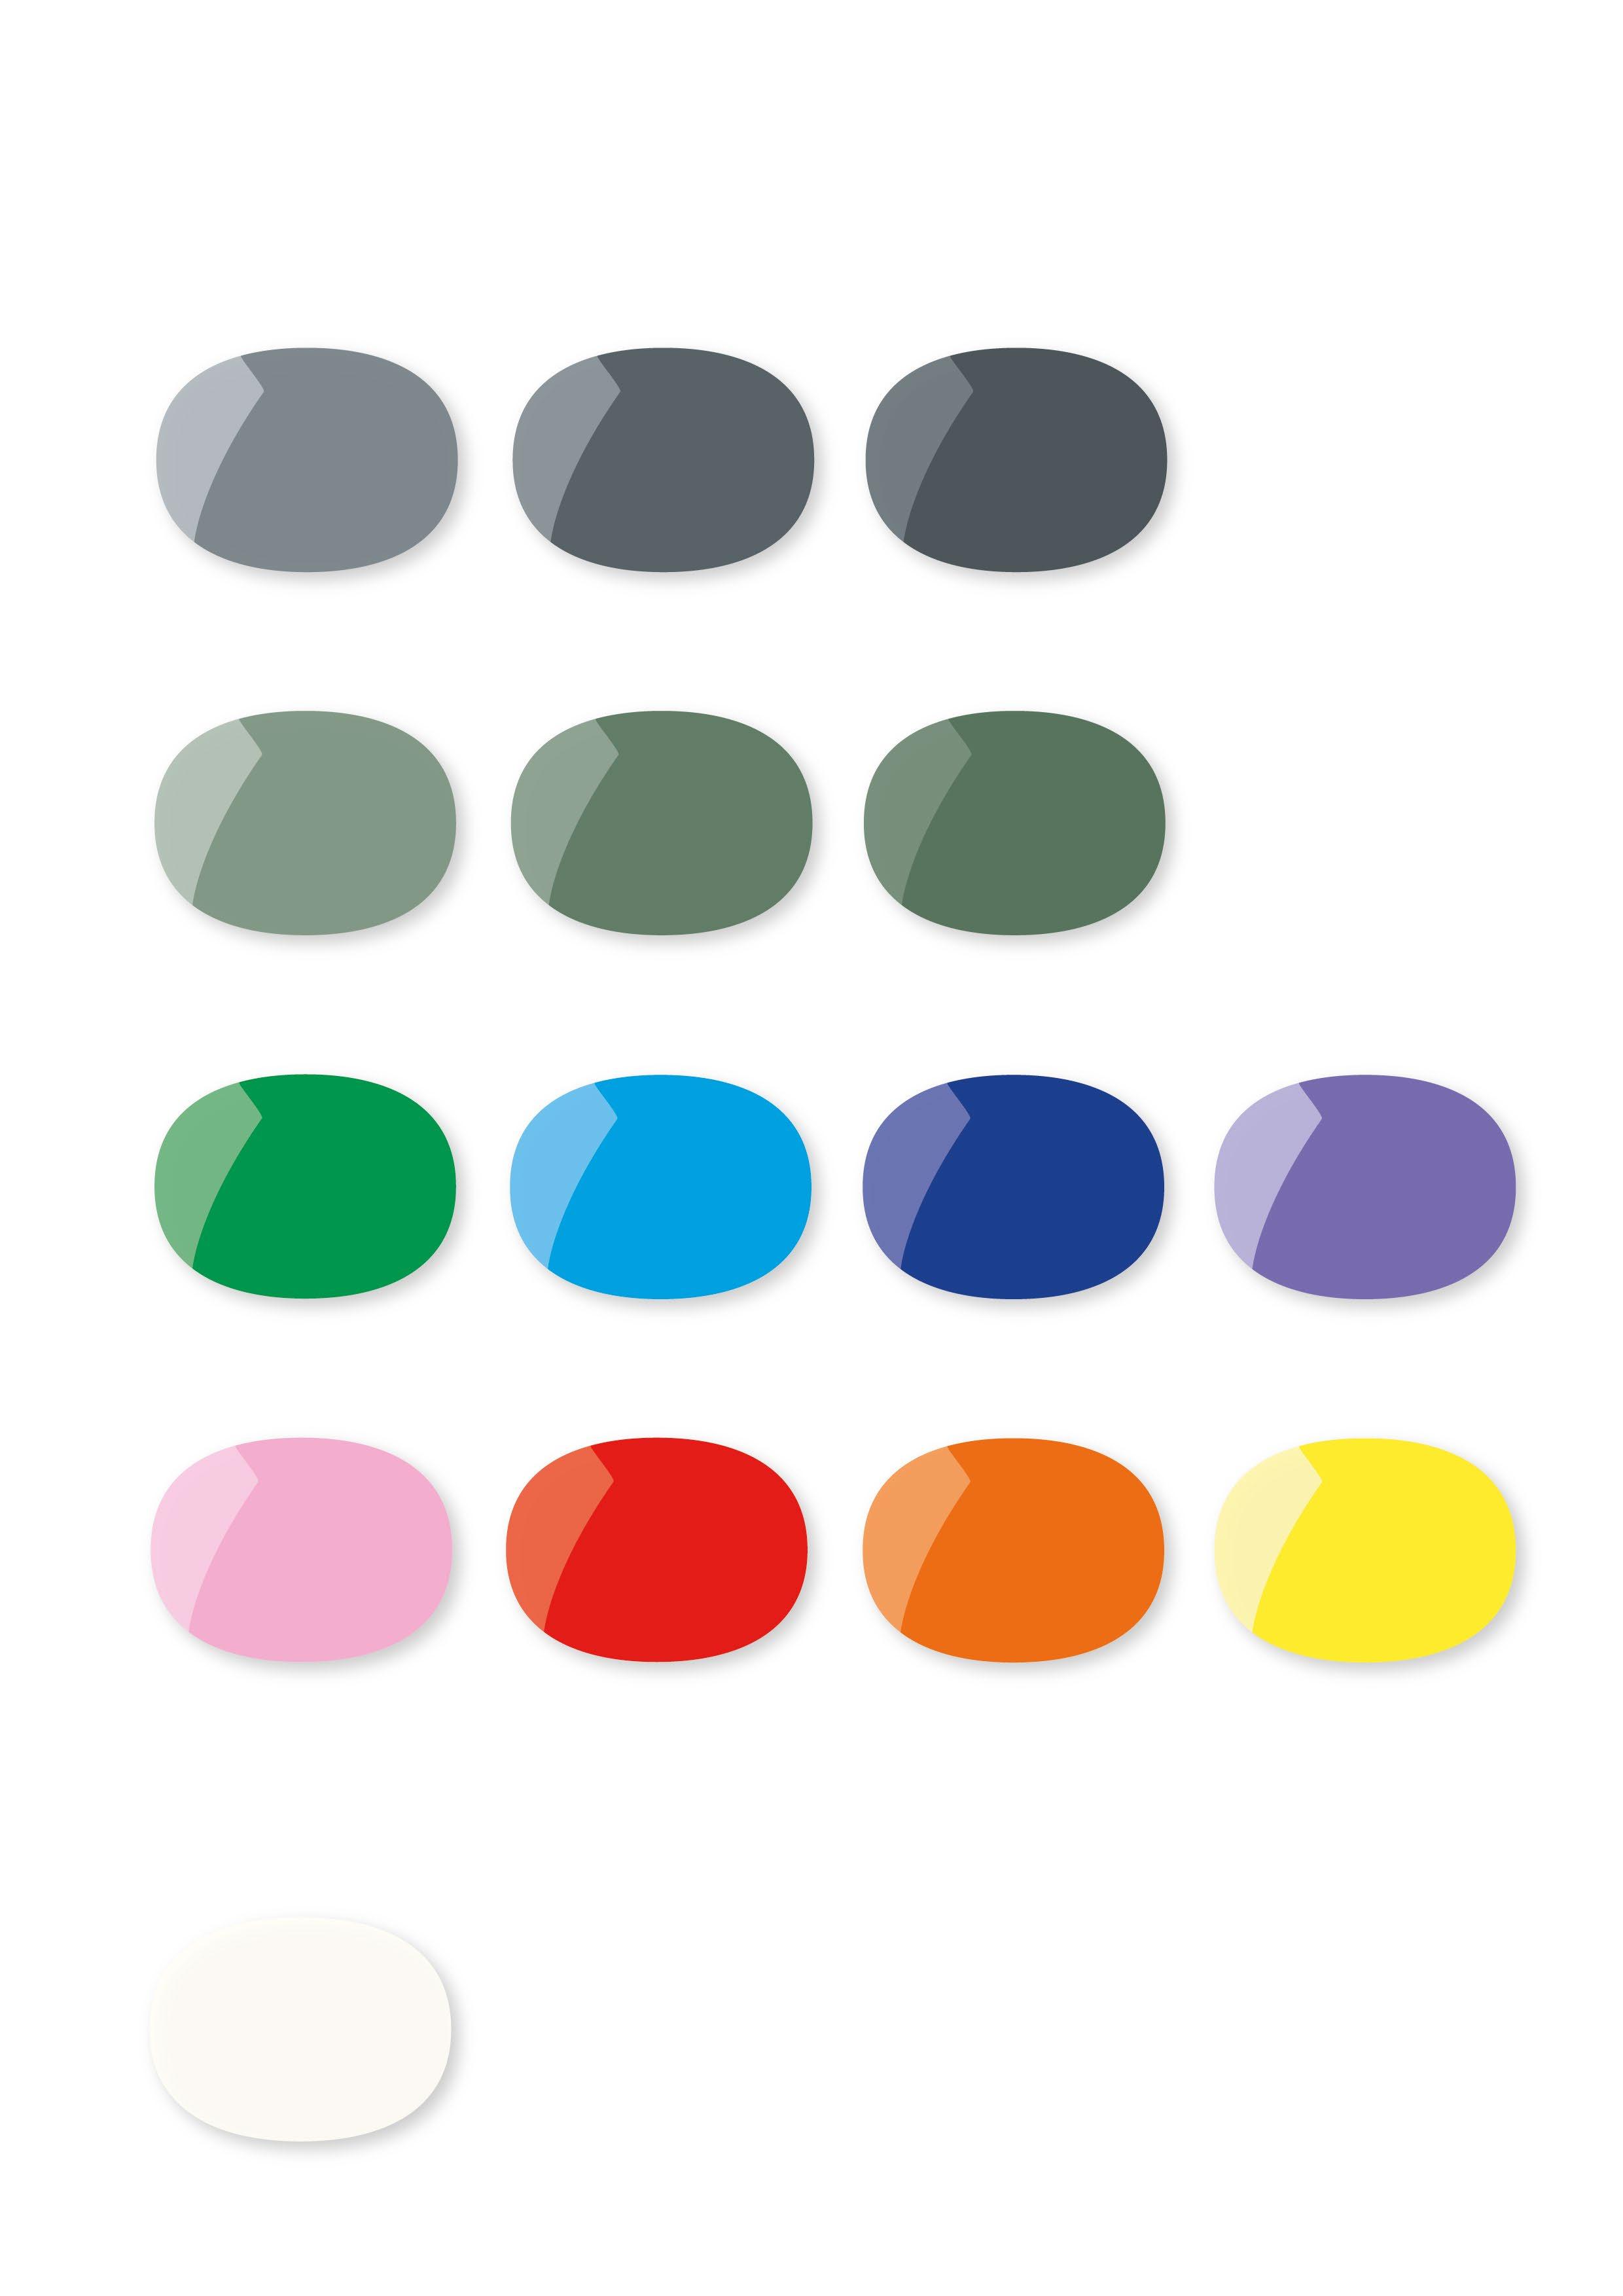
• Different hues can be obtained by varying the dipping times. The sachet protects the tint powders indefinitely.
Printed colours may vary from actual lens tint.


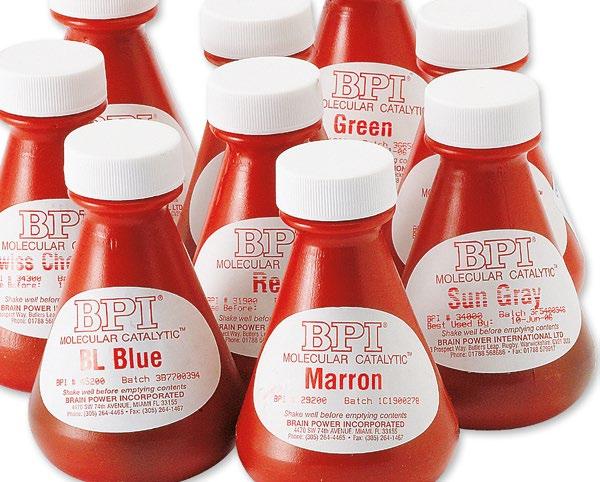
SWISS CHOCOLATE Ref. 06861


BROWN ZS Ref. 06863


BROWN C Ref. 06864


BLACK Ref. 06870 | Ref. 06871 Conf. 1 litro
SUN GREY Ref. 06872


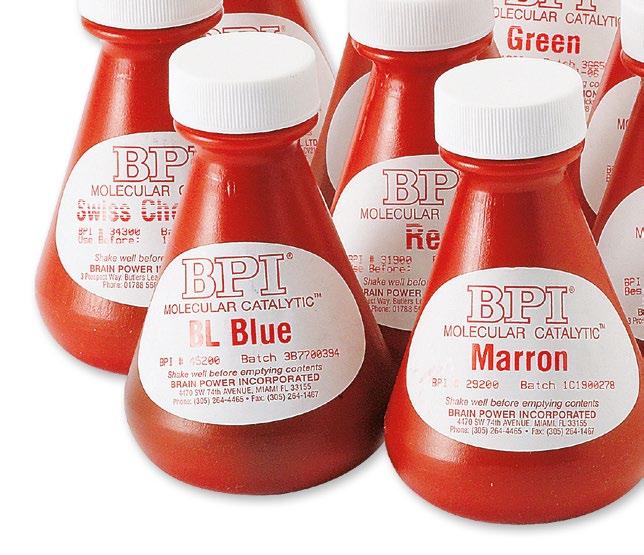


The dye molecules bond to the chemical structure of the lens and become part of it. Colours are more stable and the colouring time is faster.
Mix 88 ml of dye with 1 litre of distilled water.
Printed colours may vary from actual lens tint.
NOT SUITABLE FOR DRIVING. SIGNAL LIGHT COLOURS ARE NOT ALWAYS DISTINGUISHABLE.


Ref. 06883


INSTRUCTIONS FOR USE
• Dissolve the contents of one bottle into 1 litre of distilled water at 60°C.
• Heat solution to 93°C and dip lens in.
• Different hues can be obtained by varying the dipping times.
Printed colours may vary from actual lens tint.


| Ø
The biggest problem in tinting is contamination. The pot must be absolutely clean before fresh tints are mixed. Any residual colour remaining in the pot will affect the new colour. Boil neutralizer in the pot to ensure perfect cleanliness.
Thoroughly rinse with clean water.
• PREPARING THE TINT
Half fill the pot with distilled water and heat to 60°C (140°F) then add dye powder.
Stir mixture until dye is completely dissolved. For liquid dyes shake the bottle well before adding hot water. Add some distilled water and flush tint pot to ensure all the contents are being used. If required add more water to make up 1 litre of dye solution.
USE DISTILLED WATER
Limestone, chlorine and water impurities can often cause inconsistencies in dye properties. Impurities can cause colour “haloes” when tinting lenses.
FLUSH THE BOTTLES WELL
Make sure the tint pot is completely emptied of dye and dye sediment when mixing as it affects the composition of the colour.
DO NOT MIX DYE WITH COLD WATER
Often dyes will not dissolve easily in cold water and deposits may form in the bottom of the pot. Conversely, if the dye concentrate is left to settle, the high hot plate temperature may cause crystallisation which will also affect colour consistency. Stir dyes regularly during preparation.
DO NOT MIX THE DYE WITH WATER OVER 90°C (194°F)
The dye may crystallise and will not mix evenly. This could affect colour consistency.
ADVANTAGES OF MIXING THE COLOUR AT 60°C (140°F)

The colour mixes homogenously as it gradually reaches the temperature of 92°C-95°C (198 - 203°F). Mixing and stirring the dyes at 60ºC for 10-15 minutes makes it very stable and ensures a homogenous colour mix.
• HEATING AND WATER LOSS REPLACEMENT
Slowly heat the solution for about 20 minutes until it reaches 92°C-95°C (198203°F). Do not heat with a flame as that tends to concentrate the heat whereas it should be evenly spread around the dye pot. During tinting water is lost through evaporation. It is recommended that small quantities of distilled water be added to the bath to compensate for this loss. It should be at the same pot temperature when added.
DO NOT HEAT QUICKLY
The temperature on the bottom and around the sides of the container is usually higher than in the centre. Fast heating may cause crystallisation which effects a colour consistency and dye life.
WATER REPLENISHEMENT
Add small quantities of distilled water regularly to overcome loss due to evaporation. Wait until the dye temperature has recovered to 92°C -95°C (198°F -203°F). As more water is added, colour strength will change. A top-up of dye may also be necessary from time to time.
MIXING AND CORRECTING COLOURS
When mixing and correcting colours ALWAYS rinse the lenses and lens holder in clean water before proceeding to the next colour. Contamination is the quickest and the most common way of spoiling colour consistency. This rule also applies when adding other properties like hard coatings and when neutralising or bleaching out colour. The rule is - thoroughly wash the lens and lens holder in clean water before transferring them to another colour or process.
• PREPARING THE LENS
Lenses should be edged first before tinting. Thoroughly cleaning and degreasing the lens before tinting allows for rapid and uniform tinting.
Slowly immerse the lens into the hot tint bath: do not rush as a sudden temperature change may affect the lens surface. Keep the temperature at 92°C95 °C (198 - 203°F).
• TINTING
Slowly immerse the lenses in holder into the hot tinting liquid to avoid splashing and lens strain.
DYE BATH SHOULD ALWAYS BE BETWEEN 92°C - 95°C (198 - 203°F)
At these high temperatures, the tint and CR39 molecules bond to form part of the lens structure. The lens continues to cure in the dyeing process and has a more scratch resistant surface. At a lower temperature the dyeing cycle is longer and there is difficulty in obtaining dark tints, this increases the possibility of inferior and unstable tinting of the lens.
DO NOT DYE AT A HIGHER TEMPERATURES ABOVE 95ºC (203°F)
• There is a greater water loss through evaporation.
• Crystallisation of the dye will occur and colour consistency will fail.
• Higher exposure to fumes in the working area.
• Possible softening of the lens may require more careful handling.
• More power used unnecessarily.
HOW TO OBTAIN GRADIENT LENSES
If you do no have a gradient unit use the lens holder. Prepare the lens as previously described. For prescription lenses, turn them upside down when placing them in the lens holder so the top of the lens is closest to the bottom of the tint pot. Immerse the holder until the dye covers the lens. Move the lens holder up and down and at the same time gradually withdrawing it from the solution until the lens has been completely withdrawn. With practice a perfect gradient will be achieved. The starting depth determines the start of the gradient line.
COLOUR CORRECTION
BROWN LENSES
Too much Dip lens into Red Grey and Blue
Grey Yellow
Green Red, then Blue
Blue Pink
• AFTER TINTING
LENTE GRIGIA
Too much Dip lens into Brown Blue
Purple Yellow
Green Pink
Blue Marrone
LENTE VERDE
Too much Dip lens into Yellow Blue
Grey
Decolour
Brown Blue
Blue Brown or Yellow
Immediately wash lenses and lens holder in clean cold water. As hot lenses scratch more easily this practice will help eliminate potential lens damage. The use of MACROCLEAN microfibre cloth is recommended. These clothes can be kept clean by regular washing.
AVOID USING PAPER TISSUES THAT ARE NOT LINT OR ACID FREE.