
The Full 7-Step Process for Installing Asphalt Pavement
It is never too late to learn something new, and there are many aspects of installing asphalt pavement that property owners, whether they be homeowners, business owners, or municipal workers, may not be aware of.
Please review this step-by-step breakdown of what is needed for an asphalt pavement installation, from demolition to a smooth, new surface.
Step 1: Demolition and removal
The previous surface, whether it is made of asphalt, concrete, or pavers, must be removed as the first step in the installation of new asphalt.
•Heavy equipment is used to complete demolition and removal, including small bobcats, forklifts, front loaders, and huge dump trucks as needed.
•Then trash is taken out.
•Paving companies recycle old asphalt and concrete in our asphalt plants to create sturdy, functional new asphalt from degrading trash. They recycle approximately 100% of the materials taken from a project site, making it an environmentally friendly and green choice to utilize them.
Step 2: Grading and Sloping
With a blank canvas, technology aids the asphalt specialists at several Paving companies in laying the groundwork for proper water drainage.
•Paving companies in Mississauga grade the area to be paved using motorized motor graders and laser-guided transits to make sure that water will run off properly.
•Water is a major cause of damage to your asphalt, including potholes, cracks, and heaving, thus proper water drainage is essential.
Step 3: Prepare the Sub Base
You would never believe that the sub-base is the most crucial component of your new asphalt surface.
•The sub-base offers a solid foundation for fresh paving.
•A frost barrier called the sub-base serves to lessen winter damage brought on by freezing and thawing.
•Base stability, compaction, and thickness are crucial phases in the installation process. The asphalt surface on top will not be durable for many years if the subfoundation is not properly compacted.
Step 4: Undercutting, Proof Rolling, and Sub-Base Repair
Paving companies in Mississauga do an additional process known as a proof roll after the sub-base has been completely graded and compacted to make sure the subsurface is sturdy and prepared to hold fresh asphalt.
•The base is not adequately supported if the gravel flexes more than an inch when the weight of the truck is applied.
Step: 5 Binder and surface course
It is time to add the binder once the sub-base has been laid and any soft areas have been located and fixed.
•Large aggregate mixed with oil forms the binder layer, which is extremely robust and long-lasting.
•Any new asphalt surface's strength can be compared to its binder layer.
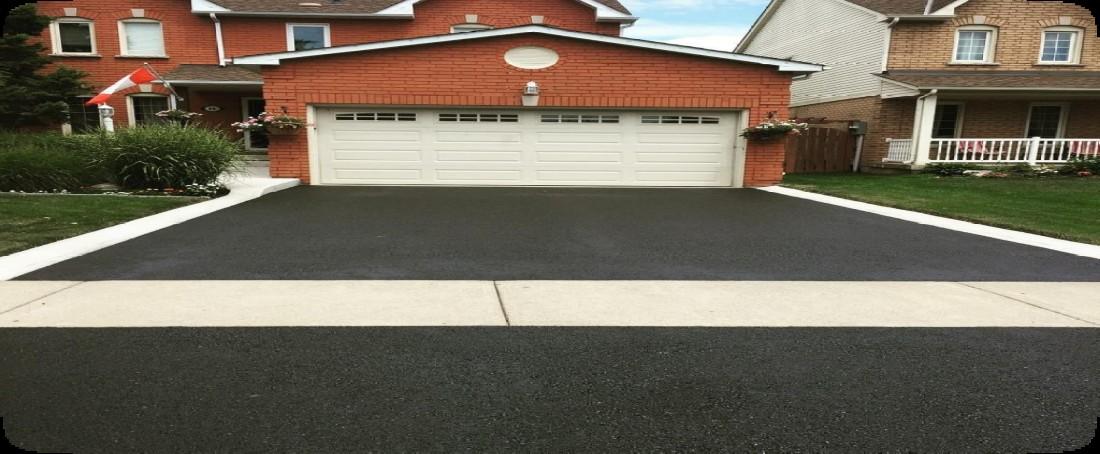
Step: 6 Install a new asphalt surface
The top layer of brand-new asphalt is applied to an asphalt surface after the structural supports are put in place to give a pristine, comfortable ride.
•Sand, oil, and tiny particles make up surface asphalt.
•This mixture of components yields jet-black asphalt, which, when properly put, offers a comfortable ride and a glossy, lovely completed surface.
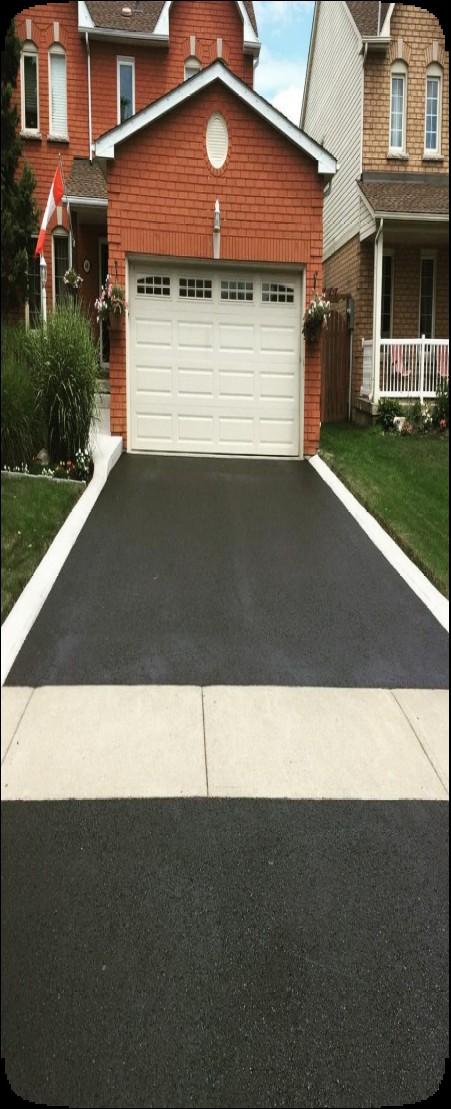
Step 7: Transitions and Butt Joints
It is quite uncommon to create an asphalt surface that is not connected to preexisting parking lots, roads, or driveways. As a result, asphalt paving professionals need to figure out how to make the change from an old surface to a new one seamless.
•Butt joints are the places where new asphalt pavement joins existing asphalt or concrete pavement.
•To guarantee proper grading and water runoff, extra consideration must be given to these transitional zones.