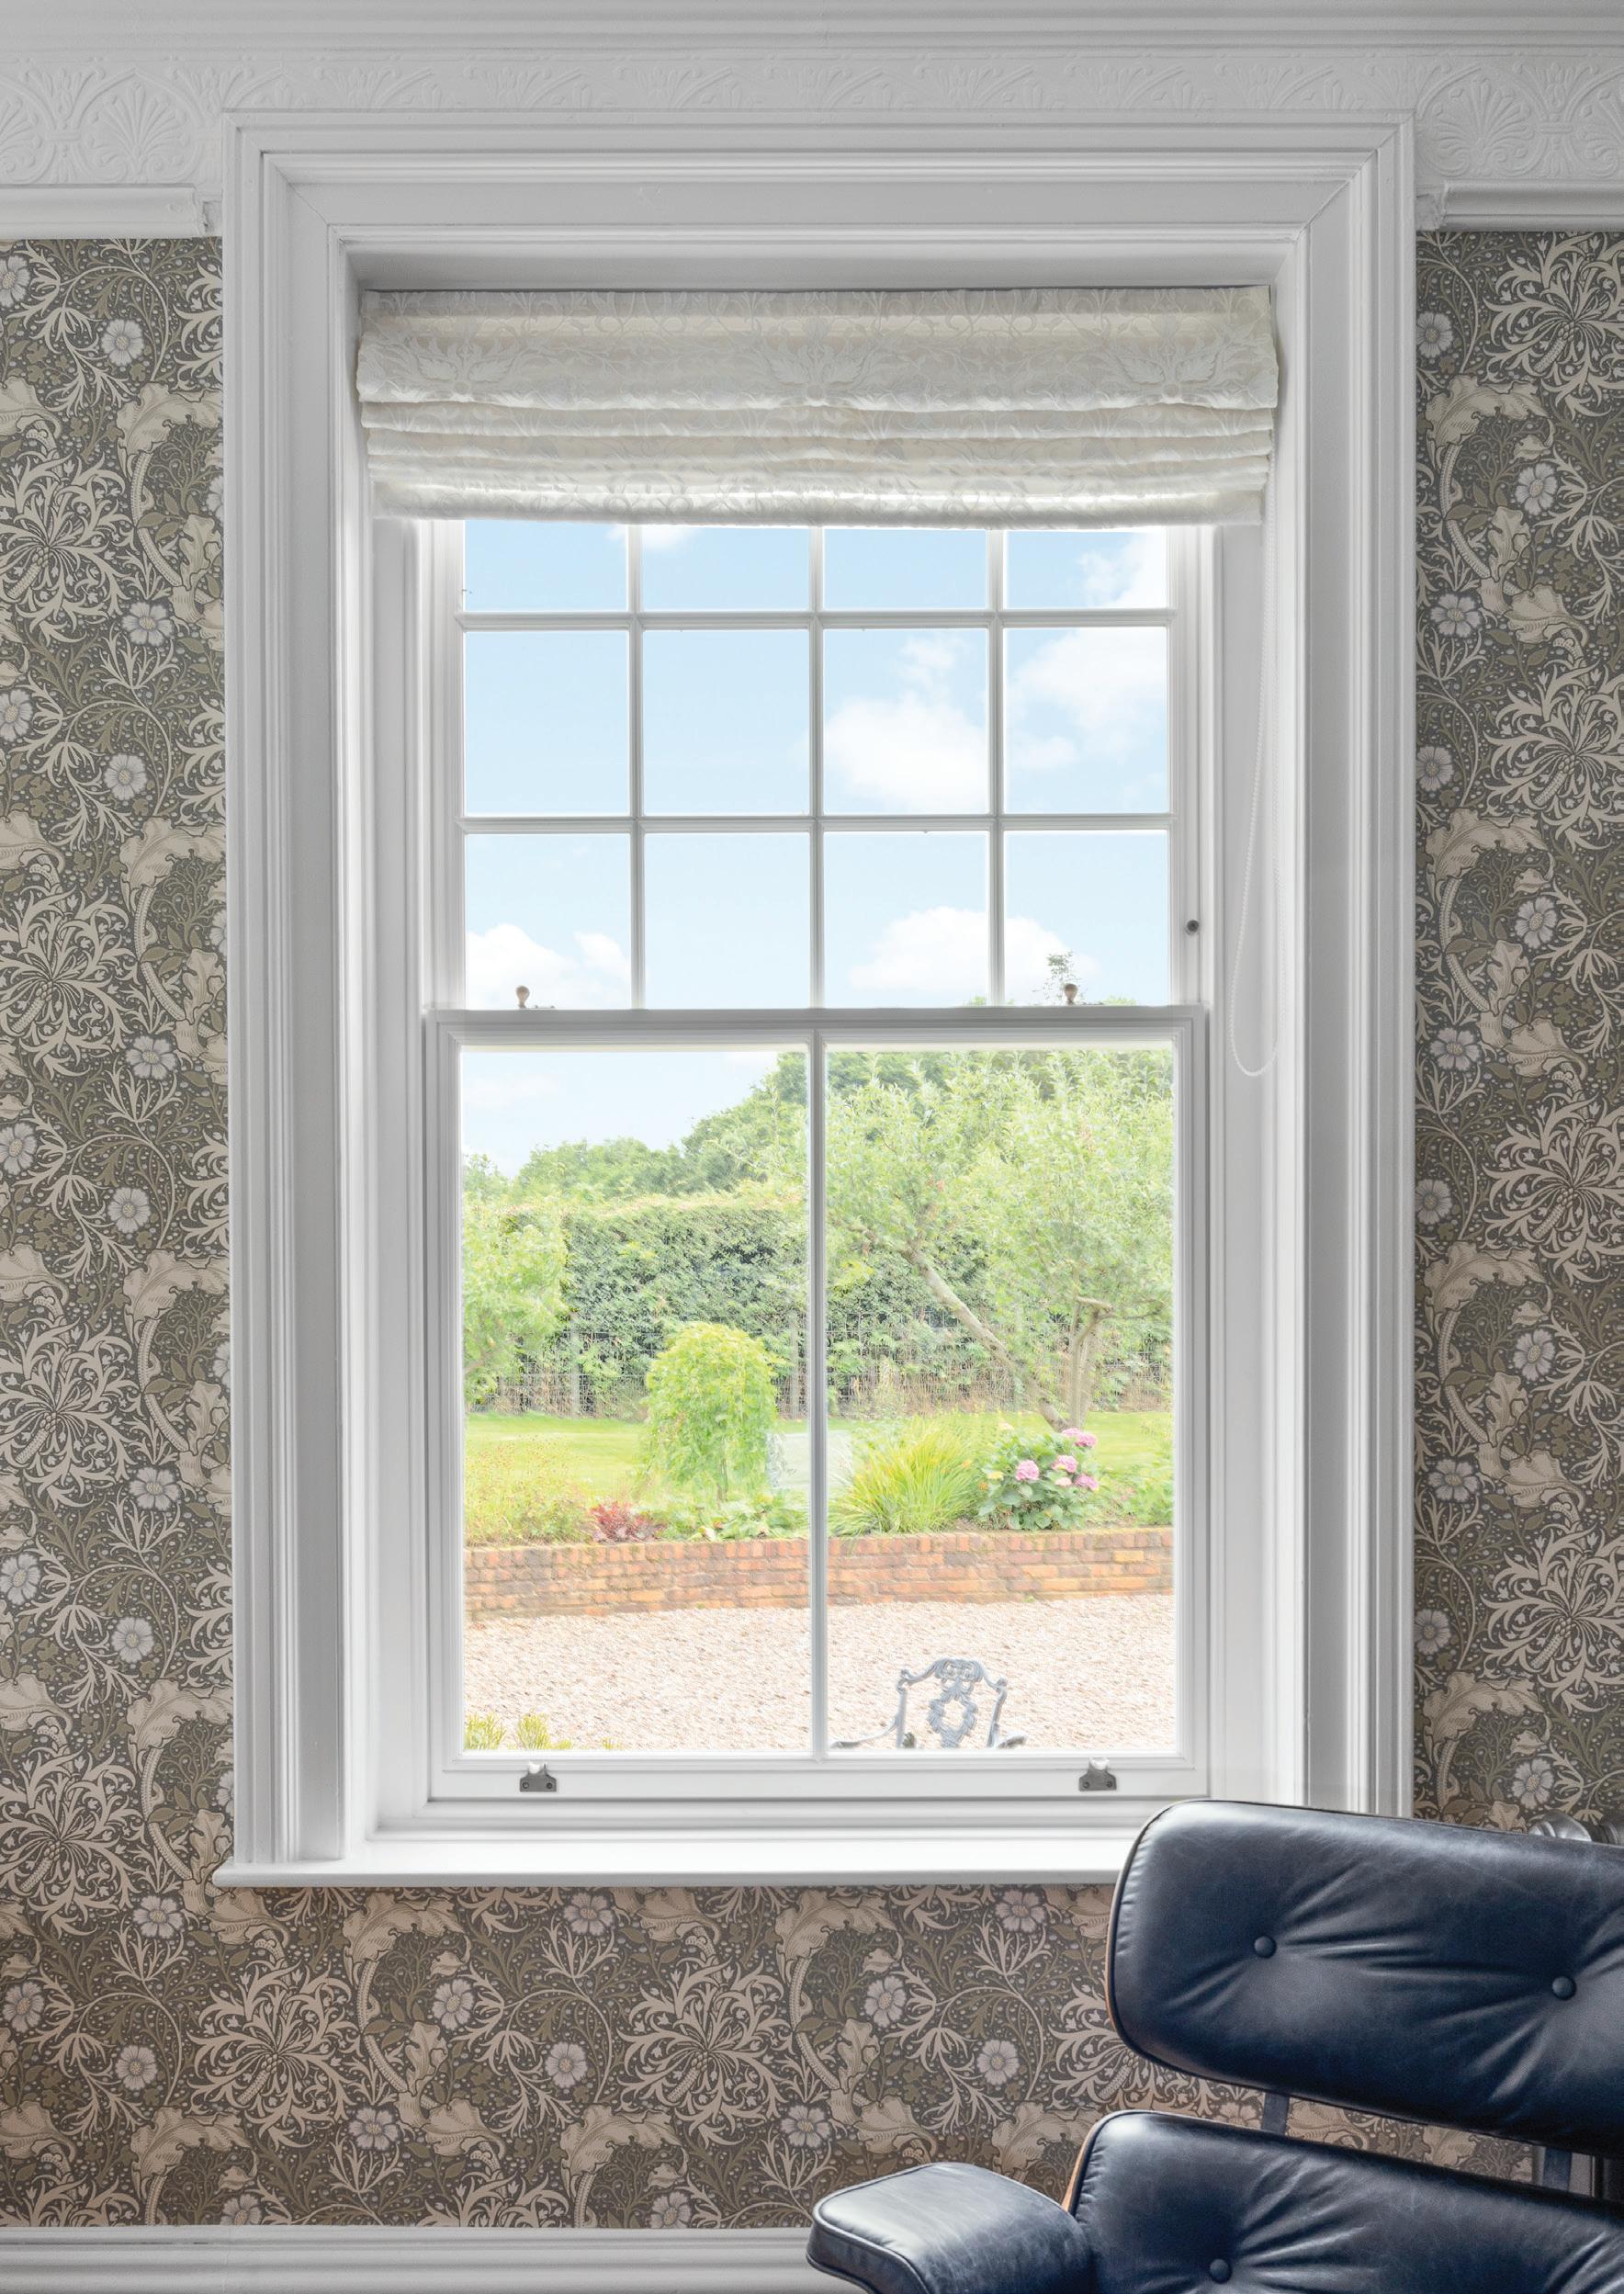
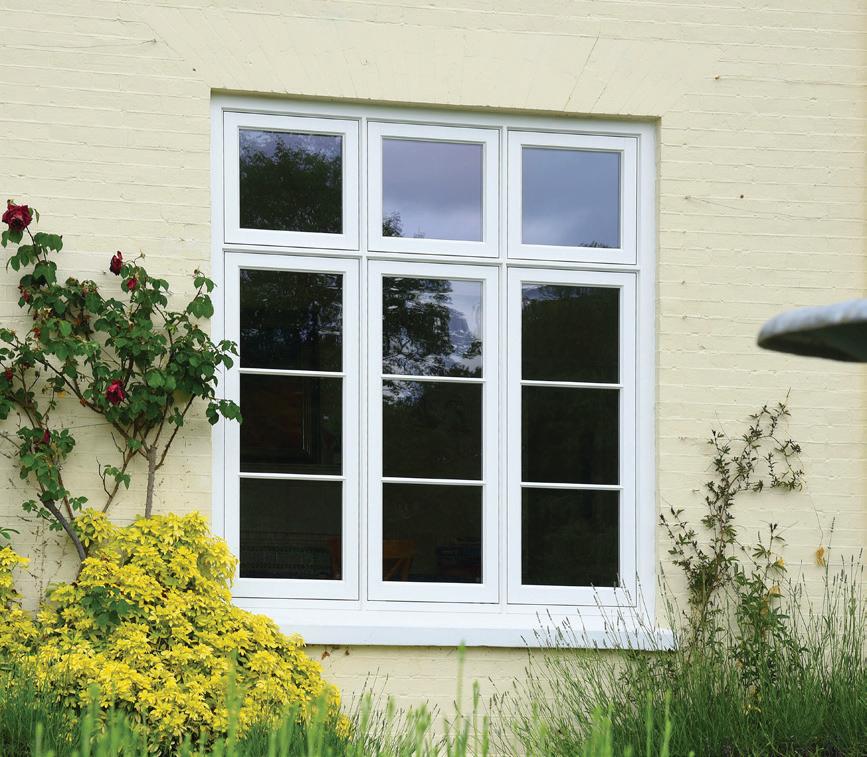
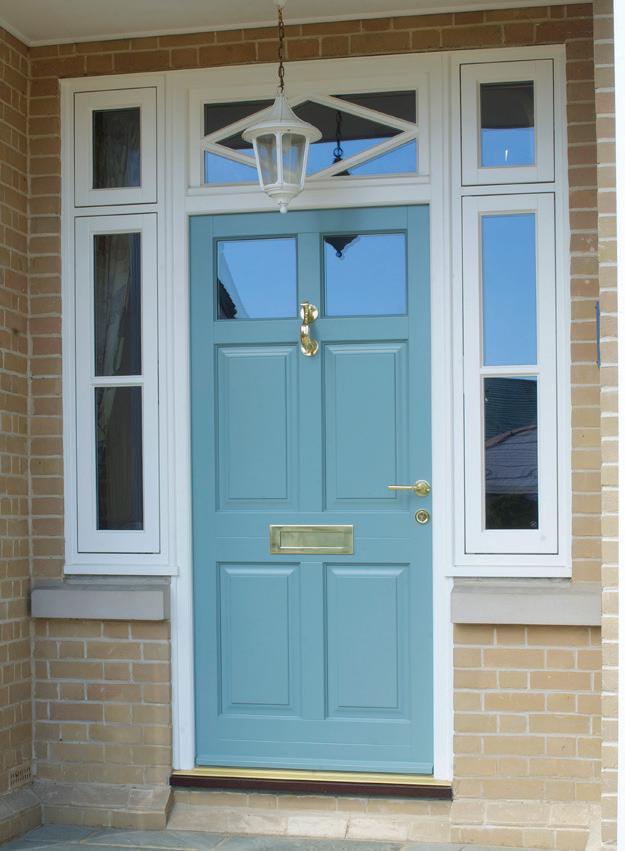
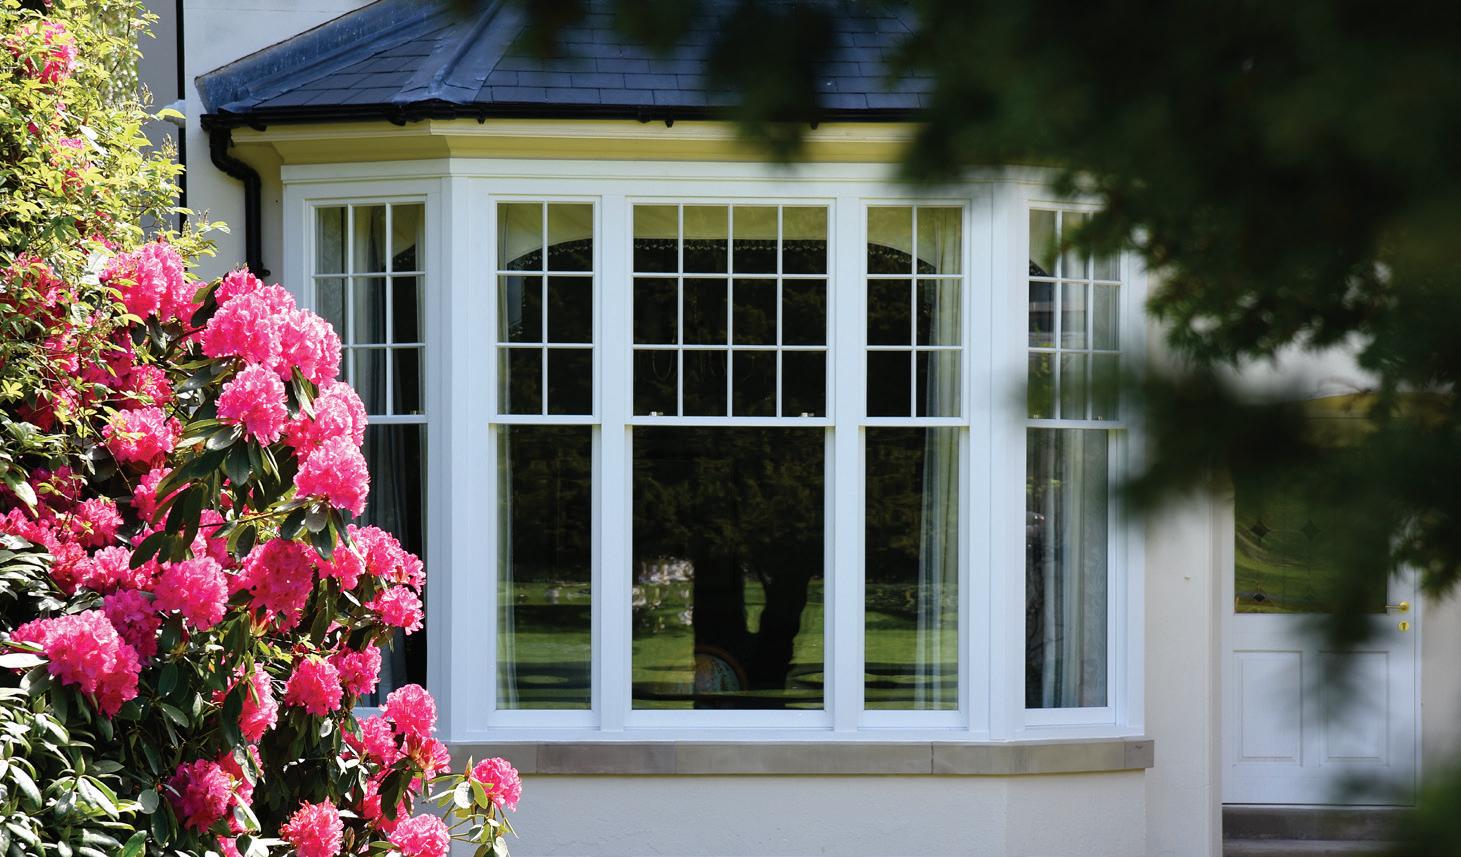
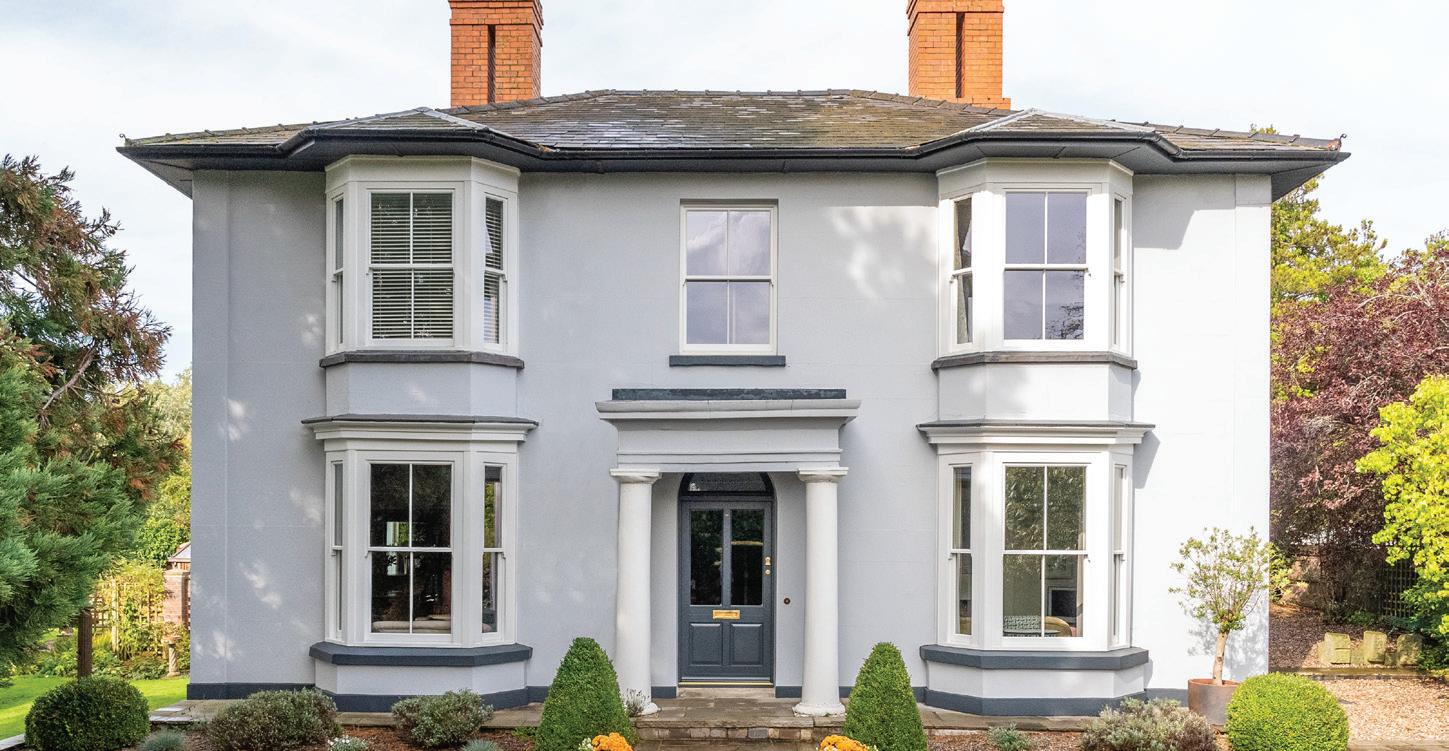
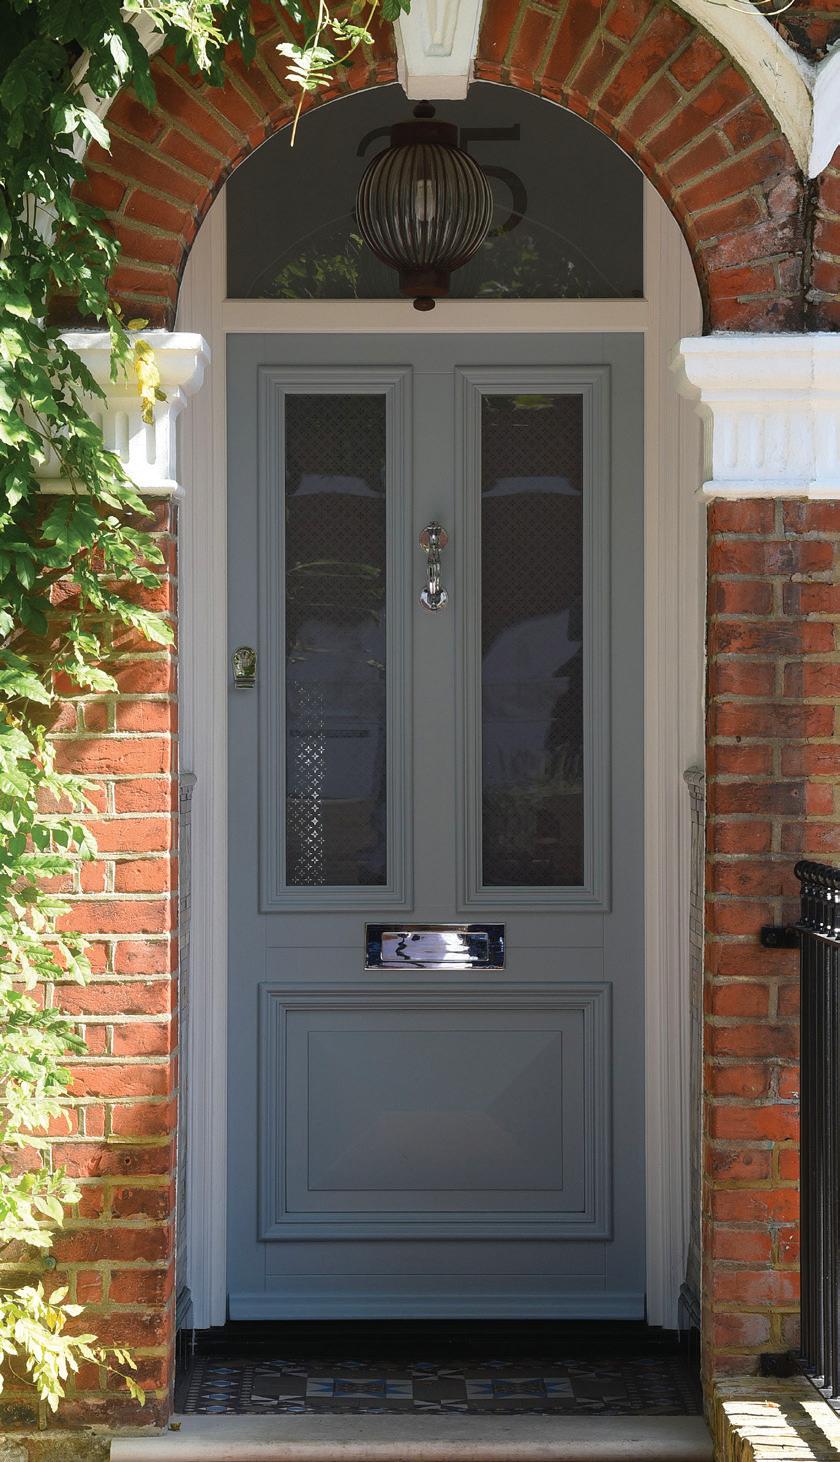
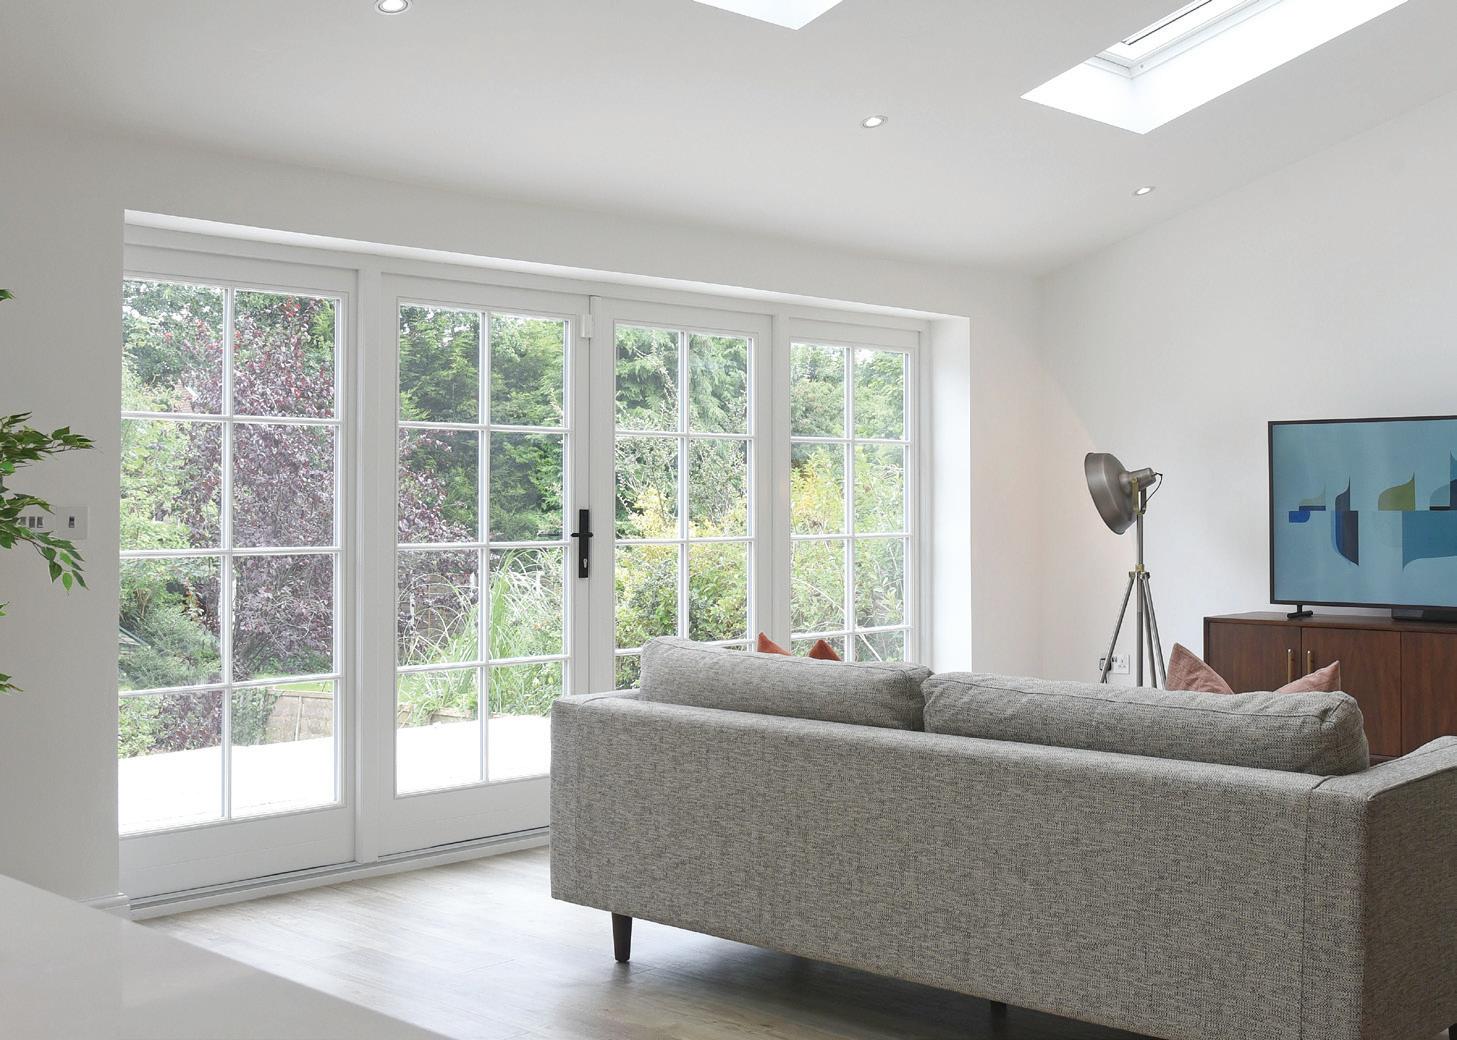
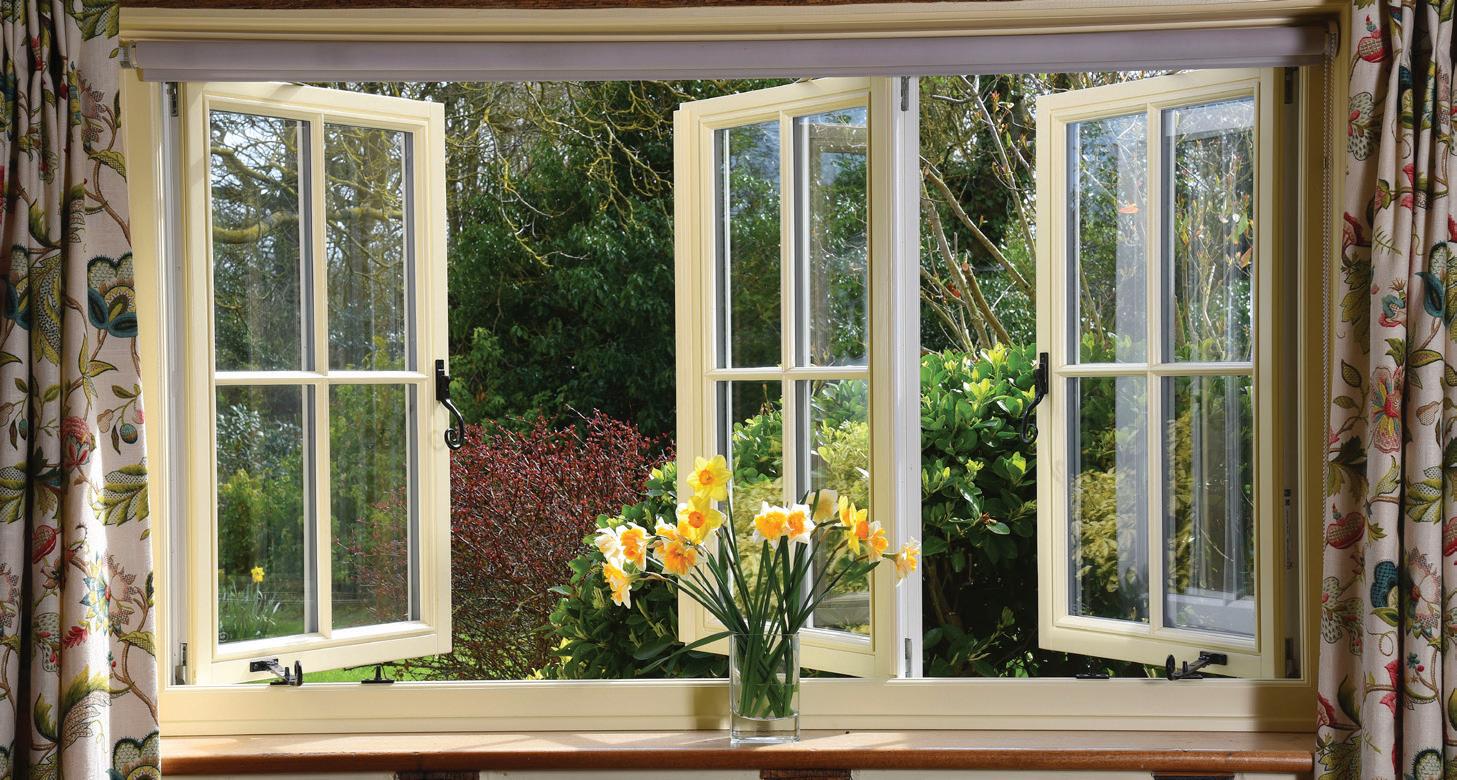
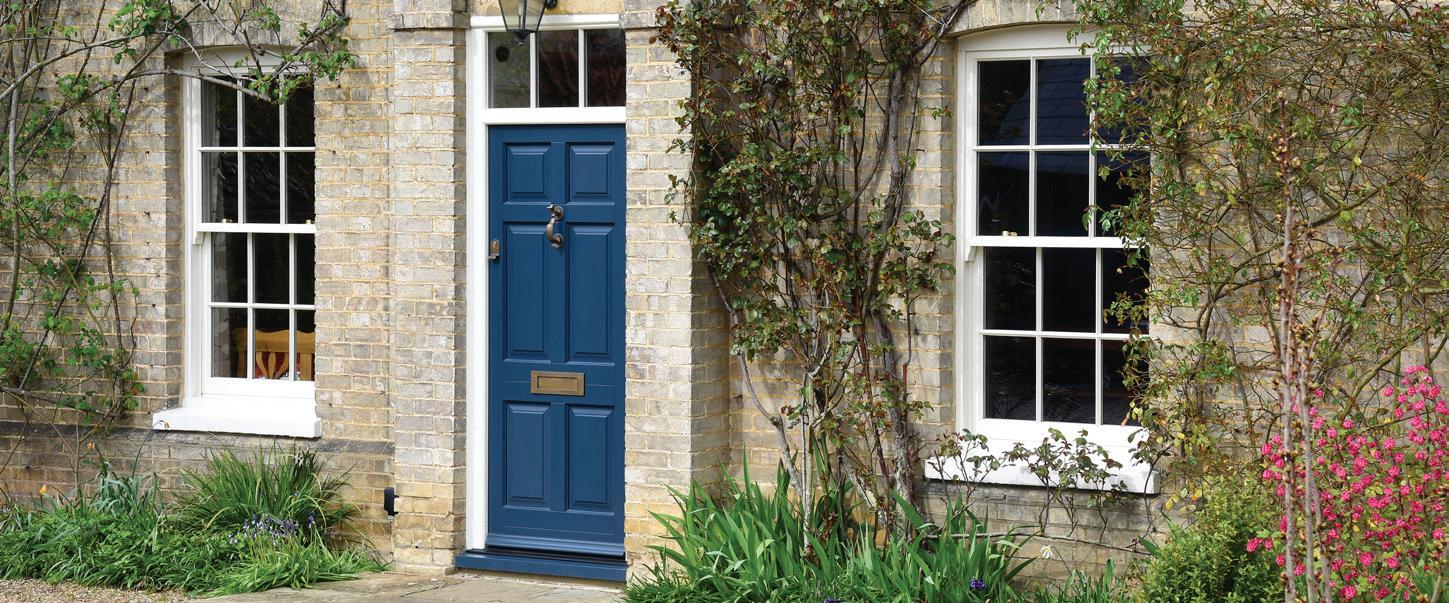
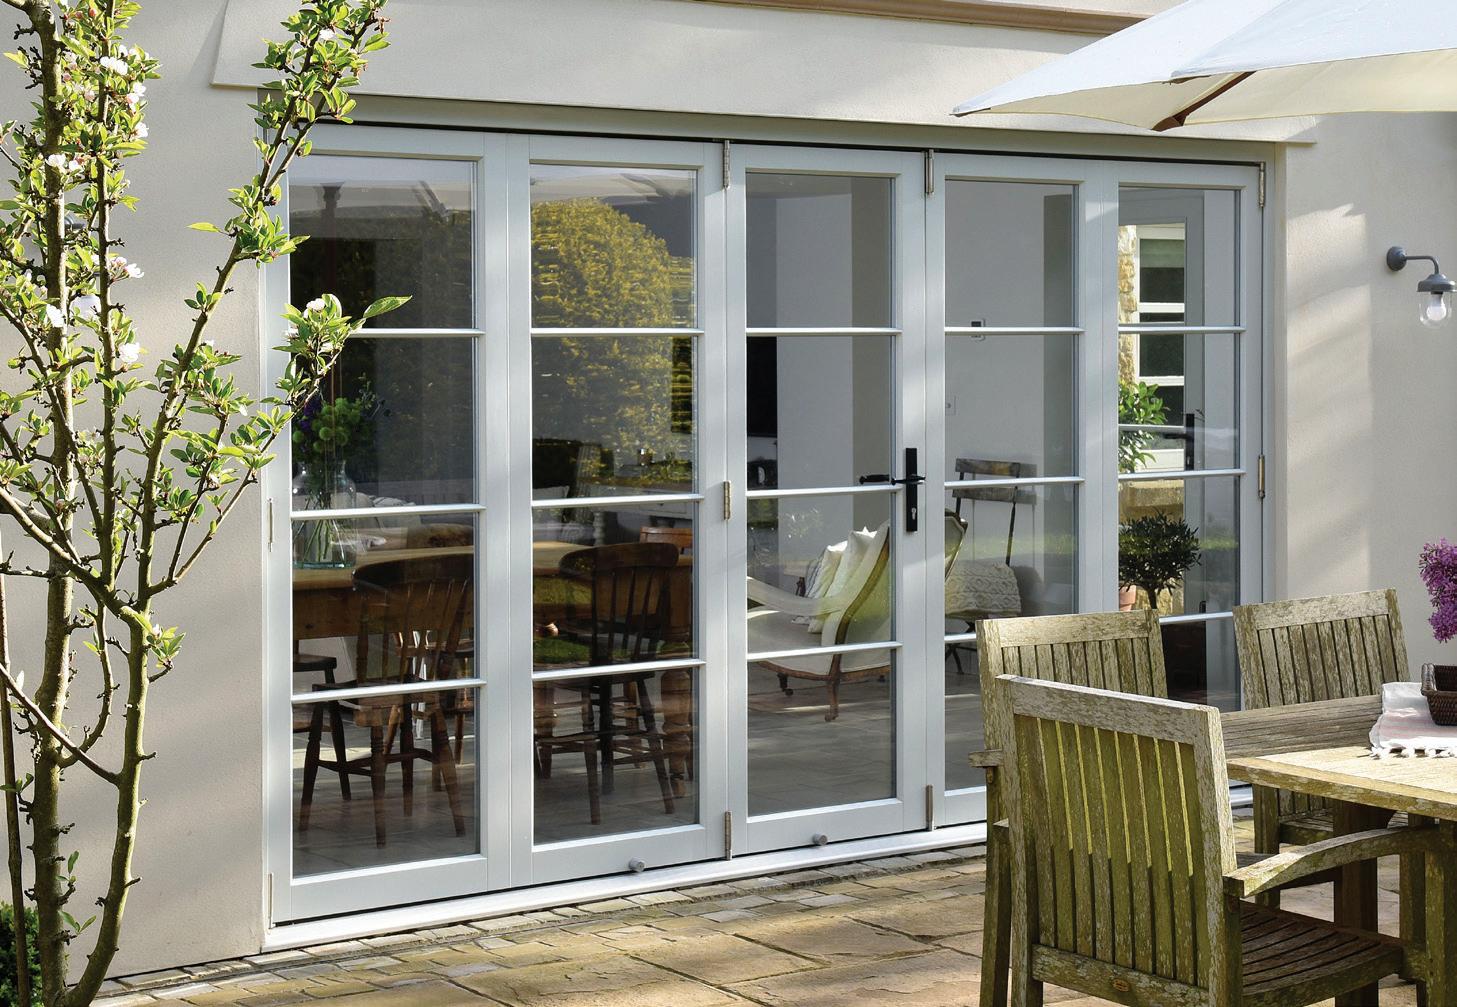
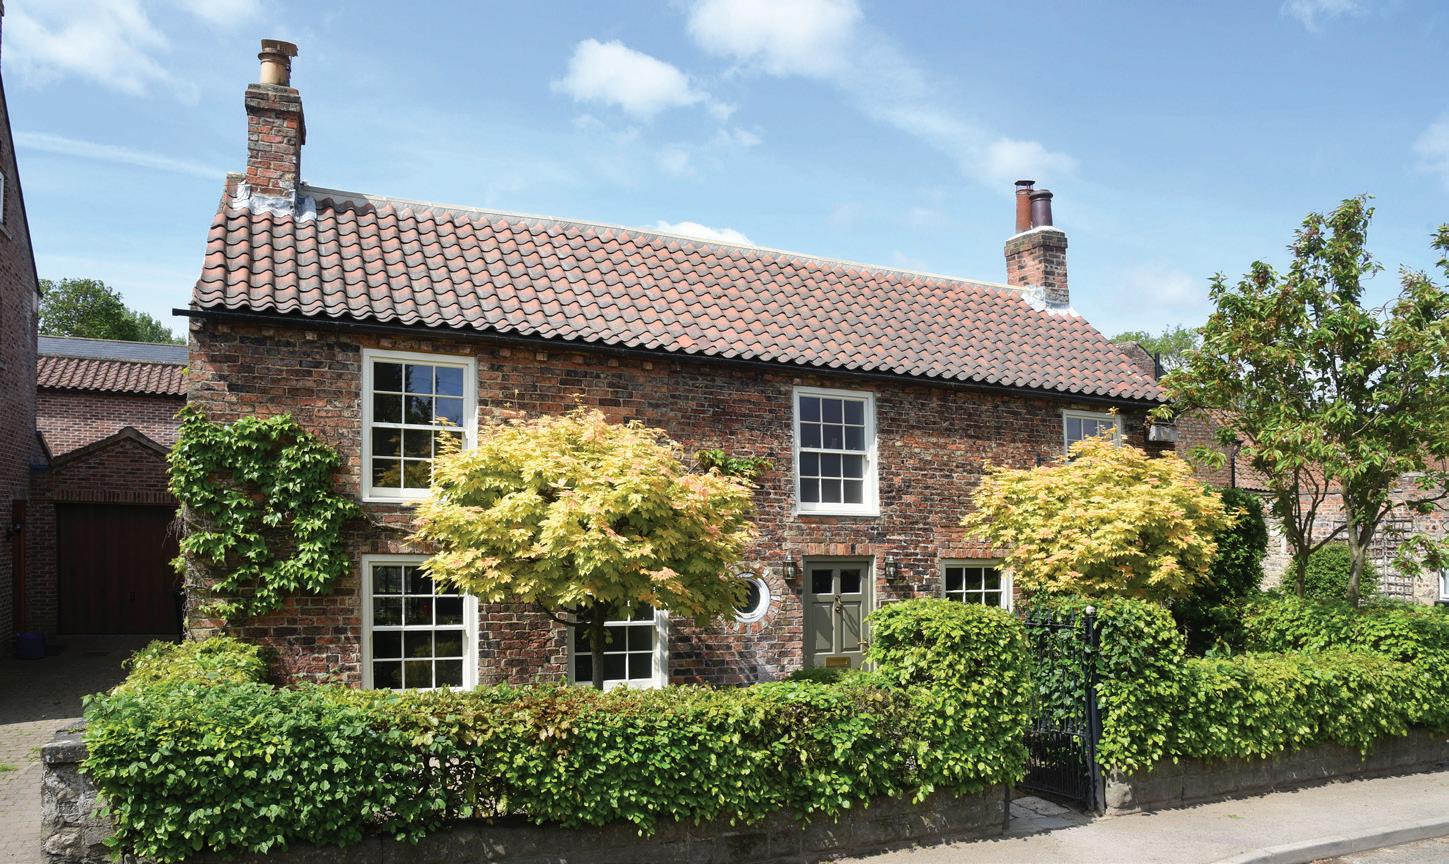
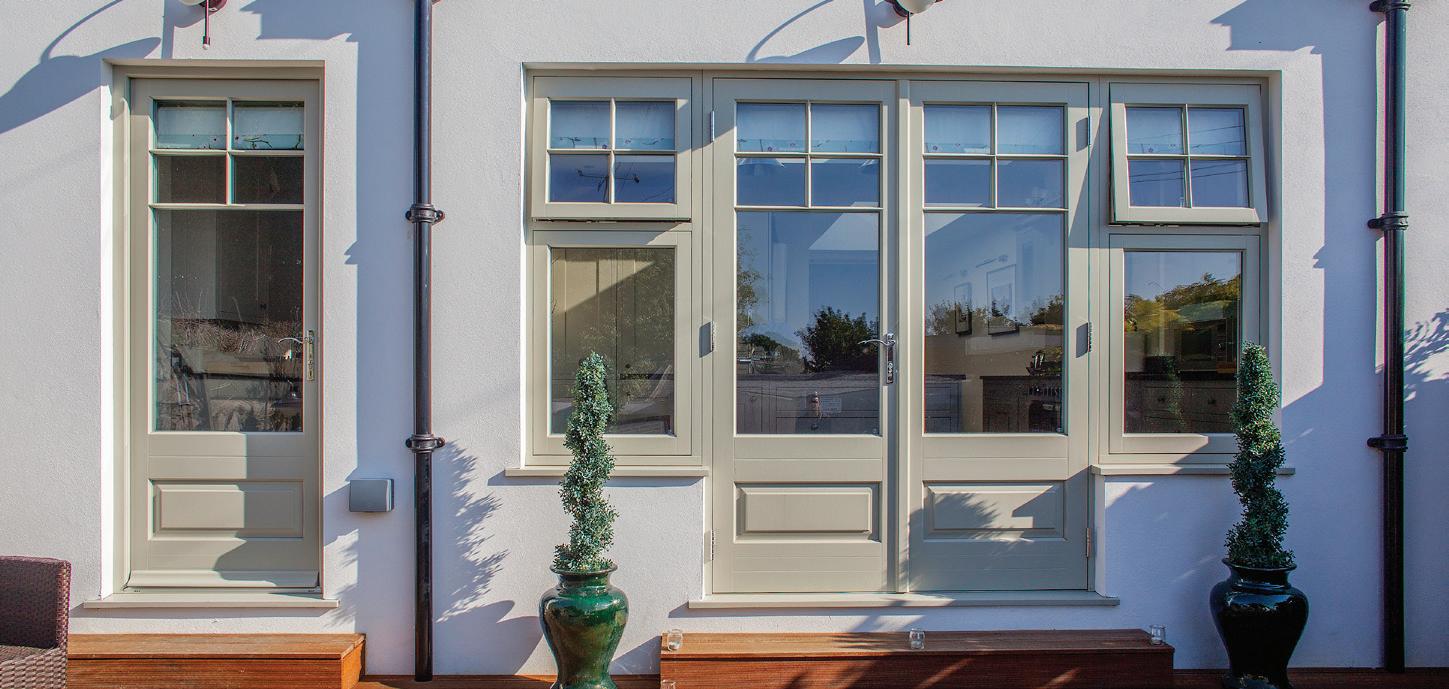
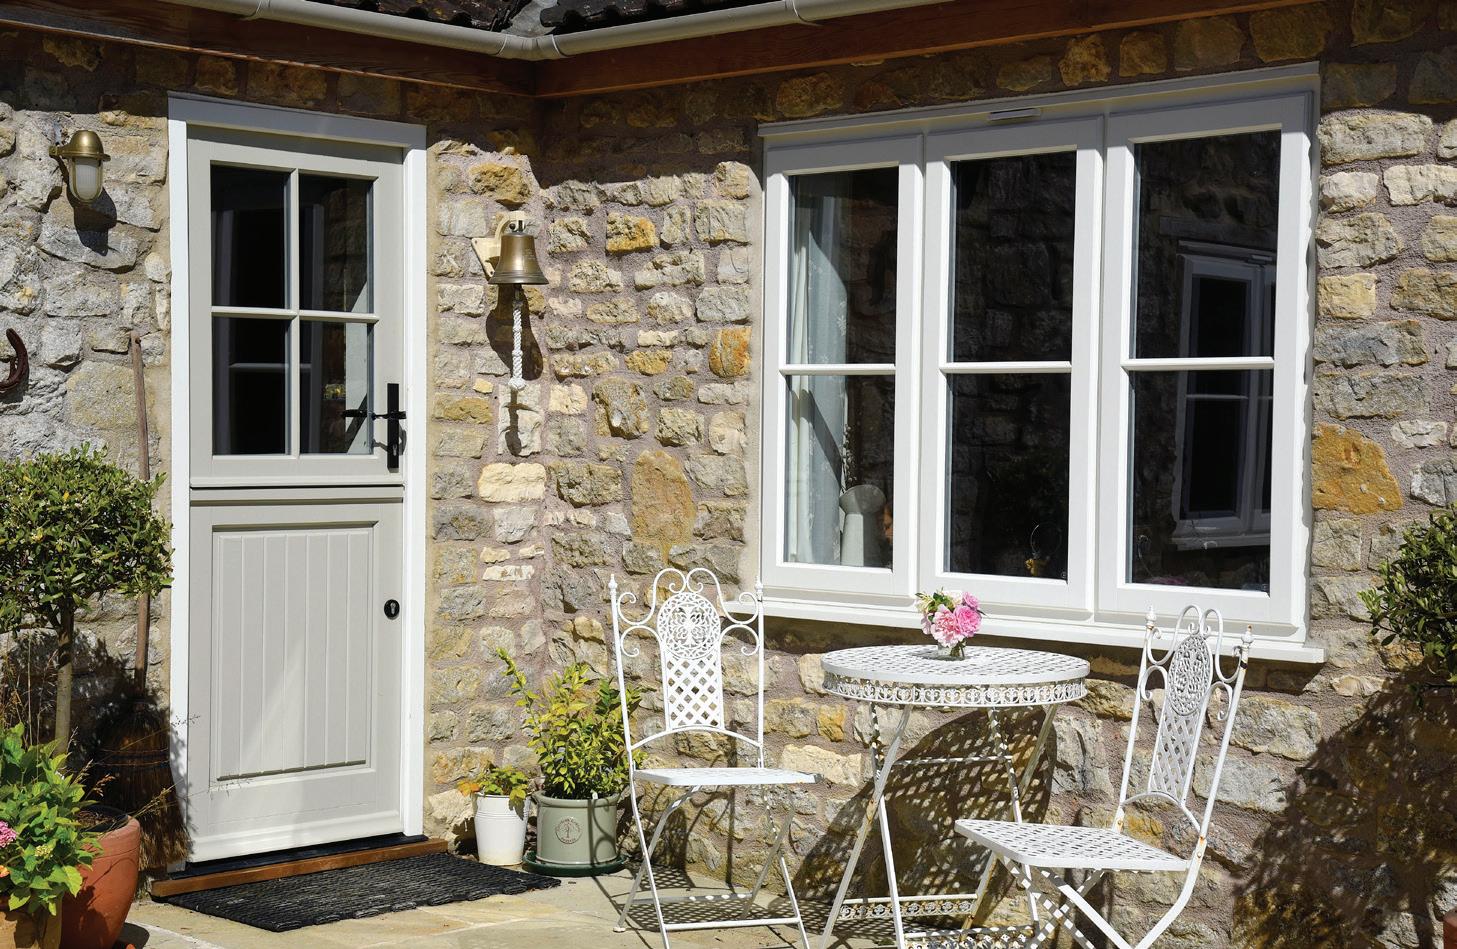
Timber windows
Timber windows
AWARD WINNING hand-made TIMBER WINDOWS & DOORS
Thank you for purchasing your new timber windows and doors.
In order that they continue to meet your expectations, it is essential they are properly cared for and given a little TLC. This simply means some minimal maintenance and checks on a regular basis.
Your products are provided with a set of comprehensive warranties requiring basic checks to be carried out, as contained in this easy-to-follow guide; and our showroom can provide you with any further advice or guidance required so that you may continue to enjoy your products fully.
CARE & MAINTENANCE GUIDELINES
Paintwork


Your windows and doors have been finished in the factory, firstly with a base coat primer, followed by two coats of a microporous paint system. This paint or stain coating system should fully protect the products for twelve years (paint) and up to six years (stain) - One year on externally stain finished oak. These time periods will depend, however, on elevation and the exposure (climatic conditions) to which your windows and doors are subjected.
Our factory applied coatings systems will give many years of life between re-painting cycles, and simple steps such as wiping down the joinery finish to remove dirt and insects will help extend the life of the decorative finish. This can be done at the same time as cleaning the glass.
Cleaning Your Windows and Doors
It is vital the integrity of the paint/stain coating system is maintained and to do this it is important to clean the surface at least biannually, usually at the same time as cleaning the glass. Cleaning on a regular basis will remove any surface contaminants to help prevent any fungal build-up and provide an opportunity to inspect for any damage or coating wear. More frequent cleaning will be required in locations with high pollution exposure, north facing areas and Coastal locations (See page 22 for specific Coastal guidance).
Cleaning will remove dust, insects and other contaminates, which can form a base for algae and fungal growth. Do not use hose pipes, power washers or similar.
Q: Which detergent should I use to clean my windows and doors?
A: Wash with hot soapy water (any mild liquid detergent solution will suffice) to remove any contaminants, frequently changing the water. After washing, rinse thoroughly with clean water to remove all residue. Wipe dry with a clean cloth.
Q: What should I look out for?
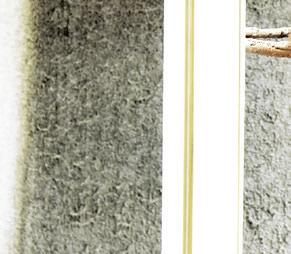
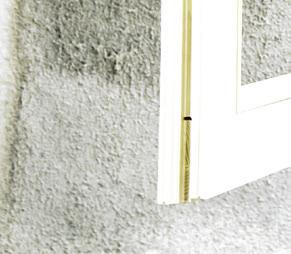
A: Check the lower third section of the window and external cill as these are the sections far more vulnerable to weathering. These are the areas where timber frames are more prone to getting damp or wet. Rainwater will tend to gather on the lower areas of a window frame; in particular on the lower sightlines and any cill that is present. If the coating becomes damaged in these areas, then the end-grains will absorb moisture and the wood will swell to a point where the coating may become damaged. This will allow more moisture to get in and if left unattended the problem will worsen.
If the coating is damaged on the lower part of the window, then please follow the instructions in the recoating section below for redecoration of the small, damaged sections. A small amount of work carried out promptly will prevent major remedial work having to be done in the long run.
North Facing Windows
Colder and damper conditions usually prevail on the north side of buildings. Such conditions are ideal for the growth of algae and moulds and if left unattended can lead to mould growth in the coating. This can damage the integrity of the coating and can in the worst-case result in loss of adhesion and delamination. To combat this problem, products in these locations should be regularly cleaned.
If any fungal growth is found, apply a solution of one part household bleach to two parts water. Leave the solution for approximately twenty minutes to act, then rinse thoroughly with clean water to remove all residue. Wipe dry with a clean cloth. If the coating is damaged follow the recoating guidance. Allow to dry. This should be done on a regular basis. The frequency of this action will be determined by the speed of build-up of the algae or mould.
Resin Exudation
Resin occurs naturally in timber, in pockets within the wood. Some timber species are naturally more resinous than others, but the presence of resin is normally not detectable when joinery is manufactured. Because this is a natural occurrence in timber products it does not constitute a fault.
Resin exudation most commonly occurs on southern elevations and on darker coloured joinery where the sun’s heat liquifies and mobilises the resin drawing it to the surface.
Treatment guidelines where resin has exuded through the coating:
• Although it may be unsightly, it is better not to remove fresh sticky resin. In practice, this can be very difficult, and its presence indicates that the exudation is still continuing. Remedial work is often best left until the first maintenance period, by which time the resin has normally fully crystallised.
• The best remedial treatment is to allow it to weather until it dries and oxidises, forming a white crystalline powder. The dried resin can then be removed with a stiff nylon or natural bristle brush, and any remaining residues washed off with a cloth.
• Waterbased coatings often allow the passage of resin to the surface without damaging the coating. If the finish is damaged, by over-vigorous scrubbing during crystal removal, recoating is often unnecessary, but otherwise an overall application of a finish coat restores the general appearance of the timber and maintains its protection.
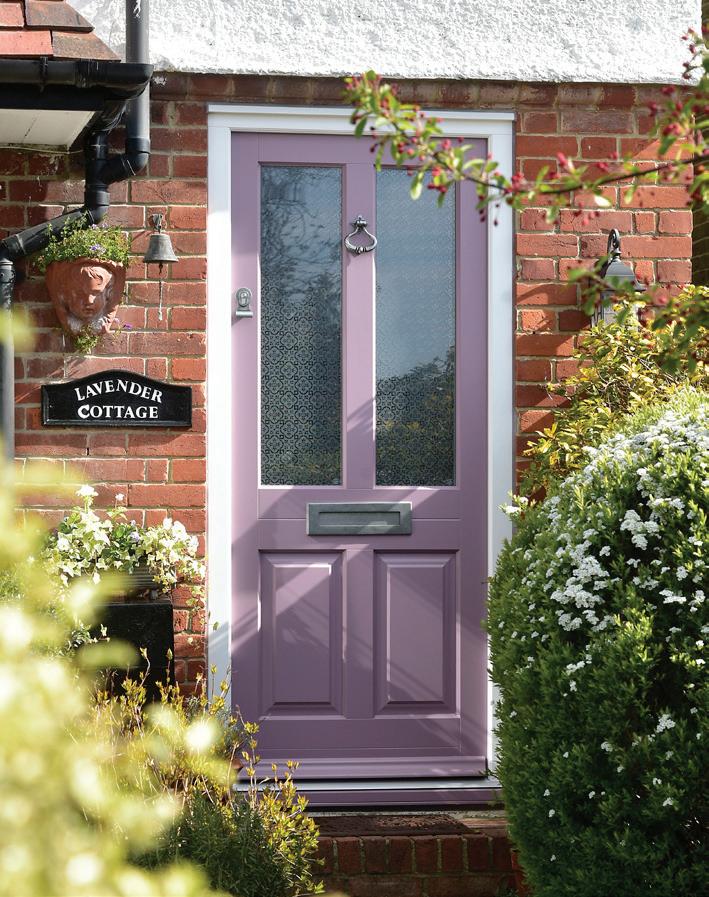
Redecoration
We recommend that Teknos branded paints or stains are used when redecorating to achieve a closer match to the original finish; however most good quality micro-porous paint or stain systems will be suitable following the manufacturer’s instructions.
If any damage to the coating system is detected during the regular inspection periods described above, the affected areas must be touched up without delay
and as described below to maintain the integrity of the coating system.
All areas to be re-coated should be cleaned down with a mild detergent solution and rinsed to remove dust, insects and other contaminants, which can form a base for algae and fungal growth. Follow this by lightly abrading with a fine grade abrasive paper then brush to remove dust.
Before paint application, we recommend testing the colour in a non-visible test area first.
Damage Repair
Where minor damage affects small areas of the topcoat surface but the timber substrate is not exposed:
1. Clean down and wash the abraded area to remove dust and allow to thoroughly dry.
2. Gently rub the damaged area with a fine grade abrasive paper to remove all unsound coating and level out to leave a smooth surface.
3. Apply a coat of our opaque or translucent topcoat in the appropriate shade, colour and gloss level to the damaged area. Allow to dry for four hours between coats.
4. If the damaged area is widespread, it is recommended that the whole frame or component part is lightly abraded and repaired as described above, with the second coat applied to the complete frame or the component part.
Where damage has affected the full depth of the coating system - such as a deep cut or gouge – the full system requires repair.
1. Sand down the damaged area first with a medium-grade sandpaper and then a fine-grade abrasive paper.
2. Internally, fill gouges with a multi-purpose filler such as decorator’s caulk; the filled area should be wiped level with a damp cloth before it sets. Once set it can be painted.
3. For external gouges, fill the area using a suitable external grade wood filler, with the surface of the filler left slightly proud. This should then be sanded flush (using 180 or 220 grit sandpaper)
4. Prime with a suitable primer or base stain.
5. Seal any exposed end grain with a suitable end grain sealer and allow to thoroughly dry.
6. Apply two coats of paint or stain topcoat in the appropriate colour. Allow to dry for four hours.
Full Redecoration
Where the coating system is intact, but requires a cosmetic coat, the following procedure should be followed.
1. Lightly sand down the product with a fine-grade abrasive paper. Wipe over the prepared area using a clean, damp cloth to remove dust and allow to dry thoroughly.
2. Using a good quality synthetic brush, apply a single coat in the appropriate colour. Paying particular attention to horizontal surfaces, cills and bottom rails. Allow to dry for four hours.
Our Key Redecoration Tips
Waterborne paints require different brushing techniques (compared with solventborne paints), due to their faster drying and reduced flow. Following a few simple hints will produce excellent results.
BRUSH QUALITY
The quality of the brush is very important. A long-haired synthetic brush designed specifically for the application of waterborne coatings will give the best results; short haired or worn brushes may leave lines in the dry film. Thoroughly wet the brush with water before starting, ensuring the base of the bristles (the heel of the brush) is fully wetted.
PAINT FLOW
Teknos topcoats can be applied directly from the container, though additional thinning with up to 5% of water will improve the flow and levelling properties of the product, particularly in warm weather.
A SYSTEMATIC APPROACH
When painting apply and finish each length section systematically. On a window, paint one component at a time e.g. top rail followed by the style and then the bottom rail. If painting a door start from the bottom and work your way upwards.
APPLICATION
An even coating film is important for durability and also for appearance, particularly in the case of translucent wood stain. With practice, an even coat can be applied quickly, following a three-stage application technique:
1. Load the coating generously and disperse quickly over the surface.
2. Even out the coating with light diagonal cross strokes. Do not overbrush; the coating will flow and level naturally.
3. Finish with light brush strokes in the direction of the grain.
APPLICATION OF DARKER SHADES
When applying darker opaque colours over previously applied lighter shades use a base coat of the final colour to aid opacity.
SANDING
Prior to sanding clean the surface, working from the bottom upwards. All surfaces to be coated must be abraded with a fine grade (180 or 220 grit) sandpaper or flexible sanding pad. Using a clean, damp cloth to remove dust and allow to dry thoroughly.
TEMPERATURE AND HUMIDITY
Do not attempt to paint when the temperature is below 10º Celsius, or if the relative humidity exceeds 80%: the curing and performance of the coating may be impaired. Do not coat in direct sunlight.
BRUSH CARE
Wash out brushes with a mild detergent solution, such as washing up liquid, then rinse with clean water.
Glass
We advise cleaning glass using a soft cleaning sponge with warm soapy water or a quality glass cleaner, followed by a rinse off with clean water. Hard tools should not be used to scrape glass clean.
To prevent scratching, the use of a soft cloth, gloves and/or removal of all hand jewellery is recommended.
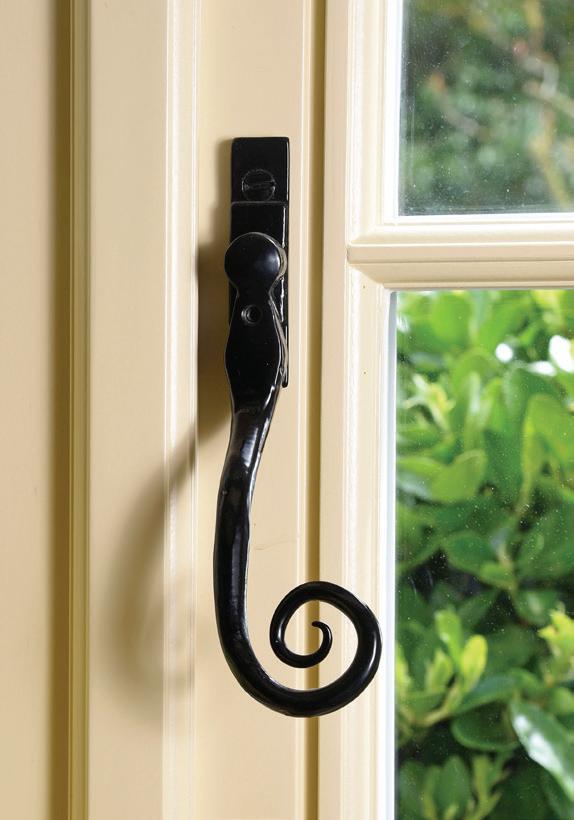
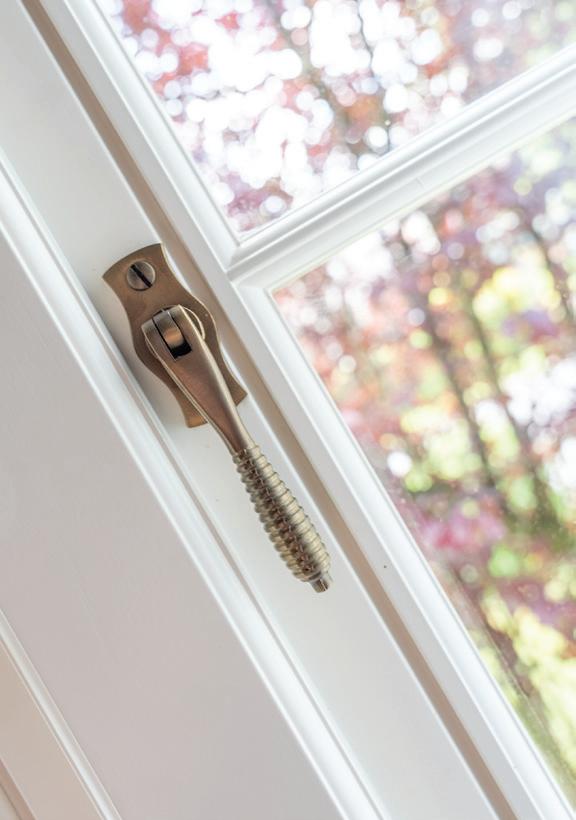
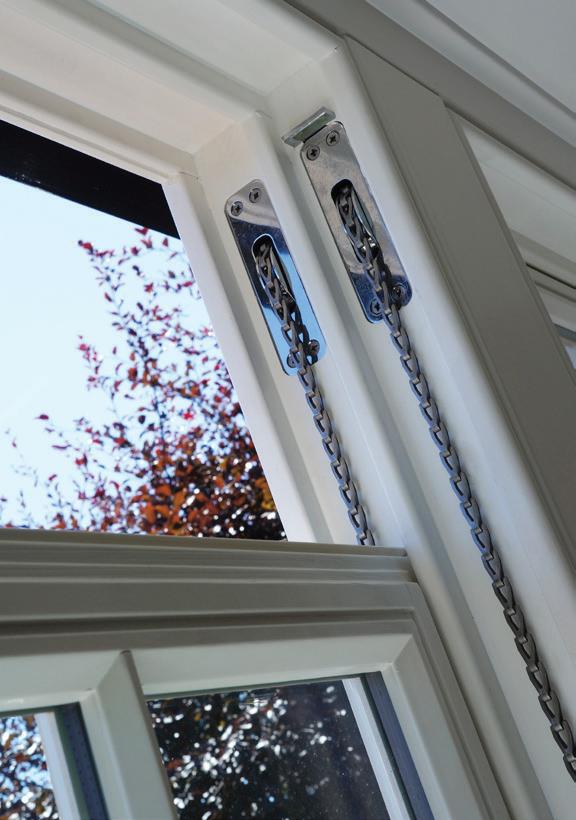
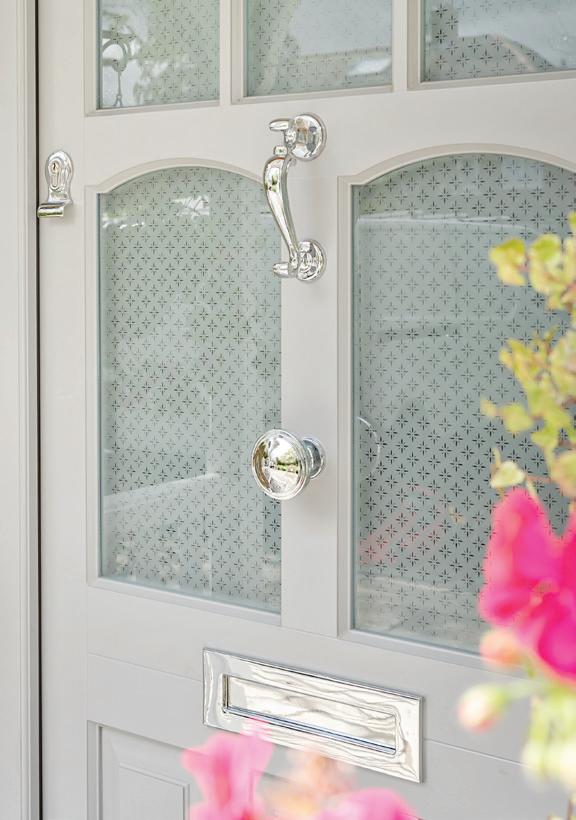
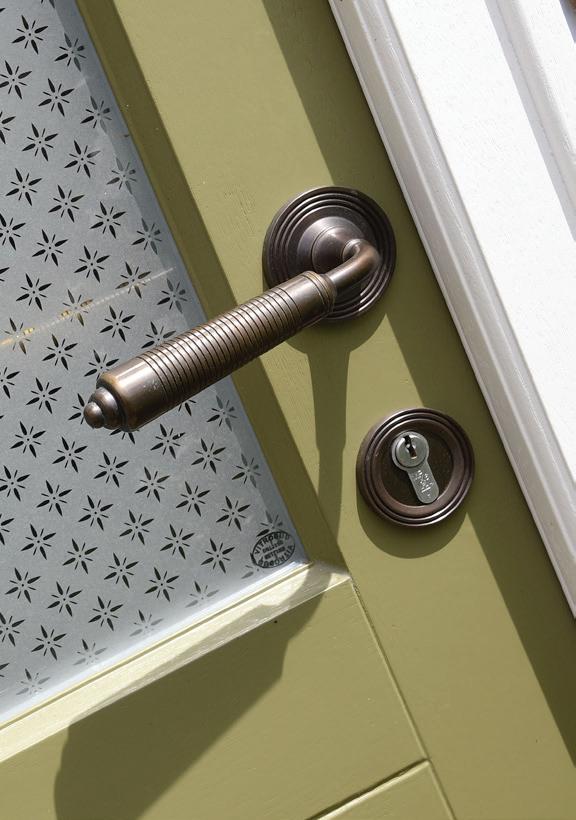
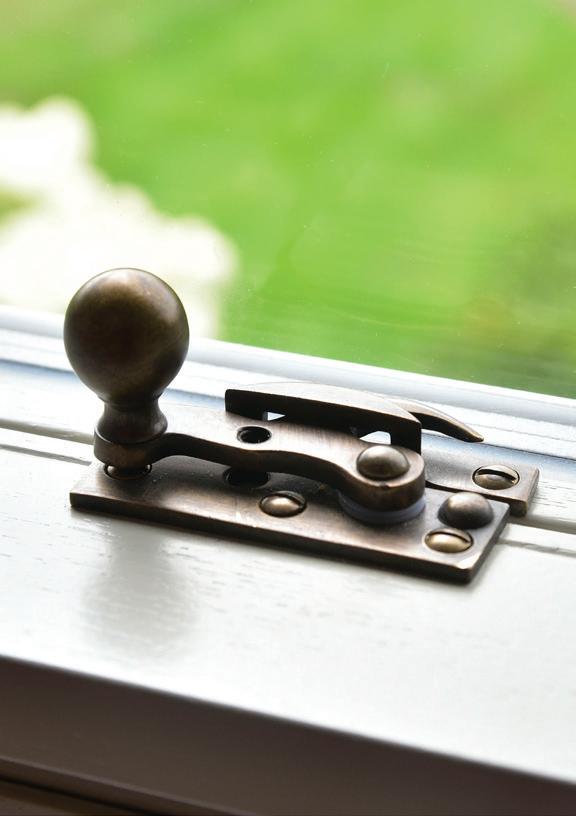
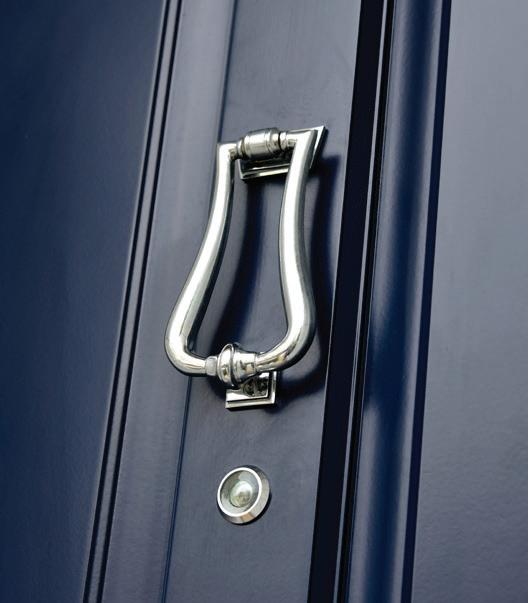
Hardware & Hinges
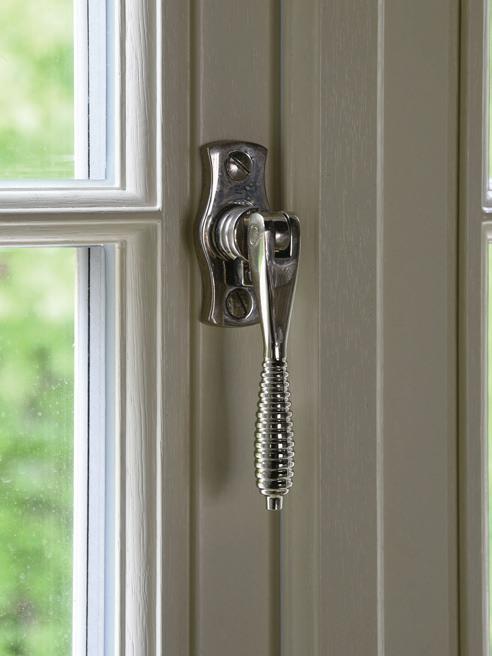
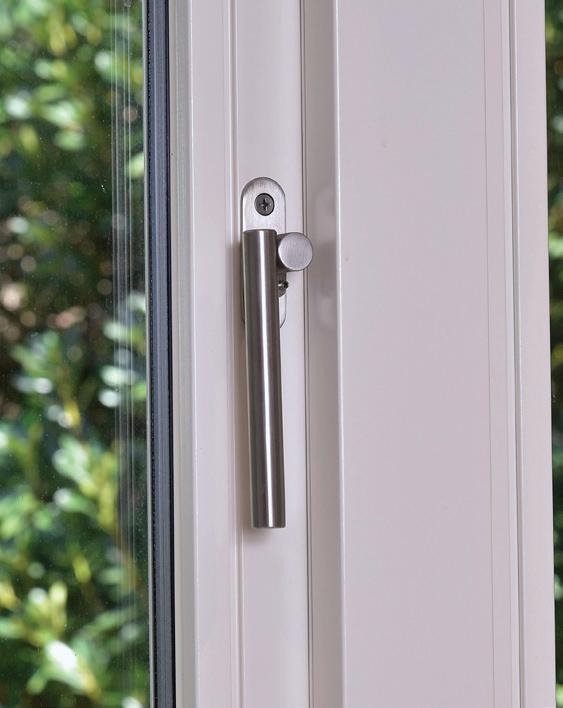
WINDOW HINGES
All hinges with sliding shoes, which travel along the track, need to be kept clear of dirt, debris and other obstructions. Use a soft damp cloth with a mild solution of warm soapy water to clean the friction hinges, then dry thoroughly afterwards. For optimum performance lubricate all pivot points with light (low viscosity) engineering oil with corrosion inhibitors such as 3 in 1 Oil. Wipe away excess; one drop per pivot is sufficient.
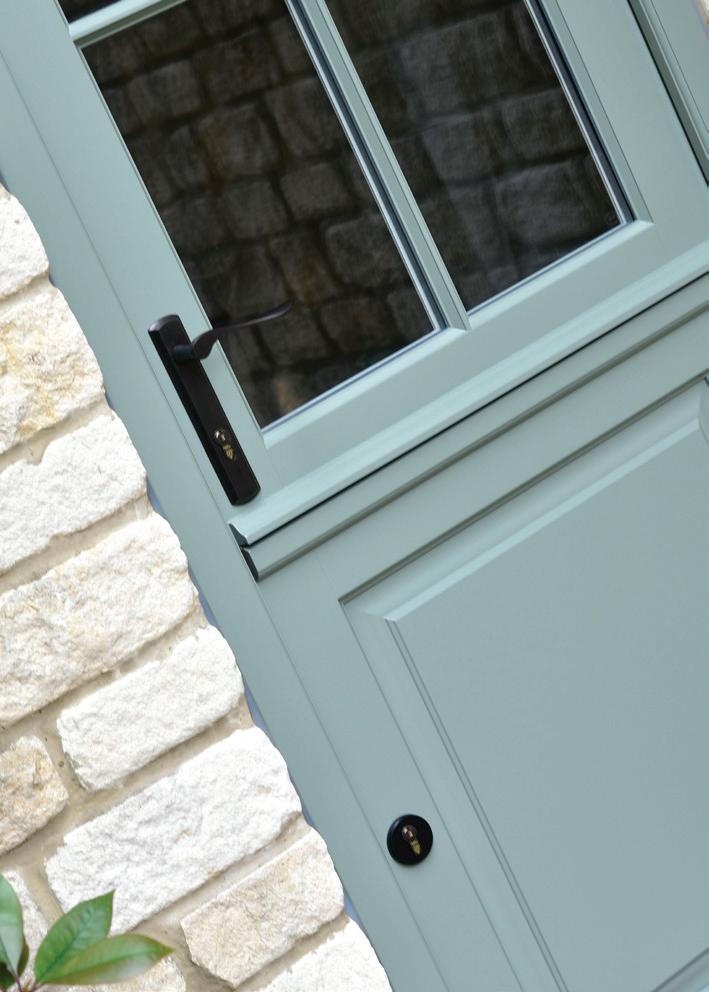
DOOR HINGES
All hinges should be lightly lubricated at least twice per year using 3 in 1 oil. Cleanse with a soft damp cloth and a mild solution of warm soapy water to remove any dust or grime. Take care not to scratch the surface and then dry thoroughly afterwards.
LOCKING MECHANISMS
Locking mechanisms and strikers should be wiped down with a soft cloth and all moving parts, lock face and keeps lubricated with a light (low viscosity) engineering oil with corrosion inhibitors such as 3 in 1 Oil. Wipe away any excess.
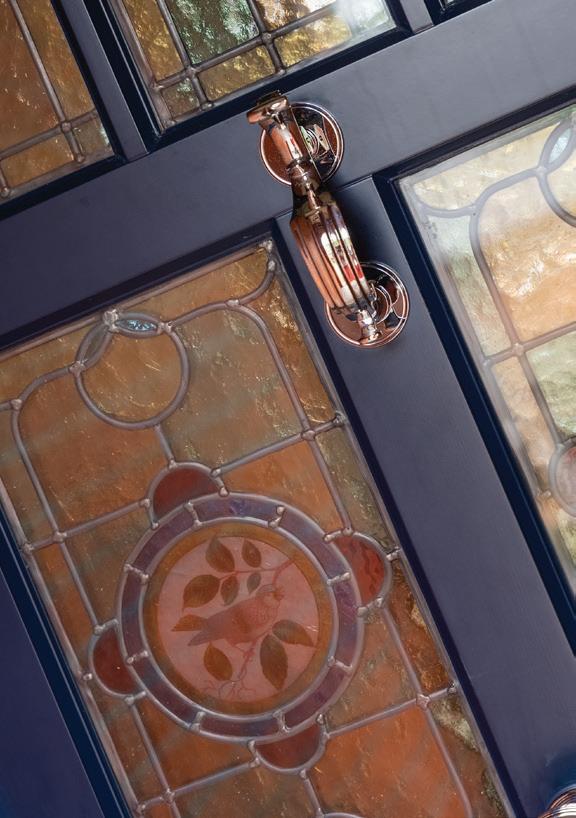
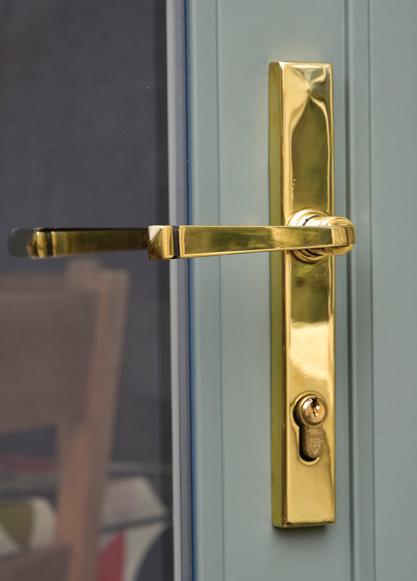
HANDLES AND HARDWARE
GENERAL MAINTENANCE
Please avoid using any form of chemical cleaner, e.g. oxalic acid or aerosol sprays to clean products, as this can permanently damage any finish. We recommend regularly oiling any moving parts on all products to ensure they perform to their full capacity .Wiping over the surface area of your products from time to time with an oily cloth will also remove any harmful deposits that build up on the surface and will aid protection from environmental factors. We recommend using a 3-in-1 oil.
If the operation of handles becomes stiff it may be that some adjustment is required to the locking cams. This should be carried out as soon as possible.
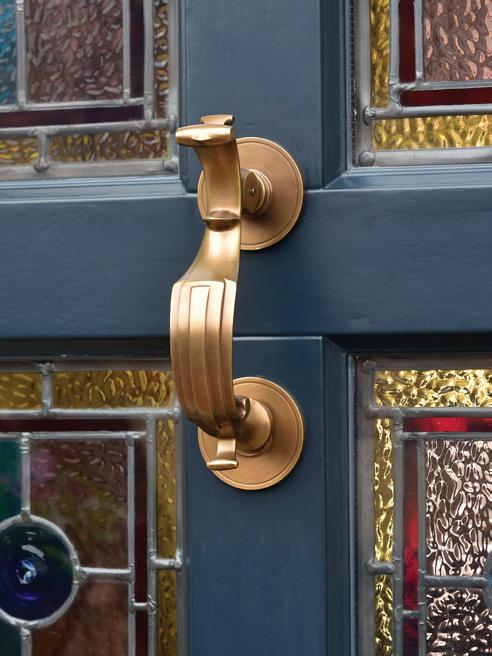
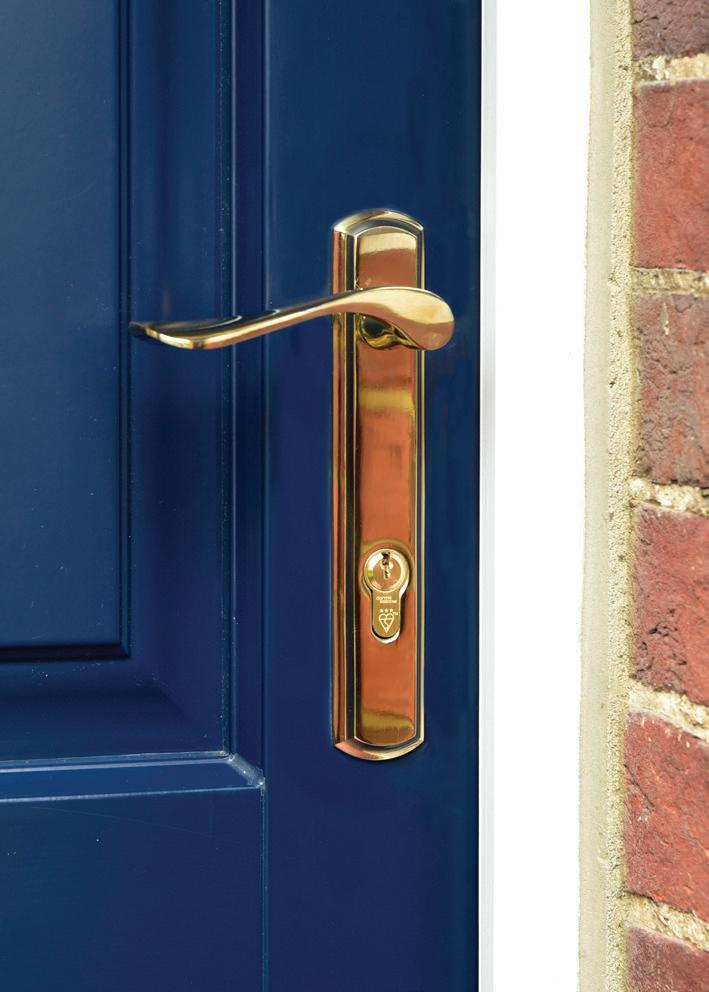
Brass Hardware Finishes
SPECIFIC MAINTENANCE
LACQUERED BRASS
Lacquered brass is protected with a clear lacquer. Do not try to clean lacquered brass hardware with metal polish or other abrasive cleaners, as this may remove the coating, after which discolouration will quickly occur. Over time the protective lacquer will be damaged by rings, keys and so on, and this will result in the brass substrate becoming discoloured. The rate at which this breakdown takes place will be accelerated by atmospheric conditions, such as sea air or pollution.
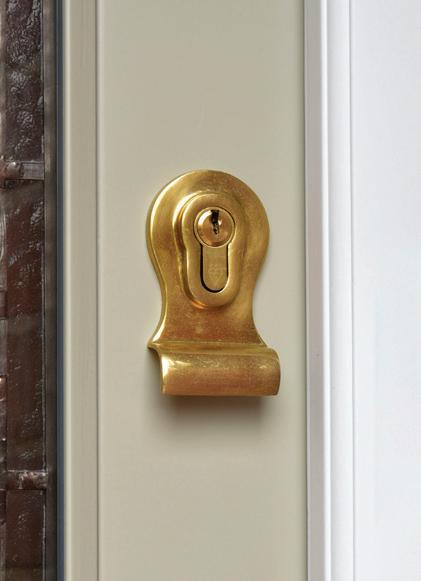
UNLACQUERED POLISHED BRASS
Unlacquered brass will naturally age through oxidisation, giving the product added character. However, if desired this finish can be maintained to a bright ‘polished’ finish with periodic polishing. To achieve this, please use a dry cloth or alternatively Brasso can be used to assist with the cleaning of solid brass products.
PVD BRASS
We recommend avoiding the use of any chemicals or cleaning products on this finish.
AGED BRASS
This finish will continue to oxidise and age as it is an unlacquered finish, meaning the finish will darken over time. If the product becomes tarnished or too dark, it can be polished on all surface areas to enhance the finish. To restore and brighten the finish, we recommend polishing with a dry cloth or alternatively using Brasso, which assists with the cleaning of solid brass products.
Discolouration of brass hardware is not covered by our warranty.
Other Hardware Finishes
BLACK / PEWTER FINISH
These finishes are extremely low maintenance. An oily cloth can be used to wipe over the product from time to time. Minor scratches may occur with general wear and tear of your product.
BRONZE FINISH
We recommend that the ironmongery is wiped with a lightly oiled cloth once a month. This will remove harmful deposits and restore it to its original condition. Never use any form of metal cleaner or aerosol spray. Minor scratches may occur with general wear and tear of your product.
POLISHED NICKEL, POLISHED CHROME AND SATIN CHROME FINISHES
We recommend avoiding the use of any chemicals or cleaning products on these finishes as it may affect the plated finish. An oily cloth can be used to wipe over the product from time to time to remove any harmful deposits that build up on the surface of your product, this will also aid protection against any environmental elements. A dry cloth can also be used to wipe over the product and reduce finger marks. Minor scratches may occur with general wear and tear of your product.
Samuel heath
SPECIFIC MAINTENANCE
To help maintain the high quality finish, please clean with a soft damp cloth. Do not use abrasive polish or cleaners. Stains may be removed using undiluted washing up liquid.
Nickel finishes will provide a wonderfully rich lustre and over time develop an individual patina of their own, often what is called a ‘living finish’. However all finishes do require regular care. It is important to clean finishes after use to prevent tarnishing. Water should be dried off and prevented from building up and forming hard water spots (which if left are difficult to remove). Such care and attention will also help prevent lime scale build-up. Soap and water is all that is needed to clean Samuel Heath products - the secret is to clean your brassware regularly. Please note that any finish other than chrome plate will be affected in marine or coastal environments. Non lacquered brass is hand polished and if cleaned regularly with a brass cleaner will maintain a pure brass finish.
Please note that all Samuel Heath finishes, except Chrome Plated are special finishes, designed to wear for a rustic, period look and are therefore not covered under our ironmongery warranty.
Care and Maintenance Guide
316 POLISHED AND SATIN STAINLESS STEEL HARDWARE
MONTHLY CARE AND MAINTENANCE
• Clean regularly with a soft, dry cloth or duster.
• Rubbing or wiping should be carried out in the direction of the polish/ linishing lines, not across them.
• Product should be washed monthly using a soft cloth and mild soapy water then dried immediately with a clean, soft cloth - especially if fitted on or near the coast.
• Fingerprints can be removed by washing product as above.
PLEASE NOTE
• DO NOT use oily rags or greasy cloths when wiping the product surface.
• DO NOT use bleach, abrasive cleaners, caustic or acid based cleaning materials, or detergents containing chloride, or any other strong household cleaning products.
• DO NOT use abrasive materials, files or other hard objects against the product surface.
• This product should be protected from dust and dirt during any construction work.
WHAT IS PVD COATING?
PVD stands for Physical Vapour Deposition. Also know as ‘thin-film’ coating, PVD coating is a process in which the hardware is placed inside a vacuum chamber and given a negative charge, a solid material (the coating) is then vapourised in this vacuum and given a positive charge forcing it to deposit atom by atom onto the surface of the hardware.
The coating is not simply layers of metal, the material is deposited atom by atom providing an ultra-thin, highly accurate and extremely strong coating. It also provides a much more uniform appearance and finish than traditional coating methods.
As the coating is very thin it enables the texture of the underlying metal to still be visible and felt. So for a satin finished product we use a base material of satin stainless steel and apply the PVD coating to it, or for a polished finish we use polished stainless steel as the base material.
To help you care for PVD finished products please follow the below guidelines:
MONTHLY CARE AND MAINTENANCE
• Clean regularly with a soft, dry cloth or duster.
• Rubbing or wiping should be carried out in the direction of the polish/ linishing lines, not across them.
• Product should be washed monthly using a soft cloth and mild soapy water then dried immediately with a clean, soft cloth - especially if fitted on or near the coast. Fingerprints can be removed by washing product as above.
Please Note
• DO NOT use oily rags or greasy cloths when wiping the product surface.
• DO NOT use bleach, abrasive cleaners, caustic or acid based cleaning materials, or detergents containing chloride, or any other strong household cleaning products.
• DO NOT use abrasive materials, files or other hard objects against the product surface.
• This product should be protected from dust and dirt during any construction work.
• PVD coatings may fingerprint so we suggest during installation of the product that you handle it with clean gloves or cloths to guard against stains or fingerprints. Fingerprints can be removed by washing product with a mild soap and water solution, then dried.
• If a softer metal such as a ring or a key marks the surface, it is possible some of this metal.
Specific stainless steel renovation kits are available from your local showroom.
DRAUGHT SEALS
Draught seals should be checked to ensure that they are seated properly in the rebate. The seals should also be checked periodically for splits or tears and any damaged seals replaced. After checking, the seals should be wiped clean with a warm, damp cloth, moistened with soapy water, and dried thoroughly.
CAUTION
We ask that care is always taken not to scratch or damage the surface of the window hardware during maintenance / cleaning. Always use soft cloths for cleaning. Do not use wire wool or scouring agents. All residues of old lubricants should be removed prior to maintenance. Adjustment of hardware will keep your windows and doors in excellent working order and ensure trouble free operation.
Care and Maintenance Guide
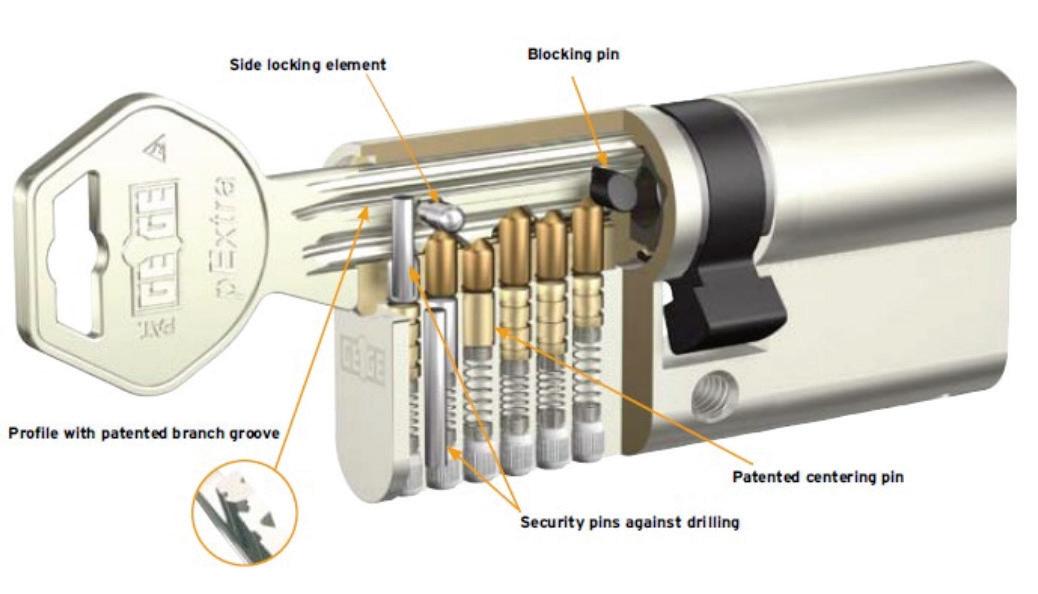
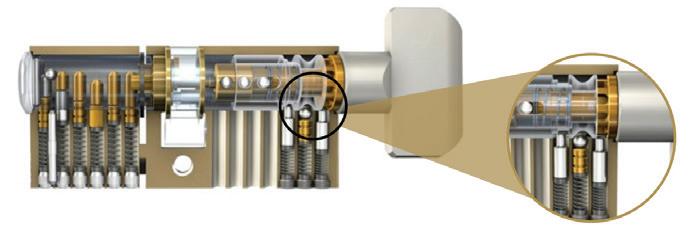
EURO PROFILE CYLINDER
KABA EURO PROFILE CYLINDER
REGULAR MAINTENANCE:
The benefit of regular maintenance of a locking system is generally underestimated, even though essential for continuous functioning of each locking mechanism. Regular and preventative maintenance should be carried out using KABA cleaner spray or 3 in 1 oil. This will aid the cleaning and maintenance of cylinder locks and for protect against corrosion.
THUMBTURN CYLINDER OPERATION:
The thumbturn rotor is sprung-loaded, to ensure the cylinder can be operated from the inside in the event of the cylinder being attacked/snapped.
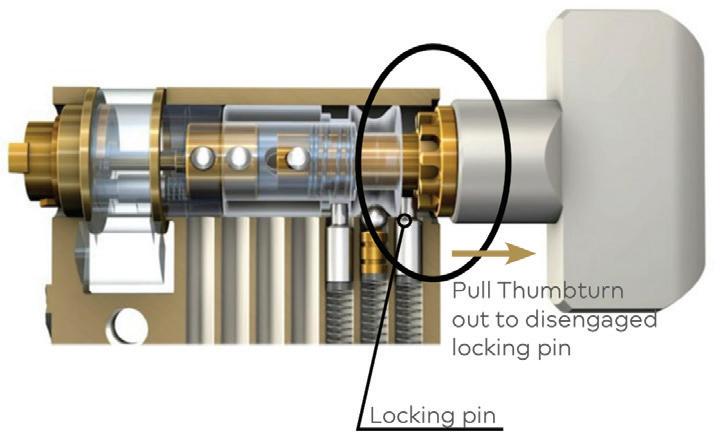
The cylinder has been designed to ensure any such attack leaves the person unable to operate the cylinder to gain access to the property. This is achieved by deadlocking the cam in the event of the front end of the cylinder being snapped at point of the sacrificial cut (external). This pin ensures the cam cannot be manipulated to disable the locking mechanism on the door.
However, to ensure there remains a means of egress to any occupants, the deadlocking pin can be withdrawn by pulling the thumbturn outwards and rotating to unlock the door.

NOTE:
The thumbturn should not be used as a means to pull open the door. This will put undue stress on the cylinder which is not conducive to the cylinder operating at it’s optimum performance.
Product Care in Coastal Locations
If you live in a coastal location, the atmosphere is exceptionally salty compared with most parts of the UK. Higher demands are placed on the paintwork and hardware of all windows and doors, making customer maintenance very important.
Use the methods detailed on the previous pages as your guide, we strongly recommend the following as a suitable maintenance program for products installed in coastal locations.
Exterior
• Woodwork – Every three months
• Glass & Seals – Every three months
• Main hardware (handles, letter plates etc) – Monthly
• Other hardware (hinges, locks etc) – Every three months
Internal
• Woodwork – Annually
• Glass & Seals – Annually
• Main Hardware (handles, letter plates etc) – Every six months
• Other hardware (hinges, locks etc) – Every six months
NB: We politely suggest that you keep records of your maintenance program (e.g. window cleaning invoices) as these are helpful if a warranty claim has to be submitted.
By adhering to these guidelines, your windows and doors will last an incredibly long time, and you will also receive full support from Timber Windows.
Please report any visual signs of defect or deterioration to your local dealer as soon as possible. If any deterioration has occurred, it must be dealt with swiftly to prevent further problems that may endanger the integrity of the products that would fall outside the warranty terms.
Where necessary we will arrange a site visit to inspect the issues and report these back to the manufacturer.
Product Guarantees
All finishing warranties are subject to the environmental conditions of the site location, and adherence to the care and maintenance procedures laid down by manufacturers under the conditions of sale.
Colour variations in timber may occur as it is a natural product.
PWG Trading Ltd reserves the right to change specifications without prior notice.
Timber
For a period of 30 years from the date of delivery, Timber Windows warrants that the goods will be free of rot or fungal infection under normal conditions, and that every reasonable effort has been made to ensure the use of good quality materials, and where care and maintenance as per this document has been carried out satisfactorily.
Sealed Unit
For a period of 10 years from the date of delivery, Timber Windows warrants that double glazed sealed cavity units, supplied factory fitted shall be fit for purpose for which goods of the type are normally used under normal conditions, and that every effort has been made to ensure the use of good quality materials, and where care and maintenance as per this document has been carried out satisfactorily. 5 years for 14mm double glazed units.
Hardware
For a period of 10 years from the date of delivery, Timber Windows warrants that all hardware that is supplied factory fitted shall be fit for purpose for which goods of the type are normally used under normal conditions, and that every reasonable effort has been made to ensure the use of good quality materials, and where care and maintenance as per this document has been carried out satisfactorily. Please refer to main body of this document for specific guidance in relation to Period Ironmongery.
Workmanship
For a period of 10 years from the date of delivery, Timber Windows warrants that goods supplied will be free from defects as a result of manufacturing processes when used under normal conditions, and where care and maintenance as per this document has been carried out satisfactorily.
Paint & Stain
For the decorative finish on products supplied factory finished, Timber Windows warranty shall be 12 years for paint finished items and up to 6 years for stain finished items (1 year on externally stain finished oak) from the date of delivery, in normal use and moderate weather conditions, and where care and maintenance as per this document has been carried out satisfactorily.