


KindKids Let’s Draw Nature © 2025 by Mandy Ford and Better Day Books, an imprint of Schiffer Publishing, Ltd.
Publisher: Peg Couch
Book Designers: Lindsay Hess and Llara Pazdan
Editors: Colleen Dorsey and Jules Hostetter
All rights reserved. No part of this work may be reproduced or used in any form or by any means — graphic, electronic, or mechanical, including photocopying or information storage and retrieval systems — without written permission from the publisher.
The scanning, uploading, and distribution of this book or any part thereof via the internet or any other means without the permission of the publisher is illegal and punishable by law. Please purchase only authorized editions and do not participate in or encourage the electronic piracy of copyrighted materials.
“Better Day Books,” the floral book logo, and “It’s a Good Day to Have a Better Day” are registered trademarks of Schiffer Publishing, Ltd.
“Schiffer,” “Schiffer Publishing, Ltd.,” and the pen and inkwell logo are registered trademarks of Schiffer Publishing, Ltd.
Library of Congress Control Number: 2025932153
ISBN: 978-0-7643-7006-9
Printed in China
10 9 8 7 6 5 4 3 2 1
Published by Better Day Books, an imprint of Schiffer Publishing, Ltd.
Better Day Books
Email: hello@betterdaybooks.com
Web: www.betterdaybooks.com
Visit us on Instagram! @better_day_books
Schiffer Publishing 4880 Lower Valley Road Atglen, PA 19310
Phone: 610-593-1777
Fax: 610-593-2002
Email: info@schifferbooks.com Web: www.schifferbooks.com
For our complete selection of fine books on this and related subjects, please visit our website at www.betterdaybooks.com. You may also write for a free catalog.
Better Day Books titles are available at special discounts for bulk purchases for sales promotions or premiums. Special editions, including personalized covers, corporate imprints, and excerpts, can be created in large quantities for special needs. For more information, contact the publisher.


Welcome to the KindKids Let’s Draw series! Inside this book, you’ll find lots of fun drawing lessons to help you develop your artistic skills. You will learn to draw and color all different kinds of animals, flowers, plants, and other natural subjects. Throughout the book, you’ll also find fun facts, jokes, and activities to enrich your learning experience and make you giggle!


Even after you’ve completed every lesson, you can keep coming back to this book to draw the designs all over again. And before you enter a world of nature and color, don’t forget to check out all the ways you can be a KindKids artist! As people and as artists, we have a responsibility to be kind. Every act of kindness toward our planet and the people on it matters.

How to Use this Book • 10
Materials • 12
Drawing Basics • 13

MAKE ART, BE KIND • 14
Let’s Draw • 16
About Mandy • 118


You can use this book however you like—it’s yours! But it’s a good idea to try to find a comfortable place to sit and draw. If you’re comfortable, you’ll be able to learn better and, therefore, draw better!
You can complete the lessons in order or skip around all the different pages. Feel free to follow along with the lessons by either drawing directly in the book or using a separate sketchbook or pad of paper placed beside your book.

You can even trace the designs if you’re feeling less confident or just want to quickly re-create what you see.
In each tutorial, there are suggestions of which colors to use, but you can always choose whichever colors you like. Being creative requires thinking outside the box, so don’t be afraid to use colors that don’t “naturally” occur in the object or animal you’re drawing. You can also add details that aren’t there, subtract ones that are, or combine drawing lessons to make a whole scene or collage! Your only artistic limit is your imagination.
Before you start drawing, you’ll need a few things to get you started. Here’s a quick overview of the supplies you might want to use.
You can draw directly inside this book if you want, but there’s not a lot of extra room in it. Use printer paper, scrap paper, a notebook, or a sketchpad to draw in. Or you can draw designs directly on your school binder or a greeting card to give to someone!
Colored pencils have a dry, waxy finish, which makes them perfect for layering colors on
It’s best to start each drawing with a regular pencil so you can erase if you need to. Once you’re sure you’ve got the drawing down and you’re ready to color it in, you can outline your drawing with pen, marker, or colored pencil if you’d like!
Pens are great for outlining your drawing or adding details to it toward the end. They have a fine point that creates thin, delicate lines. Just be careful, because pen can’t be erased!

Markers let you fill space on the page more quickly than most other tools because they have a thicker tip and more pigment than colored pencils or pens. Use markers when you want to quickly fill a drawing with vibrant color! Just be careful to check if the marker will bleed through to the backside of your paper.
If you simply follow the tutorials as presented, you’re sure to succeed. But there are things you can think about when drawing to set yourself up for success and to customize your finished drawings to be uniquely yours!
PRESSURE: Start with light pressure on your pencil so that you can erase if you need to, then press harder when you’re sure you’ve got your sketch right.
LINE WEIGHT: The thickness or thinness of your lines depends on how hard you press and which kind of tool you’re using. The most obvious example of this is with markers—if you press lightly and move the marker quickly, you’ll get
SHADOWS AND HIGHLIGHTS:
You can create shadows by using a darker shade of the base color you’re using, or you can create highlights by using lighter tints of the base color. There are examples of this in most of the finished illustrations in this book, if you look carefully!
LINES AND SHAPES: All the illustrations in this book are made up of different combinations of basic lines and shapes. You can build dimension (which is what makes something look 3-D) by placing variations of lines and shapes over top of and next to each other. You’ll learn how to do this as you make your way through the book!
Anyone can be an artist! Here are some ways you can be a KindKids artist. A KindKids artist is a kid who is not only an artist, but someone who makes the world a better place through kindness, whether that’s with their art or with their actions.
Visit a zoo or aquarium to learn about the animals we share the earth with!
Try carrying a reusable water bottle instead ofplasticsingle-use ones
Make sure to check labels and recycle things that are recyclable
Use the designs in this book to create a poster for Earth Day (April 22)

Use both sides of a sheet of paper when you’re drawing or writing, to save trees
If you can, walk or bike insteaddestinationsto of riding in the car
Talk to your family about drying your clothes outside instead of in the dryer
chargersUnplugand whenappliancesthey’re not in use
Plant a tree or grow a houseplant
Save inleftoveryourfood a containerreusable for later
If you’re something,buying try to find an option withoutpackagingplastic
Ask to go hiking, and remember to stay on the path!
Go outside and look for
Make art out of something you might normally throw away
Turn off the faucetyou’rewhen not using water
Talktoyour askfamilyand ifyoucan try a vegan or vegetarianmeal

It’s finally time to get drawing! Remember, you can skip around to choose whatever design inspires you, or you can go through the book page by page to learn to draw all 100 designs in order. It’s totally up to you!


Now grab your pencil and your colored pencils or markers, and let’s draw!


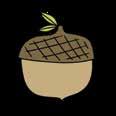
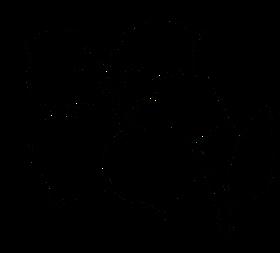
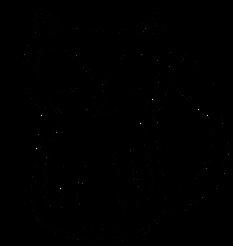
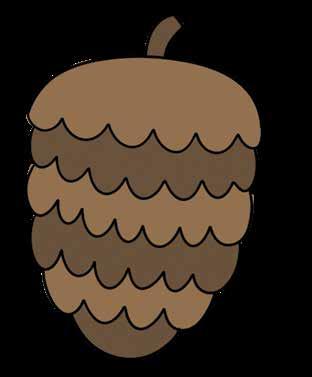
Start with the top part of the cap of the acorn.


Draw the bottom of the cap of the acorn.


Draw the left side of the main body of the acorn.

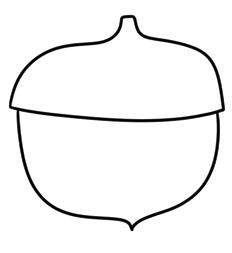
Draw the right side of the main body of the acorn, making sure the bottom comes to a small point.

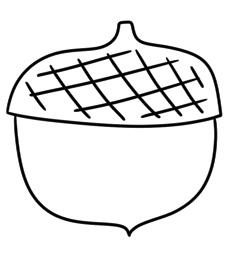
Draw crisscrossing lines on the acorn’s cap.

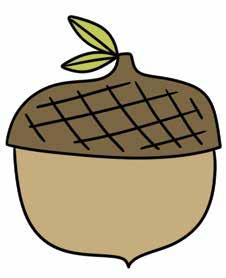
Add green leaves on top, then use two shades of brown to color in the acorn.
What’s the best way to befriend a squirrel?
Climb a tree and act like a nut!
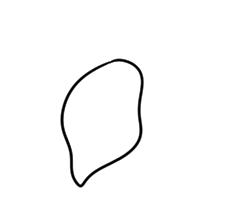
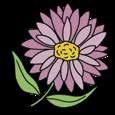
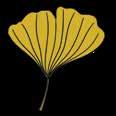
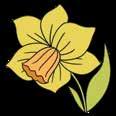
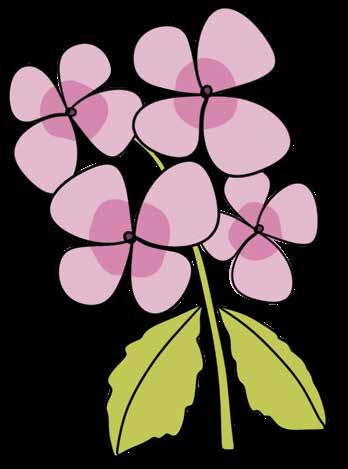
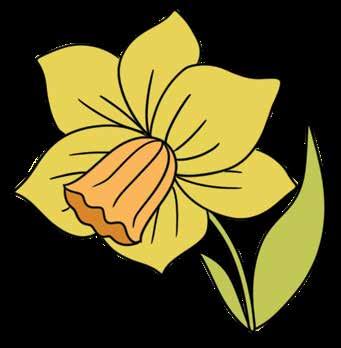
Start by drawing an uneven oval with one pointed side for the bottom petal.
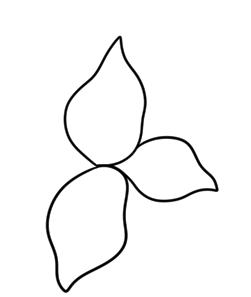
Draw two more similar ovals, one to the right of and one above the first petal.

Keep drawing, adding three more petals that are behind and between the first three.
Draw the stem with a long leaf on each side of it.
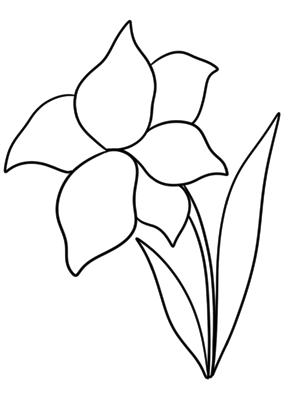
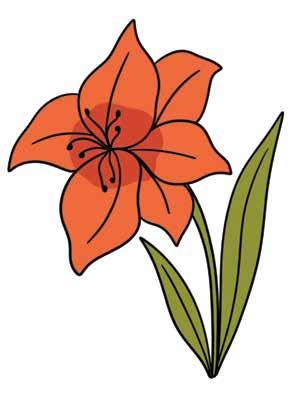
Add details to the flower. Then add two shades of orange to the petals and green to the stem and leaves.
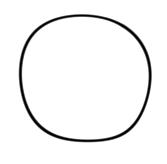
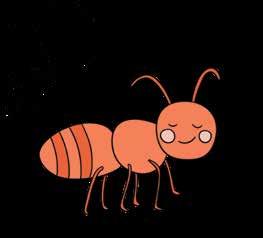
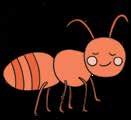
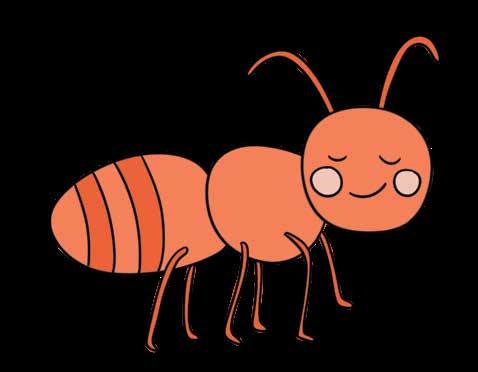
Start with a circle for the ant’s head.
Add two antennae and six legs.
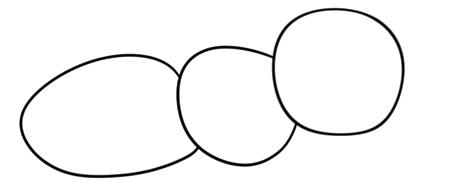
Draw another circle and an oval behind the head.

Add a face and lines on the ant’s body. Color it with peach for the cheeks and two shades of orange for the rest.
What do you call an ant from another country? Import-ant!

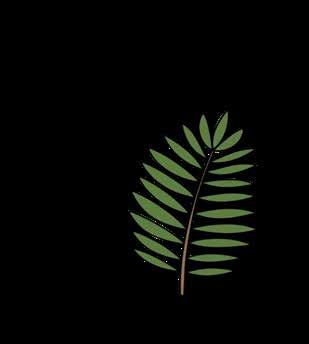
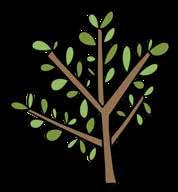
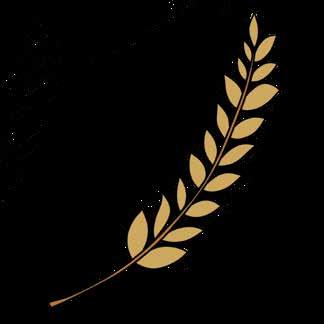
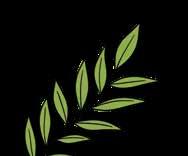
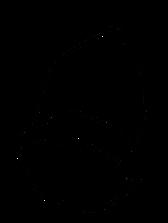
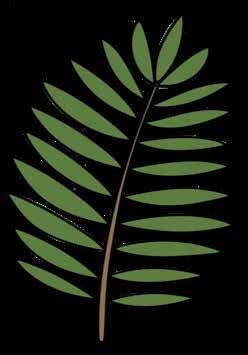
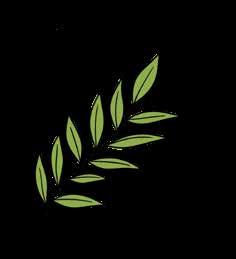
Draw an oval with two pointed ends for the top leaf.

Draw two parallel lines with a connection at the bottom for the long stem.

Draw three leaves along the left side of the stem.
There are 18 different kinds of ash trees in the United States!
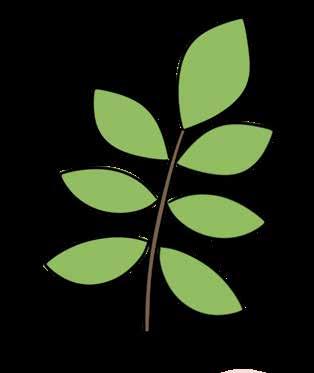
Draw three more leaves along the right side of the stem. Color the leaves green and the stem brown.

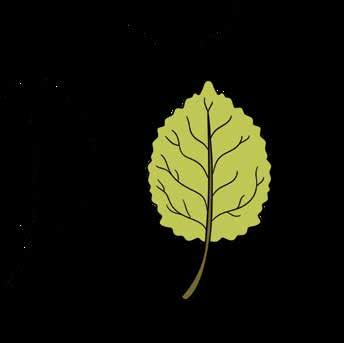
Draw a jagged, squiggly curved line for the left side of the leaf.

Draw another similar curved line to complete the outline of the leaf.

Draw the stem with one pointed end and one flat end.
Draw a tree branch and use these tutorial steps to add several aspen leaves to it!
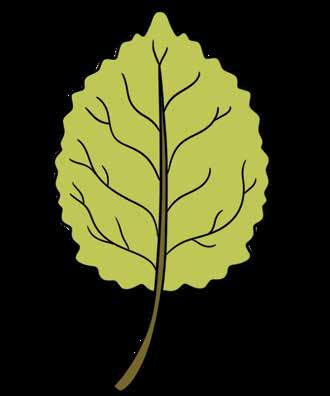
Add veins to the leaf. Color the leaf green and the stem brown.

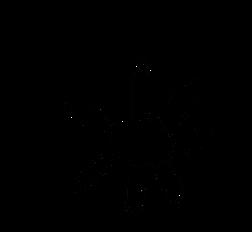
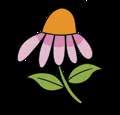
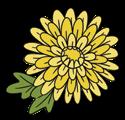
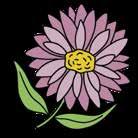
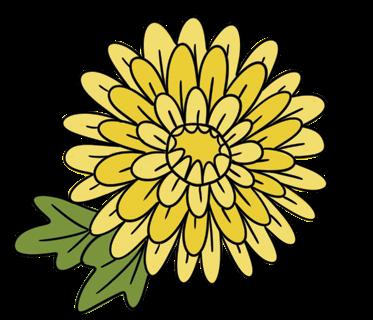
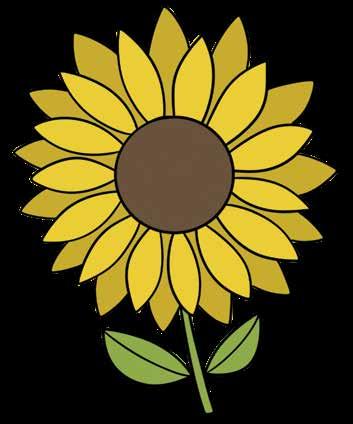
Start with a rough circle for the center of the flower.
Add seven thin petals around the center.
Continue adding longer, thicker petals behind the petals you’ve already drawn.

Add a longer, thicker petal partially behind each of the petals you just drew.

Add a stem and two big, curving leaves.
Aster flowers bloom around the autumn equinox, which is later than most other flowers!
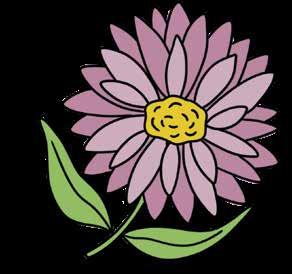
Add details to the flower center. Use dark and light purple to color the petals, yellow for the center, and green for the stem and leaves.

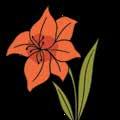
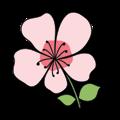
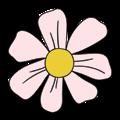
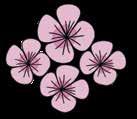
Start with an upside-down teardrop shape for the bottom flower petal.

Draw one more petal on each side of the first petal.
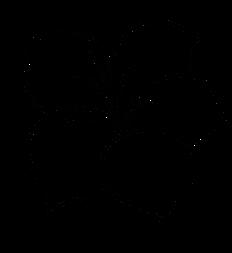
Draw five curved lines, starting from the center, for the stamens and pistil.

Draw the final top two petals of the flower.
TRY IT!
Next time you’re outside, keep your eyes peeled for an azalea bush!
Add a stem and one leaf.
Color the petals with pink and the stem and leaf with green. Add detail lines to the leaf.
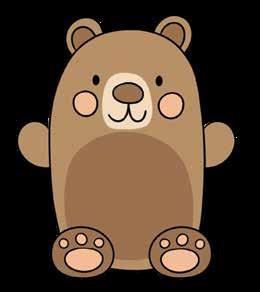
What did the teddy bear say after eating dinner?
“I’m stuffed!”

Draw two circles for the bear’s back paws.

Add the bear’s eyes, nose, mouth, and cheeks.

Draw a large oval behind the paws for the bear’s body.
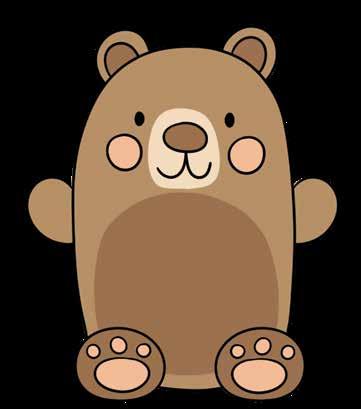
Add the details for the ears, front paws, and back paws, then color in the bear with light brown, dark brown, and peach.

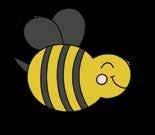
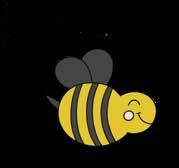
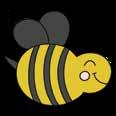
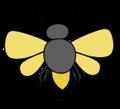
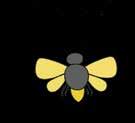
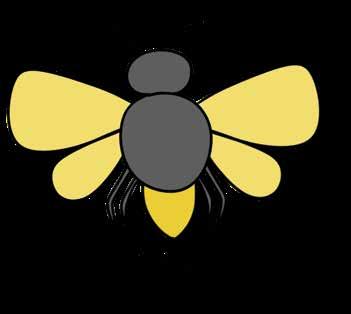
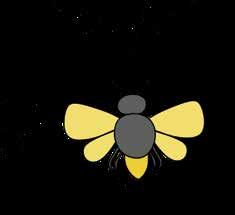
Start by drawing the body of the bee.

Draw three stripes on the bee’s body.

Add the bee’s wings.
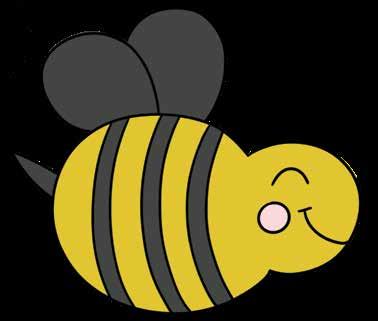
Add the bee’s stinger, an eye, a cheek, and a smile. Use black and yellow to color in the body and pink to color in the cheek.

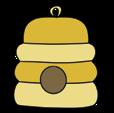
Draw a curved line with three bumps.

Add a small loop at the top of the hive and a circle on the front for the opening.

Draw a mirror image of the same line and connect the two lines along the top and bottom.
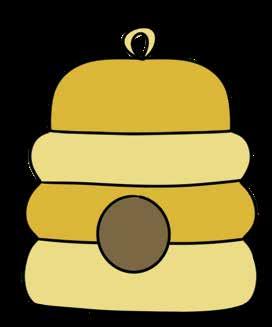
Add horizontal lines to separate the layers of the hive. Use dark and light yellow to color in the beehive and brown to color in the opening.

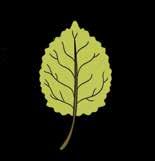
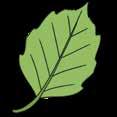
Start with a rough line for the left side of the leaf.

Add a stem down the center of the leaf. One end should be pointed and the other flat.

Draw the other side of the leaf, making sure both sides are connected and that each end comes to a point.

Add veins, then color the leaf and stem with green.

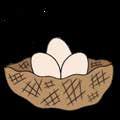
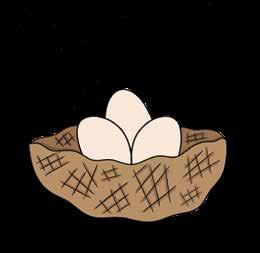
Draw a rough half circle for the bottom of the nest.

Add three eggs sticking out of the nest.

Complete the nest by drawing a rough line from one side to the other.
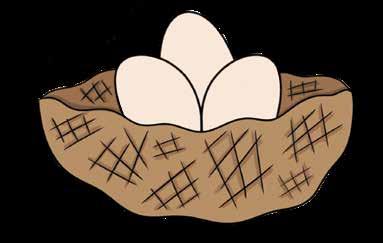
Add the back of the nest behind the eggs and crisscross marks for texture. Color the eggs with tan and the nest with brown.
LET’S LAUGH!
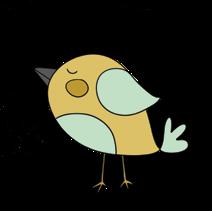
What do you give a sick bird? Tweet-ment!

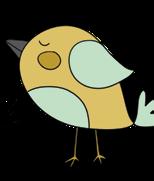
Start by drawing an oval with a point at the bottom for the bird’s body.
Draw the wing and the tail.

Draw a half circle for the belly of the bird.

TRY IT!
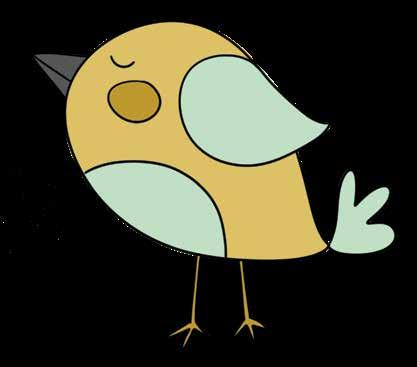
Next time you’re outside, listen for birds chirping—notice how different types of birds make different sounds!
Add a beak, a face, and legs, then color in the bird with dark yellows, teal, and dark gray.

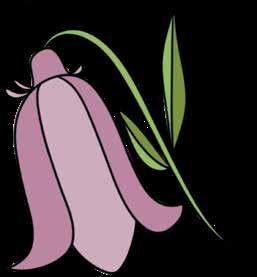
Start with a big, curved line for the outer edge of the flower.
Draw three petals inside the first line.
Add tiny little petals where the cap and the big petals meet.
Draw a little cap on top of the flower.
Draw the flower’s stem.

Bluebells rarely grow in most countries, but they are abundant in the United Kingdom!
Add leaves to the stem, then color the leaves and stem with two shades of green. Color in the petals with two shades of purple.

Start with a “Y” shape for the base of the branch.
Add more lines on either side of the “Y” shape, toward the bottom.

Add a line in the middle of the “Y” shape.
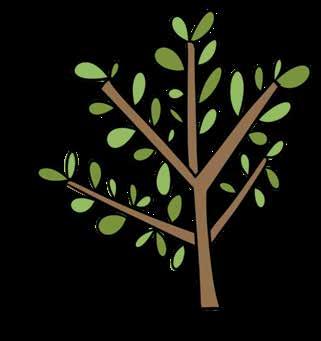
Add lots of tiny leaves to all the branches, then color them in with different shades of green. Color in the branch with brown.
Use these tutorial steps to try drawing branches with different colors, lengths, and bark patterns!

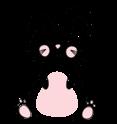
Start with a keyhole shape for the bunny’s body, making sure to leave a gap at the top.

Add bunny ears and details to the bunny’s back paws.

Add the bunny’s front and back paws.
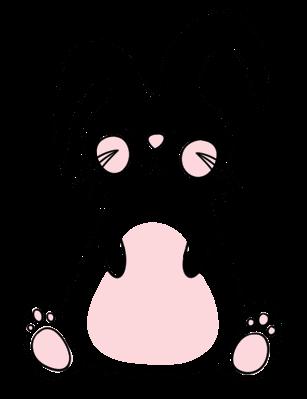
Add the bunny’s face, then color in parts of the bunny with pink.

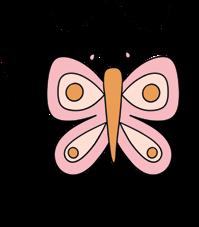
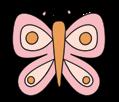
Start with the butterfly’s left pair of wings.

Draw a carrot shape for the butterfly’s body.

Draw the butterfly’s right pair of wings, making sure to leave room for the body.
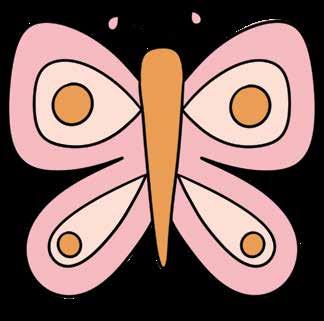
Add details to the wings and two antennae, then color it in with orange and two shades of pink.

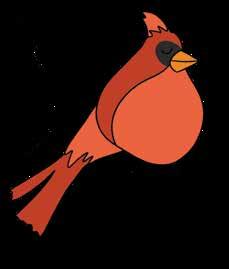
Start with the body of the cardinal, making sure to include three little feathers on his head.
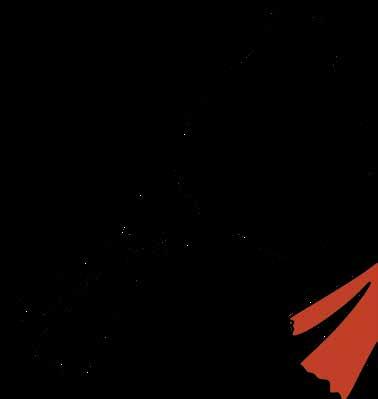

Draw the cardinal’s short tail feathers.
Add longer tail feathers.

Add a face, a beak, feet, and a line defining the bird’s belly. Color in the cardinal with black, orange, and two shades of red.

Start with the center of the flower and four small petals around it.
Finish the flower with six even-bigger petals behind the last ones.

Add five more larger petals.
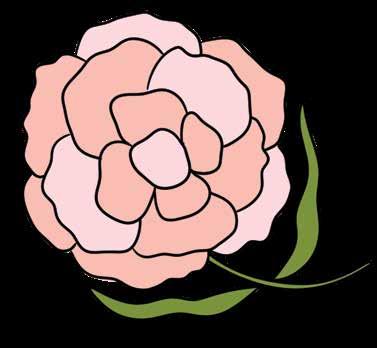
Color in the flower with two shades of pink. Add a stem and leaves, then color them in with green.
TRY IT!
Try drawing a bunch of carnations in a pretty vase!

Draw two slightly curved lines to start the cat’s body.

Add a curved line for the cat’s belly and another for the top of its head.

Draw the cat’s face.

Add ears and connect them with the top of the cat’s head. Connect the bottom of the body.

Draw the cat’s tail.

Add whiskers, a heart on the tail, and little triangles on the ears. Color in the cat with orange and light pink.


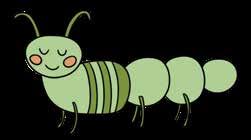
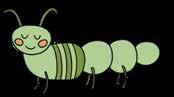
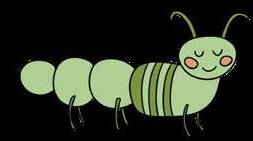
Start with the caterpillar’s head and the first segment of its body.

Add antennae and six legs.
Add lines to the body as well as a face, then color in the caterpillar with orange and two shades of green. Draw three more segments of its body.
DID YOU KNOW?
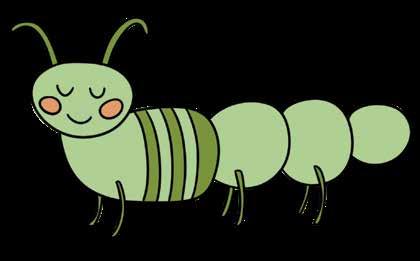
Some types of caterpillars try to mimic snakes when they feel threatened by a predator!

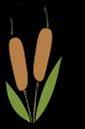
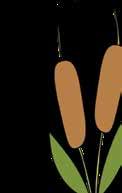
Start with one long oval for a single cattail.


Draw another cattail oval.
Add a stem and a spike to each cattail.

Add leaves, then color in the cattails with green and brown.

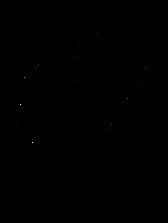
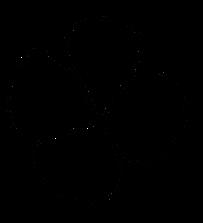
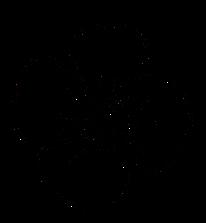
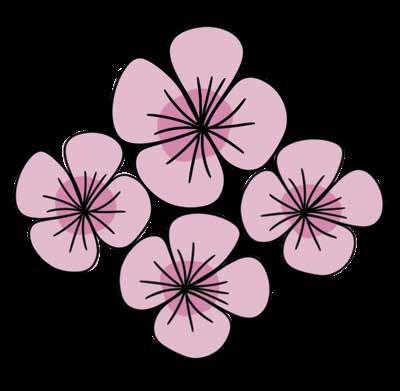
Draw an oval with a point for the first petal.

Draw three more petals in different sizes and shapes.

Draw another petal that is rougher in shape.
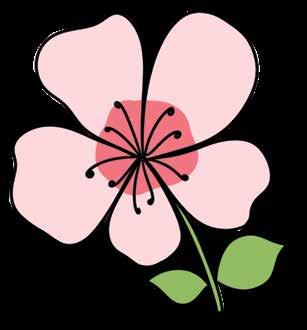
Add a stem and leaves, then add lines in the center of the flower for stamens. Color in the flower with green and two shades of pink.
Cherry blossom petals are edible—there’s even cherry blossom ice cream!

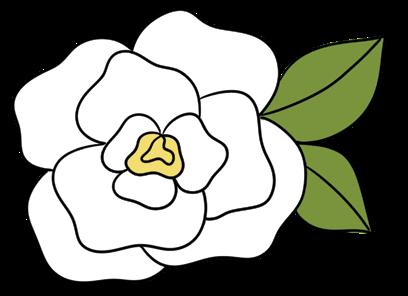
Start with the center of the flower and one small petal.
Draw larger petals behind the first round of petals.

Add two leaves with veins beneath the flower.

Continue drawing small petals all around the center.

Draw one more round of even-larger petals behind the first two rounds.
Add detail to the flower center. Color the flower petals with two shades of yellow and the leaves with green.

Start by drawing a line with two curves.

Draw loops at the intersections of each curve.

Add two more curves to the cloud.
Draw the sun partially behind or next to your clouds to add a summery flair to your drawing!

Add another similar cloud beneath the first, then color them both in with two shades of blue green.

Start with a tilted heart shape for the first clover leaf.


Draw two more clover leaves.
Draw another clover leaf.
The four-leaf clover is actually a genetic mutation of the three-leaf white clover!
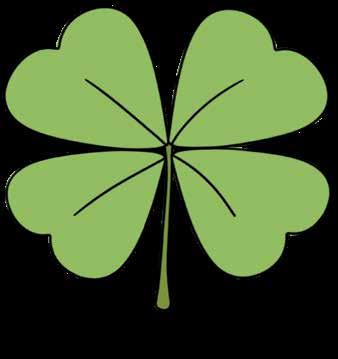
Add a vein to each leaf and a stem to the clover. Then color it all in with green.

Start with a gumdrop shape for the center of the flower.

Draw the first petal beneath the flower’s center.
Add four more petals.
Add a leaf on each side of the stem.
Add a stem to the flower.
Color in the flower with dark yellow, two shades of purple, and green. Add veins to the leaves.

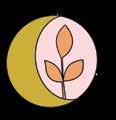
Start with a circle.


Draw a curved line inside the circle.
Draw a leaf with a stem inside the circle.
Extend the stem and add two more leaves. Color it all in with pink, dark yellow, and orange.

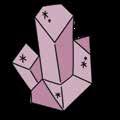
Start by drawing a prism.

Add another shape underneath the prism and rectangle shapes.

Add uneven rectangles on either side of the prism.
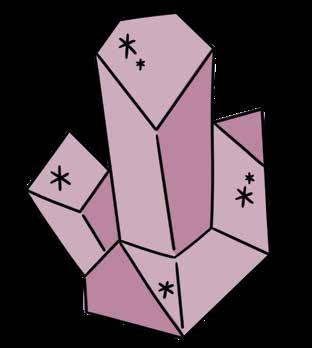
Add sparkles and detail lines to the crystal, then color it in with two shades of purple.

Start with a small circle.

Draw one long petal sticking out from the circle.
Draw six more petals around the center.
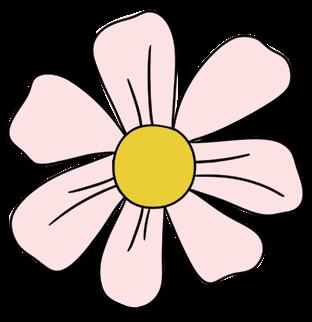
Add veins to some of the petals, then color in the flower with pink and yellow.
What is a blooming daisy’s favorite day? Sun-day!

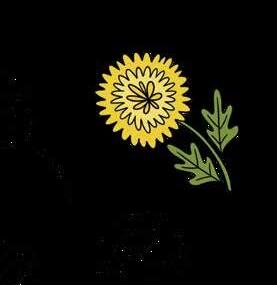
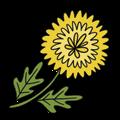
Start with a tiny flower bud for the center of the dandelion.
Draw another line to represent one more circle of petals.
Draw a line to represent more flower petals around the center bud.


Add a squiggly leaf to the stem.
Add a long stem.
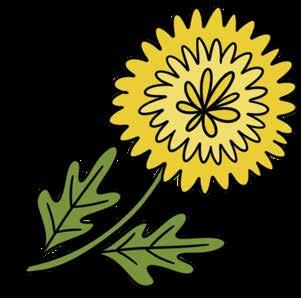
Add another leaf and veins to both leaves, then color in the dandelion with green and two shades of yellow.

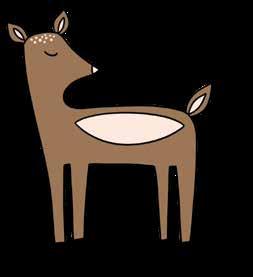
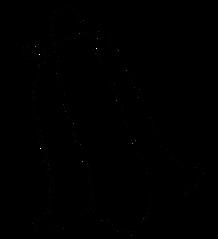
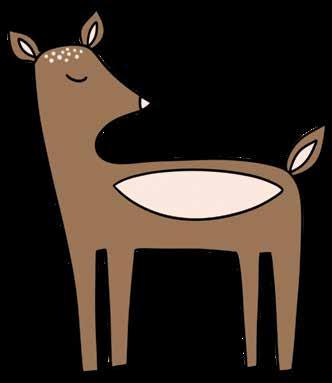
Draw a line as shown to begin shaping the deer.


Add ears and a tail.
Connect the first line by drawing the deer’s legs and belly.
Add a face, then add accents on the ears, belly, and tail. Color in the deer with brown and light pink.

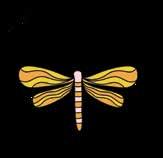
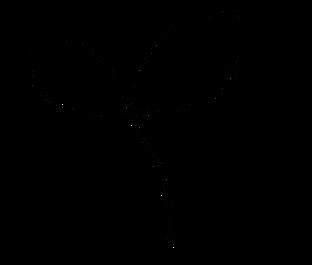
Start with the two left wings of the dragonfly.
Draw the two right wings, leaving space for the body.

Draw a long, skinny oval for the body.
Dragonflies can fly in all directions—up, down, forward, and backward!
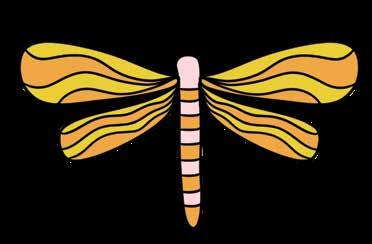
Add details to the body and wings, then color in the dragonfly with pink, yellow, and orange.

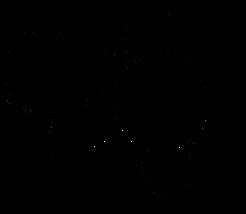
Start by drawing a circle.

Draw the outlines of two more, larger continents.

Draw the outlines of the two leftmost continents.

Finish by drawing the top and bottom continents, then color in the earth with green and blue.

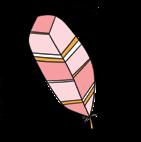
Start with the right side of the feather.
Add a small quill (like a stem) with three tiny feathers above it.
Complete the feather shape by drawing the left side.

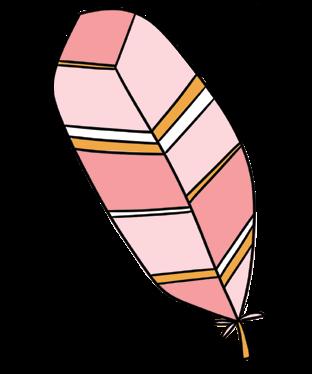
Add diagonal stripes to each side of the feather, then color it in with orange and two shades of pink.

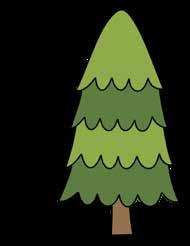
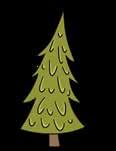
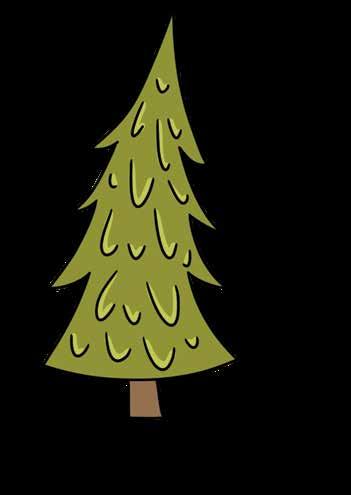
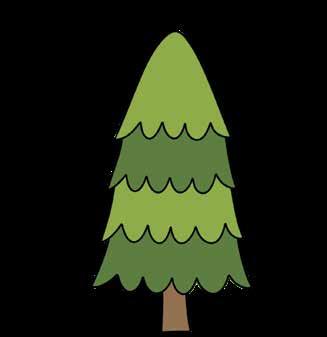
Start with the top of the fir tree, smooth on two sides and scalloped on the bottom.

Draw a third tree layer below the second one.

Draw another tree layer below the first one.
Why couldn’t the tree get a date? He was too sappy!

Draw one more tree layer and a trunk, then color in the fir tree with brown and two shades of green.

Start with two ovals to represent the head and middle segment of the firefly. Draw the bottom segment of the firefly.

Draw the two right wings.
Draw the two left wings.

Draw two legs on either side of the firefly’s body.
Have you ever caught a firefly? Next time you see one, give it a shot—but be gentle!
Add antennae and a few lines beneath the firefly to represent light. Color in the firefly with black and yellow.

Start with the outline of the fox’s body.
Draw the front legs.
Draw the top of the fox’s head, ears, and a tail.

Draw a line inside the fox’s body to accent its face and belly.
Add a face and an accent to each ear.
What do you call a fox in a library?
Well red!

Add details to the top of the fox’s head and tail, then color it in with light pink, dark yellow, orange, and dark gray.

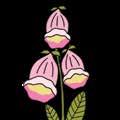
Start with two curved lines that come to a point.
Draw the opening of the flower below the two lines.
Repeat steps 1–3 to create two more flowers.
Add details and two leaves at the base of the flower.
Foxgloves are the source of some lifesaving medicines, but if eaten directly off the plant, they’re poisonous!
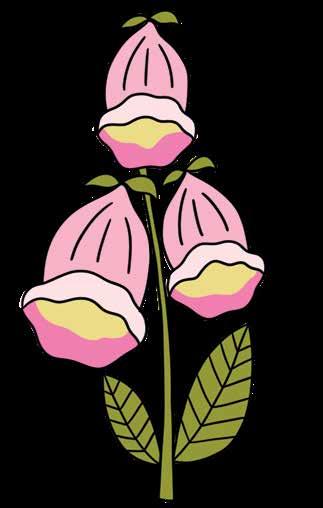
Add a stem and leaves. Then color in the flowers with yellow, green, and three shades of pink.

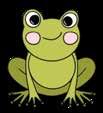
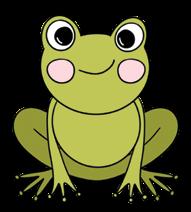
Start by drawing the frog’s head.

Draw the frog’s body below the head.

Draw the frog’s back legs.

Draw eyes and two front legs.
TRY IT!
Try drawing a lily pad next to the frog!
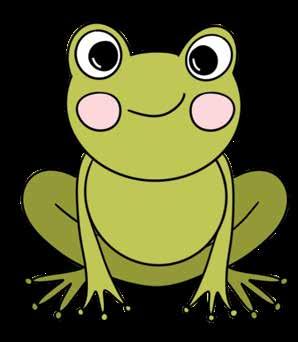
Add detail to the eyes, a mouth, and some cheeks. Color in the frog with pink, black, and two shades of green.

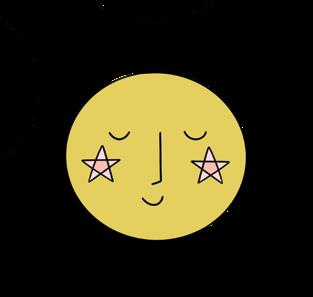
Start by drawing a circle.

Draw a star to represent the left cheek.

Draw eyes, a nose, and a mouth on the circle.

Draw another star for the right cheek, then color in the moon with dark yellow and two shades of pink.
The moon is over 200,000 miles away from the earth!
Start with a cluster of small petals for the center.

Draw four even-larger petals around that.

Draw three larger petals around the center.
What did the bee say to the flower?
“Hey bud, when do you open?”
Add leaves, then color in the very center petals with yellow and the leaves with green.
Start with the first two petals.
Draw two more petals. Add texture lines to each petal.
Repeat steps 1–3 to create three more full flowers. Color them all in with two shades of purple.
TRY IT!
Add more geraniums to create a whole beautiful flower bush!

Start with two curved lines that come to a point.

Draw a stem.

Draw the top of the leaf with a rough line.
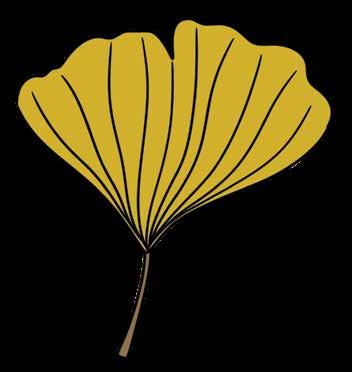
Add line details on the leaf, then color it in with dark yellow.

Start with an oval for the hedgehog’s body.

Draw a face and arms.

Add another partial oval around the first one for the hedgehog’s spikes. Then add feet and ears.
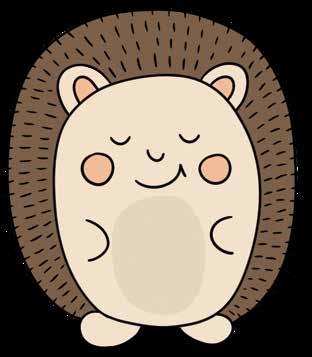
Add spikes to the back of the hedgehog, then color it in with brown, cream, tan, and peach.

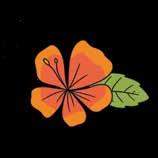
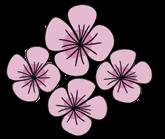
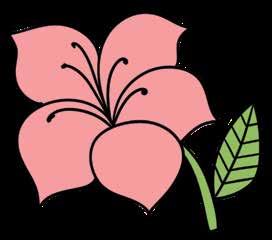
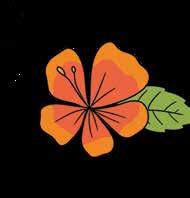
Start with the first flower petal.

Add line details and two pistils to the flower.
Hibiscus flowers are edible and are often made into a tea.

Draw four more flower petals.
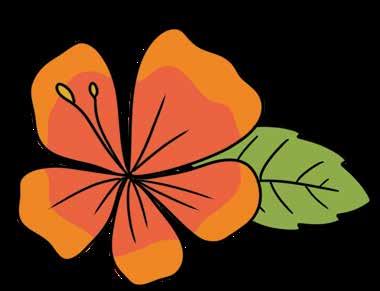
Add a leaf with veins, then color in the flower with orange, red, dark yellow, and green.

Start by drawing the jagged left side of a holly leaf.

Draw the right side of the holly leaf.

Repeat steps 1–2 to create another holly leaf.

Try drawing this holly design on plain brown paper—it would work wonderfully for wrapping presents!
Add veins on the leaves and three berries below them, then color it all in with red and two shades of green.
Start by drawing two flower petals (or, rather, sepals!).

Repeat steps 1–2 to create three more hydrangea blooms.
Hydrangeas look like they have lots of petals, but they actually have something a bit different— they’re called sepals!

Draw two more petals and a small circle in the center of the flower.
Add a stem and leaves, then color it all in with green and three shades of purple.

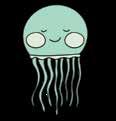
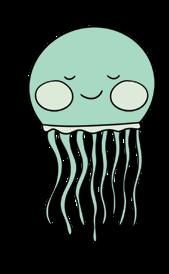
Start with a semicircle to represent the head of the jellyfish.

Draw the jellyfish’s tentacles.

Draw the bottom of the jellyfish’s head.
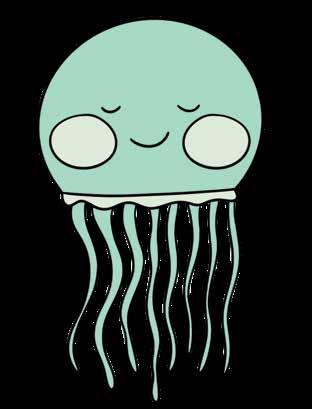
Add a face, then color in the jellyfish with two shades of blue green.

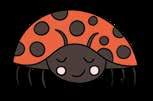
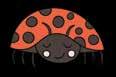
Start with the outer shell of the ladybug.

Add six legs and two antennae.

Draw the back of the outer shell and the head.
Next time you see a ladybug, try to get it to crawl onto your hand!
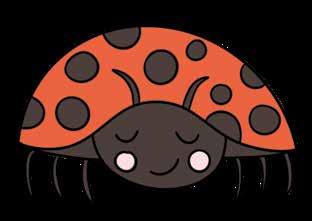
Add dots on the outer shell, then a face to the head. Color in the ladybug with dark gray, red, and light pink.

Start with the stem of the flower.

Draw three leaves along the sides of the stem.
Draw the first few small petals on top of the stem.
Although light purple comes to mind when you think of lavender, some varieties are white, yellow, or pink.
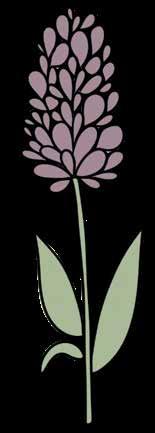
Continue drawing more petals stacked on top of and around each other. Then color in the lavender flower with purple and green.

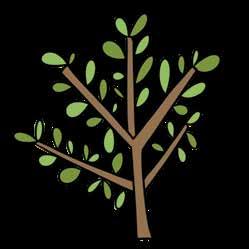
Start by drawing the top of the tree, as if it was a cloud.

Draw a trunk that connects each of the three leafy parts.

Draw two small leaf bunches beneath the top of the tree.
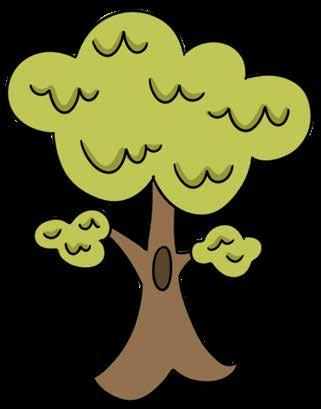
Add squiggly details to the leaves and a hole in the trunk. Color in the tree with two shades of brown and two shades of green.

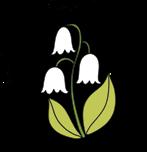
Start with three curved lines to represent the bottom of each flower.

Add a long, curving stem that connects all the flowers.

Draw the tops of the flowers—which are at the bottom!
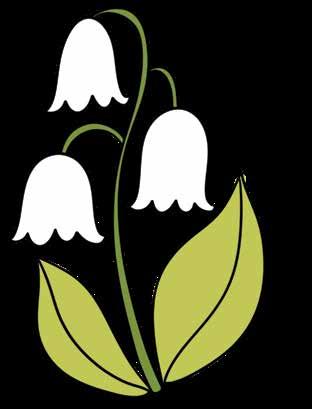
Add a large leaf on either side of the stem, then color it all in with two shades of green.

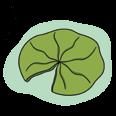
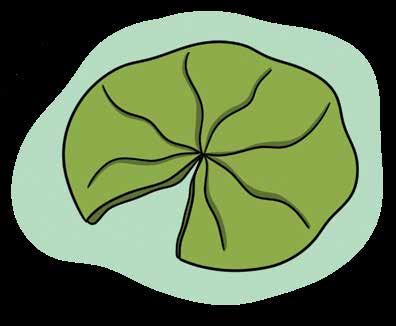
Start with a rough semicircle.

Draw another rough line right next to each edge of the triangle shape.

Connect the ends of the semicircle by drawing a triangle shape.
Add line details to the lily pad, then color it in with green. Add a light-blue background surrounding it.

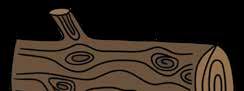
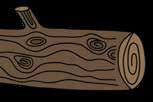
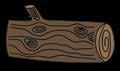
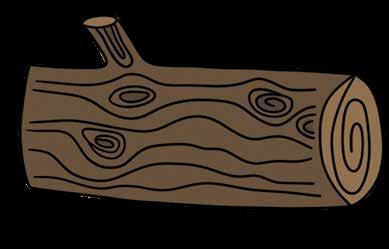
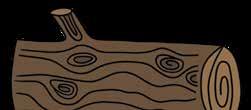
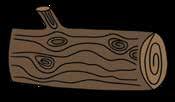
Draw an oval on the right side of the log and an oval on top of the log’s branch. Connect the left side of the log.
Start with the bottom and top of the log.


Add spirals and curvy lines to the log, then color it in with three shades of brown.
Draw a spiral in the oval on the right side of the log.

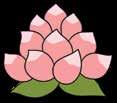
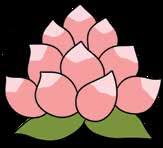
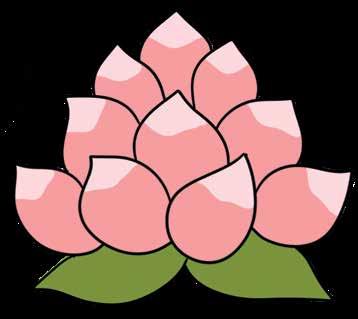
Start with two teardrop shapes for lotus petals.

Draw two more lotus petals.

Draw three lotus petals above the first four.

Draw three more petals to finish the flower.
Add two leaves beneath the flower, then color it all in with green and two shades of pink.

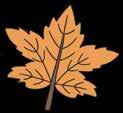
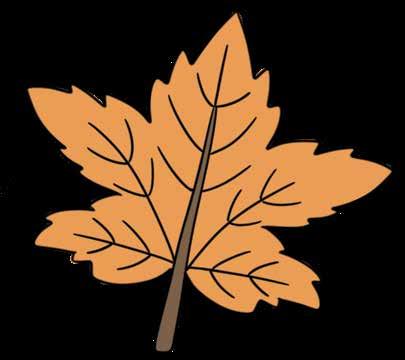
Start with the left side of the leaf.


Add a stem down the center of the leaf.
Draw the right side of the leaf. The leaf should have five main points.
Try to find a maple leaf in a big pile of autumn leaves!
Add veins to the leaf, then color it in with orange and brown.

Start with the top of a heart shape.
Continue drawing curved lines to finish the monstera leaf.
Wild monstera plants produce delicious, tropical fruit!

Draw a line with curves down each side of the half-heart shape.

Add veins, then color in the monstera leaf with two shades of green.

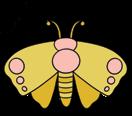
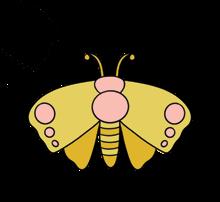
Start with the moth’s left wings.

Draw the moth’s right wings, leaving space for the body.

Draw three segments for the moth’s body.
LET’S LAUGH!
Why don’t moths ever bother to make plans?
They always know how to wing it!
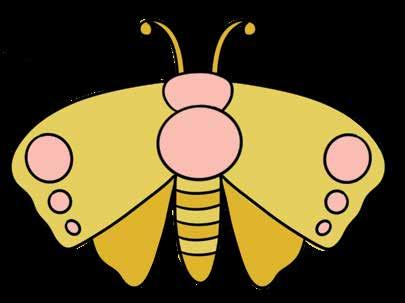
Add two antennae, spots, and stripes. Then color in the moth with pink and two shades of yellow.

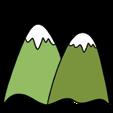
Start with a curved line for the first slope.

Draw another curved line to the left of the first one.
Connect the mountain slopes at the bottom with a squiggly line.
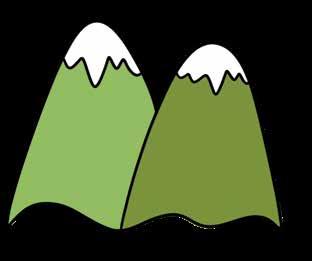
Add squiggly lines at the mountaintops for snow, then color in the mountains with two shades of green.
Try going on a hike and paying attention to all the nature while you walk. What do you find?
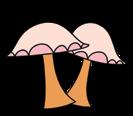
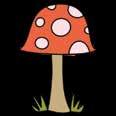
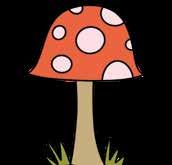
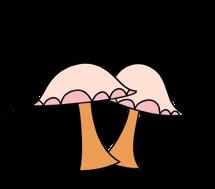
Start with a curved line for the top of the mushroom cap.

Draw another curved line for the top of the second cap.

Draw the left mushroom’s stem.

Draw the bottom of the cap.

Draw the bottom of the second cap.
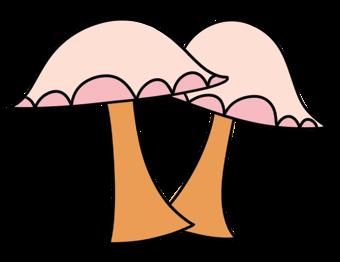
Draw the right mushroom’s stem and add details to the caps. Color it all in with orange and two shades of pink.
Mushrooms are actually the largest living thing on Earth because they create massive, connected networks underground!
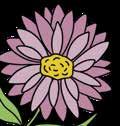
Start with the center of the flower.

Draw the first flower petal.

Draw four more petals to complete the full flower.

Draw another petal behind the flower’s center.
Add detail lines on all the petals.
Add a stem and two leaves, then color in the flower with dark yellow, orange, and green.

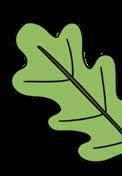
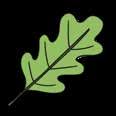
Start with a squiggly line for the left side of the oak leaf.

Add a small stem.

Draw the right side of the leaf.
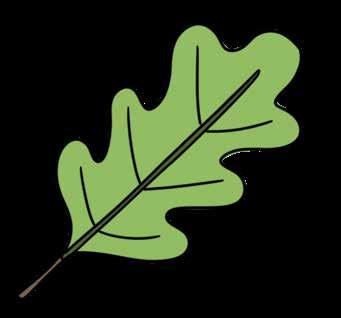
Extend the stem into the leaf and add veins. Then color in the leaf with brown and green.

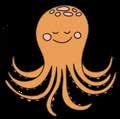
Start with a long, curved line and two tentacles.

Drawn one more tentacle on each side, then add half circles to the tentacles to represent suction cups.

Draw four more tentacles.
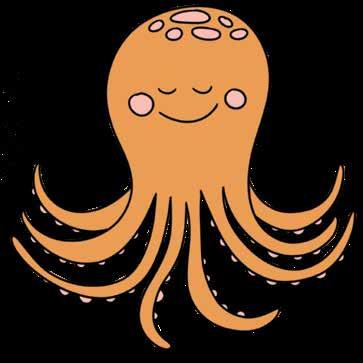
Add a face and spots on the head. Then color in the octopus with orange and light pink.

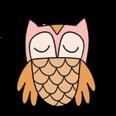
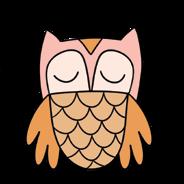
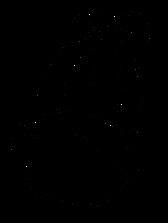
Start with a closed half oval for the body of the owl.

Draw the owl’s head, including ears and two half-oval shapes for its eye area.

Draw a wing on each side of the owl’s body.
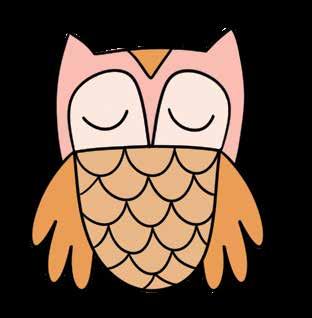
Add details on the owl’s belly and head, then color it in with light pink and two shades of orange.
What does an owl with an attitude have?
A scowl!

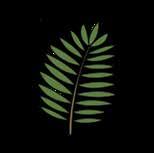
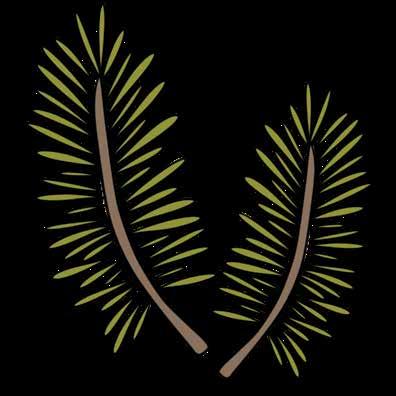
Start with three small leaves.
Draw lots of long, thin leaves along the left side of the stem.
Coconuts aren’t the only food to come from palm trees—dates and acai berries do too!

Draw a long stem from the base of the three leaves.
Draw the same amount of long, thin leaves along the right side of the stem, then color it all in with green and brown.

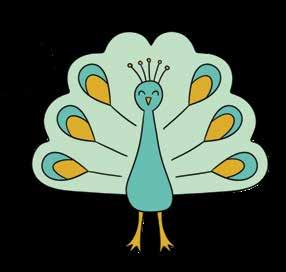
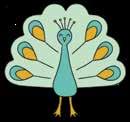
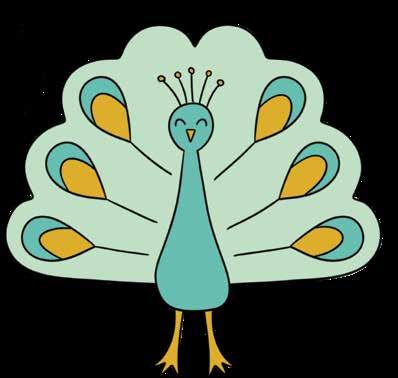
Start by drawing the body of the peacock, like a long keyhole.

Add feathers on top of the peacock’s head, a face, and two legs.
Draw the outline of the feathers behind the body.
Add details to the feather outline, then color in the peacock with dark yellow and two shades of blue green.

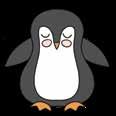
Start with the penguin’s body.


Draw an outline for the face and belly.
Draw wings and feet.

Add a face, then color in the penguin with black, orange, and light pink.

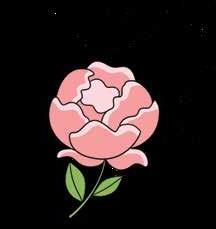
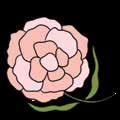
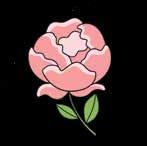
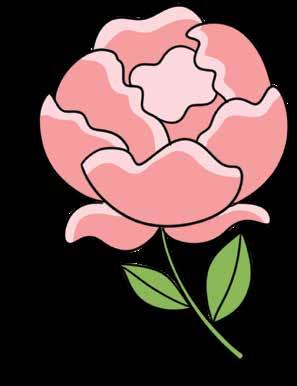
Start with the first peony petal.

Draw two more petals.
Add two open petals beneath the main flower.

Draw another petal on each side of the first one.

Draw the top and center petals.
Add a stem and leaves, then color in the peony with green and two shades of pink.
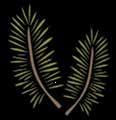
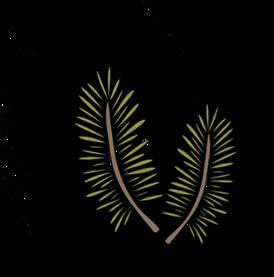
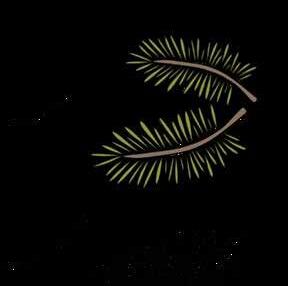
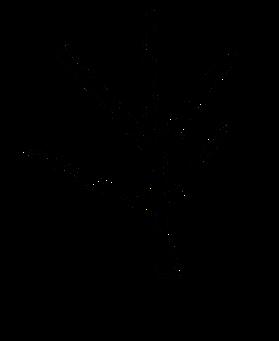
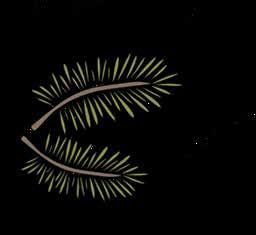
Start with three pine needles and a long stem beneath them.
Draw more pine needles along each side of the stem.
Continue drawing more pine needles until the branch is almost full.
Repeat steps 1–3 to create another pine branch, then color them both in with green and brown.
TRY IT!
Add wintry red berries to your pine branches!

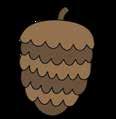
Start with the top layer of the pine cone.

Keep drawing more narrow pine cone layers, then finish it off with one smooth, rounded layer at the bottom.

Draw another pine cone layer beneath the first one.
LET’S LAUGH!
How do trees like their ice cream? In a pine-cone!
Add a small, thick stem on top, then color in the pine cone with two shades of brown.

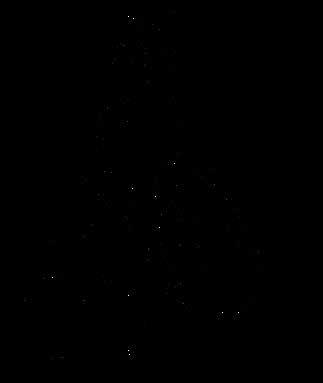
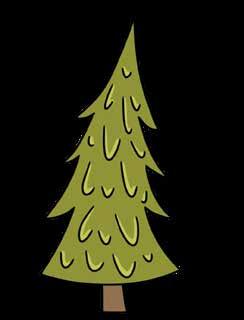
Start with an open triangle shape.


Draw zigzags down both sides of the open triangle shape to represent tree branches.

Keep drawing tree branches down the sides, then draw a curved line to connect the sides at the bottom.
Add a trunk and texture details on the tree, then color it in with brown and two shades of green.
Depending on the species, pine tree needles can range from 1 inch to 11 inches long!

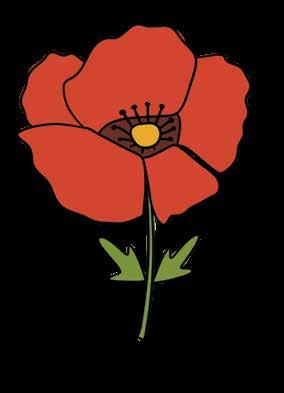
Start with the first poppy petal.
Draw a smaller petal next to the first one.

Draw two more petals to round out the flower.


Draw a larger petal above the first two, as shown.
Why do poppies make bad comedians? Their jokes are too seedy!
Add a stem with a leaf on each side.
Add details to the center of the flower, then color it in using yellow, green, and two shades of red.

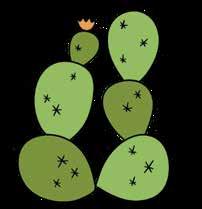
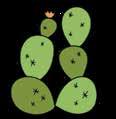
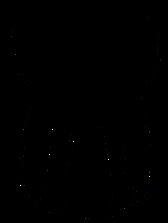
Start with two rough circles for the bottom of the cactus.
Prickly pear cacti are edible!

Add another set of rough circles above the first two.
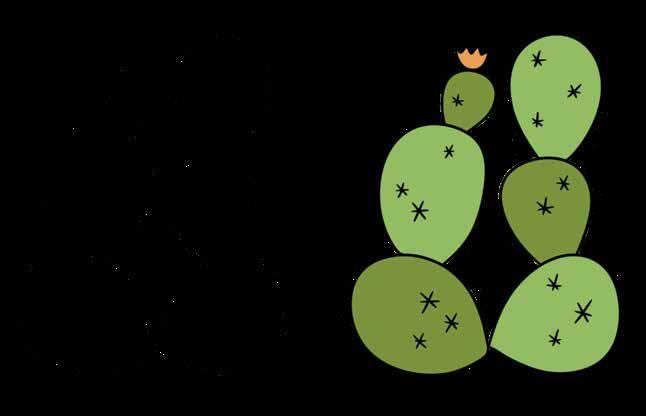
Draw one more small circle on top of the left half and one more large circle on top of the right half.
Add spikes to the cactus, then color it in with two shades of green. Draw an orange flower on top of the left half.
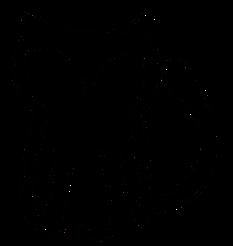
Start with the head and body of the raccoon.


Draw hind legs, ears, and a big tail.
Draw the raccoon’s front legs.


Add stripes on the tail, accents on the ears, and a face. Color in the raccoon with three shades of gray.

Start with a scalloped line for the top of the cloud.

Connect the ends of the cloud with a straight line.

Draw raindrops of different sizes beneath the cloud.

Add accents on the cloud, then color it all in with three shades of blue green.
Rain occurs on other planets in the solar system but very differently from how it occurs here on earth.

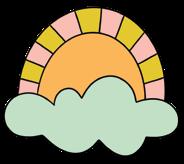
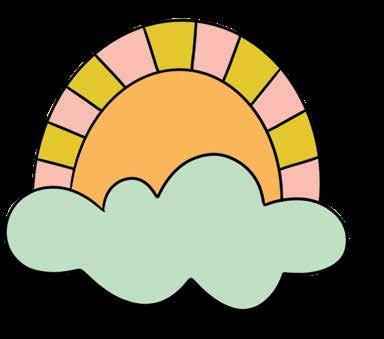
Start by drawing one small cloud.
When you see a rainbow, count all the colors you see and try to find where it ends!
Draw another similar cloud to the right of the first one.
Draw a little arch from the left cloud to the right cloud.
Draw six more arches above the first one, then color it all in with rainbow colors and blue green.
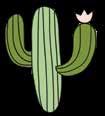
Start by drawing the right arm of the cactus.

Saguaro cacti can live for 100–200 years.

Draw the main body of the cactus.
Draw another arm on the left side, then add vertical detail lines to the whole cactus.
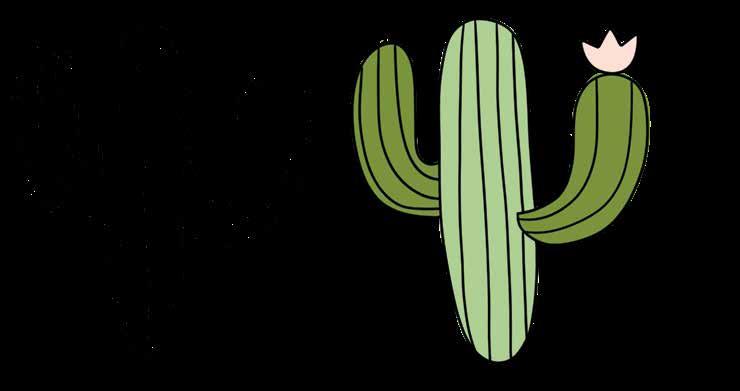
Add a flower on top of the right arm, then color in the cactus with two shades of green, plus light pink for the flower.
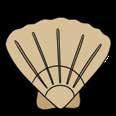
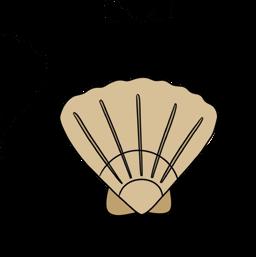
Start with a rough triangle for the main part of the seashell.

Draw two arches toward the bottom of the main shell.


Draw two curved lines on each side of the main shell.
Add accents on the shell, then color it in with two shades of tan.
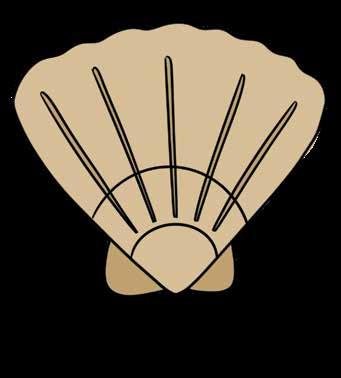
TRY IT!
Try gathering pretty seashells and build a whole collection!

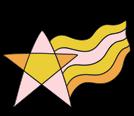
Start by drawing the outside of an “A” shape, with no crossbar.


Draw a diagonal line upward out of each bottom point
Why does a shooting star taste better than a comet? It’s a little meteor.
Draw a horizontal line to connect these diagonal lines.
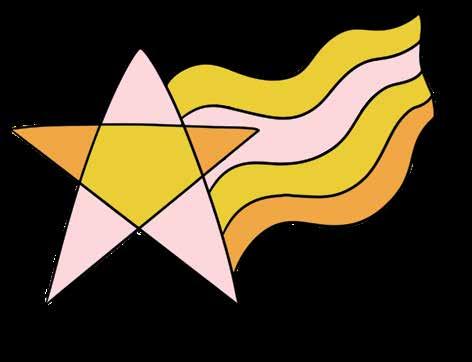
Add five closed-off squiggly lines coming from the right side of the star, then color it all in with pink, orange, and yellow.

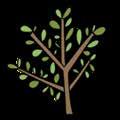
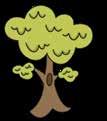
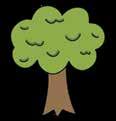
Start with a squiggly line for the top of the tree.

Draw two curved lines downward for the trunk.

Continue the squiggly line until you have one entire closed squiggly oval.
Add leafy details to the top of the tree and a jagged line at the bottom of the trunk, then color it in with brown and two shades of green.
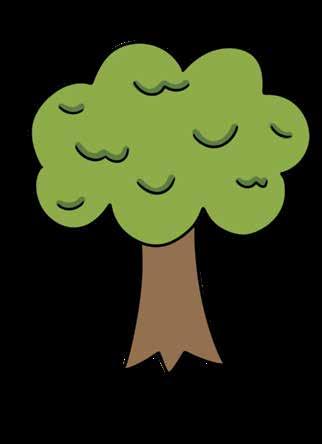
Trees turn carbon dioxide into oxygen, which is something we humans need to breathe!

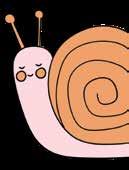
Start with a circle that is slightly flat at the bottom.

Draw a spiral in the snail’s shell.

Draw the body of the snail.
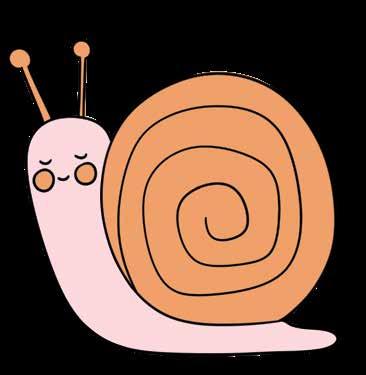
Add antennae and a face, then color in the snail with pink and orange.

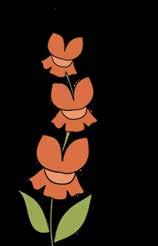
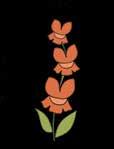
Start with a two-lobed shape for the top flower.
Repeat steps 1–2 to create two more flowers below the first.
Snapdragons are named after their resemblance to a dragon’s mouth when the flower is squeezed!

Add two more layers to the top flower to complete it.
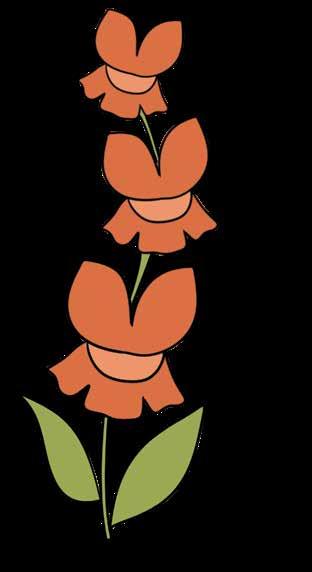
Add a stem and two leaves below the bottom flower and continue the stem up between each flower. Color it all in with green and two shades of orange.

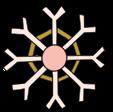
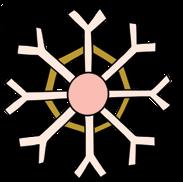
Start with a circle, then draw a “Y” shape coming out of the top of it.


Draw three more “Y” shapes coming out of the bottom of the circle.
LET’S LAUGH!
What kind of ball doesn’t bounce? A snowball!
Draw four more “Y” shapes coming out of the circle.
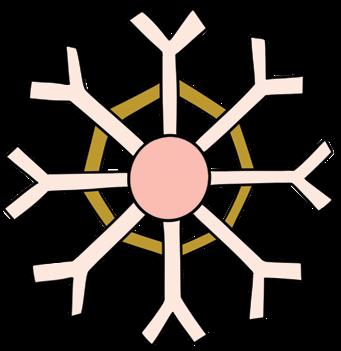
Draw two lines between each “Y” shape, then color in the snowflake with dark yellow and two shades of pink.


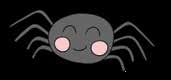
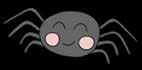
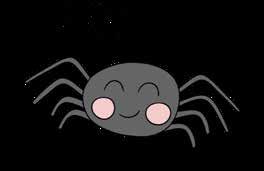
Start with an oval for the spider’s body.
Draw the spider’s back two legs.
Draw two more legs on each side of the spider.
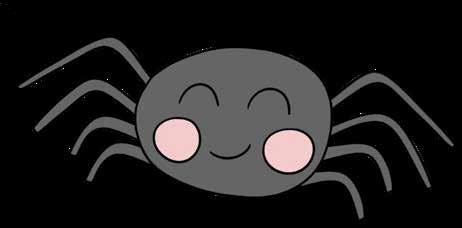
Add two more legs and a face, then color in the spider with black and light pink.
DID YOU KNOW?
Spiders can have up to eight eyes!

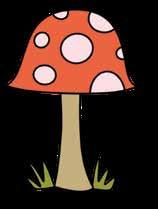
Start with a curved line for the mushroom cap.


Connect the ends of the mushroom cap with a slightly curved line.
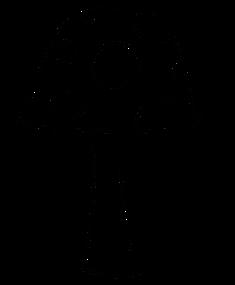
Draw the right side of the stem. Draw spots on the mushroom cap.
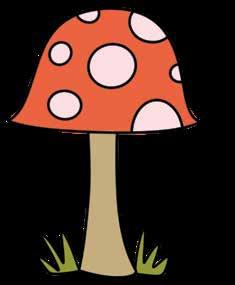
Add a little patch of grass on each side of the stem, then color it all in with red, light pink, tan, and green.

Draw the left side of the stem.
Why won’t mushrooms ever buy chairs? Because they prefer toadstools!

Start by drawing one leaf attached to a stem.

Draw another leaf on the stem.
Draw a second stem between the two leaves, then draw another leaf on top.

Add a patch of dirt at the bottom of the sprout and a vein to each leaf, then color it all in with green and brown.

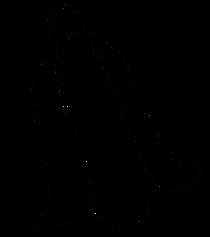
Start by drawing the body of the squirrel.

Add a tail with an accent, accents on the ears, and a face.

Draw accents on the squirrel’s head and belly, then add two ears.
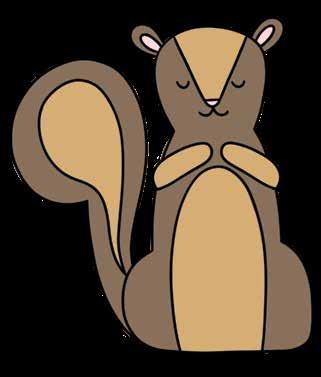
Add arms, then color in the squirrel with light pink and two shades of brown.

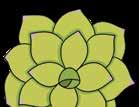
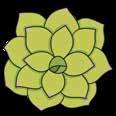
Start by drawing the center of the succulent.

Draw four more leaves.

Draw four leaves around the center.
TRY IT!
Succulents are generally very easy to take care of—see if you can get one of your own.
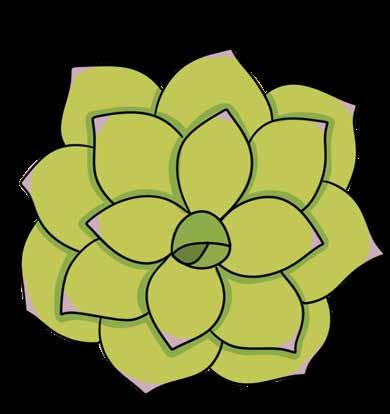
Draw eight more leaves around the outer edges, then color in the succulent with three shades of green and a bit of pink at the tip of each leaf.

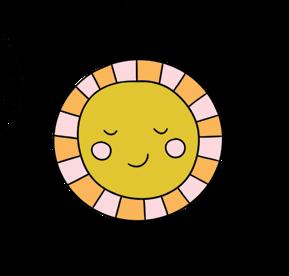
Start by drawing a circle.


Draw another circle around the first one.
Draw accent lines between the two circles.
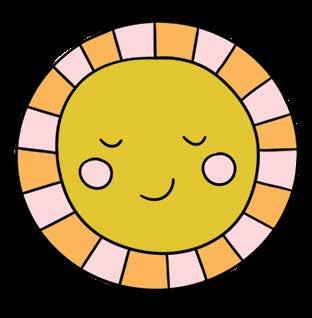
Add a face, then color in the sun with dark yellow, pink, and orange.

Start by drawing a circle to represent the center of the sunflower.
Draw the first flower petal.

Draw one new petal between and behind each of the petals in the first round.
What do you call a sunflower with a funny bone? A pun-flower!

Draw about thirteen more petals around the center.
Add a stem and leaves with veins, then color in the sunflower with brown, green, and two shades of yellow.

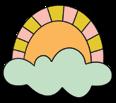
Start by drawing a puffy cloud.

Draw another arch inside the first one.

Draw an arch over the cloud.
TRY IT!
Get outside and soak up some sunshine today. Don’t forget to apply sunscreen!
Draw lines between the two arches, then color it all in with orange, pink, dark yellow, and blue green.

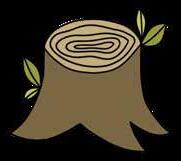
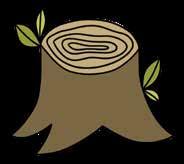
Start with two curved lines for the sides of the trunk.

Make a full oval out of the top curved line.
Draw squiggly circles inside one another on top of the stump.
Connect the two lines with a curved line at the top.

Draw a spiky bottom of the stump.
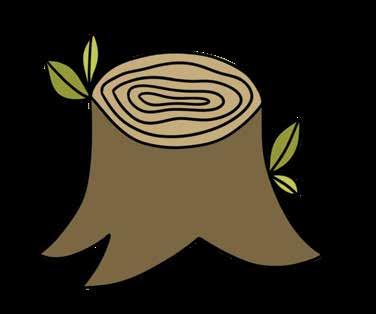
Add two leaves with veins on each side of the stump, then color it all in with two shades of green and two shades of brown.

Start by drawing the first tulip petal.

Draw another tulip petal to the left of the first one.

Add a large leaf on each side of the stem, then color in the tulip with orange and green.
Draw one more petal to the right side of the first one, then add a stem.
How can a flower whistle? By using its tu-lips!

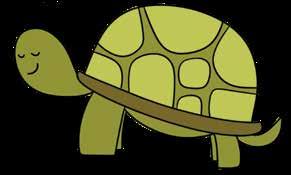
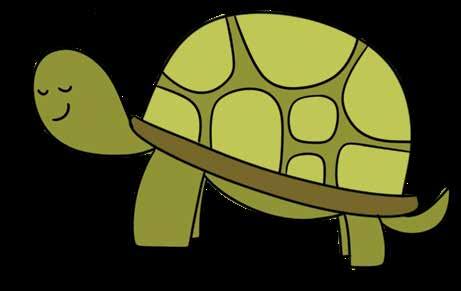
Start with a rounded line for the turtle’s shell.

Draw the bottom of the shell.

Draw the turtle’s head, two legs, and tail.
TRY IT!
Turtles are sometimes easy to miss when they’re in or beside a mossy pond—keep your eyes peeled.
Add a small belly, two more legs, a face, and spots on the shell. Color in the turtle with three shades of green.

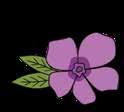
Start with the center of the violet.

Draw the first petal.

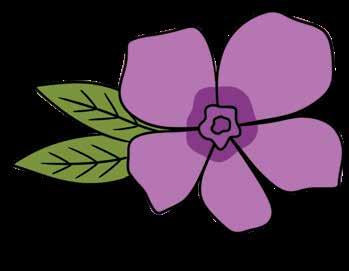
Draw four more petals around the center.
Add two leaves with veins, then color in the violet with green and two shades of purple.
Violets can grow anywhere from 2 inches to 20 inches tall!!

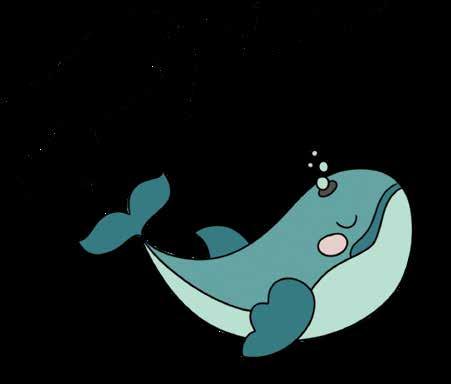
Draw fins and a tail.
Start by drawing a curved teardrop shape for the whale’s body.


Draw a blowhole, a curved line through the center of the whale’s body, and another short line above it for the mouth.
Add an eye, a check, and bubbles coming out of the blowhole, then color in the whale with light pink, gray, and three shades of blue.


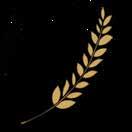
Start with a long, thin stem.

Draw two leaves toward the bottom of the stem.
Continue adding leaves on each side of the stem until you reach the top.
LET’S LAUGH!
Where do grains of wheat sleep? In a bread-room!
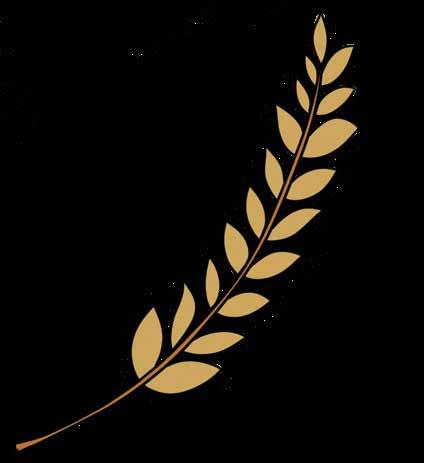
Add a few wispy lines between each leaf, then color in the wheat with brown and tan.

Start by drawing a small leaf.

Draw a long, curvy stem leading out from the bottom of the leaf.

Draw leaves along the left side of the stem.
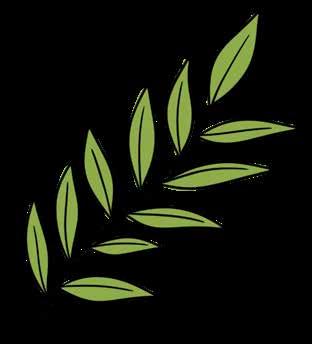
Draw leaves along the right side of the stem and add veins to each leaf. Color it in with green.
When you’re outside or on a hike, look for willow trees, which often grow next to water.

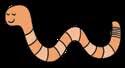
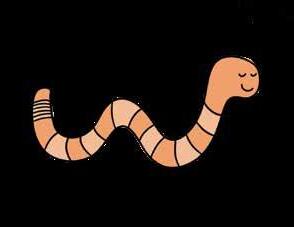
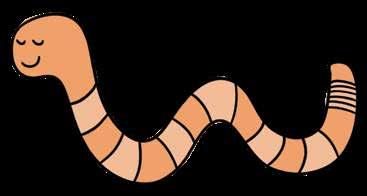
Start with a squiggly line for the top of the worm.
Draw another line following the curves of the first one, making sure the lines connect on each end to create the worm’s body.

Add stripes to the worm’s body.

Worms don’t have eyes, but they can still sense light.
Add stripes at the tail end of the worm, then a face at the head end. Color it in with two shades of orange.

Mandy Ford is a licensed illustrator, lettering artist, graphic designer, and teacher who is passionate about using her creative gifts to make others feel seen, cared for, and loved. She is the founder of the Soul Care Creatives Club and the author of Field Guide to the Soul. In addition, Mandy has partnered with Spirituality & Health magazine, Mohawk Rugs, Paper House Productions, Inked Brands, Legacy Publishing, and Big Picture Classes. She resides in the Indianapolis, Indiana, region, where she runs on hope and coffee (sometimes in reverse order). To learn more, visit www.mandyford.co and @mandyfordart on Instagram.

Now that you’ve completed the designs in this book, get out there and make the world a kinder place with your unique creativity!


Business is personal at Better Day Books. We were founded on the belief that all people are creative and that making things by hand is inherently good for us. It’s important to us that you know how much we appreciate your support. The book you are holding in your hands was crafted with the artistic passion of the author and brought to life by a team of wildly enthusiastic creatives who believed it could inspire you. If it did, please drop us a line and let us know about it. Connect with us on Instagram, post a photo of your art, and let us know what other creative pursuits you are interested in learning about. It all matters to us. You’re kind of a big deal.
www.betterdaybooks.com better day books
This charming kids’ activity book invites young artists to discover their creative side with 100 easy-to-follow drawing lessons inspired by animals, plants, and the world around them. Illustrated by licensed artist and author Mandy Ford, whose kind and encouraging style makes kids feel supported every step of the way, this book is designed to spark confidence, creativity, and joy.

• 100 easy step-by-step lessons featuring animals, plants, flowers, butterflies, and more
• Clear and encouraging instructions to help kids feel confident and proud of their progress
• Positive messages about creativity, kindness, and the beauty of nature
• Premium format with full-color illustrations and thick paper

From animals and flowers to butterflies and beyond, each adorable design helps kids grow their drawing skills while boosting their confidence and inspiring a love of nature.