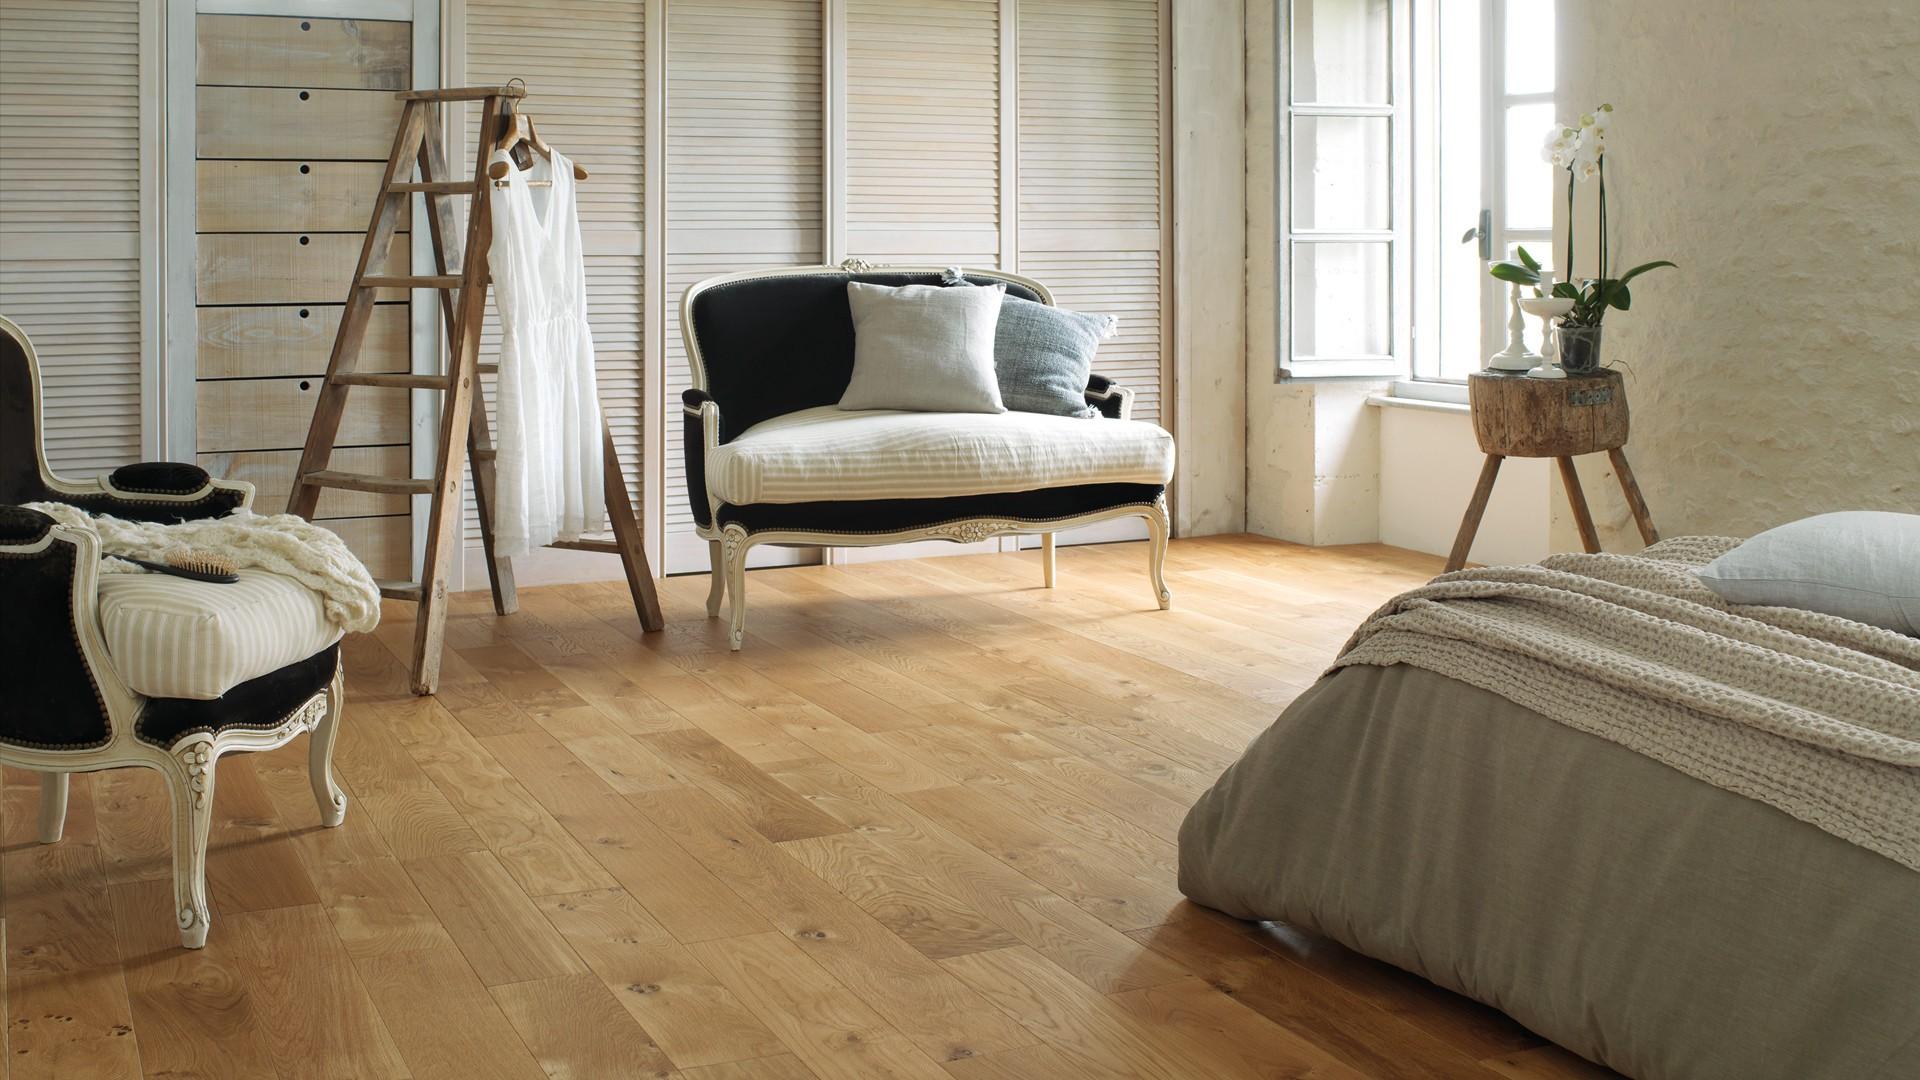
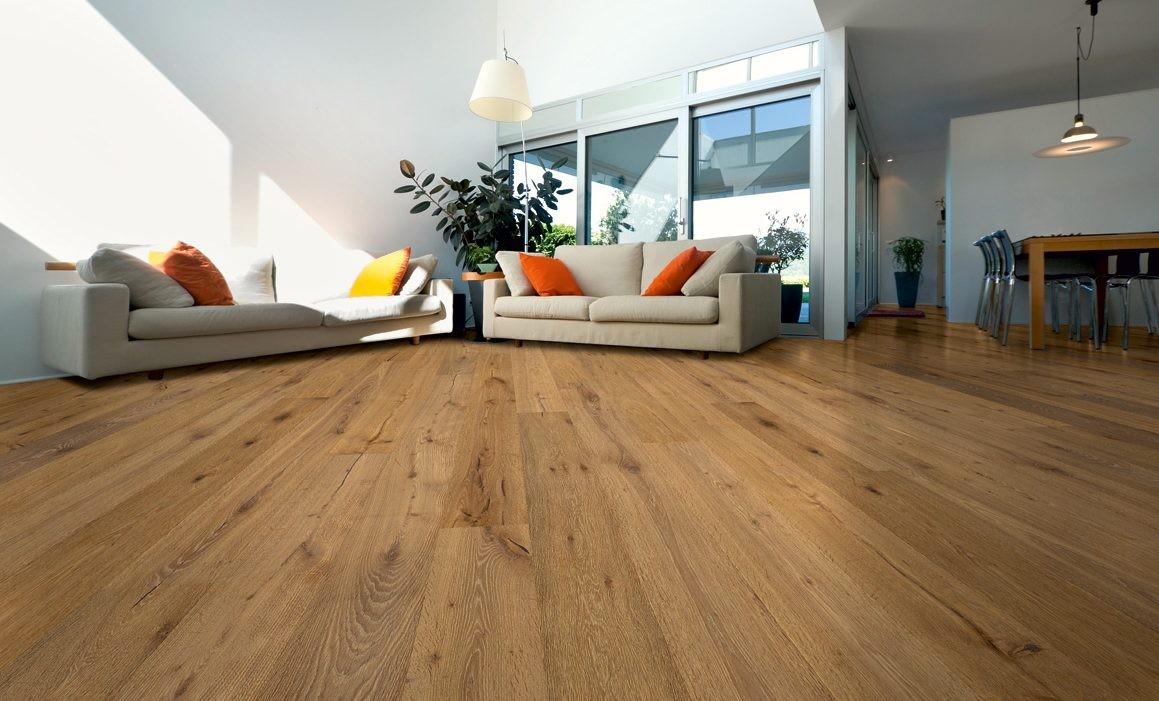
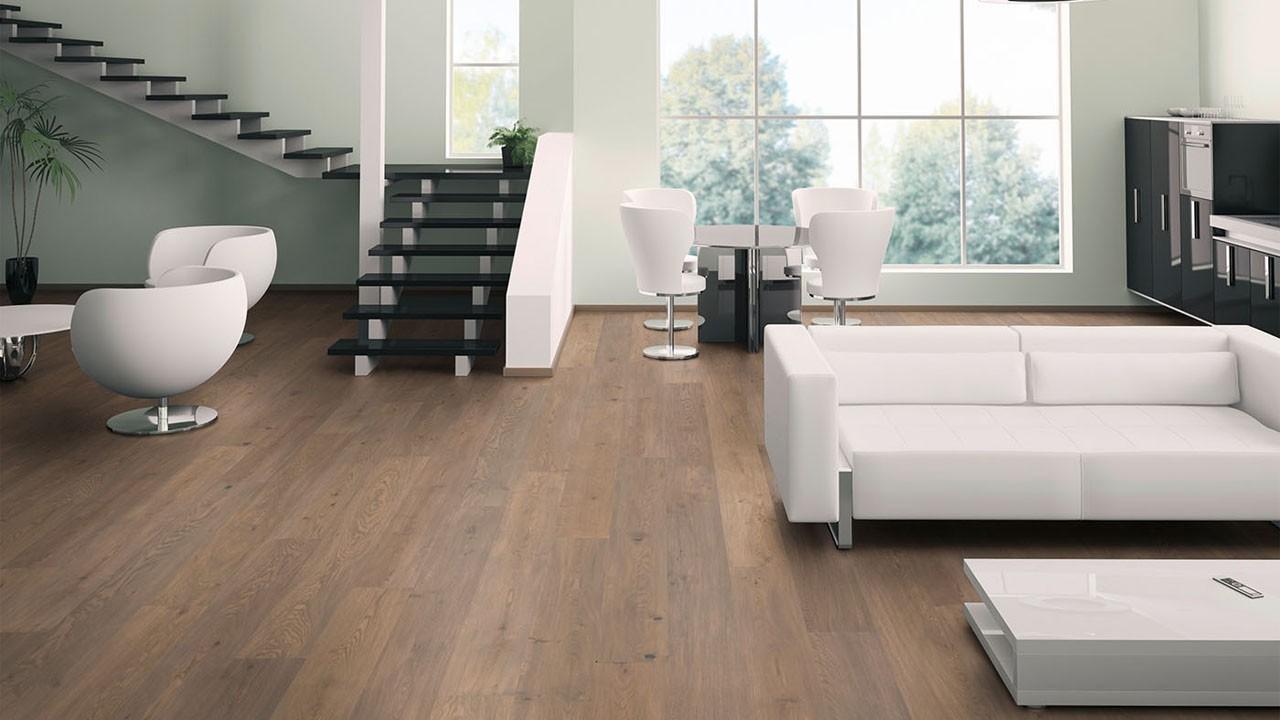
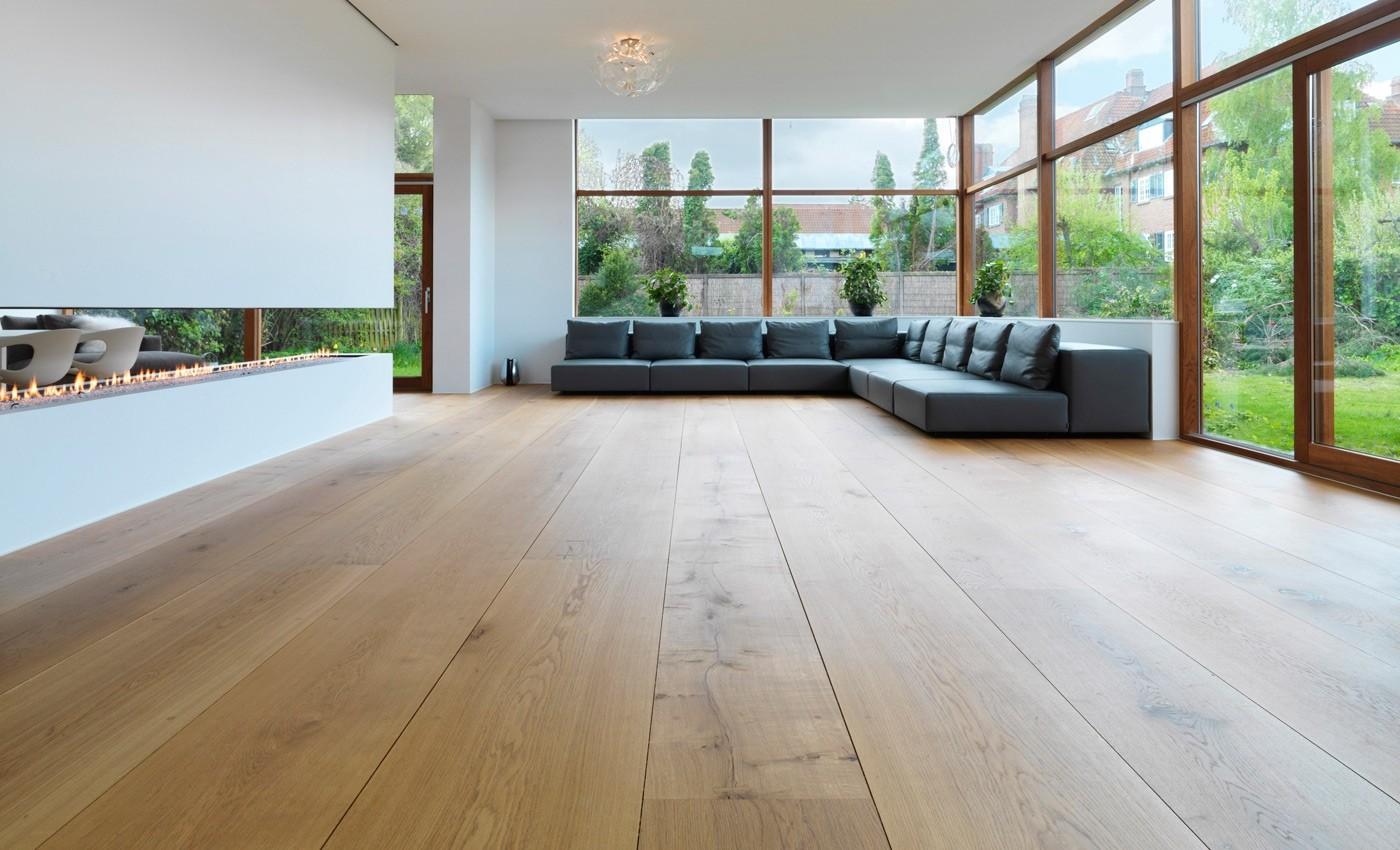
5 Things to Remember About Wooden Floor Repair
Assess the Damage
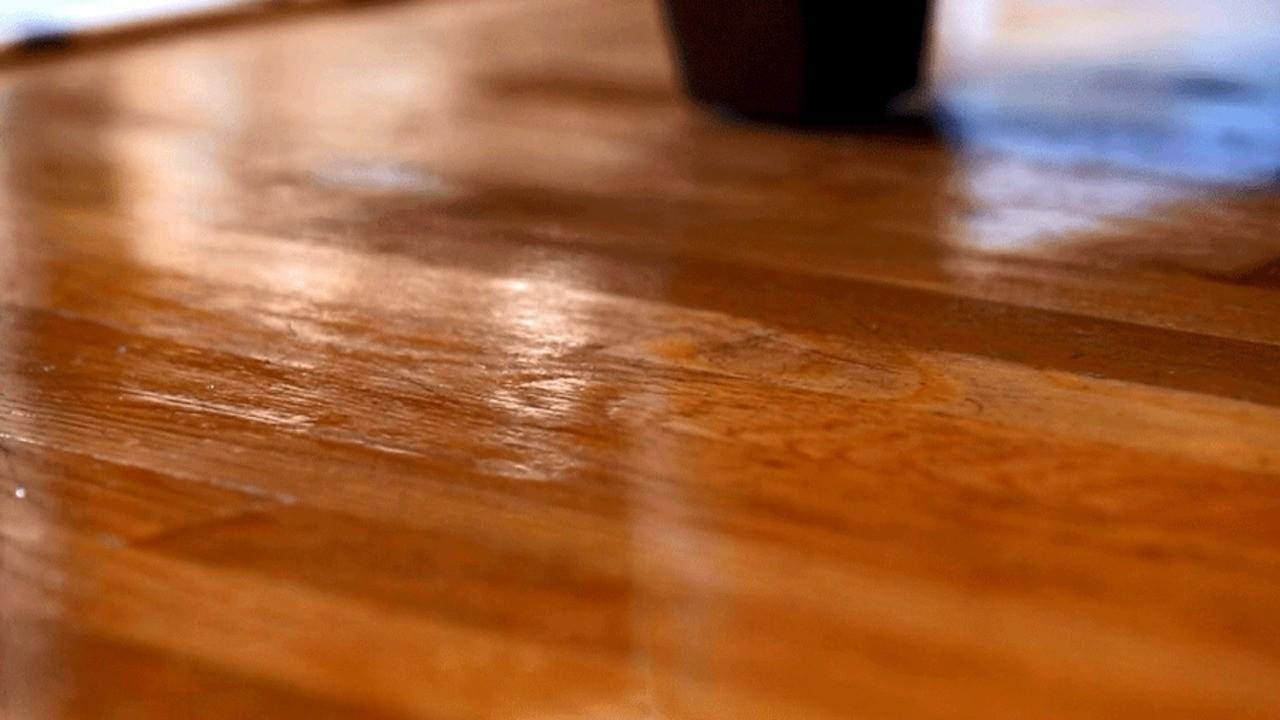
Assess the extent of damage to start the process. Check for signs of damage, such as loose boards, warping, cracks, and scratches. Identify the areas that need repair and determine the causes of the damage, such as structural issues or water leaks.
Gather the Tools and Materials
Once done, gather everything you need for the task. These will likely include a pry bar, putty knife, sealant, wood stain, wood putty or filler, hammer, and nails. Additionally, get a broom or vacuum to clean the area after completing the task.
Repair Small Damages First
Minor dents and scratches come first during a wooden floor repair. Use a putty knife to apply the putty and let it dry. Then, gently sand the repaired areas to get a smooth finish. It helps blend with the surrounding floor.
Fix Warping or Loose Boards
When performing wooden floor repair, if you discover loose or squeaky boards, find out what caused them. Usually, nailing them solves the problem. Or, using a pry bar to remove and replace the damaged board with a new one helps.

Finishing and Protection
Upon completing the necessary repairs, apply finish to protect the floor. For this, you must sand the surface gently to create a smooth and even finish. Then, apply paint or a wood stain with a sealant or varnish to protect the floor from damage.