
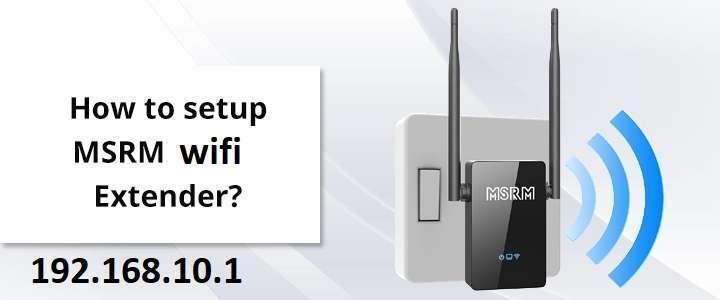
MSRM wifi extender setup
Are you trying to find setup instructions for an MSRM WiFi extender? Do you have any issues with MSRM wifi extender setup? Do you desire complete access to your high-speed internet connection throughout your house or place of business, including in dead spots? Don't panic if you selected "yes" to any of these questions. You've arrived at the proper location. Simple and fundamental setup instructions for an MSRM wifi extender are provided in this post. Let's immediately begin the MSRM wifi extender setup procedure.
MSRM wifi extender setup steps are simple and easy to follow. Verify that there are no dead spots in your house or office before investing in an MSRM WiFi extender, depending on where you plan to install it. Make sure your current WiFi router has a consistent and active internet connection before you can identify dead zones in a specific area. There is no need to install the MSRM WiFi extender if you select a signal-free dead zone because there is no signal there. The following steps should be followed for MSRM wifi extender setup:
● First, use the provided connector to connect your MSRM WiFi range extender to an outlet.
● Now, navigate to the WiFi selection screen using your wireless device.
● Start by launching your preferred web browser and browsing the internet.
● To begin, enter the IP address 192.168.10.1 into the address bar of your web browser.
● Enter your login information in the appropriate fields.
● Pick the Repeater Mode option from the menu.
● Choose the current SSID, or network name, of your current wireless network from the WiFi router where you want to add more users.
● Currently, your MSRM WiFi extender is working as intended.
● Move your extender to a different spot or a dead zone when you want to use your internet connection.
MSRM wifi extender setup by WPS push button
Follow the instructions below to set up an MSRM WiFi extender using the WPS method:
● Once the power LED light is steady, press the WPS button on your extender. The LED light will then begin blinking after that.
● Do the same on the extender shortly after pressing the WPS button on the extender.
● If the WPS button on your device is not active, sign in and go to the wireless settings to enable WPS.
● The WPS lights on the extender and router should then blink for about 12 seconds each.
● Once the WPS configuration is complete, the WPS repeater's light will turn entirely green.
● You should have your extender in the same line as the location where you want to connect to the internet.
Hopefully, you will be able to configure the MSRM WiFi extender successfully by using the methods mentioned above. Please call our experienced support team at our toll-free number if you experience any issues during the MSRM setup process for more information and direction.
MSRM wifi extender modes
The MSRM wifi extender offers these three modes:
● Access point mode: Thanks to the access point mode, all of your Wi-Fi devices that are directly linked to your Internet connection can now join a wired network.
● Repeater Mode: Your current WiFi network's signal strength and speed are boosted when it is in repeater mode. This mode is accessible to users who already have a wireless router set up at their location.
● Router Mode: A safe wireless network is created. It enables multiple devices to share a network. This mode will turn the extender into a router if you have a modem connection but no router.
MSRM wifi extender setup troubleshooting steps
● Make sure your extender is within the router's wireless range.
● Verify that your computer's wireless functionality is turned on.
● Activate a 2.4 GHz wireless network connection.
● Keep your SSID accessible on your wireless router.
● Reset the router and extender's power.
● Examine your extender's indicator lights.
● Consider using a wired connection to connect to your extender.
● Reset your extender to its default settings.
● For more help, speak with wavlink support.