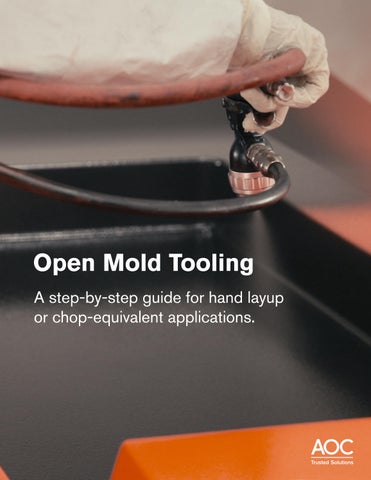
Open Mold Tooling
A step-by-step guide for hand layup or chop-equivalent applications.

A step-by-step guide for hand layup or chop-equivalent applications.
Before beginning the tool building process, it is critical to have a master model that is in good condition to ensure tools will have the surface finish needed to build quality parts.
You will also need the following materials:
Glass reinforcement
Two different colors of gel coat or a gel coat and a barrier coat
Resin formulation Catalyst
In addition, you may need the following consumables:
Brushes and rollers
Skin coat resin formulation (optional)
Balsa wood core or foam core (optional)
Scan the QR code to contact an AOC rep about your specific tooling questions.


MoldTru LPT-68000 and LPT-68000A are pre-promoted thixotropic vinyl ester low profile tooling resins. The high performance mechanical properties of these vinyl ester resins can provide a laminate of quality and integrity with superior surface quality.
Dramatic Build Time Reduction: Up to five layers can be laminated at once.
Lower Labor Cost: Reduce the timing between layers.
No Surface Distortion: The low shrinkage of the product increases the dimensional stability of the laminate.
Master Molds Replication: The low exotherm together with a high HDT provide a correct cure and stability of the laminate. The low shrinkage improves the surface quality.
No Print-through: Low shrinkage and unique low profile system helps to prevent glass print.
A next-generation vinyl ester tooling gelcoat, Vibrin G910 delivers unmatched toughness, gloss, and durability for high-performance molds.
High Gloss Finish: Delivers mirror-like surface quality
Dimensional Stability: Maintains shape and integrity under stress
Porosity Resistant: Smooth, defect-free surface
High HDT: Withstands elevated temperatures
Tough & Resilient: Excellent impact and abrasion resistance
Designed for spray applications behind gelcoat, Vibrin G930 is used to enhance surface quality and structural performance.
Minimizes Glass Print: Enhances surface appearance
Thermal Shock Resistant: Withstands temperature cycling
High Elongation: Improves flexibility and toughness
A fully promoted and thixotropic polyester tooling gelcoat for spray applications.
High Gloss Finish: Delivers mirror-like surface quality
Dimensional Stability: Maintains shape and integrity under stress
High HDT: Withstands elevated temperatures
Tough & Resilient: Excellent abrasion resistance
A thixotropic, pre-promoted, 100% epoxy based vinyl ester formulation.
Proven Durability: Provides maximum resistance to osmotic blistering even when used for only the skin coat
High Elongation: Provides excellent resistance to cracking caused by flexural failure of the laminate
High HDT: Withstands elevated temperatures

We recommend not skipping this step, as it will lay the groundwork for:
Optimal glass ply
Resin wet-out
Surface finish quality
Use a 2’x2’ glass panel or an old mold. The process will take a half day to a full day, but the learnings will be invaluable for the full tool build.
Resin and glass are applied to the test model.
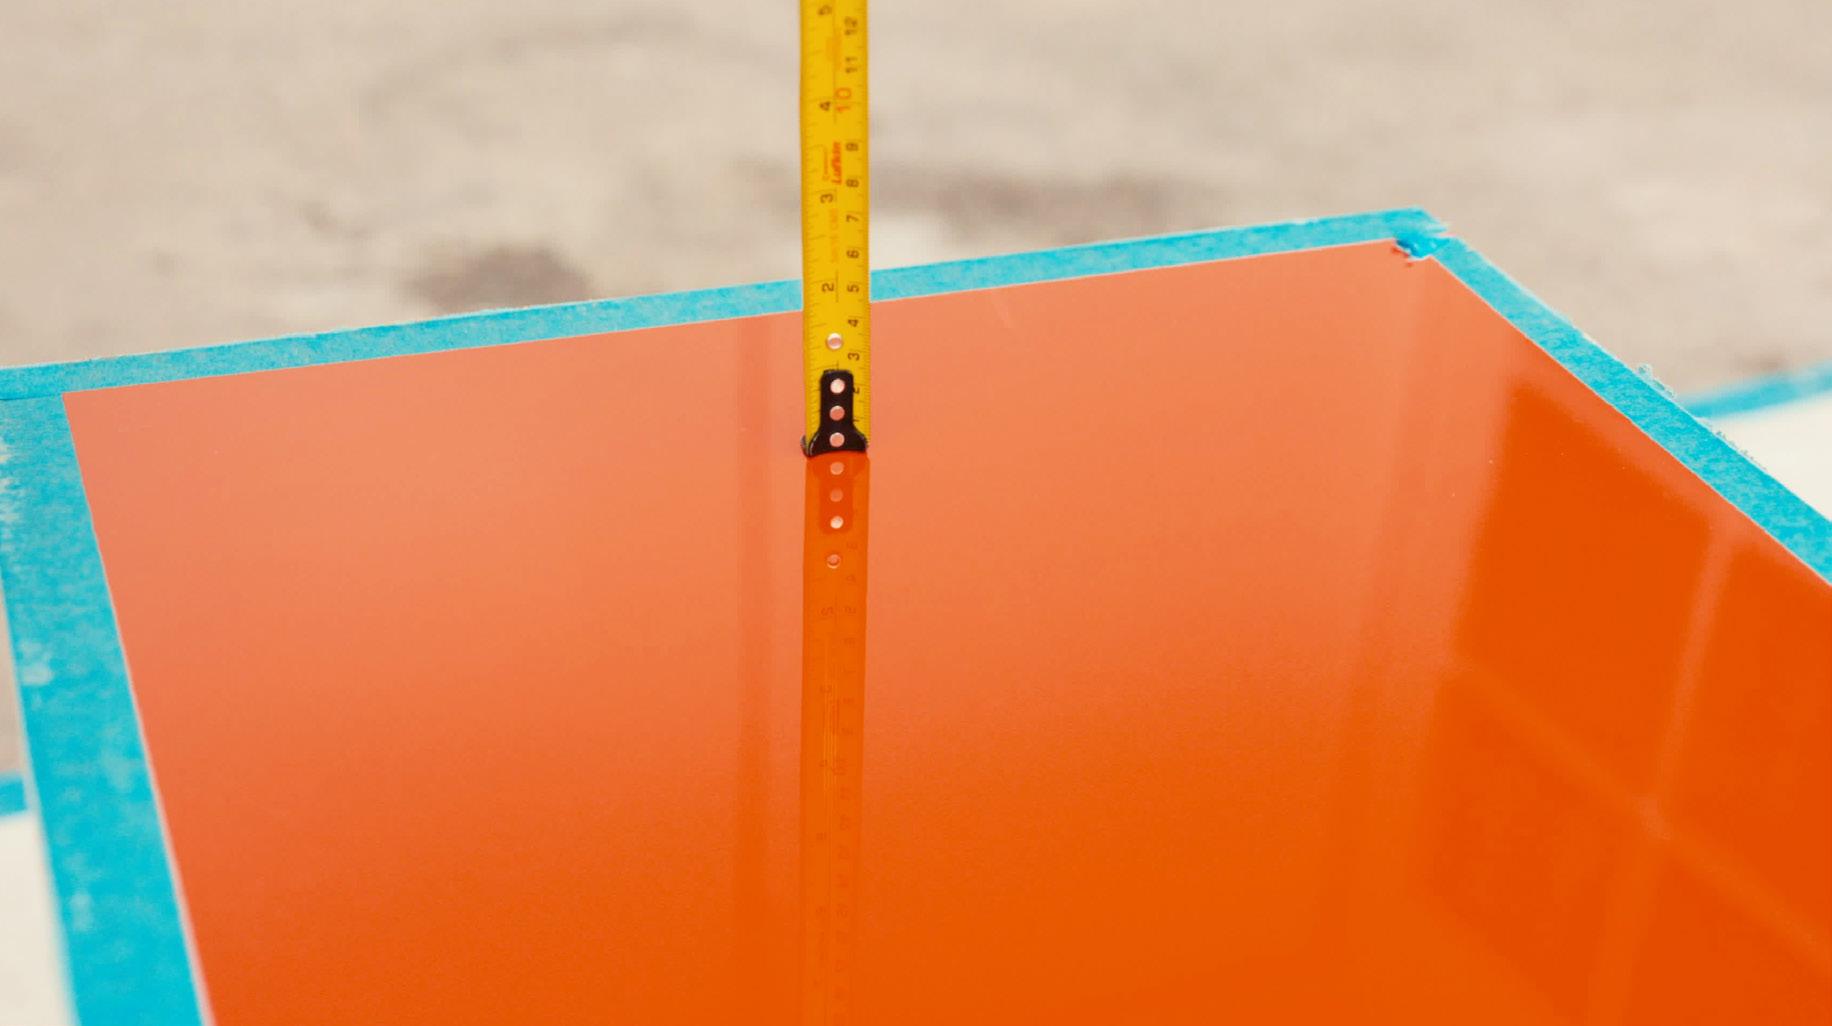
Surface finish is evaluated using a tape measure to confirm reflectiveness.

Start preparing your master model by applying a complete mold release system to ensure the mold releases from the master cleanly after curing.
~10 minutes
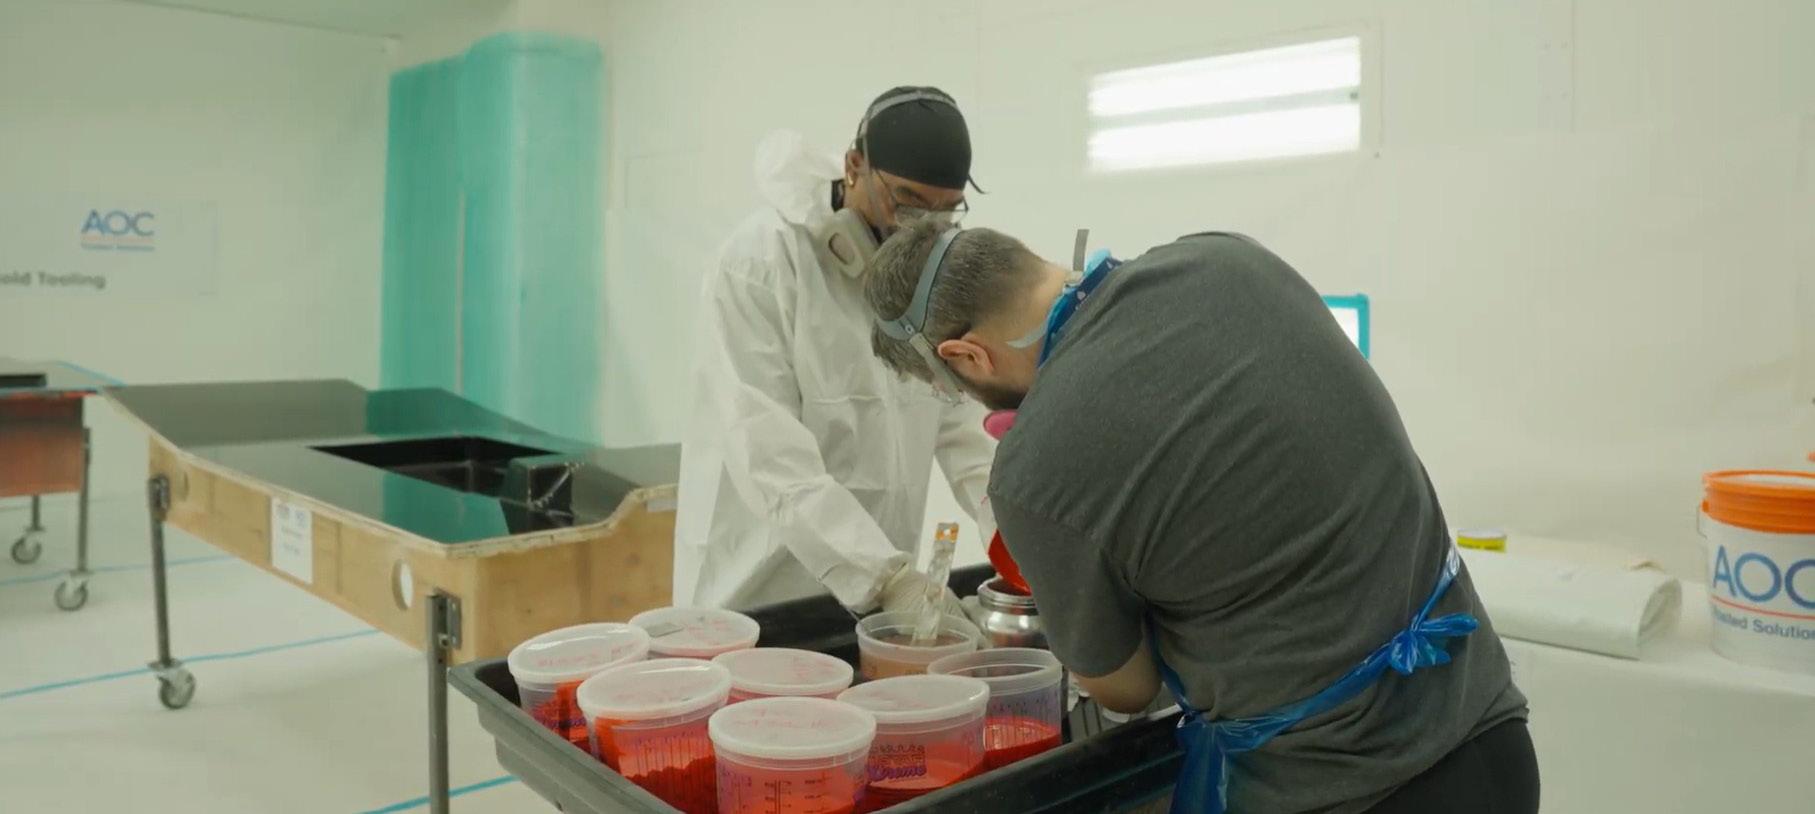
Two workers mix the gel coat and catalyst for the master model in the background.
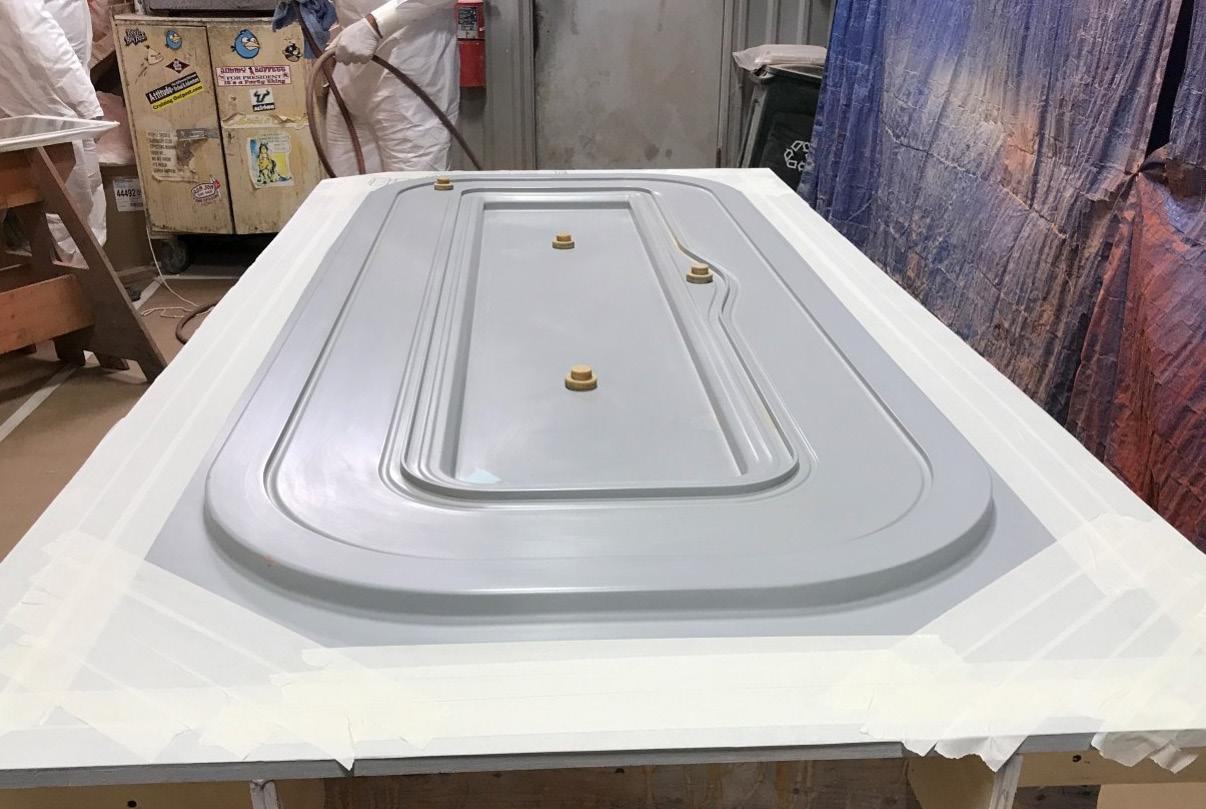
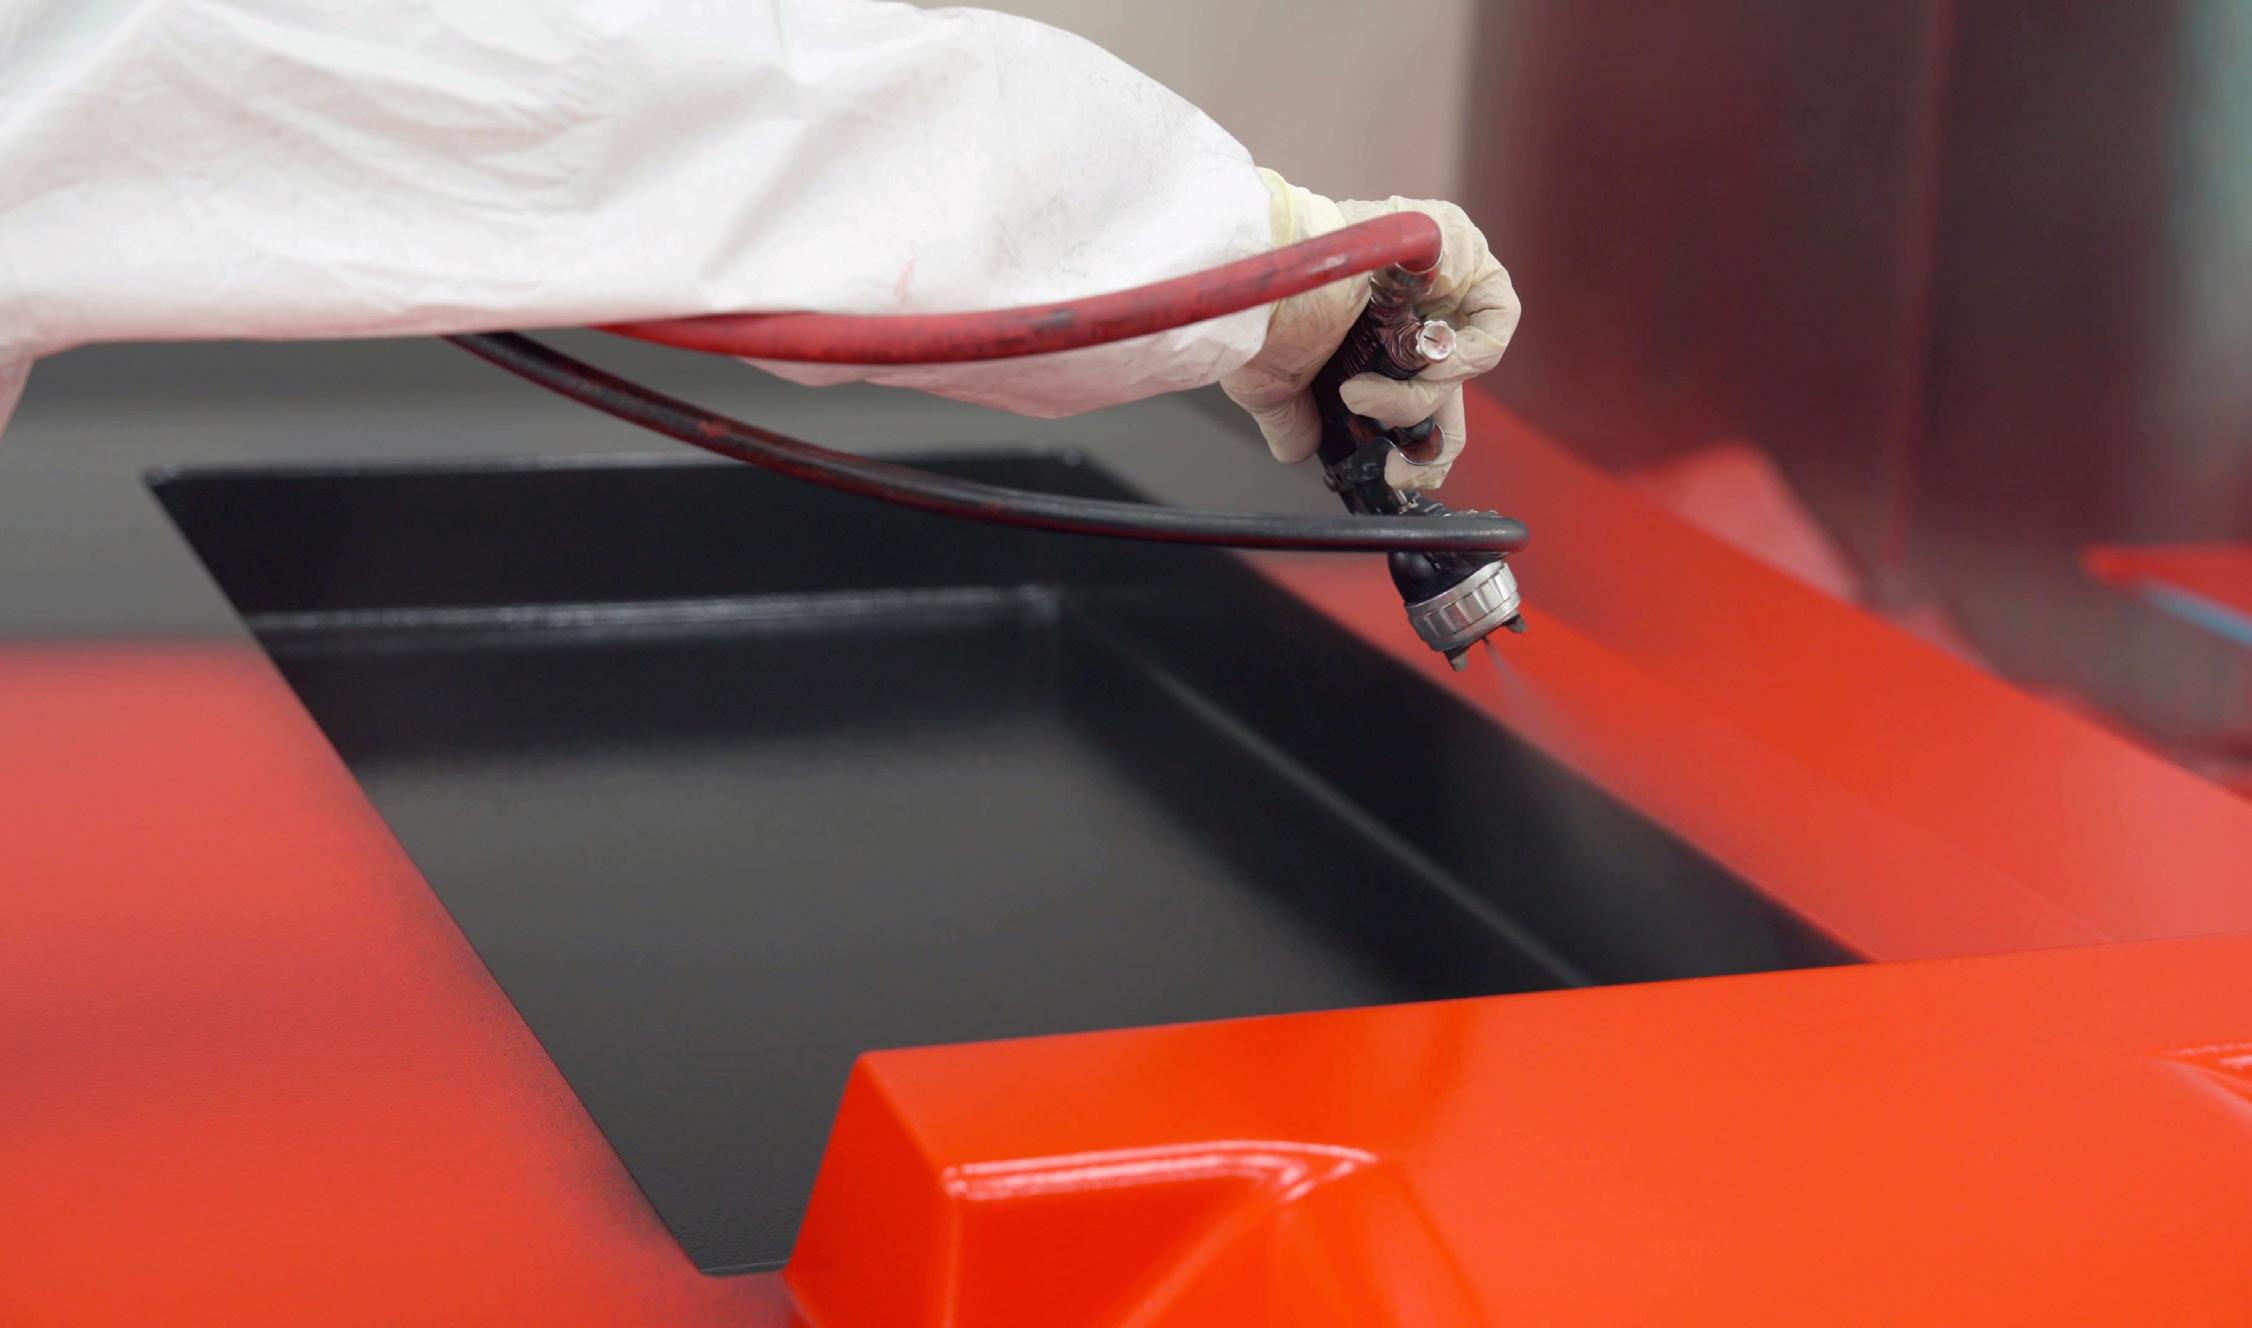
The next step in the process is to apply the gel coat to the master model. The gel coat is applied in two layers.
Remember to mask 2” around the perimeter before applying the gel coat, for the tack tape location.
Start by preparing the gel coat. Mix it with the catalyst according to the product specifications.
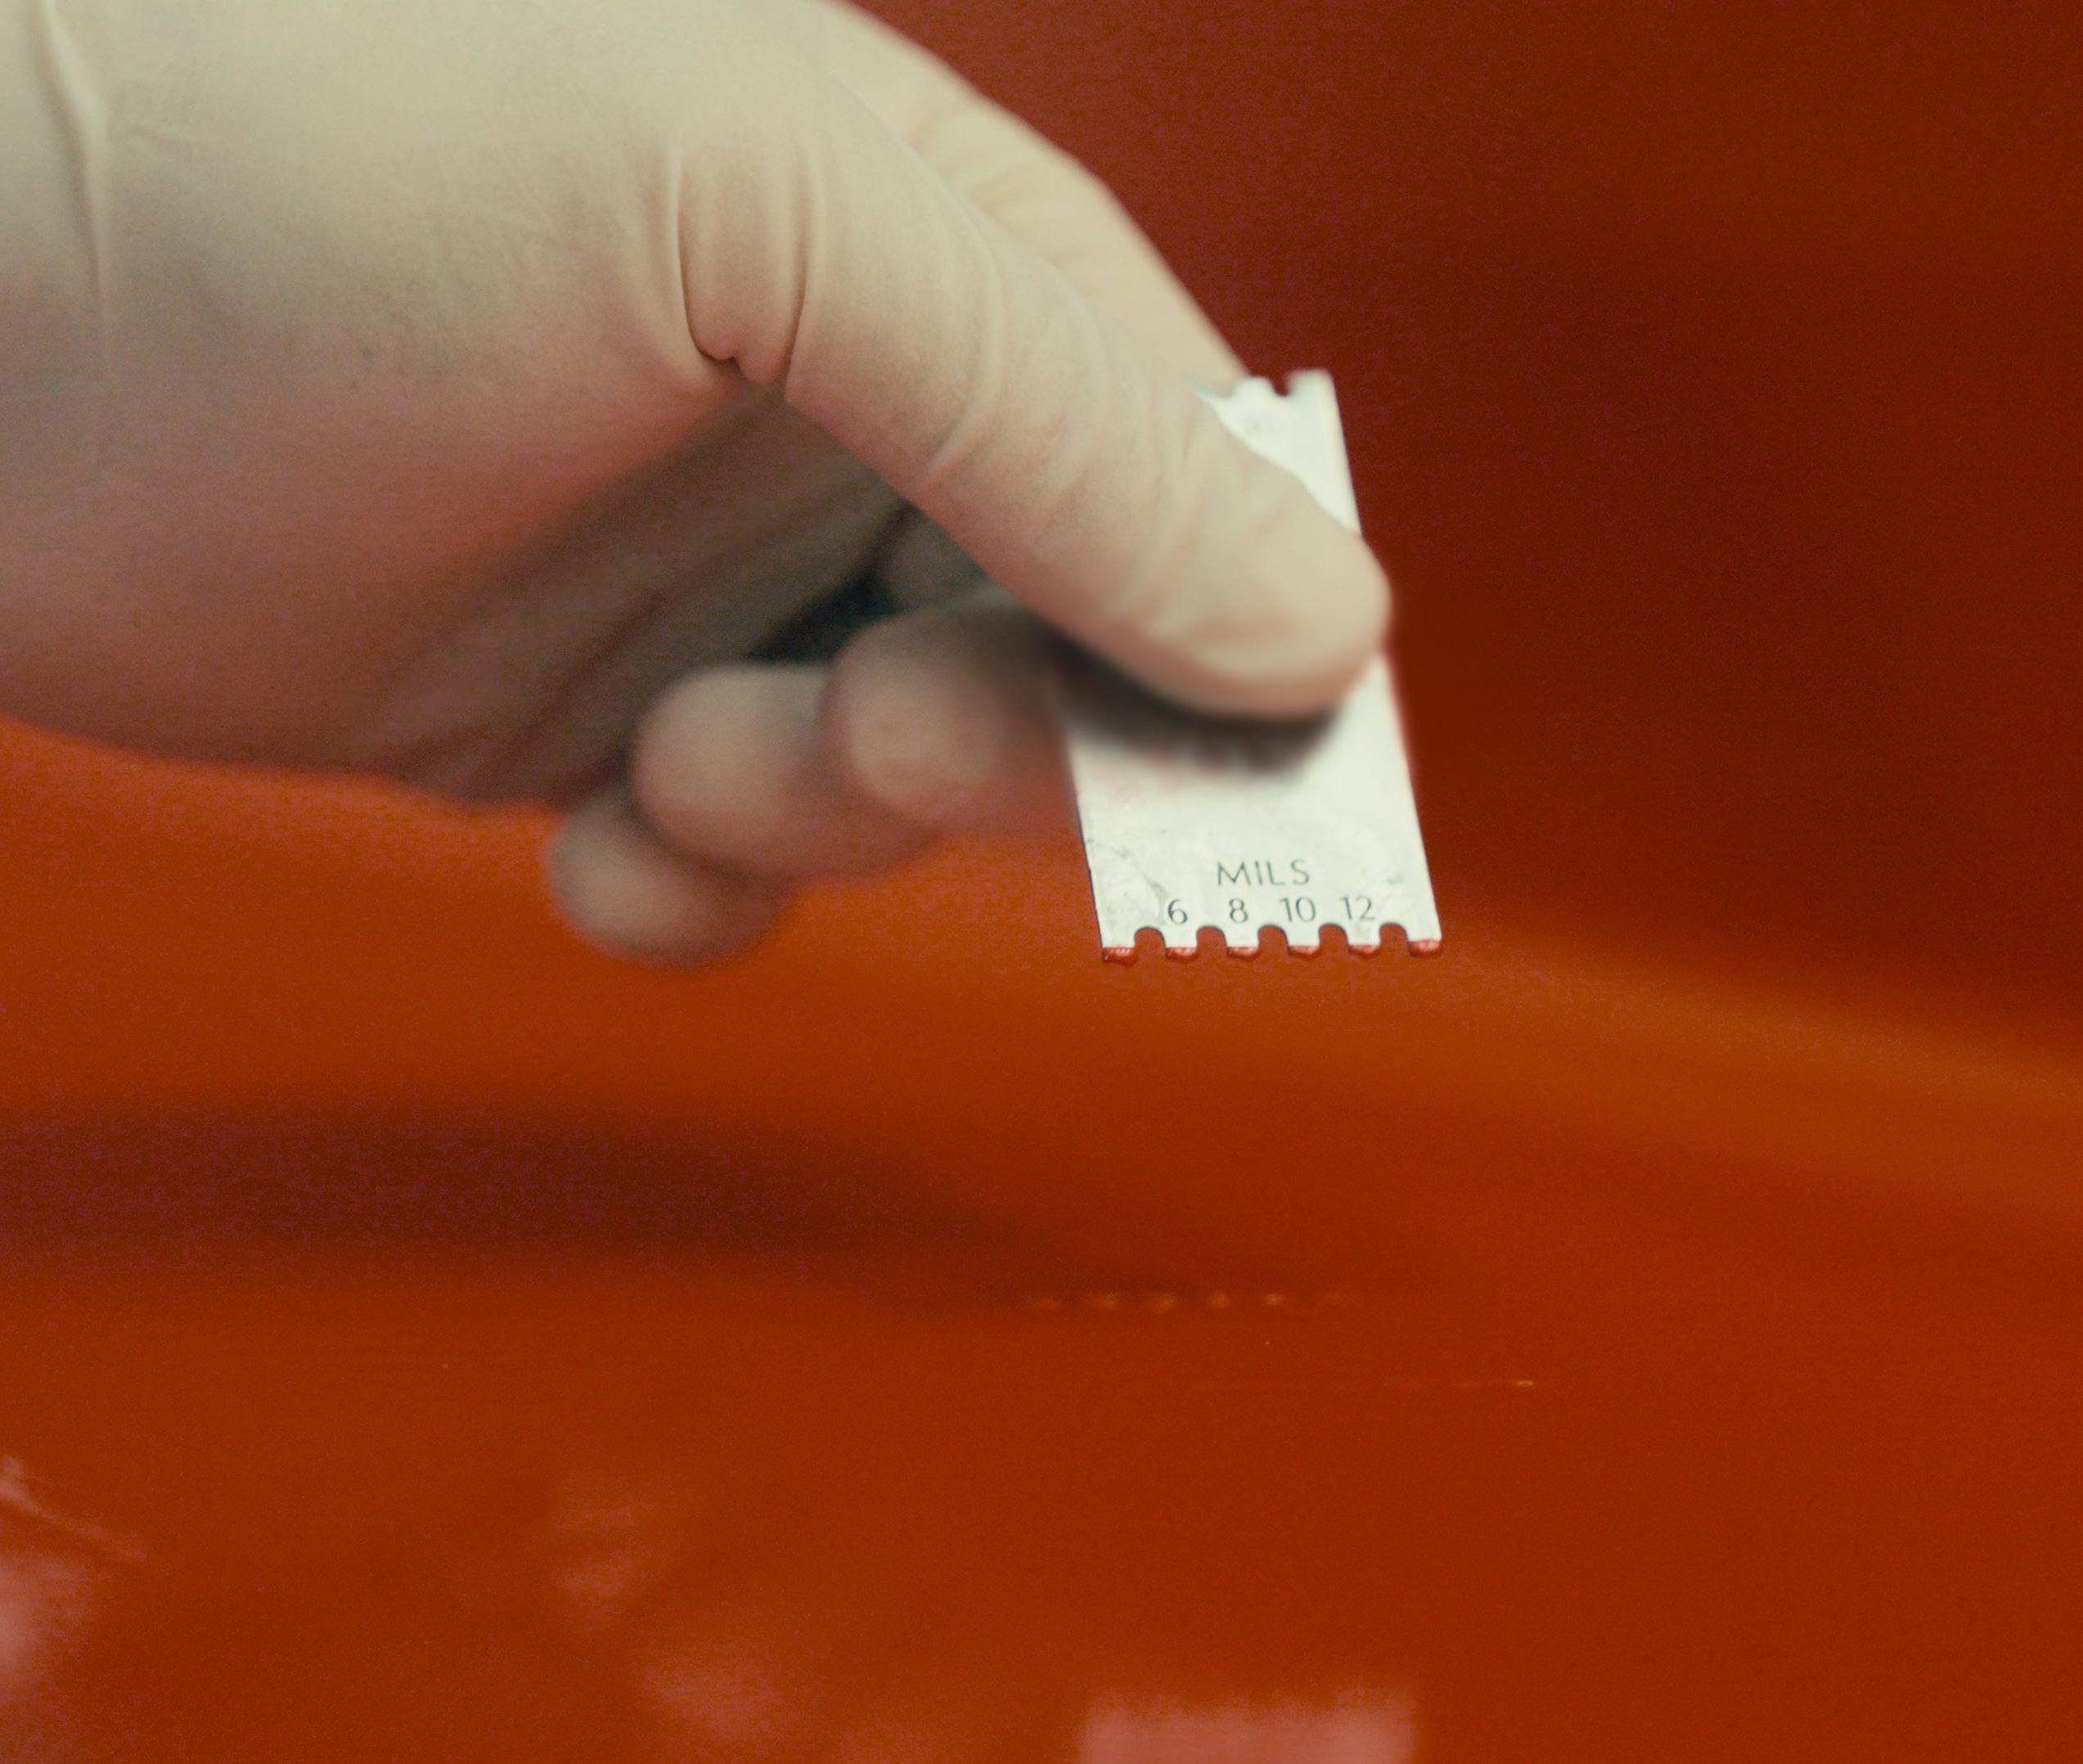
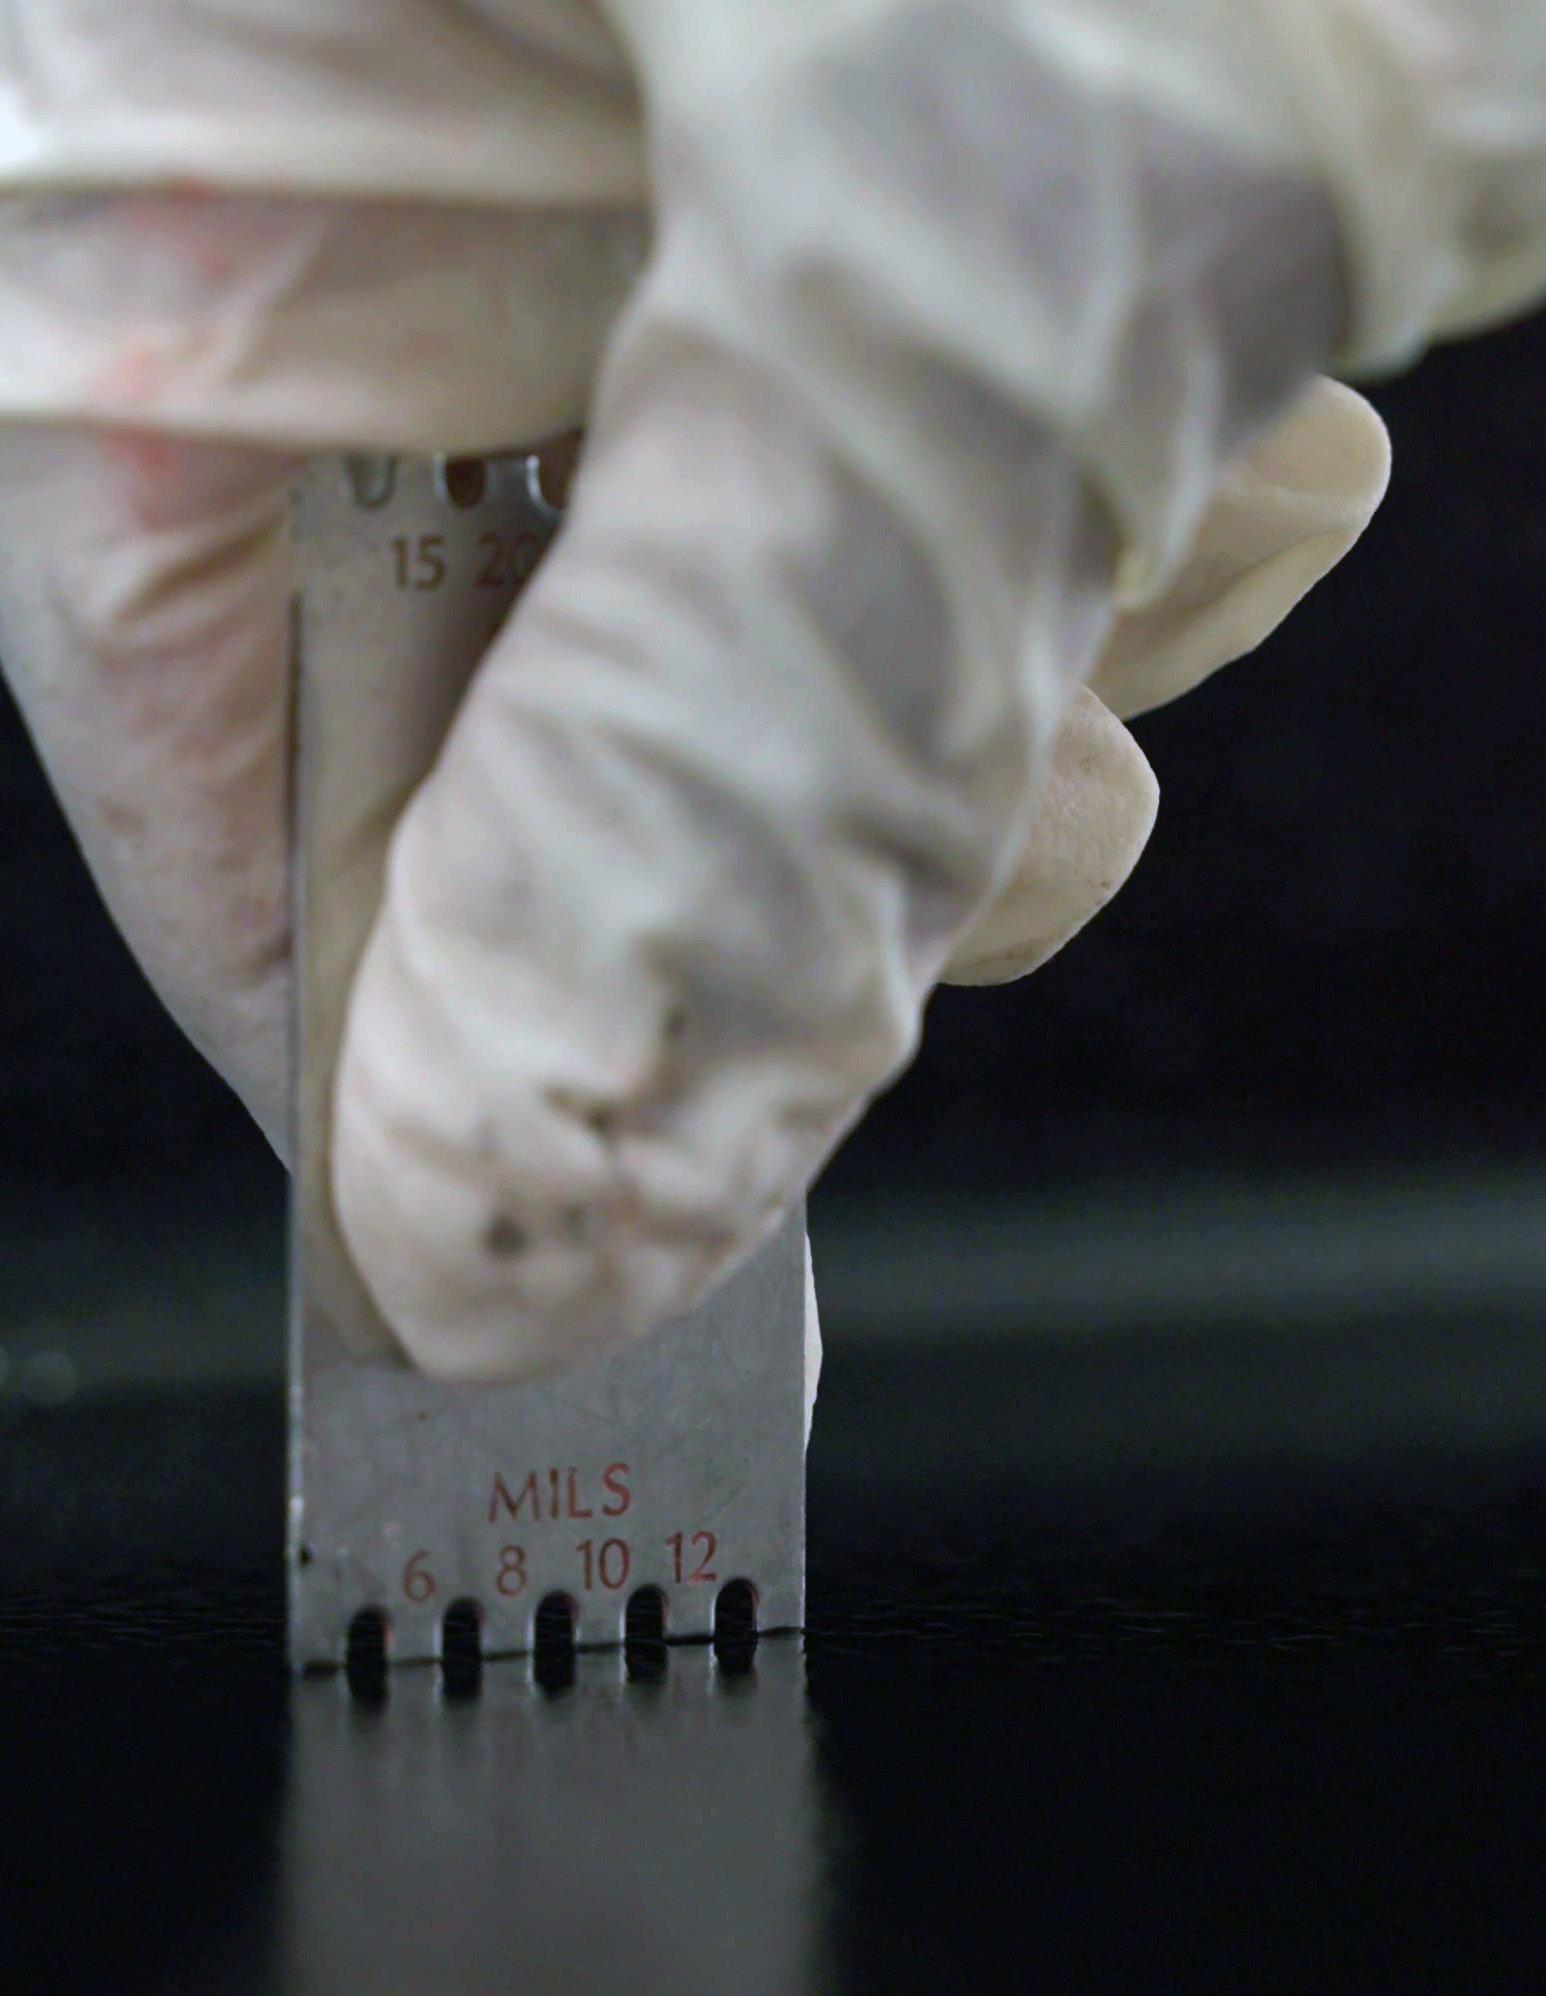
Apply the first layer of gel coat at 20 mils wet. Inspect for full cure before applying the second gelcoat layer. Once the first layer is cured, you’ll then apply a second layer of a different color gel coat, or alternatively, a barrier coat if extra protection is needed for the tool. Ensure the second layer is also applied at 20 mils wet.
Why are two different gel coat colors recommended?
Using two layers with different colors allows for visually tracking wear on the tool, signaling when rework or polishing may be needed.
~2 hours to apply and cure
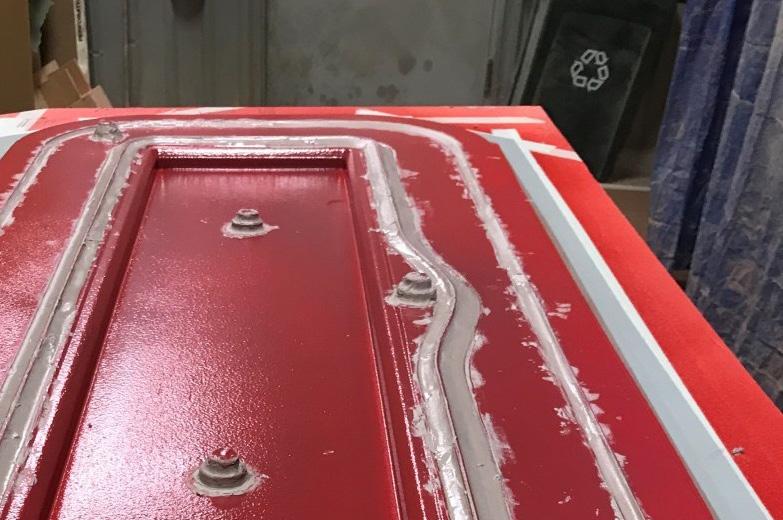
After the barrier coat or gel coat is tack-free, apply a light putty on corners and radius to increase the draft angles. This step is only needed when the radius of the tool is smaller than 5mm.
Tip: If you find uncured or wet areas, allow more time OR remove and reapply the layer.
Gelcoat application
Scan the QR code to watch a short video demonstrating the gel coat application.

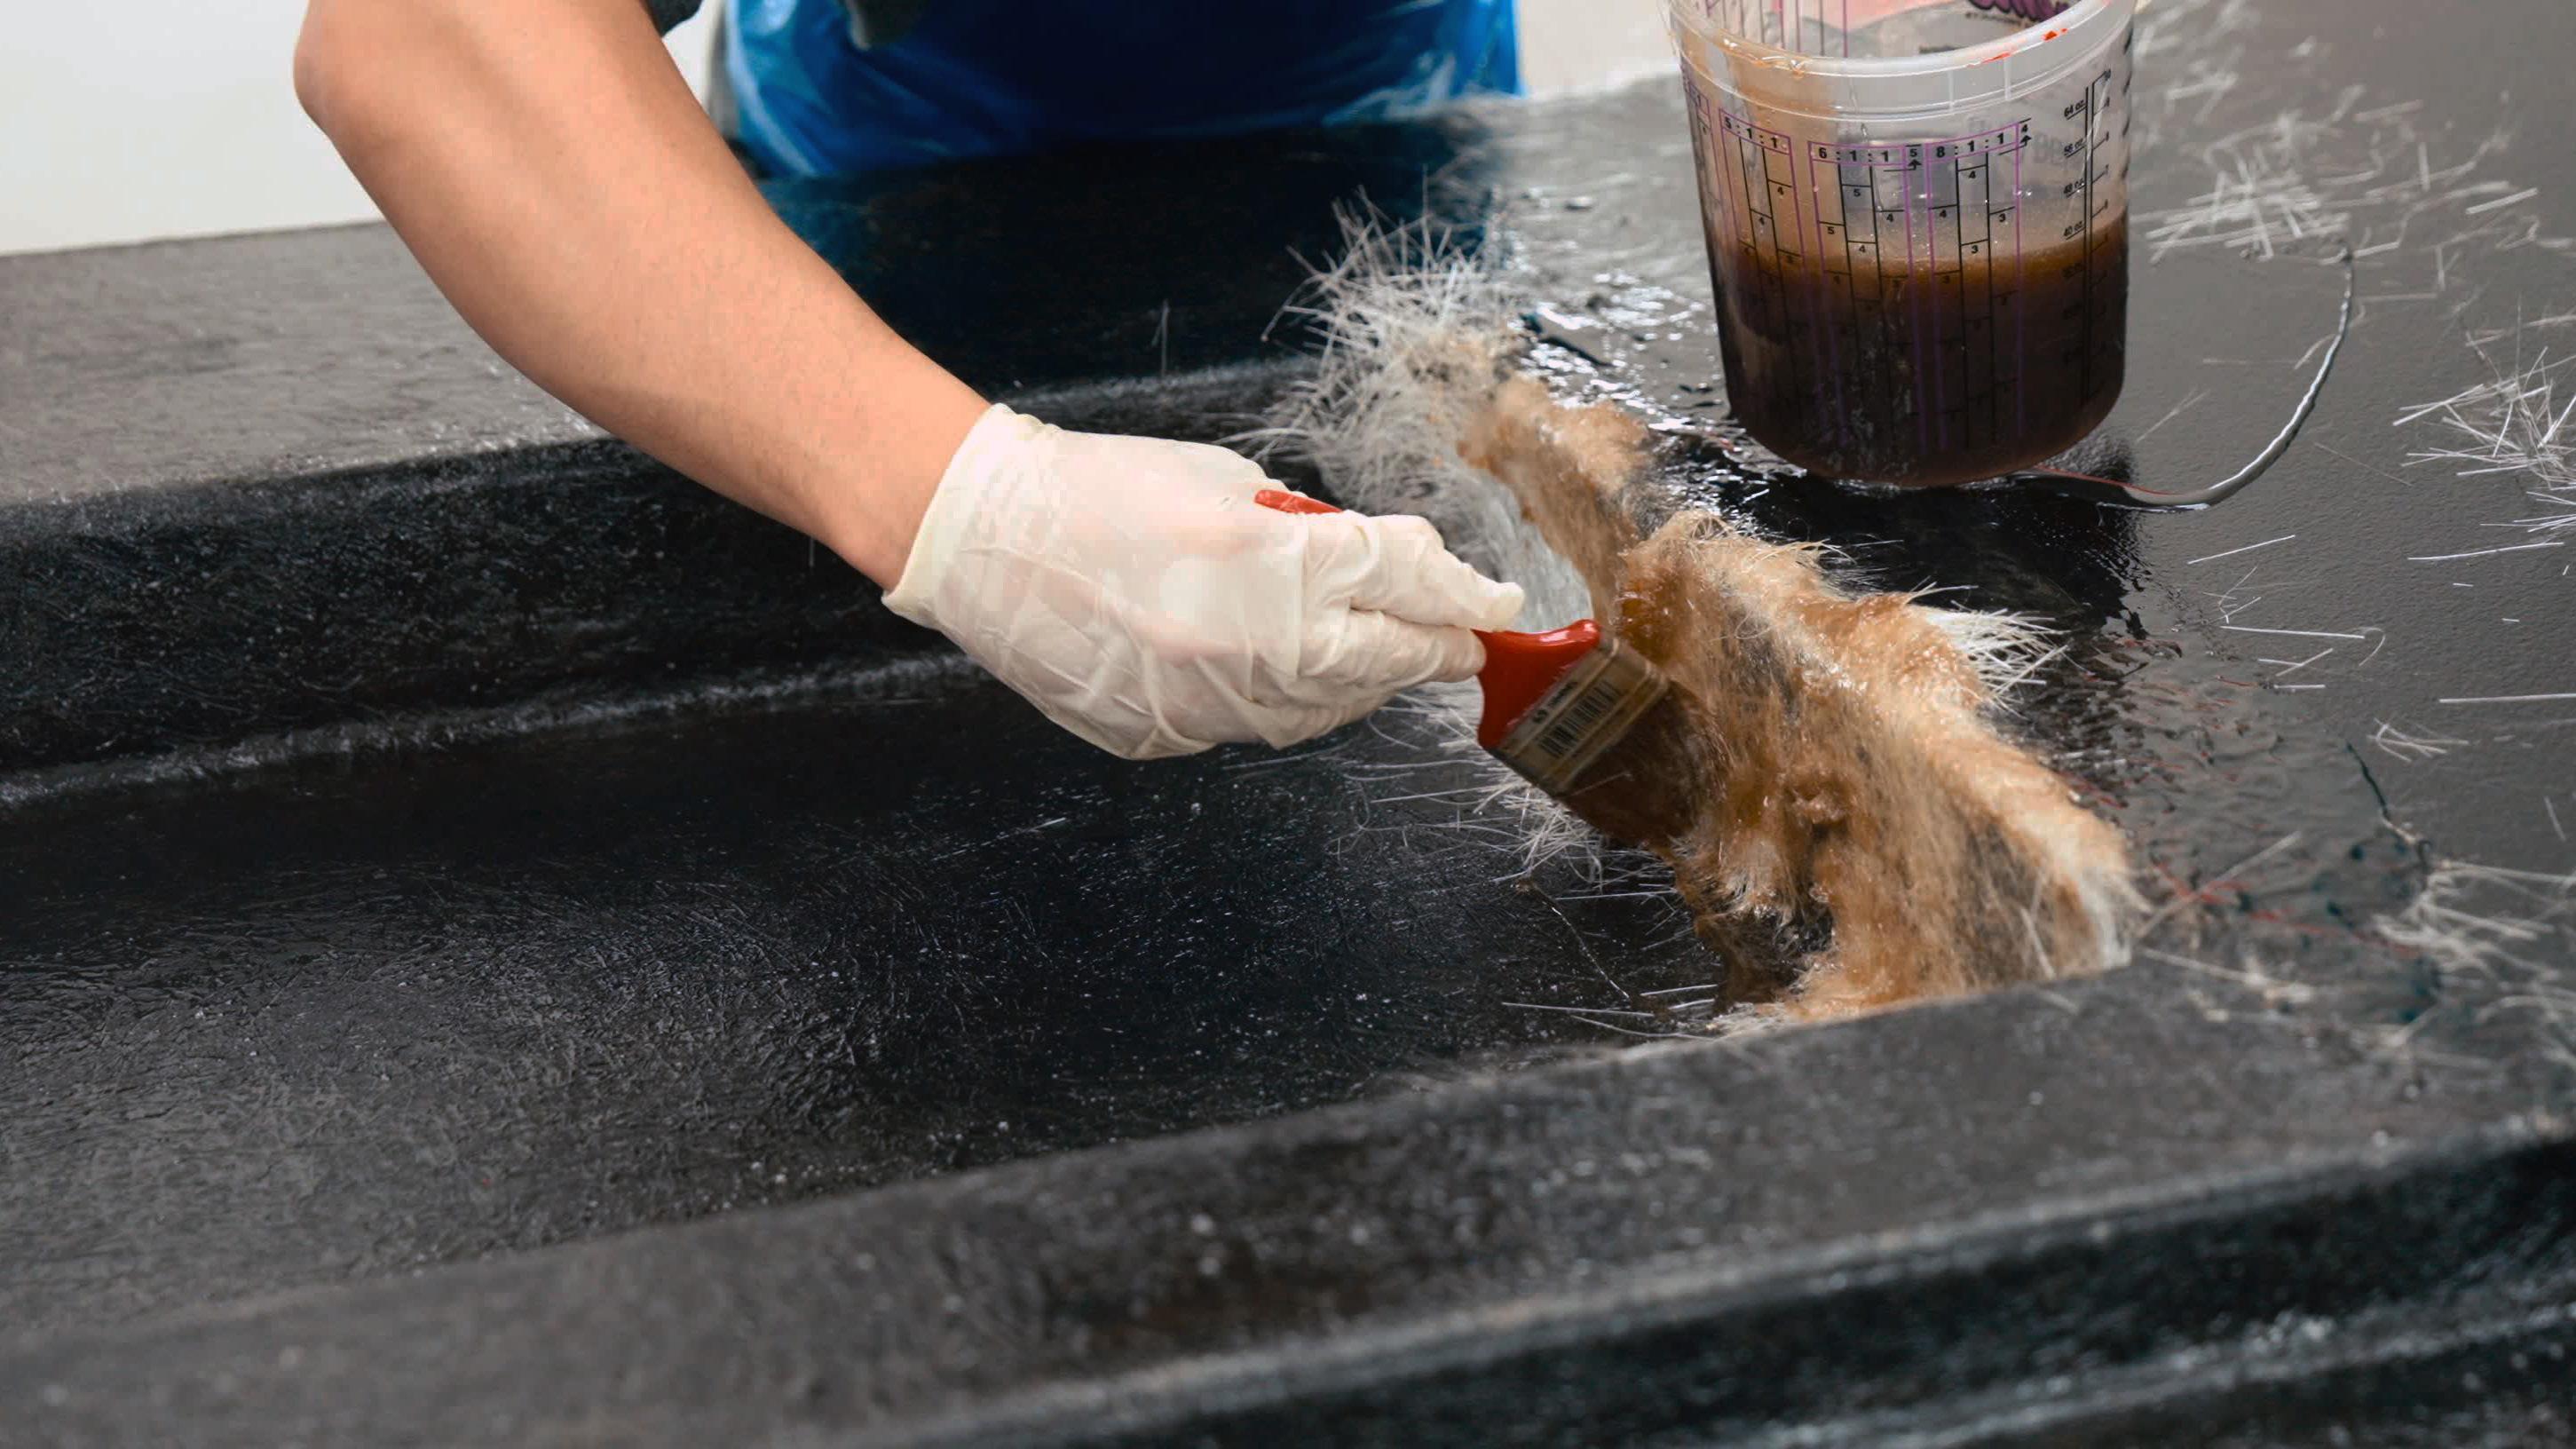
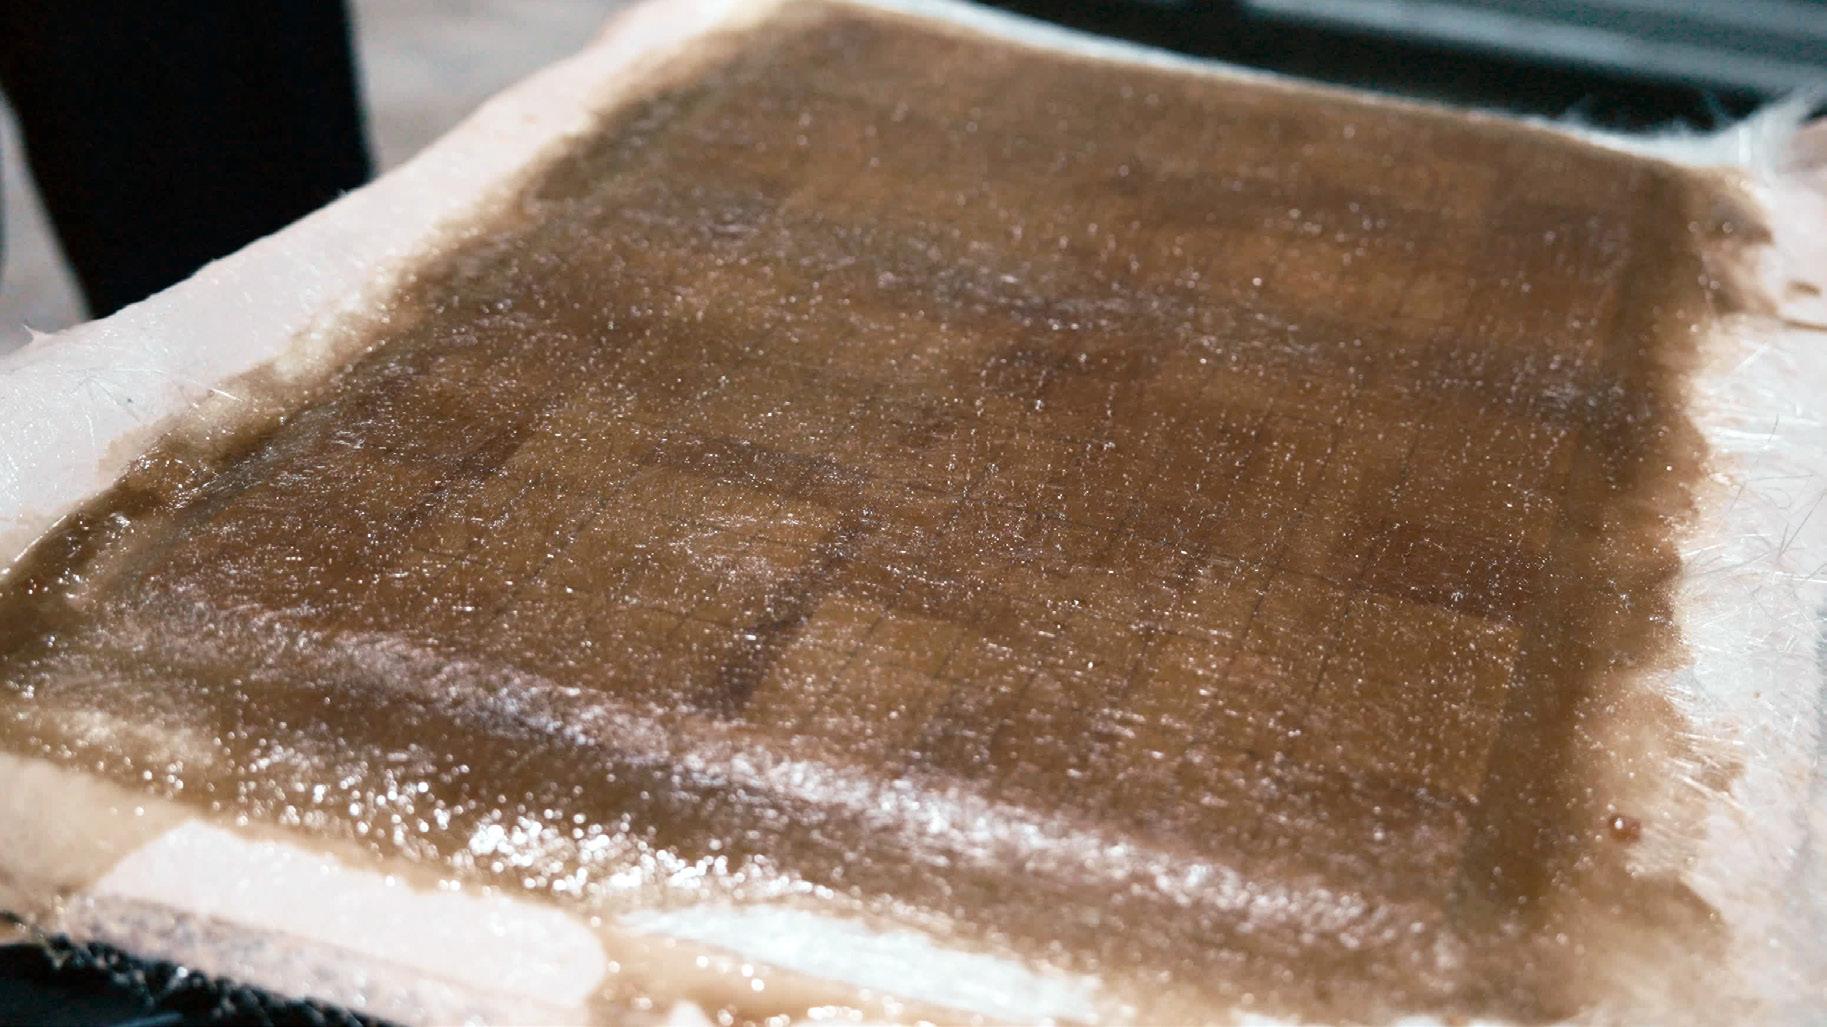
After a skin coat is selected, begin by applying 1-2 ply of 1.5oz chopped strand mat.
Before adding the catalyst to your resin, be mindful of the activation time so the resin doesn’t start to cure while it’s still being applied. Other factors that influence cure time include catalyst level, room temperature fluctuations, air flow, resin mass sensitivity, and humidity.
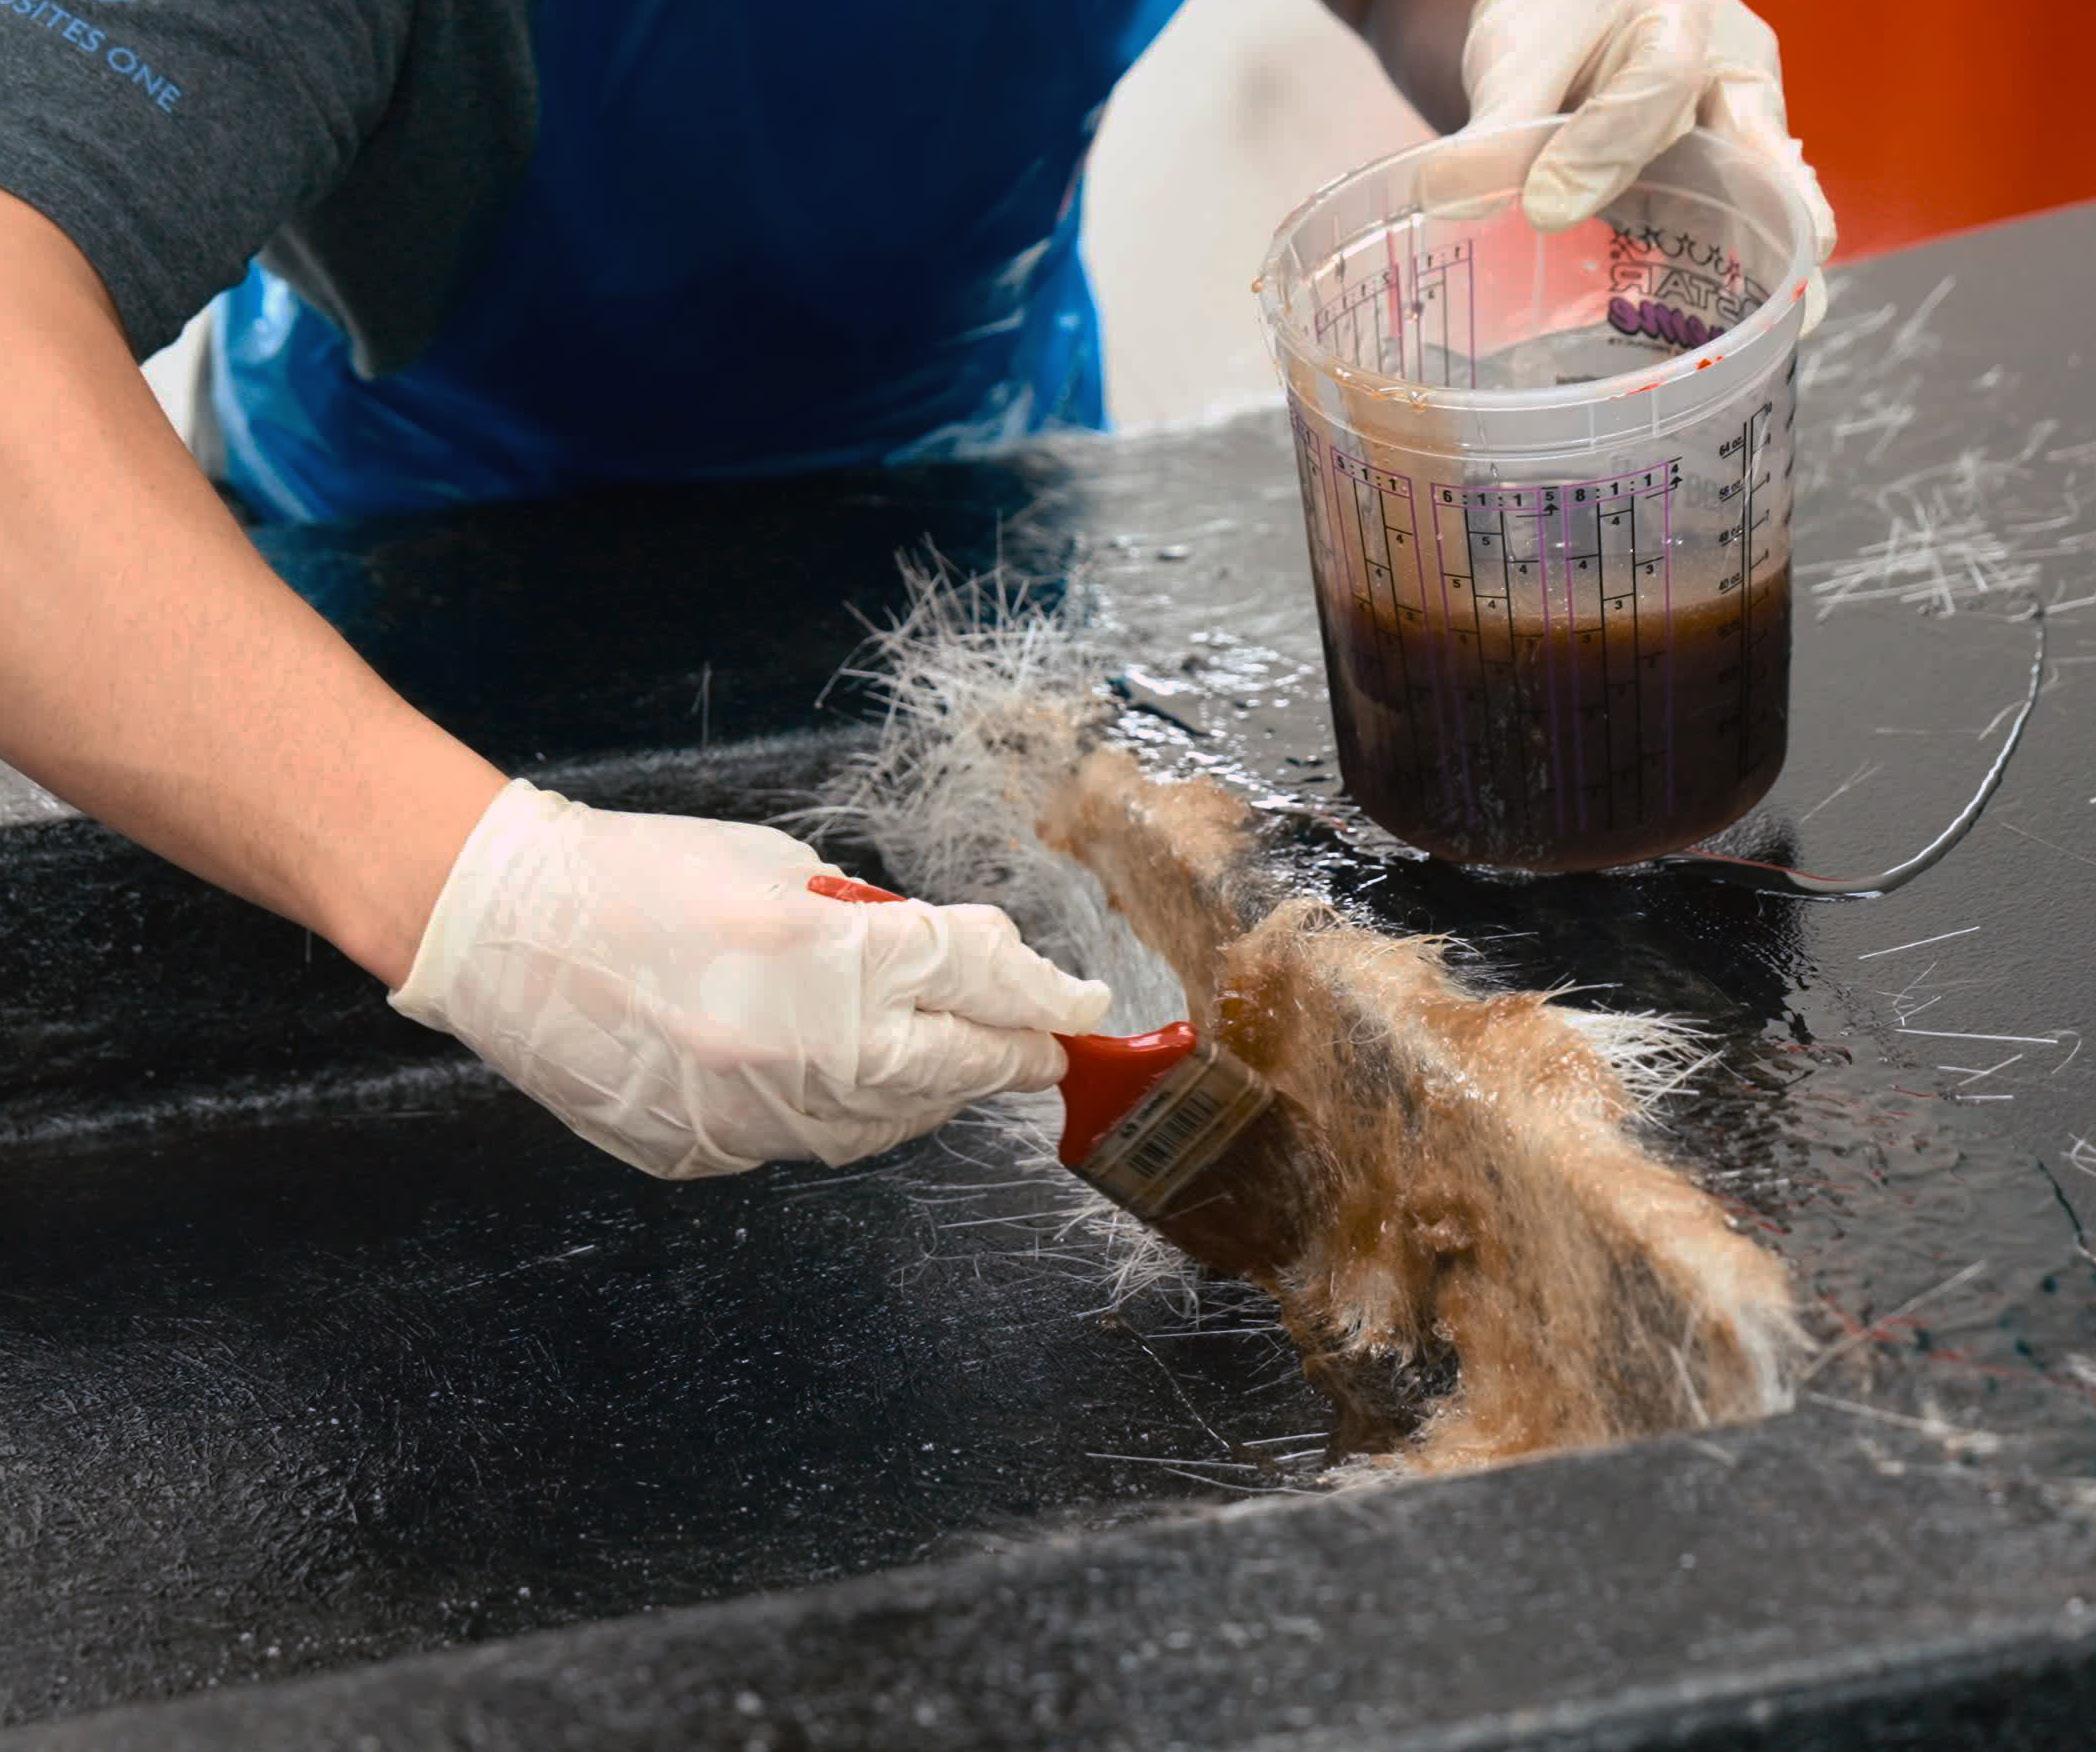
Load the glass reinforcement onto the tool. Carefully position the glass according to your tool design, and wet-out the resin with a roller or brush. This will ensure that the resin is evenly distributed and remove trapped air bubbles and excess resin, strengthening the tool as it dries.
What is the benefit of a skin coat?
A skin coat can help detect air bubbles and offers a durable and repairable mold surface, which may extend the life of the tool.
Skin coat application.
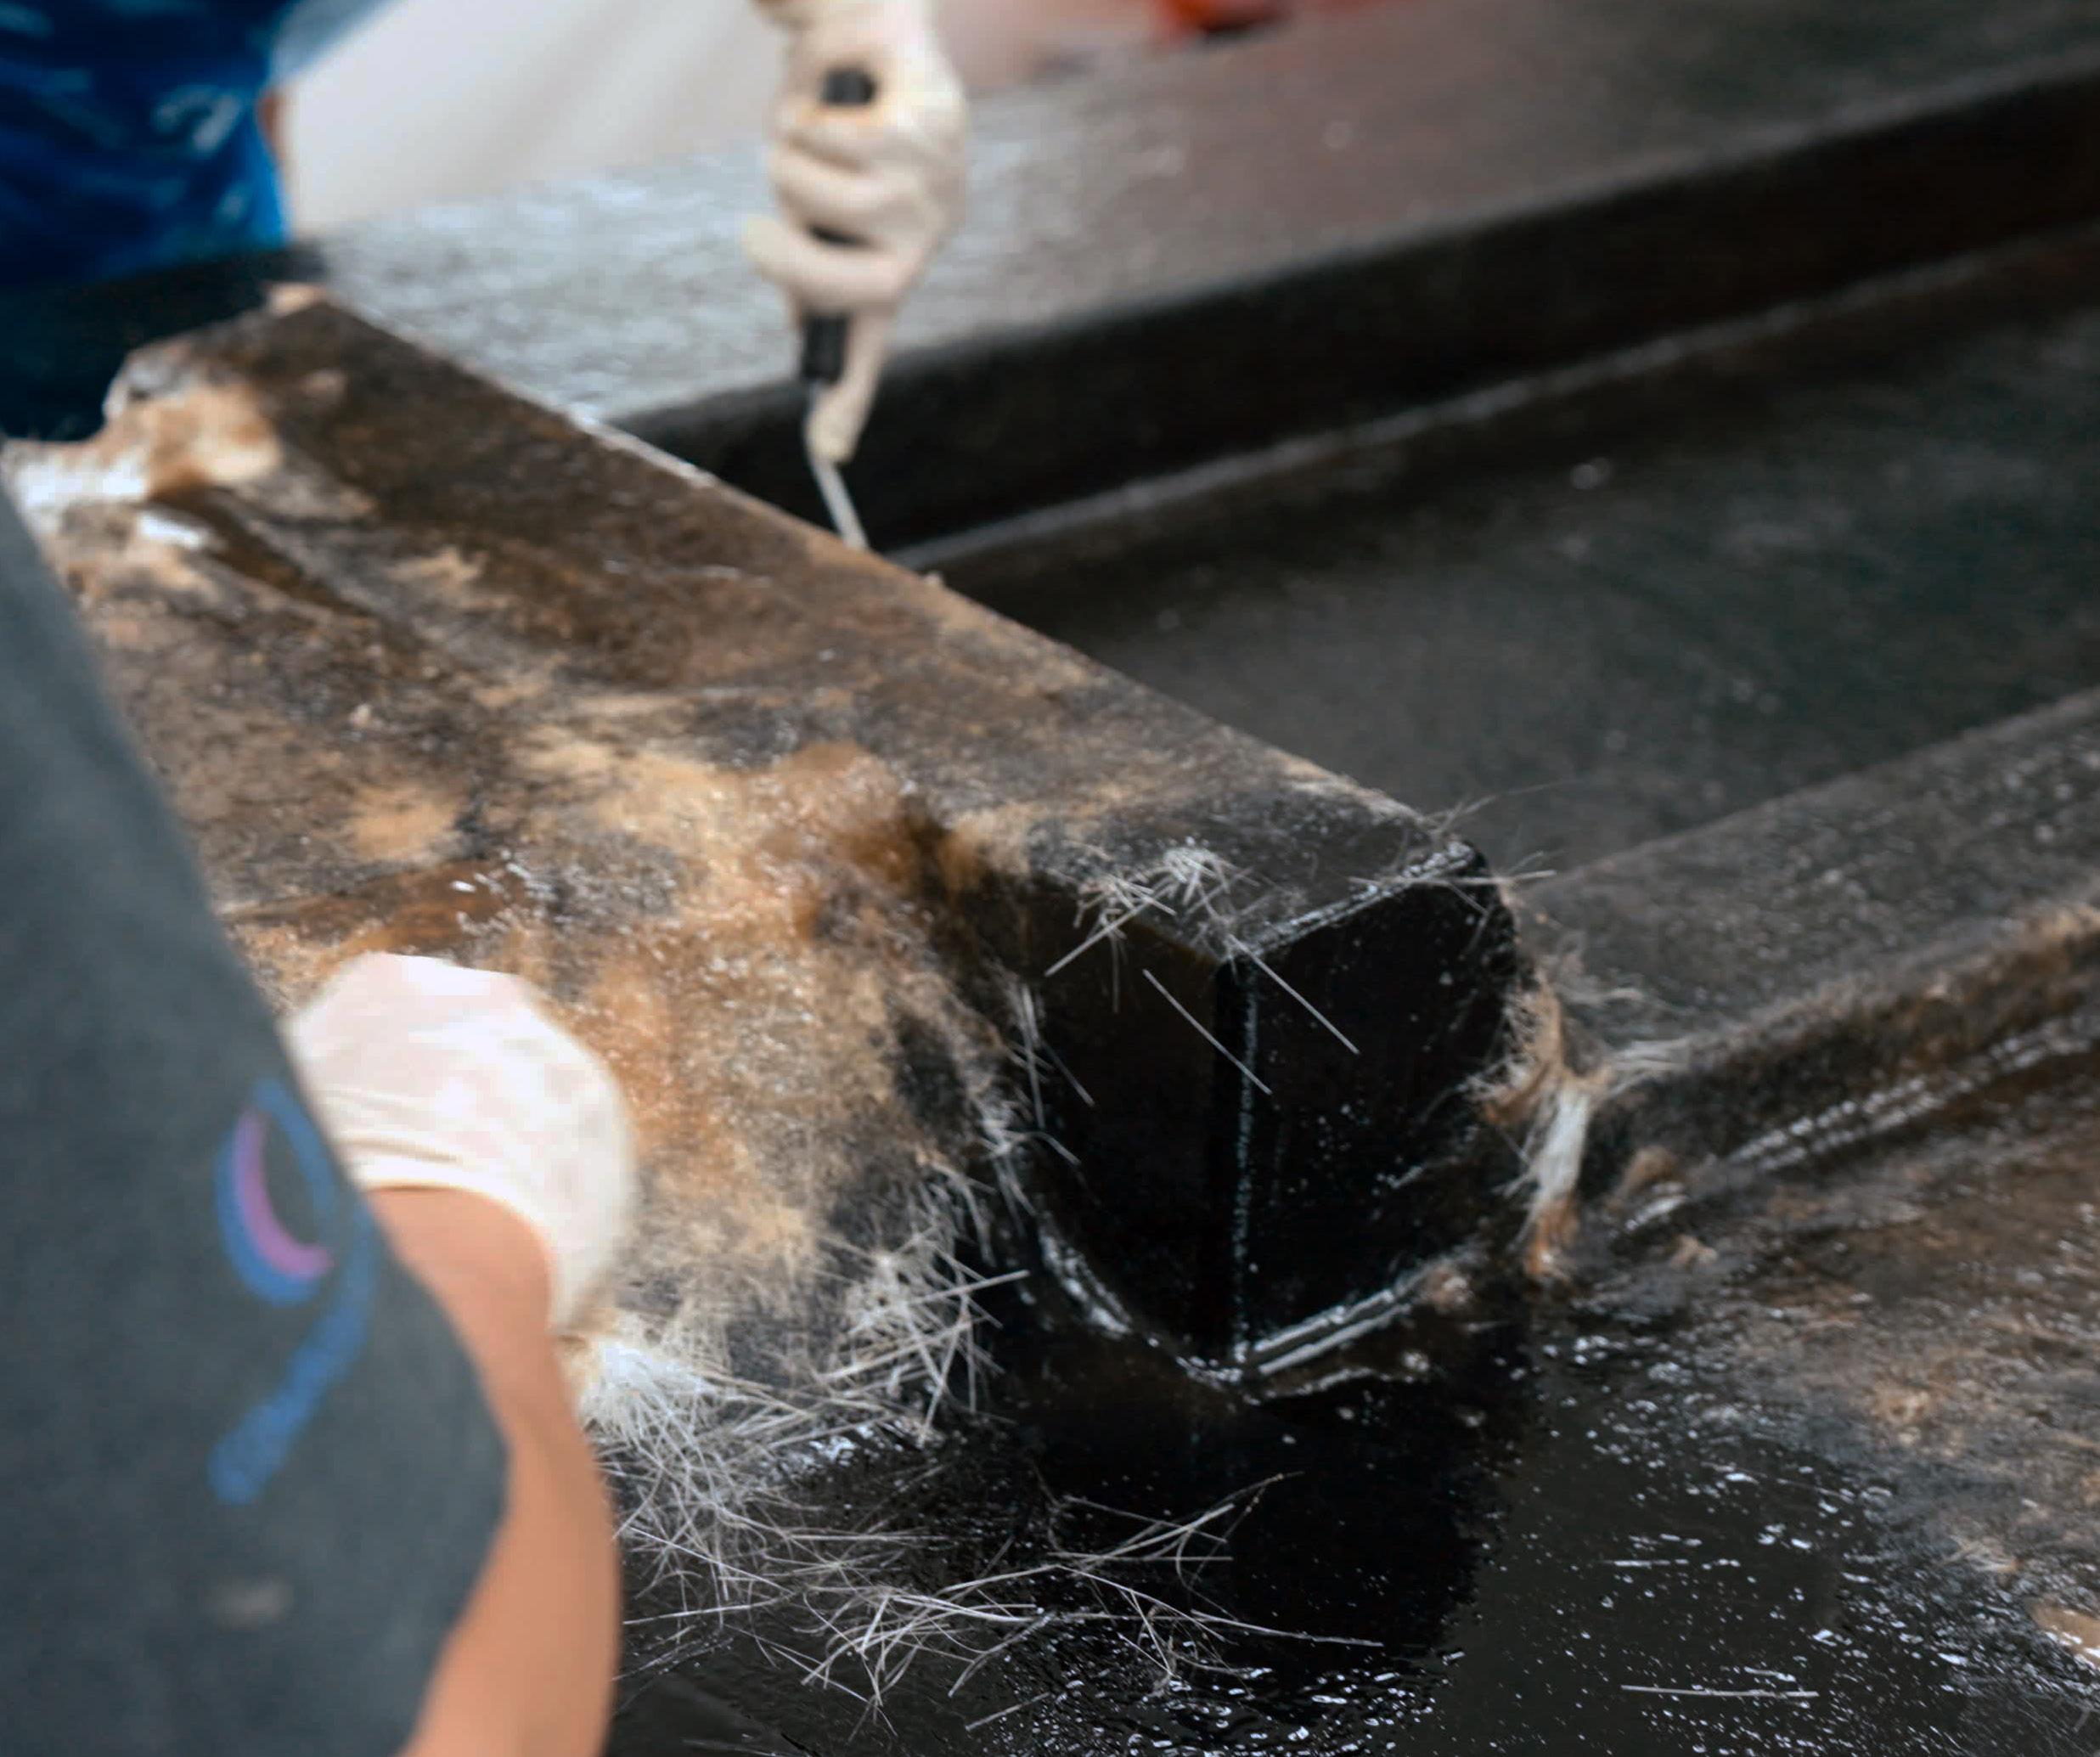
Multiple layers of glass will be needed. The number of layers will depend on how thick the finished tool should be. Each layer will consist of 3-5 ply 1.5 oz fiberglass, with ply thickness depending on the resin gel time selected.
Build the laminate thickness by adding more layers of glass to the tool and rolling the resin on. The resin will heat up as it cures, so it’s important to wait for each layer to cool before applying the next layer of 3-5 ply. Continue layering until the maximum thickness is reached. Over time, the tool should turn completely white, indicating the process was successful. Depending on conditions and gel times, the lapse time between layering is approximately between 1.5 – 3 hours.
After the third layer, an optional balsa wood or foam core can be applied for additional stability.
~1 hour
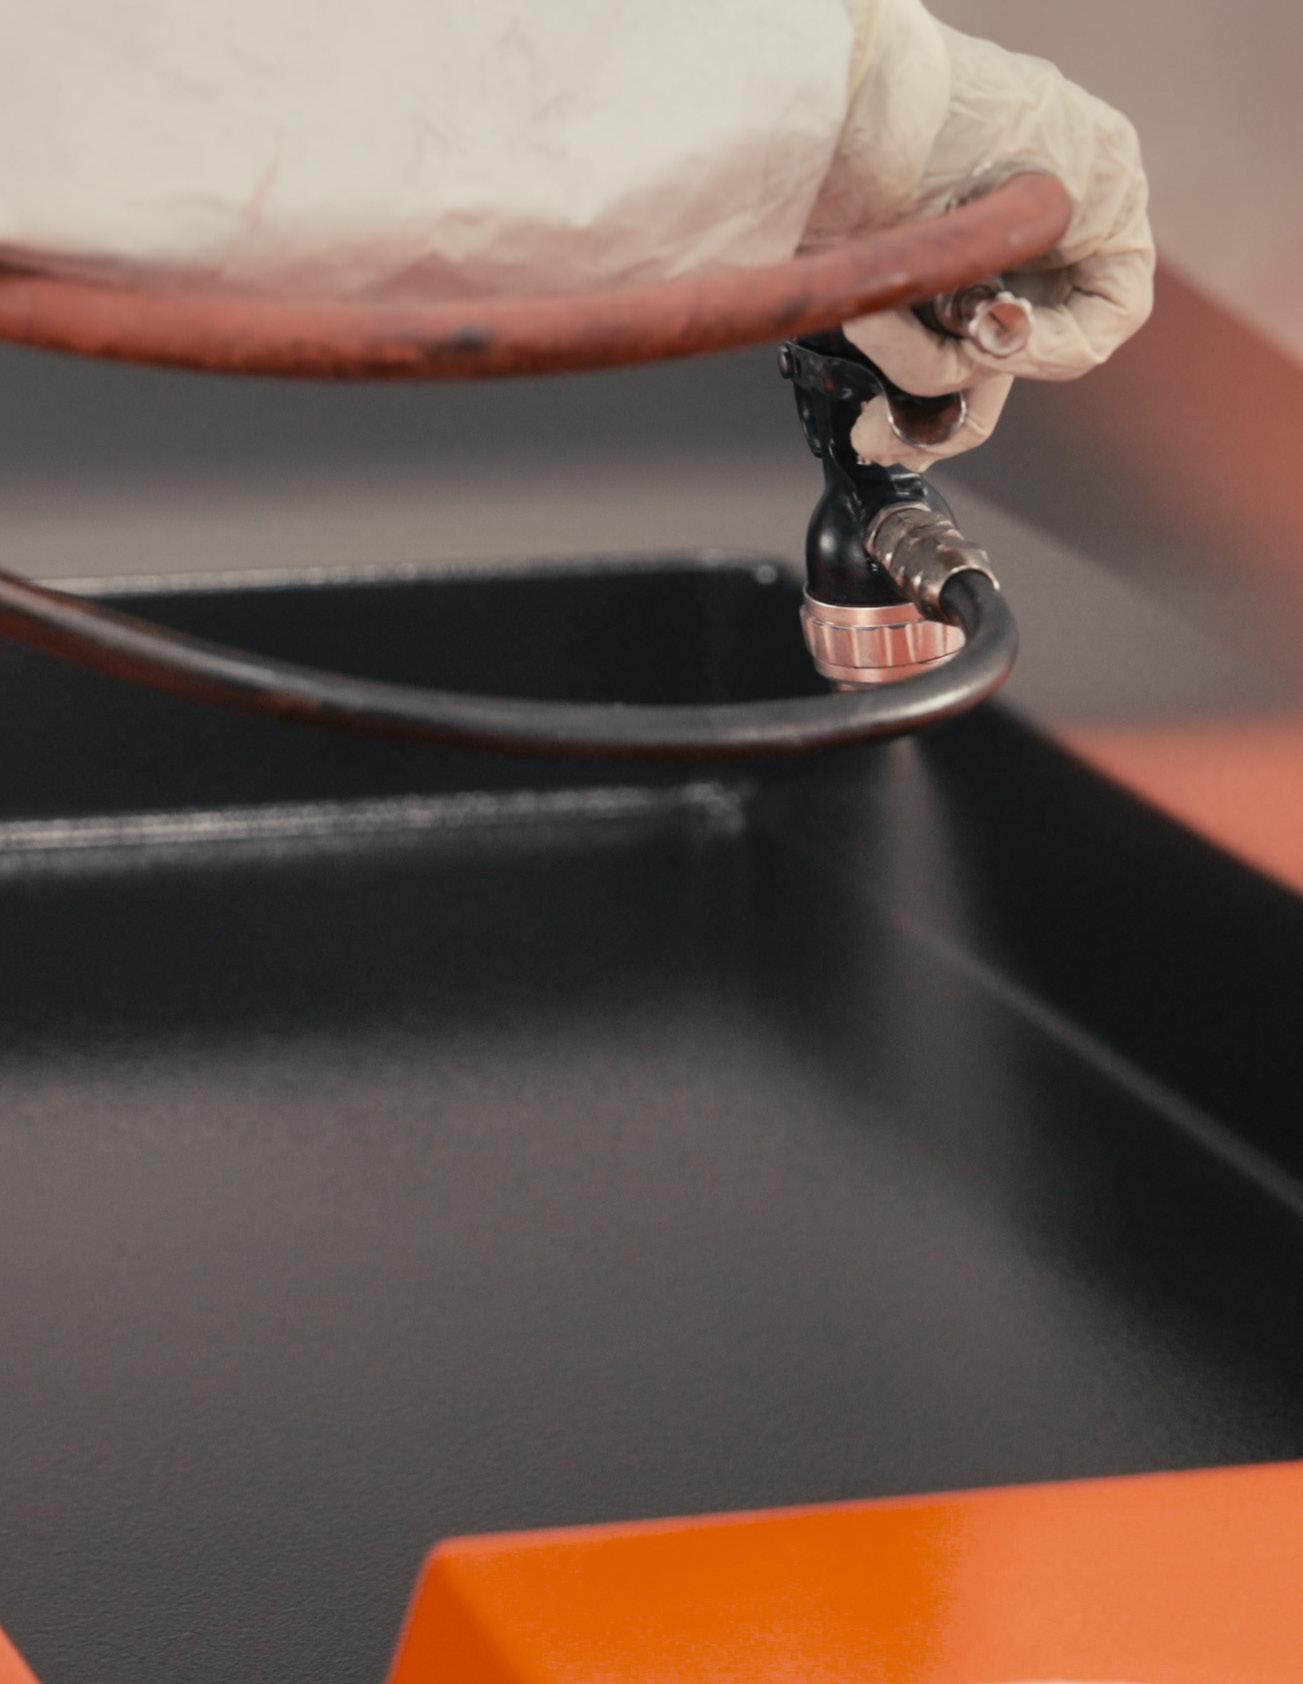
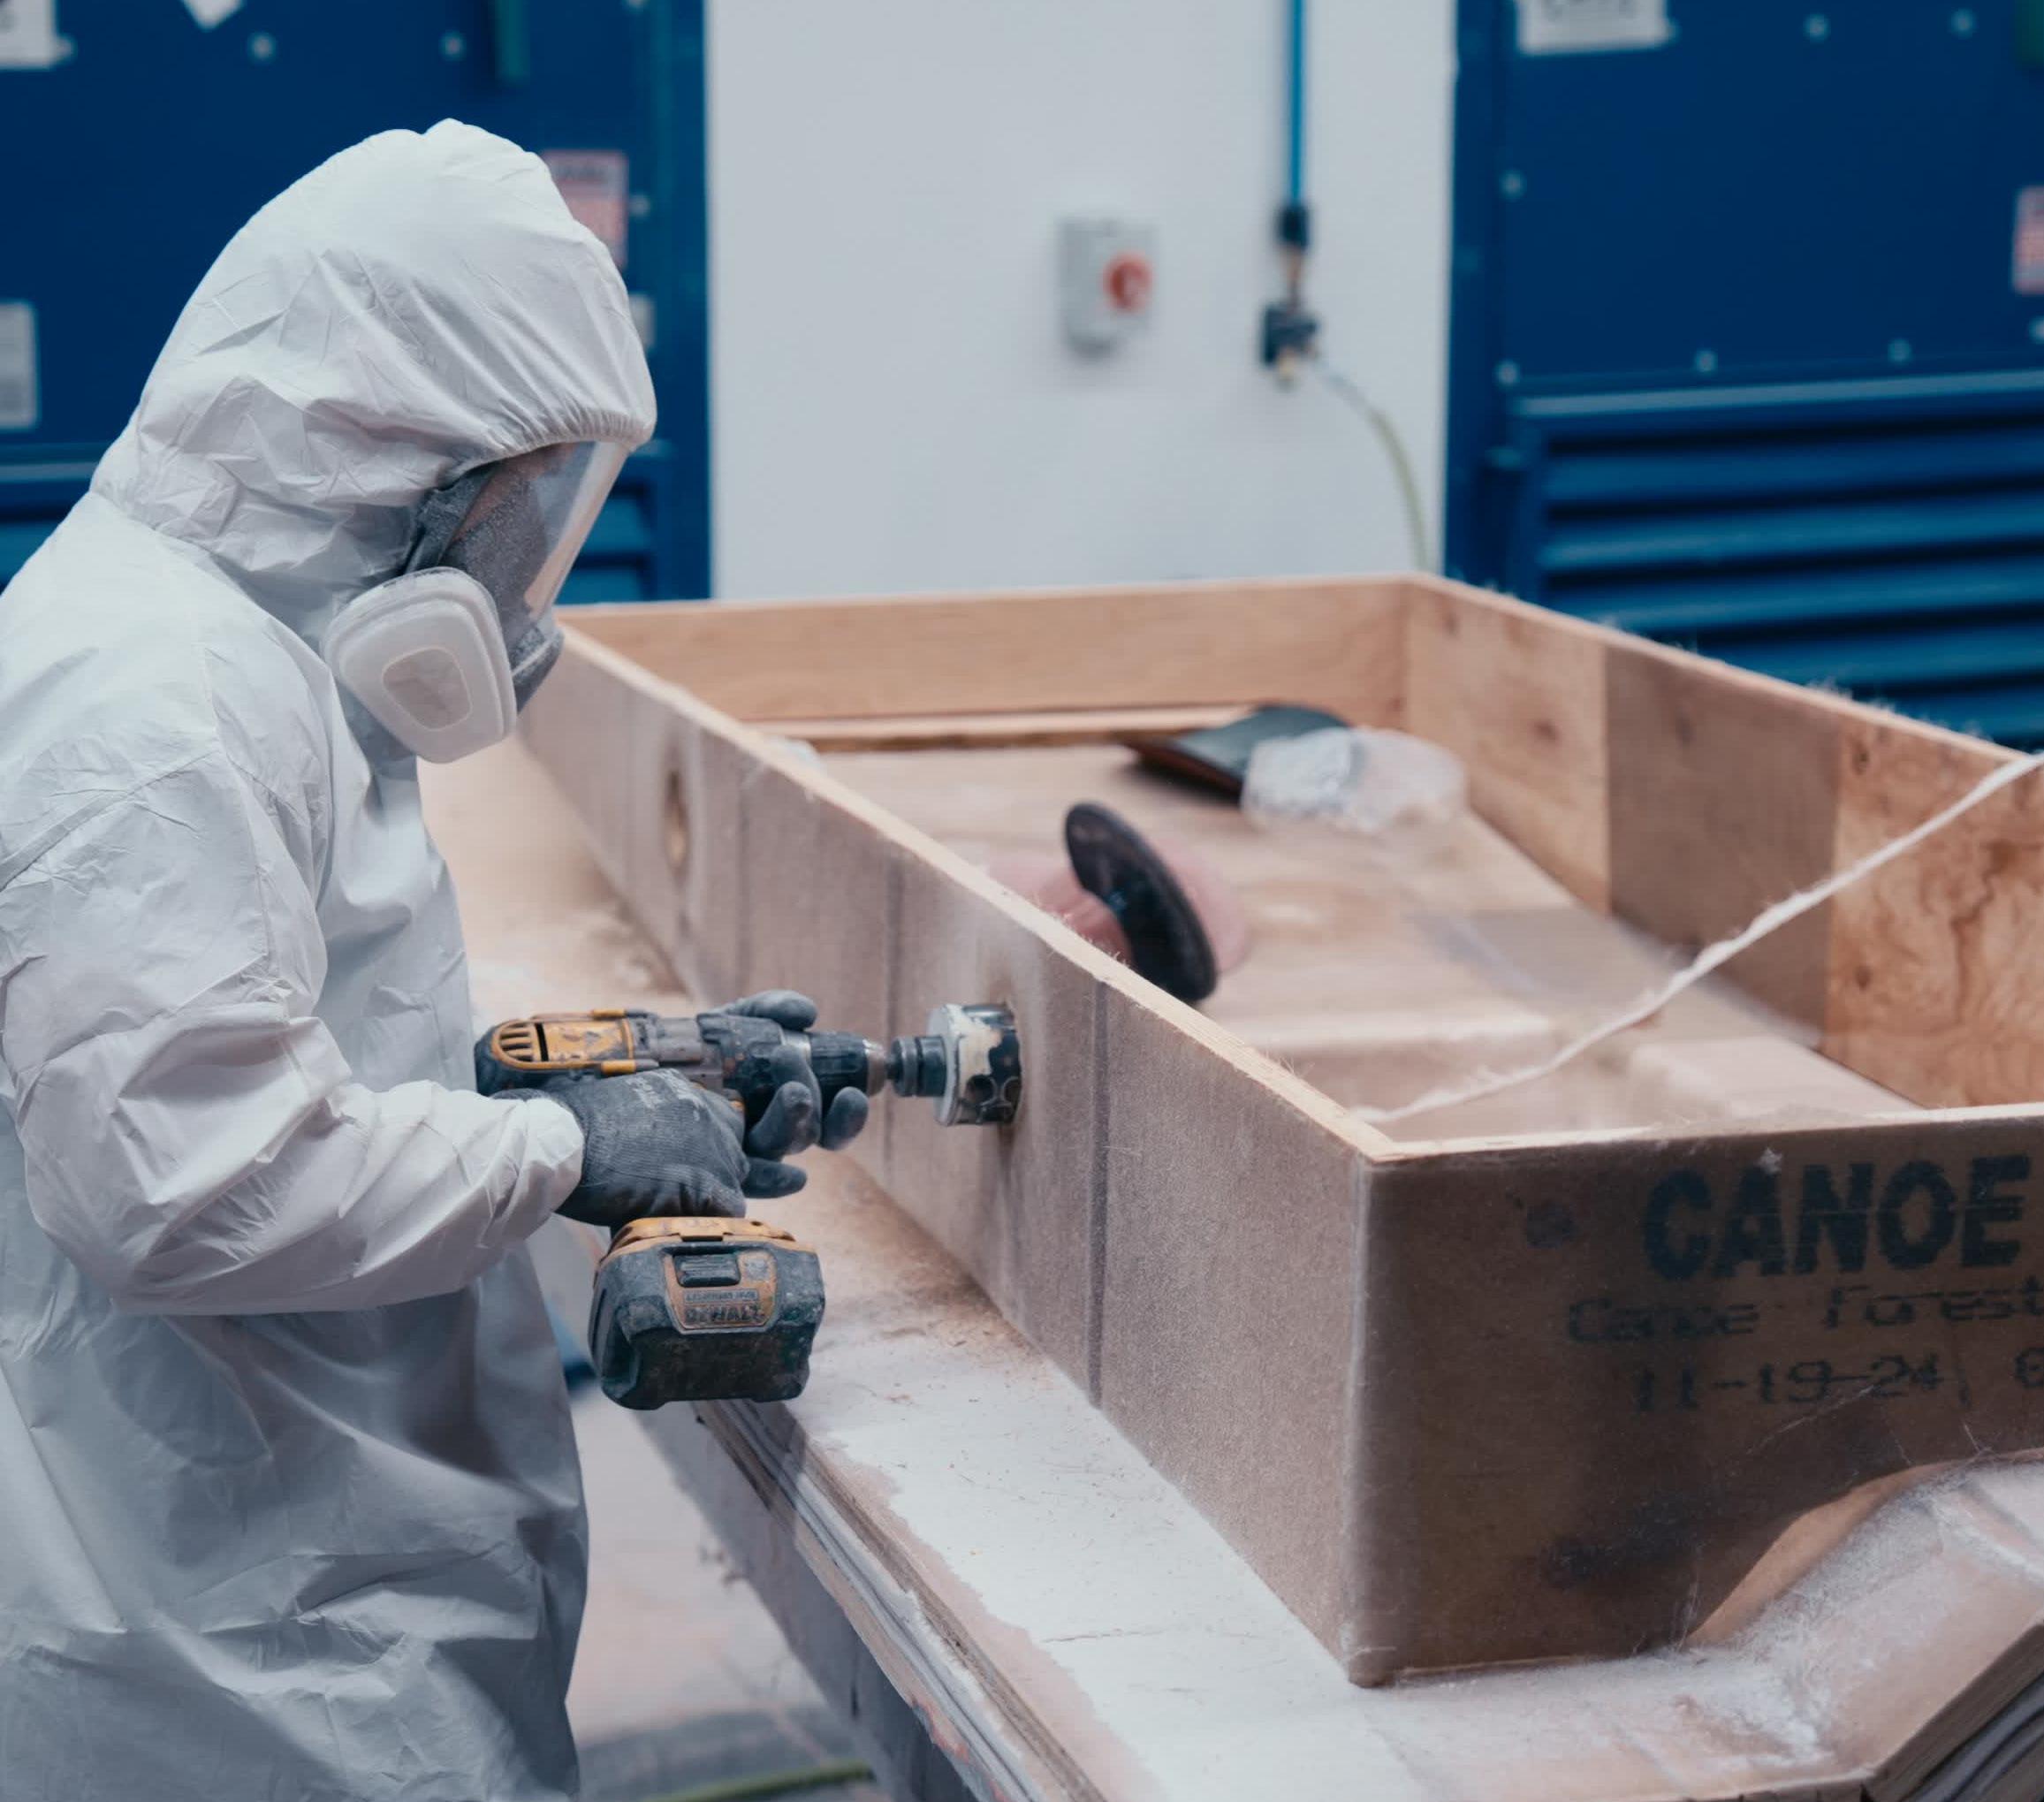
The next step is to apply a frame to the backside of the tool. Secure the frame at multiple points using adhesive and laminate for stability.
~2 hours to apply and cure
Scan the QR code to watch a short video demonstrating the frame application.

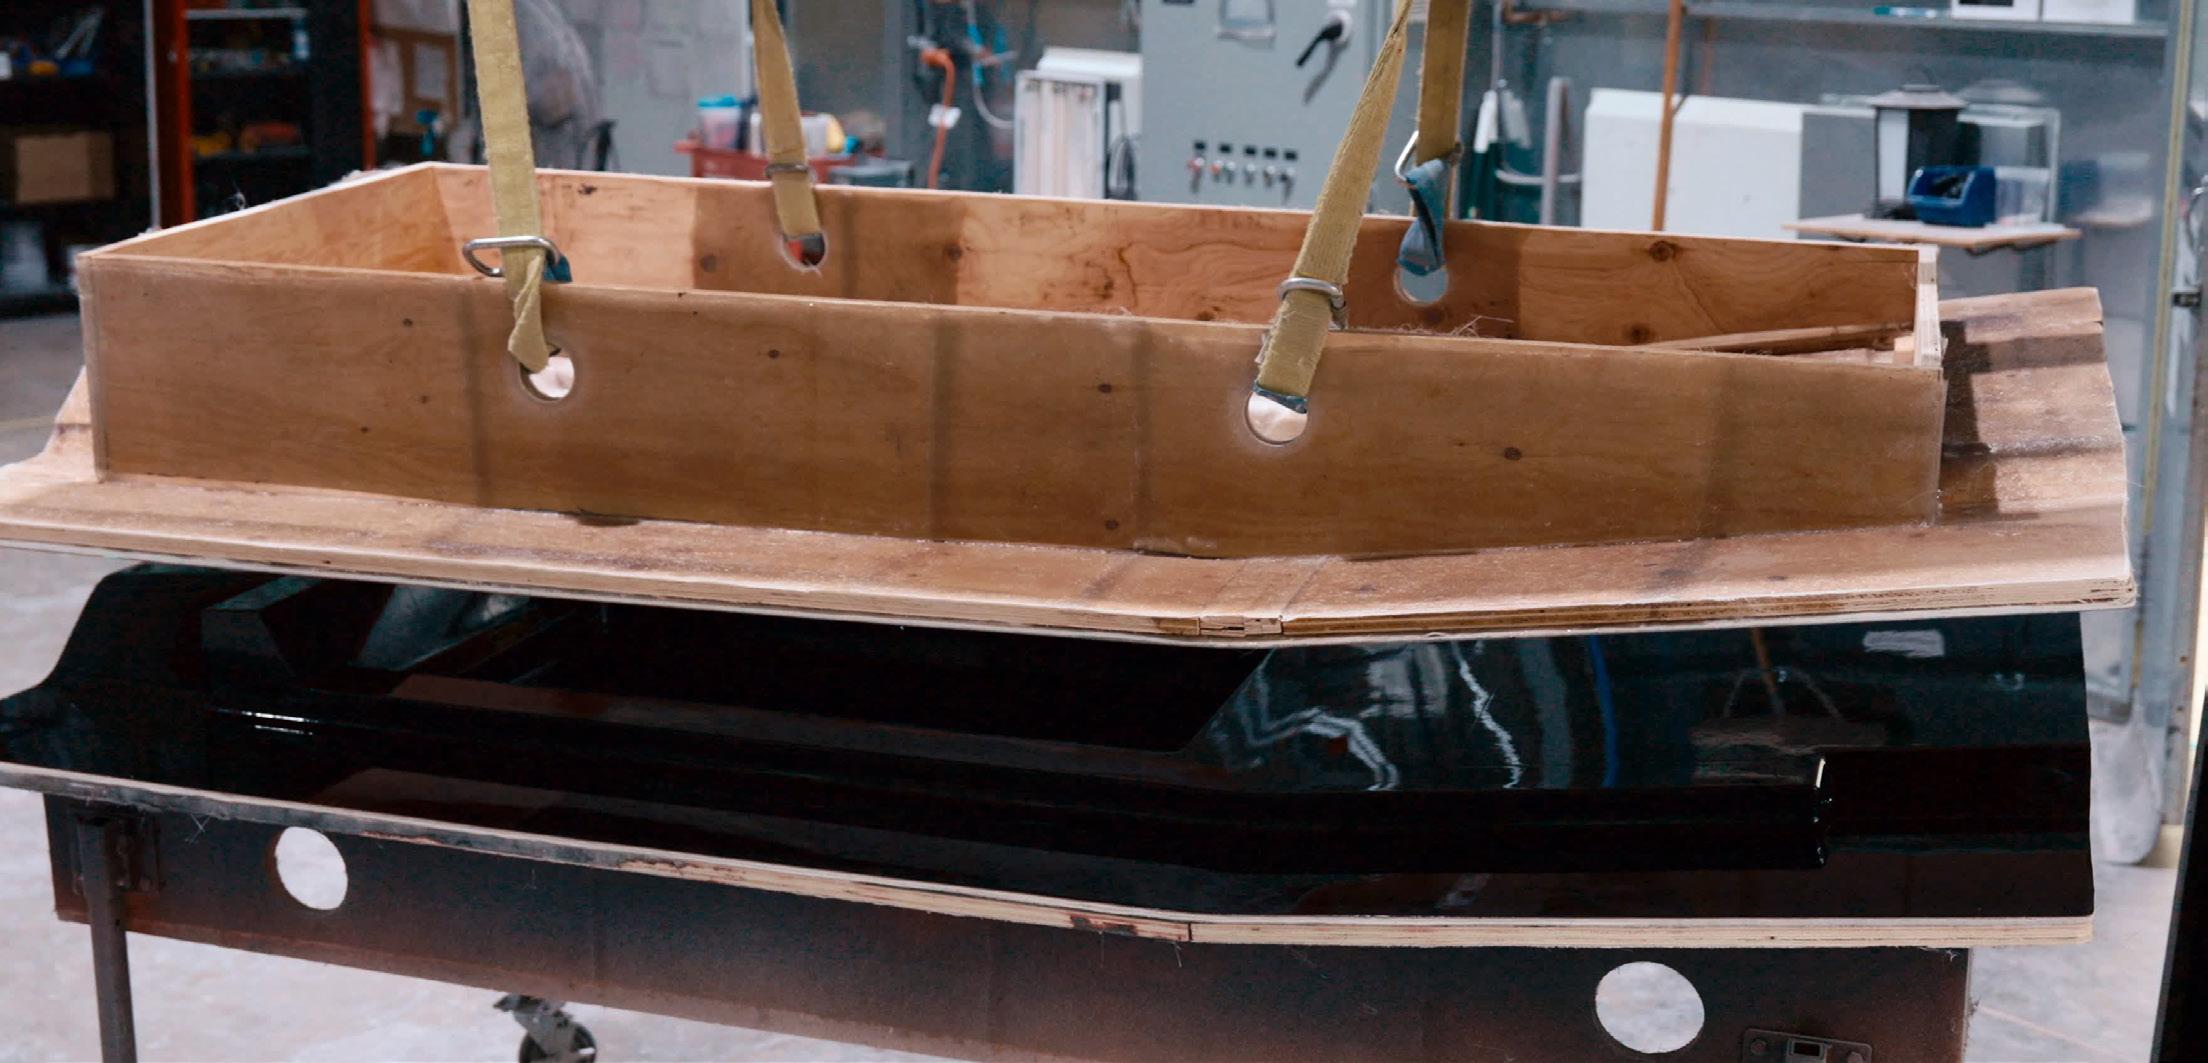
Finally, it’s time to demold the tool. Using wedges, work around the perimeter and pull the tool off the master model. With the tool now demolded and inspected, your composite tool is ready for use or additional processing.
~30 minutes

Americas
+1 866 319 8827 americas@aocformulations.com
Europe, Middle East, Africa
+41 52 644 1212 emea@aocformulations.com
China
+86 25 8549 3888 china@aocformulations.com
Asia Pacific
+41 52 644 1212 asiapacific@aocformulations.com
AOC is a registered trademark of the AOC group of companies.
The information contained in this publication is based on laboratory data and field experience. We believe this information to be reliable, but do not guarantee its applicability to the user’s process or assume any liability for occurrences arising out of its use. The user, by accepting the products as described herein, agrees to be responsible for thoroughly testing each such product before committing it to production.
Hydropel®, MoldTru®, Vibrin®, the AOC name, the AOC logo, and the Trusted Solutions logo are registered trademarks of the AOC group of companies.
Nothing herein is to be construed as granting permission to use, or inducing or recommending the use of any patent or resulting invention without a valid license.
The information and recommendations contained herein are to the best of our knowledge accurate and reliable, but no rights whatsoever may be derived by any party other than those expressly agreed to with a selling entity of the AOC group of companies in a legally binding agreement. AOC hereby makes no warranty of any kind, express or implied, including those of merchantability and fitness for purpose. Unless explicitly agreed to in writing by AOC otherwise, all offers, quotations, sales and deliveries of AOC products are subject to the general conditions of sale of AOC.
© 2025 – AOC Group of Companies
For more information email: americas@aocformulations.com visit: aocformulations.com