2 minute read
Install mudguards


(1) Thread the mudguard between the forks, so it sits just on top of the tyre on the front wheel.
(2) Next, using the bracket attached to the front mudguard, secure it in place.
Advertisement
(3) Secure it to the forks with the bolts provided: On disc brakes, use the brake calliper hole on the left of the fork. On the other side, use the eyelets at the bottom of the fork.
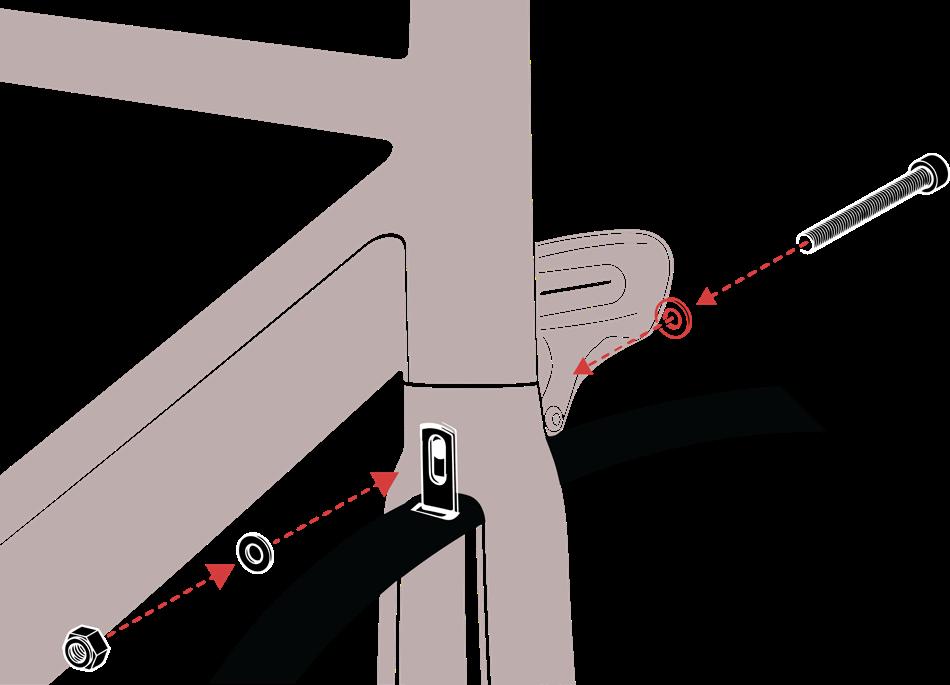
If the tyre rubs against the mudguard, then you can make fine adjustments by lengthening or shortening the stays. Ensure that you tighten all bolts before setting off.
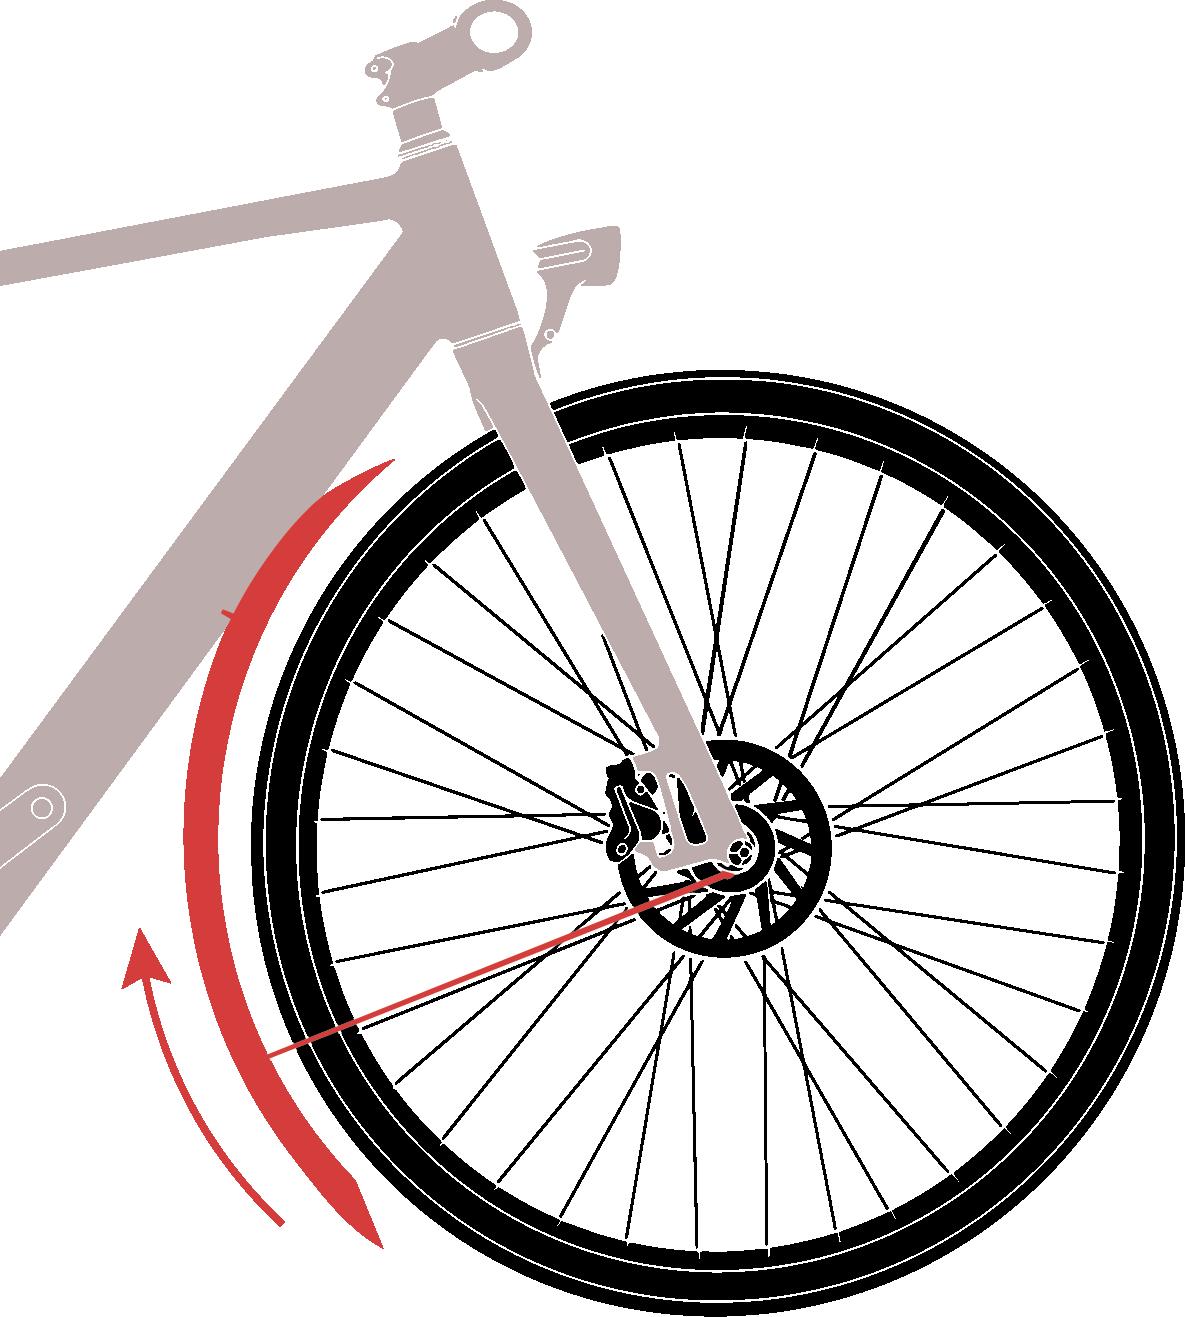
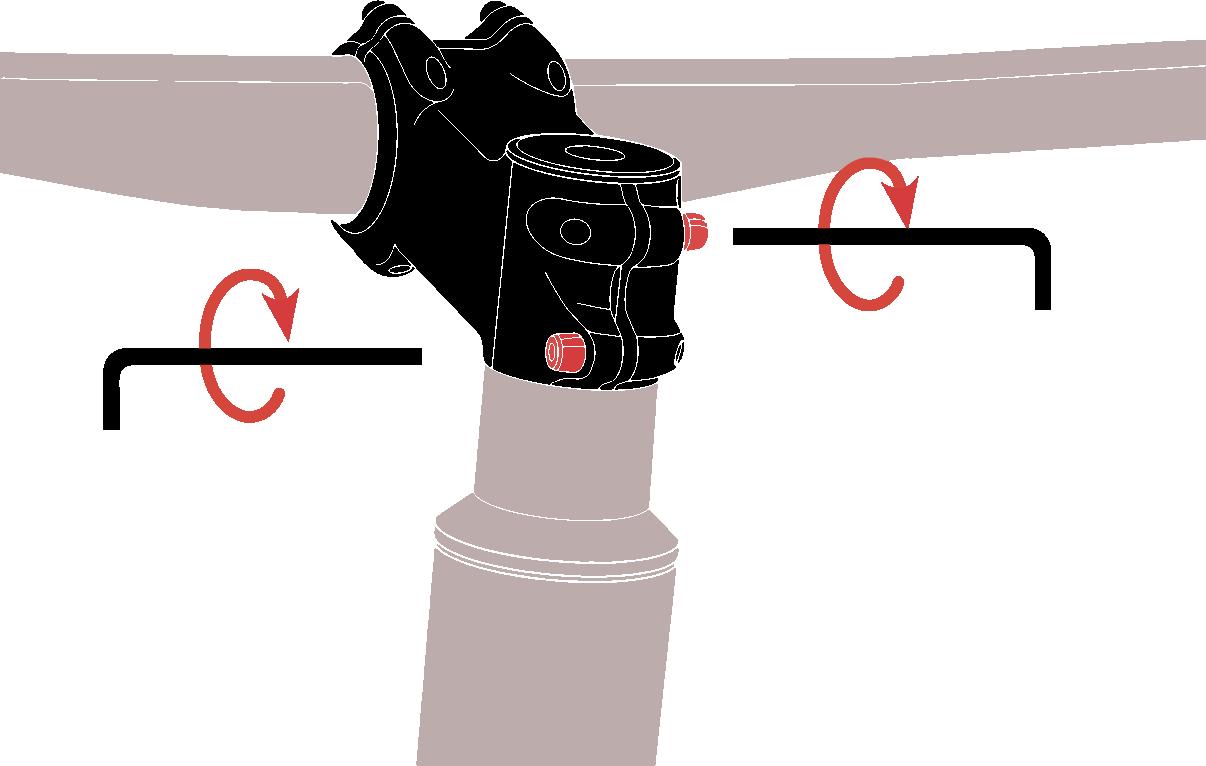
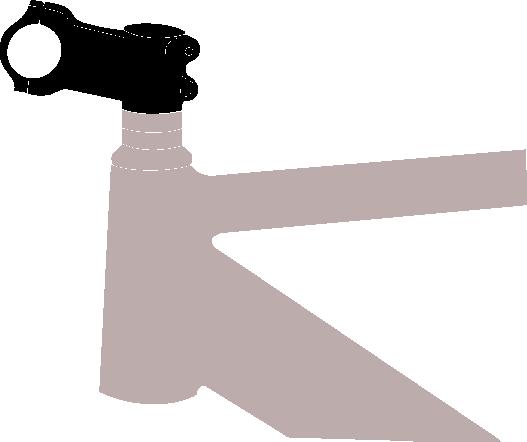
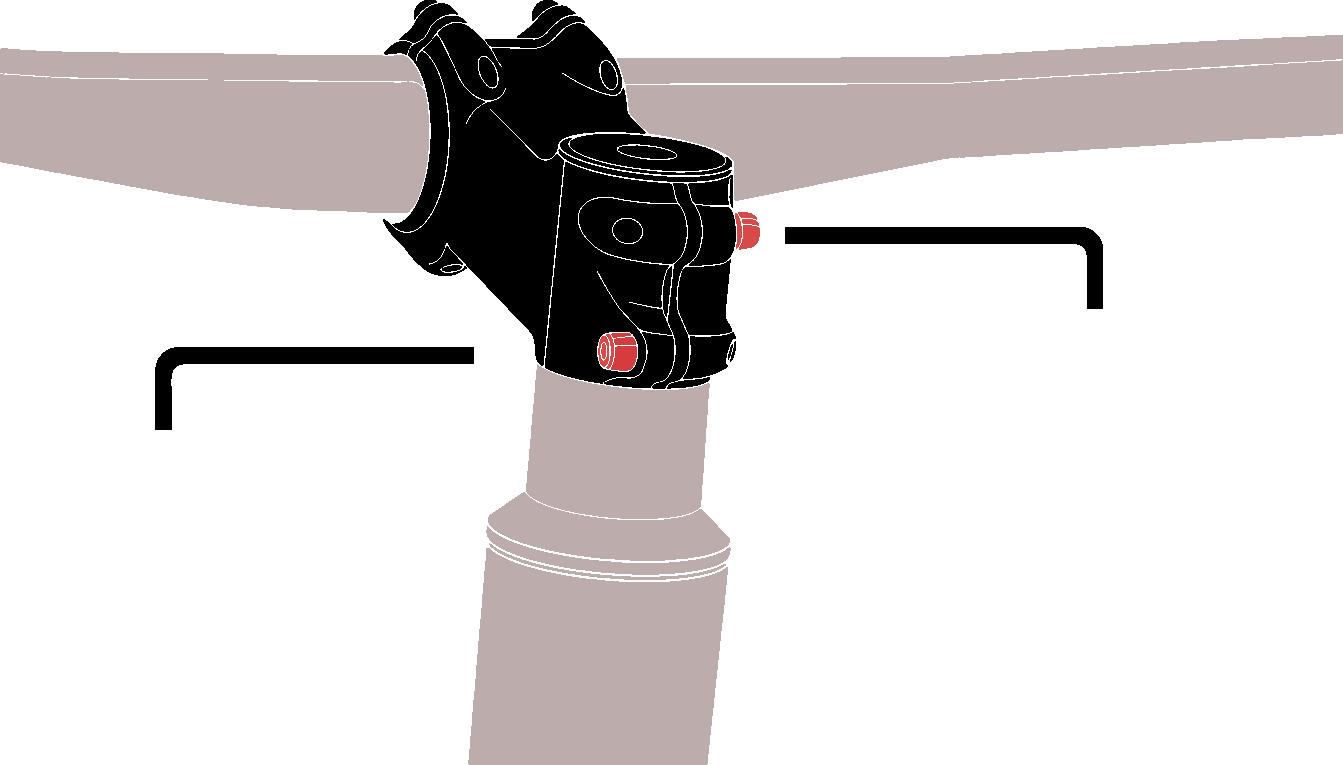
Rotate the stem toward the front
(1) Hold the head tube in one hand and rotate the stem toward the front with the other hand.
(2) Turn the two bolts on the stem clockwise with a 4mm hex key to secure them.

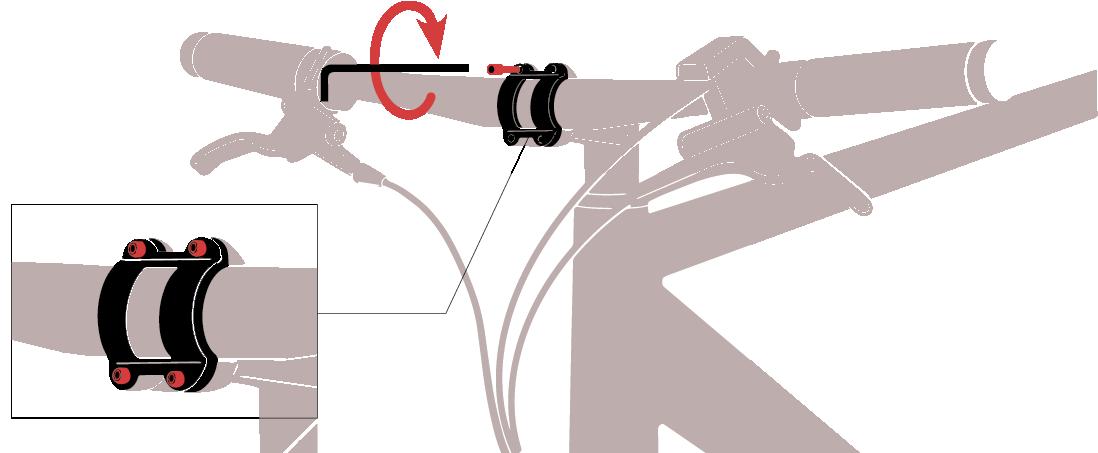
Attach the handlebar
(1) Use a 4mm hex key to unscrew the 4 handlebar clamp bolts by turning counterclockwise.
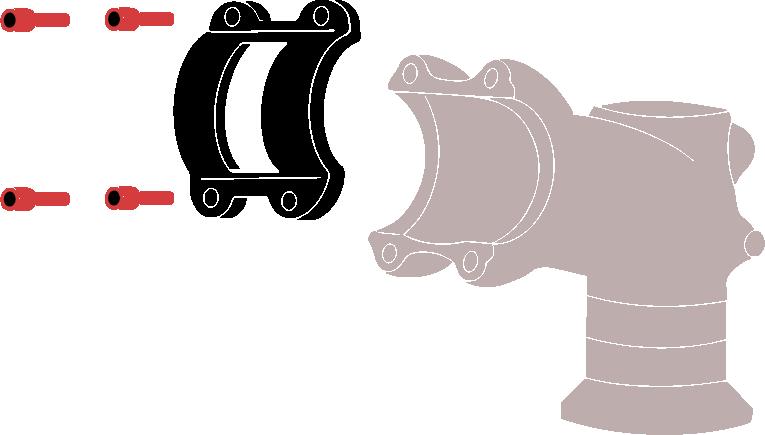
4mm Hex Key 5mm Hex Key
(2) Place the handlebar in a proper position so that the “cross symbol” is in the center.
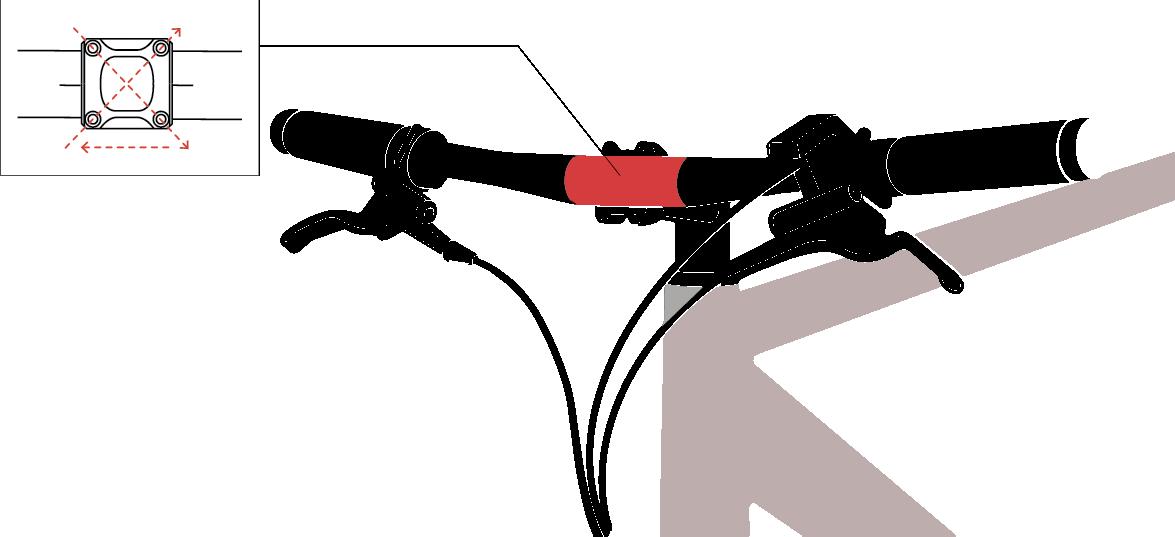
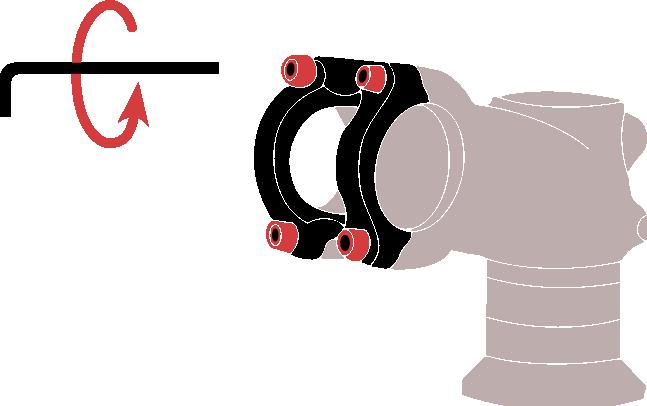
(3) Using a 4mm hex key, turn the four bolts clockwise to install them.
* Loosen the stem bolts and align the handlebar if it is not perpendicular to the front wheel. After the handlebar is in place and the bolts are in the proper positions, tighten the bolts.
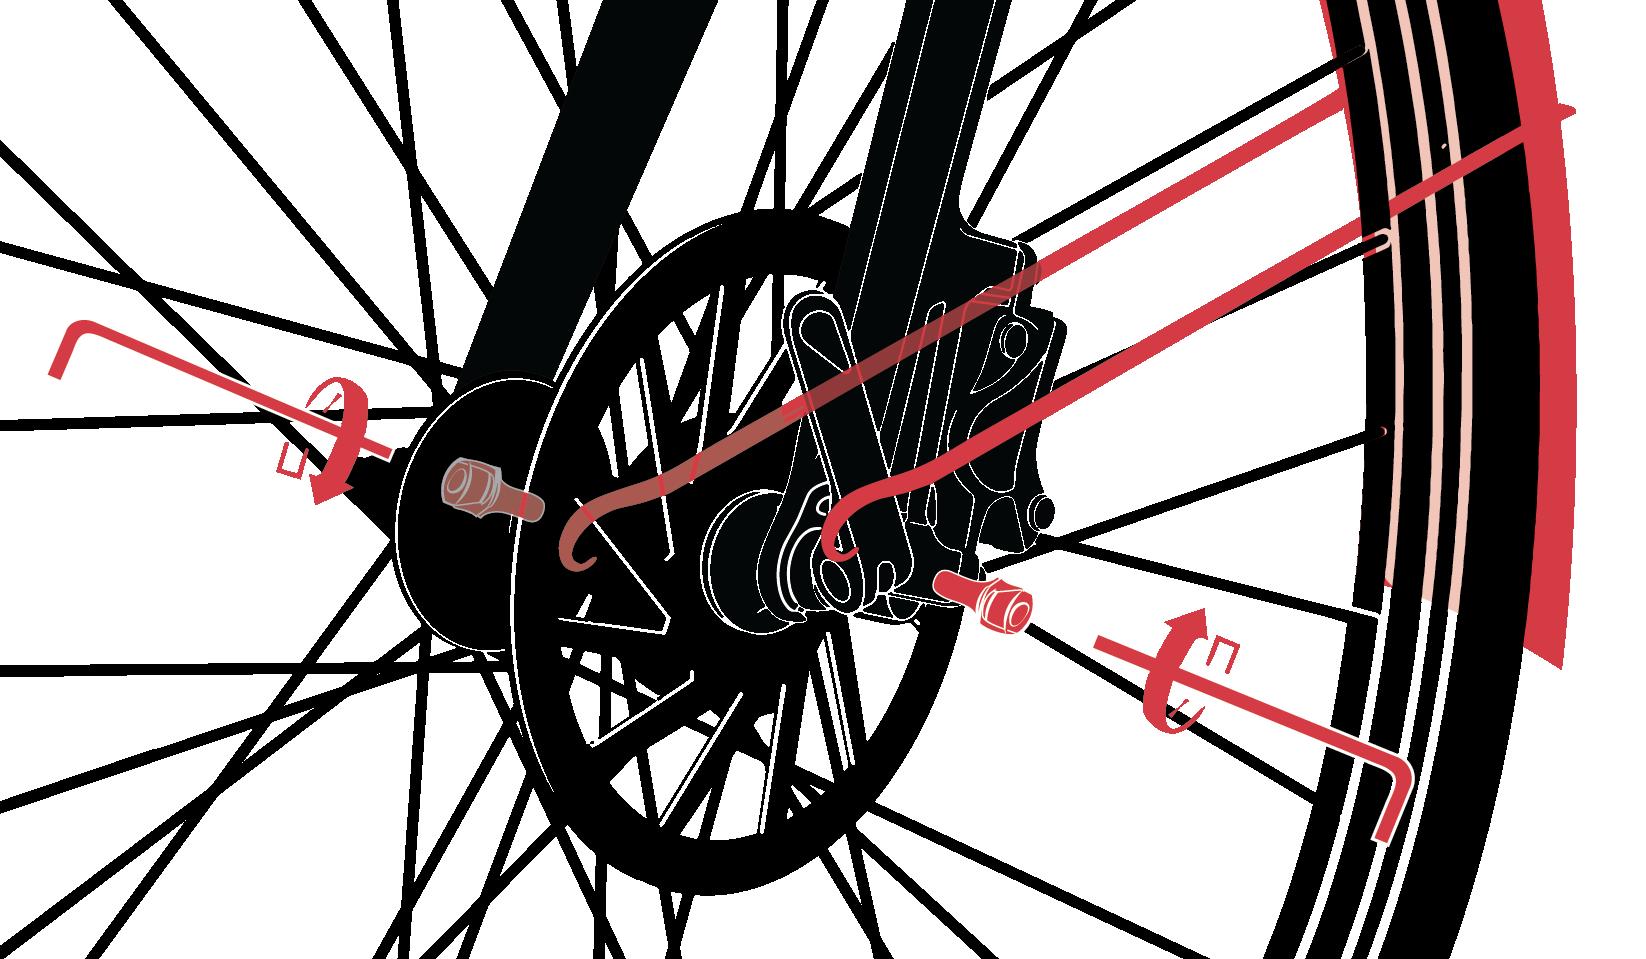
Align the disc brake
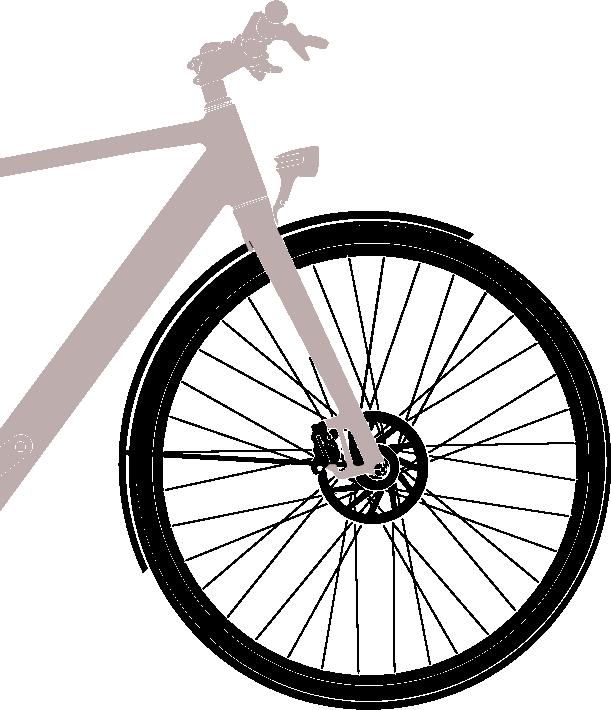
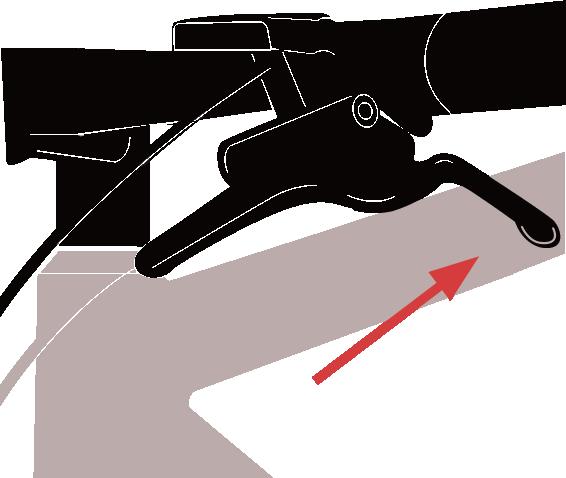
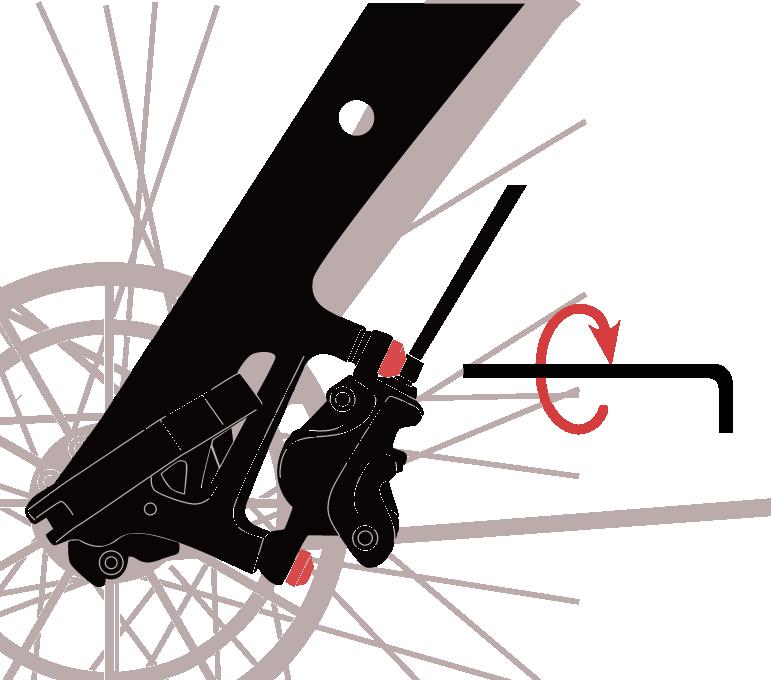
(1) Loosen the bolts of the brake caliper with a 5mm hex key, so it can be moved slightly
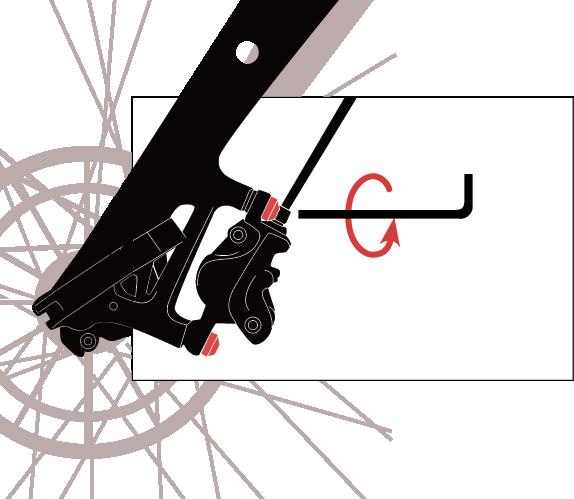
(2) Hold down the front brake lever, then tighten the bolts on the brake caliper with a 5mm hex key.
(3) Spin the front wheel to check if there is friction noise.
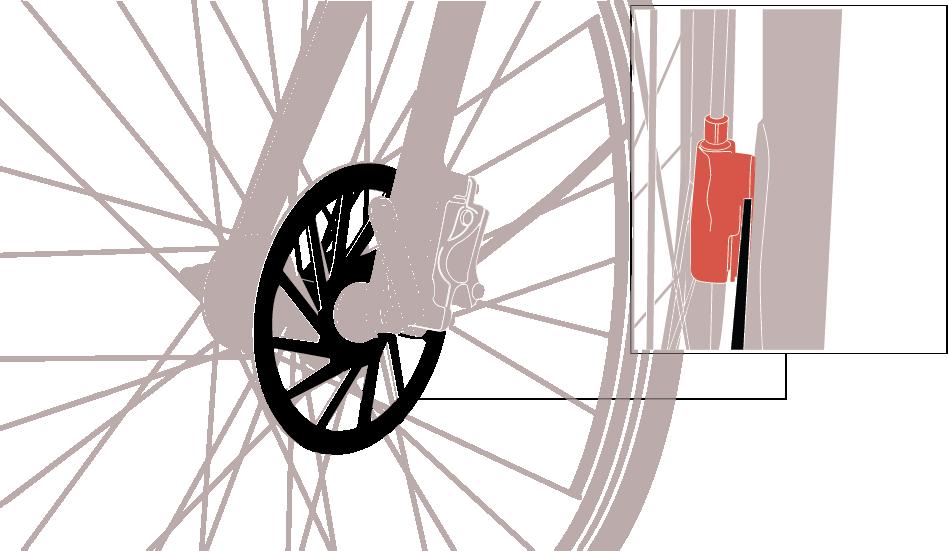
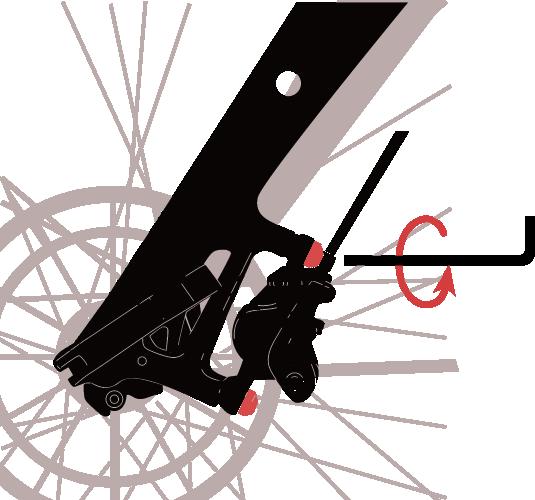
* If there is friction noise, please loosen the bolts on the brake caliper and manually move the brake caliper so that the brake disc is centered ( similar to Step (2))
Install the saddle and the rear light
(1) Open the seat tube’s quick release and loosening the adjustment nut in other side
(2) Put the seatpost into the seat tube, twist the seat to raise or lower the post as needed to the desired height. Hold the quick-release lever in place and tighten the bolt. Once the bolt is tight, close the lever.
(3) Loosen the bolt in the rear lights, then secure the rear light to the seatpost with that bolt.
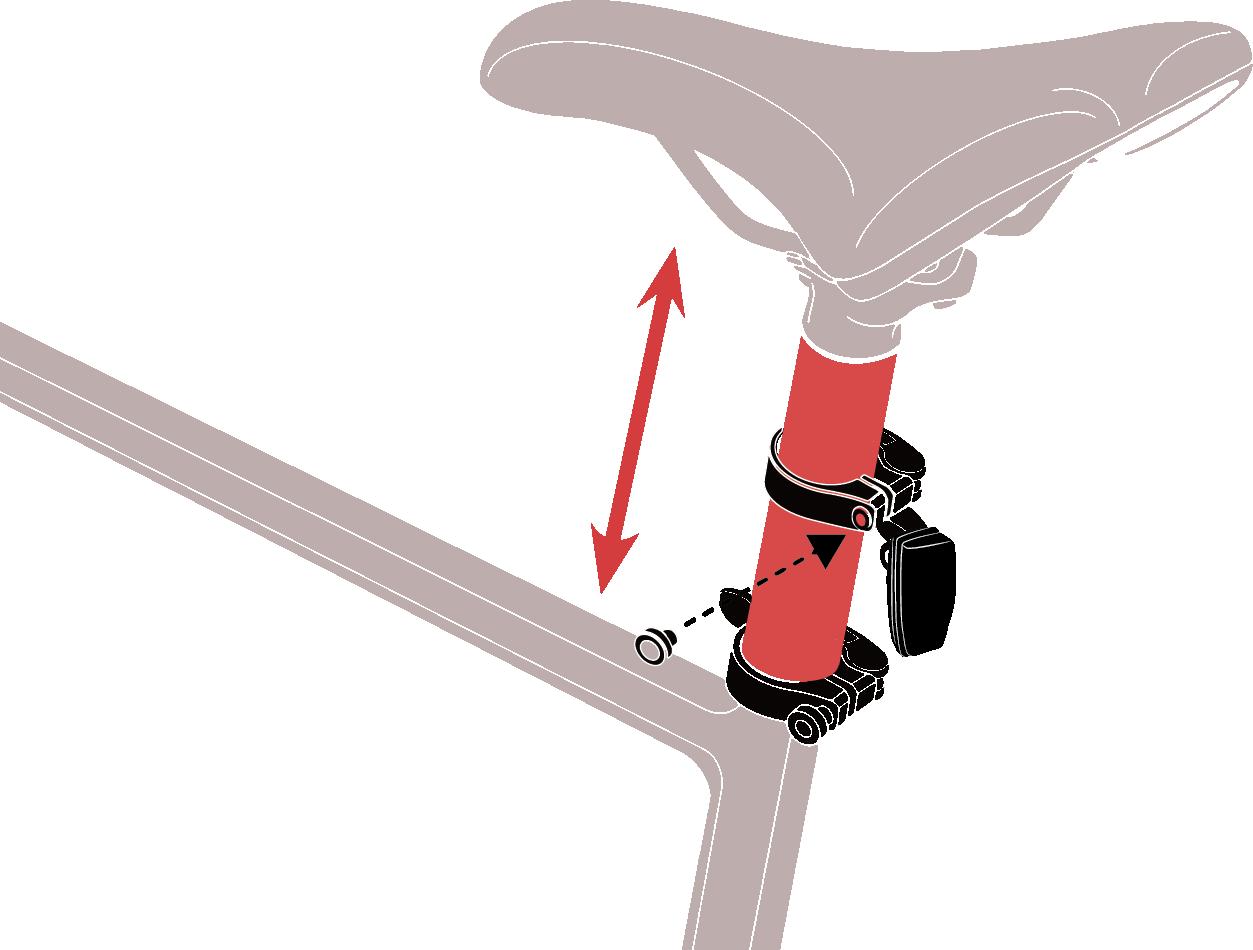
Before using the light, please open the rear light and remove the insulation.
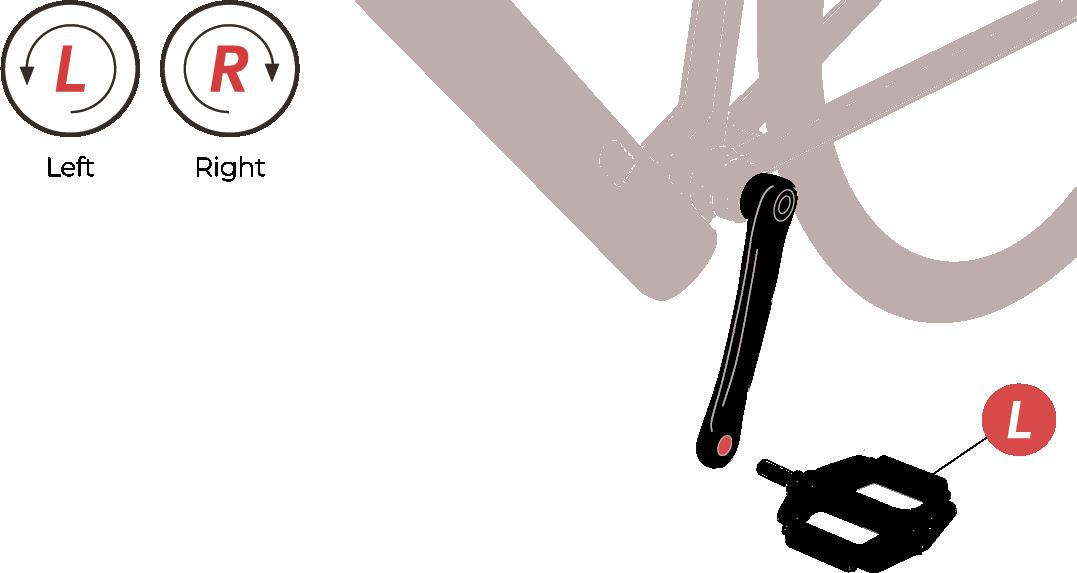
Install the pedals
(1) The pedals are labeled “R” (Right) and “L” (Left).
(2) Manually install the left pedal by rotating counterclockwise with a 15mm wrench.
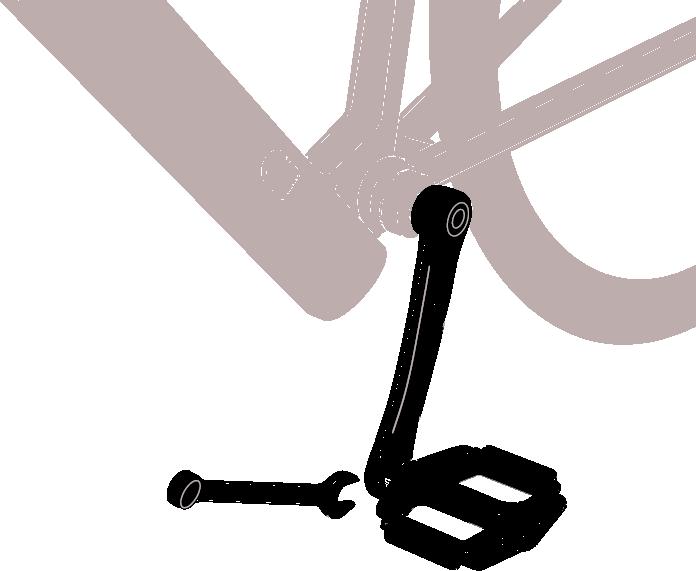
(3) Manually install the right pedal by rotating clockwise with a 15mm wrench.
Align rear derailleur
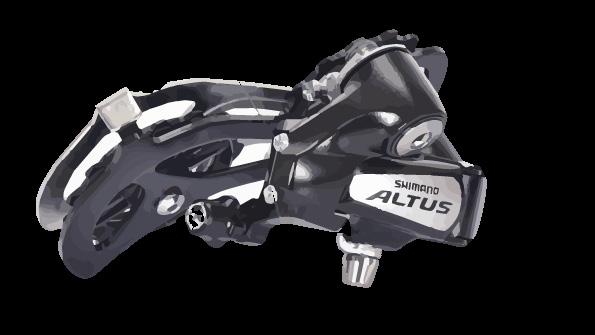
(1) Adjust L limit screw and H limit screw :
H: Small chainring high-speed adjustment
L: Large chainring low-speed adjustment
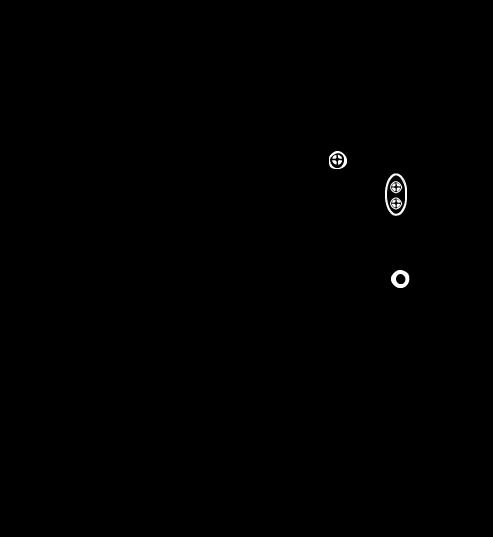
• To place the guide pulley to precisely beneath the smallest gear, use the “H” screw to adjust.
Smallest Gear
“H” Screw
*Adjust “H” limit screw
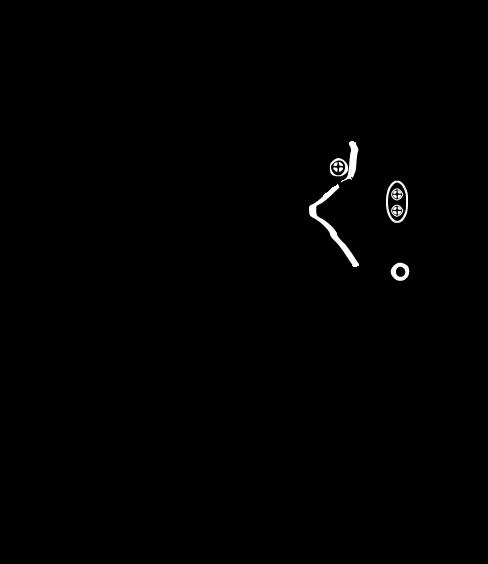
• To prevent the chain from falling or creating noise, move the shifting lever to the low side and make necessary adjustments with the “L” screw.
Biggest Gear
*Adjust “L” limit screw
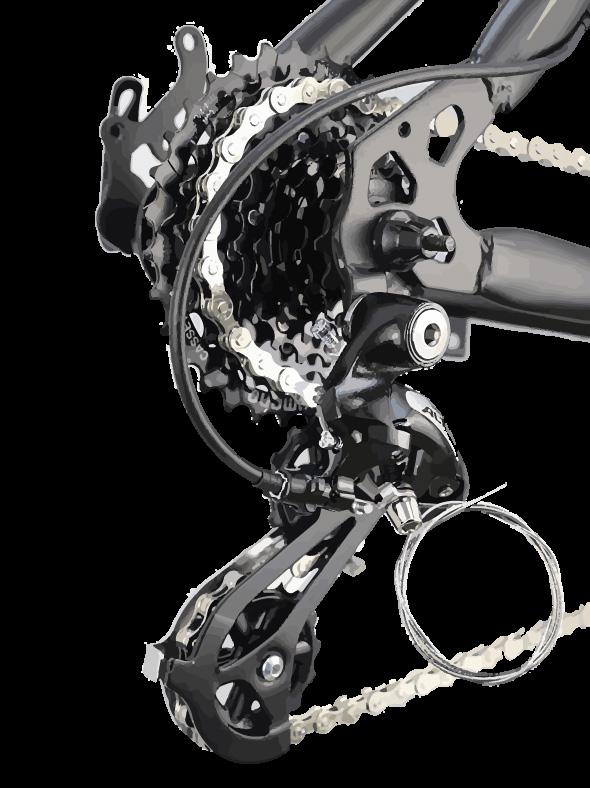
(2) Set the shifting lever to the top position, take up slackness in the cable and tighten the cable fixing nut
Cable Adjusting Bolt Unit
Cable Fixing Bolt Unit
* This is just a basic alignment guide. When you receive e-bike, if you have hard problems or want to make advanced adjustments, you should contact the shop where you bought e-bike for advice.


