
Equestrian Traveler’s COMPANION

What Members Are Saying About Recent Services
"No room for improvement. The specialist stayed in contact with me during the entire event, was friendly and courteous, and I was glad to have someone like that on the line."
— Carol C, AZ (May '25)
"Member Care Specialist arrived promptly, was very polite, and quickly had us on our way. He mentioned that a family member owned horses and so he was especially mindful of ours sitting in a hot trailer waiting to get back on their way."
— Phyllis K, FL (May '25)
"USRider is an excellent company!!! I am absolutely totally satisfied with everything they’ve ever done for me. I truly feel safe and I know that if I have a problem, they’ll know how to solve it and get it done."
— Cheryl B, FL (June '25)
"I really appreciate the procedure where the member care specialist not only responds by telephone, but provides a direct number that can be called or messaged - I was in a circumstance where communication by telephone was difficult, but texting worked."
— Kimberly W, ON Can (June '25)
"Tiffany was amazing! I don't know what we would of done without US Rider. We had a blowout in the motorhome and hauling 2 horses in our bumper pull. We were on the side of the highway in 104 degrees. Within 26 minutes a mobile tire truck arrived and had us back on the road. Thank you Tiffany, you were awesome."
— Gena E, CA (July '25)
"I really appreciate the fact that USRider's first question is "are you and your horse in any danger." Also really appreciate that their dispatchers have working knowledge of horses, trucks and trailers."
— Matthew R, NY (July '25)
"I highly recommend USRider to all my friends all the time, have not been let down and everyone I’ve had contact with has been completely supportive, professional, respectful and caring!"
— Cindy B, CA (Aug. '25)
"I felt like I was the only customer they had. He ensured my safety, as well as asking about my horses. He made sure I was taken care of and followed up to make sure that everything went smoothly."
— Teresa A, CA (Aug. '25)
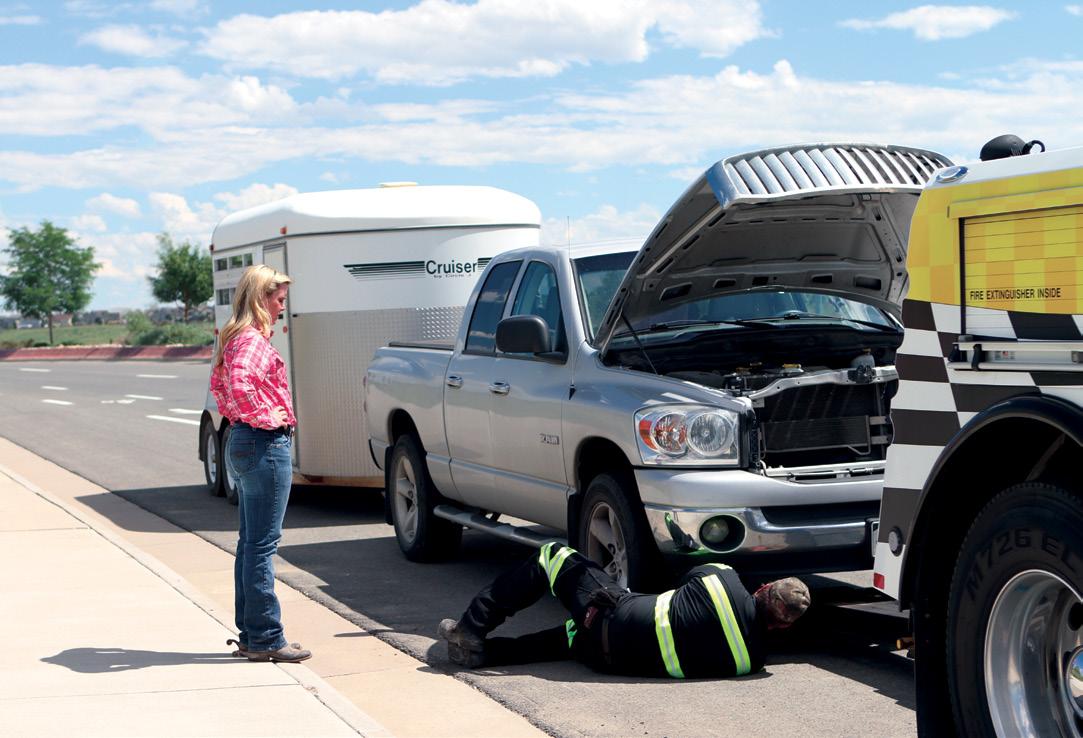
Travel with confidence knowing USRider will get you back on the road safely and efficiently, should unexpected vehicle or trailer problems occur.
SEASONALTIP
Prep Your Trailer for Winter
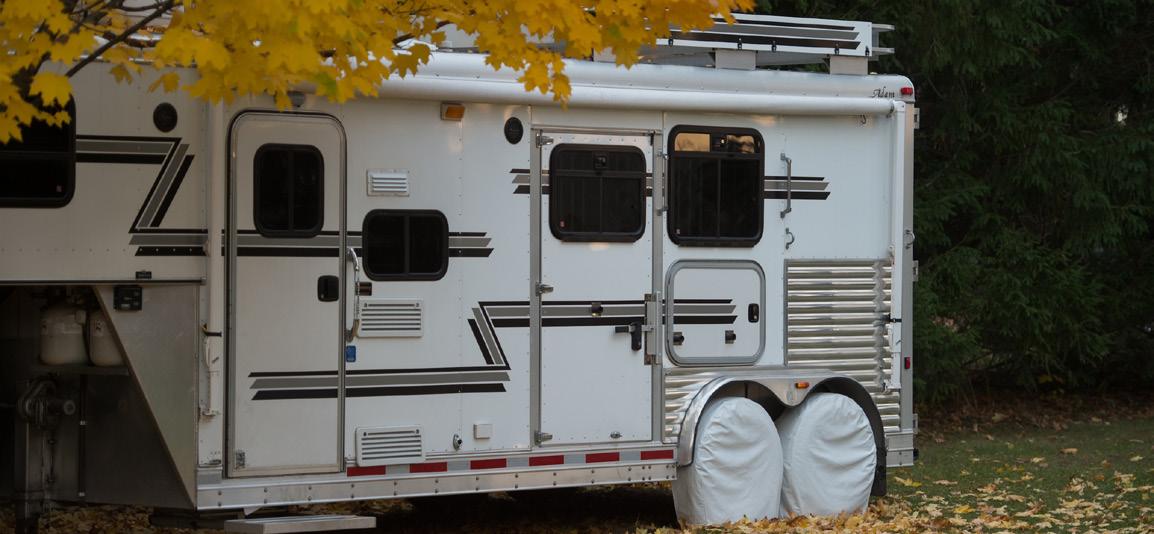
Before you store your trailer for the winter, perform preventive maintenance to ensure that it’ll be in optimal shape for the upcoming riding season.
Before you store your trailer for the winter, perform preventive maintenance. This is important not only in case an emergency arises, but also to ensure that your trailer will be in optimal shape for the upcoming riding season. Follow these trailer-storage-preparation tips:
• Take stock. Evaluate the trailer’s tires, emergency breakaway battery, and overall condition. Make any needed repairs and upgrades. Check the contents of equine and human first-aid kits. Replace depleted and out-of-date items. (For a vet-recommended list of items for an equine first-aid kit, visit www.usrider.org.)
• Baby the battery. Remove the emergency breakaway battery, and store it inside. Charge the battery at least every 90 days.
• Wash and wax. Thoroughly wash and clean your trailer’s interior and exterior, and wax its painted surfaces.
• Oil moving parts. Lubricate mechanical moving parts, such as the hitch and suspension parts that are exposed to the weather, plus hinges and jack stands. Note: On oil-lubricated hubs, the upper part on each roller bearing isn’t immersed in oil, so is subject to potential corrosion.
• Store indoors or cover. If possible, store your trailer inside, out of the elements. If inside storage isn’t available, purchase a trailer cover. Cover the tires, as well. Trailer and tire covers are available through trailer and RV dealers.
• Offset weight. After your trailer is in position, jack it up, and place jack stands under the trailer frame so that the weight will be off the tires. Follow the manufacturer’s guidelines to lift and support the unit. Never jack up or place jack stands on the axle tube or on the equalizers. For maximum bearing life, revolve the wheels every two to three weeks during periods of prolonged storage.
Tie Your Horse Safely
Horses are well-known for getting their legs and hooves into dangerous places—and the side of a trailer has many potential traps for those fragile structures. Tragic injuries include a hoof trapped between tires, through the windows, or in vents— or a halter caught on a protruding obstacle, such as a hasp, door hinge, or bucket hooks. Here’s how to safely secure your horse outside your trailer. Tie high. Tie your horse higher than his withers to limit the amount of leverage he can place on a tie. Leave enough slack that he can lower his head to clear his airways, but make sure he isn’t at risk of catching a hoof in the tie rope.
Consider an overhead tie. Overhead trailer-tying products give your horse more room while keeping him farther away from your trailer that straight tying does. I recommend the HiTie Trailer Tie System (available from EasyCare Inc.) and the Overhead Spring-Tie. Alternatives include a release mechanism that releases your horse after a specific amount of pressure is applied.
Place a panic snap. Attach a panic snap at the far end, away from your horse, not onto his halter. If he starts to panic, you shouldn’t get close enough to get hurt.
Have a weak link. Have something in the tie system that will break if your horse really struggles, such as a leather latigo, a hook-and-loop fastener, a piece of hay string, or even a cheap metal clip. Prevent boredom. Give your horse plenty of hay to minimize injury-causing behavior problems, such as fiddling and pawing.
— Rebecca Gimenez Husted, PhD
Give your horse plenty of hay to minimize injury-causing behavior problems, such as fiddling and pawing.
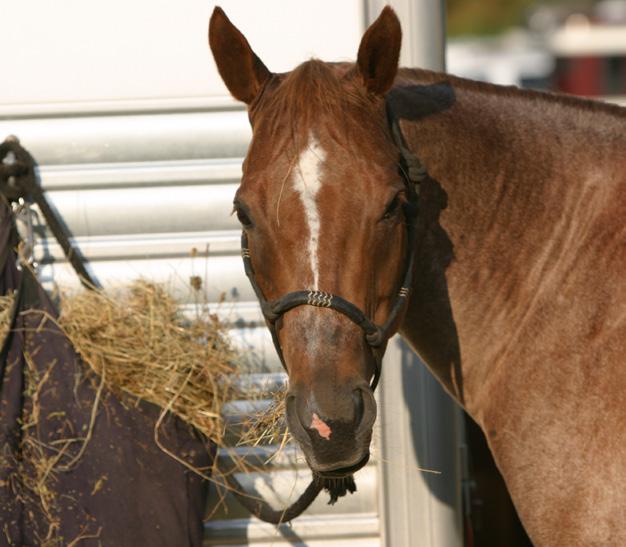
PHOTO BY HEIDI MELOCCO
PHOTO BY CLIXPHOTO.COM
USRIDERMEMBER TIP
Know Your Location
If you need roadside assistance, a USRider service provider needs to know your location. After ascertaining that you and your horse(s) are okay, a Member Care Specialist will ask you for a street address. If you can’t provide your exact location, road names and landmarks will help.
When you trailer your horse, make it a habit to be aware of the city you’re in and the city coming up. Take note of mile markers and major intersections. If you’re on an interstate, know the nearest exit names or numbers. Travel with a GPS unit or a cellphone with a good map app. USRider can use this information to pinpoint your location. Also carry a paper map to orient you.
If you have difficulty pinpointing your location, USRider can conference you with a service provider in the general area to assist you.
HEALTHTIP
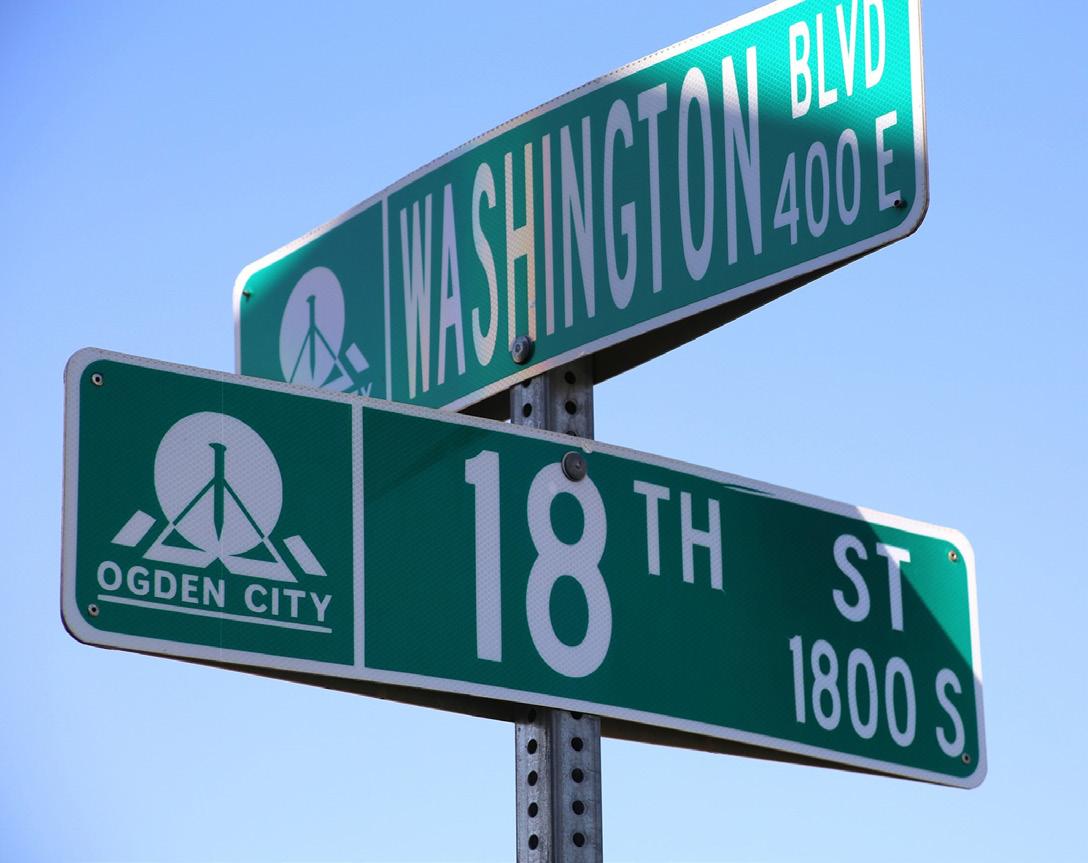
If you need roadside assistance, a USRider service provider will needs to know your location. Be aware of signs, mile markers, and major intersections.
Fall-Feeding Guidelines
Most people know you shouldn’t start, increase, or change grains rapidly. This is one of the most dangerous things you can do in terms of risking intestinal upset. However, what you may not realize is that changes in hay can be bad, too. Different cuttings under varying growth conditions and even different strains of the same type of forage can vary widely.
Rapid changes in pasture plants can also cause problems for your horse if their composition changes too much. This is especially true in the fall and spring when grasses are growing (or regrowing) at a rapid rate. In the fall, cool-season grasses are higher in sugar and starch than warm-season grasses, which can cause intestinal upset.
When making seasonal adjustments to your horse’s grain, hay, and forage, both at home and on the road, be sure to give his digestive tract time to adapt. These guidelines can help prevent feeding-related gut upsets:
• Introduce grain feeding gradually, no more than 1 pound per feeding.
• Allow three days between each increase in grain to enable organisms to adapt.
• Don’t feed more than 4 pounds of grain at one time.
• Make changes in hay gradually, replacing from 10% to 25% of the old hay with the new variety; increase every three days.
• Accustom your horse to cool-season pasture grasses gradually.
• Keep hay available for horses on young growths of grass to provide complex and slowly fermented fiber, which the grasses may be lacking. Eleanor M. Kellon, VMD
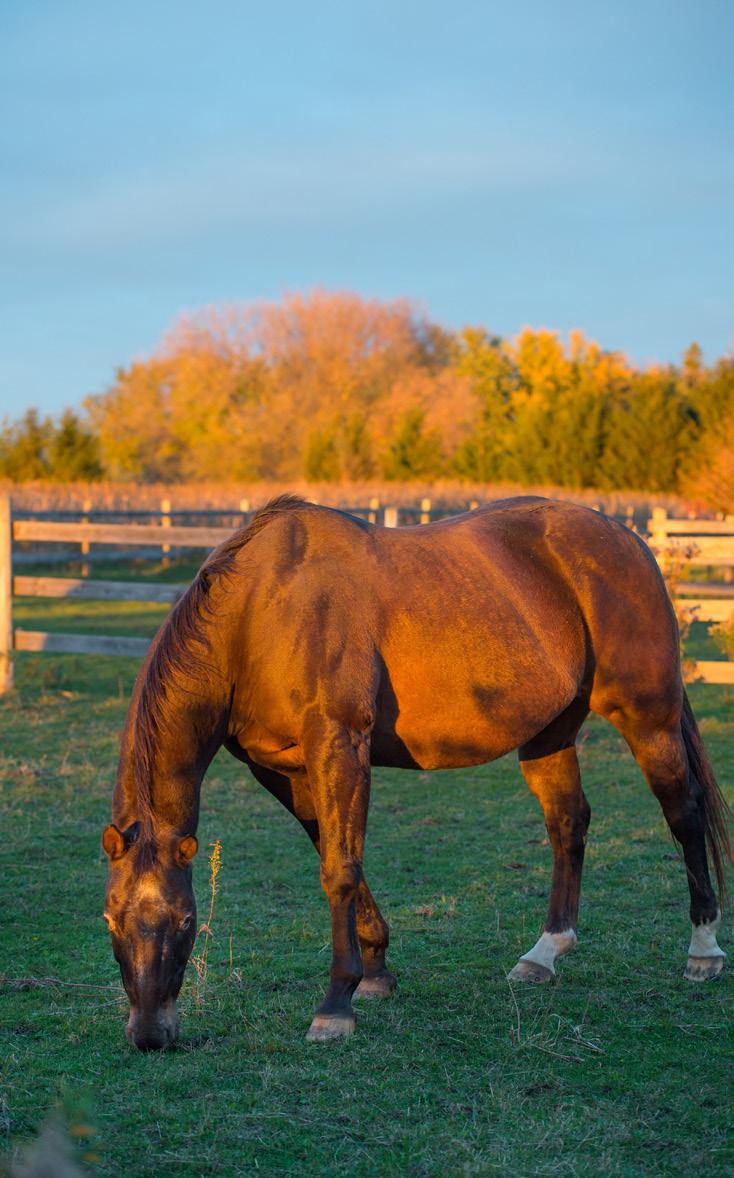
Cool-season grasses are higher in sugar and starch than warm-season grasses. Accustom your horse to fall pasture gradually.
Guard Against Glare

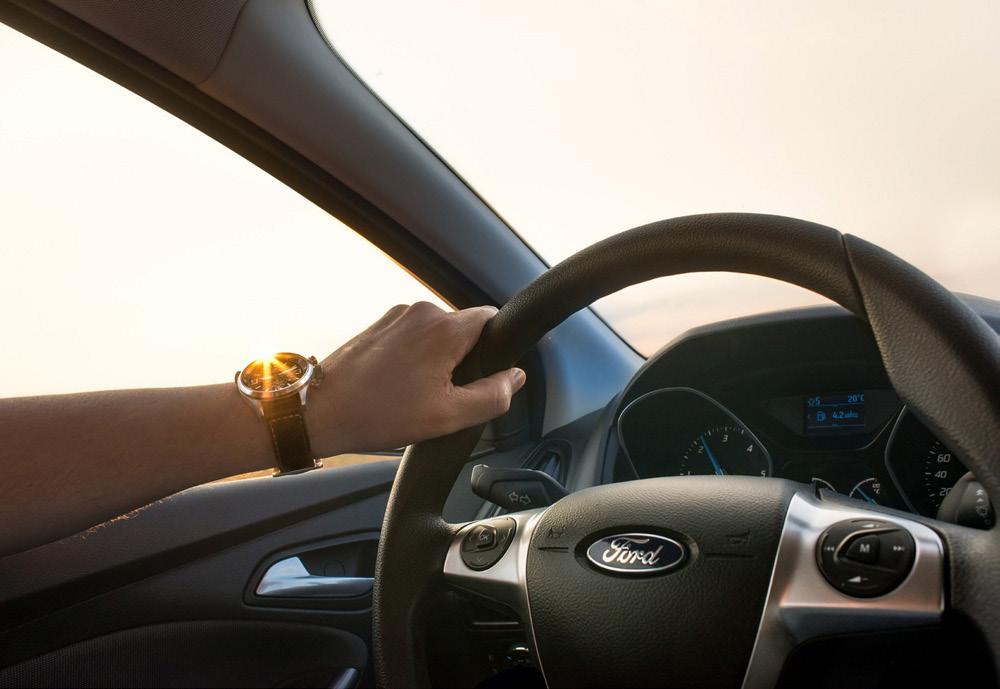
Sun glare is not only annoying, it’s also dangerous. It can leave you blinded for two to three seconds after exposure while your eyes adjust.
You love traveling with your horse in the fall when the air is cooler and there are fewer drivers on the road than in the summer. You might be traveling to an end-of-season show, your eye on a string of ribbons or maybe even a championship trophy. Or, you might be headed to see the spectacular fall colors on an overnight camping adventure.
You’re now on the open road. It’s late afternoon. You’re exhausted from driving all day. Your route runs due west. There’s not a cloud in the deep-blue fall sky.
As the sun continues to sink, the sun angles directly into your eyes. You can’t tell whether the stoplights are red, yellow, or green. You hold up your hand to block the sun’s rays, compromising your ability to react in an emergency and limiting your visibility even more. You’re at risk for an accident that could bring serious harm to yourself, your horse, and other drivers.
During the fall equinox, the sun sits low in the sky because of the tilt of the earth’s axis. The resulting glare can make driving a challenge for equestrian travelers.
PHOTO BY KENT AND CHARLENE KRONE
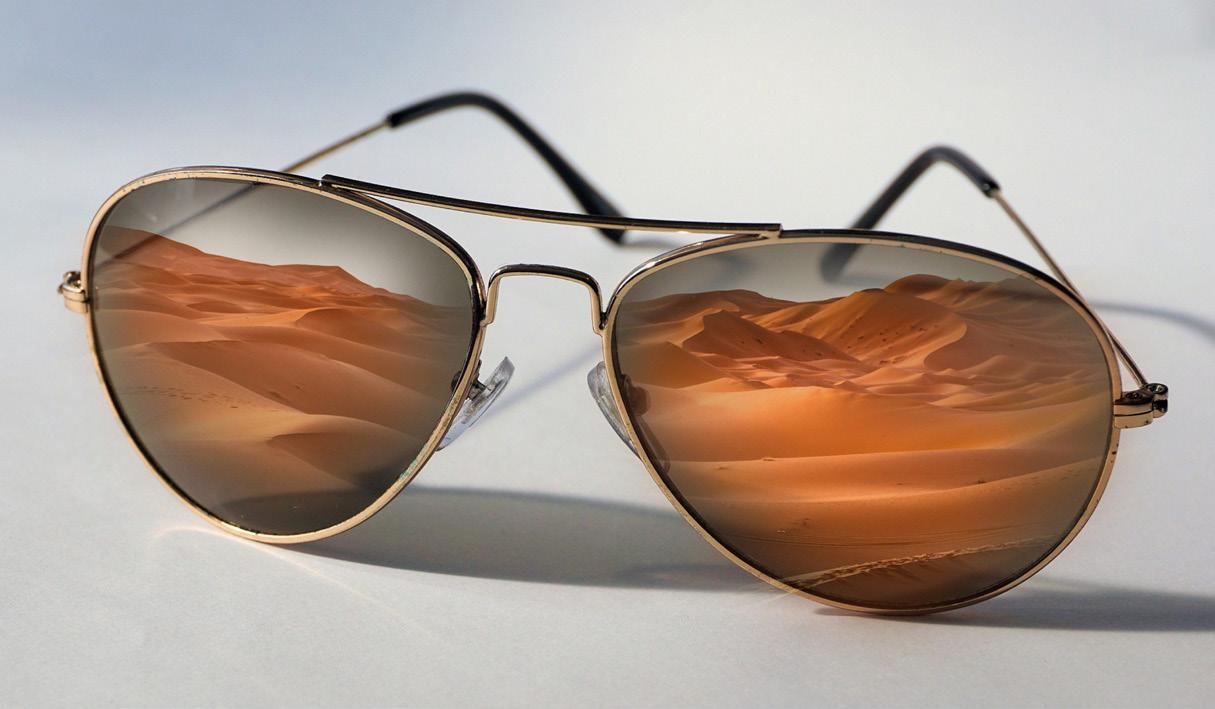
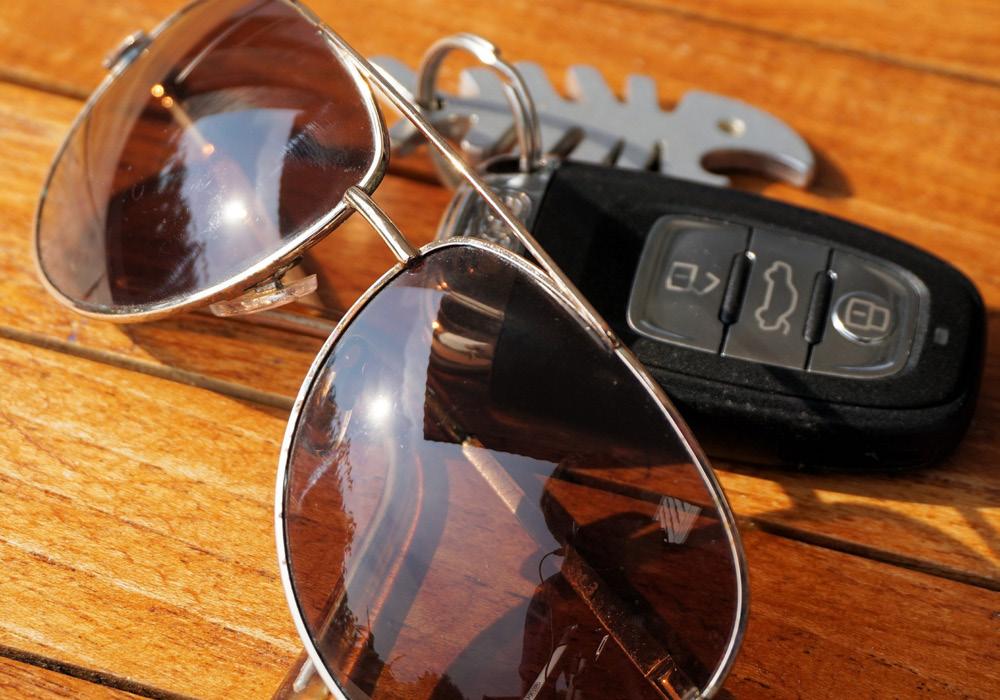
Gray lenses (left) help reduce glare. You can wear gray lenses in sunny or cloudy conditions, so they’re recommended for driving in any kind of weather conditions. Brown or amber lenses (right) cut glare and improve depth perception, but aren’t recommended for cloudy days.
’Tis the Season
Sun glare (difficulty seeing in bright direct or reflected light) can be a challenge for equestrian travelers any time of year, but it’s especially blinding around the fall and spring equinoxes. During each equinox, the sun sits low in the sky because of the tilt of the earth’s axis at this time of year.
The earth tilts in such a way that the sun’s rays shine precisely along an east-west axis, directly on the equator. The resulting glare can leave you blinded as you tow your equine friend in the early morning and late afternoon hours. And the sun’s lowered position continues for weeks following the equinox.
“ Sun glare is not only annoying, it’s also dangerous. ”
Sun glare is not only annoying, it’s also dangerous. It can leave you blinded for two to three seconds after exposure while your eyes adjust.
Glare Busters
Here are eight recommended ways to reduce the effects of sun glare.
• Replace your sun visors. Replace your tow vehicle’s inside visors if they’re worn or don’t work well. Consider investing in an outside visor, as well.
• Clean your windshield. Dirt and debris refract the sun’s rays, worsening glare. Clean your windshield inside and out before, during, and after each trip.
• Keep it clean. Replace your windshield wipers if they’re worn or don’t work well. Keep your vehicle’s windshield-cleaner reservoir full. Clean your wind-
shield every time you stop for fuel and during every driving break.
• Wear polarized sunglasses. Light beams are scattered until they hit a flat surface. Then the reflected beams polarize—that is, travel in a more uniform direction, usually horizontally, which intensifies the light, causing glare. Polarized lenses have a laminated coating applied in a vertical pattern. This blocks the glare-causing horizontal rays, improving your ability to see in challenging conditions.
• Choose the right color. Gray lenses help reduce glare, especially the glare from wet roads and bodies of water. You can wear gray lenses in sunny or cloudy conditions, so they’re recommended for driving in any kind of weather conditions. Brown or amber lenses cut glare and improve depth perception, but aren’t recommended for cloudy days.
• Pull over. When you can, plan to stay off the road during the day’s most intense glare. Stop for a meal. Fill your fuel tank. Stretch your legs. Find a safe, shady area where your horse can rest outside of your trailer.
• Leave room to stop. Leave plenty of room between you and vehicle in front of you so you have room to stop. You might not always be able to see the vehicle in front of you. Or, the vehicle in front of you (or up ahead) might stop suddenly.
• Reduce speed slowly. You might reach the top of hill or come around a bend to find yourself completely blinded by the sun. Avoid slamming on the brakes. The driver behind you is likely to be blinded, as well, and could rear end your trailer. Use the lines on the road to guide you, and reduce your speed slowly.
— René E. Riley
Keep On Riding
Stay in the saddle long into your golden years with this five-step program from top trainer/clinician Julie Goodnight.
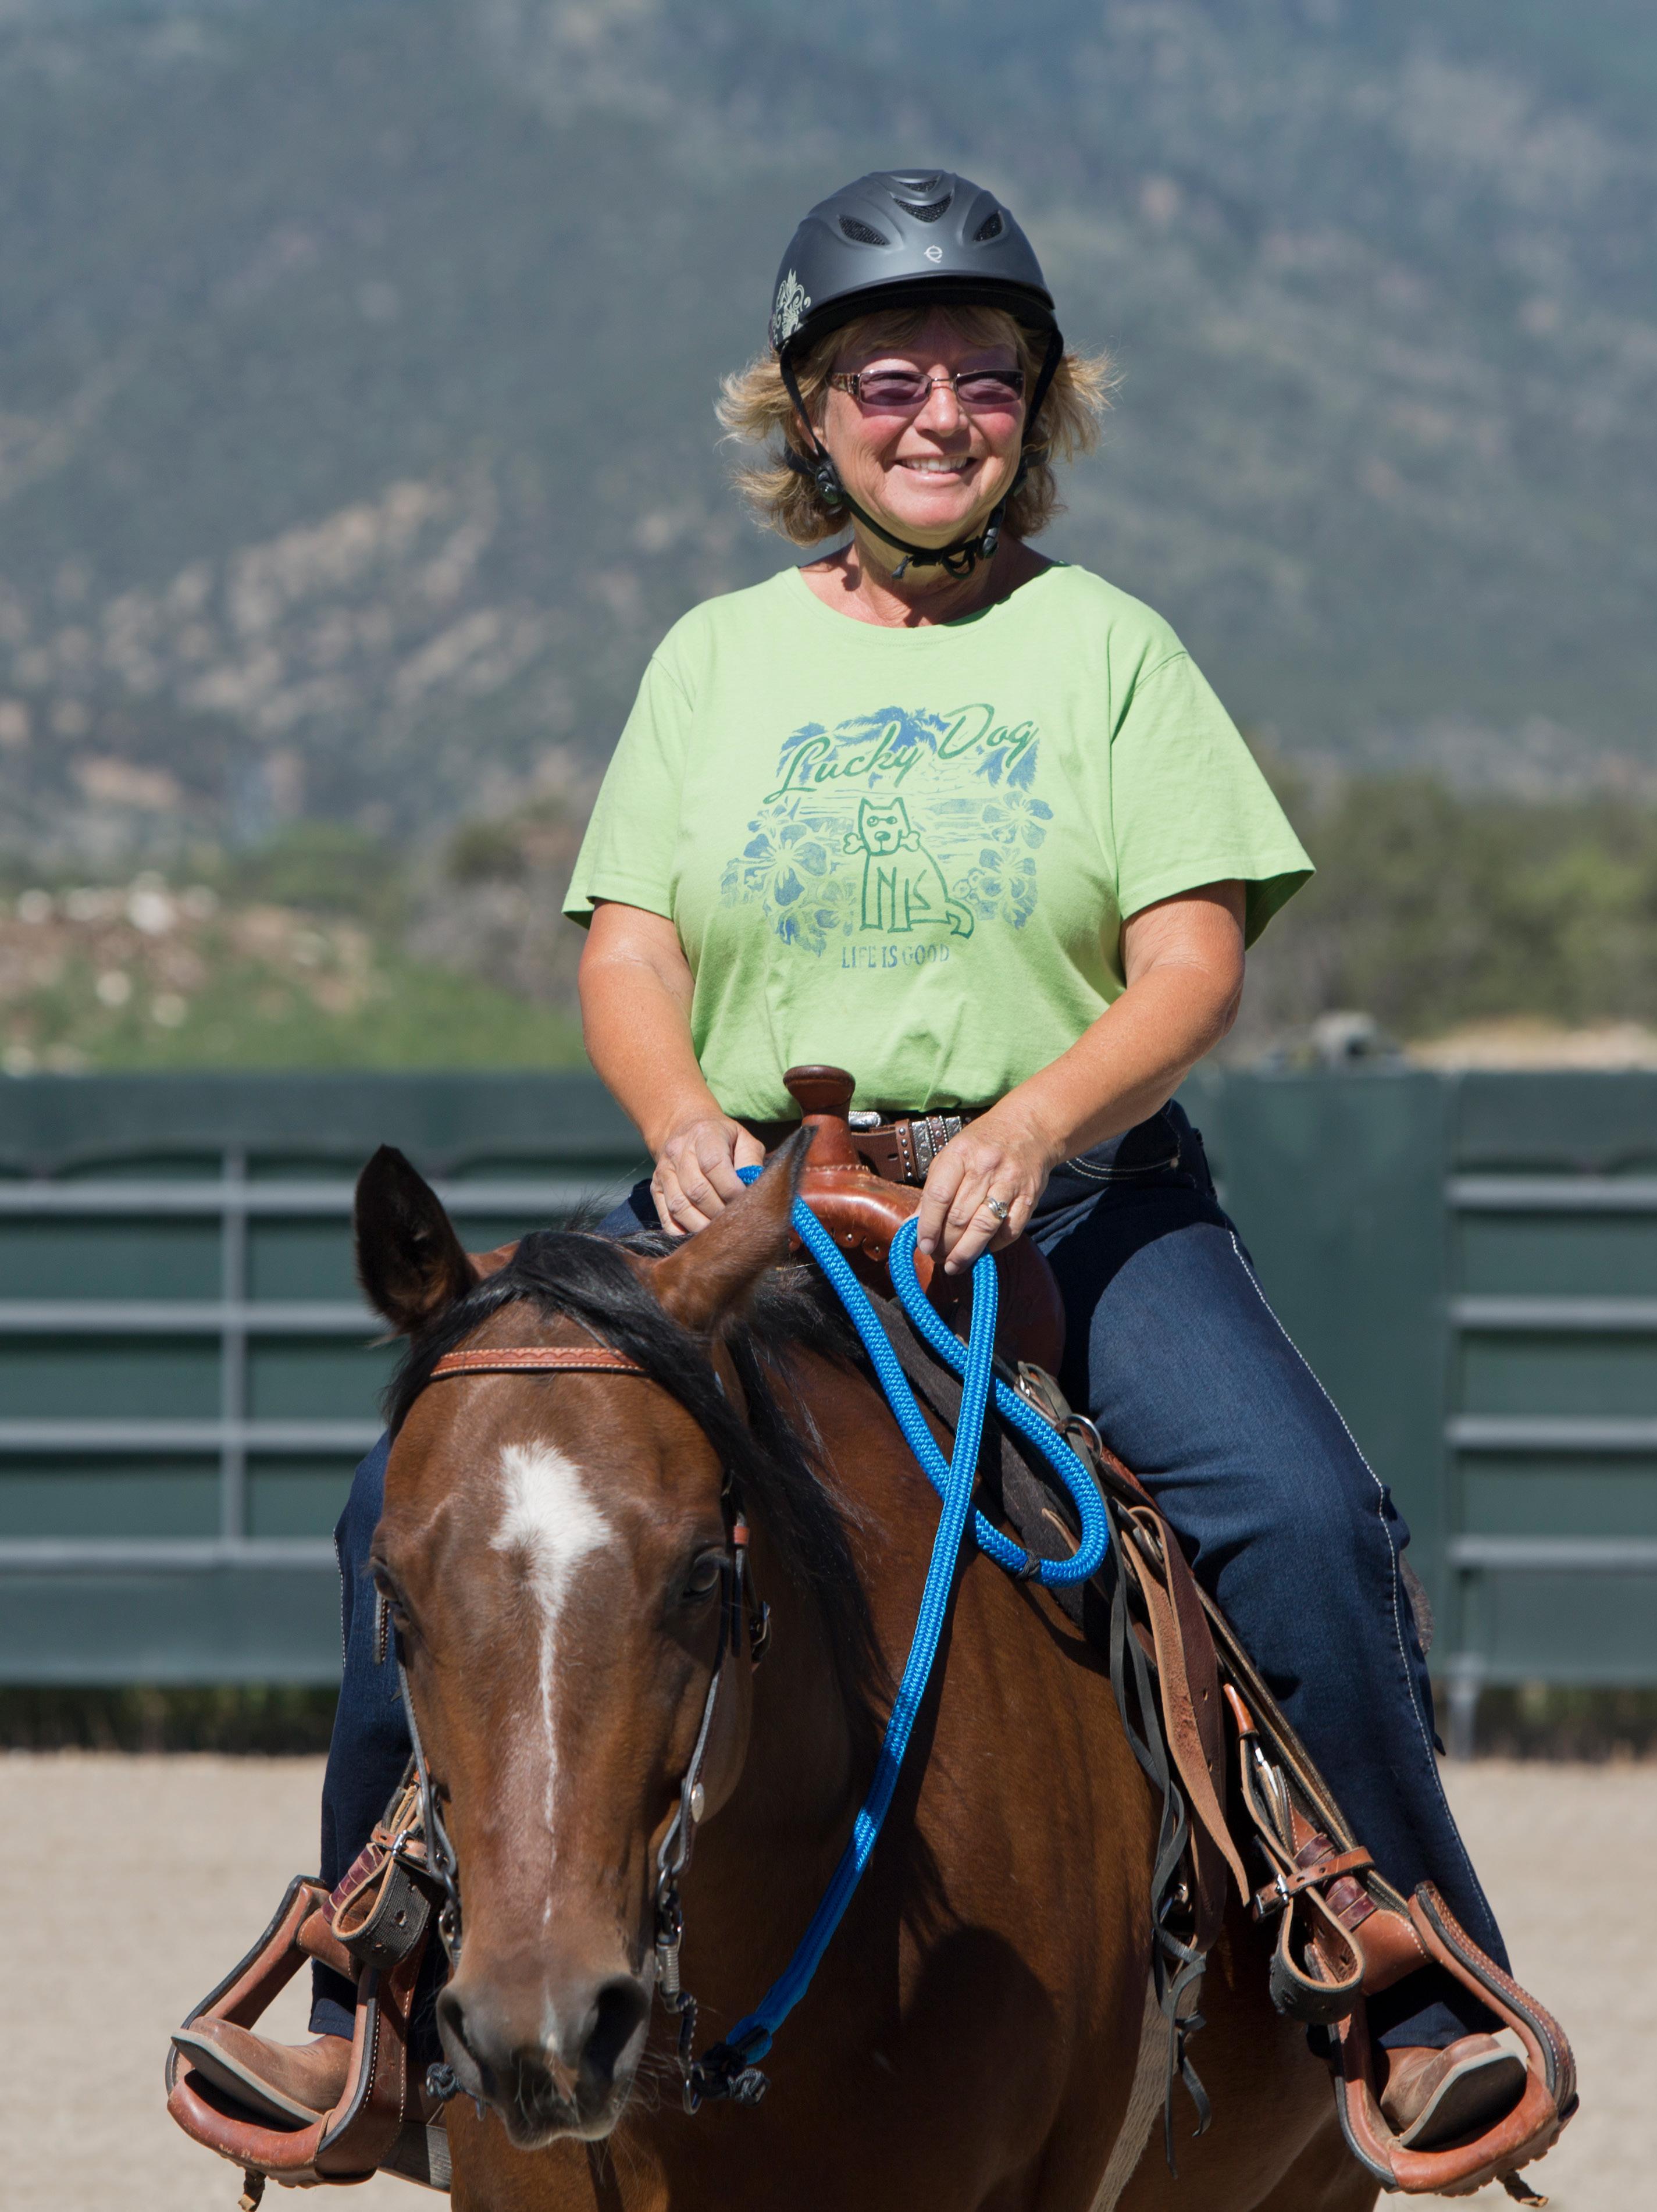
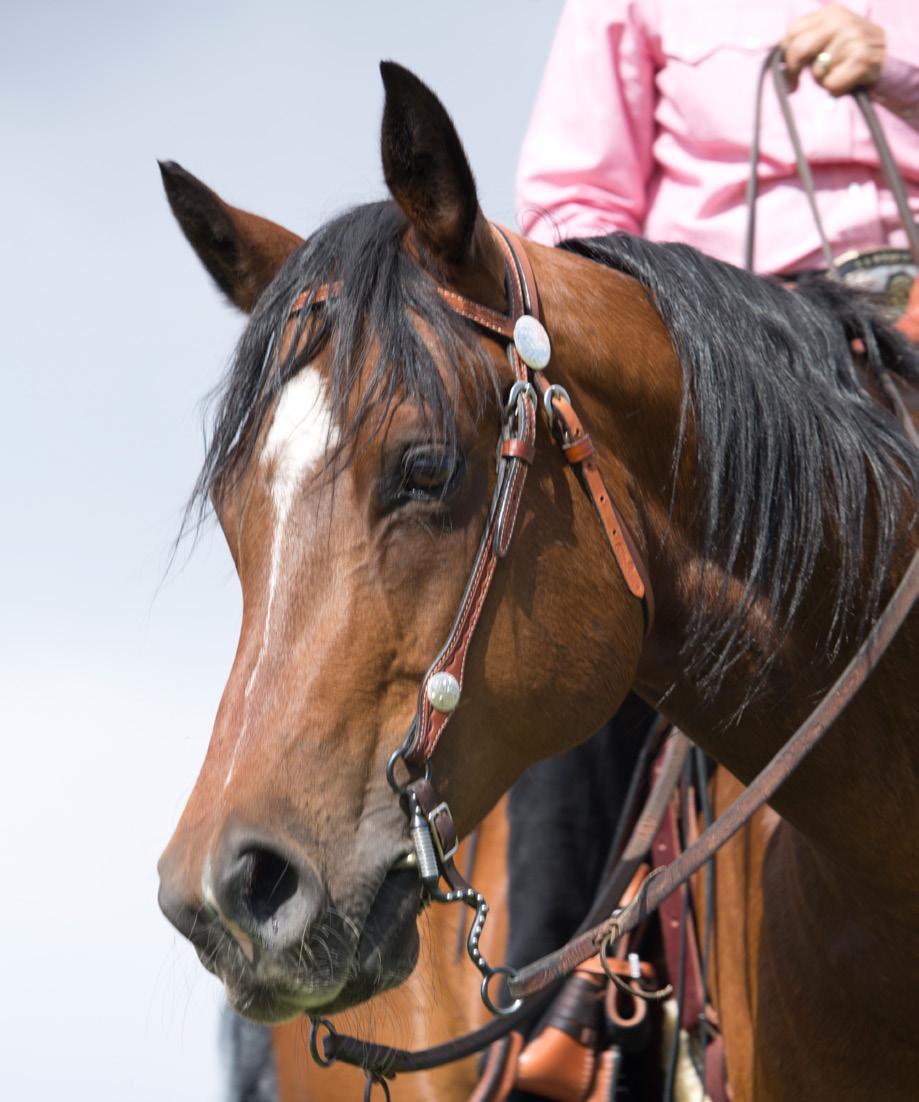
Having the right horse will enhance your riding enjoyment and boost your confidence.
By Julie Goodnight with Heidi Melocco
Photos By Heidi Melocco
You can keep riding long into your golden years, whether you’re just now realizing your childhood dream of getting into the saddle or have ridden your whole life and now have more time to participate in the sport you love.
Riding is truly a lifetime sport, and it takes a lifetime to master. While you can ride throughout your life, you’re often busy and consumed with family time in your 20s and 30s. When you enter your 40s, you begin to have time for yourself again and can do the things you’ve put on the back burner. That’s when many people start riding again, and that’s why the baby boomer generation is fueling the horse industry today.
Riding is great exercise, but it’s also a great chance to bond with an animal, enjoy the outdoors, and commune with nature. That’s a big draw to riding, and it’s what makes riding such a dynamic sport.
Here, I’ll share with you my five-step program to ride confidently today and stay in the saddle for years to come. With all the pieces in place, riding and working with horses can keep you feeling young, in shape, and mobile.
Step 1. Find the Right Horse
Riding can be a dangerous sport. It’s physical, and you’re bound to get some bumps and bruises along the way, even when things go well. At any age, but especially as you get older, choose a horse that’s well-trained, has a good temperament, and is deemed safe for your riding level. Don’t get in over your head; make sure the horse you ride is suitable to your ability, and that you’ll be safe and have fun from the start. This is your time to ride—choose a horse that will help you have fun and feel safe, and that will be enjoyable to work with.
If you need to buy a new horse, don’t go cheap on the initial price. It’s much easier to pay for good training than to add training later. And if you’re dealing with a horse that poses a constant battle, he’ll chip away at your confidence. Choose a horse that’s well-trained and well-behaved, and that’s experienced and ready for anything you want to do. Look for a horse that’s at least 8 to 16 years old. That’s the prime time for horses—they’re mature and capable.
Step 2. Improve Your Balance
Riding is balance in motion. Balance comes from skeletal system alignment and the ability to maintain that alignment while moving. You must work to keep up your balance to succeed in the saddle. You must move in rhythm with your horse, be able to post or sit a trot, and carry yourself well so that he doesn’t have to work too hard.
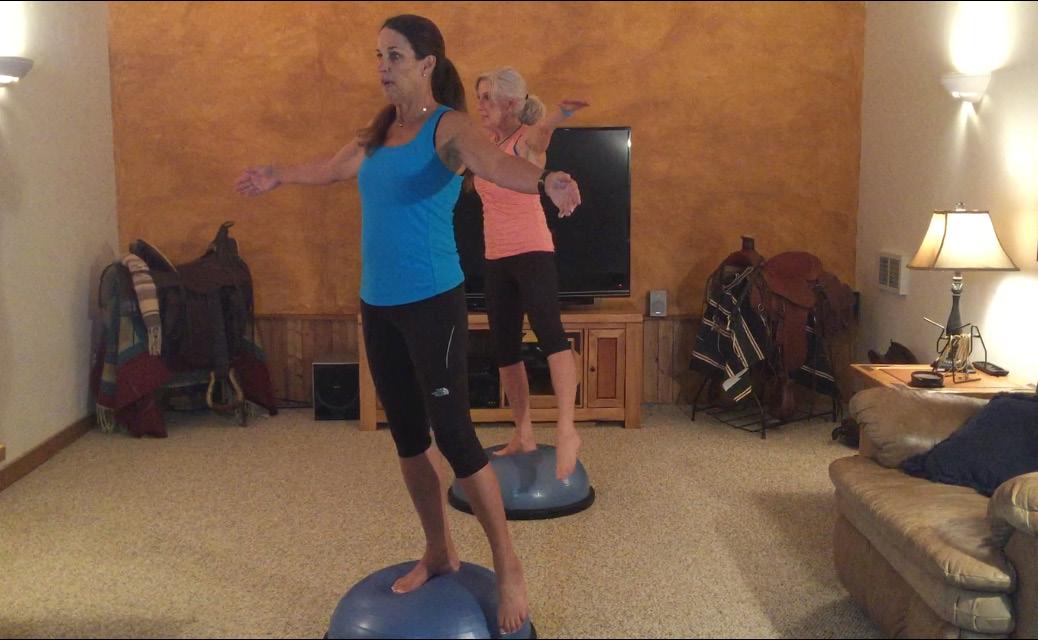
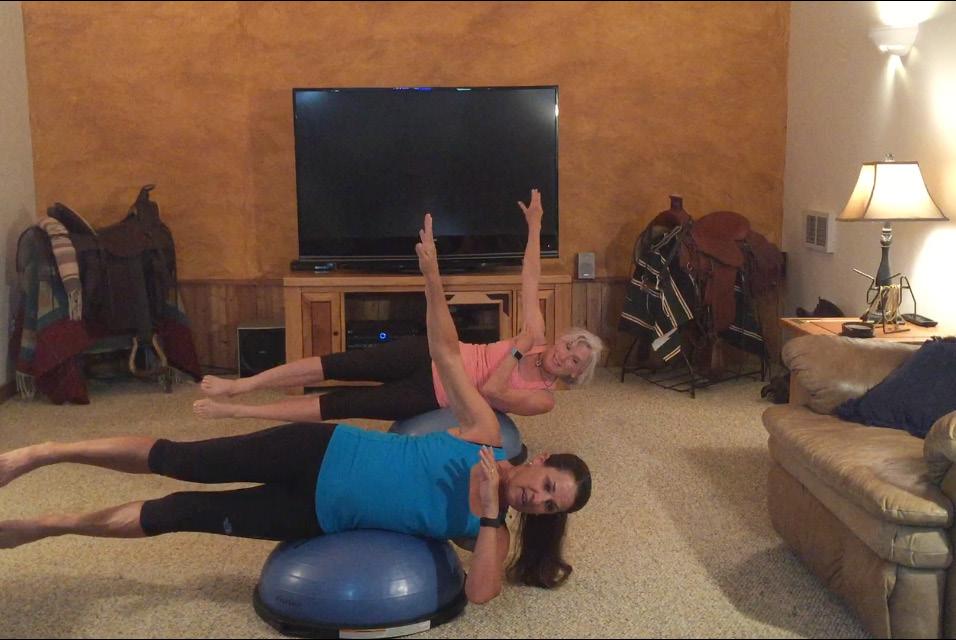
Practice balancing on one foot or on an exercise tool designed to help with balance, such as a BOSU ball (shown).
Choose a well-trained horse that’s done it all and has been everywhere. This is your time to enjoy the ride, not to spend time learning to train away problem behaviors.
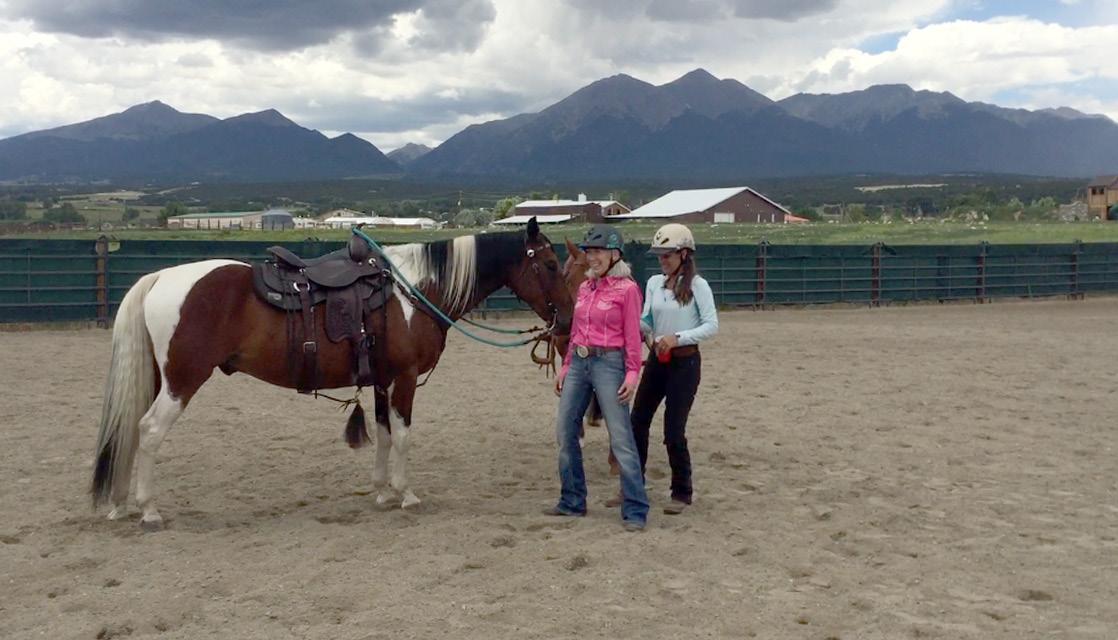
To improve your posture, imagine ice going down your back. As you move your shoulders down and back in response to this image, you’ll engage the muscles that help you keep your shoulders down and back more consistently. Here, Julie Goodnight puts ice down a student’s back to illustrate.
You can always improve your balance, no matter your age. If you’re 80 years old, you can still improve your balance.
I love to do exercises that challenge my balance. I’ll stand on one foot, or stand on a balance board or BOSU® ball (half an exercise ball). Stepping up and down off a BOSU ball improves your balance, and is a great core and aerobic activity.
Step 3. Improve Your Fitness
You need strength to ride your horse and keep him at home. To ride well in the saddle, you need abdominal, core strength. Around the barn, you need to be able to carry hay bales, clean stalls, lift a muck bucket, and more. You also need strength to lift your saddle into place.
I work out regularly. During my workouts, I focus on core strength at least three days a week, since riding requires abdominal strength. An aerobic workout is also important to me, so I cross-train with hiking, power-walking, or riding my bike uphill. When I’m traveling, I take advantage of the elliptical machines in the hotel fitness center—it’s an aerobic workout similar to running but without the impact on your joints.
I also include a strength-building activity for my upper body in my weekly workout plan. I find that as I age, my shoulders and upper body are getting weaker; moving hay and hauling water buckets help keep my bones strong!
Your physician can help you design a workout that’s right for your fitness and ability levels. You might also consider hiring a personal trainer to keep you on track.
Step 4. Improve Your Posture
As we age, we tend to lose correct upper-body posture.
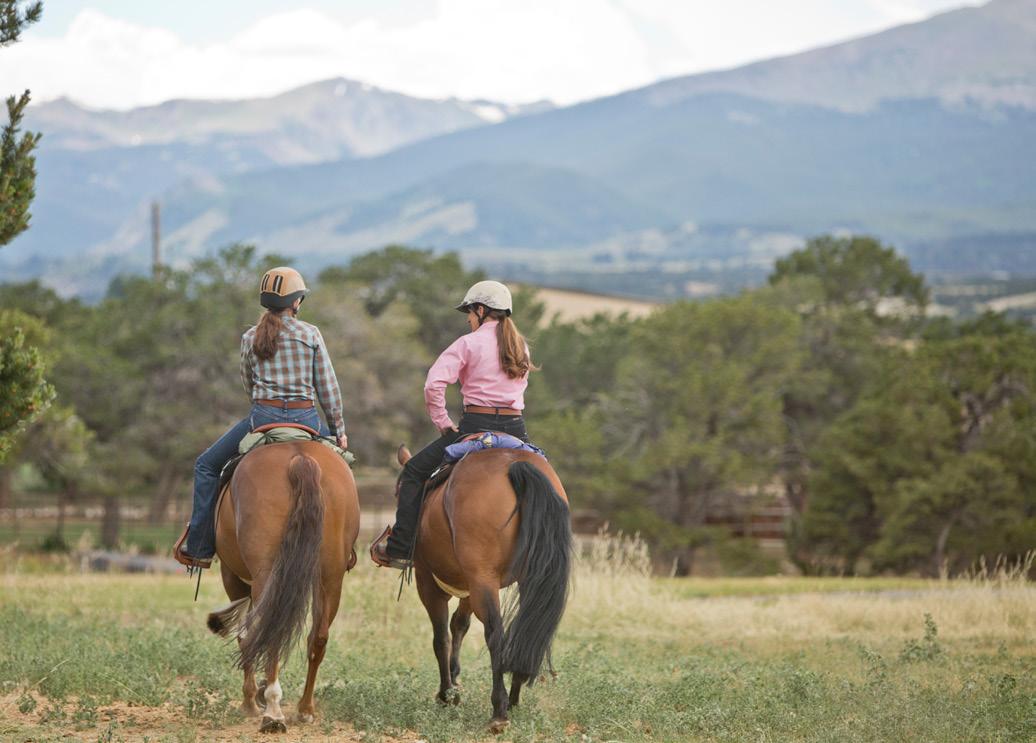
To build your confidence, ride with friends who have welltrained horses and won’t push you to do more than you’re ready to do.
Most all we do in life rounds our shoulders forward—we look down at our phones or work at computers where we lean forward toward the keyboard.
Having good posture for riding (and good posture in general) means keeping our shoulders back and flat. Think of lifting your sternum, opening your chest and pushing your shoulder blades back down toward your hips.
The cluster of muscles you must use to keep this youthful posture are the same muscles you’d use if you arched your back when someone put an ice cube down your shirt. Imagine that ice cube running down your back and consciously choose to engage those muscles. Remind yourself to look out in front of you instead of looking down at your horse.
I like to practice ChiWalking. Your chi is your center — your core energy. ChiWalking involves aligning yourself vertically (from the top of your head to your heels), aligning horizontally (shoulders and hips level), and walking chi first.
If you stand up straight and walk leading with your belly button, you’re ChiWalking. It helps keep your hips even, helps you engage your abdominals and tuck your tailbone under. If you apply this to your riding, it’ll work miracles. Aligning vertically and horizontally helps you move evenly through your whole body with the motion originating from your core. This is the same thing we ask of horses when we want them to move through their bodies and move with collection.
Most riding errors are also posture problems. If your shoulders are rounded while riding, you probably have rounded shoulders as you walk down the street. If you stick your hind end out while you ride, you probably maintain that posture, arching your back other times, too.
Step 5. Build Your Confidence
The topic of confidence comes up more than any other when I talk to mature riders. Improving your balance, fitness, and posture (and having the right horse) will help boost your confidence as you ride. Ideally, you’ll ride a horse that will build your confidence. Make sure your horse is suitable for your ability and confidence level. Seek out professional guidance. Ride with friends on well-trained horses who’ll boost your confidence and help you to improve.
If you feel your confidence wane, breathe deeply, and practice breathing in rhythm with your horse’s stride. Don’t lock your eyes—look ahead, and focus on your surroundings. Take inventory of your body language, and practice your newfound posture. Maintaining a confident posture will have a positive effect on your emotional state.
Take only small steps outside your comfort zone, and don’t do things that feel too scary. Progress slowly so that you’ll have a strong foundation in the basic skills. And have fun! Make sure you’re getting the fulfillment you want from riding. Relax, do your best, and you’ll enjoy riding for years to come. USR
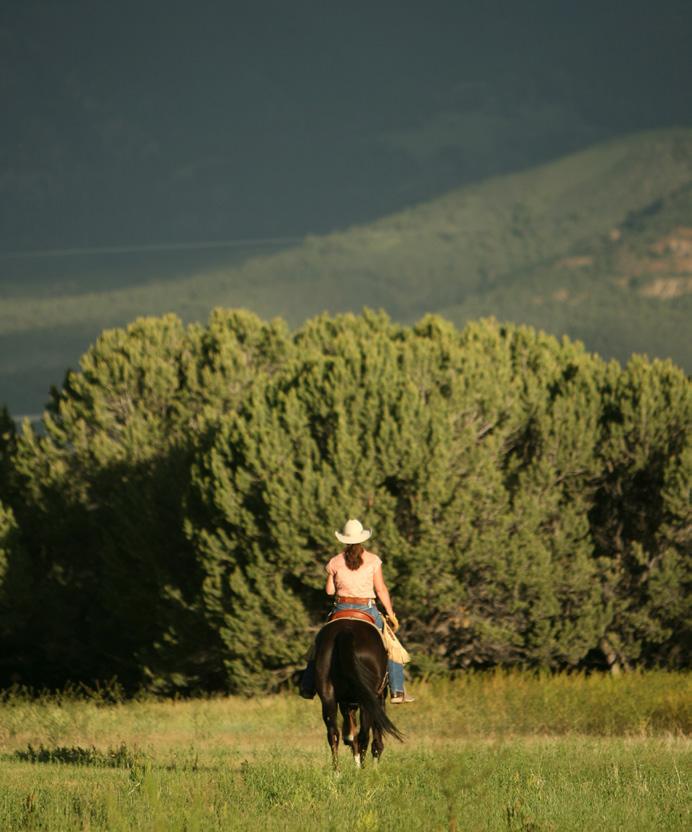
Julie Goodnight trains horses and coaches horse owners to be ready for any event, on the trail or in the performance arena. After producing the popular RFD-TV series, Horse Master with Julie Goodnight, for 11 years, Goodnight now shares the world of horses through 2Horse Productions, and through appearances at clinics and horse expos throughout the United States. She also hosts her monthly horse training podcast, Ride On with Julie Goodnight.
Heidi Melocco is a riding instructor, photographer, and writer based in Mead, Colorado. Maintaining a confident posture will have a positive effect on your emotional state.


Size Up Your Trailer Trip
Whatever style trailer you have, make sure your horse has enough room to move his head, neck, and legs for balance. Here are expert guidelines.
By Tom Scheve and Neva Kittrell Scheve
From your horse’s point of view, he doesn’t belong in a horse trailer at all. As prey animals, horses evolved a strong flightor-fight response. Small spaces, where flight isn’t an option, can make horses claustrophobic. Find a trailer that is the right size for your horse with these guidelines.
Imagine this scenario: It’s show day. Barbara, who has a trailer, offers to pick up her friend, Wendy, and her horse. However, when they load Wendy’s Thoroughbred, who obediently walks on in, he’s so stuffed into the space, it’s difficult to even close the door.
This is an extreme example, but it does
happen. More likely, the fact that a horse doesn’t really fit into a trailer may be a lot less obvious. Horses that aren’t the best loaders will make a fuss about getting into a trailer that’s too small or dark. But those well-trained troupers will go into any trailer they’re told to, even though they may be uncomfortable enough to be stressed.
PHOTO BY CLIXPHOTO.COM
Even though stressed horses may seem fine, problems can show up that may not be attributed to the trailer, but can be caused by it just the same.
Horses & Trailers
From your horse’s point of view, he doesn’t belong in a horse trailer at all. As prey animals, horses evolved a strong flight-or-fight response. Small spaces, where flight isn’t an option, can make horses claustrophobic, because prey animals that don’t run fast or far enough become dinner.
When your horse is stressed, his normal reaction is to run away. His body produces adrenaline and other hormones, and his heart rate elevates to prepare him to escape the object of the stress.
Once your horse gets away from the object of the stress, his body goes back to normal, and he lives for another day. However, the longer your horse is exposed to stress, the more likely he is to get sick. Respiratory problems, dehydration, and shipping fever are just a few health issues that can occur, especially when the trailer trip is long.
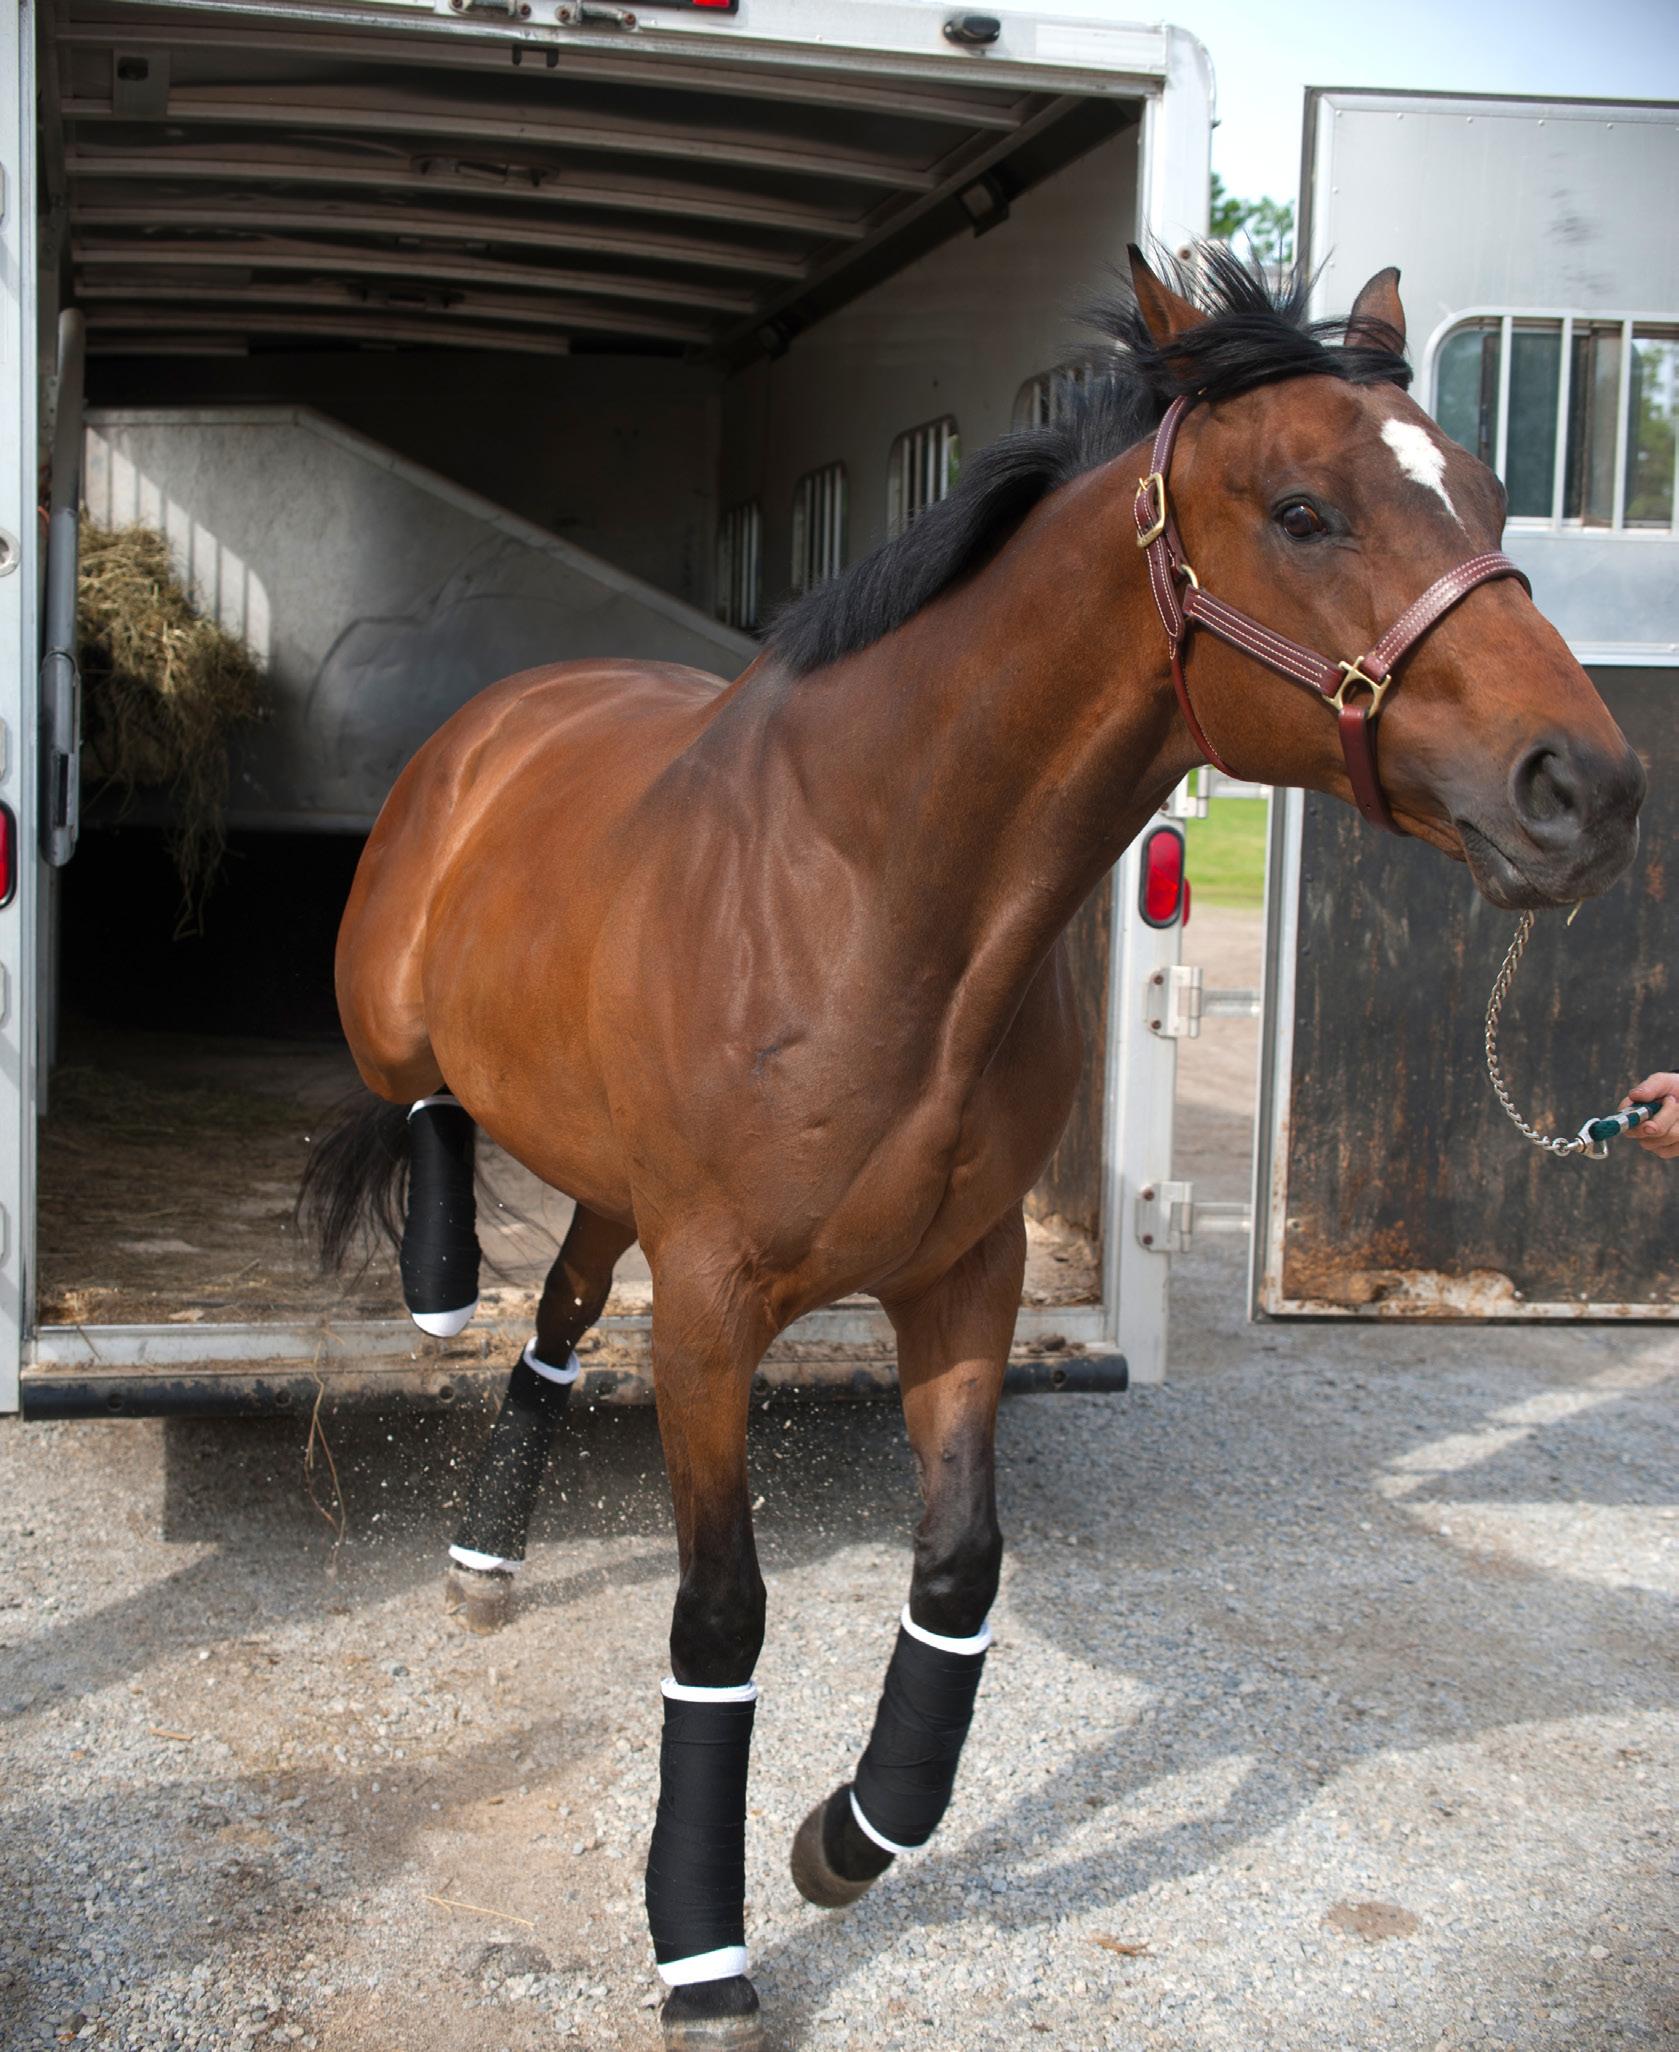
And your horse is at risk for serious injury if he reacts violently while trying to escape the small, dark environment, or resists loading. In addition, a horse that’s cramped can’t use his muscles in a natural way to balance and adjust to the movement of the trailer. If he has to overcompensate, he can get sore or even lame.
Room to Move
Whatever style trailer you have, make sure your horse has enough room to use his head and neck naturally to balance. He should be able to spread his legs both sideways and forward to brace against the trailer’s motion, including motion created by acceleration and deceleration.
Since your horse has four legs, he’s generally well able to balance on the trailer without leaning on the sides or dividers for constant support. If your horse is a scrambler, he most likely learned that behavior from being in narrow trailers that wouldn’t allow him to spread their legs enough. Look at any older, straight-load trailer that’s less than six feet wide, and you’ll see scrambling marks on the sidewalls.
Horses that travel in slant-load stalls that are too small aren’t able to use their heads and necks naturally to balance. In a slant-load, horses use their front right and left hind legs to balance. If they can’t move around enough to relieve the stress on one leg or another, they can become sore.
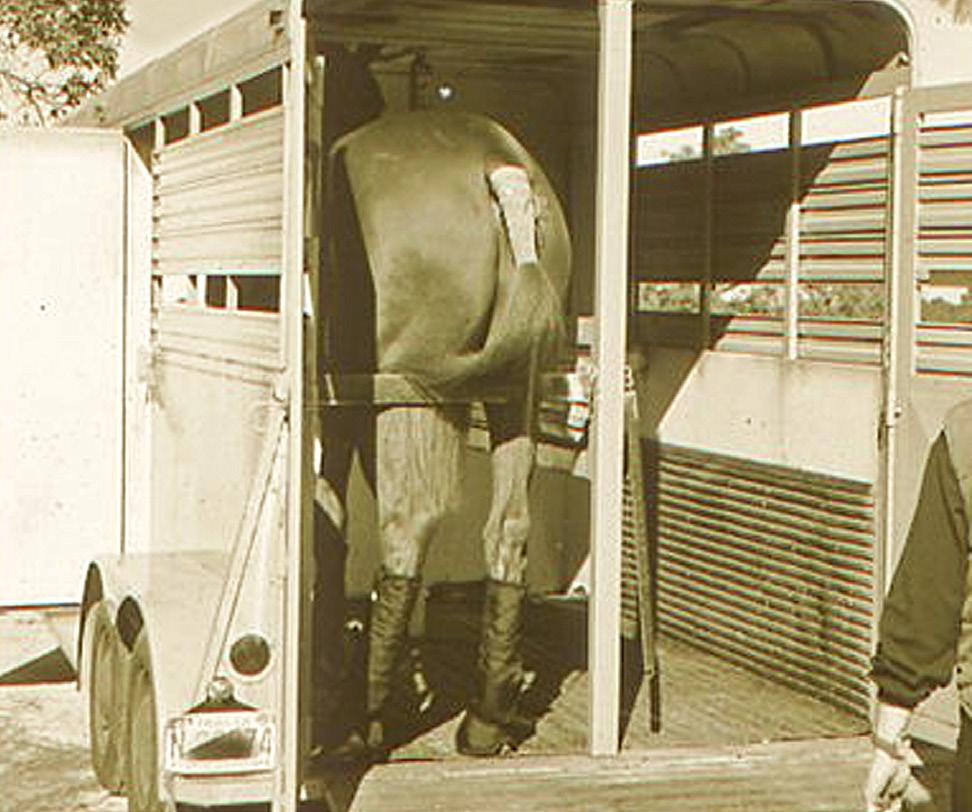
“Tristan, an 18.2-plus hand horse, bulges out of a trailer that’s about 7 feet tall and 6 feet wide,” says Neva Kittrell Scheve. “The stall length is more than 6 feet from butt to chest bar, with 21/2 feet of head area. But he obviously needs a trailer 6 feet, 8 inches wide and 7 feet, 8 inches tall, and total stall length of 11 feet; 7 feet used for the space between the butt and chest bar and 4 feet of head area.
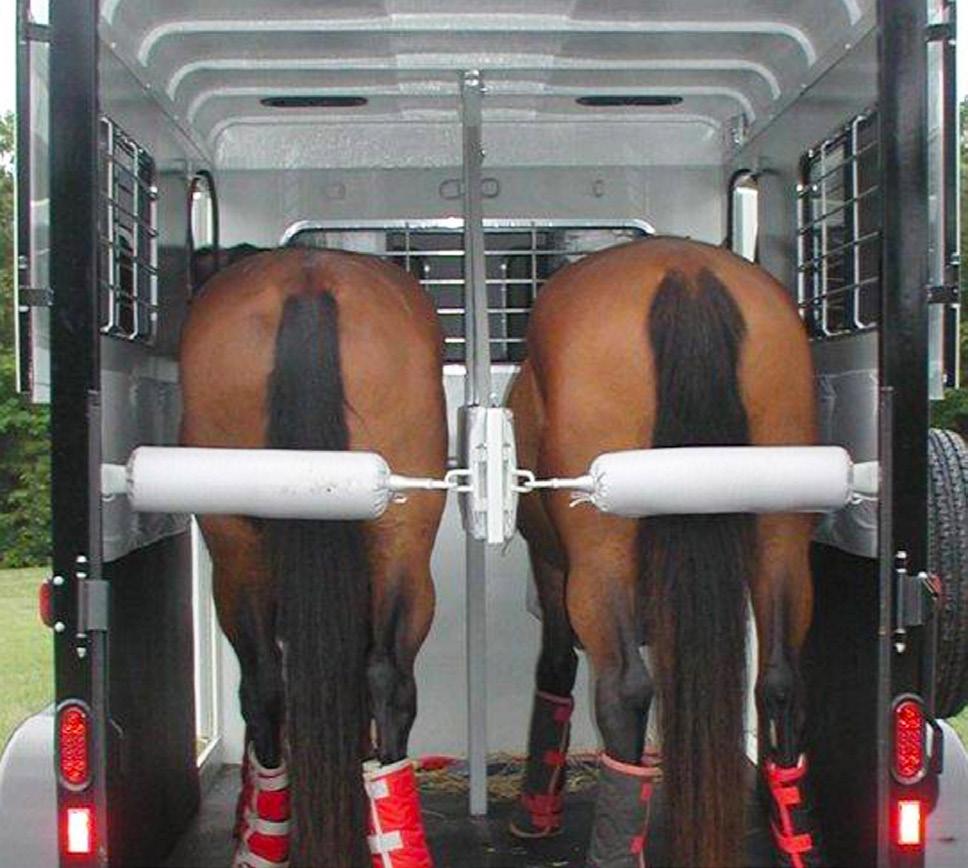
“This photo shows the minimum amount of space a horse should have to be comfortable,” says Neva Kittrell Scheve. “The horse on the left is a 16.3-hand Holsteiner, and he fits just fine. The mare on the right is the same height, but she’s wider. Even though the space is adequate, she’d do better in a wider trailer. This trailer is 7 seven feet, 4 inches tall and 6 feet wide, and a total stall length of 10 feet; 7 feet between the butt and chest bars and 3 feet of head area. Note that the butt bars are exactly the right height for these two horses.”
PHOTO BY NEVA KITTRELL SCHEVE
PHOTO BY NEVA KITTRELL SCHEVE

Width is as important as height and length, because your horse needs to spread his legs for balance. Full center dividers restrict this movement, which is why partial dividers are preferred. This trailer’s center divider has been removed altogether, giving this horse room to move.
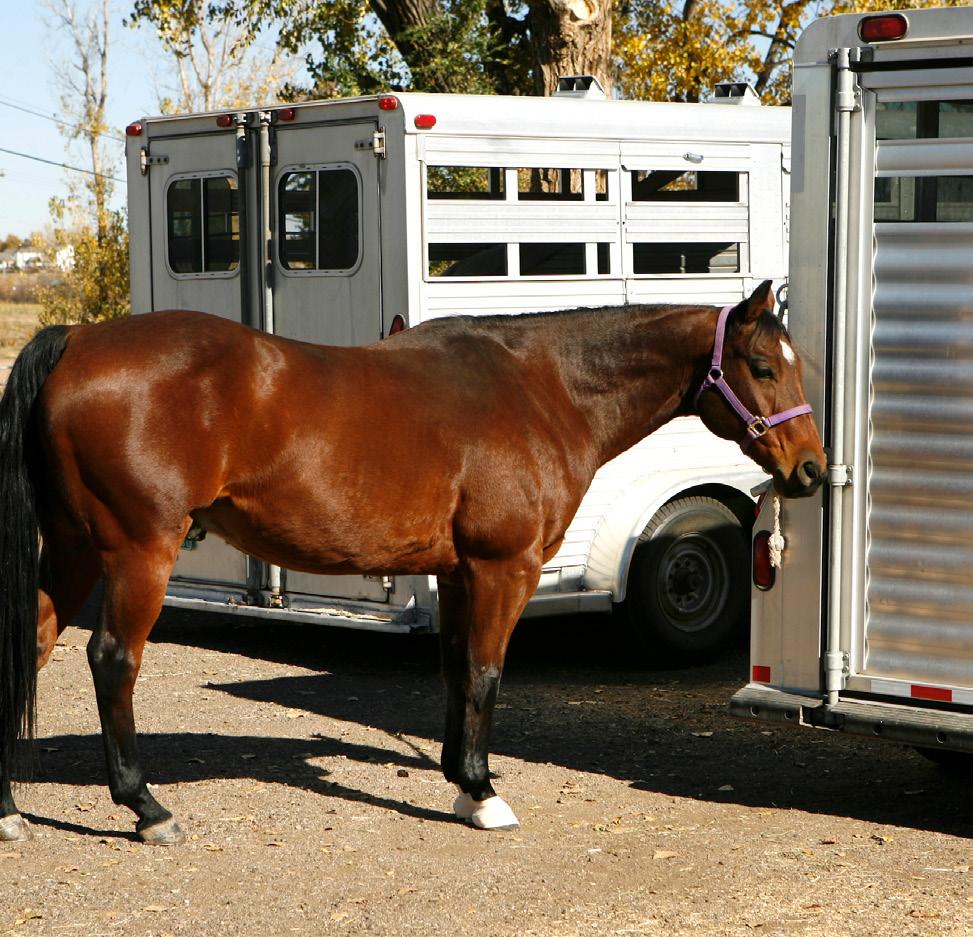
PHOTO BY HEIDI MELOCCO
“Slant-load trailers were originally designed to haul three Quarter Horses (rather than two) in a short trailer, because Quarter Horses are usually small enough to reasonably fit,” explains Neva Kittrell Scheve. “But a big, 16.3-hand Quarter Horse likely won’t fit into a normal slant-load stall.”
Is there a standard size for each breed? Not necessarily. You can use breed as a general starting place, but it’s better to fit the trailer to the size of the individual horse. For example, slant-load trailers were originally designed to haul three Quarter Horses (rather than two) in a short trailer, because Quarter Horses are usually small enough to reasonably fit. But a big, 16.3-hand Quarter Horse likely won’t fit into a normal slant-load stall.
Also, in the early 1980s, when slant-load trailers were first built, the average straight-load trailer was 5½ feet wide and 6 feet tall. It was assumed because the horses so willingly loaded into a large slant-load trailer with plenty of light, they must “like” the trailer better. Most likely, it was because the trailer was just not the tiny, dark one.
The Right Size
Is your trailer the right size for your horse? Here’s what he needs.
Height. If you have a newer-model trailer, it should be tall enough for your horse. Today, almost all new trailers are 7 feet, 2 inches tall or more. Your horse needs to have enough head room to stand comfortably and not feel claustrophobic. You don’t want your horse to hit his head on the ceiling if he raises it, so if he has a high head carriage, he’ll need more height than a horse of the same size with a low head carriage.
“Your horse needs to have enough head room to stand comfortably and not feel claustrophobic.”
Width. Straight-load trailers are at least 6 feet wide; some are 6 feet, 8 inches wide. Slant-load trailers can be up to 8½ feet wide. But the wider the trailer, the more the wheel well has to come inside the trailer; that space is unusable to your horse.
Length. Your horse needs to be able to have enough length that he can move a bit, but he should be able to touch his chest and butt bar easily enough that he knows his boundaries, but not tight enough that he’s clamped in. Dividers. Width is as important as height and length, because your horse needs to spread his legs for balance. Full center dividers restrict this movement, which is why partial dividers are preferred. Most horses are better off with more room than not enough room. That’s why a nervous hauler will be happier with the divider taken out or
moved over, but there should always be a butt bar within reach of the length of his tie, so he knows his space. Health concerns. It’s vital that your horse be able to lower his head and neck to cough out any dust, debris, or toxins that he breathes in from the trailer environment. Windows and vents are mandatory to create light and proper ventilation.
Shopping Specs
Here are some guidelines to keep in mind when you go trailer shopping. Note that the longer your horse is in the trailer, the more important it is to pay attention to these guidelines. A relaxed horse with room to move will be healthier and will have a better attitude in his work than one that’s emotionally stressed and/or physically sore. Average horses. A 6-foot wide, 7-foot, 2-inch tall straightload trailer with 10 feet of stall length is a standard size suitable for horses 14.2-hand to 16.2 hand horses of normal width.
Small horses. Be aware that a 14.2-hand (or smaller) horse may need to have the butt and chest bars lowered, and maybe even brought forward to shorten the length. Some trailers come with optional adjustable butt bars. Wide horses. If your horse is unusually wide, then the trailer should be an “extra wide,” that is, 6 feet, 8 inches wide.
Tall horses. If your horse is 16.3-hands and taller, get a trailer that’s 7 feet, 4 inches, or even 7 feet, 6 inches tall. Rarely is a horse large enough to need more height than that, but it sometimes happens. Some horses have long necks and/or large heads, so they may need to have some extra head room.
Long horses. If your horse is extra long, he may need extra length. For optimum comfort, measure slant-load stalls from the center of the front wall to the center of the rear wall, not from corner to corner. A standard slant-load trailer, which measures 10 feet from corner to corner, usually leaves just 8½ feet of useable space. If your horse needs more than 8½ feet, he’ll have to stand corner to corner, and his movement will be restricted. Horses more than 15 hands, or horses that are unusually long for their height, will feel limited with 8½ feet of useable space; they should have 10 feet. USR
Tom Scheve and Neva Kittrell Scheve own EquiSpirit Trailers. They’ve written three books on horse trailers, including the nationally recognized textbook, The Complete Guide to Buying, Maintaining, and Servicing a Horse Trailer. They reside in Southern Pines, North Carolina.

Whatever style trailer you have, make sure your horse has enough room to use his head and neck naturally to balance. He should be able to spread his legs both sideways and forward to brace against the trailer’s motion, including motion created by acceleration and deceleration.
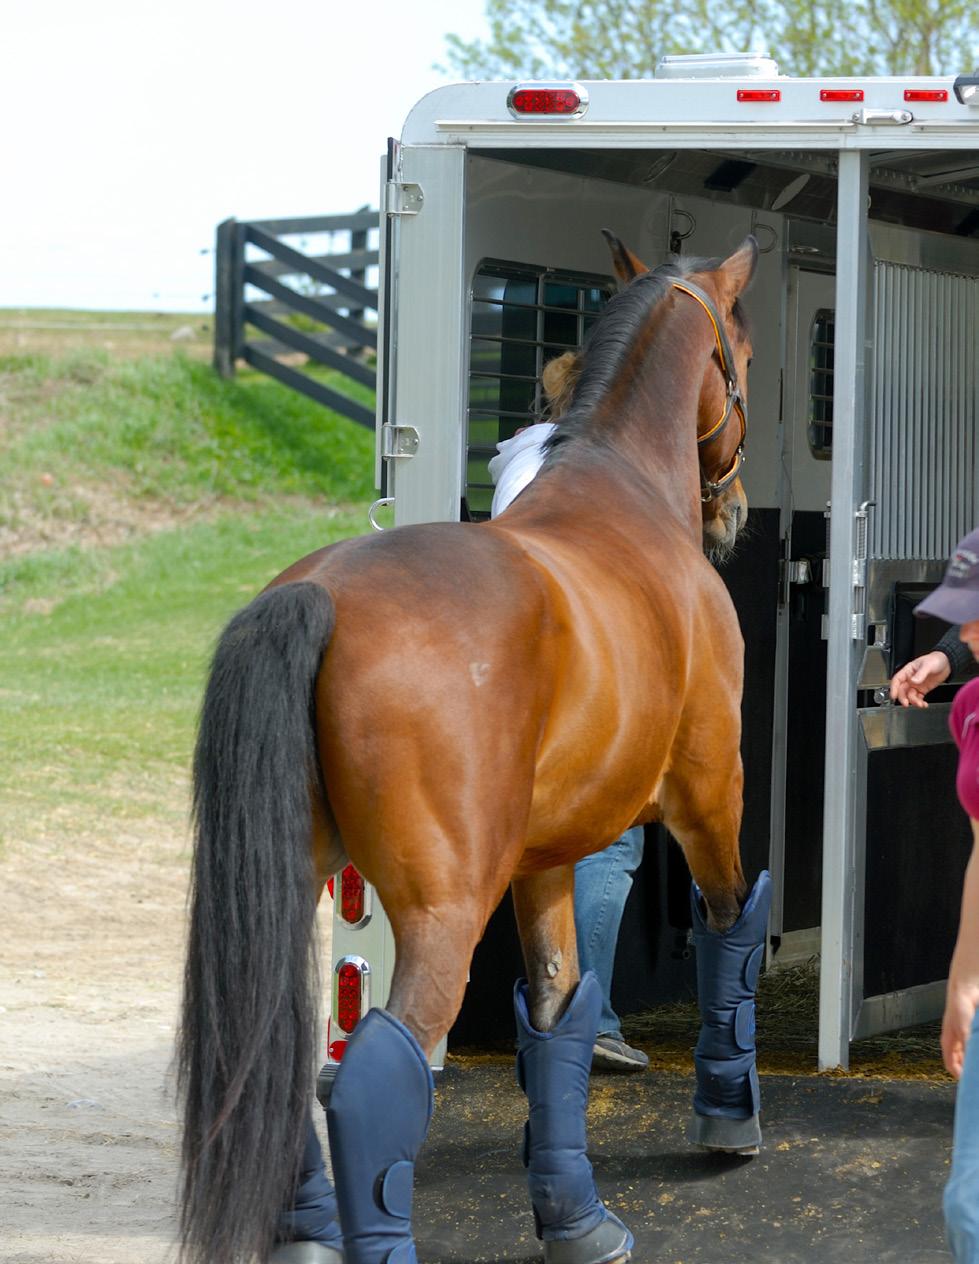
Well-trained troupers will go into any trailer they’re told to, even though they may be emotionally stressed and physically uncomfortable. A too-small trailer can cause mental and physical problems, especially on long hauls.
PHOTO BY HEIDI MELOCCO
PHOTO BY CLIXPHOTO.COM
From Fat to Fit
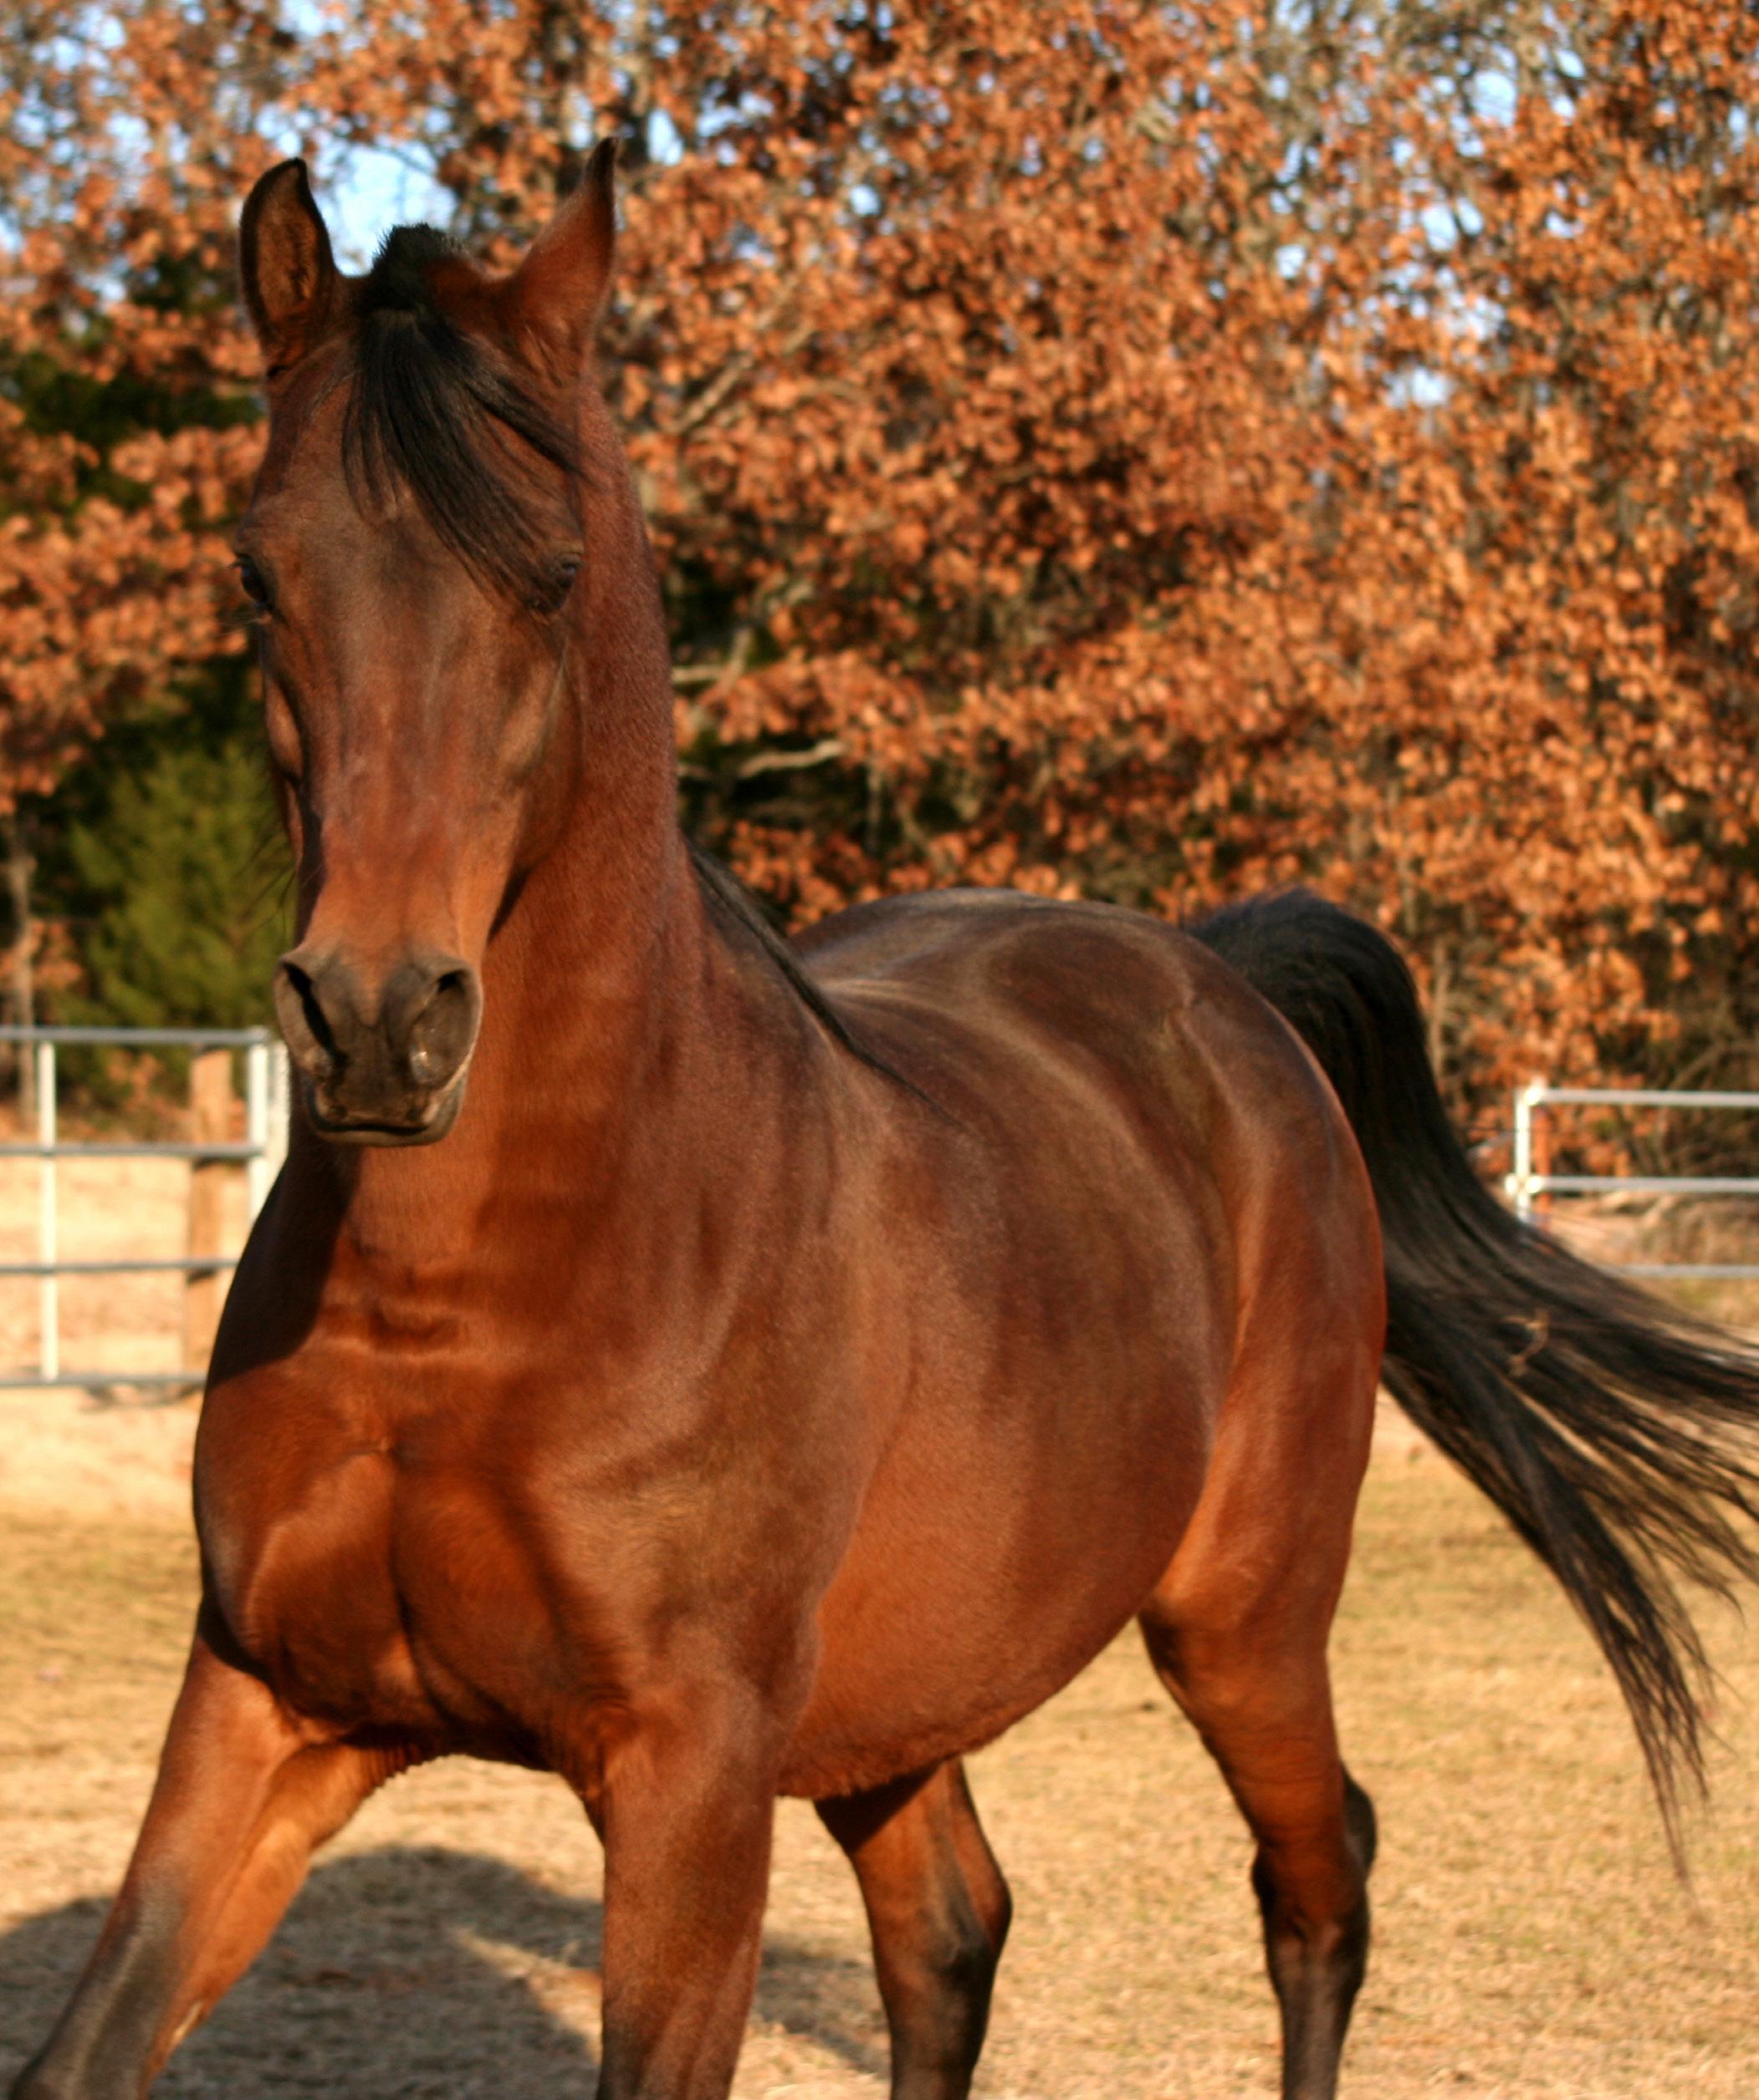
Ready to get your horse fit for the busy fall travel and riding season? Here’s a 10-step weight-loss plan to get you started.
By Eleanor M. Kellon, VMD
In some cases of moderately overweight horses, preventing grass intake may be all you need to do to get the desired weight loss. Read on for more ways to get your horse from fat to fit.
Horses become overweight for the same reason we do—they eat more calories than they burn. It isn’t any healthier for them than it is for us. Your overweight horse is stressing his joints, heart, and lungs, and has a difficult time regulating his body temperature during exercise, which can lead to dangerous overheating and heat stroke, especially as we head into the busy fall travel and riding season. Following is a 10-step weight-loss plan to help you get your horse moving from fat to fit. Plus, I’ll explain what to look for in a feed supplement, and give you a hay-equivalent chart and a lean menu.
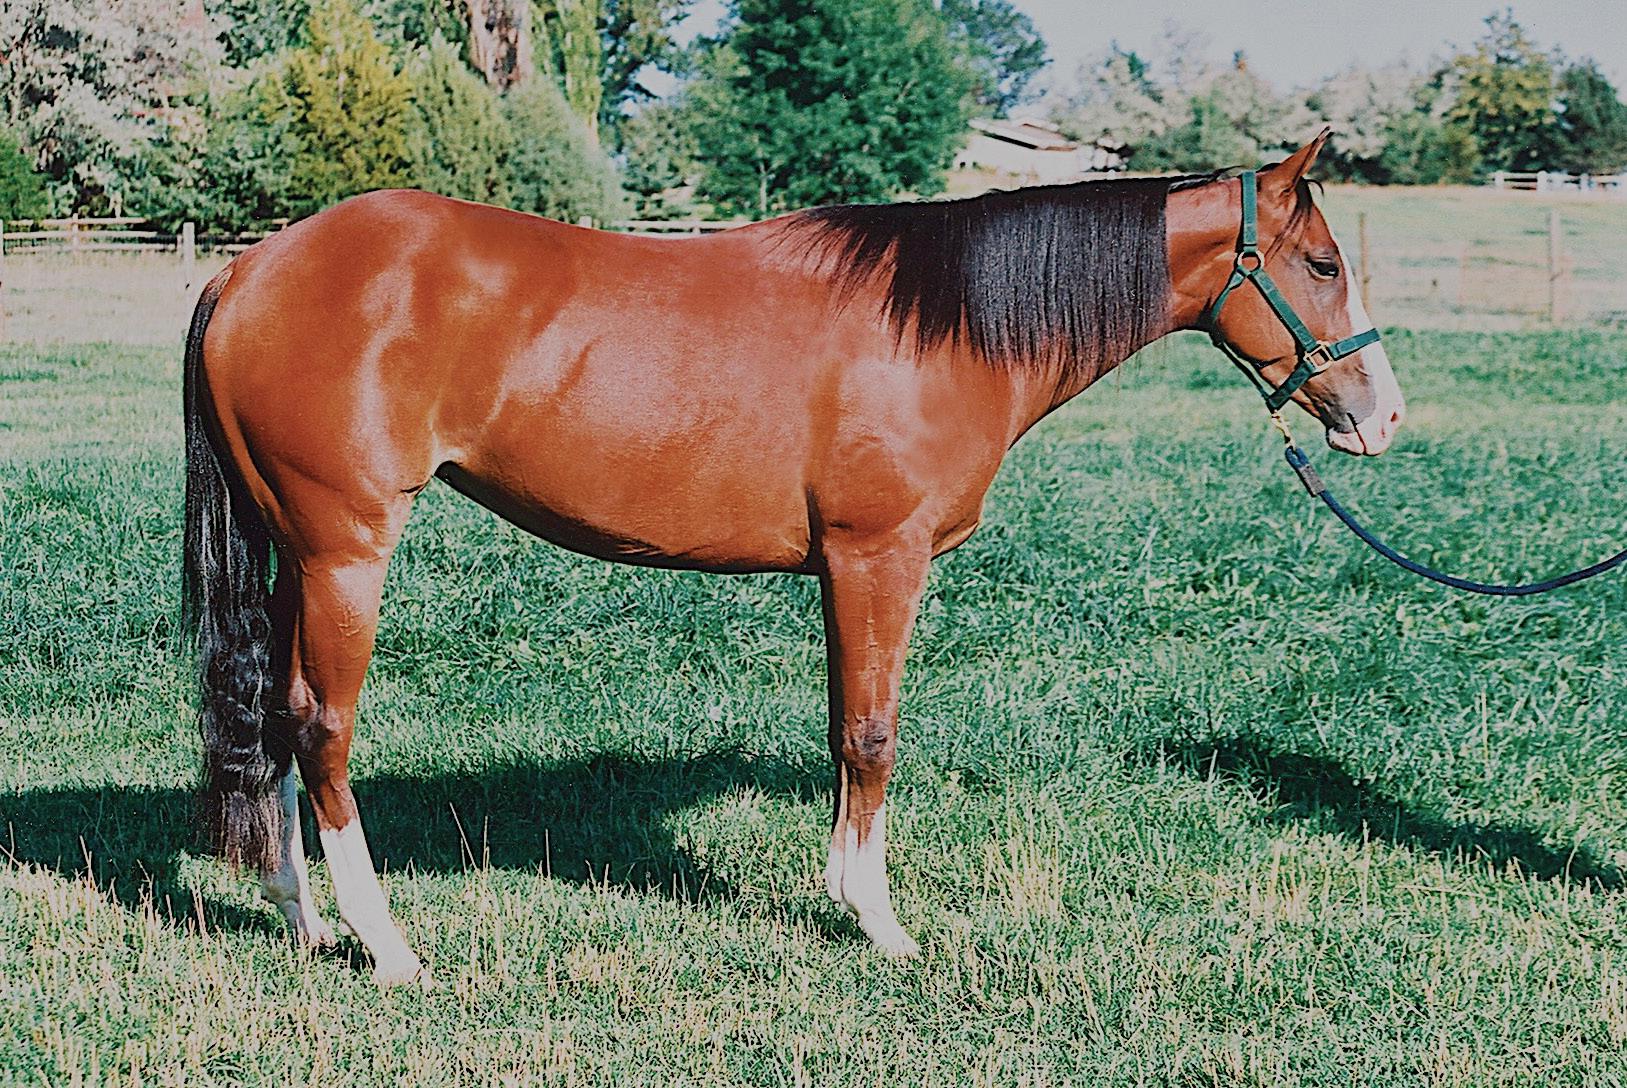
Not too fat, not too thin, this young mare is just right. Ask your veterinarian to estimate what your horse’s normal healthy weight should be.
10-Step Weight Loss Plan
Step 1. Get a healthy weight. Ask your veterinarian to estimate what your horse’s normal healthy weight should be. Involve your vet in your horse’s weight-loss program, and follow his or her advice and recommendations.
Step 2. Monitor his weight. Use a weight tape to keep track of your horse’s weight loss. Weight losses
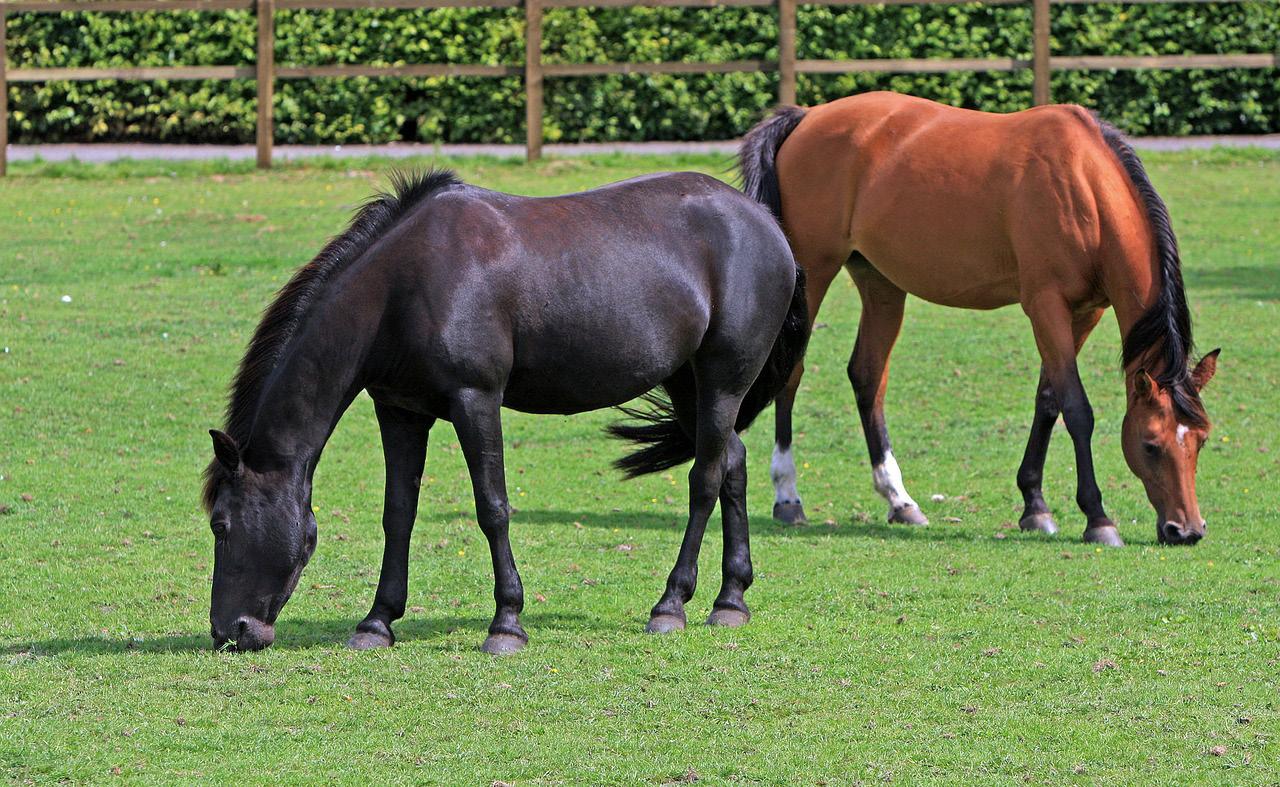
Round-the-clock foraging is the most natural way for horses to eat, but “easy-keepers,” left to satisfy their own appetites, may consume more calories than they need.
of between 40 and 75 pounds per month can be expected with the program here. Don’t be in any rush to get the weight off. Your horse didn’t put it on overnight, and he won’t lose it overnight either. It’s better to go for steady weight loss with your horse getting enough to eat to feel satisfied. Step 3. Provide regular exercise. Exercise is an important part of your horse’s weight-loss program. Turnout is better than stall confinement, but it’s not the same thing as formal exercise, where you keep him moving for at least 20 minutes. Regular exercise does more than just burn some calories; it changes the way your horse’s body handles those calories. For up to 24 hours after exercise, calories are diverted to his muscles to replace energy stores there, repair any minor damage, and build muscle bulk. On days you can’t ride, longe your horse, or work him in the round pen. If you can’t be there at all, ask a friend to work your horse for you.
Step 4. Consider a grazing muzzle. If you turn your horse out on pasture, consider investing in a grazing muzzle. Look for a grazing muzzle that’s
sturdy, stays in place well, has breakaway features in case of accidental snagging, and restricts grazing, but not drinking. Never underestimate the amount of grass a horse can pack away in just an hour. In fact, in some cases of moderately overweight horses, preventing grass intake may be all you need to do to get the desired weight loss.
Step 5. Evaluate your horse’s current diet. Figure out how much grain and hay you’re feeding your horse. If you feed more than hay, use the hay-equivalent chart to figure how many calories you’re feeding in hay equivalents. For example, most horses weighing about 1,000 pounds will hold a normal weight eating 20 to 25 pounds of hay per day. If you’re feeding your mildly overweight horse 20 pounds of hay plus 5 pounds of a commercial grain mix, you’re giving him the equivalent of 32.5 to 35 pounds of hay because of the grain’s higher calorie level. Cut out concentrated calorie sources first, that is, grain and fat.
Step 6. Feed him the right amount. Feed your horse about two percent of his ideal body weight every day.
“Feed your horse about two percent of his ideal body weight every day.”
Step 7. Feed a variety of hay types. The more varieties of hay you feed your horse, the better chance his mineral intake will be fairly well-balanced.
Step 8. Feed a balanced supplement. If you know your horse’s mineral intake is balanced, you can give him a balanced pelleted supplement instead of grain at mealtime. These are usually fed at a rate of about 1 pound per day. (For selection guidelines, see “The Right Supplement,” to the right.)
Step 9. Choose a lean menu. Choose from the lean menu if it makes you feel better to give your horse a more substantial amount in his feed tub. Check the hay equivalents,
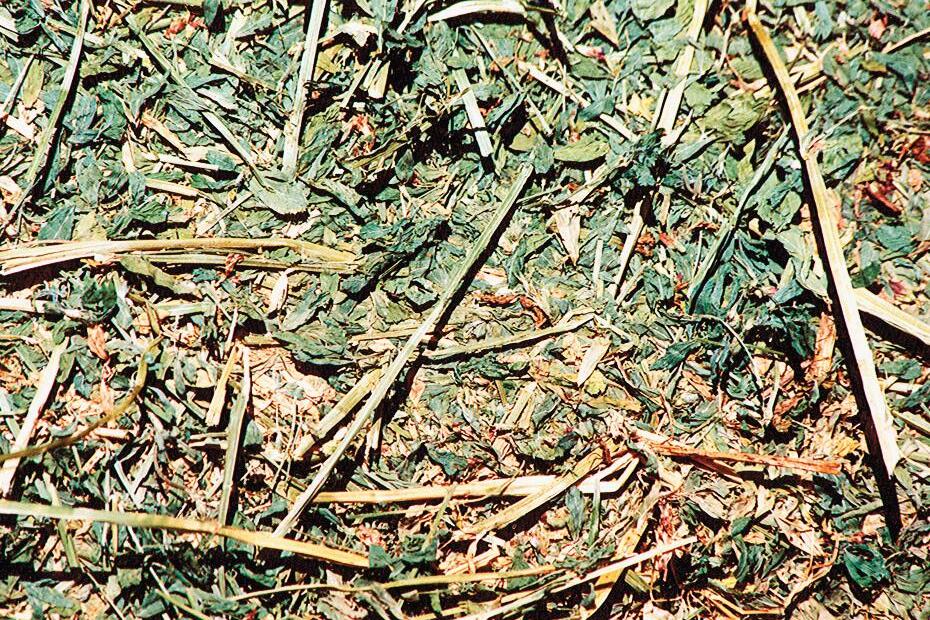
High-quality alfalfa hay tends to provide slightly more energy and protein than an equal amount of grass hay, so you may need to feed less of it.
Hay Equivalents
Food Approximate Hay Equivalent
Hay 1 lb. hay = 1 lb. hay
Plain Grains 1 lb. plain grain = 2 lbs. hay
Commercial Grain Mixes 1 lb. grain mix = 2.5 to 3 lbs. hay
Fats and Oils 1 lb. fat/oil = 3.6 to 4 lbs. hay
Lean Menu
1/2 lb. dry beet pulp, 2 oz. flax seed or 2 tbsp. wheat germ, plus supplement. Soak beet pulp before feeding.
hay
2 lbs. alfalfa or grass hay pellets or cubes, plus supplement. 2.5 lbs. hay
1/2 lb. carrots, 1/2 lb. celery, 1/2 lb. summer squash, all cut in chunks, plus supplement.
1 lb. high-fiber, lowfat, or “lite” feed.
hay
hay
PHOTO BY BETSY LYNCH

This mare is undeniably heavier than is healthy for her. Obesity puts her at greater risk for laminitis, lameness, and colic.
so you know how much to subtract from the amount of hay you’re feeding. Note that if you choose to give your horse a feed formulated to be low calorie, you won’t also need to feed him a protein/mineral supplement if the feed is highly supplemented. As a guide, use the label guaranteed copper content. If the feed contains more than 110 parts per million (ppm) copper, don’t feed any additional supplement. If the feed contains less than 110 ppm, feed half the recommended dose of the protein/mineral supplement.
Step 10. Stick to the diet. Once you get your horse on a healthy weightloss program, don’t disrupt it by feeding him high-sugar, high-starch “cookies,” donuts, candy, or any human food. Instead, substitute small amounts of fresh green vegetables, apple peel (no sweet fruits), sugar-free peppermints, a few mint-flavored antacids, and/or alfalfa pellets/ cubes.
The Right Supplement
Look for a feed supplement that’s high fiber, low carbohydrate, and low fat. Note that horse feeds aren’t required to list the main ingredient first and other ingredients in descending order like human food labels do. A feed may list alfalfa or “forage products” first and corn last, but still have just as much corn in it as hay, or even more.
You can find clues, though. First, check the fat content. A horse that needs to lose weight should never be eating something higher than 3% to 4% fat. Also, unless the feed specifically states it’s low calorie, avoid feeds with molasses in the ingredients list. Some have very small amounts, while others have quite a lot. It’s not necessarily easy to tell how much is in there, especially with a pelleted feed. Crude fiber doesn’t necessarily correlate directly with calories, because high-soluble fiber ingredients, such as beet pulp, are actually
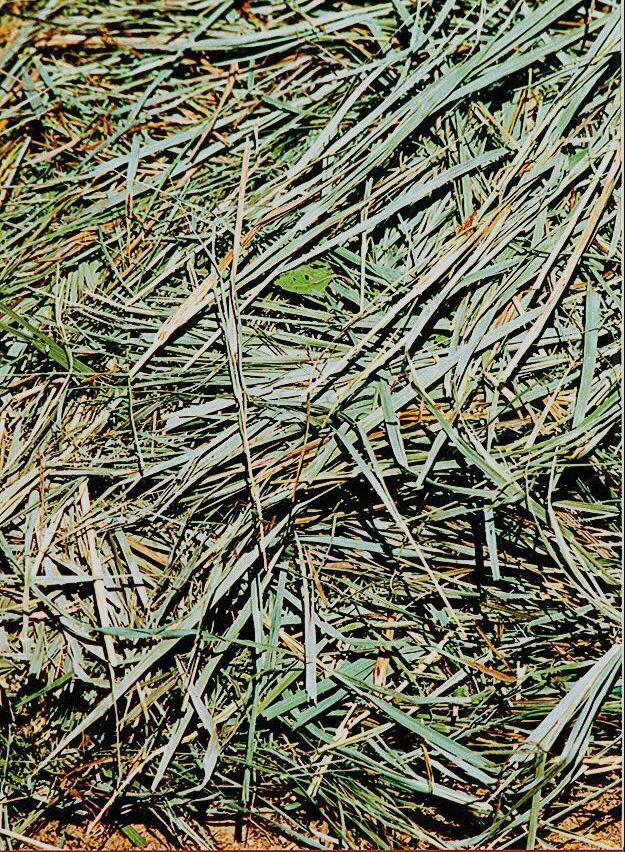
Good, leafy grass hay is a great “diet food” for most horses, but even grass hay needs to be weighed and fed at 1.5% to 2% of your horse’s “ideal” body weight to get him to start shedding extra pounds.
more calorie dense than hays. But it’s a fairly good indication of how much grain/grain products are in a feed. Look for a feed with at least 20% fiber. Some complete feeds fit the bill, too, and make good substitutes for straight grains.
In addition to the fat and fiber content, check the feeding directions. If the feed calls for giving the horse about 1.5% of his body weight/day when used as a complete feed (i.e., 15 lbs. per day for a 1,000-pound horse not in work), it has a calorie content similar to a high-quality hay. USR
Eleanor M. Kellon, VMD, the owner of Equine Nutritional Solutions in Robesonia, Pennsylvania, is one of a handful of experts in the field of applications of nutraceuticals for horses. She’s an authority in the field of equine nutrition, as well as conditions affecting performance horses. Dr. Kellon’s books include Equine Supplements and Nutraceuticals (Breakthrough Publications).
PHOTO BY BETSY LYNCH
PHOTO BY BETSY LYNCH
Leaf-Peeping Horseback
This fall, hitch up, and enjoy stunning fall colors from the back of your horse.
By Audrey Pavia
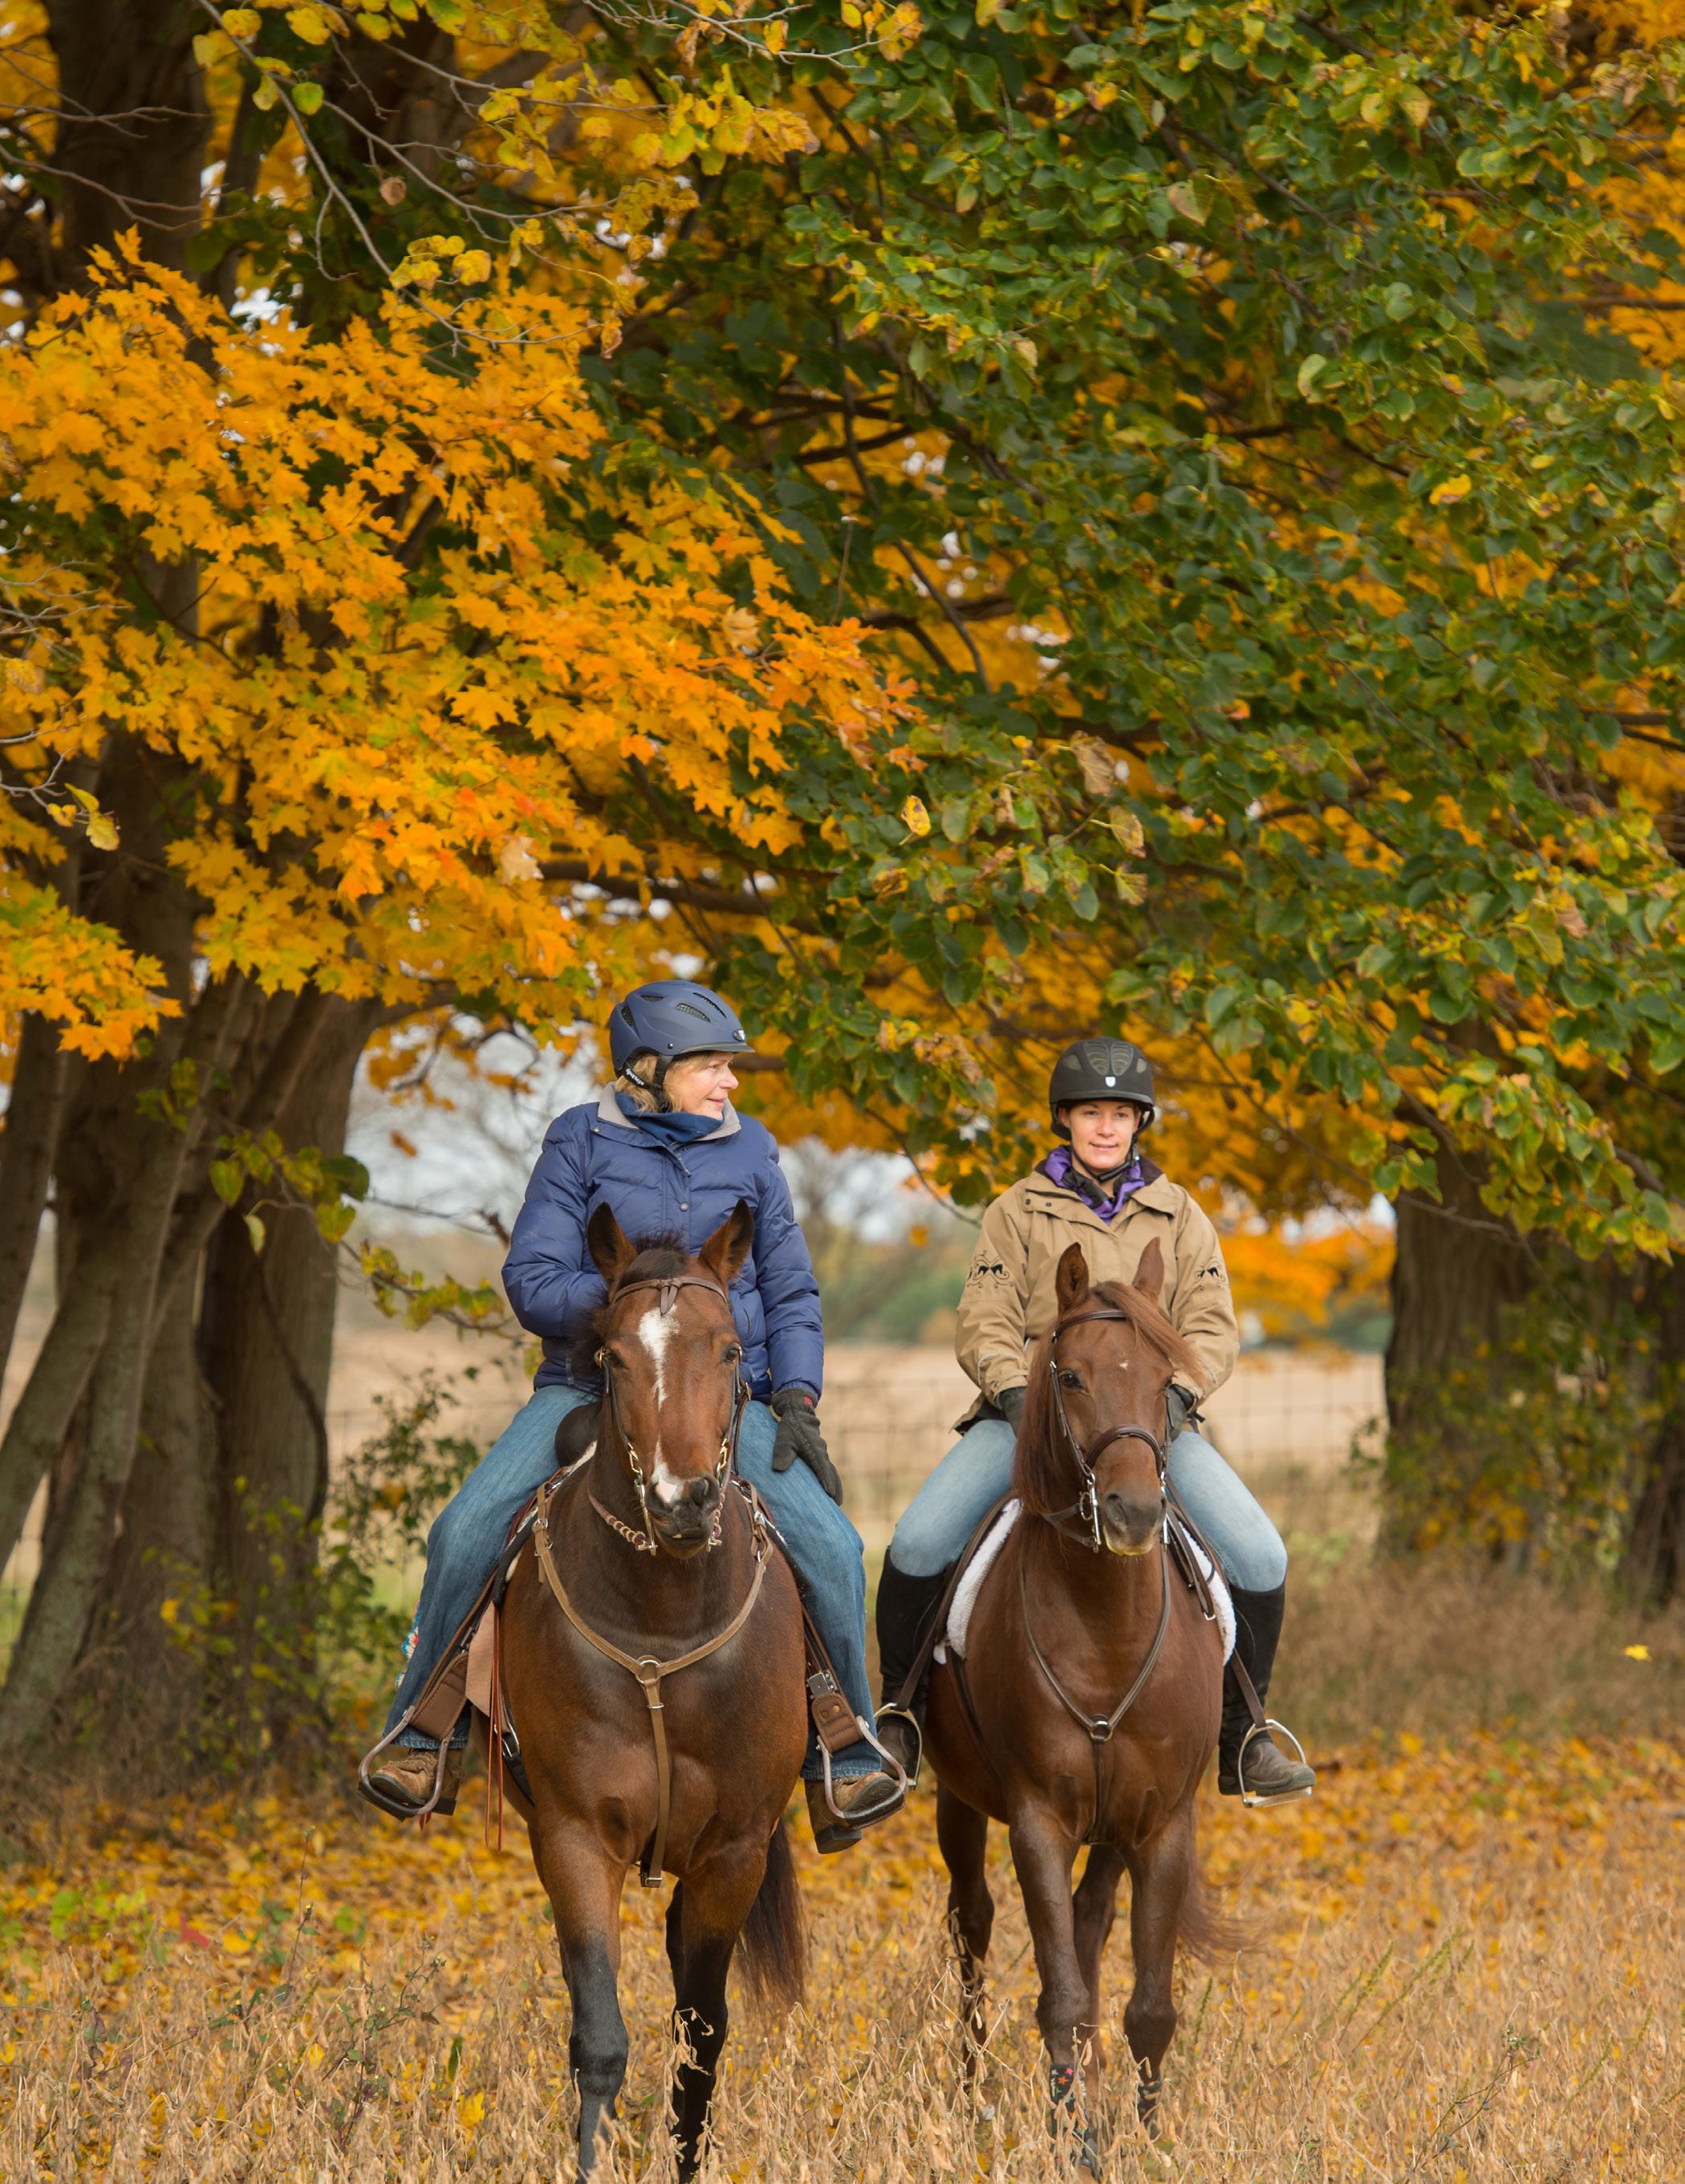
Riding through the crisp fall air surrounded by the reds, oranges, and yellows of autumn foliage is one of the most glorious experiences you can have on horseback.
PHOTO BY CLIXPHOTO.COM
Riding through the crisp fall air surrounded by the reds, oranges, and yellows of autumn foliage is one of the most glorious experiences you can have on horseback. Use our guide to enhance your leaf-peeping treks.
Know Your Leaves
For the best experience riding in fall color, do your homework. Leaves turn color at different times, depending on the latitude and elevation. Tree type determines color variations and peak times.
The phenomenon of fall foliage happens only in deciduous trees, which are trees that lose their leaves in order to survive the winter. Evergreen trees— such as pines, spruces, cedars and firs—retain their leaves. (The mixture of evergreens and warm fall foliage can be stunning.)
the tree is relatively brief. Most trees don’t hold their colorful leaves for more than two weeks, at the most. Peak-color dates depend upon several factors, including the current temperature, and the previous seasons’ weather patterns. A warm, wet spring; a moderate summer; and a fall with warm, sunny days and cool nights make for the best fall colors. Drought can seriously affect the col-
Midwest and Northeast, the middle of October usually shows the best colors. In the South and Southeast, the best colors in early November. In the mountains of the West, peak color is typically in September and October.
Consider the Weather
With fall colors comes autumn weather. While clear, crisp weather is ideal weather for a fall ride, you may experience other weather scenarios. Some of the more popular riding destinations for seeing fall foliage offer unpredictable weather. In the fall, New England is typically 45 to 50 degrees Fahrenheit during the day. While most fall days are pleasant and sunny, some New England fall seasons are also wet and chilly.
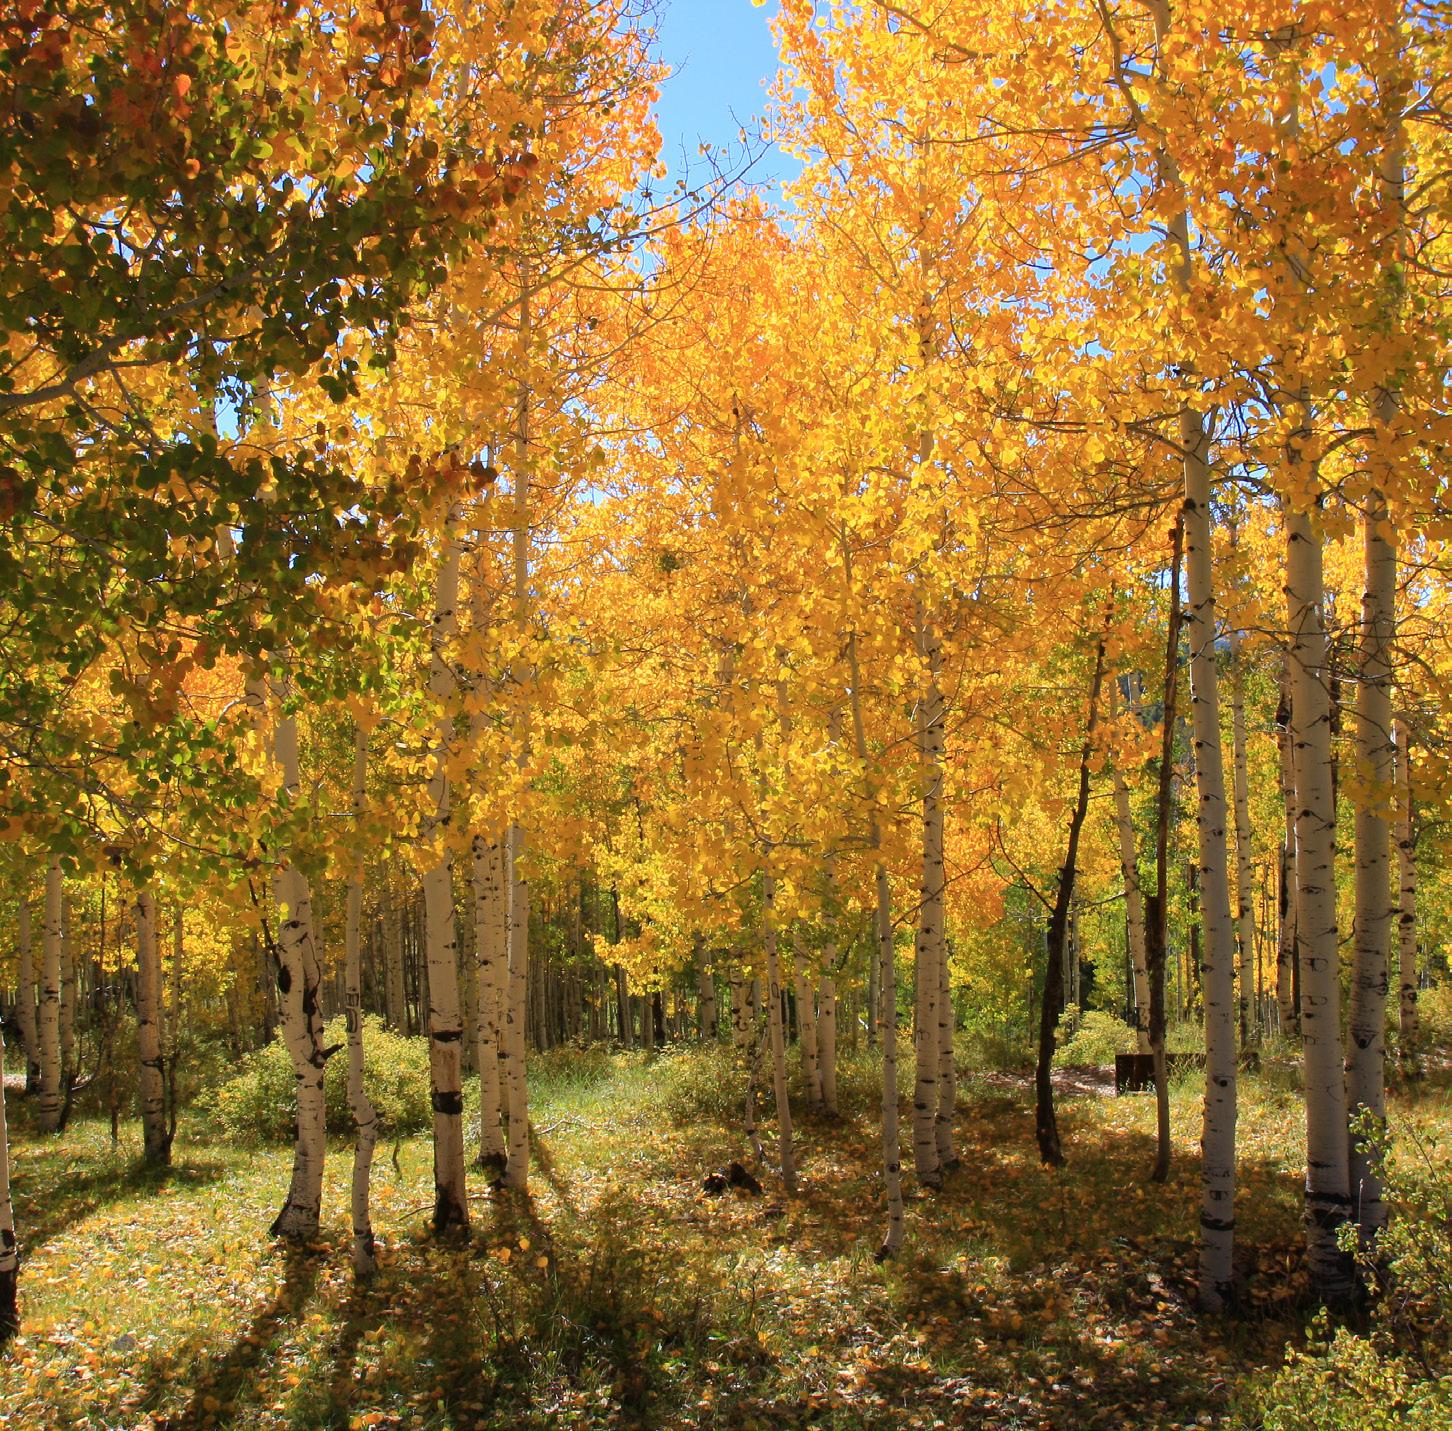
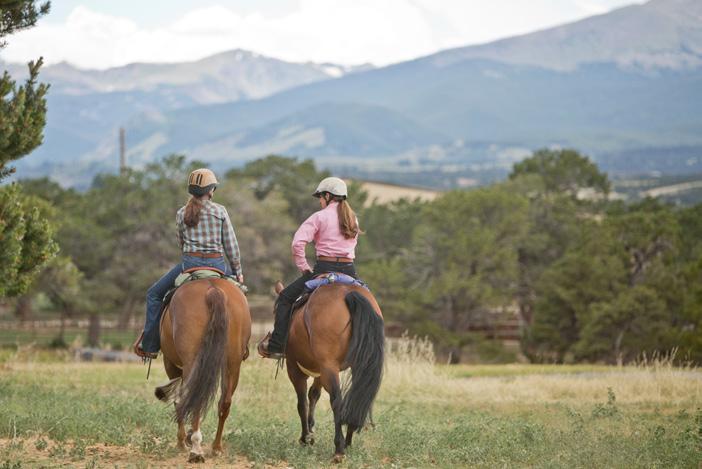
A general rule for catching peak color: The higher the latitude, the earlier fall leaves change color. In the mountains of the West (shown), September and October offer the most vivid colors.
To catch colorful fall foliage, find an area where deciduous trees grow in large numbers. And the trees must be of a species where the leaves turn yellow, orange, or red before they drop off, instead of just turning brown. The duration of time between when a leaf turns color and when it drops off
ors’ timing and vibrancy. A general rule: The higher the latitude, the earlier fall leaves change color.
In New England and the upper Midwest, the leaves are typically at their peak color in middle to late September, or early October, depending on the weather. In the central
The South and Southeast are usually very comfortable during fall-foliage season, with dry, sunny days and temperatures in the 60s. However, hurricane season extends into late fall. A hurricane is dangerous and can tear leaves right off trees.
In the Rocky Mountains and the upper Midwest, fall weather can be glorious. Cool, crisp air is a mainstay,
PHOTO BY KENT AND CHARLENE KRONE
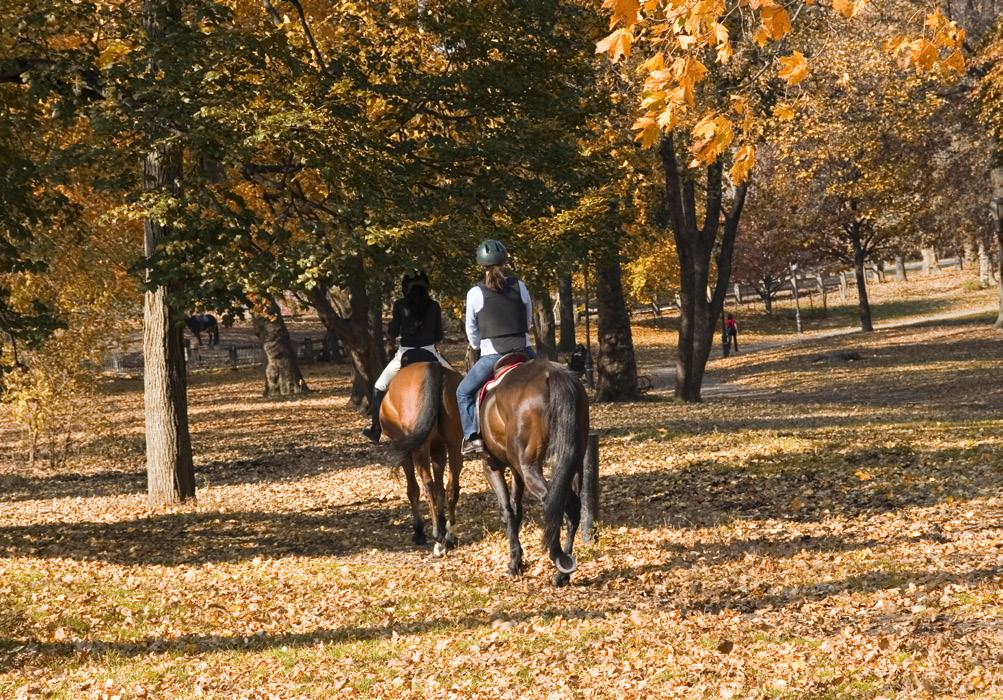
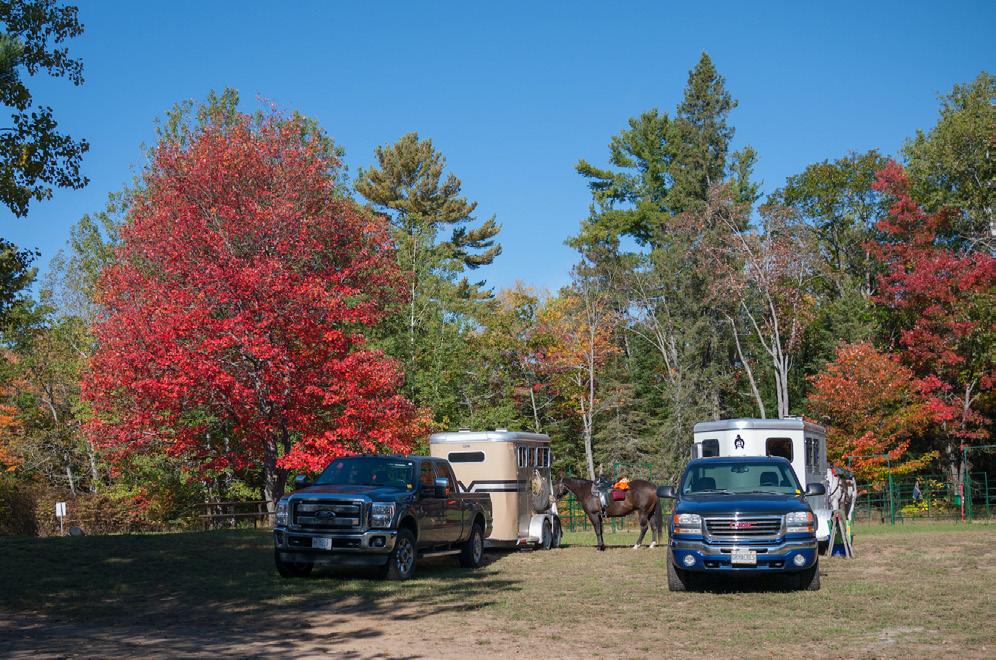

but this time of year also brings snowstorms and freezing temperatures.
Choose Your Adventure
You can choose to leaf-peep close to home, or you can plan a longer road trip. Here are a few pros and cons of each choice.
Close to home. The easiest way to see the colors of autumn on horseback is to go on a day or overnight ride close to home. If you live in an area where deciduous trees turn colors and drop their leaves in the fall, you just need to find a private facility or public land that allows horses and plan your trip.
On the plus side, you won’t need to take time off from work, you’ll save money on fuel, and you can plan your ride around your horse’s condition. You can also closely watch fall-foliage reports and trailer out on a day you know the colors will be at their peak.
Of course, the con of staying close to home is that you’ll probably be seeing the same trees in your own neighborhood. It may not feel like much of an adventure. Road trip. If you’re looking to view fall foliage you’ve never seen before, a trip farther from home is in order. Opting to take your own horse means considerable planning. Book accommodations for you and your horse well in advance of your trip. Check the rules and regulations for your chosen destination. Make sure your horse is in condition for the type of riding you’ll be doing.
While all this requires planning—along with plenty of driving—the rewards are great. You’ll have an opportunity to ride on new trails and view spectacular fall colors.
If you’d rather leave your equine friend at home, consider a riding vacation instead. A variety of resorts, ranches, and outfitters are available in areas known for beautiful fall foliage, and will provide you with a mount well-suited to the terrain.
Fall Trip Tips
Here are a few tips to keep in mind as you embark on a fall-foliage riding tour.
Invest in fall riding wear. Fall weather can vacillate from warm to chilly, or dry to wet, depending on where you are and the time of day. Dress in layers. Tie a duster or rain slicker on your saddle’s cantle for sudden downpours.
Prepare your horse. Fall is a great time to ride, because the air is cool, making trail trekking easy on your horse. If the summer heat has kept you from riding much, slowly build up your horse’s condition over a few weeks before
Staying close to home is convenient, but it might not feel like much of an adventure.
Fall trails can be a real joy. But fall can also bring seasonal trail hazards, including frost, slippery leaves, deep puddles, and thick mud.
Going on a road trip takes planning, but offers you an opportunity to ride on new trails and view spectacular fall colors.
PHOTO BY CLIXPHOTO.COM
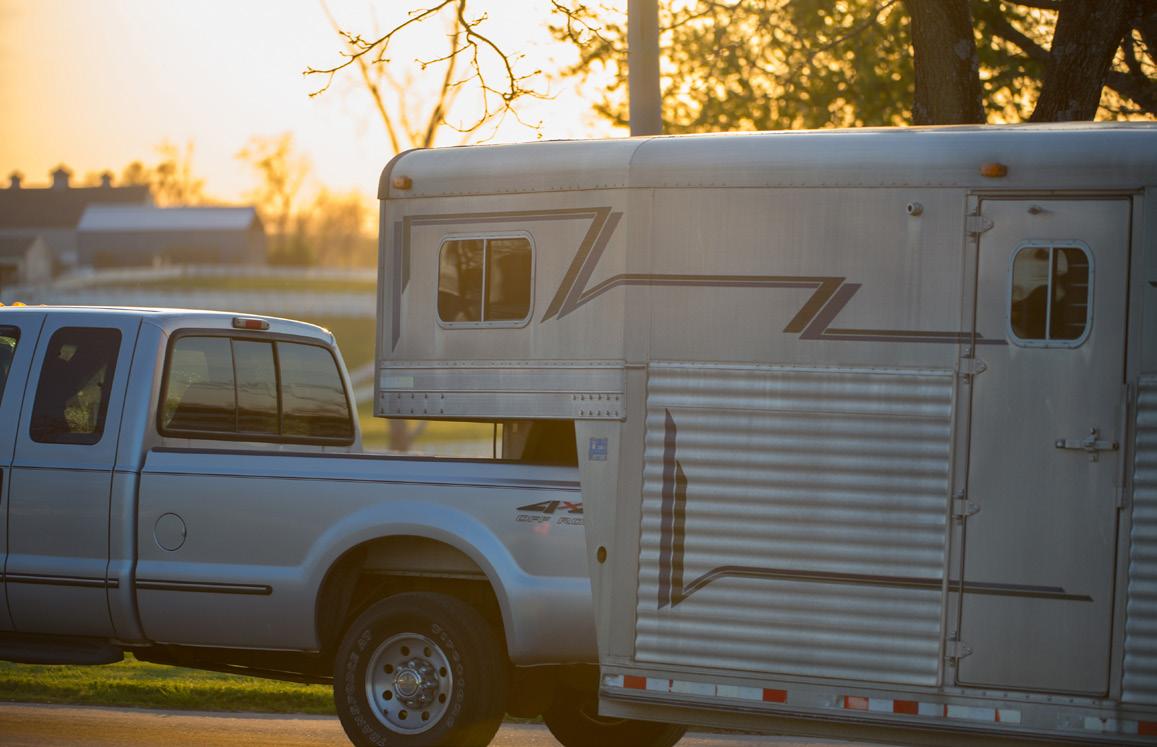
Cool, fall days are perfect for trailering, but check road conditions before you leave.
you take him on a long fall ride. Pack your saddlebag. Carry a rain cover for your helmet, a jacket, gloves, lip balm, and sunscreen. Invest in a waterproof cover for your cellphone so it doesn’t get wet in fall rains and mists. Also pack a small thermos filled with a warm beverage.
Trailer safely. Cool, fall days are perfect for trailering, but check road conditions before you leave; fall hailstorms and snowstorms aren’t uncommon in certain parts of the country. At your destination, park your trailer in a dry area

so your horse doesn’t slip during unloading and loading. Watch for trail hazards. Trails in the fall can be a real joy. But fall can also bring seasonal trail hazards, including frost, slippery leaves, deep puddles, and thick mud. If it’s been raining, bridges can be wet and even icy, making it hard for your horse to keep his footing. Be aware of trail conditions, and ride slowly over slick terrain. Watch for wildlife. Fall can be a busy time for wildlife. Autumn is mating season for deer, moose, and elk; males can be more aggressive than usual. If you come across one of these animals on the trail, keep your distance. Bears are also more active in the fall as they prepare for winter hibernation in colder areas. Don’t let bears or any wildlife feel cornered. Most wild animals will run away from a horse unless they feel like they can’t get away.
Watch for hunting hazards. Fall is hunting season in many areas of the country. Avoid riding in areas that are popular hunting spots. If you do ride where hunting is allowed, wear a bright-orange vest, and apply bright-orange wraps to your horse’s head and legs. Avoid white tack, clothing, or gloves; a hunter may mistake a flash of white for a deer’s tail. USR
Audrey Pavia is an award-winning equine journalist and competitive trail rider based in Norco, California. She’s the author of Trail Riding: A Complete Guide.

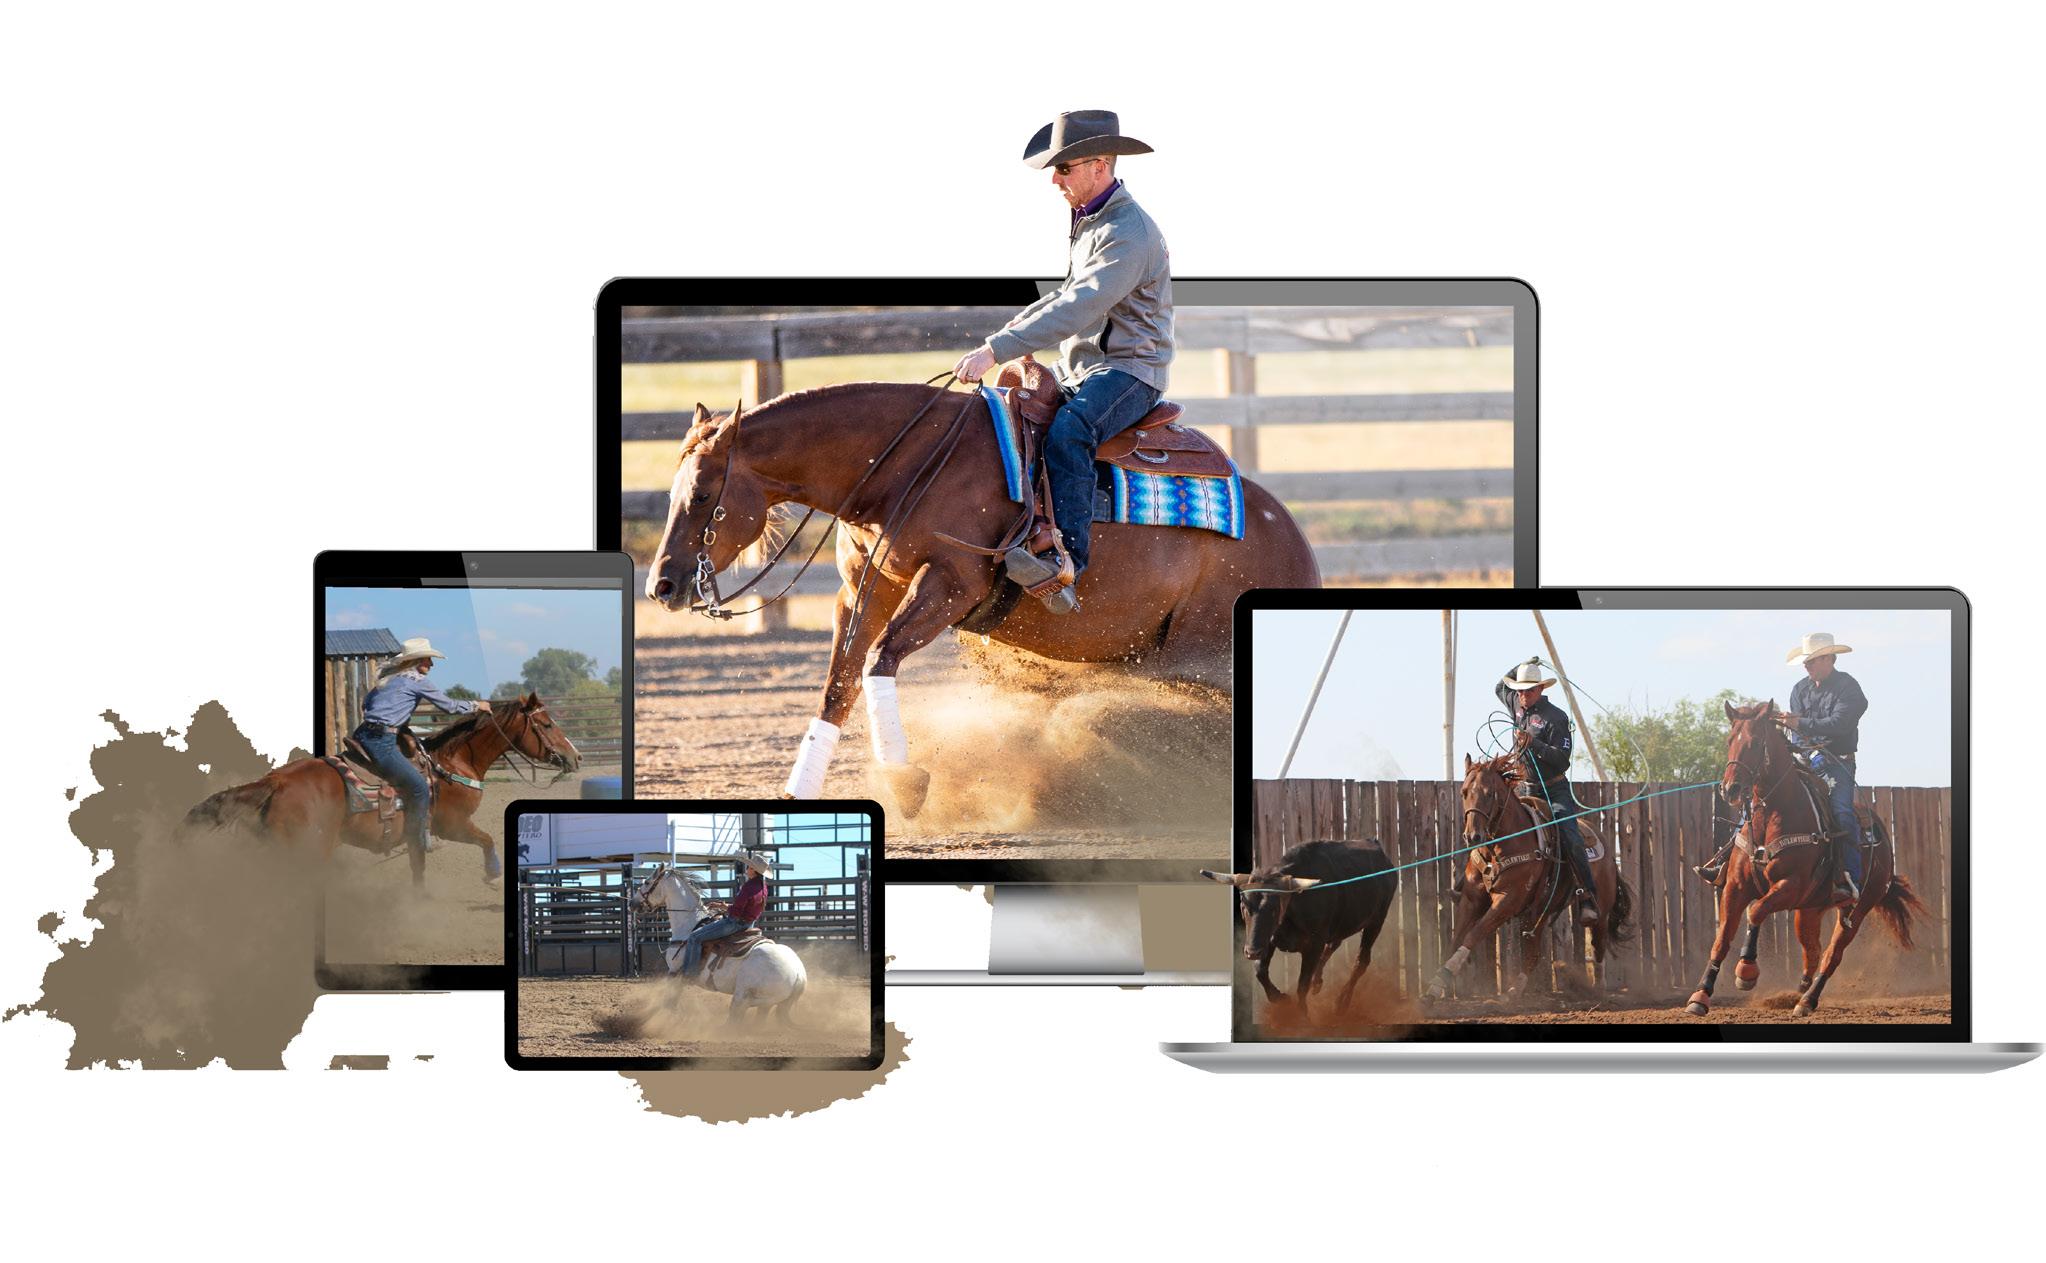


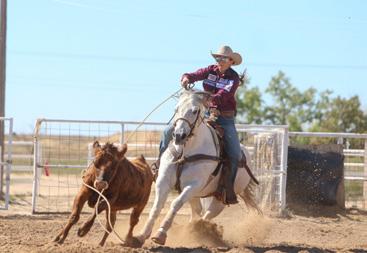


PHOTO BY CLIXPHOTO.COM
One Good Mechanic
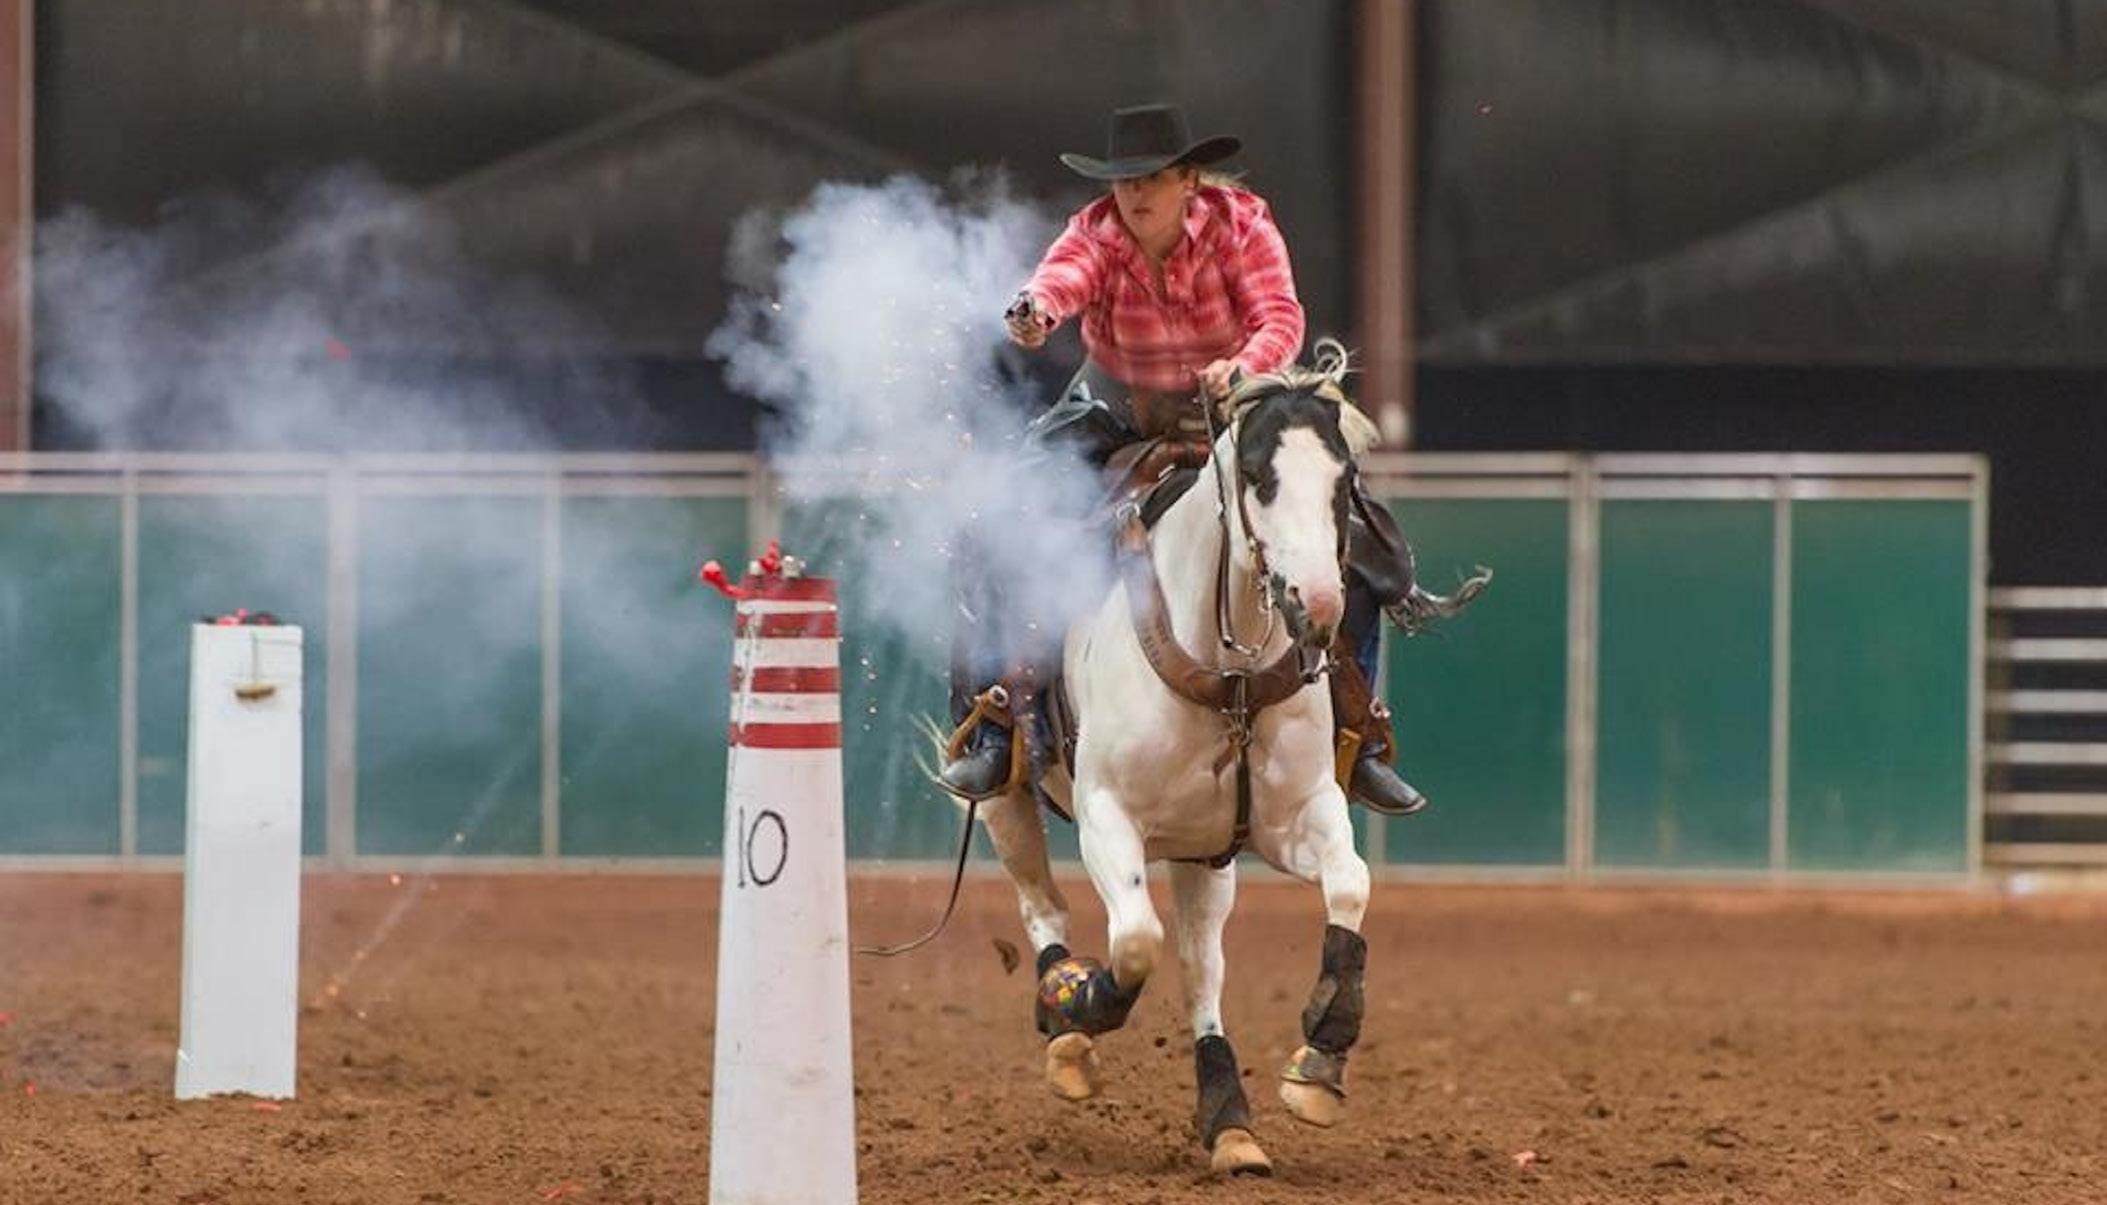
When this mounted shooting competitor had tire trouble, the decision to call USRider was easy.
By Jessie Warner
After arriving at a mounted shooting competition in Arizona, USRider Member Jessie Warner noticed a problem with her truck’s tires.
One recent January, I trailered a few horses to Phoenix for a mounted shooting competition. After arriving at the arena, I noticed both of my truck’s rear tires were damp on the inside. After crawling under my 1996 Ford F-250, I concluded there was a problem with either the U-joint or a rearwheel bearing.
Easy Decision
I had a decision to make. I could either walk around hoping I ran into somebody who had a friend who’s a mechanic or call USRider.
The decision was easy! I made one phone call and had a list of numbers of local mechanics in no time at all. I called the first one on the list, who just happened to be finishing up a personal vehicle after work.
He told me to drive my pickup over to the shop, which was only a few miles from the arena. He explained that he would take me back to the arena while he looked at my truck. This was at 5:30 p.m. on a Friday night!
Problem Solved
Bright and early the next morning, the mechanic called to tell me what he’d found and to give me a price quote. I told him I was competing that morning, but would be over as soon as I could. The mechanic stayed an extra hour and didn’t charge me any outrageous weekend-emergency price.
He almost seemed insulted when I tried to tip him for being so courteous! I took a stack of his business cards and handed them out to my fellow competitors, instead.
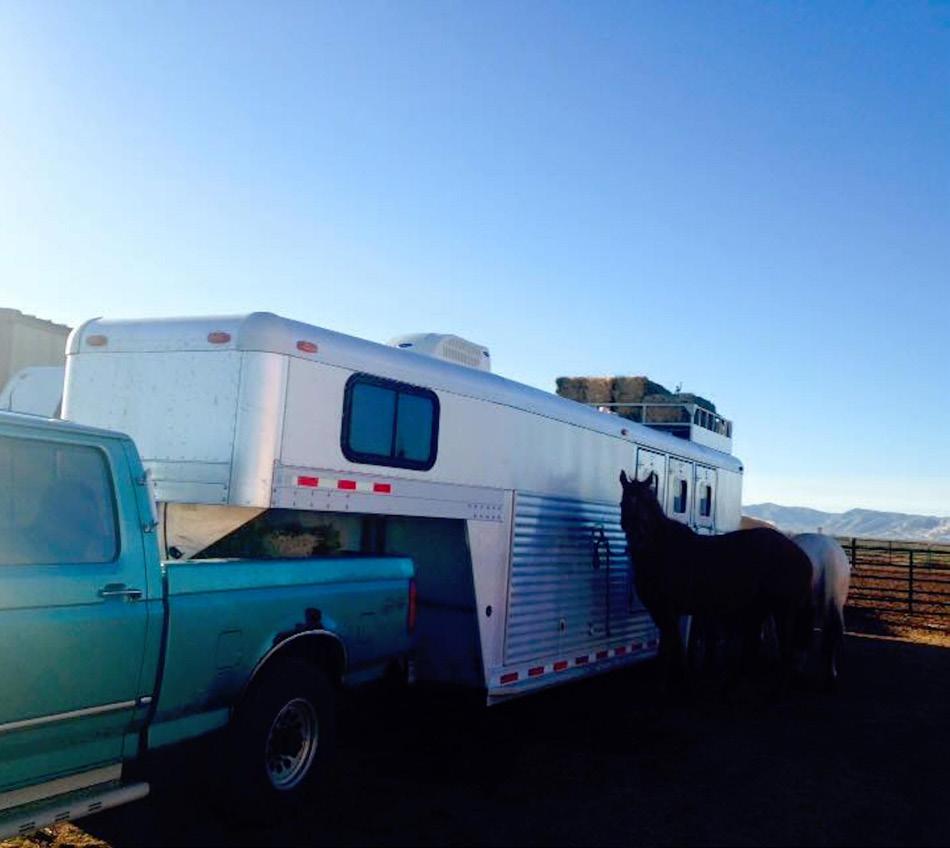
“Thanks to USRider, my trip was stress-free, my horses weren’t stranded anywhere, and my competition was wonderful!” enthuses USRider Member Jessie Warner.
Thanks, USRider
Thanks to USRider, my trip was stress-free, my horses weren’t stranded anywhere, and my competition was wonderful! Thank you, USRider, for taking care of my crew! USR
PHOTO BY DOUGLAS SMITH PHOTOGRAPHY
PHOTO COURTESY OF JESSIE WARNER

spalding labs.com


Gear Up for Fall
Fast-Dry Towel
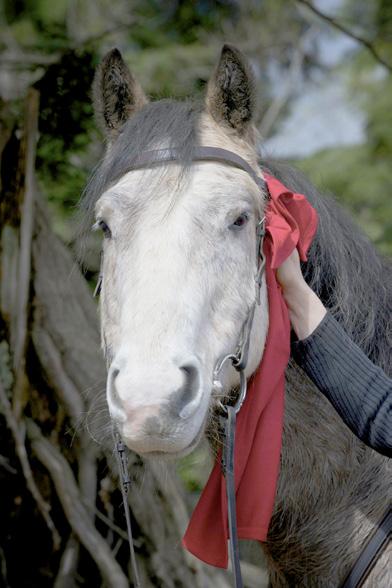
Fall’s rain and mud call for a quick-dry towel for both you and your horse. Discovery Trekking Outfitter’s Ultra Fast Dry Towel, made from a quick-drying, stay-soft, lightweight performance fabric. Safe, odor-resistant technology discourages bacterial growth, keeping the towel fresher between washes. The towel is available in aqua, fern green, navy, purple, red, and royal blue.
Sheepskin Seatbelt-Strap Pad
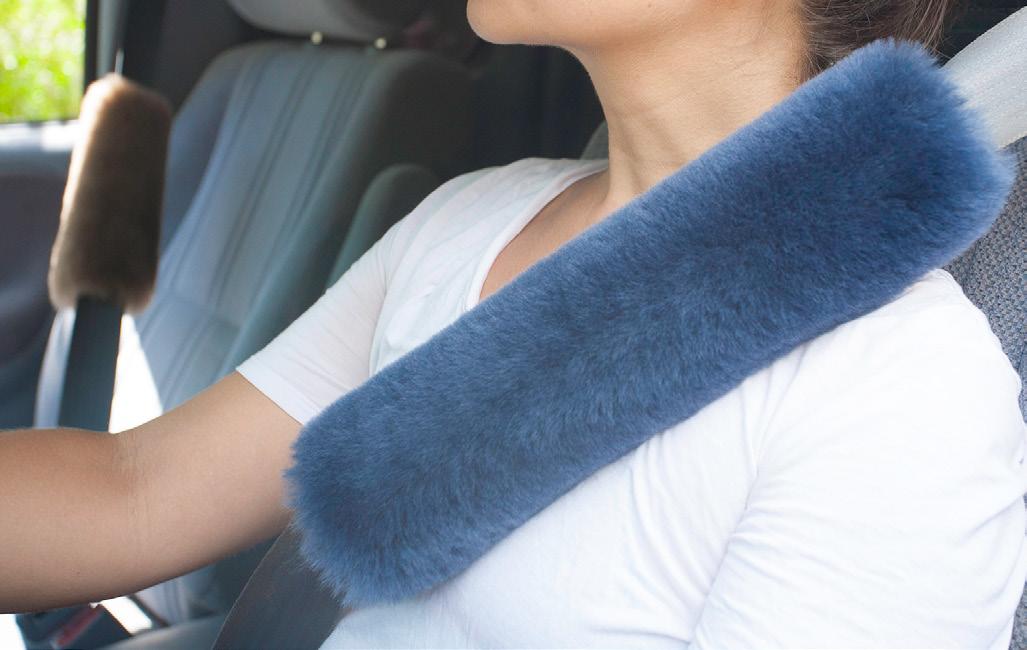
Enhance your driving comfort for fall travels with the Merino Sheepskin Seat Belt Shoulder Strap Pad from JMS Products USA. The 4-by-12-inch pad wraps easily around most flat straps up to 2 inches wide and closes with a hook-and-loop fastener. ([I]Note:[I] Measure around your seat belt strap before purchasing to be sure the pad will fit. JMS does special orders. You may contact them at JMSProducts@gmail.com.) The pad is available in black, brown, tan, grey, burgundy, navy blue, ivory, green, white, and country blue.

Odor-Control Concentrate
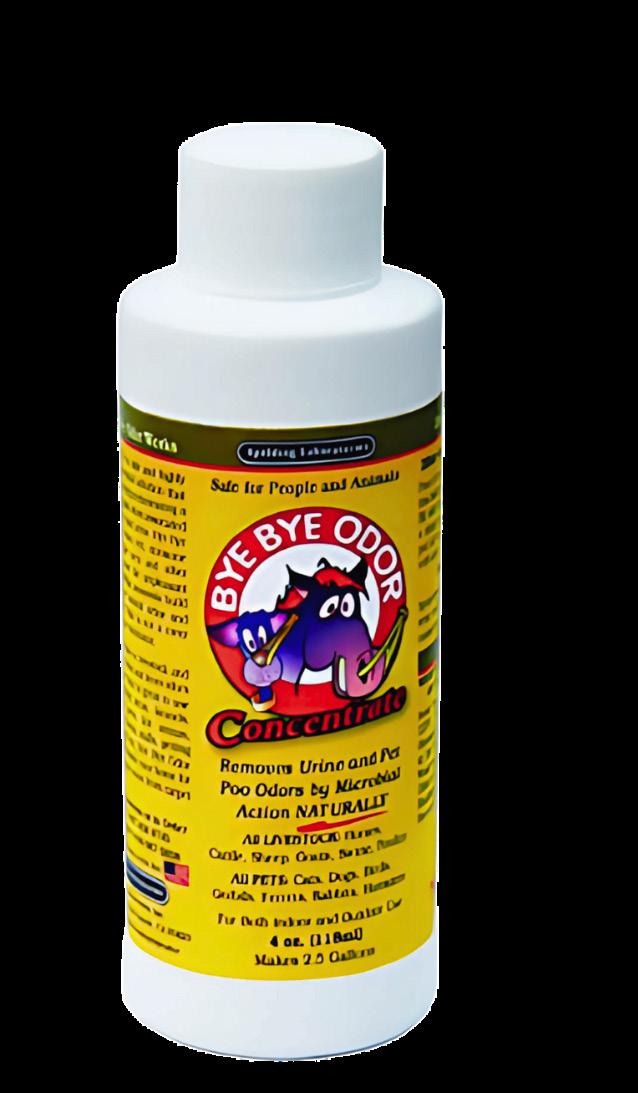
Odor and potentially harmful fumes, especially ammonia, can build up in your trailer, your home barn, show barns, and overnight-stabling facilities. Bye Bye Odor, by Spalding Laboratories, contains four microbes that consume odors’ elements, then convert them into odor-free, harmless elements. The natural, nontoxic microbial solution is specially formulated to substantially reduce or eliminate ammonia levels from equine urine and manure. The 4-ounce concentrate makes 2 to 3 gallons of solution.

Mud-Flap Kit
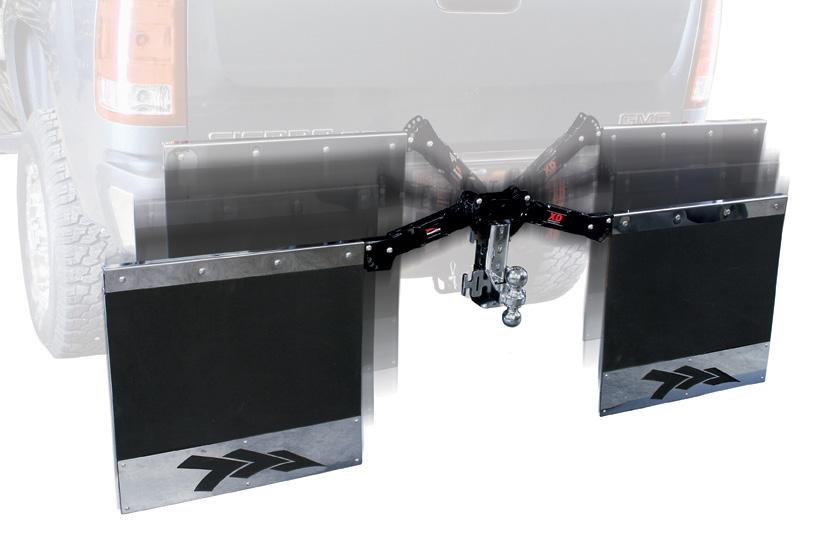
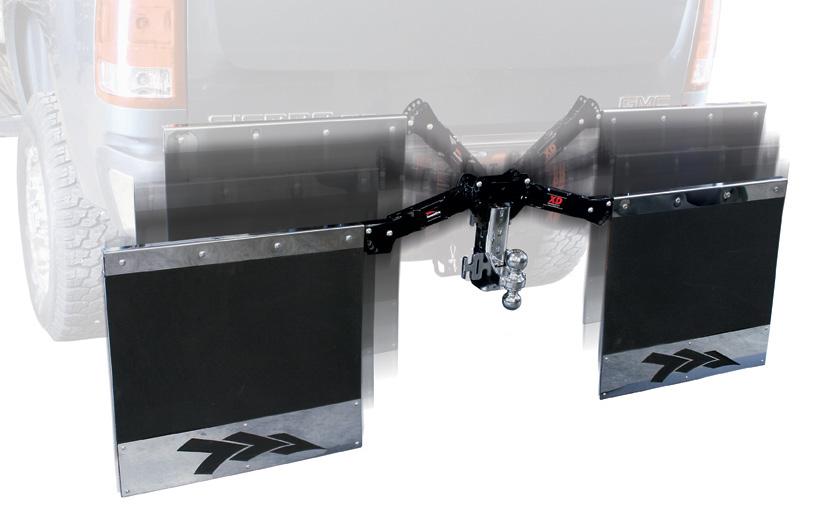
Without a barrier, debris and mud can damage your trailer while you’re on the road. Inventive Products’ XD Mud Flap fits all standard hitches with a 2-by-2-inch receiver. (The XD Large Receiver Kit fits hitches with a 2½-by-2½ inch receiver.) Each flap measures 24-by-24 inches, and adjusts vertically and horizontally to fit any vehicle. Easy to install.
PHOTOS


EVERYTHING YOU LOVE ABOUT HORSES ALL IN ONE PLACE
Discover Ride TV, the ultimate equine streaming platform.
Whether you want to watch the biggest events in equestrian sport, bingewatch your favorite series, or learn from top pros, Ride TV makes it easy to watch your favorite videos anywhere, anytime, all in one place.


Start your 7-DAY FREE TRIAL!


Equestrian Benefits & Emergency Travel Services
Imagine traveling with your horse and your tow vehicle breaks down—or you get into a trailer accident—far from home in an unfamiliar area. Or your horse becomes sick or injured and your trusted veterinarian is miles away. Or your horse loses a shoe and is at risk for a horseshoe-nail injury.
If you experience one of these nightmare scenarios on the road, USRider will be there for you with an array of prompt, reliable travel services.
Here’s a rundown of USRider’s Equestrian Benefits and Emergency Travel Services if you’re a Member of USRider’s Classic Plan. To access any of these services, simply call the emergency toll-free number on the back of your membership ID card. (For more information, and for details regarding USRider’s Classic and Premier membership plans, go to usrider.org.)
Equestrian Benefits
• Emergency trip interruption services. USRider will reimburse you for unexpected expenses due to a collision that results in the injury of a horse or horses you’re transporting. Covered items include veterinary care, overnight boarding, lodging and meals, and a rental vehicle. (Reimbursement is limited to the first 72 hours
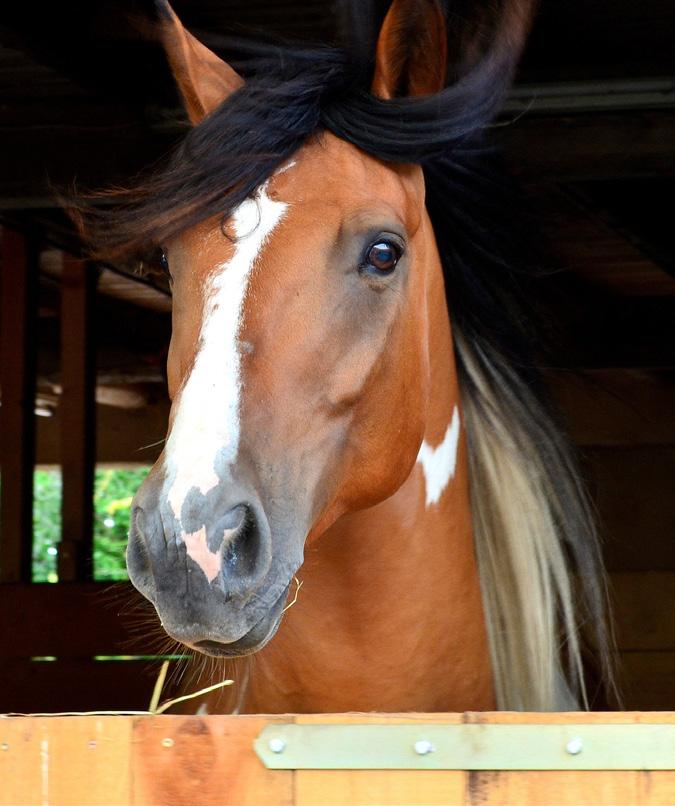
If your tow vehicle breaks down or is in an accident that doesn’t involve injury to a horse or horses you’re transporting, USRider will contact area stabling facilities to make overnight arrangements for your horse or horses.
following your accident and up to $1,000.)
• Emergency-stabling arrangements. If, while traveling, your tow vehicle breaks down or is in an accident that doesn’t involve injury to a horse or horses you’re transporting, USRider will contact facilities to make stabling arrangements for your horse or horses. (You’re responsible for stabling costs. USRider cannot guarantee availability.)
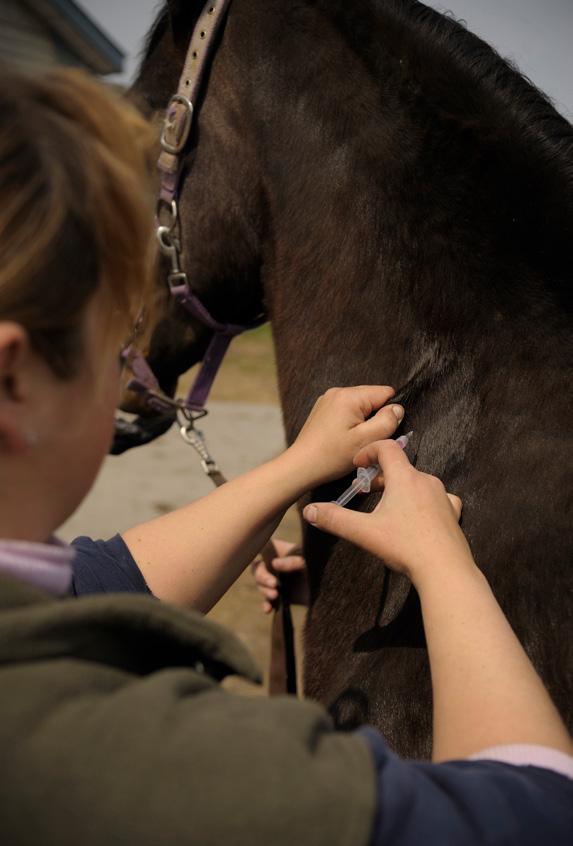
If you have an equine-health emergency while traveling, USRider will provide the name and contact information of qualified large animal practitioners from its exclusive DVM Directory.
• Veterinarian-referral services In the event that you have an equinehealth emergency while traveling, USRider will provide the name and contact information of qualified large animal practitioners from its exclusive DVM Directory. This electronic database contains information on veterinarians
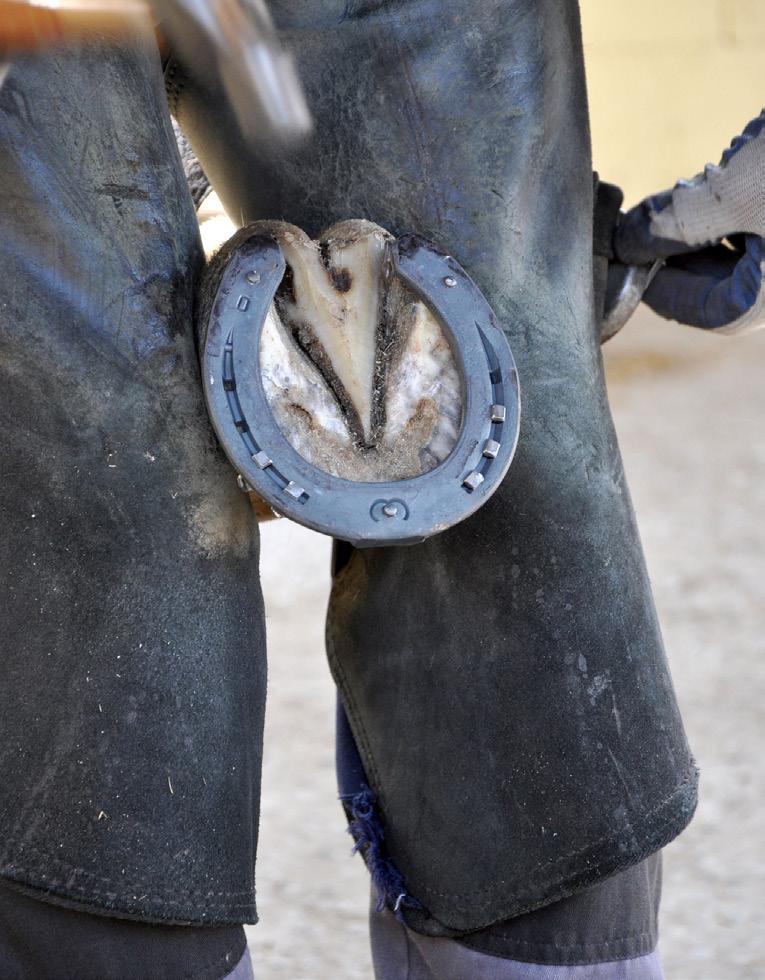
If your horse needs hoof care while traveling, USRider will provide the name and contact information of qualified farriers in your area.
PHOTO BY CLIXPHOTO.COM
throughout USRider’s service area in the 48 contiguous United States, plus Alaska and Canada.
• Farrier-referral services . In the event that your horse needs hoof care while traveling, USRider will provide the name and contact information of qualified farriers in your area.
Emergency Travel Services
• Emergency transportation. If, while traveling, you need emergency transportation resulting from an accident or mechanical breakdown, USRider will arrange for taxi service.
• Emergency-lodging arrangements. If, while traveling, your vehicle breaks down or is in an accident that doesn’t involve injury to a horse or horses you’re transporting, USRider will contact area
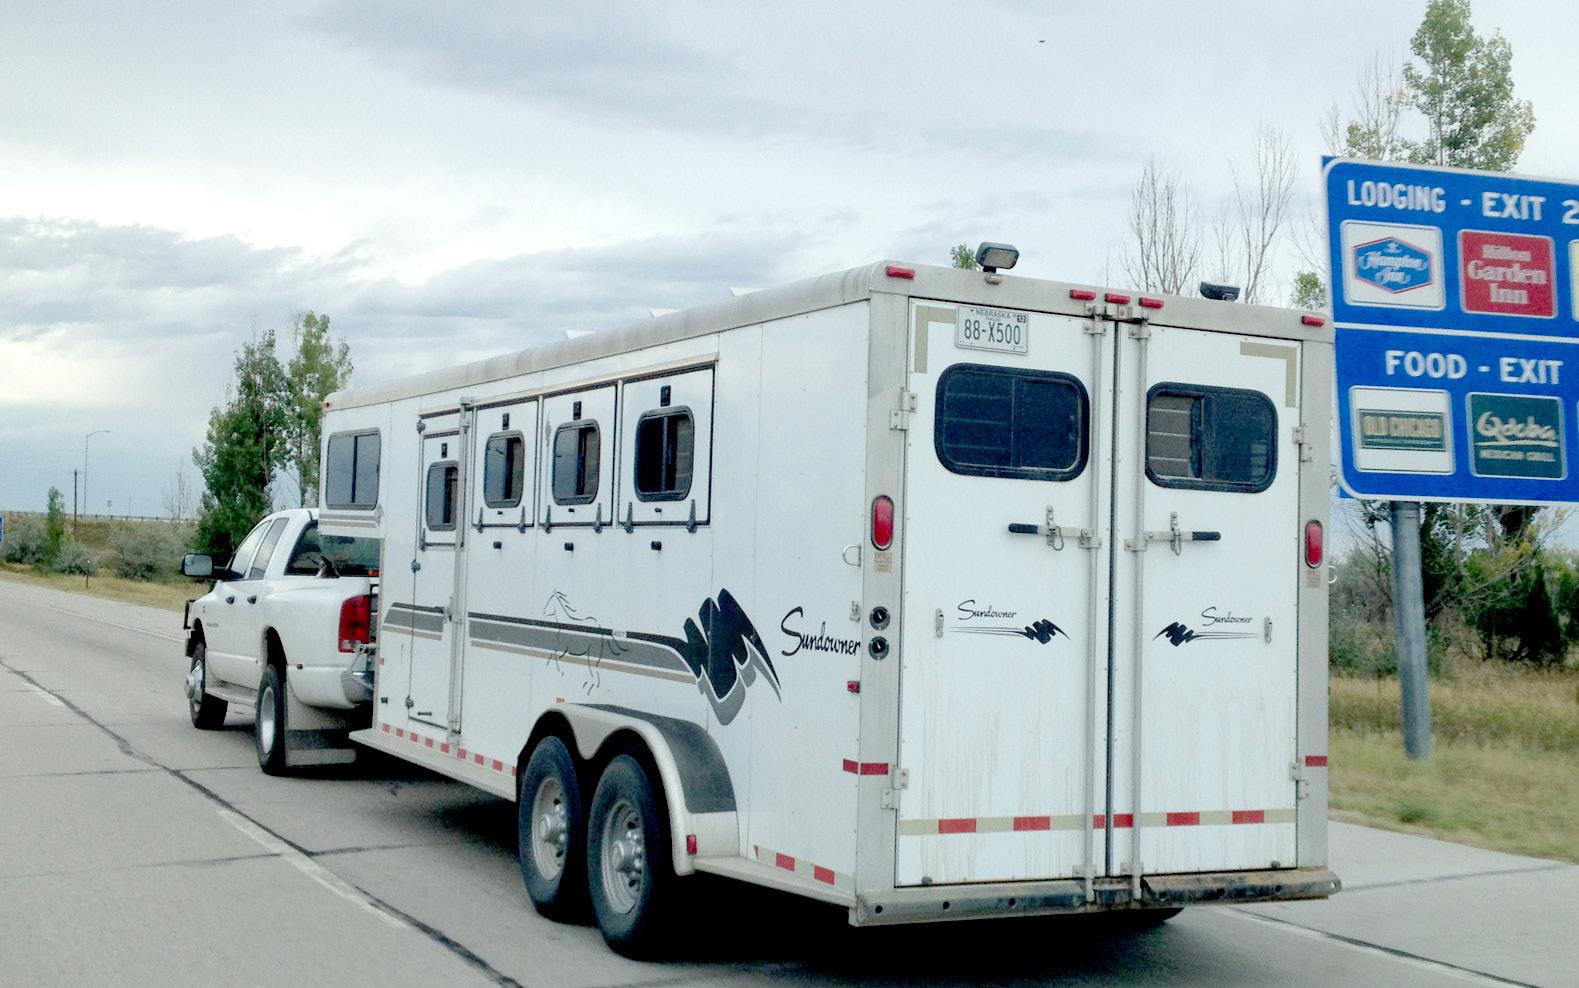
If your tow vehicle breaks down or is in an accident that doesn’t involve injury to a horse or horses you’re transporting, USRider will contact area hotels and motels to make lodging arrangements.
hotels and motels to make lodging arrangements. (You’re responsible for lodging costs. USRider cannot guarantee availability.)
(Some services provided are subject to certain restrictions and
limitations. Member is responsible for non-covered expenses and expenses in excess of overage limits. Please see your Membership Service Contract for complete details.)
PHOTO
Trailer-Emergency Prep
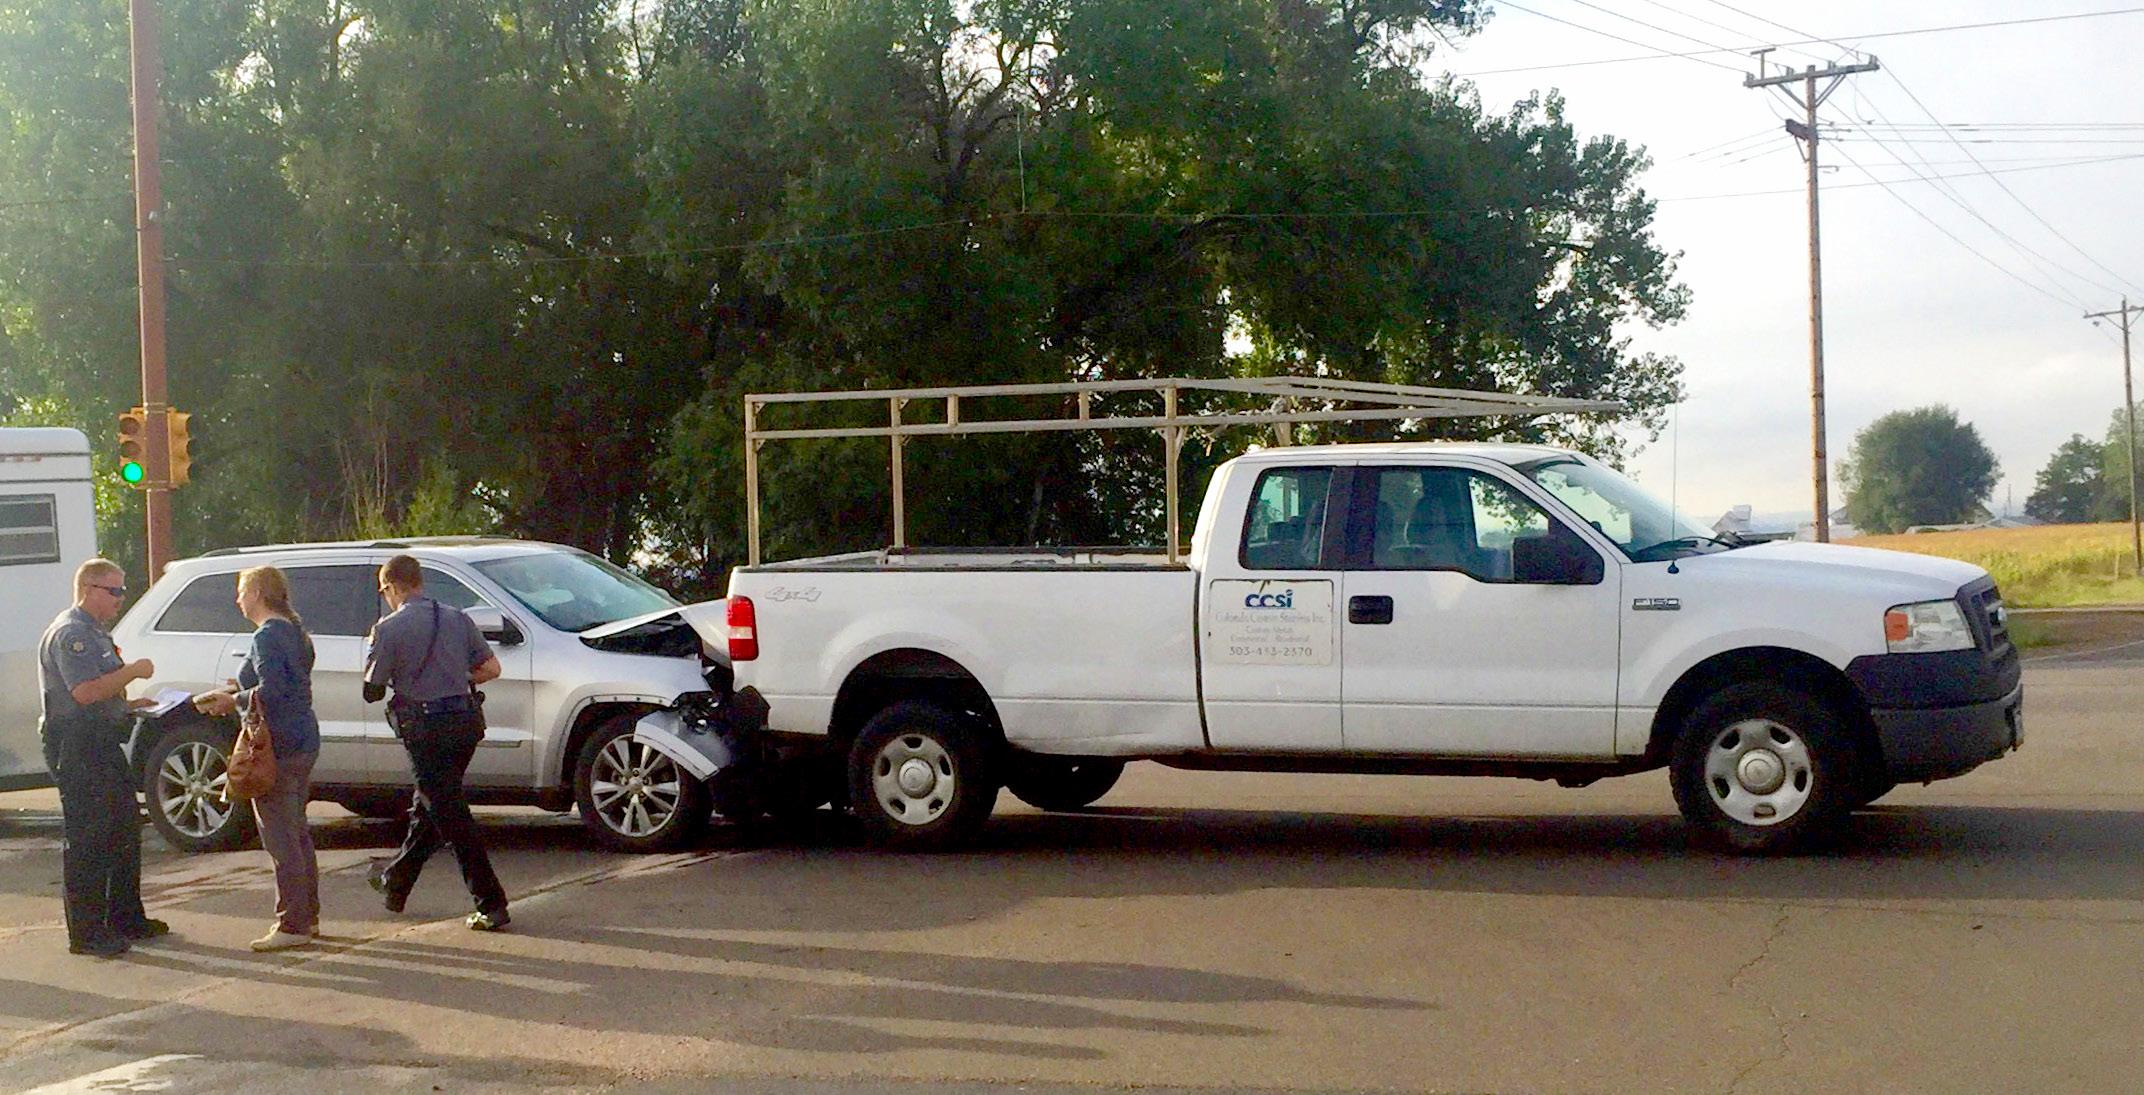
Be prepared for a trailer emergency with these expert checklists.
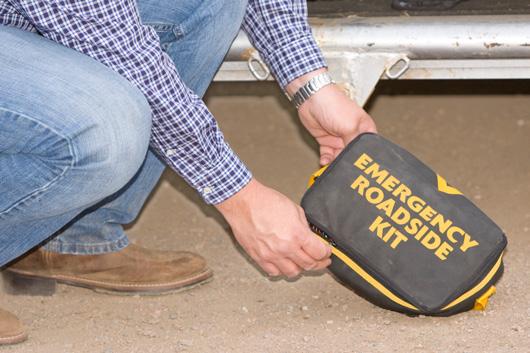
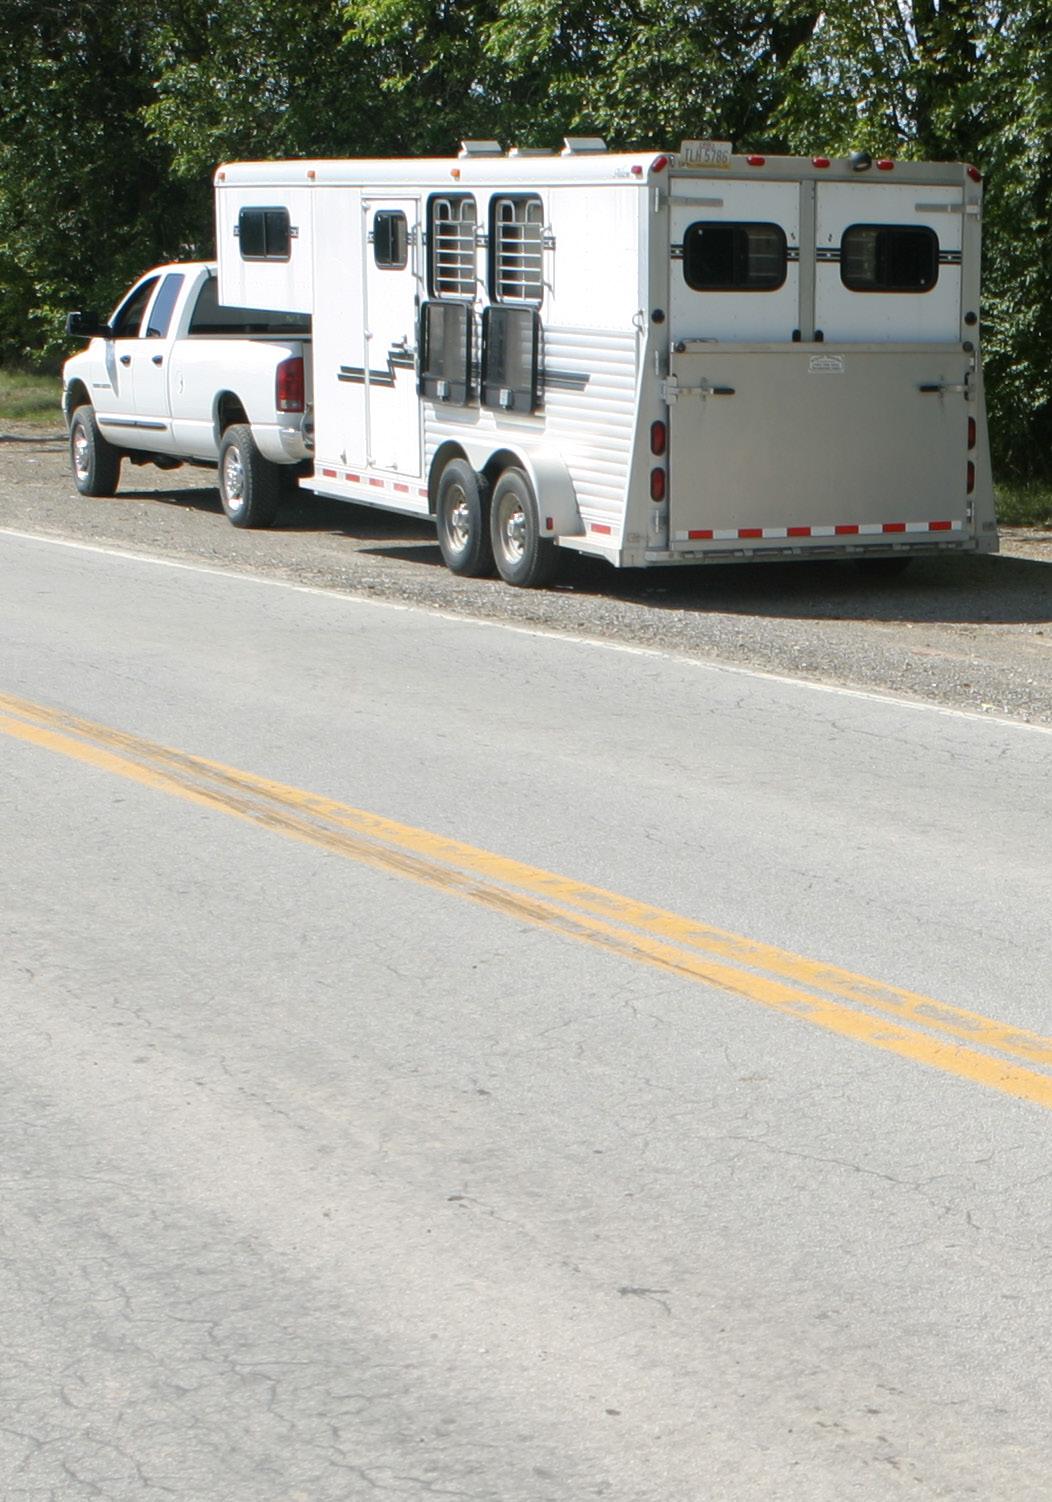
Lessen the chance of a roadside breakdown with a pre-trip check of fluid levels and tire condition. Inset: Keep an emergency roadside kit in your tow vehicle to handle minor repairs, if you can do so safely.
Emergencies can happen to anybody at any time, but you can greatly influence the outcome by being prepared. Here’s a checklist designed to help you anticipate the types of emergencies you might encounter, so you can plan for them in advance—plus a list of items to keep in your tow vehicle should an emergency happen despite your best efforts.
Emergency Prep
■ You’re stuck in a traffic jam. If you get stuck in a traffic jam in hot weather, your horse could become very stressed. Keep 10 to 20 gallons of water on board at all times to help keep your horse cool. Offer him water to drink and rinse him off.
■ Your tow vehicle breaks down. Lessen the chance of a roadside breakdown with a pre-trip check of fluid levels and tire condition. Follow a prescribed maintenance schedule, as well. Keep an emergency roadside kit in your tow vehicle to handle minor repairs, if you can do so safely.
■ You get a flat tire. In case the breakdown is due to a flat tire, have a spare tire that’s in good condition so you’ll be able to get back on the road quickly. In fact, have at least one spare tire for both your tow vehicle and trailer. Then know how to change flats on both.
■ You have an accident. An accident can happen at any
A trailer accident can happen at any time. Lessen the risk by being the best and most responsible driver you can be.
PHOTOS BY HEIDI MELOCCO
PHOTO BY HEIDI MELOCCO
time. Lessen this risk by being the best and most responsible driver you can be. Enhance your control by properly setting up your rig, making sure your tow vehicle is rated to tow the weight of your loaded trailer and using the proper hitch. Carry spare halters and lead ropes in your vehicle or trailer so you’ll be prepared if—heaven forbid—your horse gets loose on the highway during an accident.
■ You become injured or incapacitated. Store a human first-aid kit in your tow vehicle to treat minor injuries. In extreme situations, you may be incapacitated. Help first responders handle your horse by posting a visible notice in your trailer listing names and numbers to call for help. Also, plug those numbers into your mobile phone’s contact list under “ICE-Horse” (ICE stands for “In Case of Emergency.”)
■ Your horse becomes injured. Even if your horse is a seasoned traveler, he can still hurt himself in your trailer or while riding during a day trip. Make sure your trailer is safe. Check for any interior sharp edges or protrusions that could cause injury. Use only removable interior dividers, bars, and center posts, in case you need to get your horse out of a trapped situation. Carry a well-stocked equine first-aid kit so you can tend to his injuries. Ask your veterinarian to teach you emergency-treatment techniques. Preventive measures— such as wrapping your horse’s legs or applying shipping boots— will greatly reduce the possibility of injury.
—Tom
Scheve and Neva Kittrell Scheve
Your Emergency Kit
If your horse gets hurt in your trailer despite your best efforts, carry the emergency equipment that will allow you—or trained responders—to assist him if he gets trapped or injured, either inside or outside your trailer. Place this kit (and your emergency hay stash) inside your tow vehicle, not in your trailer, so you’ll have access to it if your trailer is compromised. Here’s a checklist.
■ Road-hazard warning kit. This includes orange cones or triangles, flares, reflective tape on your trailer, and a reflective vest for you, if you’re on the side of the road for any reason.
■ Cellphone. If you have service, you can use your cellphone to
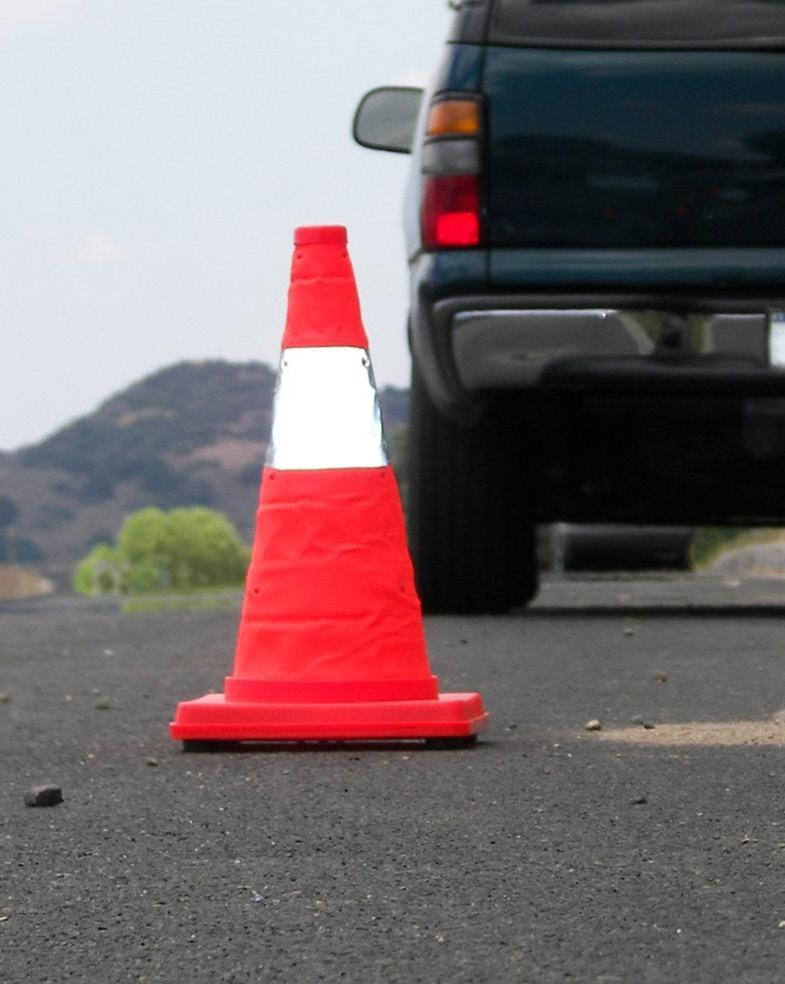
Include in your road-hazard warning kit orange cones or triangles, and flares. Shown is the Eurow Safety collapsible traffic safety cone.
call for emergency assistance and USRider for emergency roadside assistance.
■ First-aid kit. Carry a good firstaid kit for both equines and humans.
■ Sharp knife. Pack a sharp knife, then use it for emergencies only,
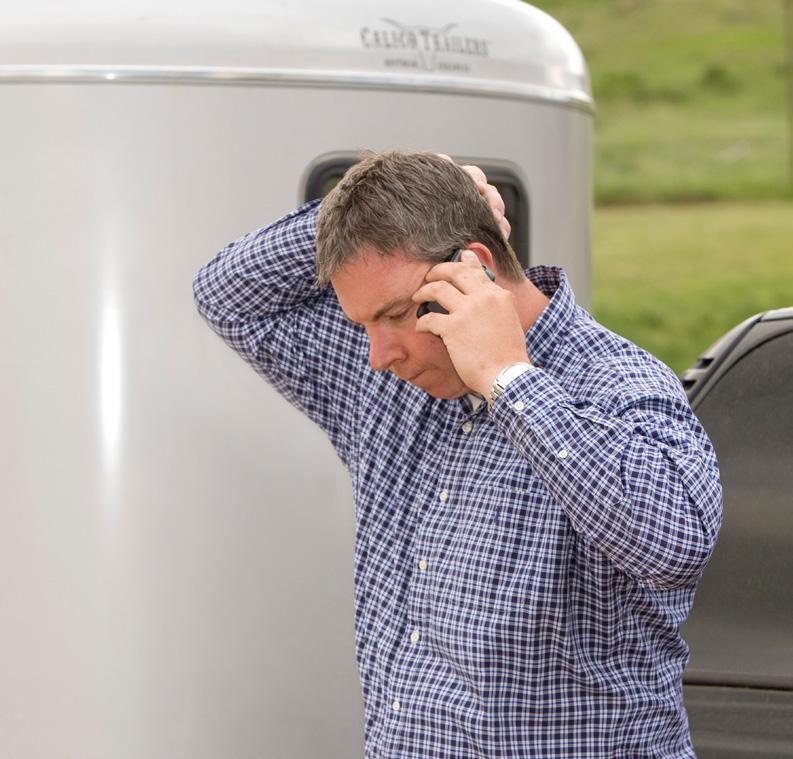
If you have service, you can use your cellphone to call for emergency assistance and USRider for emergency roadside assistance.
so the blade stays sharp enough to cut through tie straps and rope that may be entrapping your horse’s head or legs.
■ Saw. A battery-powered reciprocating saw capable of cutting metal that may entrap a head or leg.
■ Webbing. A piece of three- to four-inch webbing (tow strap) can control a leg; or use it around the body to maneuver your horse into a safer position.
■ Cane or boat hook. Use a cane or boot hook to manipulate the webbing.
■ Hammer. You’ll use a hammer to drive the pins out of a chest bar or gate that might be entrapping your horse.
■ Towel or blanket. You need something to cover the head of a downed horse to help keep him calm until help arrives.
■ Hay. Lay in an emergency supply of good-quality hay to allow trapped or extricated horses to eat and relax while you wait for assistance.
— Rebecca Gimenez Husted, PhD
PHOTO COURTESY OF EUROW SAFETY
PHOTO BY HEIDI MELOCCO
