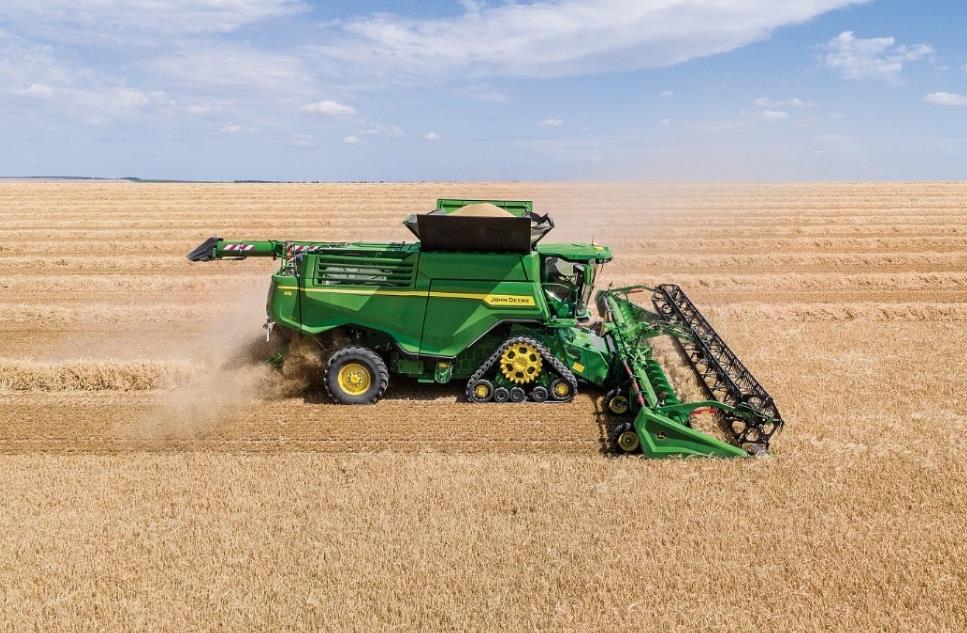
X Series Combines and Front-End Equipment Optimization
“Ready To Harvest” for Wheat
John Deere Harvester Works
Contact AFGRI Connect Support +61 483 947 817
Normal Hours
8AM - 5PM Monday to Friday.
Harvest and Seeding Hours
7AM - 7PM Monday to Friday and 8AM - 5PM Saturday & Sunday.
Urgent Support Outside of Hours
Please contact us through the John Deere Expert Connect app and we will endeavour to respond as soon as possible.
John Deere Expert Connect app Scan the QR code to download

Preface
The content of this material is intended to help you know how to choose the best configuration and set up an X Series combine and platform, for any Wheat crop and condition before going to the field.
Combine and Field installed bundles are explained for attachments, to enhance performance and Grain Quality in specific Wheat conditions.
Setup and Adjustment recommendations are intended as a starting point before harvest season. Additional adjustments and fine tuning will be necessary depending on crop moisture and harvest conditions.
Crop setting checklists and Grain Quality Tips are a quick reference for configurations and operating speeds to help optimize grain quality.
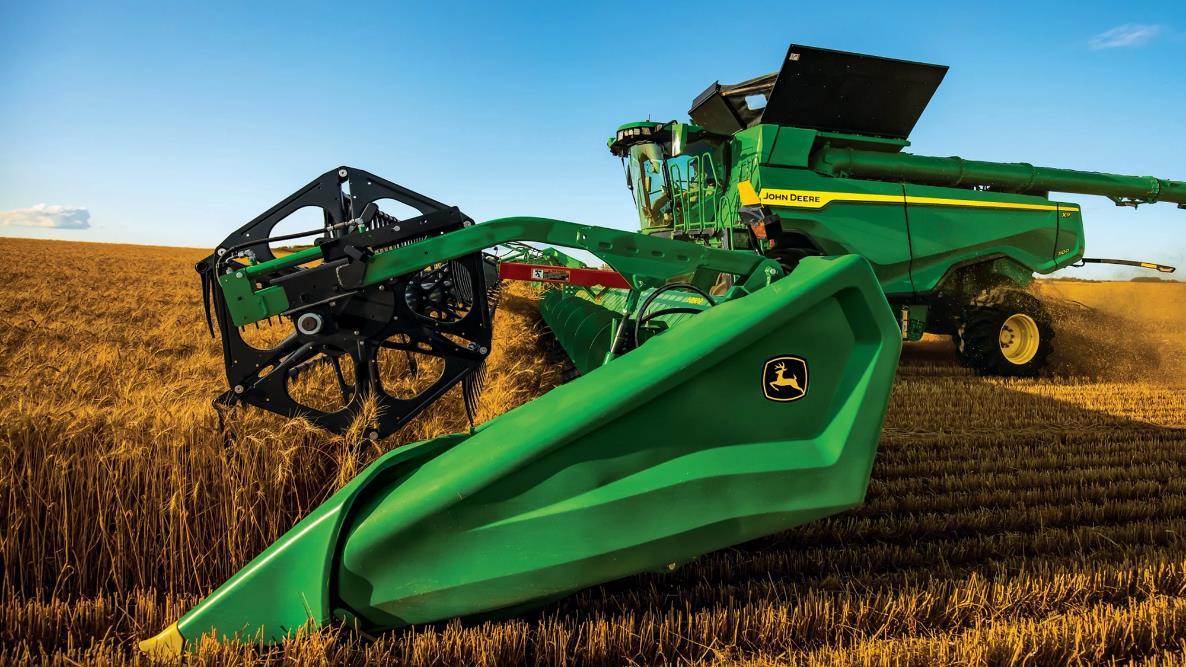
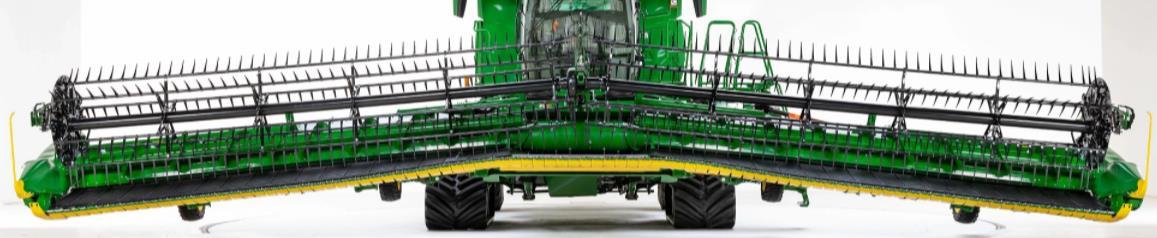
Attachments for HD & RDF Headers
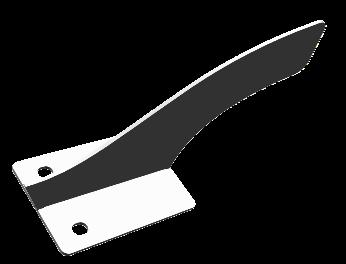
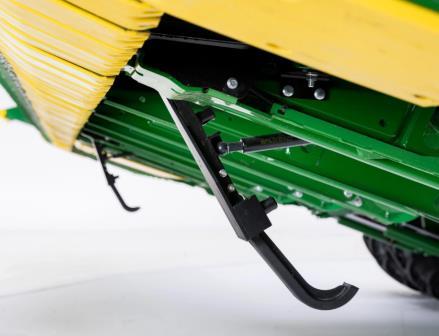
Crop Lifters
Install brackets to help prop up down lying crops. Only recommended for off-ground harvesting. Not available with Less Gauge Wheels
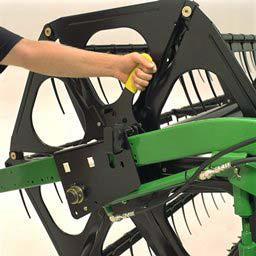
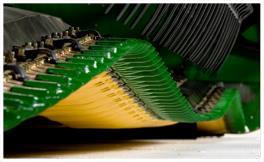
Divider Rods (HD & RDF)
Optional divider rods can be installed to help divide the crop and help prevent material wrapping between the end of the reel and divider point.
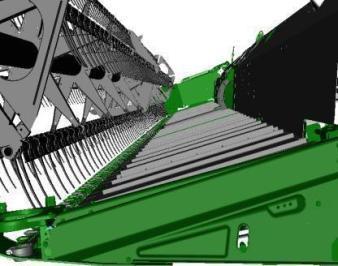
Grain Saver Draper Belts (HD only)
Optional side belts designed for small grains to help prevent header grain loss in shatter prone crops.

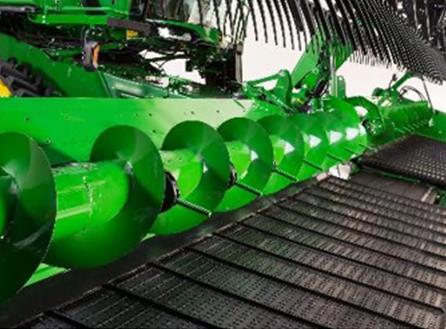
Top Augers
Top augers push large volume crops against the draper belt to help convey crops to the center of the head.
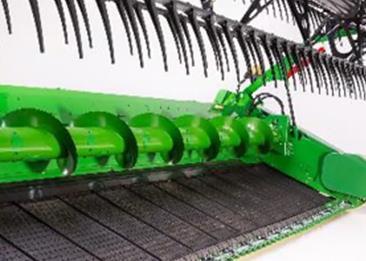
Fingered Top Augers
Fingered augers provide additional leverage in bushy crops to help convey the crop to the center of the head.
Cleated Center Belt – Recommended for cereals, oil seed, and pulse crops.
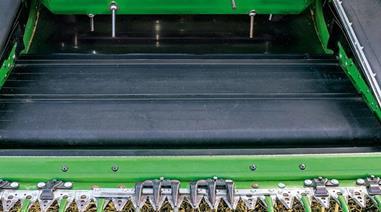
Standard Center Belt (RDF option Only)
Recommended for soybeans to promote feeding and minimize grain loss at the center section.

Center Crop Flow Divider
Recommended for light crop to minimize underfeeding. (RDF & HD


CAM Reel Bundle
Recommended to reduce reel wrapping.
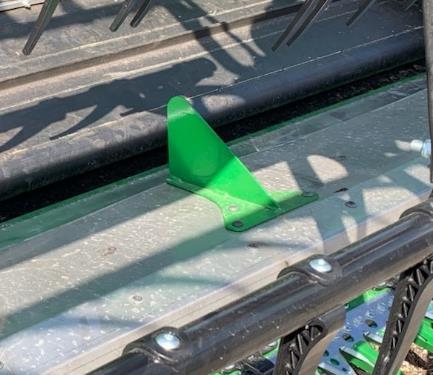
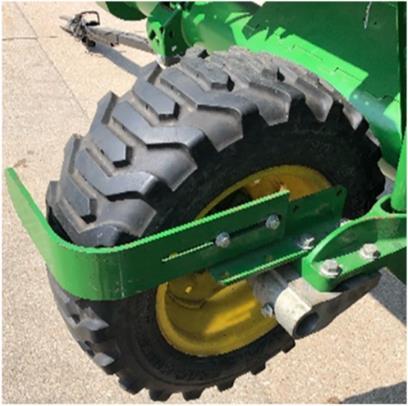
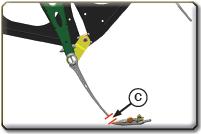
Gauge Wheel Scrapers Recommended to reduce gauge wheels from accumulating material which could cause inaccurate header height position for off-ground cutting. (Gauge wheels only available on HD)
Recommended Draper Adjustments
Reel Position: the reel needs to only pull crop over the cutterbar onto the side belts. The reel should be operated higher and further out. Up and Out. Reel speed should be matched with the ground speed or slightly faster. A reel speed that is TOO FAST can lead to head shatter and can cause header loss.
Reel Finger Pitch
Reel Fingers should be adjusted for crop condition:
Most aggressive position (pulled back) for down or tangled crop.
Medium aggressive position (leaned back) for normal crop conditions.
Least aggressive position (Straight down) for tall standing crop.
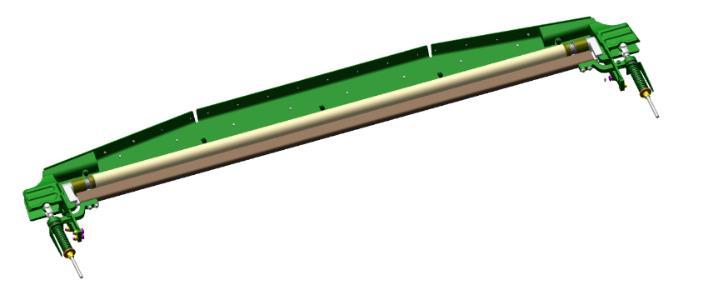
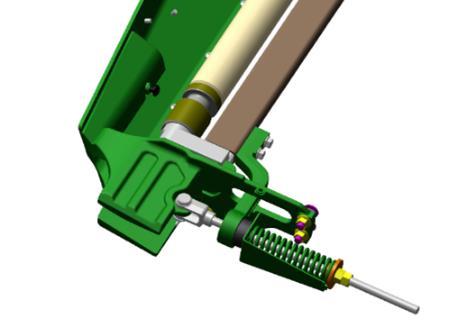
Draper Belt Tension
Check and adjust the draper belt tension on both sides of the header. Adjust so the indicator is in the center of the gauge.

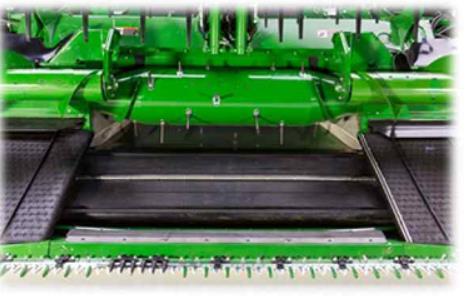
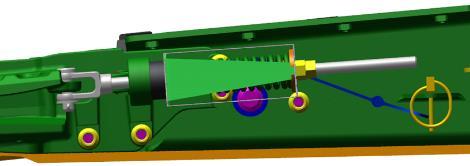
HD Center Draper Belt Tension
Both sides of the center belt will need to be checked. If necessary, tension or de-tension the belt according to the gauge.

Reel
Finger Clearance – Proper setting of minimum reel height will protect against unexpected reel movements that can place reel fingers in contact with cutterbar.
HDR: With the wings in the down, measure 45mm at the outer reel fingers and 15mm at hinge.
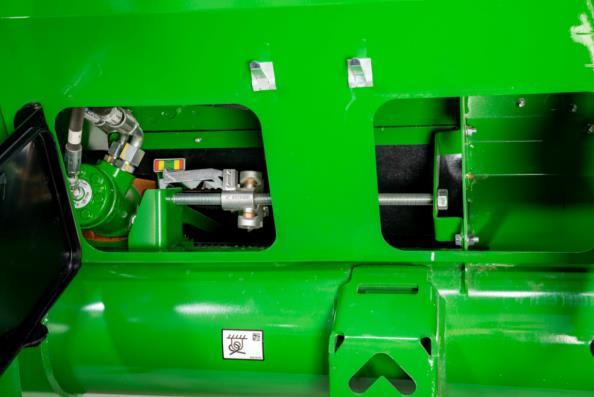
Feed Drum Finger Timing
With the center feed section in neutral, spin drum until the middle finger has the lowest clearance to the feed floor, this gap should be 40mm. Use handle on RH side of drum to adjust
Draper Inspection and Adjustments
The following adjustments are critical to ensure that the RD/HD Draper performs to its optimum:
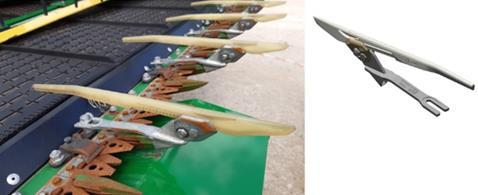
• Sickle Sections
• Knife Guards
• Dual Knife Timing
• Reel Finger Timing
For Optimal performance and durability of cutting components:
Fine Tooth Sections recommended for Wheat harvest.
❑ Inspect for broken or improperly adjusted hold downs . Repair or replace as required.
❑ Inspect for dull or broken knife sections . Repair or replace as required.
❑ Inspect for dull or worn or broken guard cutting edges . Repair or replace as required.
❑ Inspect for excessive binding between top of knife sections and top of guard slot. Binding can be caused by bent guards, bent cutterbar or improper position of guards . Repair or replace as required.
❑ Inspect knife head and knife drive alignment with first guard slot to ensure binding is not present in areas. Repair or replace as required.
❑ Verify knife hold downs are tight. Knife gap should be the thickness of a business card.
❑ Verify that complete cutting system turns freely by rotating the drive by hand (drive shaft removed). Keep hands and fingers away from cutting components while rotating!
Combine Configuration and Setup
Feeder House Drive Chain Speed
Standard Speed 24T small Diameter Sprocket
High Speed 30T Large Diameter
Sprocket
Feeder House Drive Chain Tension
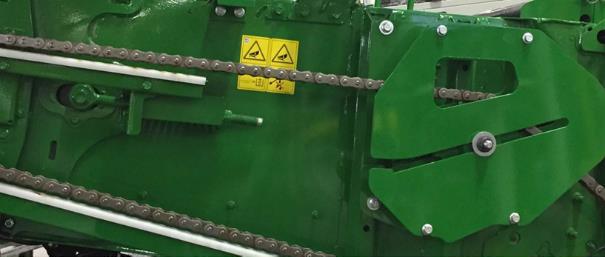


18 – 25mm
Check every 50hrs

Replace chain when Idler has reached the end of adjustment slot.

Back-Shaft Speed
Feeder House Variable Drive (option)
• Operate the cutterbar slow 520rpm
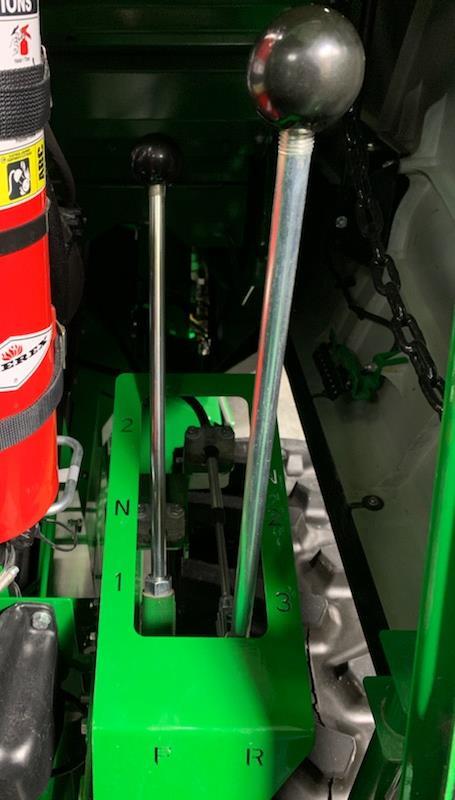
Rotor Speed
• 3rd Gear (720-1240rpm range)
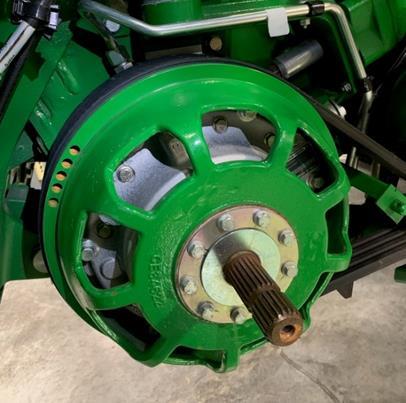
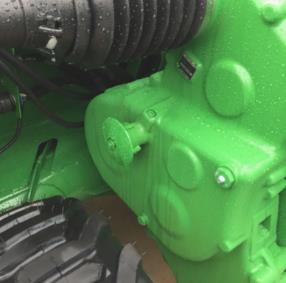
Feed Accelerator Speed
Low speed 1st Gear – 440rpm Recommended
High Speed 2nd Gear - 980rpm Wet conditions


Optional Slow Speed Kit for Brittle crops
New Pully & Belt


Concave Configurations
Small Wire (SSS) Concaves recommended in all three positions for harvesting small grains. Overall performance is very good in all moisture conditions. Concaves are half width for ease of handling when changing for other crops. Refer to your Operators Manual for how to Level Concaves (front to rear) and calibrated to “Zero” on clearance to the threshing elements.
(SSL) Using a Large Wire concave in an SSL configuration is for the vast majority of harvest conditions in European countries. It is robust enough for wet high yield cereal grains, providing adequate threshing and separating to match combine performance goals.
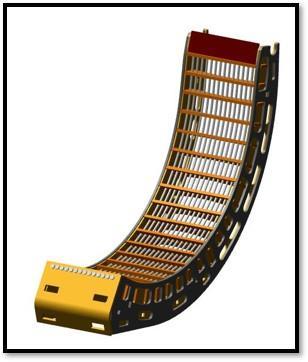
Concave Covers can be added for most conditions where tougher threshing required
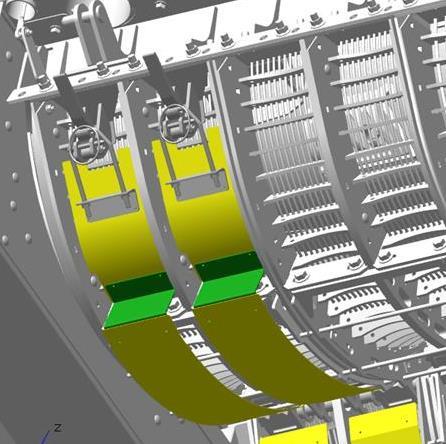
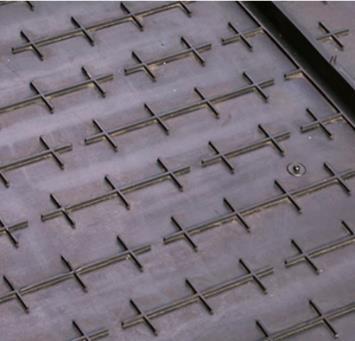
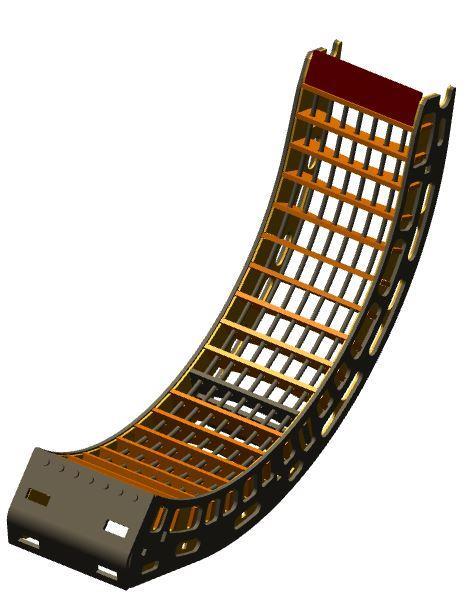
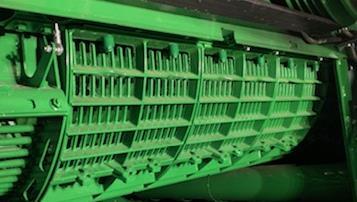
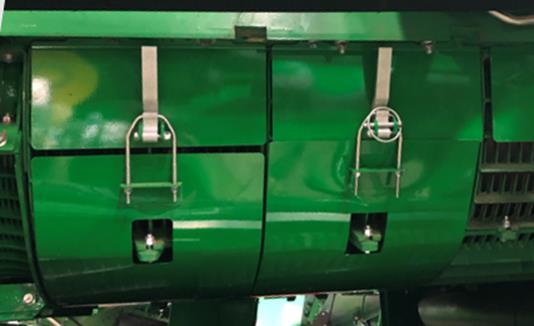
Separator Grates
Be sure separator grate spacers are in the storage position with the grates flush against the rail for small grains. This will need to be done on both sides of the machine for both rotors to match. Also make sure to reinstall deflector shields.
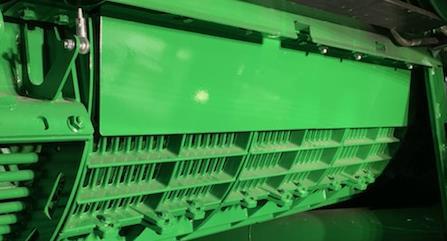
Separator Grate C overs: Covers a full separator grate for use in dry, high chaff conditions to improve cleaning shoe performance. Up to 2 on each side can be installed .
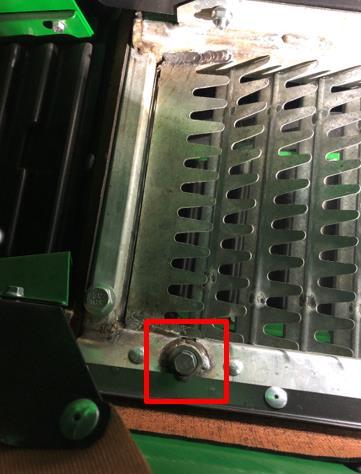
Cleaning Shoe
General-Purpose
Chaffer and Sieve are recommended for Wheat.
For dry conditions and for multiple crop types, Flat Tooth Chaffer is recommended

Be sure chaffer and sieve are calibrated so the opening exactly matches the cab display setting.
If openings do not match, follow the Factory Cal procedures.
Sidehill Performance Package
Recommended for proper grain cleaning and preventing grain loss from uneven and overloaded bays. Remove crop deflectors for best performance

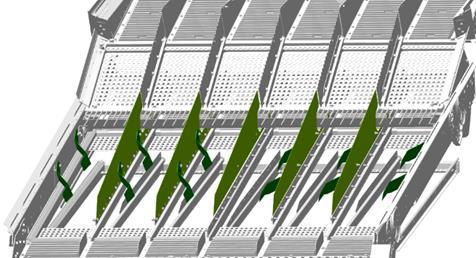
Front chaffer should be set at 25mm for ALL crops.
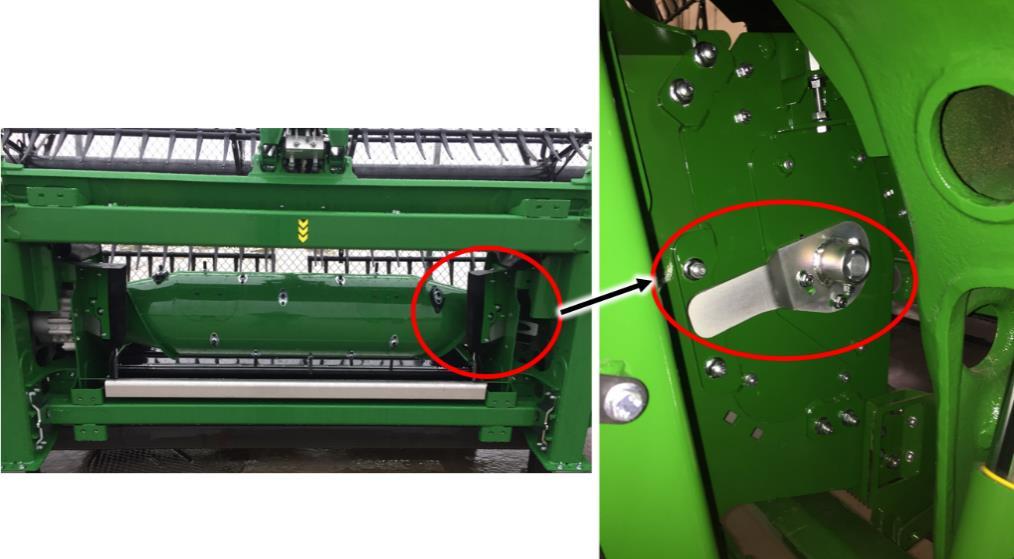
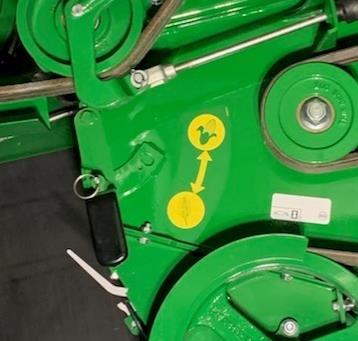
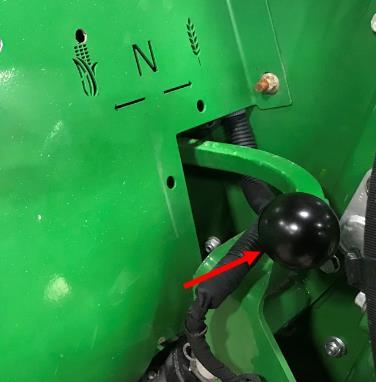
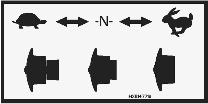
Active Tailings System
Start the lever in the UP/CORN position, Change to DOWN/WHEAT position for tougher repeats threshing action
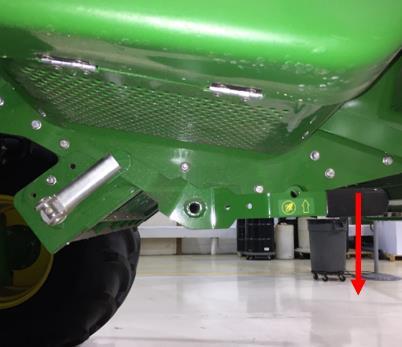
Chopper speed in High
Push lever in, to small grains position.
Adjustable Knife Bank Engagement
Depending on preferred residue size.
• Manual engagement
• In cab adjustment (if equipped.)
Additional Residue Sizing Option
Adding the straw chopper controller bar reduces the stem cut length when desired. The controller bar is installed to the chopper floor. Risk: Controller bar increases horsepower usage.

Wheat Adjustment Checklist (Outside)
Front End Equipment
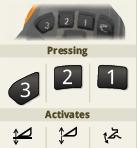
❑ Reel Finger pitch set in the middle (position 3) for moderate aggressiveness. Adjust as needed to crop condition
❑ Center Section set on Low speed
▪ If in very wet conditions the center section in high can help feeding
❑ Unpin Automatic Header Height Control sensors (RDF)
Feeder House
❑ Feeder House Drive Chain Speed = 24T – Set on 30T if in Tough High Yields or tough feeding down conditions.
❑ Feed Accelerator Low Speed 1st Gear to reduce shatter and promote smooth feeding over force feeding
❑ Rotors shifted into 3rd Gear (720-1300rpm)
Cleaning System
❑ Measured Chaffer and Sieve settings match display
❑ Left and right side of elements match
❑ Front chaffer set to 25mm (All crops)
▪ Closing the front chaffer can nozzle air flow and reduce capacity
Separator
❑ Separator grate spacers in the storage position
❑ Concaves zeroed/levelled (SSS or SSL in EU High Yielding conditions)
❑ Install separator covers as needed to even out shoe load
❑ Active tailings Set to Open/Corn to start
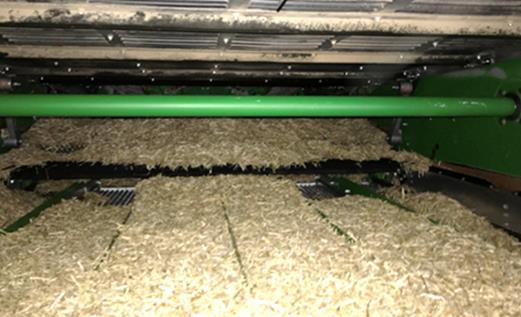
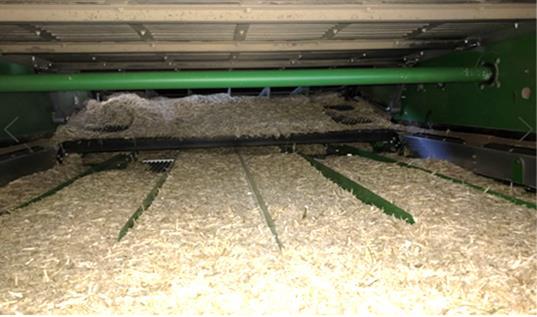
Residue
❑ Counter knife engaged only as far as required
▪ Over chopping takes more power and fuel
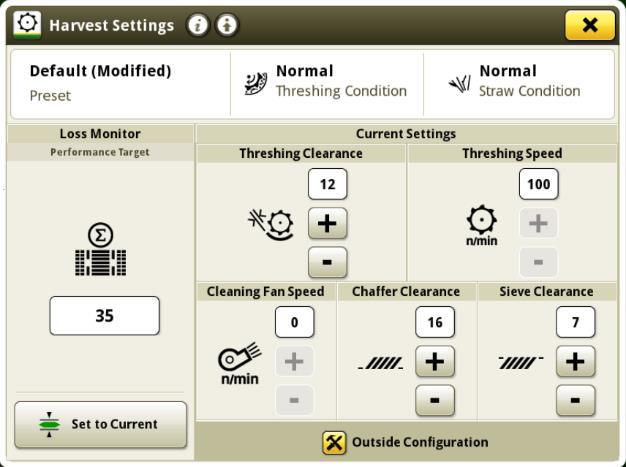
Wheat Adjustment Checklist (In-Cab adjustments)
❑ Cleaning Fan speed = 820-1100rpm
❑ General Purpose Chaffer = 12-20mm
❑ General Purpose Sieve = 4-10mm
❑ Front Chaffer = 25mm
❑ Rotor Speed = 900-1240rpm
❑ Concave Clearance = 7-26mm
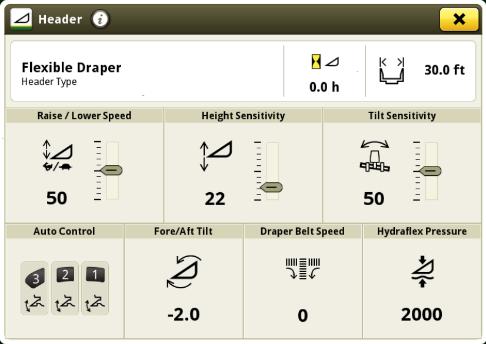
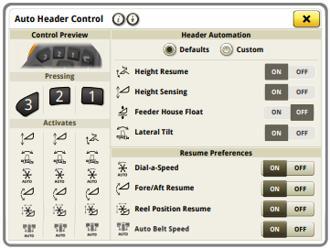
Auto Header Controls
❑ Height Resume
❑ Height sensing off-ground
❑ Lateral Tilt
❑ Fore/Aft Resume
❑ Auto Reel Speed
❑ Auto Belt Speed
• RDF headers will have the ability to run both Off-Ground and On-Ground height sensing for harvesting in down crop conditions.
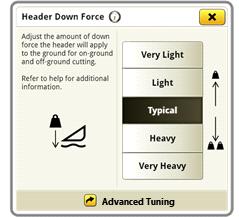
❑ Set the Ground Conditions Settings (HD)
• Very Firm
• Firm
• Typical
• Soft
• Very Soft
Note: The Heavier the setting the more “responsive” the suspension.
❑ Set the Ground Conditions Settings (RDF)
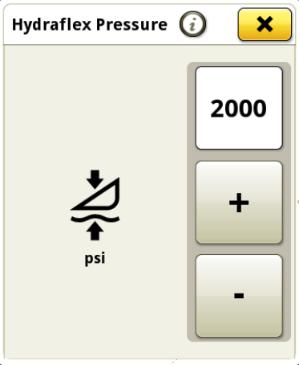
When cutting off ground, increase cutterbar pressure to Max HydraFlex pressure.