Installation Instructions
IMPORTANT! This product must be installed by a licensed tradesperson.
1. ENSURE YOUR W ALL IS FLAT & PLUMB
Before starting, check that your wall is plumb and flat. If not, the cabinet will need to be packed out so that it is sitting level, otherwise the cabinet will twist, causing the doors and drawers to be out of alignment and not function correctly.
It is recommended that you DO NOT tile in your cabinets – tiles should extend behind the cabinet and clearance allowed for doors and drawers to open (filler panel required where cabinet is going hard against a wall).
It is recommended that vanities are installed over 300mm from any wet area such as baths, spas and showers.
Ensure wall is plumb. Ensure wall is flat (no gaps between wall and level).
2. FIX YOUR CABINET OR MIRROR, MAKING SURE IT IS LEVEL & PLUMB
Fix your cabinet using screws through the solid back of the cabinet. The screws should be suited to the stud material and have a pan or counter sunk head.
Provide a horizontal row of screws within 100mm vertically from the top of the cabinet at a maximum of 300mm horizontal spacing. The screws closest to the left and right edge of the cabinet should be within 100mm of each side.
For vanities, ensure that the cabinet is level and plumb in all directions, using a spirit level. If not remove the cabinet and pack or straighten the wall accordingly. DO NOT install the top until you are sure that the cabinet is plumb and level in all directions.
Shaving Cabinet: Fix with suitable screws in each corner and check that cabinet is level and plumb.
Tallboy: Fix with suitable screws in each corner and check that cabinet is level and plumb.
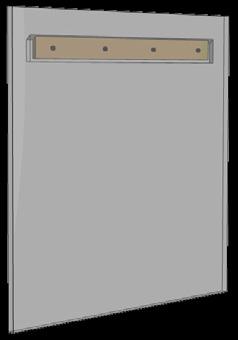
Fix mounting batten with suitable screws with maximum 300mm spacing.
Hang mirror on mounting batten and secure with silicone.
3.ADJUST THE DOORS & DRAWERS
After installation every cabinet will need some adjustment as the doors and drawers move during transport and installation. The cabinet MUST be level before adjustments are made. It is the responsibility of the installer to ensure these adjustments are done correctly. No warranty claims will be considered until this adjustment process is completed. Refer to the instructions below.
4.FIT THE TOP & SEAL CABINET
For vanities, fit the top to the cabinet using a thin bead of non-acidic silicone on all four edges. Seal all cabinet edges against floor and wall to prevent water penetration.
Overtightening of the waste can lead to stress and damage to the basin or top. We recommend that the wastes be tightened by hand only, and then silicone sealed.
5.SOMETHING NOT QUITE RIGHT?
If you have a problem - and have carefully checked all the steps above to ensure it has been done right - give us a call. We’ll be glad to help. To make it easy for us, please email some photos of the problem and of the job detail label (this can be found on the underside of a drawer base) to service@timberline.com.au including photos of the levels as shown in Step 1 and Step 2 above.
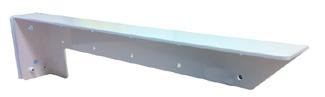
• Studs/Noggins must be provided for secure mounting. Wall plugs or toggles through tiles/wall sheeting is not suitable. Measure the locations of the brackets so that there is a bracket on each side of the vanity. Vanities 1200 and over will also require a third bracket fixed to the upright in the middle of the cabinet.
• Place the rectangular mounting plates behind the main brackets and fasten both to the wall through the mounting holes provided –don’t fully tighten screws. Use screws/fixings suited to the wall construction
• Use the small hex head grub screws to adjust the brackets until level and then fully tighten main screws into the wall. Slide the cabinet over the brackets
• Attach brackets to sides of the cabinet with short timber screws through the holes provided in the sides of the brackets.
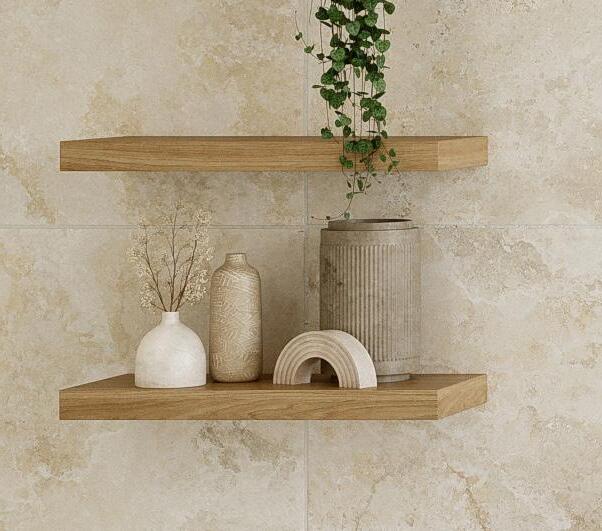
SPLICE SHELF
• Studs/Noggins must be provided for secure mounting.
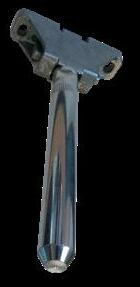
• Place bracket on wall making sure arrow on the bracket body is pointing upwards and fasten brackets to the wall through the mounting holes provided.
• Adjust bracket until level by turning the main stem and then tighten the grub screw at the rear base of the bracket to lock in place.
• Squeeze some silicone into the mounting holes in the shelf and push shelf all the way on to the brackets.
• Allow 24 hours to dry before using shelf.
LIGHTING
Note: It is the responsibility of the installer:
1. To ensure that the wall is of a suitable quality to hold the shelf fixing in place.
2. To use the proper hardware fittings according to the construction of the wall.
An electrician will be required to provide in wall wiring and provision for an on/off switch before the bathroom walls are sheeted or tiled. Timberline LED Lighting is powered by a DC24V Transformer, which comes with a 3-pin plug for connecting to an existing GPO. Transformers supplied with Timberline Mirrors (with optional lighting upgrade) can have the plug stripped off and hardwired by your electrician.
Lighting is warm white as standard, cool available on request. Technical details below:
• 9w per metre
• 3000K warm white
• 360 lumens
If further information is required by your electrician, please feel free to contact Timberline directly for further technical specifications.
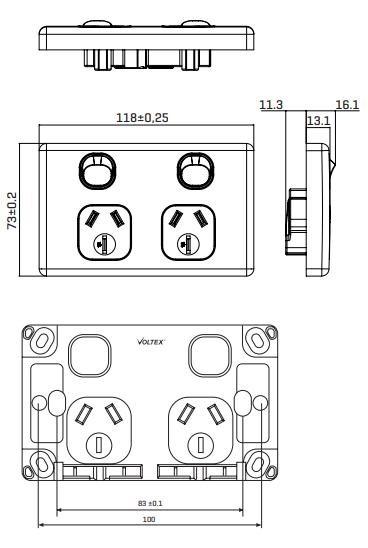
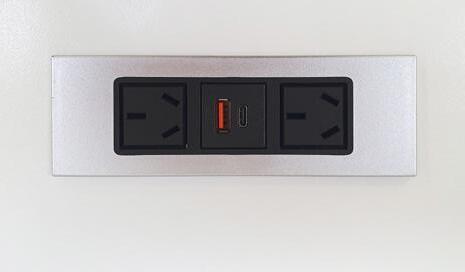
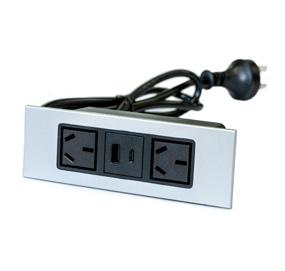
The standard position for the in-drawer power point is the top left hand drawer unless specified otherwise. Shaver powerpoints are sent loose unless location is specified.
The in-drawer powerpoint comes complete with a 3-pin plug allowing for easy connection into a powerpoint, or alternatively this can be hardwired. Please discuss your options with your electrician.
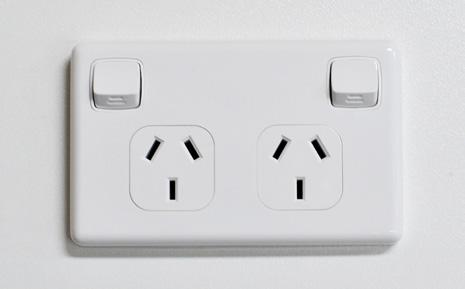
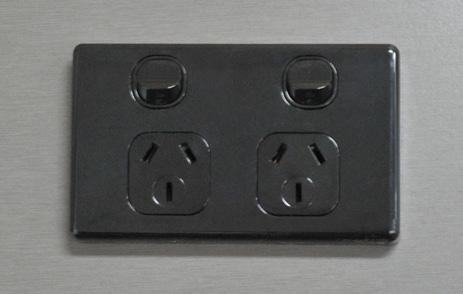
The shaver powerpoint will require installation by your electrician. Powerpoint cut-outs are available in rear wall of shaver upon request at no additional charge, or the powerpoint will be sent loose for onsite installation if a location is not provided.
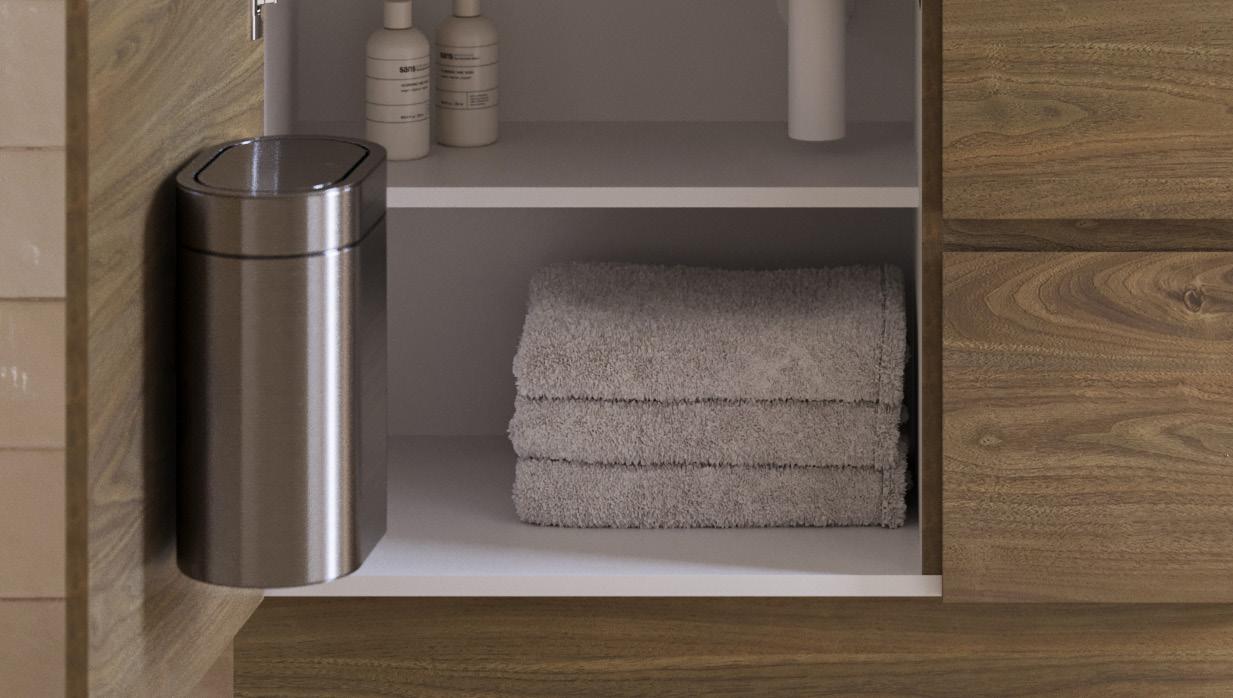
INTERNAL CABINET BIN
Shaving
NOTE: Alterations to the size and position of the cabinet internal shelf will be made to accommodate for the bin.