
All information is based on the latest product information available at the time of publication. Kohler Co. reserves the right to make changes in product characteristics, packaging, or availability at any time without notice.
Please leave these instructions for the consumer They contain important information.
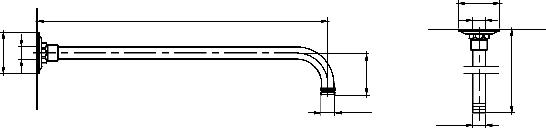
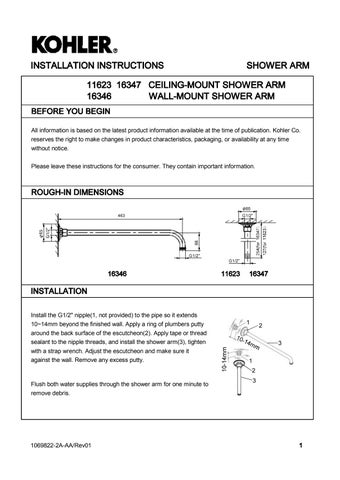
Install the G1/2" nipple(1, not provided) to the pipe so it extends 10~14mm beyond the finished wall Apply a ring of plumbers putty around the back surface of the escutcheon(2) Apply tape or thread sealant to the nipple threads, and install the shower arm(3), tighten witha strap wrench. Adjust the escutcheon and make sure it against the wall Remove any excess putty.
Flush both water supplies through the shower arm for one minute to remove debris.
All Finishes:Cleanthe finishwithmild soapand warm water Wipeentire surface completelydry withclean soft cloth Manycleaners may containchemicals,suchas ammonia,chlorine, toilet cleaner etc which could adversely affect thefinishand are not recommended for cleaning.
Do not use abrasive cleaners or solvents on Kohler faucets and fittings.
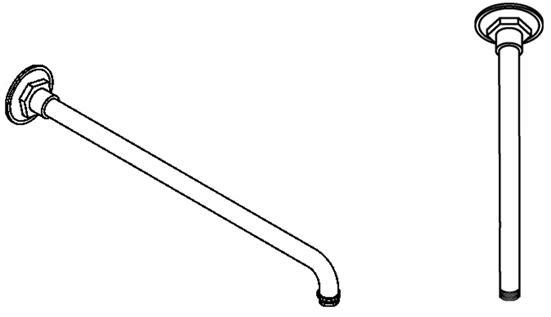
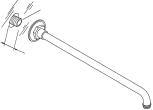
Shower Arm 1041366 (Only for 16346)
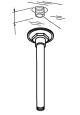
Shower Arm 1041367-A (Only for 16347) 1041367 (Only for 11623)