I have a special place in my heart for Yellowstone. Twelve years ago, it was the first place I led a multi-day photo tour outside my home state, and that trip changed everything. I had my first face-to-face encounter with a great grey owl, and real moments with grizzlies, wolves, moose, otters, bison, and the seemingly endless wilderness that winds through Montana and Wyoming. I met a lifelong friend and mentor on that trip who’s helped shape my path in business and life. I also walked into Thomas Mangelsen’s gallery in Jackson Hole and left inspired beyond words. It was one of those life-defining adventures.
Fast forward 12 years: I’m back in Yellowstone, but in winter. It’s a quieter, harsher version of the park, wildlife photography here demands more. But the rewards? They can be absolutely mindblowing.
One of my main goals this trip was to get my clients close to wolves, close enough to photograph. I’ve pulled that off on 8 of my last 11 winter expeditions, which still kind of blows my mind. Some clients flew in from across the world chasing that dream. Could we pull it off again?
Personally, I had a shot I couldn’t shake from my mind, one of a black wolf with piercing yellow eyes, close enough to feel something through the frame. I’ve photographed black wolves before, but always in bad light, or in moments that never quite came together. This year I came in locked and loaded with my Sony A1 and 600mm f/4, determined to make a frame that could go big, gallery wall big.
I also wanted redemption with the elusive ermine. Last time, I captured a quick video on my RED camera that went mega-viral online, millions of views. But this time, I wanted a still. I wanted the shot. And of course, I always leave space for Yellowstones surprises, maybe a bobcat, a fox diving headfirst into snow, frosty bison at sunrise, or a raven exhaling steam in the cold morning air.
One thing I know: experience here gives you an edge. There are little details that, when overlooked, can make or break your success in Yellowstone. Over the years, Ive learned how to stack the odds in our favor.
My goal with this article is to blend storytelling, gear tips, and photo advice to help you grow your own craft, and maybe spark a trip of your own. Lets dive in.
“This year, I came locked and loaded with my Sony A1 and 600mm f/4, determined to make a frame that could go big, gallery wall big.”
WHAT’S IN MY YELLOWSTONE PACK
Pack:
F-Stop TILOPA 50L
Base Camera Kit:
Sony A1 + 600mm f/2.8 and 1.4x teleconverter
Sony A9III + 70–200mm GM II
24–70mm for landscapes and BTS
Winter Survival Extras:
Zippo rechargeable hand warmers (x2)
Chemical toe and hand warmers
Heat 3 gloves
Extra hat (because I always lose one)
Thermos of hot coffee or tea
Weather protection (You, Camera, Pack)
Sunglasses/Sunscreen/Lotion
Other Must-Haves:
Monopod or tripod
Ballcap
Microfiber cloths
L-bracket for vertical shots in snow
Small towel for drying gear after snow squalls
Zeiss 10x42 Conquest HD binoculars
Pulsar Telos XP50 Thermal Monocular
6 camera batteries (2 more than normal)
A dry bag
The F-Stop TILOPA 50L in action.
Rechargeable Hand Warmers
Another tool I use to keep my hands warm in frigid conditions is a pair of rechargeable electronic hand warmers. I keep them in my side pockets so when my hands get really cold I can grip them and it feels just like putting your hands in front of a fire.
Zippo HeatBank 9s rechargeable hand warmers
These only last about six hours, so I warm them up during the coolest part of the day, usually at dawn and dusk, which also happens to be when I’m most likely to be on extended shoots outside the vehicle photographing wildlife. There are a lot of options out there, including some budget-friendly pairs on Amazon. I paid full price for mine and have no affiliation with Zippo.
The Wink
“A great wildlife photo doesn’t just show you the animal, it lets you feel its presence.”
CRAFTING
THE SHOT
I’ve been working to bring more emotion into my images because at the end of the day, that’s what makes a photograph unforgettable. It’s not just about sharpness, exposure, or composition.
What sticks with people is how an image makes them feel. A great wildlife shot goes beyond the technical and creates an emotional connection whether it’s joy, struggle, solitude, or raw determination.
Body language and facial expressions, like this winking ermine, can speak volumes. How you frame the subject matters too. Tight crops draw you into emotion; wide shots highlight scale and isolation; low angles give a sense of power or presence. The goal? To create images that don’t just show wildlife but make people feel something because of it.
THE CHARGE
In the raw file to the left, the light was flat and the scene lacked the dreamy atmospheric feel I wanted. So I used two radial gradients in Lightroom to darken and soften the top and bottom edges, reduced clarity and texture behind the bison to let the subjects pop, and added cool tones into the background for a frosty mood. Then I warmed up the bison slightly for a teal and orange look and finished with adding Orton effect in Luminar Neo and sharpening in Topaz Sharpen AI. The result? A softer more dreamy glow that adds atmosphere and feeling. Its a frame that’s not just sharp, but emotive. CRAFTING THE SHOT
Why Your Cold-Weather Shots Are Soft, and How to Fix It
You’ve probably run into it, everything looks great through the viewfinder, but the shot comes out soft, almost like you’re shooting through a mirage. That’s heat distortion, or “heat haze,” and while most people associate it with deserts and sun-baked pavement, it’s actually a big problem in cold environments too.
Heat Distortion
Here’s what’s really happening:
When you're riding in a vehicle, even one just a few degrees warmer than outside, it can cause your camera to warm up. Then, the moment you crack a window or step outside into -20°F air, youve got a recipe for trouble. That temperature difference creates shimmering waves of air in front of the lens, softening your image just like a heat mirage.
It gets worse with big telephoto lenses. Add a lens hood and you’re trapping a pocket of warmer air right in front of your glass. The result? Mushy, unusable frames, especially painful during brief encounters with fast-moving wildlife.
What’s
the fix?
Keep your vehicle cool. I know it’s tempting to crank the heat between sightings, but Ive had the best luck keeping the inside of the vehicle just above freezing. I’ll even run the A/C sometimes.
Take off your lens hood, or better just reverse it and secure to the front of your lens. This helps tremendously!
Let your gear acclimatize. After 1–2 minutes outside, the camera usually stabilizes, but that doesnt help when the moment only lasts a few seconds.
Use a dry bag trick. I carry a large dry bag and load it with cold air before getting back into the vehicle. Then, when Im ready to shoot, I pull my camera out of the bag already close to ambient temp. It’s not a lab-tested method, but I’ve seen a noticeable improvement in sharpness since I started doing it.
THE NORTHERN RANGE
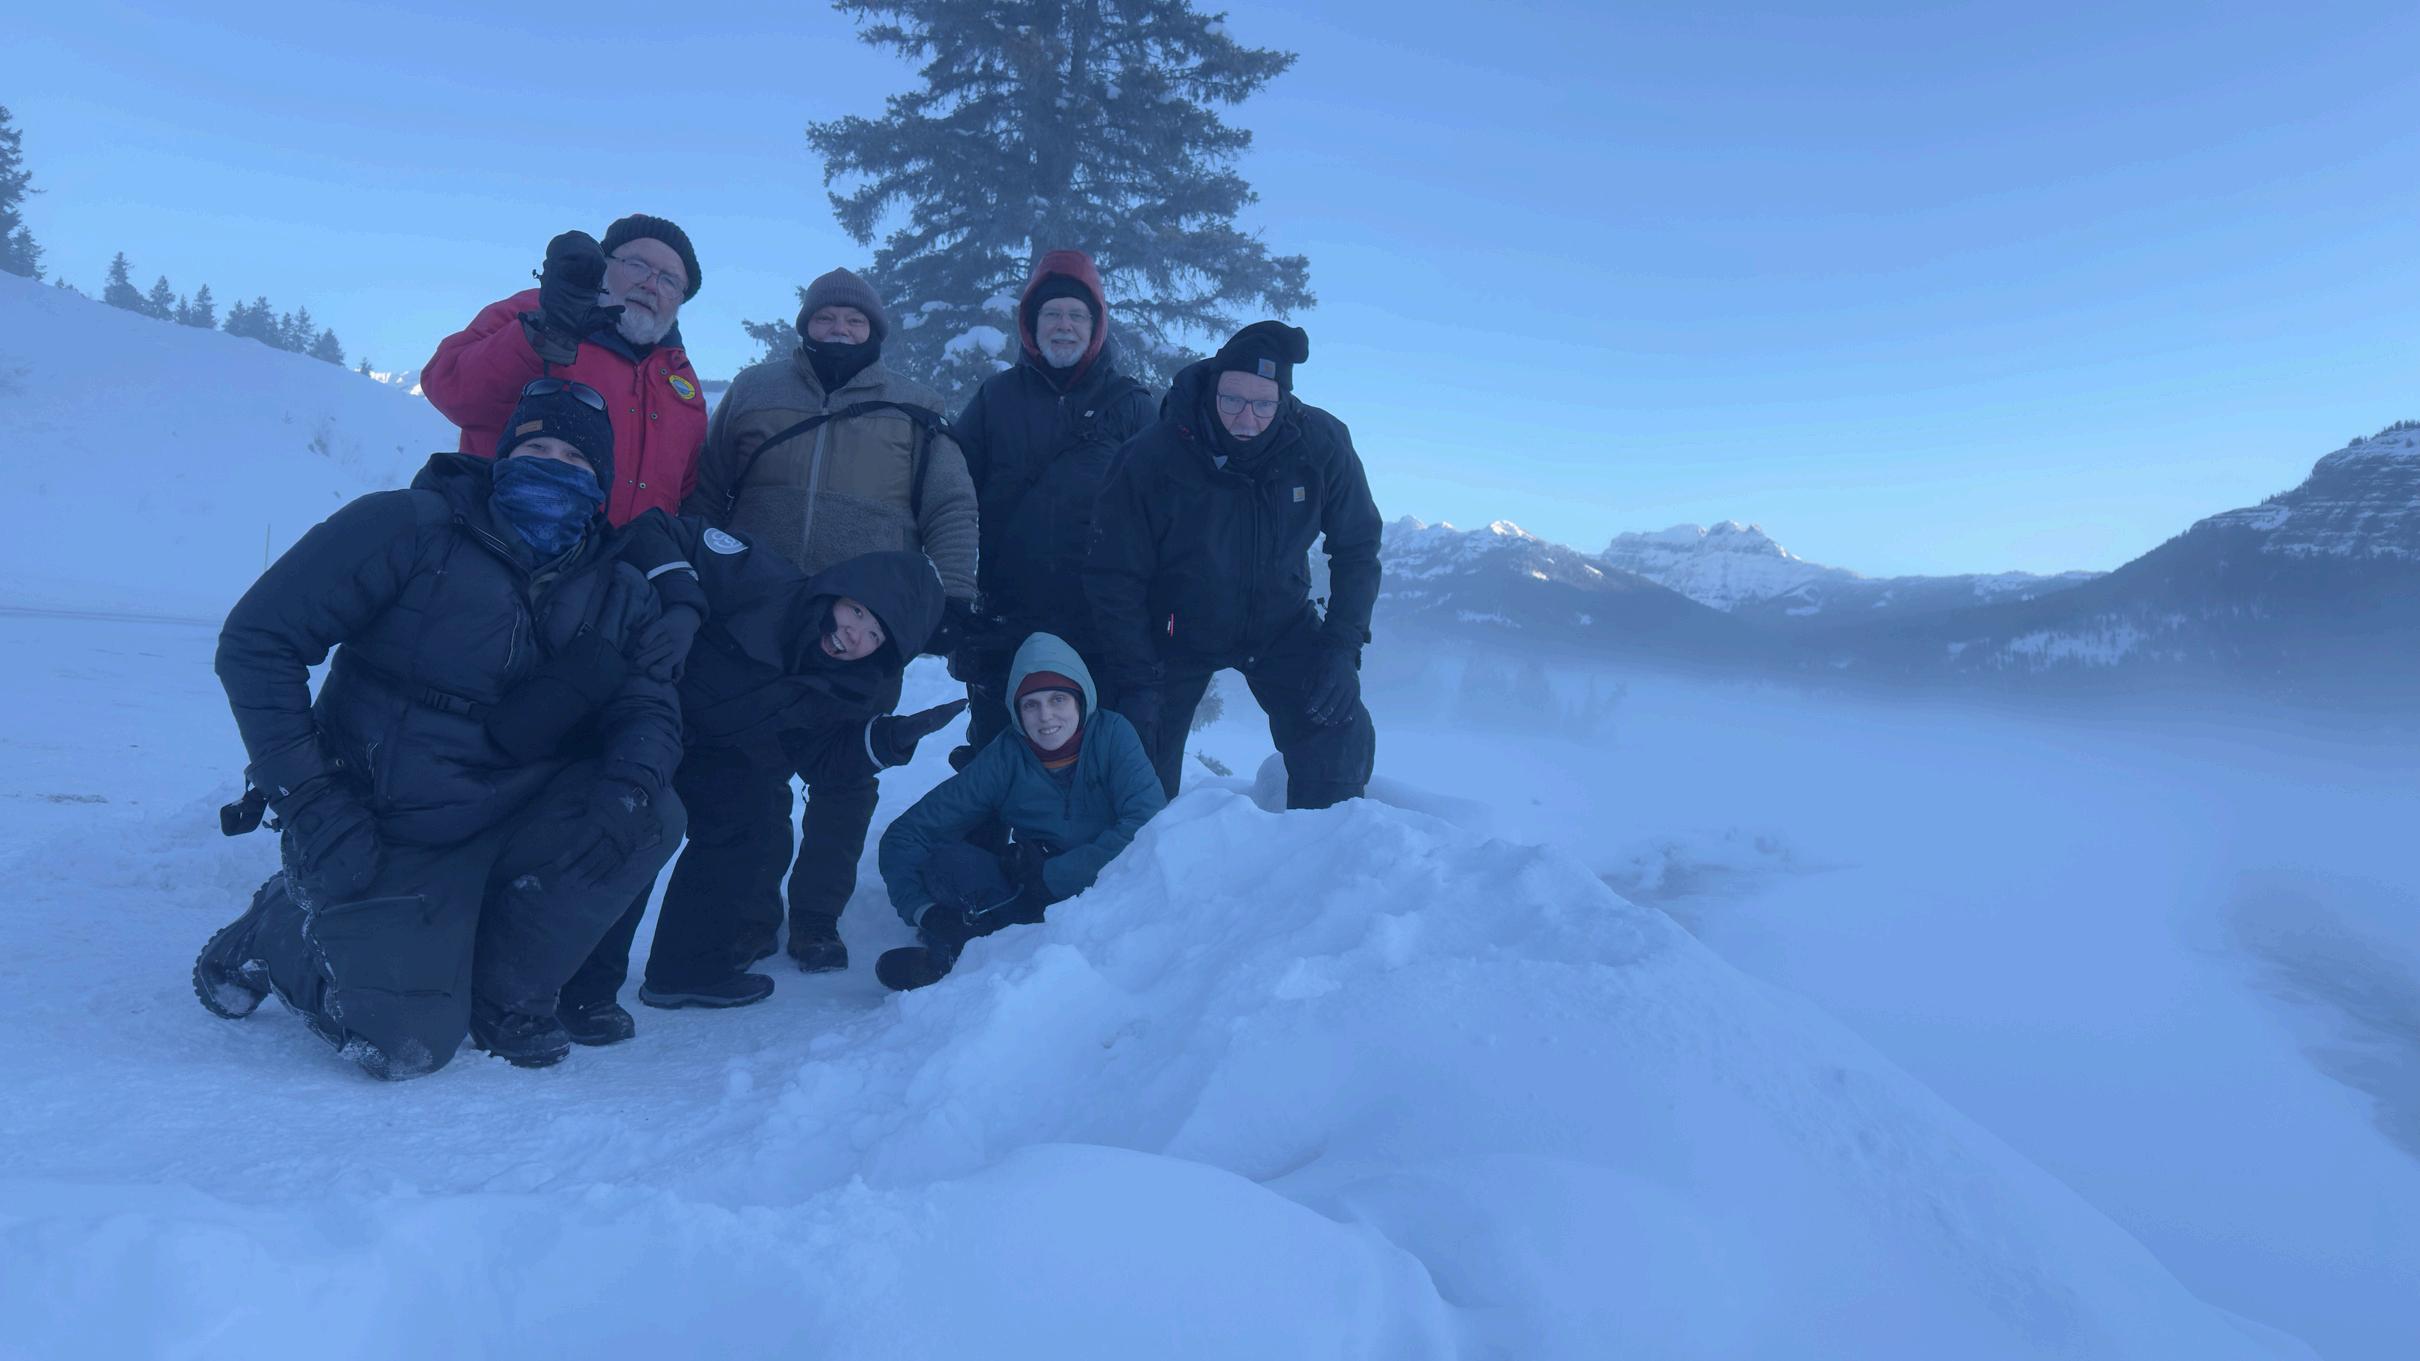
A GROUP SHOT AT -40F
On one of our final mornings in Yellowstone, my second group was met with a moment none of us will ever forget: -40 degrees. The coldest temperatures I’ve ever shot in. The entire park had transformed, every branch coated in hoarfrost, mist rising like smoke from the river, and light so soft it felt like we’d stepped into a dream. It was surreal. But the beauty came at a cost.
At -40, your gear slows down, batteries dropped like flies. And any exposed skin becomes dangerously vulnerable to frostbite in just minutes. Paul got superficial frostbite on his thumb. We could only shoot in short bursts before retreating to the warmth of the vehicle to recover. Still, those few minutes were enough to capture some of the most hauntingly beautiful frames I’ve ever seen in Yellowstone.
HOW DO I GET MORE ANIMALS IN FOCUS?
1.When the composition calls for more depth, here are a few tricks I use:
2.Stop down to f/11 or f/13 when animals are nicely arranged across a shared plane.
3.Use lens compression, a long telephoto from farther away, to bring groups into focus naturally.
4.Or go the other direction: grab a wide lens (like 16–35mm) and get inches from your subject. Shorter focal lengths deliver deeper depth of field... just make sure your subject’s cool with that. (Wouldn’t recommend this approach with bison!)
5.In the end, focus isn’t just a technical setting, it’s a storytelling choice.
A question I get asked all the time is: “How do I get more animals in the frame in focus?” And my answer usually catches people off guard: Why would you want to?
The best wildlife compositions tell a simple, clear, and focused story. Cramming too many subjects into a frame often creates visual noise and dilutes the impact. Trying to get ten bison sharp when they’re all on different focal planes? That’s a technical challenge that rarely rewards you artistically.
Of course, there are exceptions like my bison charge shot on the previous page, but more often than not groups of animals aren’t arranged quite so nicely. So I challenge you to isolate your subjects, like I did here with just a mother and calf, rather than trying to include the entire herd, especially when they aren’t in the same focal plane.
Wrapping Up & What’s Next
Yellowstone continues to challenge and reward me in ways few places in North America can. The more times I visit the more I add to my depth of knowledge that leads me to more and more profound successes. The silence of the wilderness is worth the visit alone, very therapeutic. The intensity of the conditions the animals live sets the stage for unique imagery that calls me back time and time again. I hope this issue gave you not just tips, but inspiration. Whether it's prepping your gear, crafting a more emotional frame, or just learning more about how to shoot successfully in winter conditions my goal is to help you grow and chase the shots that send shivers down your spine.
Next up in Journeys Into the Wild? I’m heading deep into the boreal forests of Canada to chase one of the most elusive birds on the planet: the great gray owl. North America had an irruption year for these ghostly hunters known as the “phantom of the north.” I planned this trip on a whim and will only have three days on the ground to make it count.
My goal is to film a natural history sequence and create images that stir something deeper, reminding people that our forests are some of the most vital and sacred habitats we have left. They’re not something to cut down. They’re something to protect.