
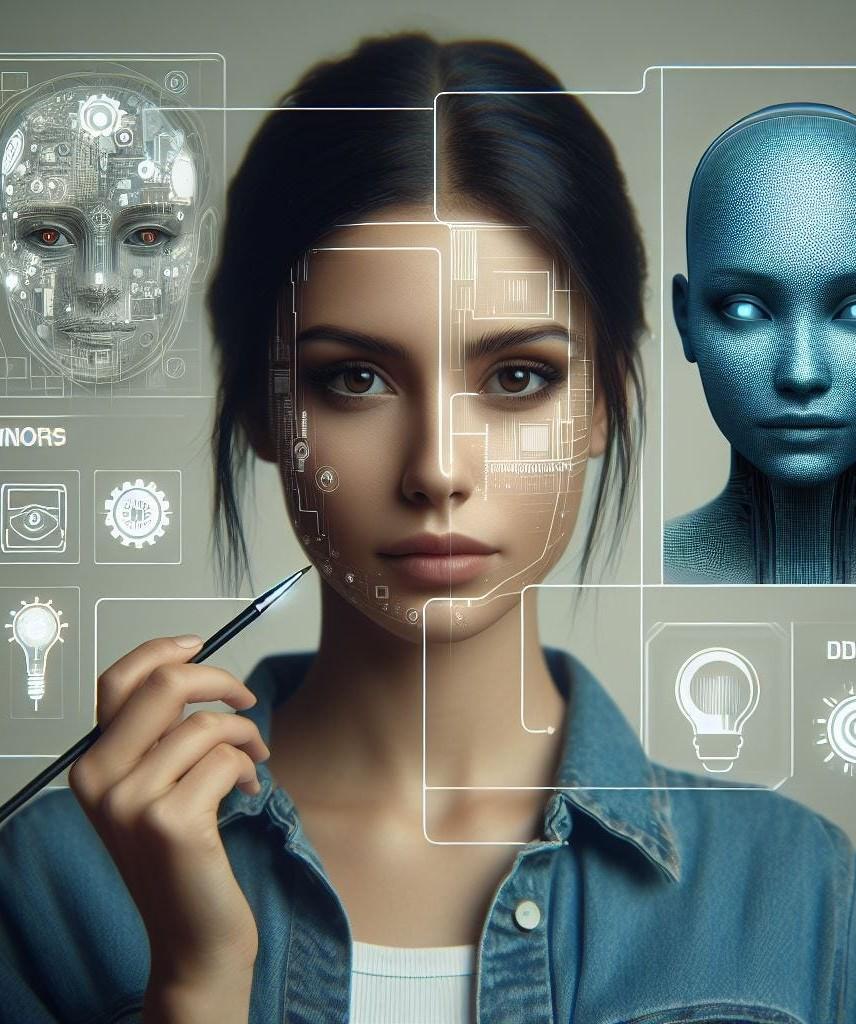
Steps to Creating AI-Generated 3D Models from Photos

Page 1


1. SELECT A SUITABLE 3D CHARACTER CREATOR ONLINE

Begin by choosing an online tool that suits your needs. Popular options include tools like Tafi, Ready Player Me, and Artbreeder. These platforms offer intuitive interfaces and powerful AI capabilities, making it easy for users to create detailed 3D models. Look for tools that are known for their ease of use and offer a range of features to cater to different project requirements.
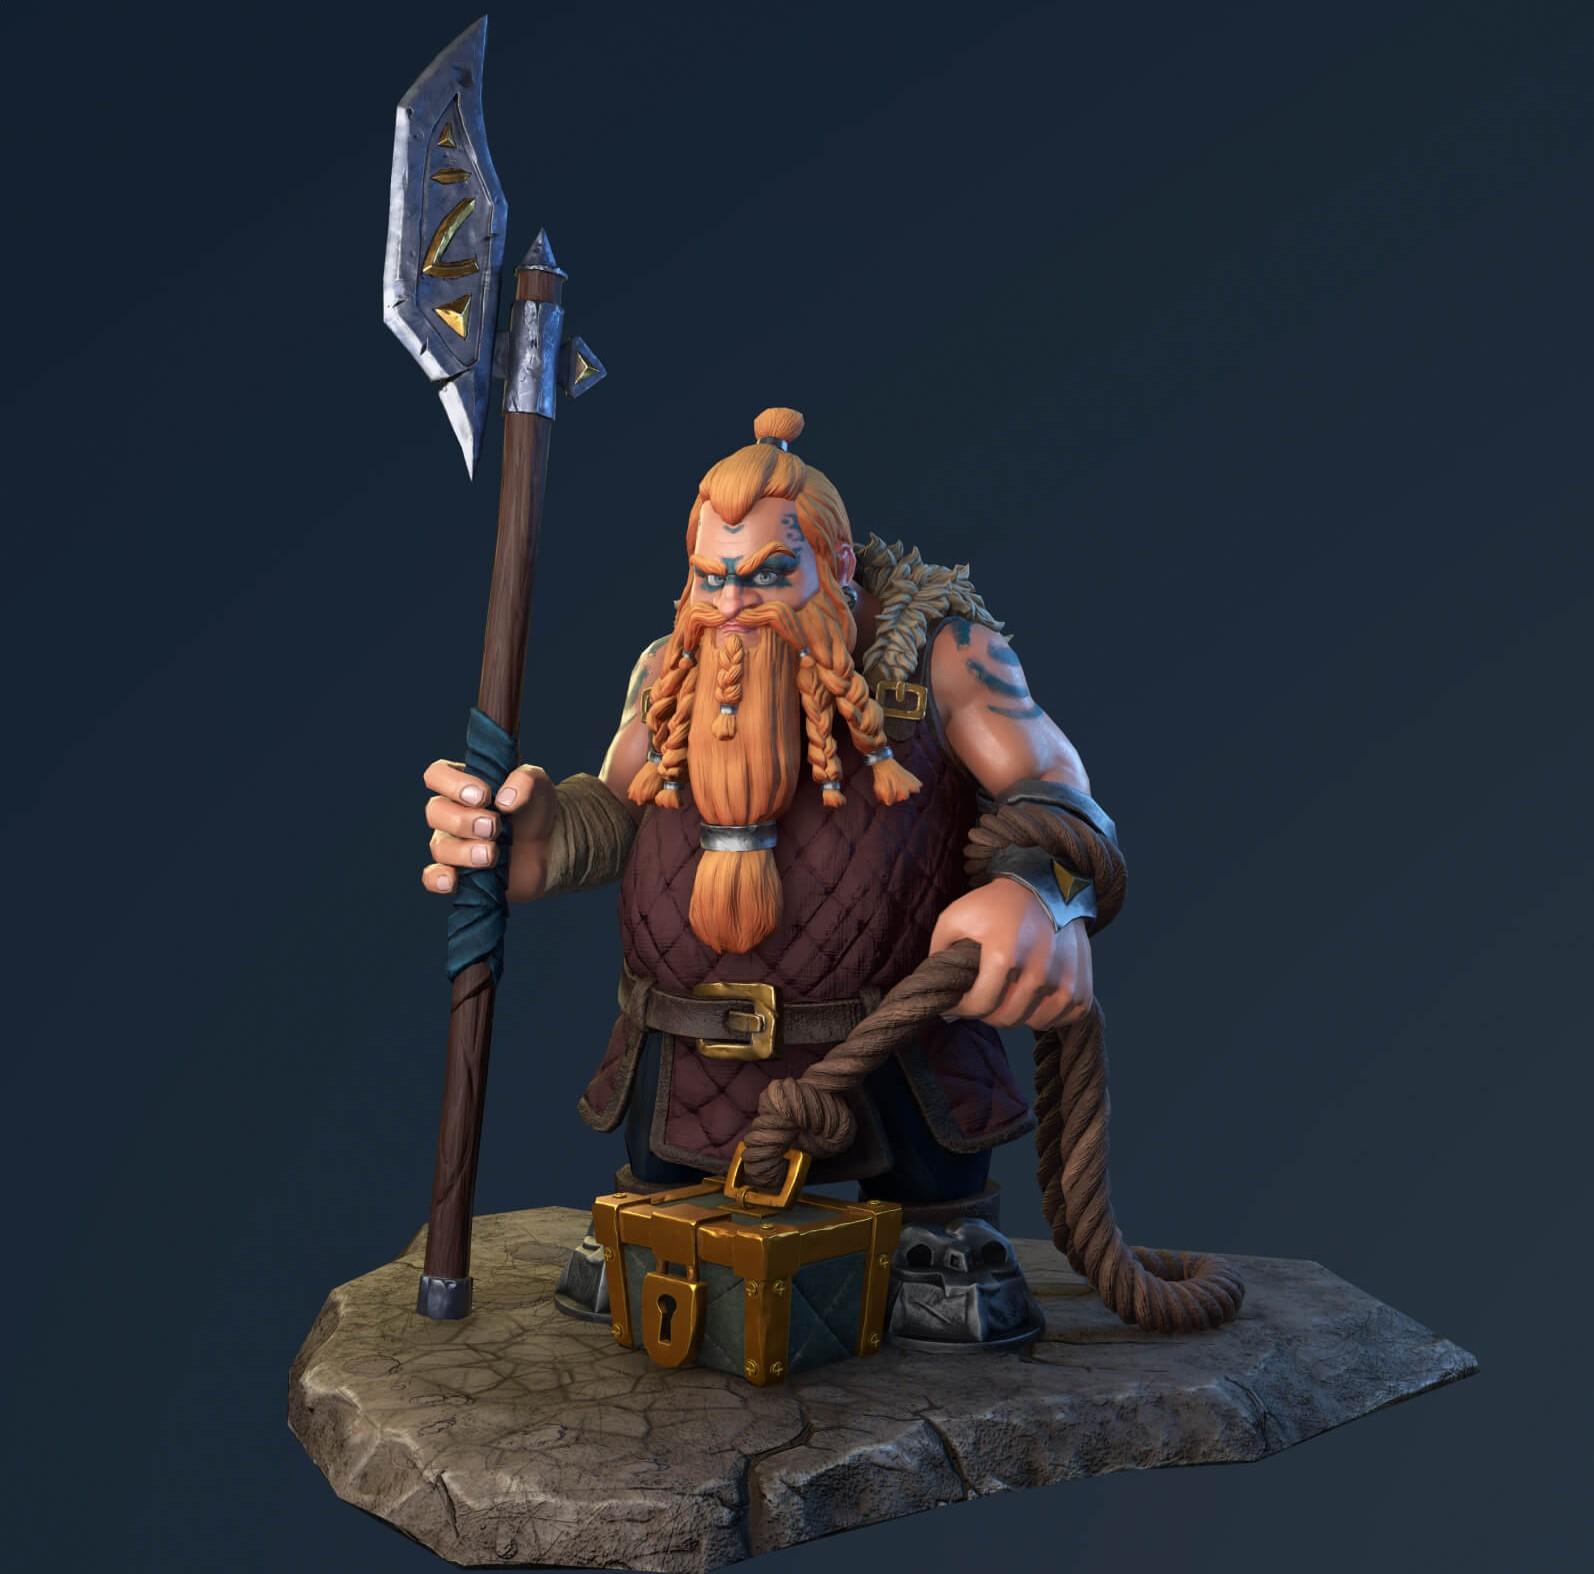
2. UPLOAD YOUR PHOTO

Once you have selected a tool, the next step is to upload a photo. The quality of the photo is crucial; choose a high-resolution image with clear details. Many 3D character creators provide guidelines for optimal photo quality, such as using a well-lit image with the subject facing the camera directly. Proper photo selection ensures that the AI can accurately interpret and convert the photo to 3D model.

3. GENERATE THE 3D MODEL

After uploading the photo, the AI will process the image to create a 3D model. This process involves analyzing the photo to determine depth and texture, and then constructing the 3D representation. Some tools offer additional customization options during this stage, allowing you to adjust features like facial expressions, clothing, or accessories to better match your vision.

4. REFINE AND EXPORT YOUR MODEL

Once the 3D model is generated, you may need to refine it to achieve the desired look. Most online tools provide options for editing and enhancing the model, such as adjusting textures or correcting details. After finalizing your model, you can export it in various formats suitable for different applications, from gaming engines to virtual reality environments.

RESOURCE PAGE

Turn static files into dynamic content formats.

Create a flipbook
Issuu converts static files into: digital portfolios, online yearbooks, online catalogs, digital photo albums and more. Sign up and create your flipbook.
Steps to Creating AI-Generated 3D Models from Photos by 3dailyai - Issuu