3 minute read
Arts&Crafts


1. Handprint Flowers
Trace your hand onto a piece of paper, cut it out and then glue it onto a piece of construction paper. Decorate the handprint with paint, markers or glitter to make it look like a flower.
Advertisement


MATERIALS NEEDED:
◊ Construction paper (in various colors)
◊ Pencil
◊ Scissors
◊ Glue
◊ Paint, markers or glitter for decorating
INSTRUCTIONS:
1. Start by choosing the color of construction paper you want to use as the background for your flower.
2. Trace your hand onto a different color of construction paper. You can use any color you like - green for the stem, or any color for the petals.
3. Cut out the handprint shape.
4. Glue the handprint onto the background construction paper, positioning it so that it looks like a flower.
5. Next, use the paint, markers, or glitter to decorate the handprint to make it look like a flower. You can add details to the fingers to make them look like petals, or use the paint to make the handprint look like the center of the flower.
6. Once the paint is dry, you can write a special message on the construction paper around the flower, or add any other decorative touches you like.
That’s it! The Handprint Flowers craft is a simple and fun way to create a personalized gift on Mother’s Day.
2. DIY Photo Frame
Decorate a plain picture frame with paint, glitter or stickers. Then, add a special photo!
MATERIALS NEEDED:
◊ A plain wooden photo frame
◊ Acrylic paint or wood stain
◊ Paintbrush
◊ Disposable gloves
◊ Paper towels or a rag
◊ Clear acrylic sealer spray (optional)
◊ A photo to display in the frame
INSTRUCTIONS:
1. Start by removing any hardware or backing from the frame.
2. Put on a pair of disposable gloves to protect your hands from the dye or stain.
3. Apply the acrylic paint or wood stain to the frame with a paintbrush, making sure to cover the entire surface of the frame. If using acrylic paint, you can mix different colors to create a unique look.
4. Once you’ve covered the entire frame with paint or stain, use a paper towel or rag to gently wipe away any excess, leaving just a thin layer of color. You can also use the paper towel or rag to create a textured effect by dabbing it on the frame.
5. Allow the frame to dry completely before handling it.
6. If desired, you can spray the frame with a clear acrylic sealer spray to protect the finish.
7. Once the frame is dry and sealed, insert your favorite photo and display it in your home to enjoy!
TIPS:
If you’re using a wooden frame, you may want to sand it lightly before applying the dye or stain to ensure that the surface is smooth and even.
You can also experiment with different types of dye or stain to achieve a specific color or effect. Just be sure to follow the manufacturer’s instructions carefully and wear gloves to protect your hands.
If you want to add a personal touch, you can also use a paint pen or marker to write a special message or add designs to the frame.

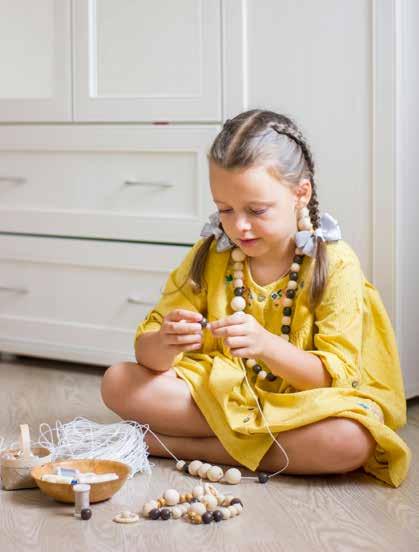
2. Handmade Jewelry
Use beads, string, or wire to make a necklace or bracelet for your mom. Personalize it with her favorite colors or beads.
MATERIALS NEEDED:
◊ Stretch cord or elastic cord
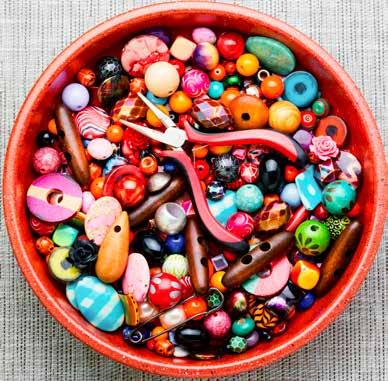
◊ Beads (in a variety of colors and sizes)
INSTRUCTIONS:
1. Cut a length of stretch cord or elastic cord to the desired length for your jewelry piece. You can use scissors to cut the cord to the correct length.
2. Tie a knot at one end of the cord to prevent the beads from sliding off.
3. Slide the beads onto the cord, arranging them in any pattern you like. You can use a variety of colors and sizes to create a unique look.
4. Once you’ve added all of the beads you want, tie a knot at the other end of the cord to secure the beads in place.
5. Trim the excess cord from each end of the jewelry piece.
TIPS:
You can experiment with different types of beads to create different effects. For example, you could use beads with different shapes, sizes, and colors to create a more complex design.
If you’re making a necklace, you may want to add a focal bead or pendant to the center of the necklace to create a more dramatic effect.
Be sure to use a knot that is secure enough to hold the beads in place without coming undone.
This method is simple and easy to follow, and it doesn’t require any special tools or skills. It’s a great option for kids or beginners who want to make homemade jewelry for Mother’s Day.