1 minute read
Gyrobot Assembly


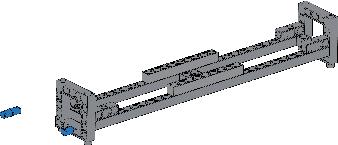
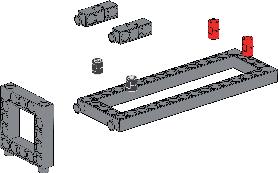
1
Loop in back
Advertisement
M1-11
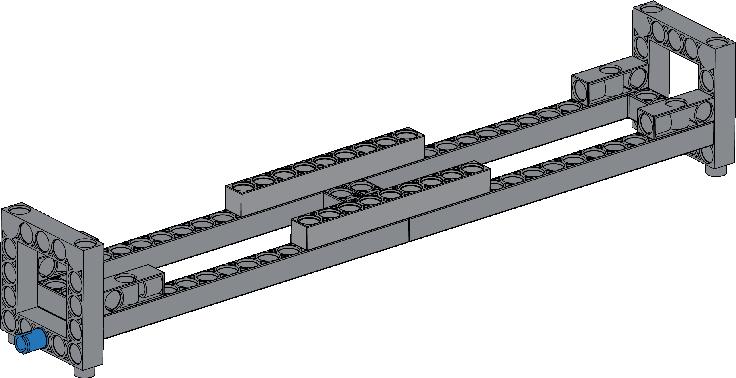
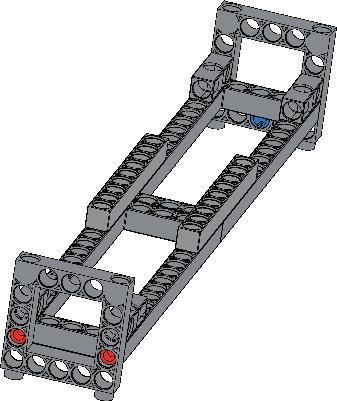
2
Press the blue pins firmly into place!
M1-13 M1-13A
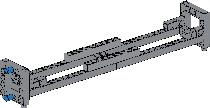
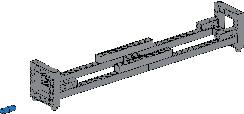
3
4
M1-12
M1-12A
Let’s name it ... Monty!
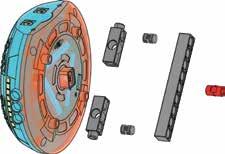
Pay close attention to exactly which parts are needed!
1
2


3
4

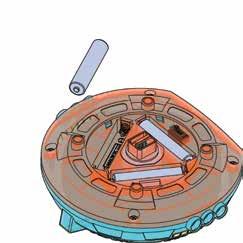
Catch the knot in the notch highlighted here in yellow. Wrap the string around the joint pin, guiding it through all four notches.
Insert the joint pin, with the end highlighted in yellow first, into the middle hole.
5
Pull the string under the frame.
6

Wrap the string around the frame base once, guiding it up from below. Rotate the frame so that the opposite end is facing you.
7
Guide the string around the top of the frame once. Thread the string from behind through the hole highlighted here in yellow.

8
Pull the string back over the top of the frame, as shown here:
Pull the string to the opposite end of the frame and then rotate the frame around again, so the free end of the string is facing you.
9
Thread the string over the middle hole and insert another blue joint pin into the hole highlighted here in yellow, securing the string in place.
Done!
Rotate the joint pin to tighten the string, winding the string around it. In this way, tighten the string so that it is totally taut and doesn’t droop at all.