1 minute read
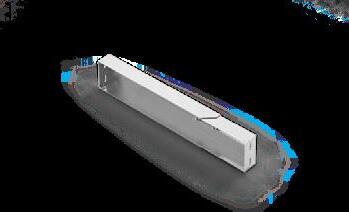
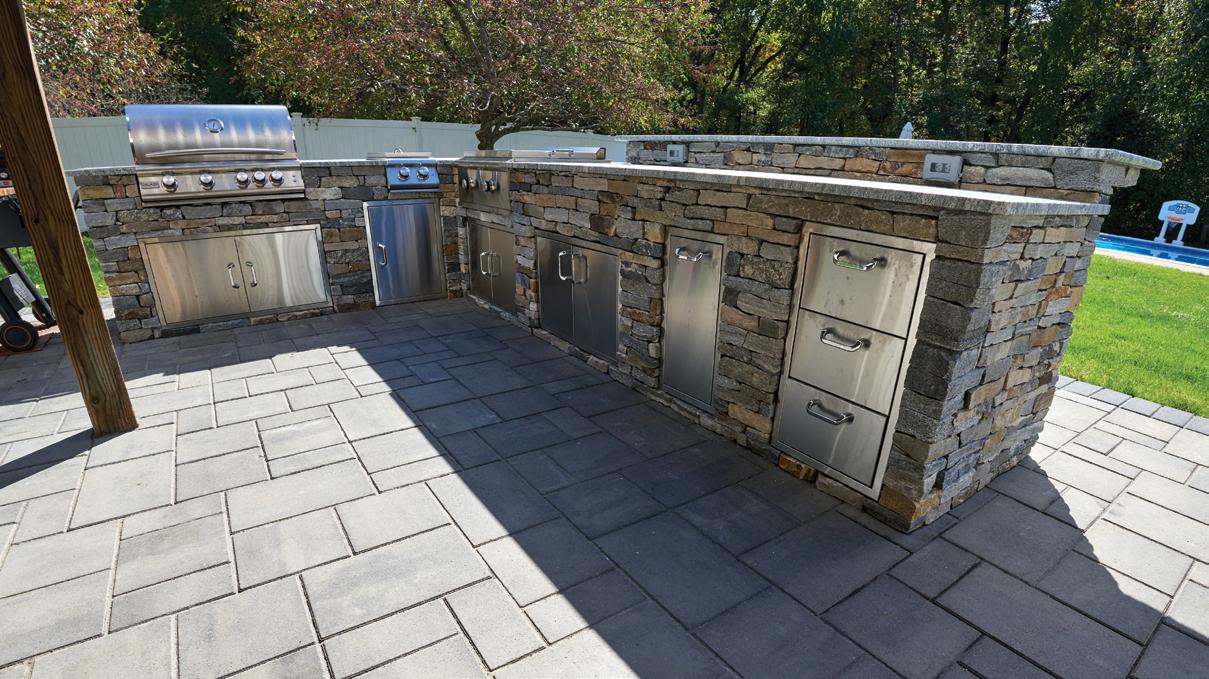
Example Scenario of a Custom Outdoor Kitchen


We chose an “L" shape with a 90º corner and serving bar for this example.
Step 1:
Advertisement
Design your perfect shape and configuration.
For our example, we chose an "L" shape, 90º corner with a serving bar. We then configured the layout to maximize the space and functionality.
Step 2:
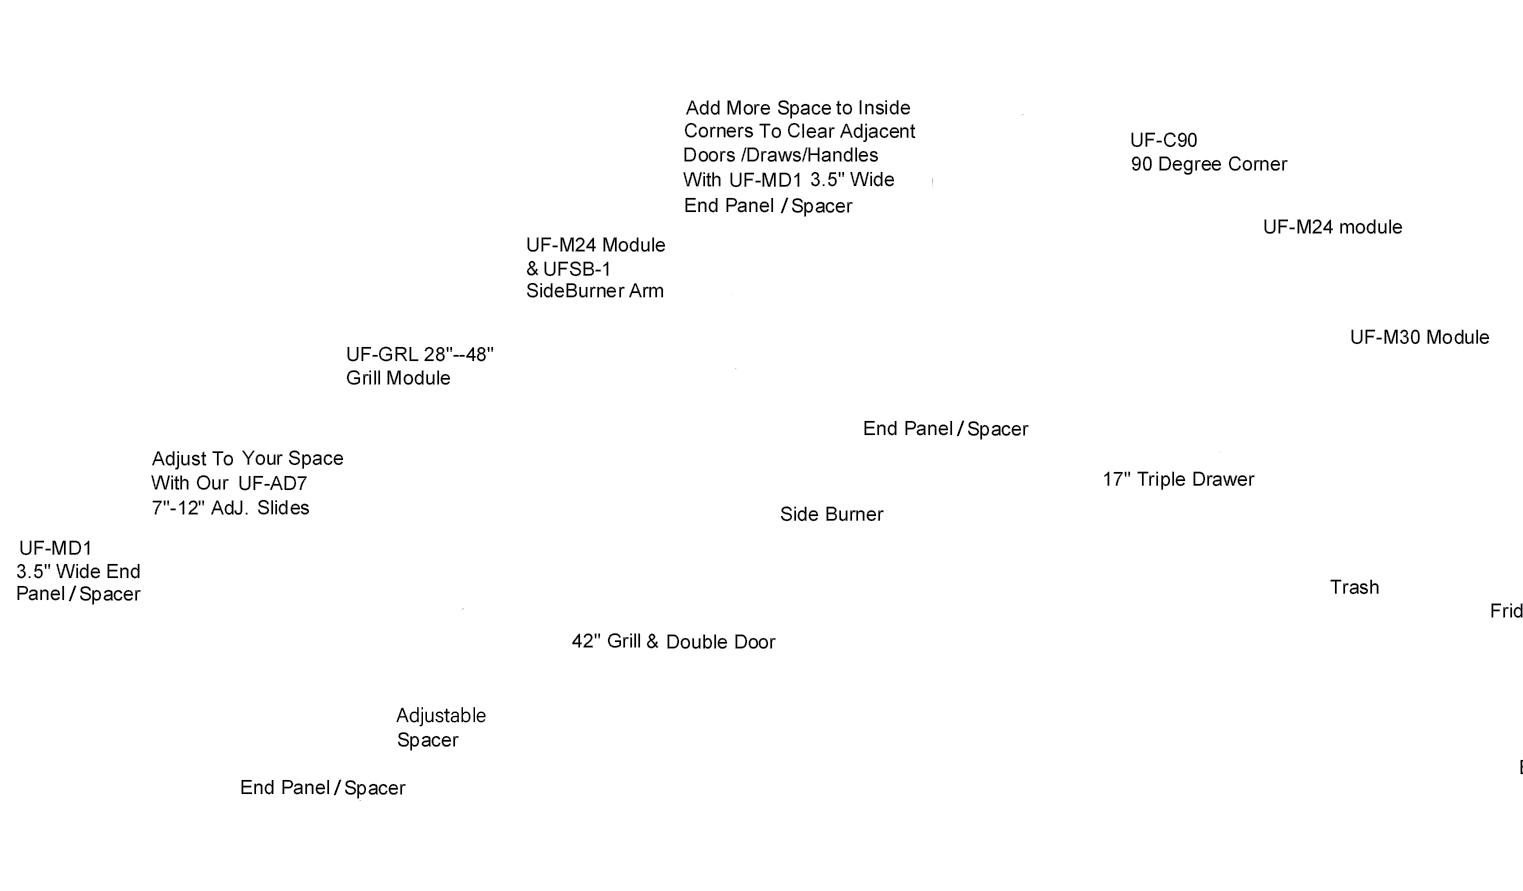
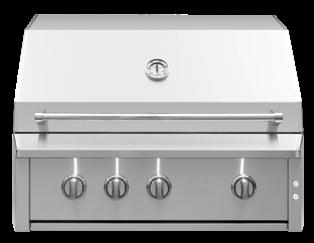
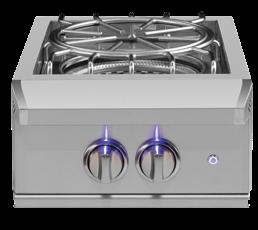
Choose your appliances and accessories.
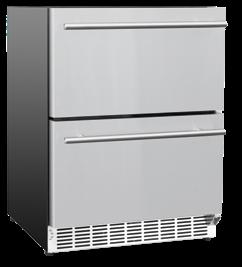
Our adjustable modules can accommodate virtually any outdoor appliance brand, accessory and size! Shown to the right are the one we chose—making note of the manufacturers required opening dimensions*.
*Note: Specifications shown are for DEMONSTRATION PURPOSES ONLY. Refer to your manufacturer's installation instructions for the actual dimensions.
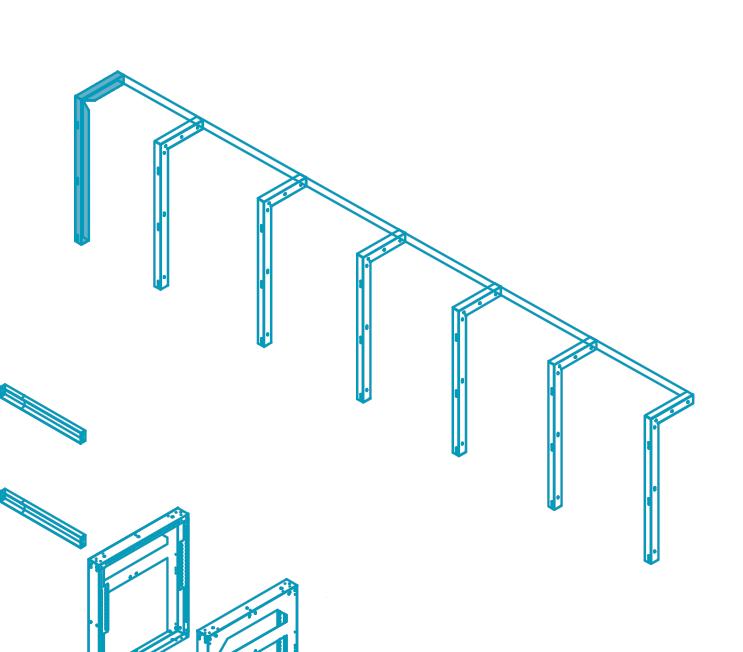
Step 3:
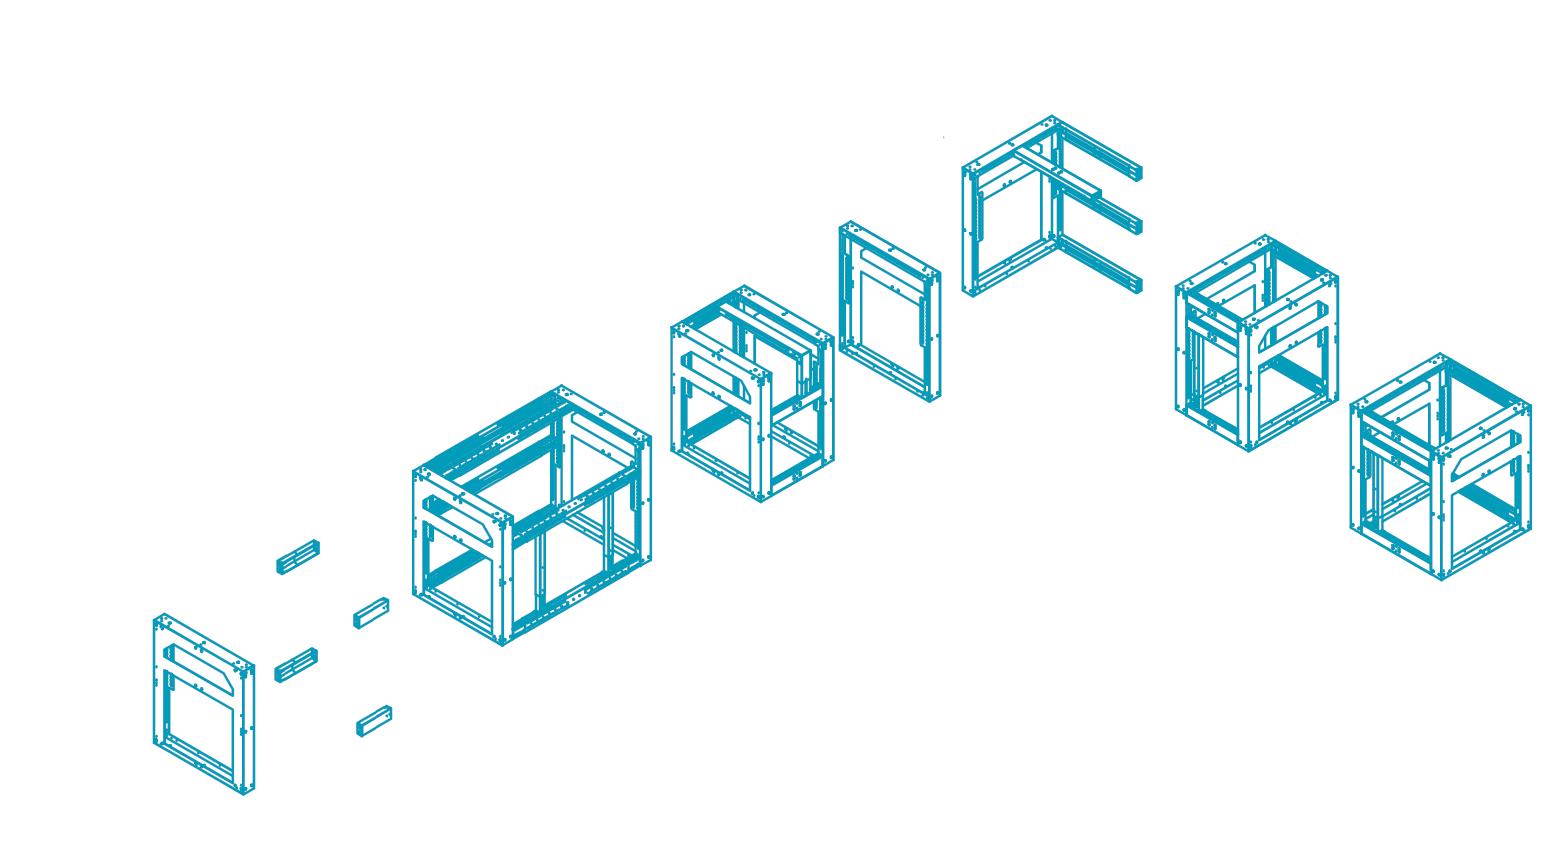
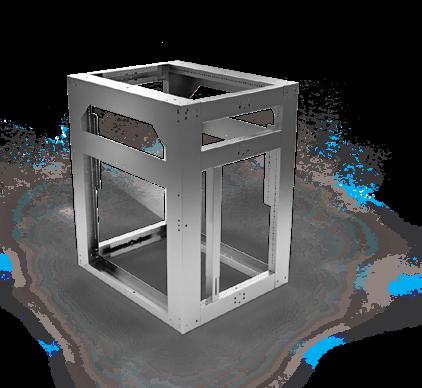
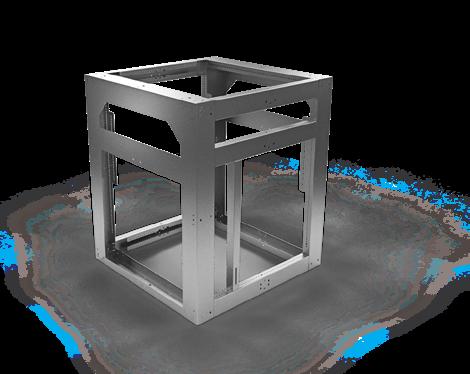
Select the appropriate modules and parts.
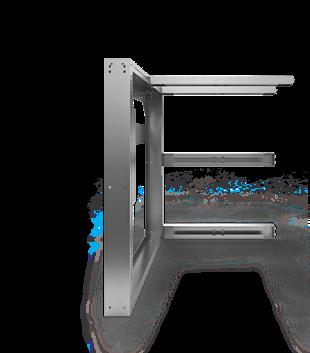
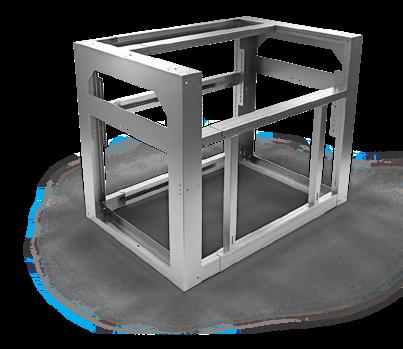
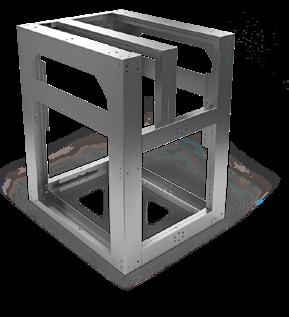
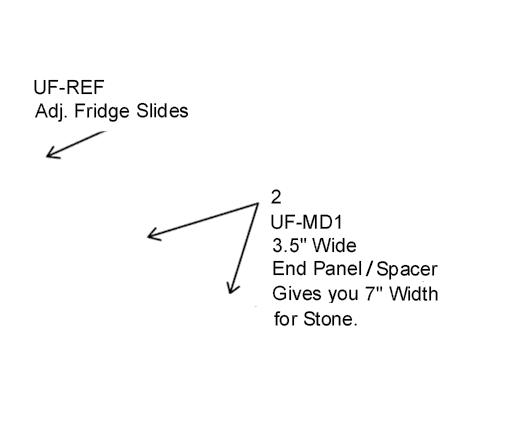
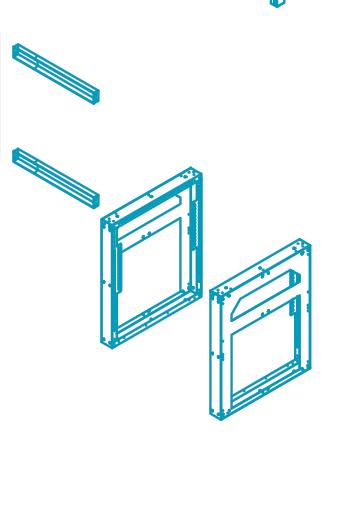
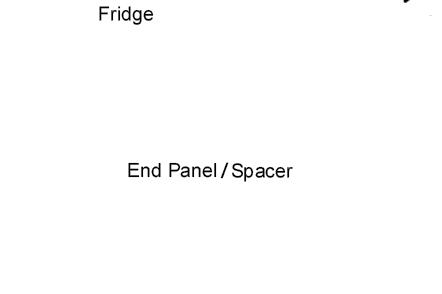
We select our modules (pp. 23-27) based on each manufacturer's specifications for the required opening. We then add necessary parts such as spacers and bar support kit (pp. 29-33).
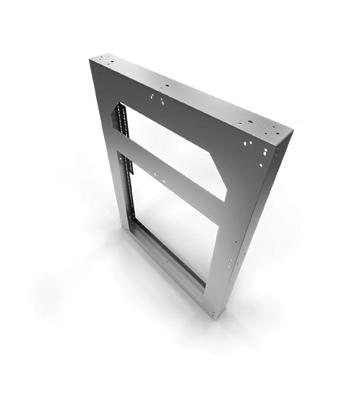
end panel/ spacer. We use a total of four as shown below
PRO TIP:
While the level of detail shown here is not necessary, creating a sketch of all components and parts, along with their measurements, can ensure you have the correct modules, parts, sizing and layout you require.
to design a custom outdoor kitchen and choose appropriate modules.
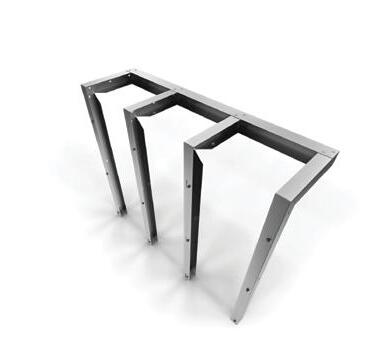
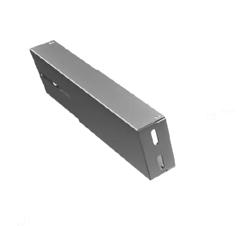
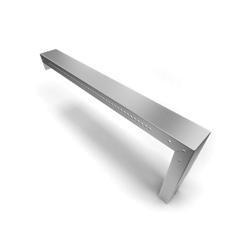
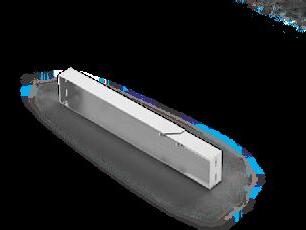
UF-BTS pg. 29 – 4' Bar Support Kit we use 2 to create an 8' bar
What's Next?
After setting up your frame, the next steps are to mount cement board and apply finishing materials, countertop, optional sink (not included). You have complete control over the surfaces. We’re here to support you every step of the way with any questions you have. Find our contact information on the back.
