1 minute read
Custom Outdoor Kitchens Your Step-by-Step Guide to Creating a Custom Outdoor Kitchen


When a predesigned kit doesn’t quite fit your vision or space, just create your very own design using our interchangeable, adjustable modules. Here's how:
Step 1 — Design your perfect shape and configuration.
Advertisement
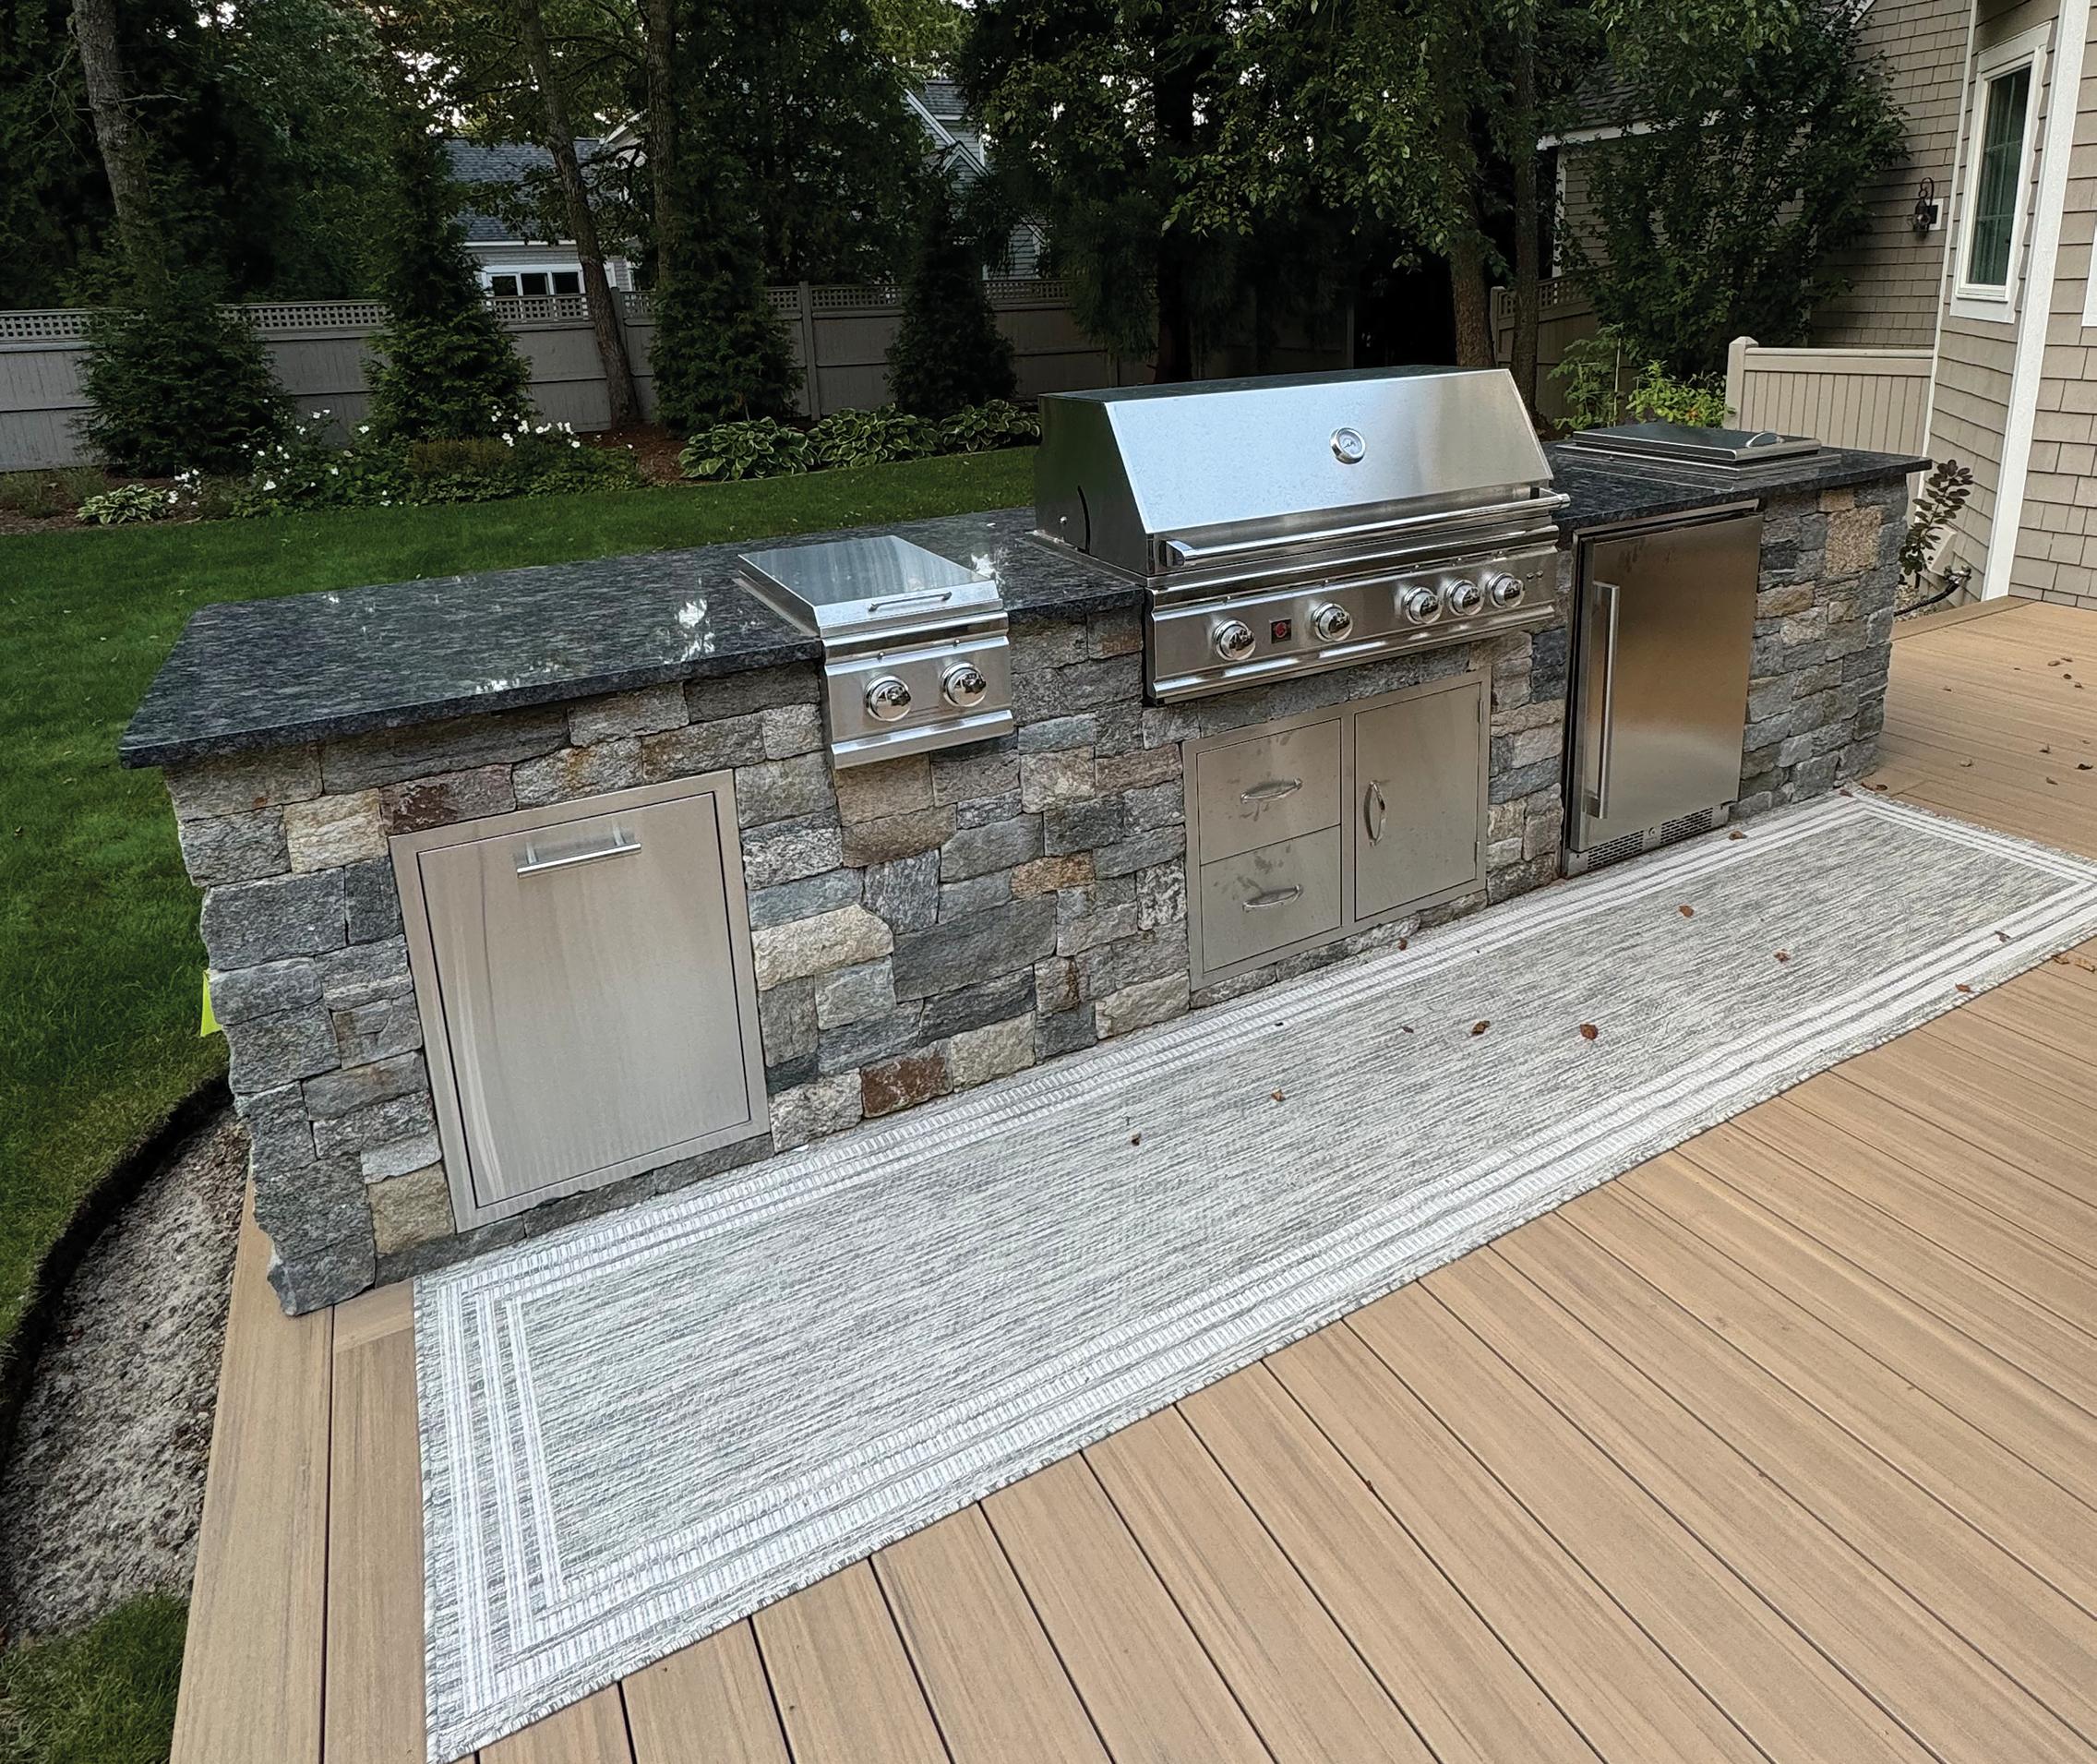
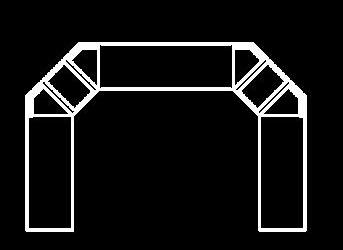
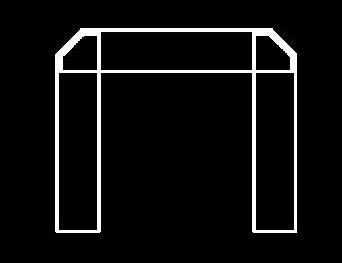
Use the base shapes shown here to create virtually any layout you can dream of. Choose a straight design for a sleek space, an “L" for maximizing space, or a “U" shape for a spacious and versatile layout. Or, let your imagination guide you to a completely custom shape. Remember to consider add-ons, such as bar or a backsplash.
Step 2 — Choose your appliances and accessories.
Our adjustable modules give you the freedom to choose any brand of outdoor appliances and accessories that suits your design and lifestyle. Refrigerators, grills, sinks, ice-bins, trash bins, drawers, cabinets, and more; the possibilities are endless.
Once you choose your brands, note the manufacturer’s specifications for the minimum opening size required for installation.
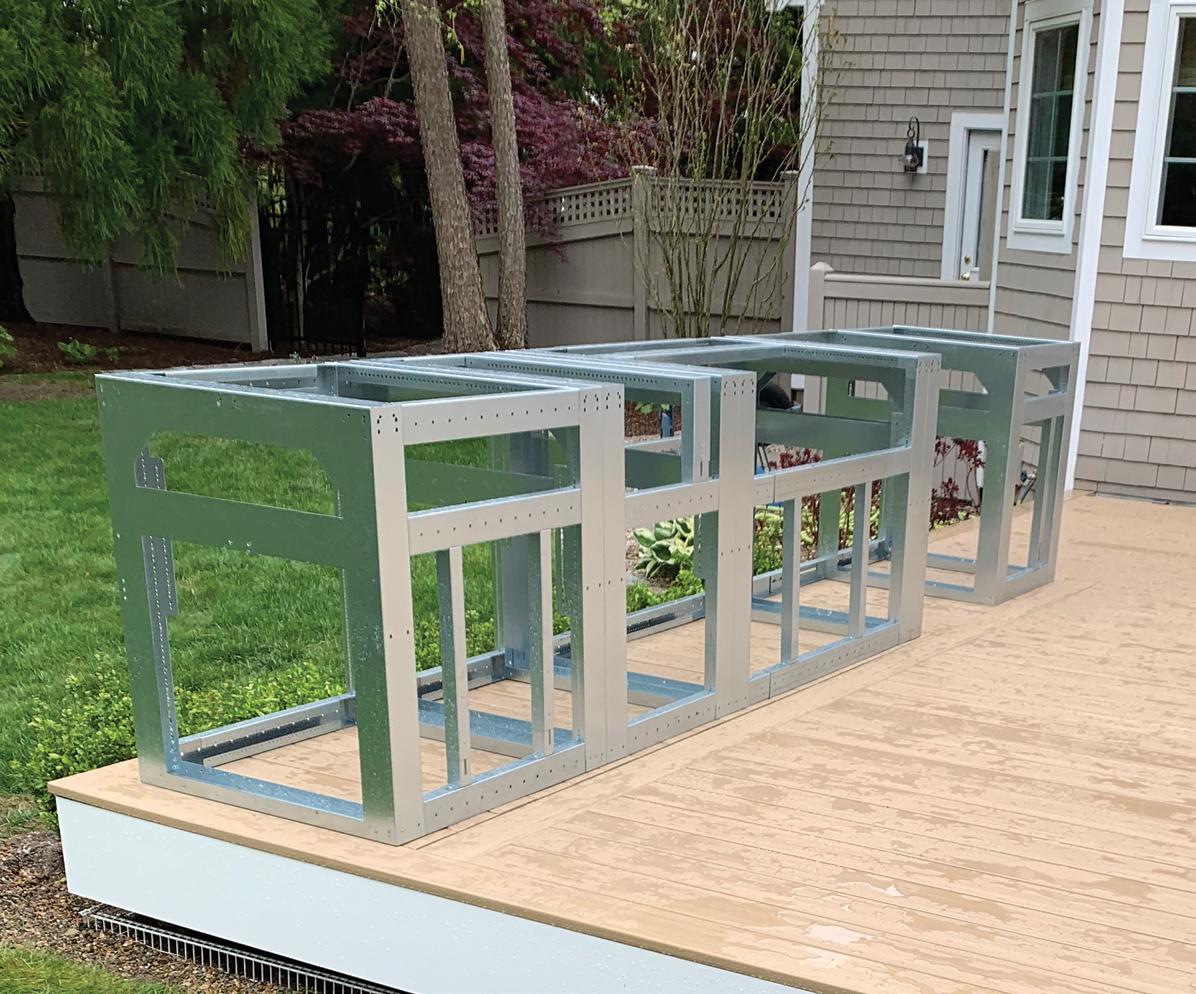
Step 3 — Select the appropriate modules and parts.
Choose the modules (pages 22–27) that meet the minimum size opening specified by the manufacturer for each appliance and accessory. Our modules are designed to meet any specification! For example:
• Extra-wide 55" grill? No problem! Choose our fully adjustable “Wide Grill" Module (UF-GRW).
• Kamado-style Grill (think “Big Green Egg")? Go with our adjustable-height shelf (UF-EG1 pg. 29).
• Side burner? We got you covered (UF-SB1 pg. 30).
Once you've selected the appropriate modules, add any parts needed to complete your outdoor kitchen, such as bar support kit, backsplash kit, or side burner support arm (pages 28-32).
OUR MODULES ARE:
Made of commercial-grade materials and crafted to last they withstand any weather
Straightforward to build, you don’t need a contractor’s training to get the job done


Fully customizable so you can adjust the layout to fit your plans for your space