6 minute read
A guide to chiles and peppers


R e a l S i m p l i f i e r
How to Build a Campfire
Advertisement
U S E T H E S E E A S Y - T O - F O L L O W I N S T R U C T I O N S F O R A ( C O N T R O L L E D ! ) B L A Z E T H A T W I L L M A K E Y O U R C R E W H A P P Y C A M P E R S .
B y C a r o l i n e M c K e n z i e
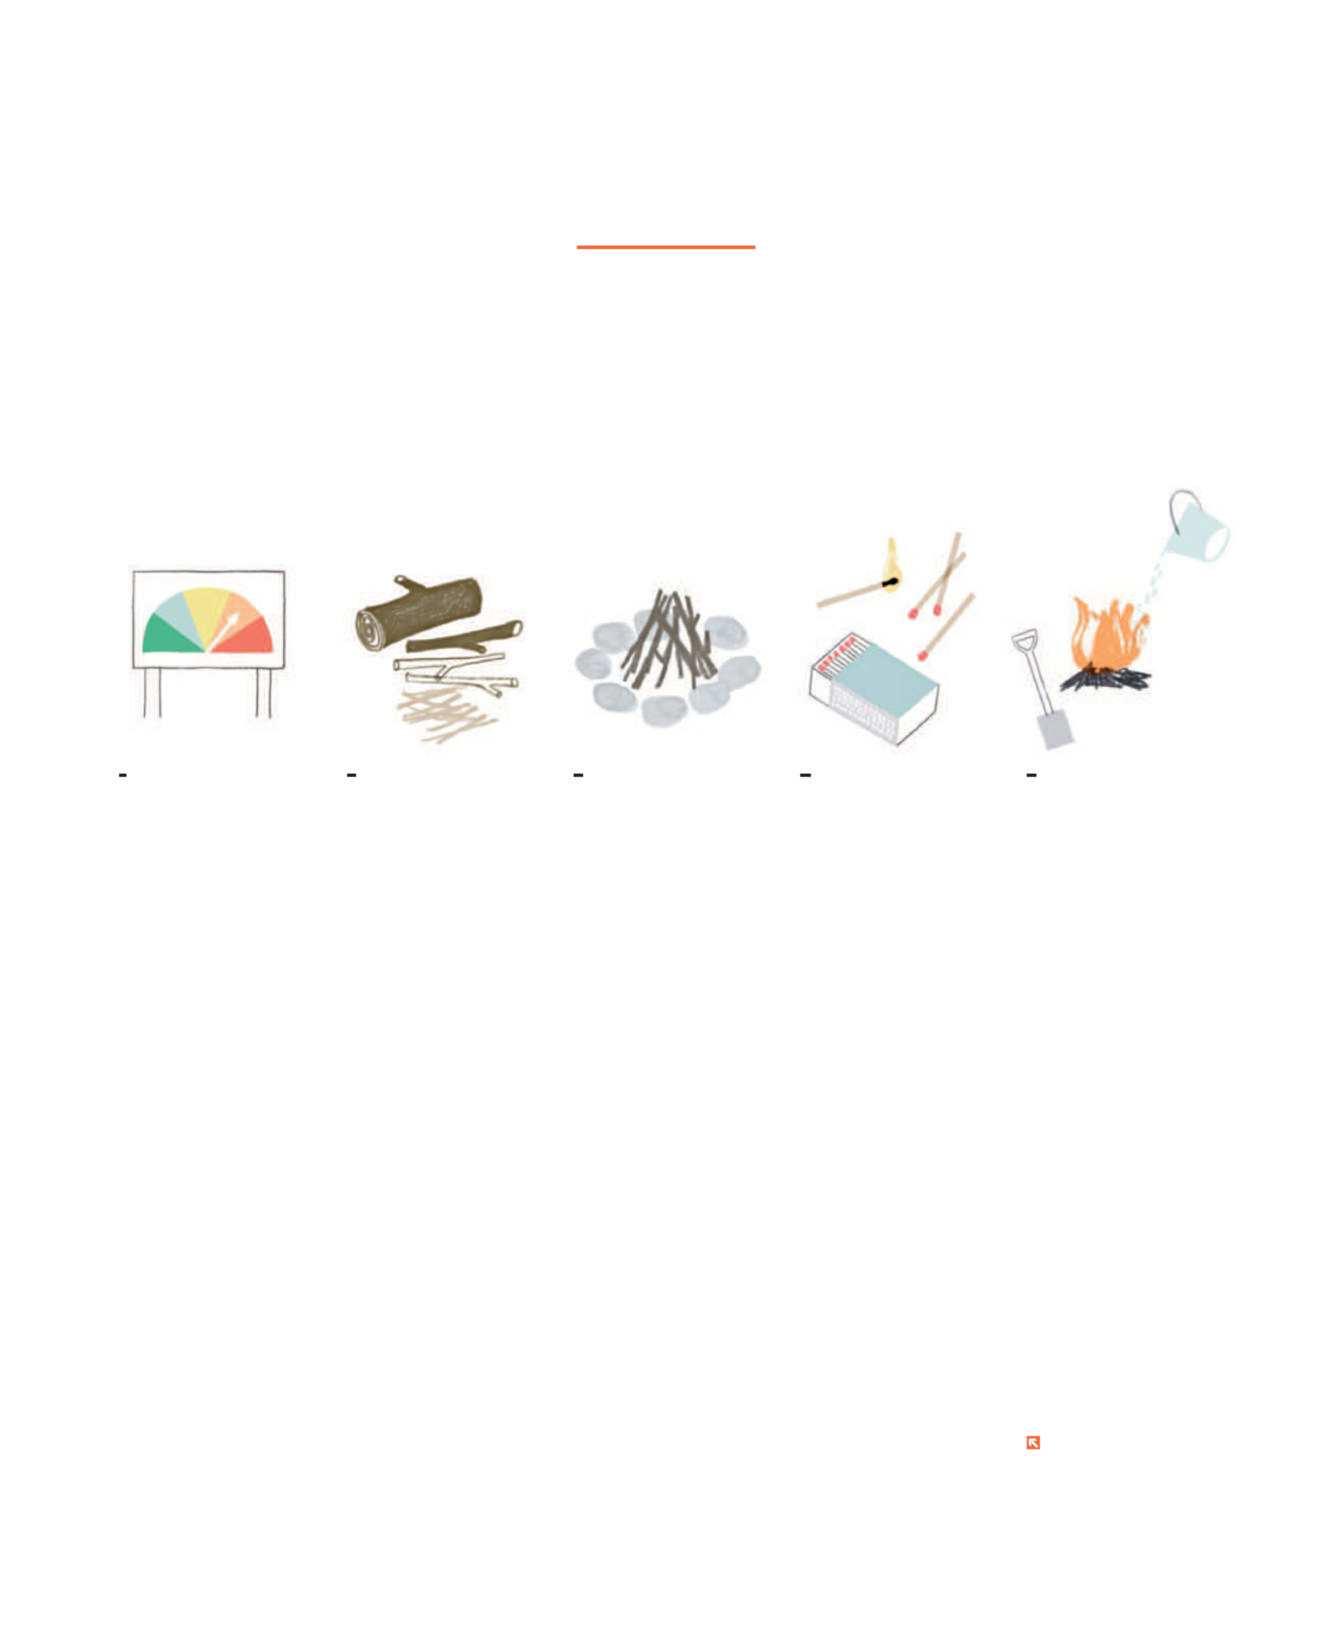
1
C H E C K C O N D I T I O N S Not all days are good campfire days. “Dry vegetation, heat, wind, and thunderstorms increase the chance of a fire getting out of control,” says Deborah Macres, a Girl Scout troop leader and High Adventure Girl Scout leader in Granite Bay, California. “Reviewing conditions beforehand will help you assess dangers and alert you to any current burn bans.” Campgrounds will post information on such bans. But if you’re planning a fire in a less regulated area—or even your own backyard—you can consult the National Weather Service (weather.gov) as well as a local ranger station or land management office. If there’s a warning, skip the fire. 2
G AT H E R M AT E R I A L S You will need tinder, kindling, and logs, says Brenda Lo-Griffin, a Raleigh, North Carolina–based instructor for REI Outdoor School. Tinder is any thin, dry material that ignites instantly with a match, such as leaves or pine needles. Dryer lint also works well, says Lo-Griffin. Kindling is small sticks (about the size of a pencil) that help a fire expand beyond the initial spark. Finally, logs, which will keep your fire burning over time, should be wood that is no thicker than your wrist, dead, and found on the ground. Never cut live branches—they won’t burn well—or use wood that’s been pressure treated or painted, says Macres. 3
F I N D A G O O D S P O T If your campsite doesn’t have a designated fire pit, seek out a level area away from overhanging branches. The fire base should be three to four inches of sand or nonfertile dirt. Encircle the spot with rocks to help concentrate the flames. Arrange tinder, kindling, and logs in one of two patterns: tepee or log cabin. Tepees begin with kindling in lean-to formation around a ball of tinder. As the flames grow, add larger logs the same way. Log cabins, which many prefer, start with logs arranged in an interlocking perpendicular and parallel design. Place tinder on the first layer and kindling on the next, continuing to build fuel layers with larger logs on the outside of the structure. 4
I G N I T E T H E F L A M E Campfires should never be started with gasoline, lighter fluid, or other accelerants, as they can be harmful to the environment and result in flames that quickly escalate to unmanageable levels. Instead, Lo-Griffin suggests a long-handled lighter wand or, better yet, matches. “Ignite tinder and then blow on it to help the fire spread to the kindling,” she says. “Oxygen is key to a fire’s success.” Also, be patient. “It may require 20 to 30 minutes for it to catch, especially if there’s been rain in the past few days,” says Lo-Griffin. “You need to add kindling and logs slowly—don’t rush.” 5
E X T I N G U I S H S A F E LY Putting out a fire can take just as long as starting one. Macres says to expect at least 20 minutes. To extinguish your handiwork, sprinkle water—not dirt or sand—on the fire pit. As you do so, stir the embers with a stick or shovel until the fire is completely extinguished. “Resist the temptation to flood the fire,” says Macres. “It creates instant steam, which can burn people in the vicinity.” When is it safe to leave? When the area—fire ring, wood, embers—is cool to the touch. Until then, continue to sprinkle with water and stir intermittently. If you’re at a campsite, return the rocks to their original location when your fire is finished.
Going camping? Get a handy packing checklist at realsimple .com/campingchecklist.

Things Co oks Know
S T R A T E G I E S , T E C H N I Q U E S , A N D T I P S O N C H I L E S A N D P E P P E R S— F R O M T H E R E A L S I M P L E T E S T K I T C H E N T O Y O U R S
B y G r a c e E l k u s
1 2
6 3

4
5 Ready to turn up the heat?
Our guide to chiles and peppers—in peak season now—will help you distinguish your poblanos from your serranos.
T H E B A S I C S
1 P O B L A N O Relatively mild, these thickskinned, heart-shaped peppers are ideal for stuffing (think chiles rellenos).
2 H A B A N E R O Super-spicy and distinctively fruity, habaneros range in color from green to red. Their robust heat stands up well to grilled meats.
3 S H I S H I T O Wrinkled, sweet, and delicate, these Japanese peppers are best when blistered in a hot pan. Serve with a squeeze of lemon juice and a sprinkle of flaky salt.
4 J A L A P E Ñ O Commonly used in salsas and hot sauce (sriracha is made from red ones), these are your gateway chile. For less heat, remove the seeds and pith.
5 S E R R A N O Just up the Scoville scale (that’s the chile heat index) from jalapeños, these slender green chiles give an extra kick.
6 B E L L P E P P E R Mild, juicy bell peppers come in green (slightly bitter) and yellow, orange, and red (sweet) varieties. Cooking them brings out their natural sweetness—try them in ratatouille or atop pizza.
B O N U S P O I N T S
H AT C H Grown in Hatch, New Mexico, these fleshy peppers are harvested beginning in late summer (and are celebrated in September at the village’s annual Hatch Chile Festival). Roast, peel, and chop, then add to enchiladas or queso dip.
P I Q U I L L O Look for these pointed red peppers, stuffed with meat or cheeses, on tapas menus. They’re tame like bell peppers and easy to find roasted and jarred.
S C O T C H B O N N E T Often confused with habaneros, these slightly sweeter chiles give jerk chicken its characteristic heat.


