
3 minute read
Lyn Hall Masterclass


FRAMING SMALL OBJECTS A MASTERCLASS WITH Lyn Hall GCF (APF) Adv
In this masterclass I will be framing six small cars, all of which were designed for the 2012 Olympics. The customer requested them in a box on little glass shelves – a process I really enjoyed!
Advertisement
Image 1
1. Firstly, I considered how to attach the cars to glass shelving.
The easiest way to do this was with a glue gun because I did not want to hinder the wheels. I attached small plastic strips on the base of the cars, which were eventually stuck onto the glass. Image 2 Image 3 Image 4 2. I chose to make three shelves, each holding two cars. The depth of the shelves was calculated at 3.5cm; the height space between shelves was 6cm, and the glass shelves were 32cm wide to fit into the rebate of the frame (6cm + 20cm + 6cm). The diagram shows all elements for this piece of work. These figures were taken from my mount size calculation. (32cmx34cm)
3. I then cut three strips of glass (3.5x32cm) and polished the edges, taking care not to polish the top and bottom sides of the glass. When positioning the cars on each shelf of glass, I used a sheet of paper underneath with pencil marks to space all cars equally.
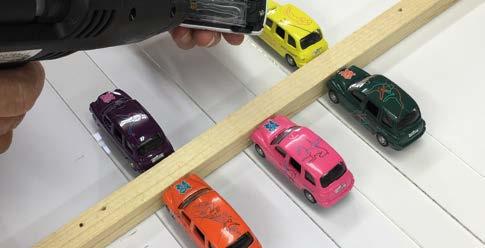
4. Next, I glued the cars on using the glue gun. I used a piece of
wood as a spacer to ensure all cars were evenly glued.


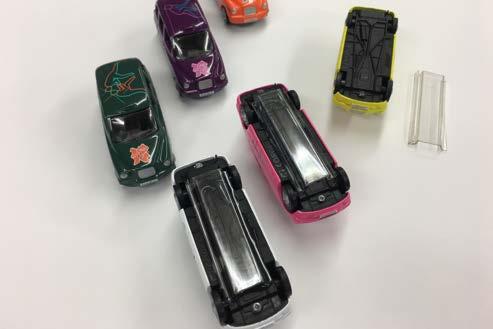
Image 5
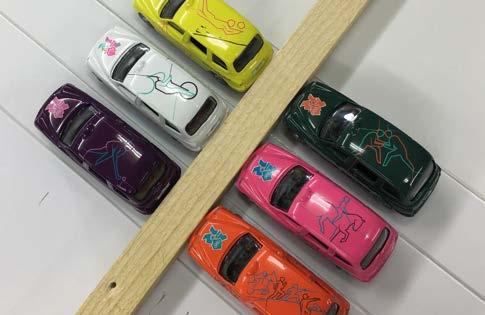
Image 6
5. It was then time to cut my chosen frame (ensuring that it was deep enough to take the shelves) and glass. I used Clarity 70% because its invisibility speaks for itself!
6. For my frame, I used Larson-Juhl 233127000 which is 2.5cm wide with a depth of 4.9cm. The frame was cut at 32.1x34.1cm.
7. You could then cut either a single or double mount, clean your glass and place the finished mount into your frame facedown. On my double mount, I used a marquetry technique for the corners. I also reduced the size of the inner mount by 1.2cm all round. This is where the fillets eventually sat into.
The directions for marquetry can be found in 4walls Issue 24 in an article called Value Added Techniques. The mount was cut on a Keencut Future Ultimate Gold.
Image 7
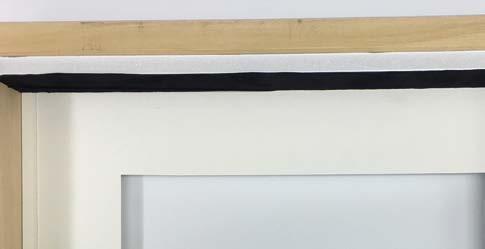
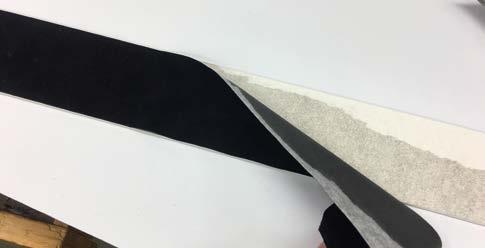
8. Next, you could cut either wooden fillets or foamboard fillets, to line the rebate of the frame. I used 10mm foamboard which I covered with a black fabric to match my black backboard. I chose Suede Board Ebony 8521. A strip was cut off the mountboard sheet from which I removed the fabric surface. This was then used to cover the foamboard fillets using a very high tack double sided tape. My fillets were 4cm wide, which sat into the rebate and still allowed for front glass, mount and backing board to fit.
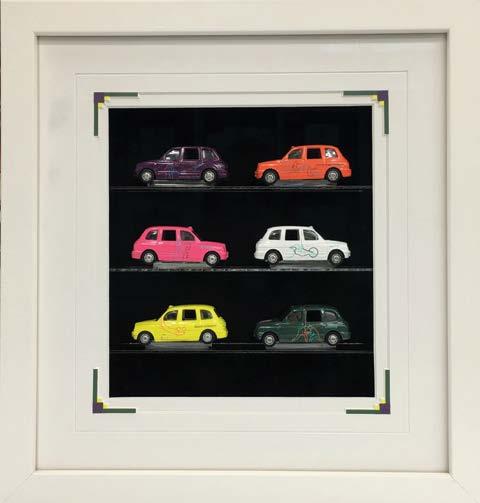
Image 8

9. After cutting two of the fillets to fit into the top and bottom of the frame, I then cut the fillets which fitted to the side and held up the glass. My top fillet was 11cm, second and third 6cm and the last one to fit. (Photo 9)
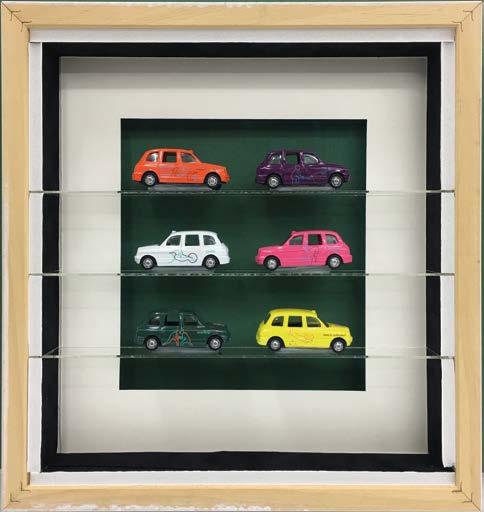
Image 9
10.I then cut a piece of board to sit behind the shelves and, finally, fitted a backing board. Image 10 Image 11
11cms Frame inner workings
6cms wide mount
20cms
6cms
6cms 22cms
9.5cms approx.


