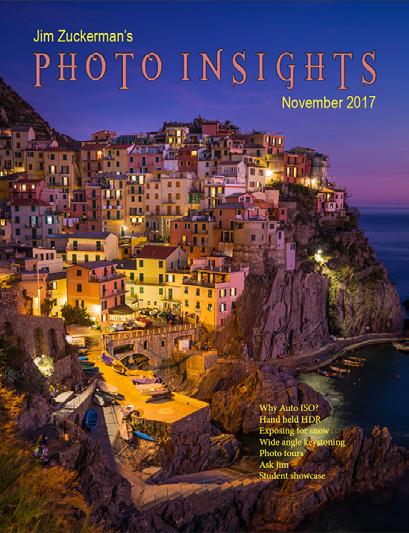
P H O T O I N S I G H T S
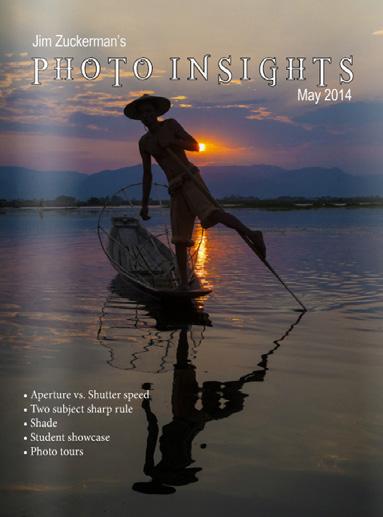
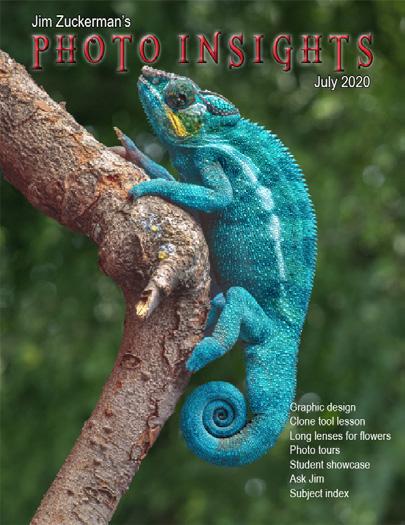
July 2023
Shooting the Milky Way
Custom functions
Extension tubes
Photography quiz
Photo tours
Ask Jim
Student Showcase
Back issues
Jim Zuckerman’s
2
Contents 4. Shooting the Milky Way 11. Custom funtions 15. Extension tubes 18. Photography quiz 20. Jim’s eBooks 23. What’s wrong with this picture? 25. Short and sweet 27. Ask Jim 28. Photography tours 30. Student Showcase 36. Past issues 43. Subject index
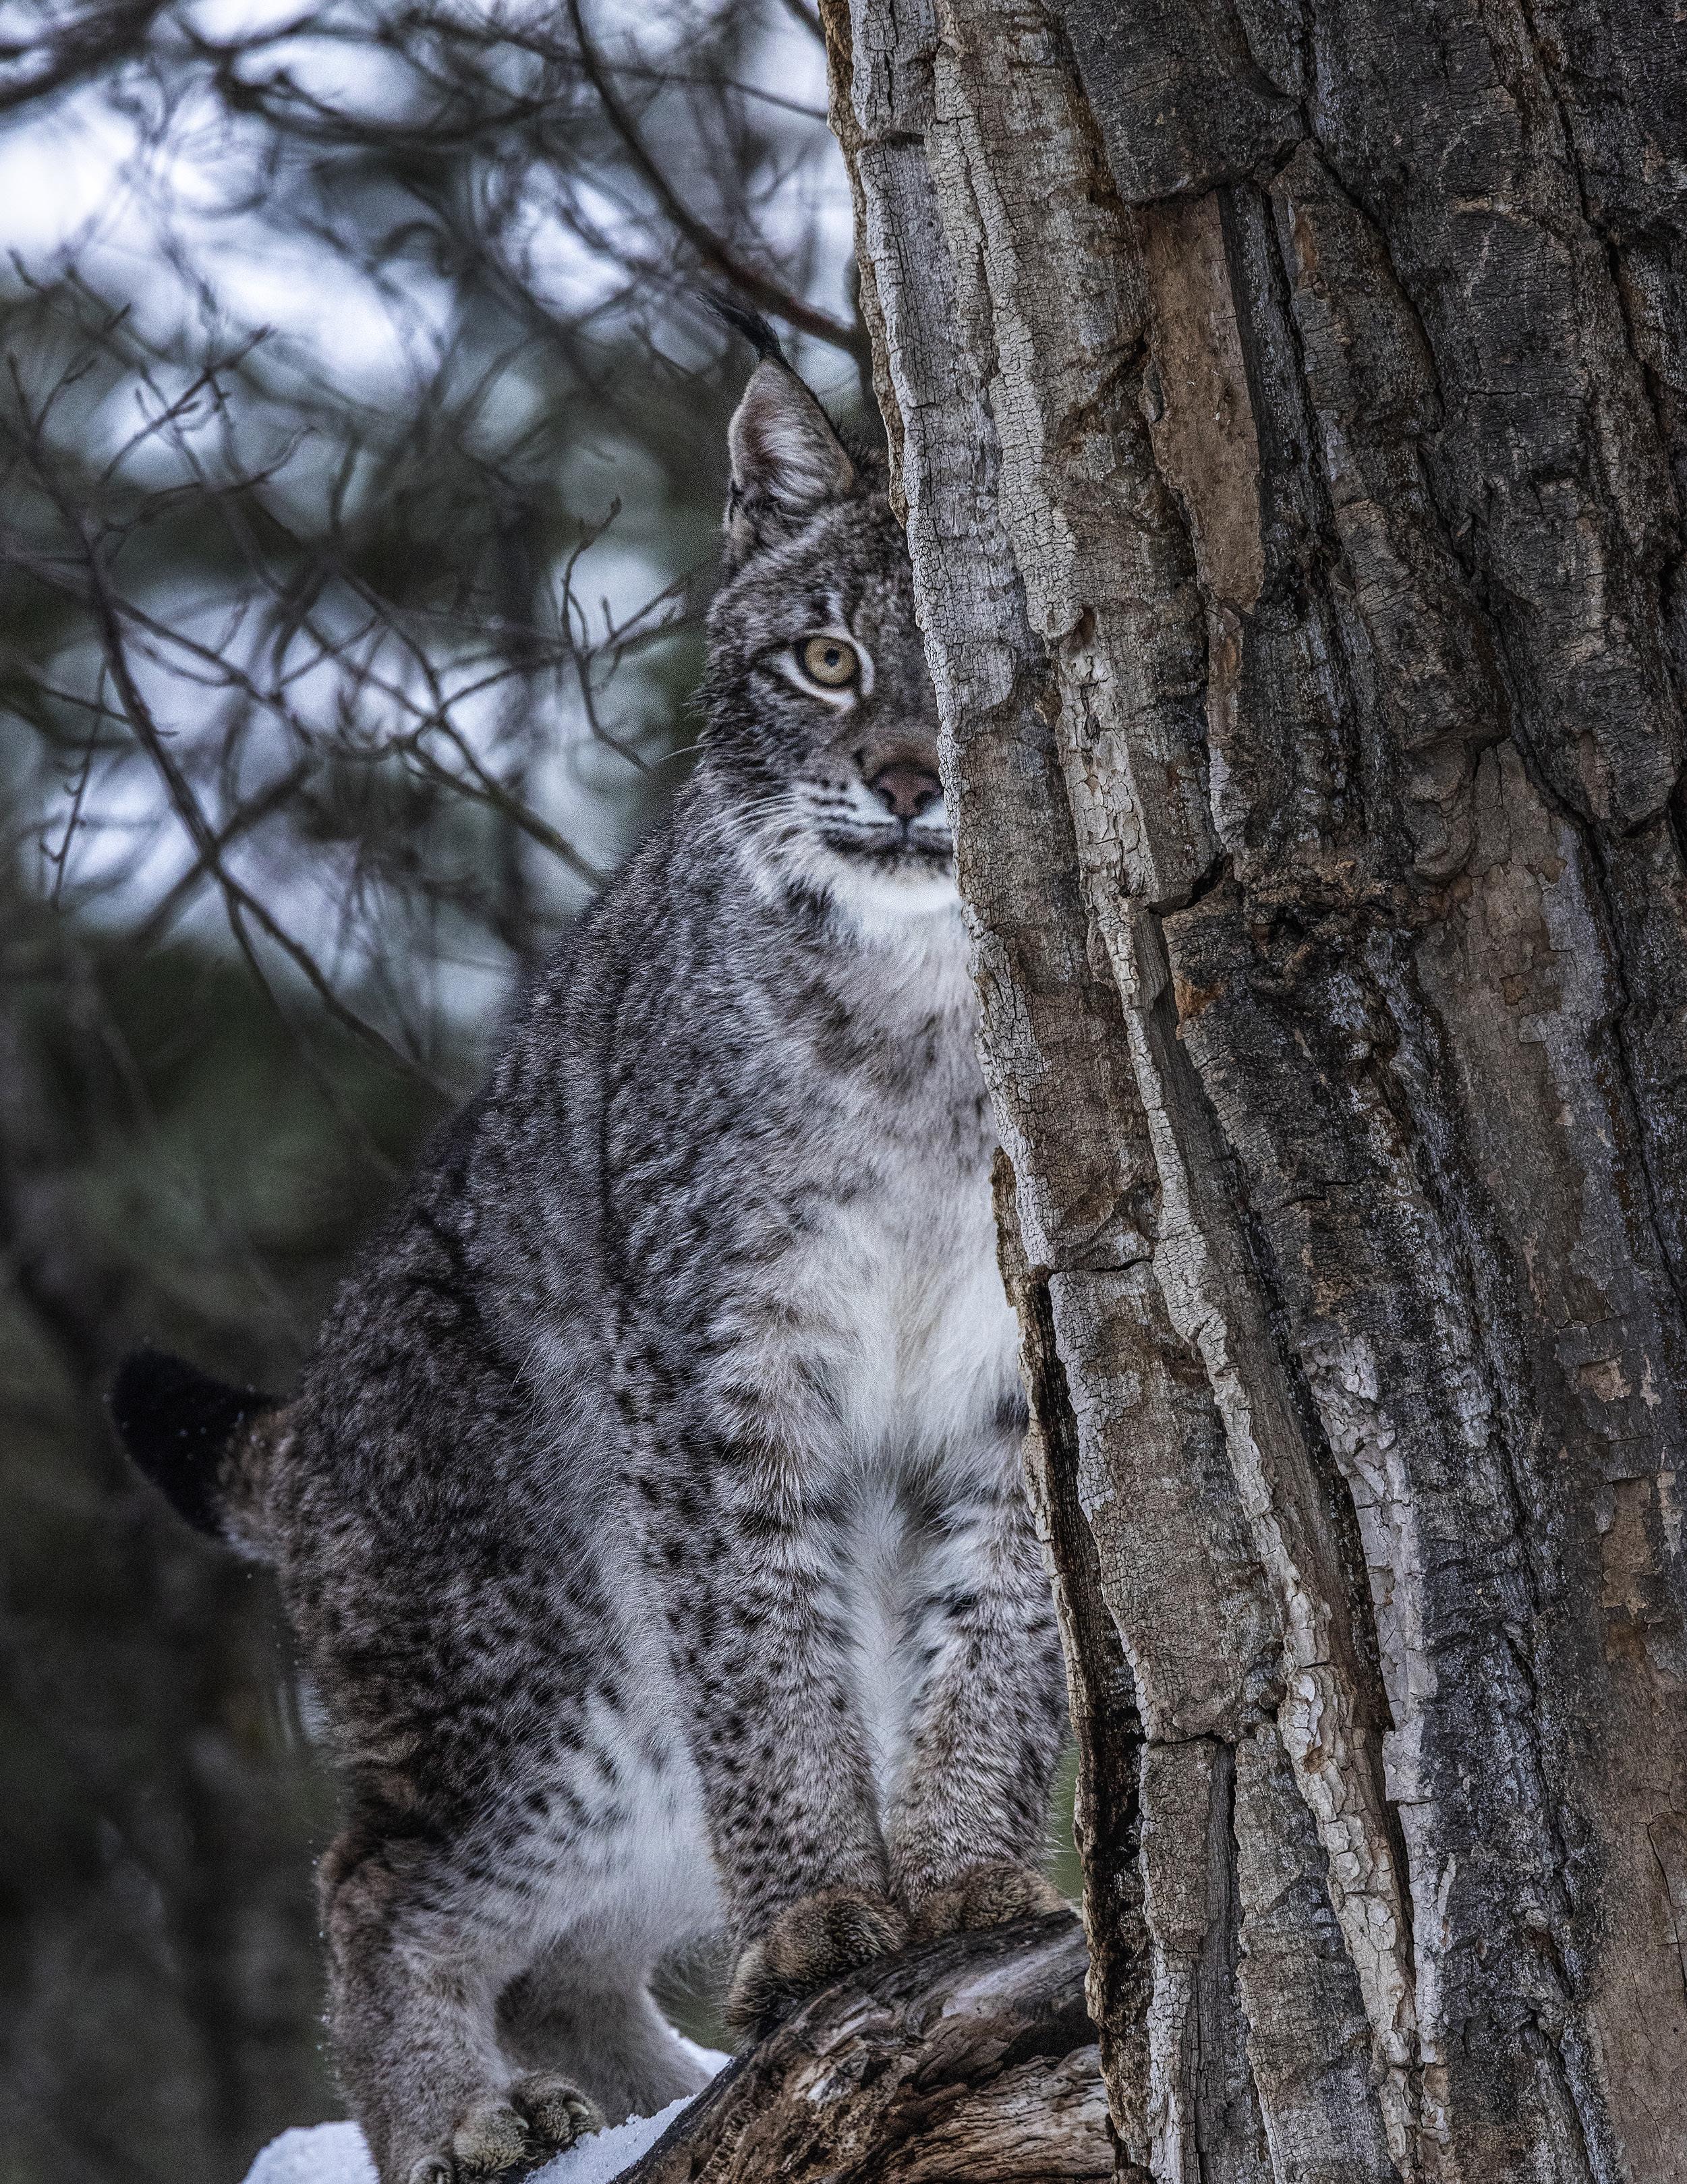
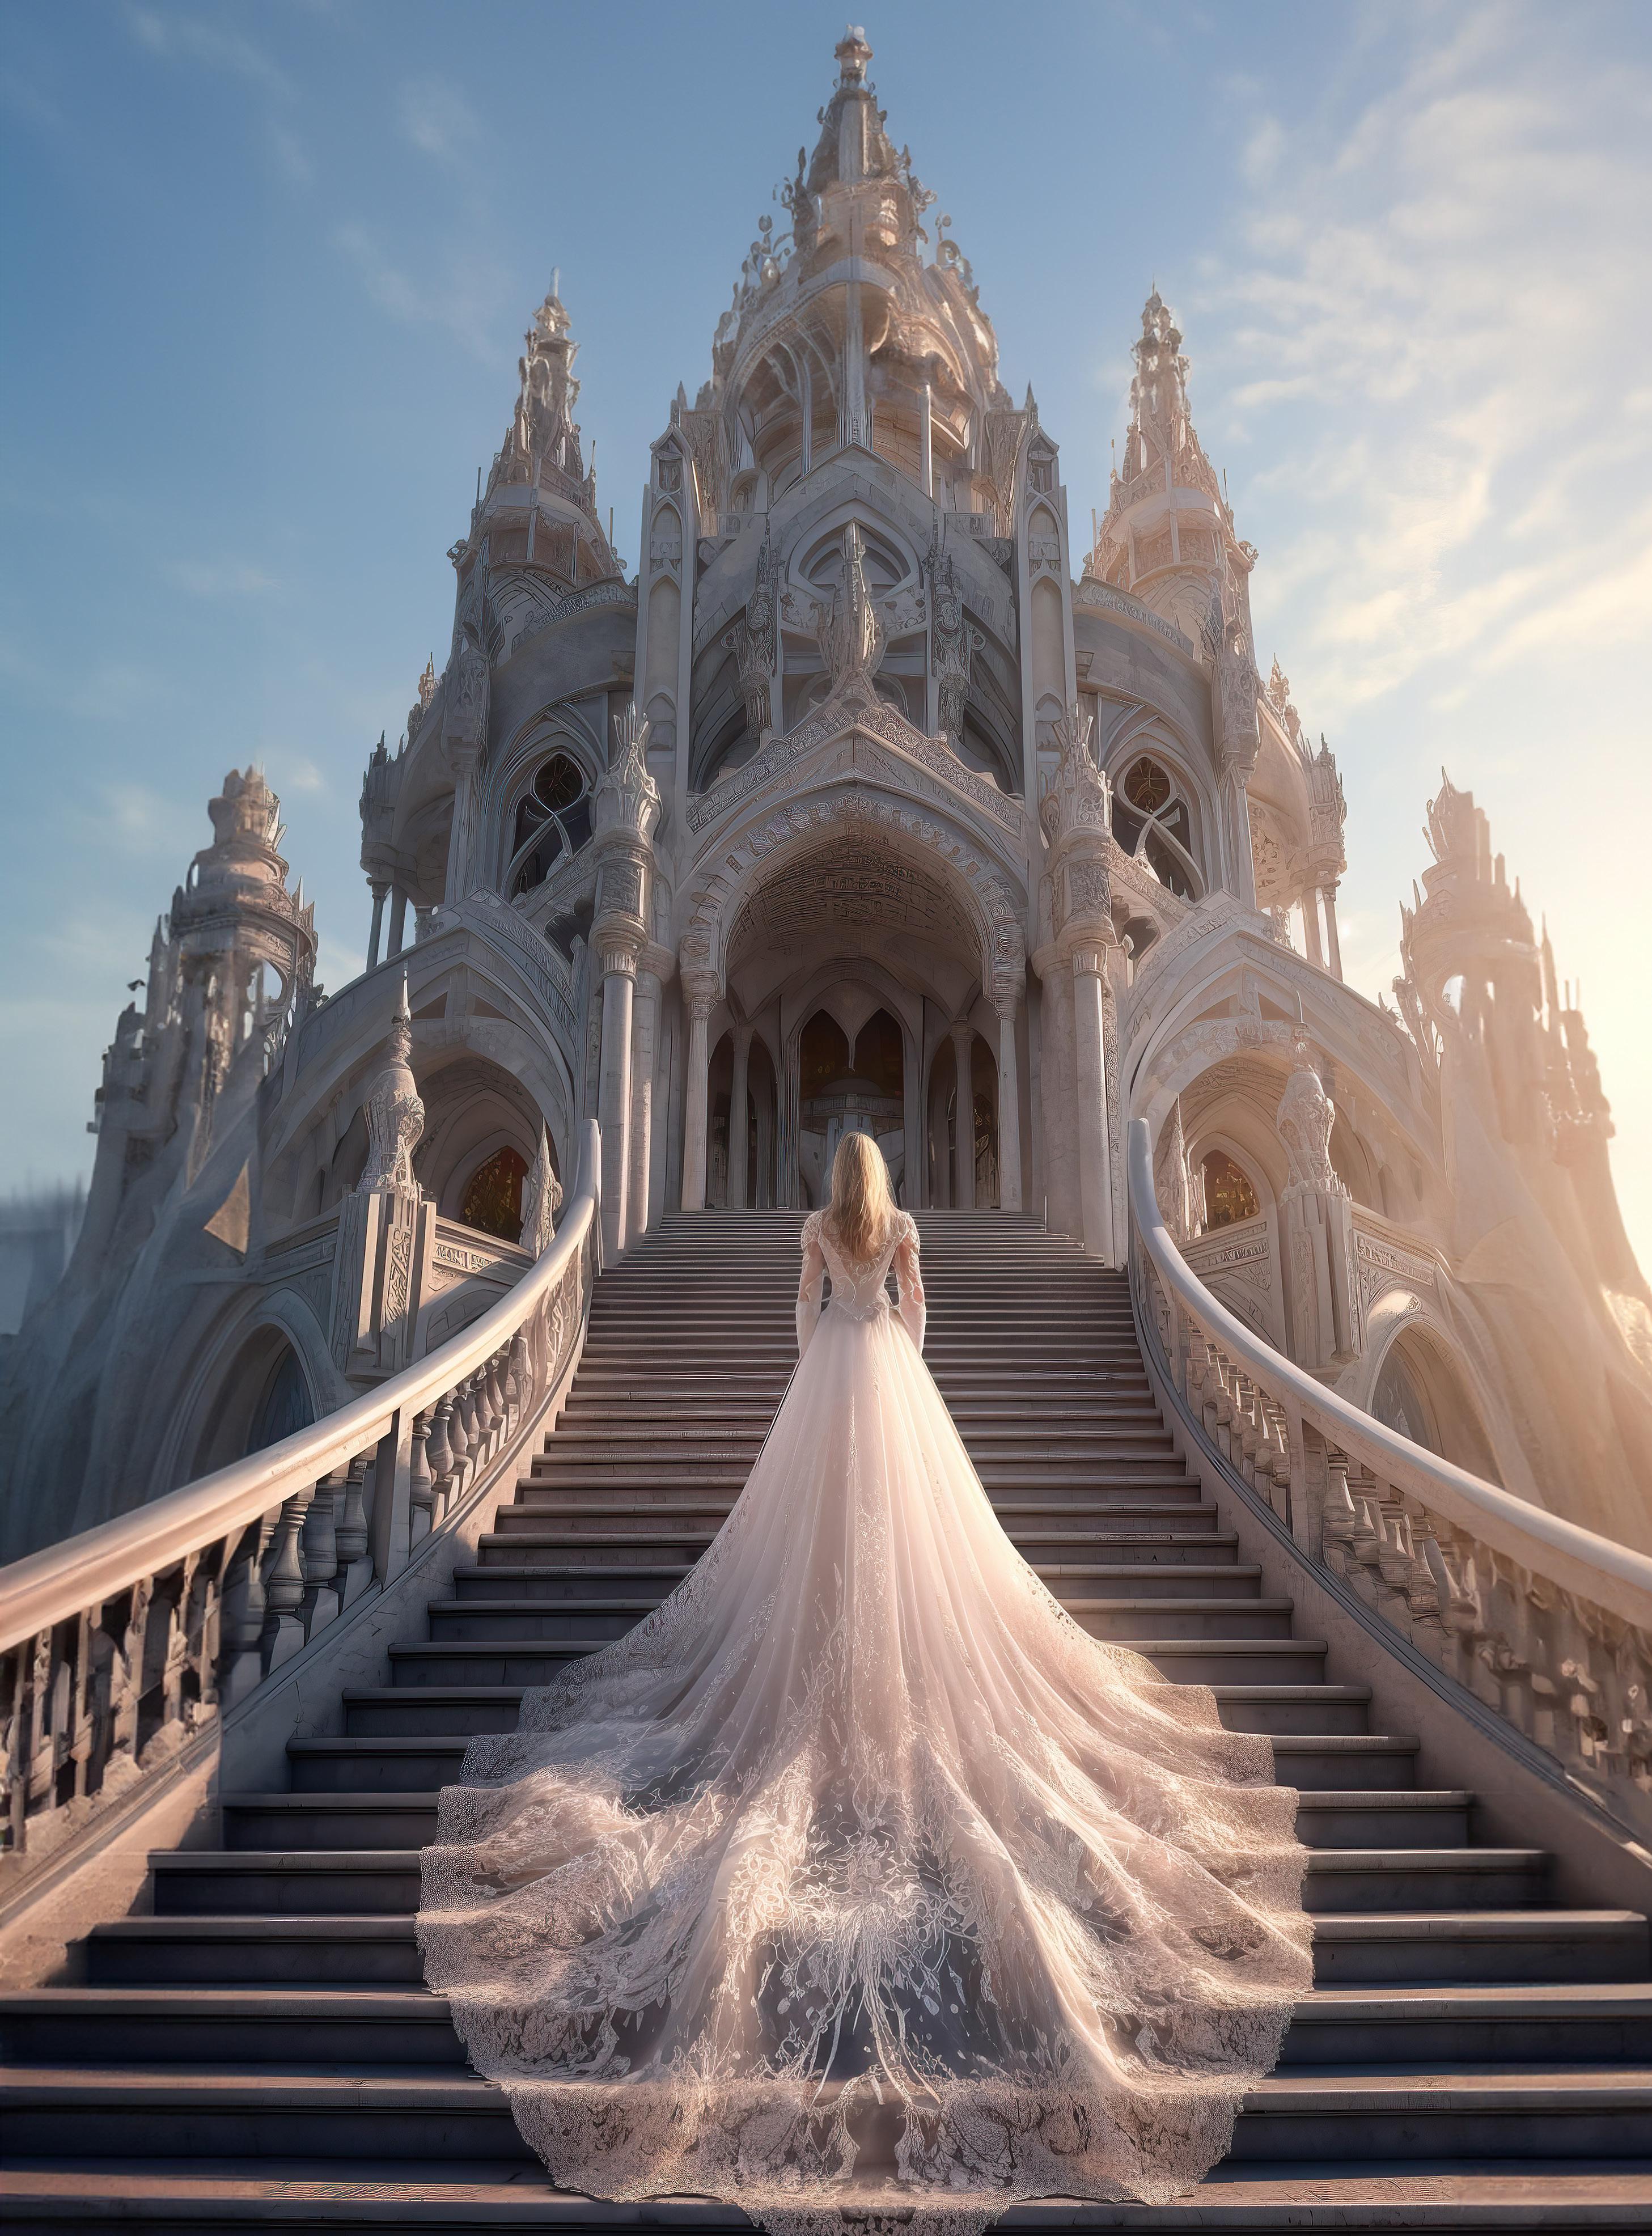
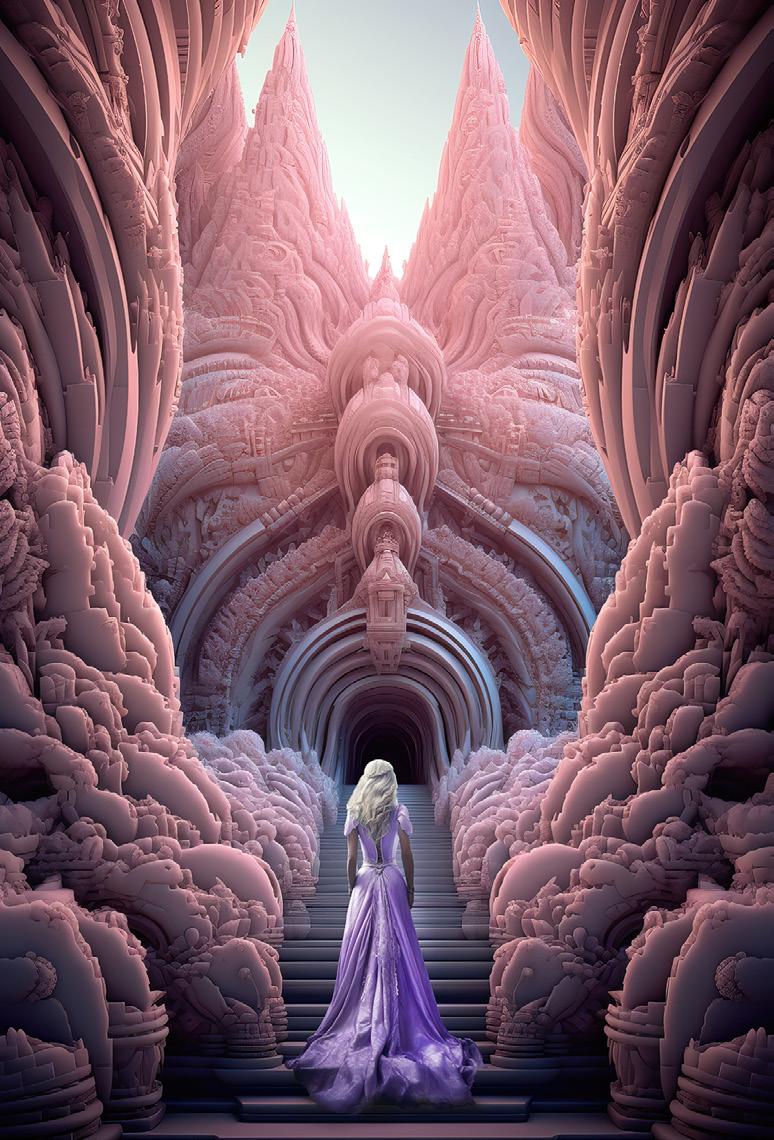
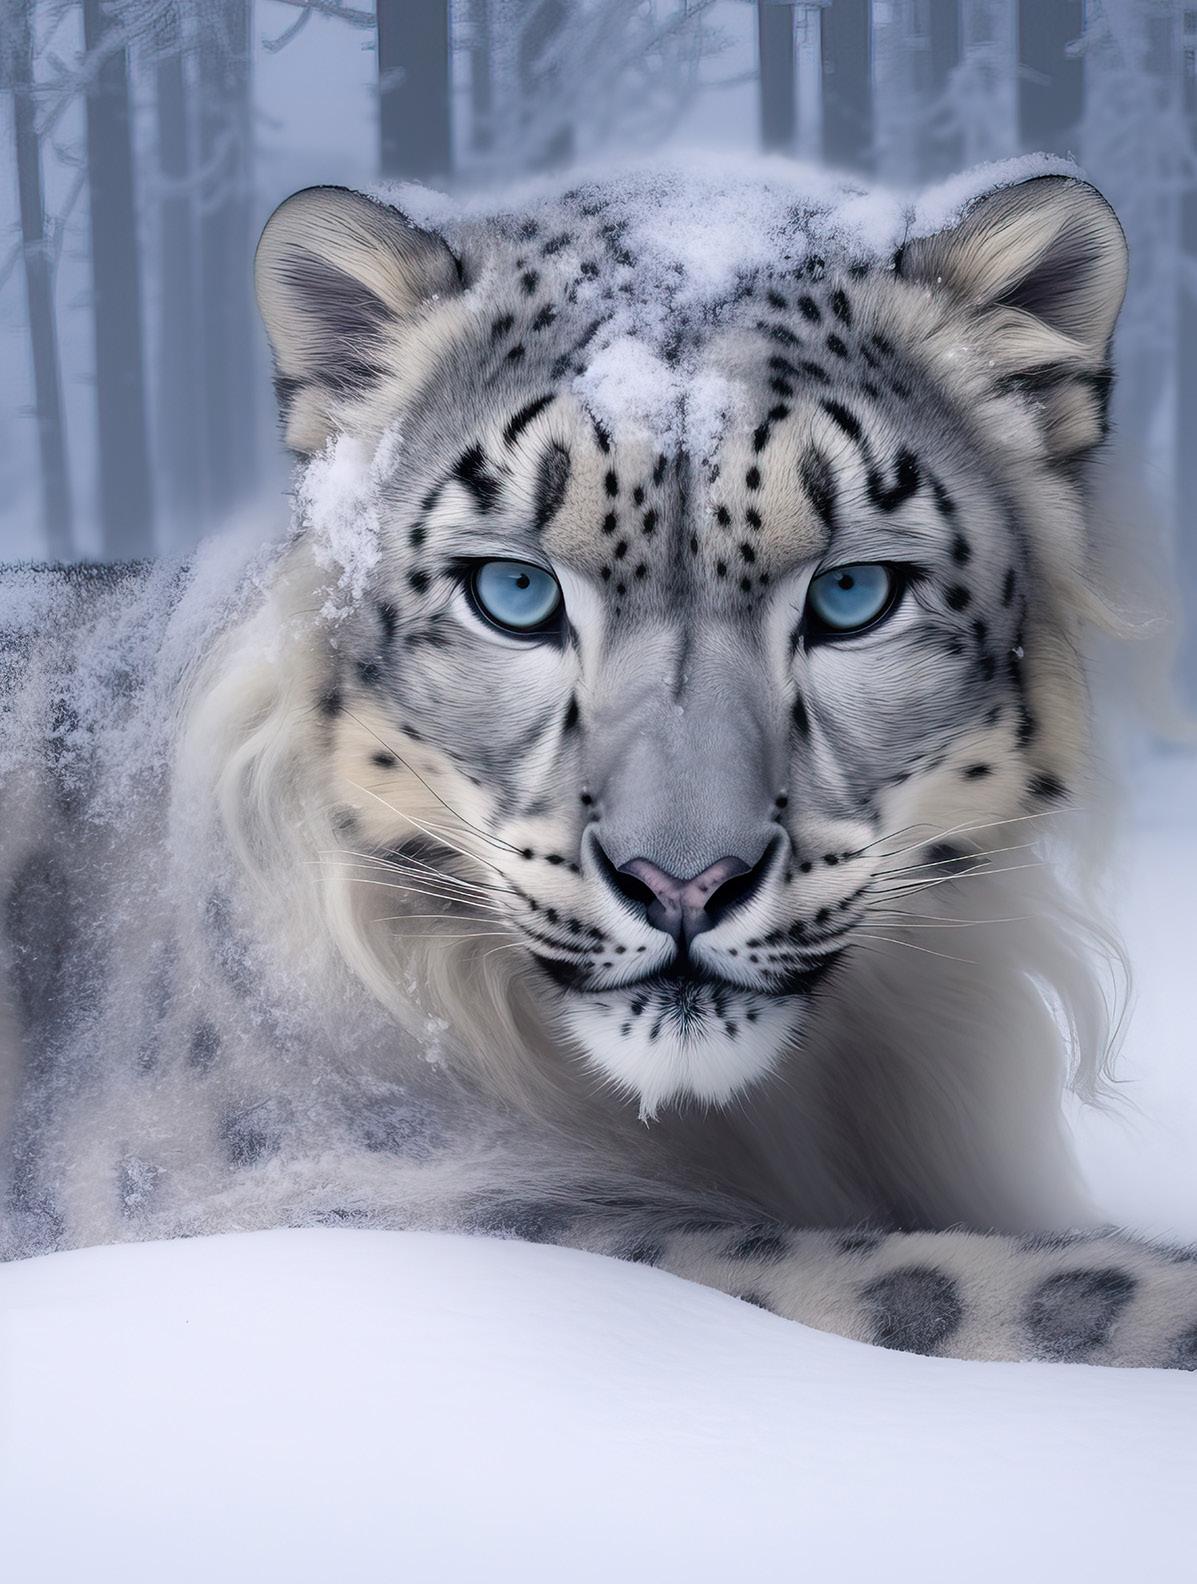
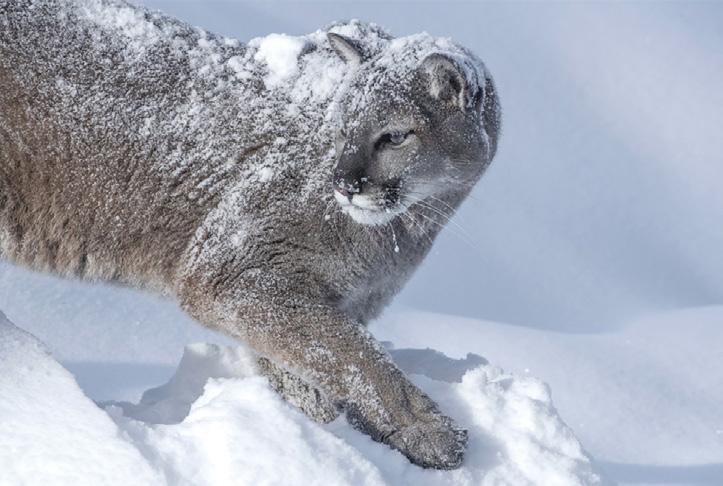
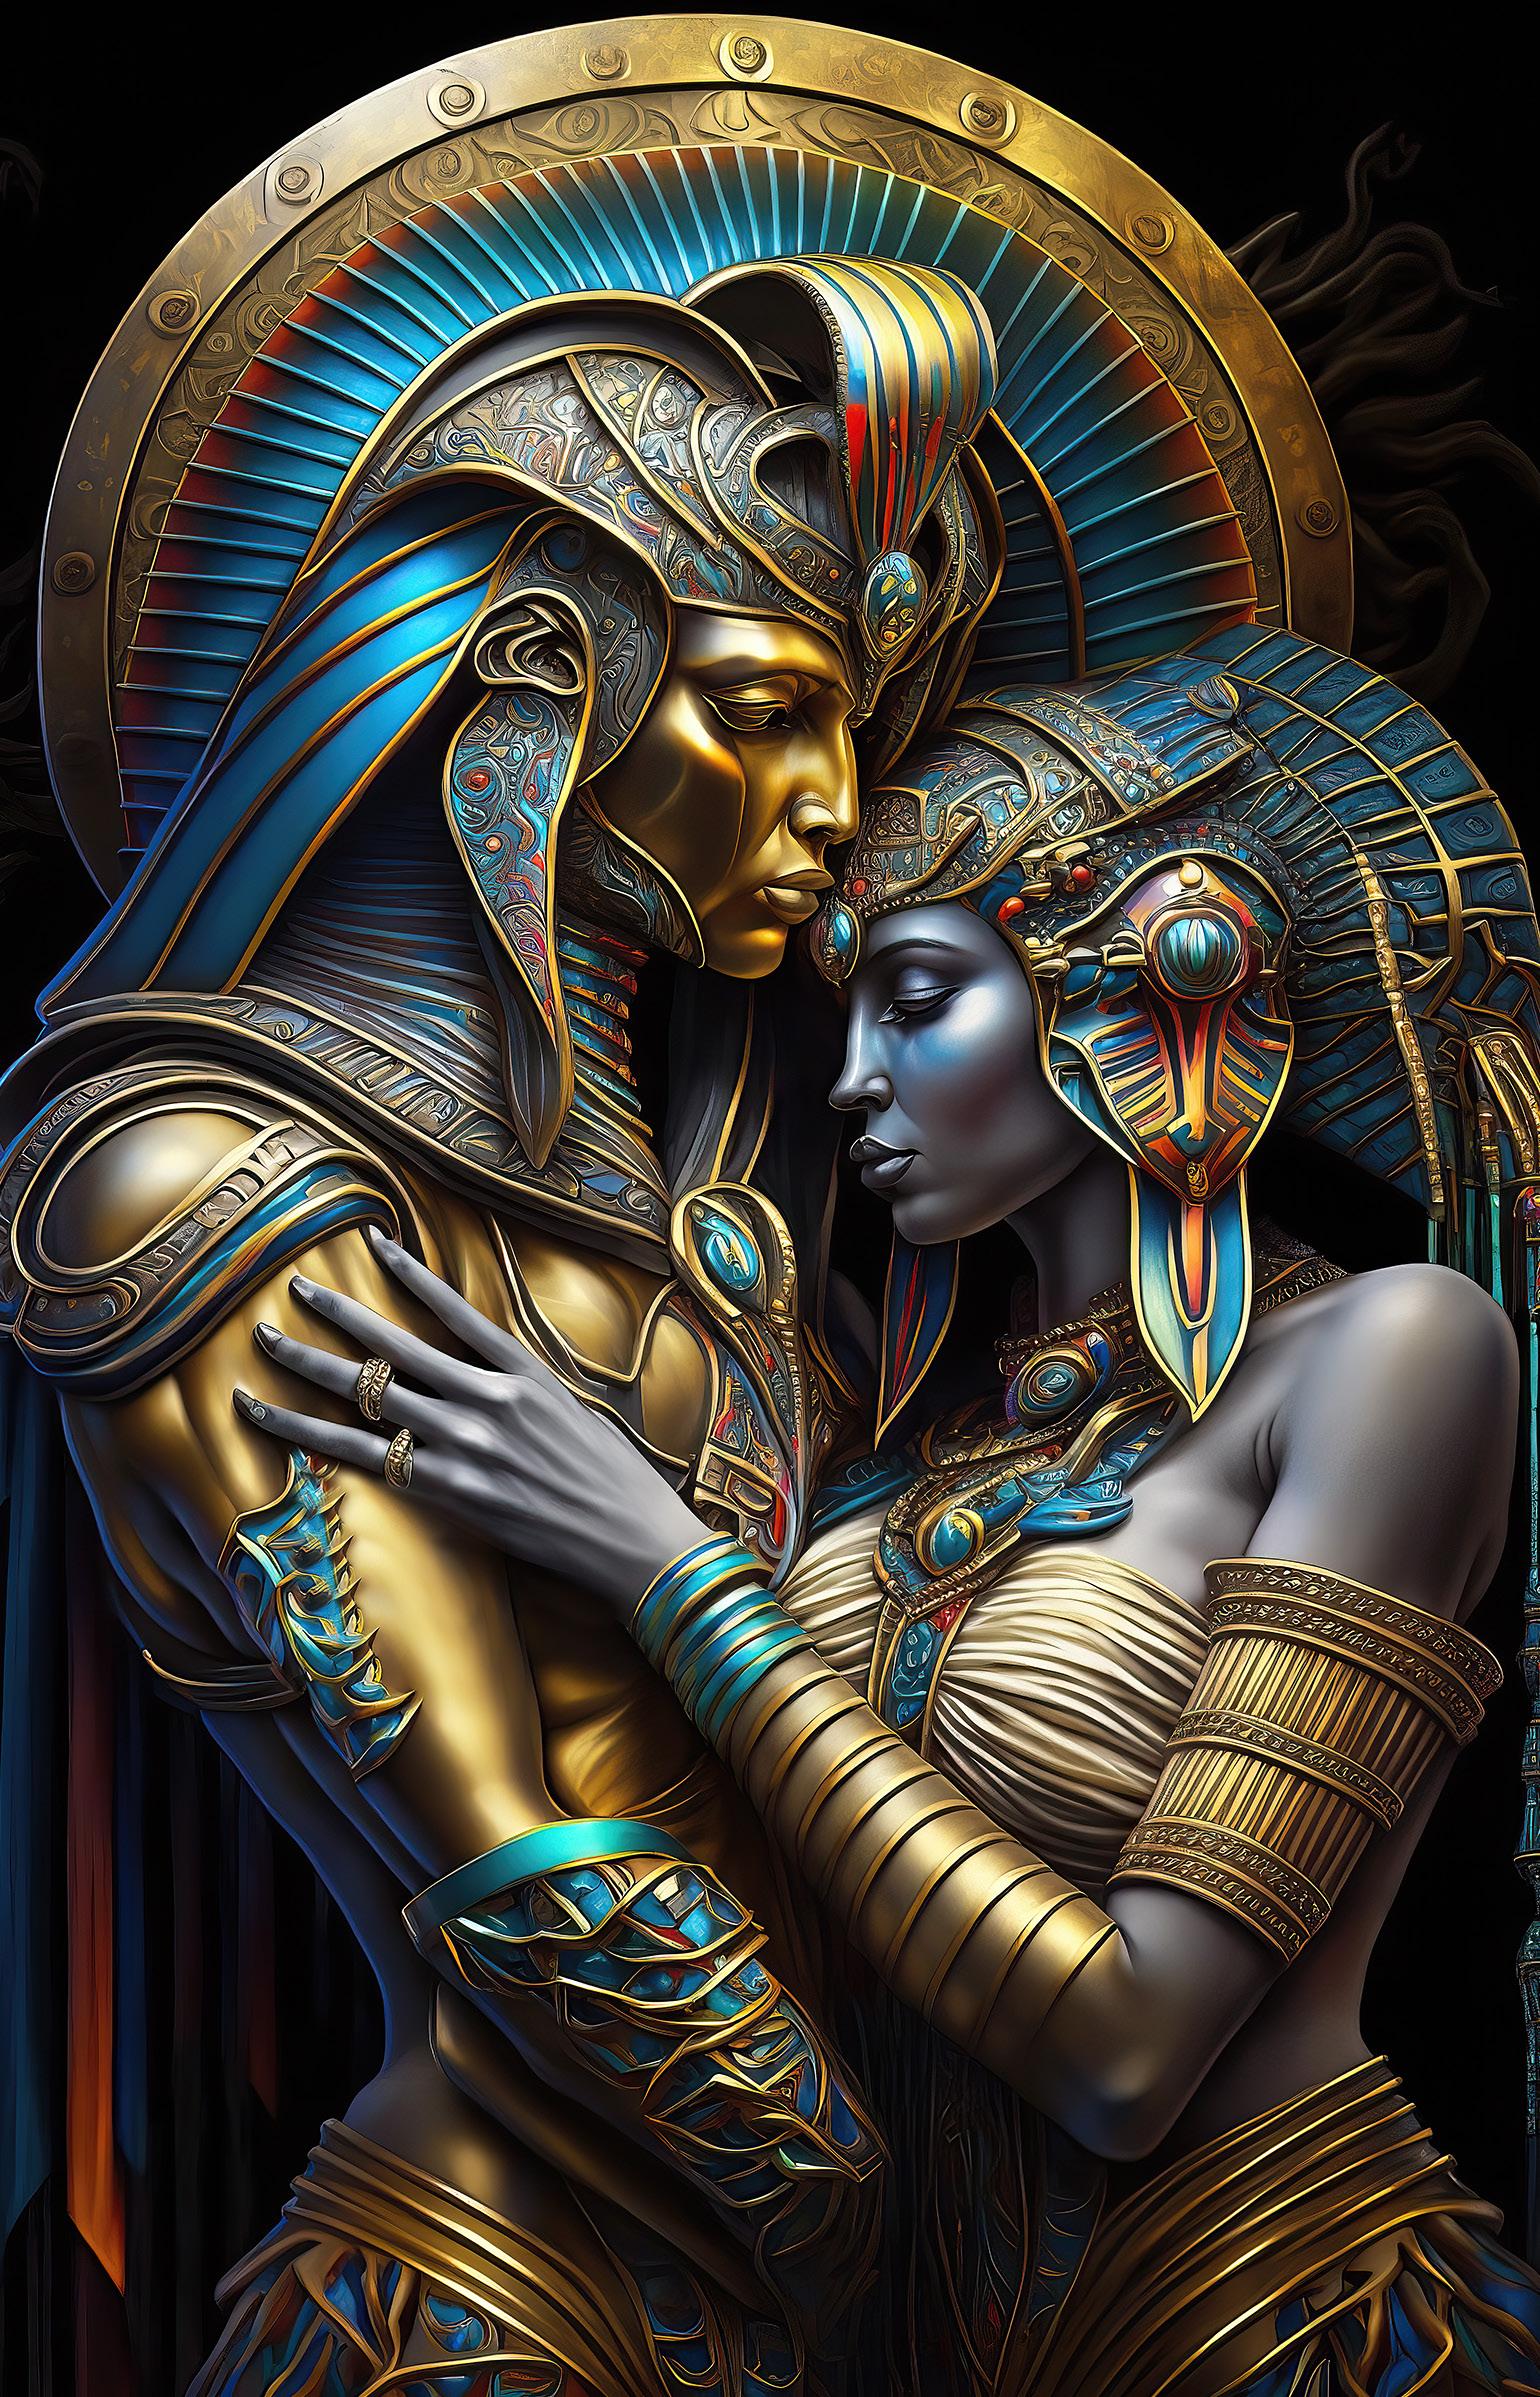
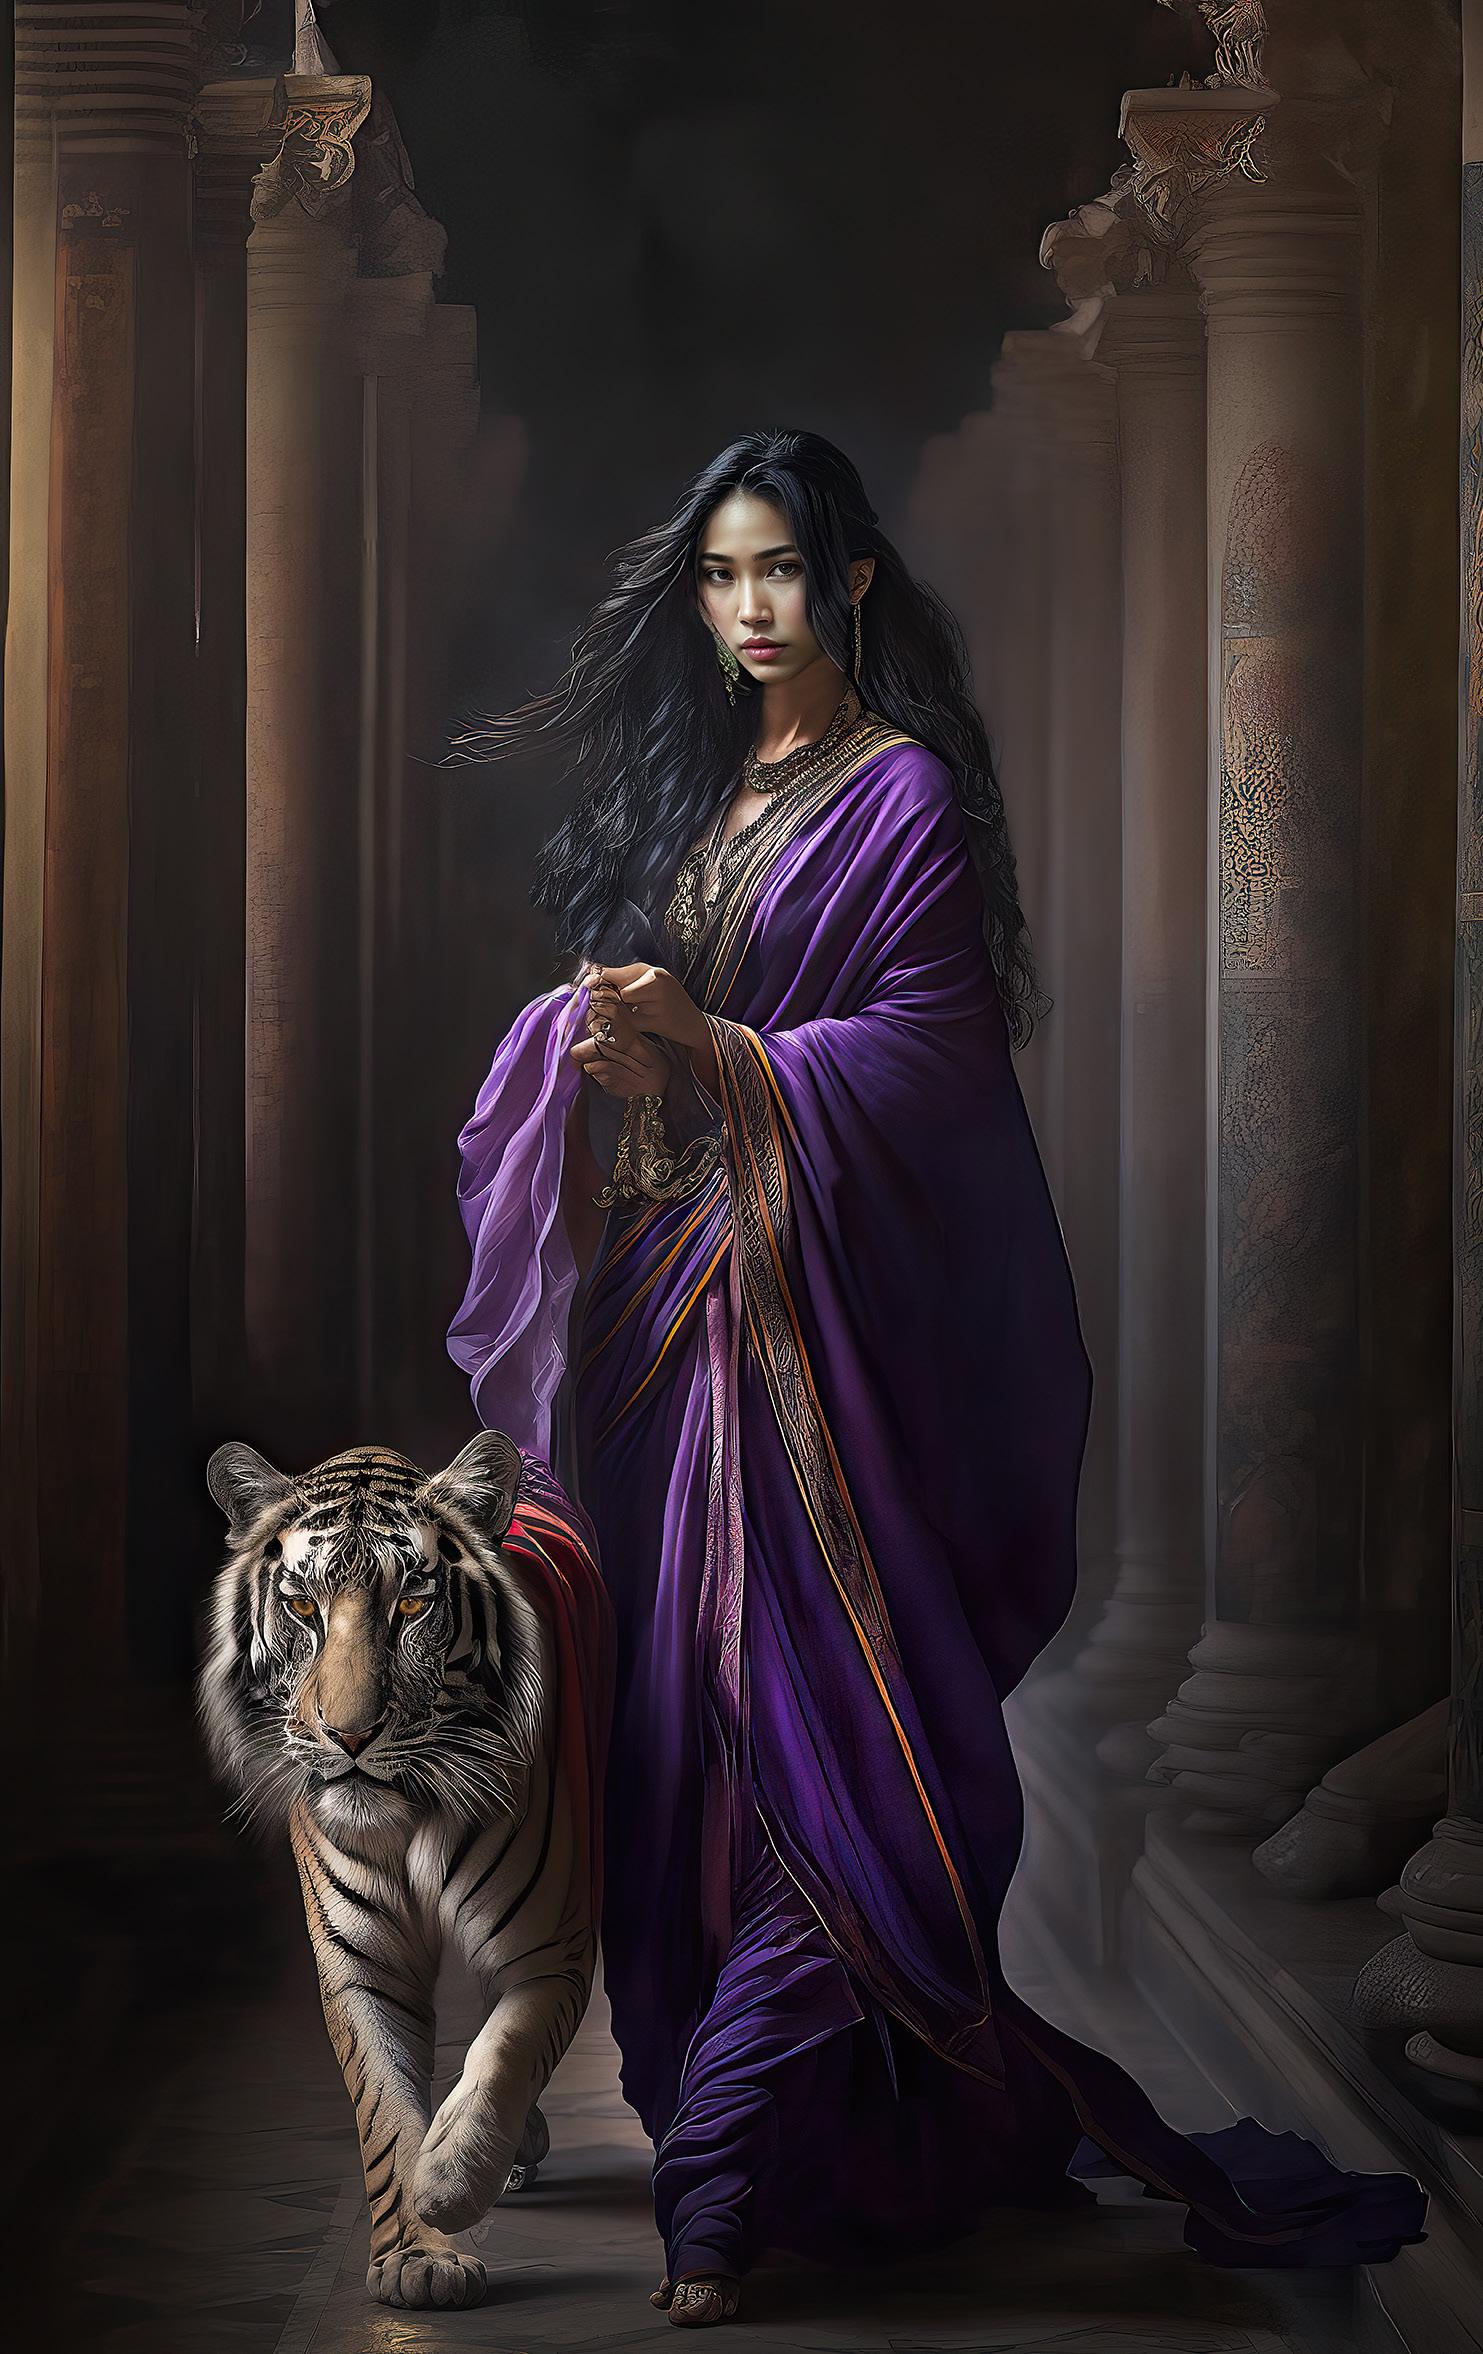
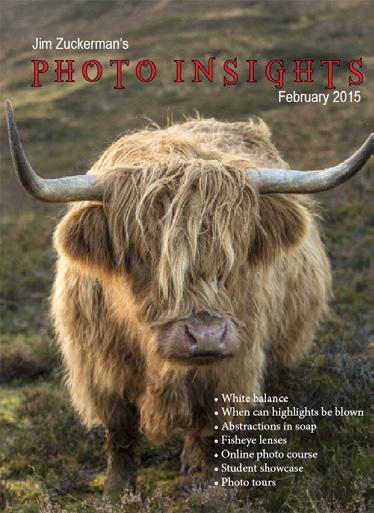
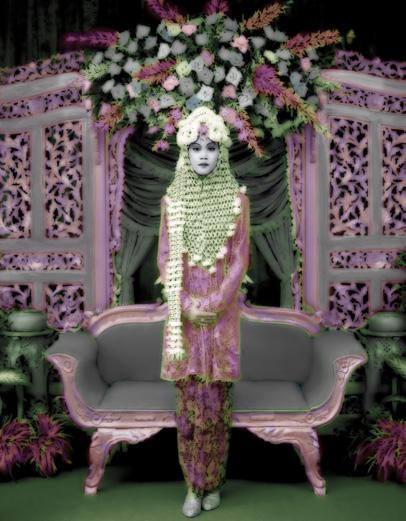
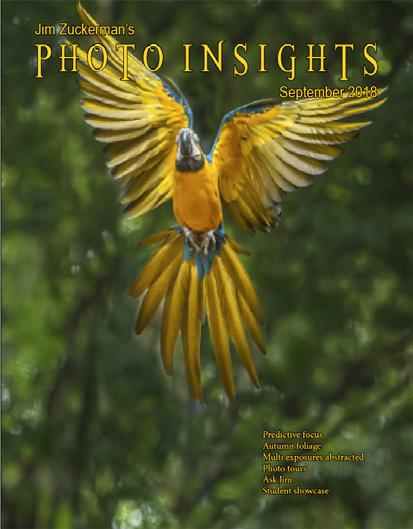
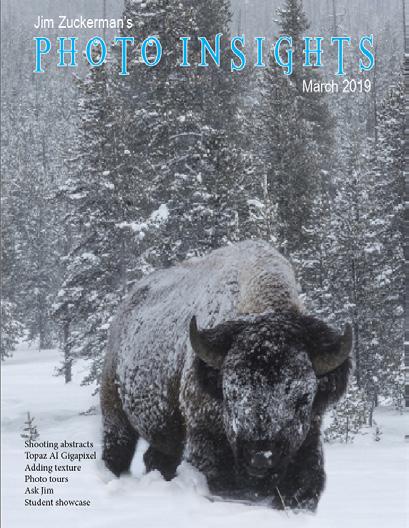
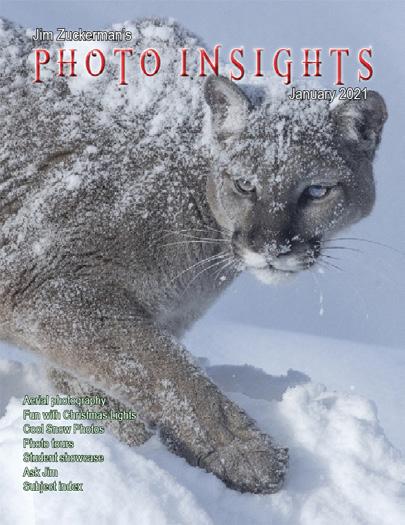
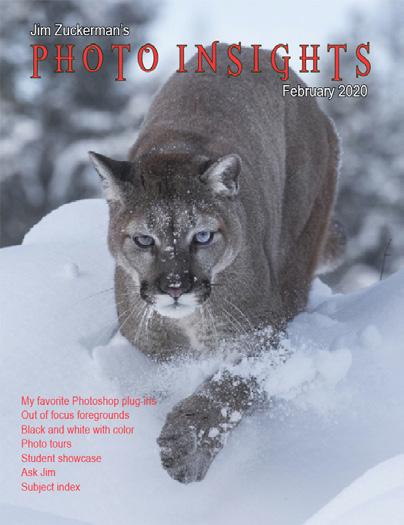
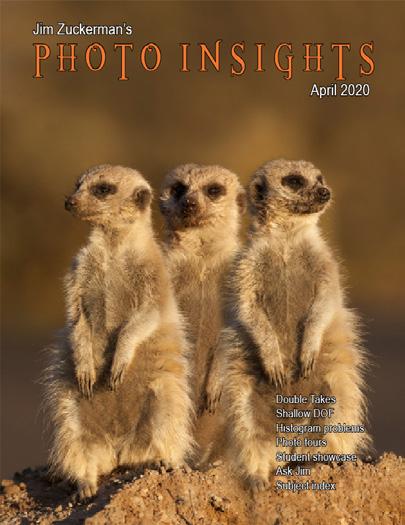
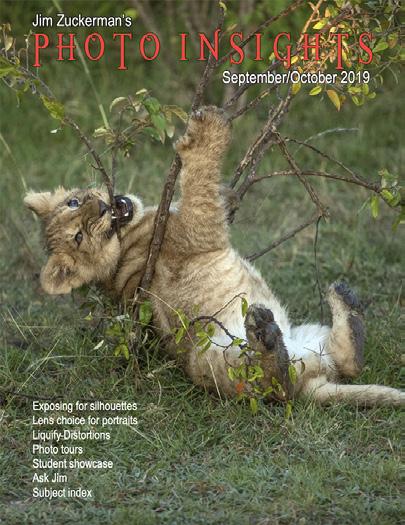
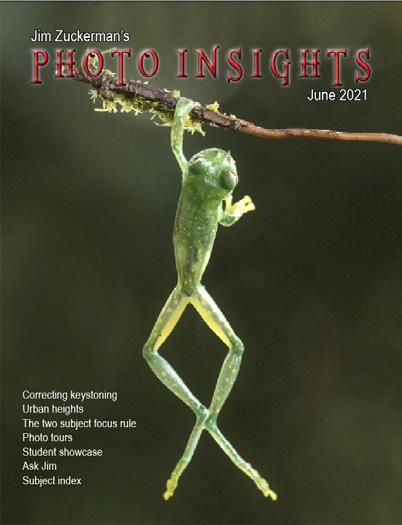
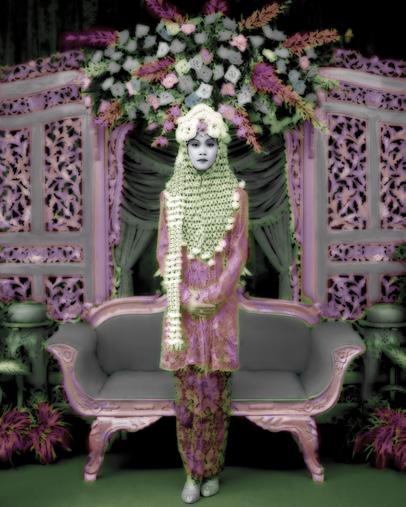
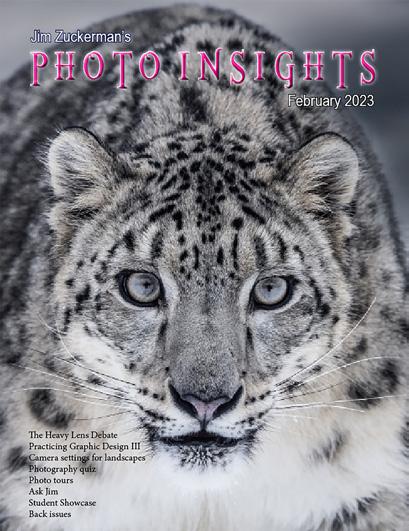
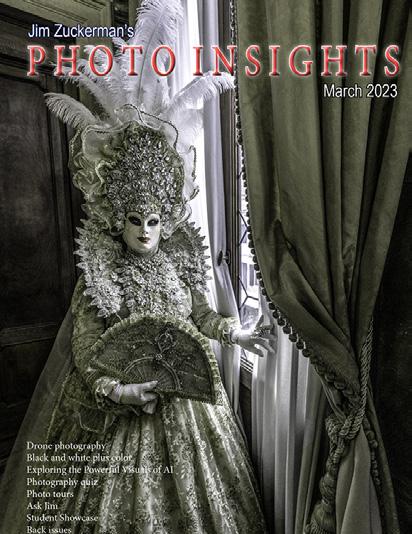
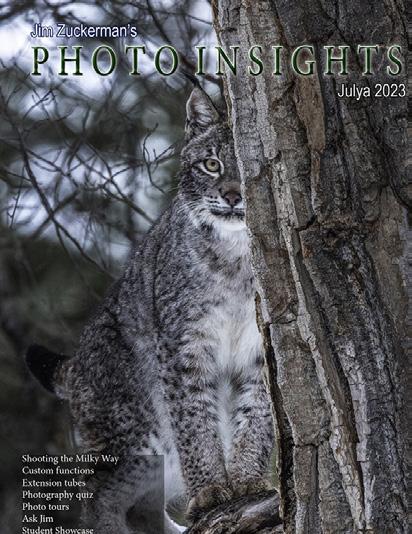
On the cover: A Siberian lynx photographed during Jim’s annual winter wildlife workshop in Montana. This page: A bride on the steps of a fantasy cathedral created with AI using Midjourney software. Learn how to do this in Jim’s upcoming online AI course starting August 5.
Table of
Photography is the most amazing source of continuing education I can imagine. Every time I photograph something new -- a great castle, a bird I’ve never seen before, a new culture, a particularly unique classic car, an historic battlefield or monument to a fallen hero -- I want to read about it. I’m interested in pretty much everything (except cooking), and photography constantly leads me down fascinating paths all over the world. Taking beautiful pictures is only part of my agenda. The other side of the coin is education, learning more about the world. I never tire of that.
Many times I plan photography tours based on the things I’ve learned about faraway places: a particularly spectacular festival, an incredible work in architecture, the mass migration of animals or birds, a costumed event that had its origins in the far dim past. I do extensive research, both visual and historical, to make sure the places I bring clients can only be described with superlatives regarding picture taking, but also with respect to increasing one’s appreciation of the world, other cultures, and the natural world.
Memories fade, but photographs last a lifetime and keep these experiences alive in our minds. That’s a big deal. I almost feel sorry for people who don’t immerse themselves in photography because most of their lives simply fade over time. Ours remain poignant and accessible
Jim Zuckerman photos@jimzuckerman.com www.jimzuckerman.com
3
The Milky Way Shooting

Photographers spend a lot of time, energy, and money to capture what they see. That’s why a lot of shooters object to AI. It has nothing to do with what we see with our eyes.
For many decades, even the distortion caused by wide angle lenses was eschewed. I remember in the early 70’s debating beween buying a 24mm lens and a 28mm (this pre-dated good zoom lenses). The camera salesman in the biggest photography equipment store in Los Angeles advised me to get the 28mm because, he said, there was less distortion. I ended up getting the 24mm specifically because of the distortion.
When it comes to night photography, we have come to accept that we don’t really capture what we see. Because of the camera’s ability to
accumulate light, we can make a scene that is quite dim to our eyes look like broad daylight with a long exposure. Our ability to manipulate light like this is remarkable.
When it comes to photographing the Milky Way, all of the pictures you see in print and online, and in this article, have been enhanced due to manipulation of the exposure by using a long shutter speed in combination with a relatively high ISO. The reason for this is simple.
As we view the Milky Way through miles of atmosphere, the light of billions of stars that make up our spiral galaxy is diminished. On a clear night when you are far from city lights, and once your eyes have adjusted to the darkness, you can see the Milky Way clearly, but it’s not bright. Photographic artistry requires more exposure, more contrast, and even more color saturation. It’s not that you are manipu-
4
lating nature per se; in fact, you’re just creating an image that probably is indicative of what you’d see from another planet without atmosphere. Enhanced pictures of the Milky Way actually show the reality of the cosmos.
Ideal gear
If you are new to photographing the Milky Way, there are really only two things you’ll need and I’m sure you have both: a sturdy tripod and a wide angle lens. You also need a camera that permits a long shutter speed.
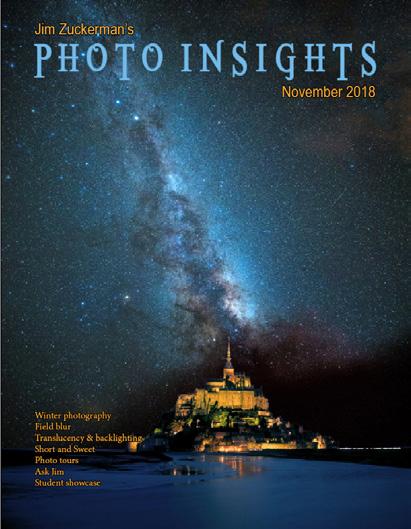
Regarding the wide angle lens, for Milky Way photography it’s best to use the widest lens in your arsenal. The picture at right was taken in New Zealand with a 14mm lens. Many photographers use a 16mm focal length, and if you don’t have anything wider than, say, a 24mm lens, then that’s fine, too.

Equally important is the maximum lens aperture. The larger the aperture, the lower the ISO will be and the less time the shutter is open. If you are in the market for an extreme wide angle especially for shooting in dark environments, I recommend the Sigma f/1.8 14mm lens. It is heavy because the front glass element has to be so large, but it’s worth the weight in sharpness, angle of coverage, and especially because
of it’s unusually large lens aperture.
Shutter choice
The length of time you expose for the Milky Way is significant not only in the camer’s ability to accumulate light, thus rendering the relatively dim sky quite bright, but due to the rotation of the Earth the stars appear to move across the sky. Assuming you don’t want to capture star trails, the exposure time has to be limited. 30 seconds is an absolute maximum, particularly if you’re using a 16mm or 14mm focal length.
5
Wide angle lenses don’t magnify elements in photographs like telephotos do, and therefore movement is less apparent. If you are going to use a 24mm lens to photograph the Milky Way, I would not use a shutter speed more than 20 seconds. Beyond that time, the stars start to appear as oblong shapes in the process of forming star trails. The ideal is to insure that each star is a point of light.
I prefer to keep the exposure to 15 seconds to avoid even a hint of movement in the sky.
ISO and noise
As you decrease the exposure time, say from 30 seconds to 15 seconds, the ISO must raised to maintain a good exposure such that the night sky appears bright and dramatic. When you change the shutter time from 30 to 15 sec-

onds, that is a one f/stop decrease in light. That means to compensate and maintain the correct exposure (based on exposure testing you’ve done), the ISO has to be doubled. That, in turn, means an increase in noise. And noise is most pronounced in dark portions of a photograph and particularly in night photography.
I use Topaz DeNoise for most of my night sky images. It does an excellent job, but it has limits. Once you start shooting above 4000 ISO at night with many cameras, producing a sharp, high quality image becomes problematic.
Because I shoot with an f/1.8 aperture, I am able to use ISO settings in the 1250 to 1600mm range. Depth of field is irrelevant if you are only shooting the sky. If you include something in the foreground that’s close to the camera, then depth of field becomes important to consider.
6
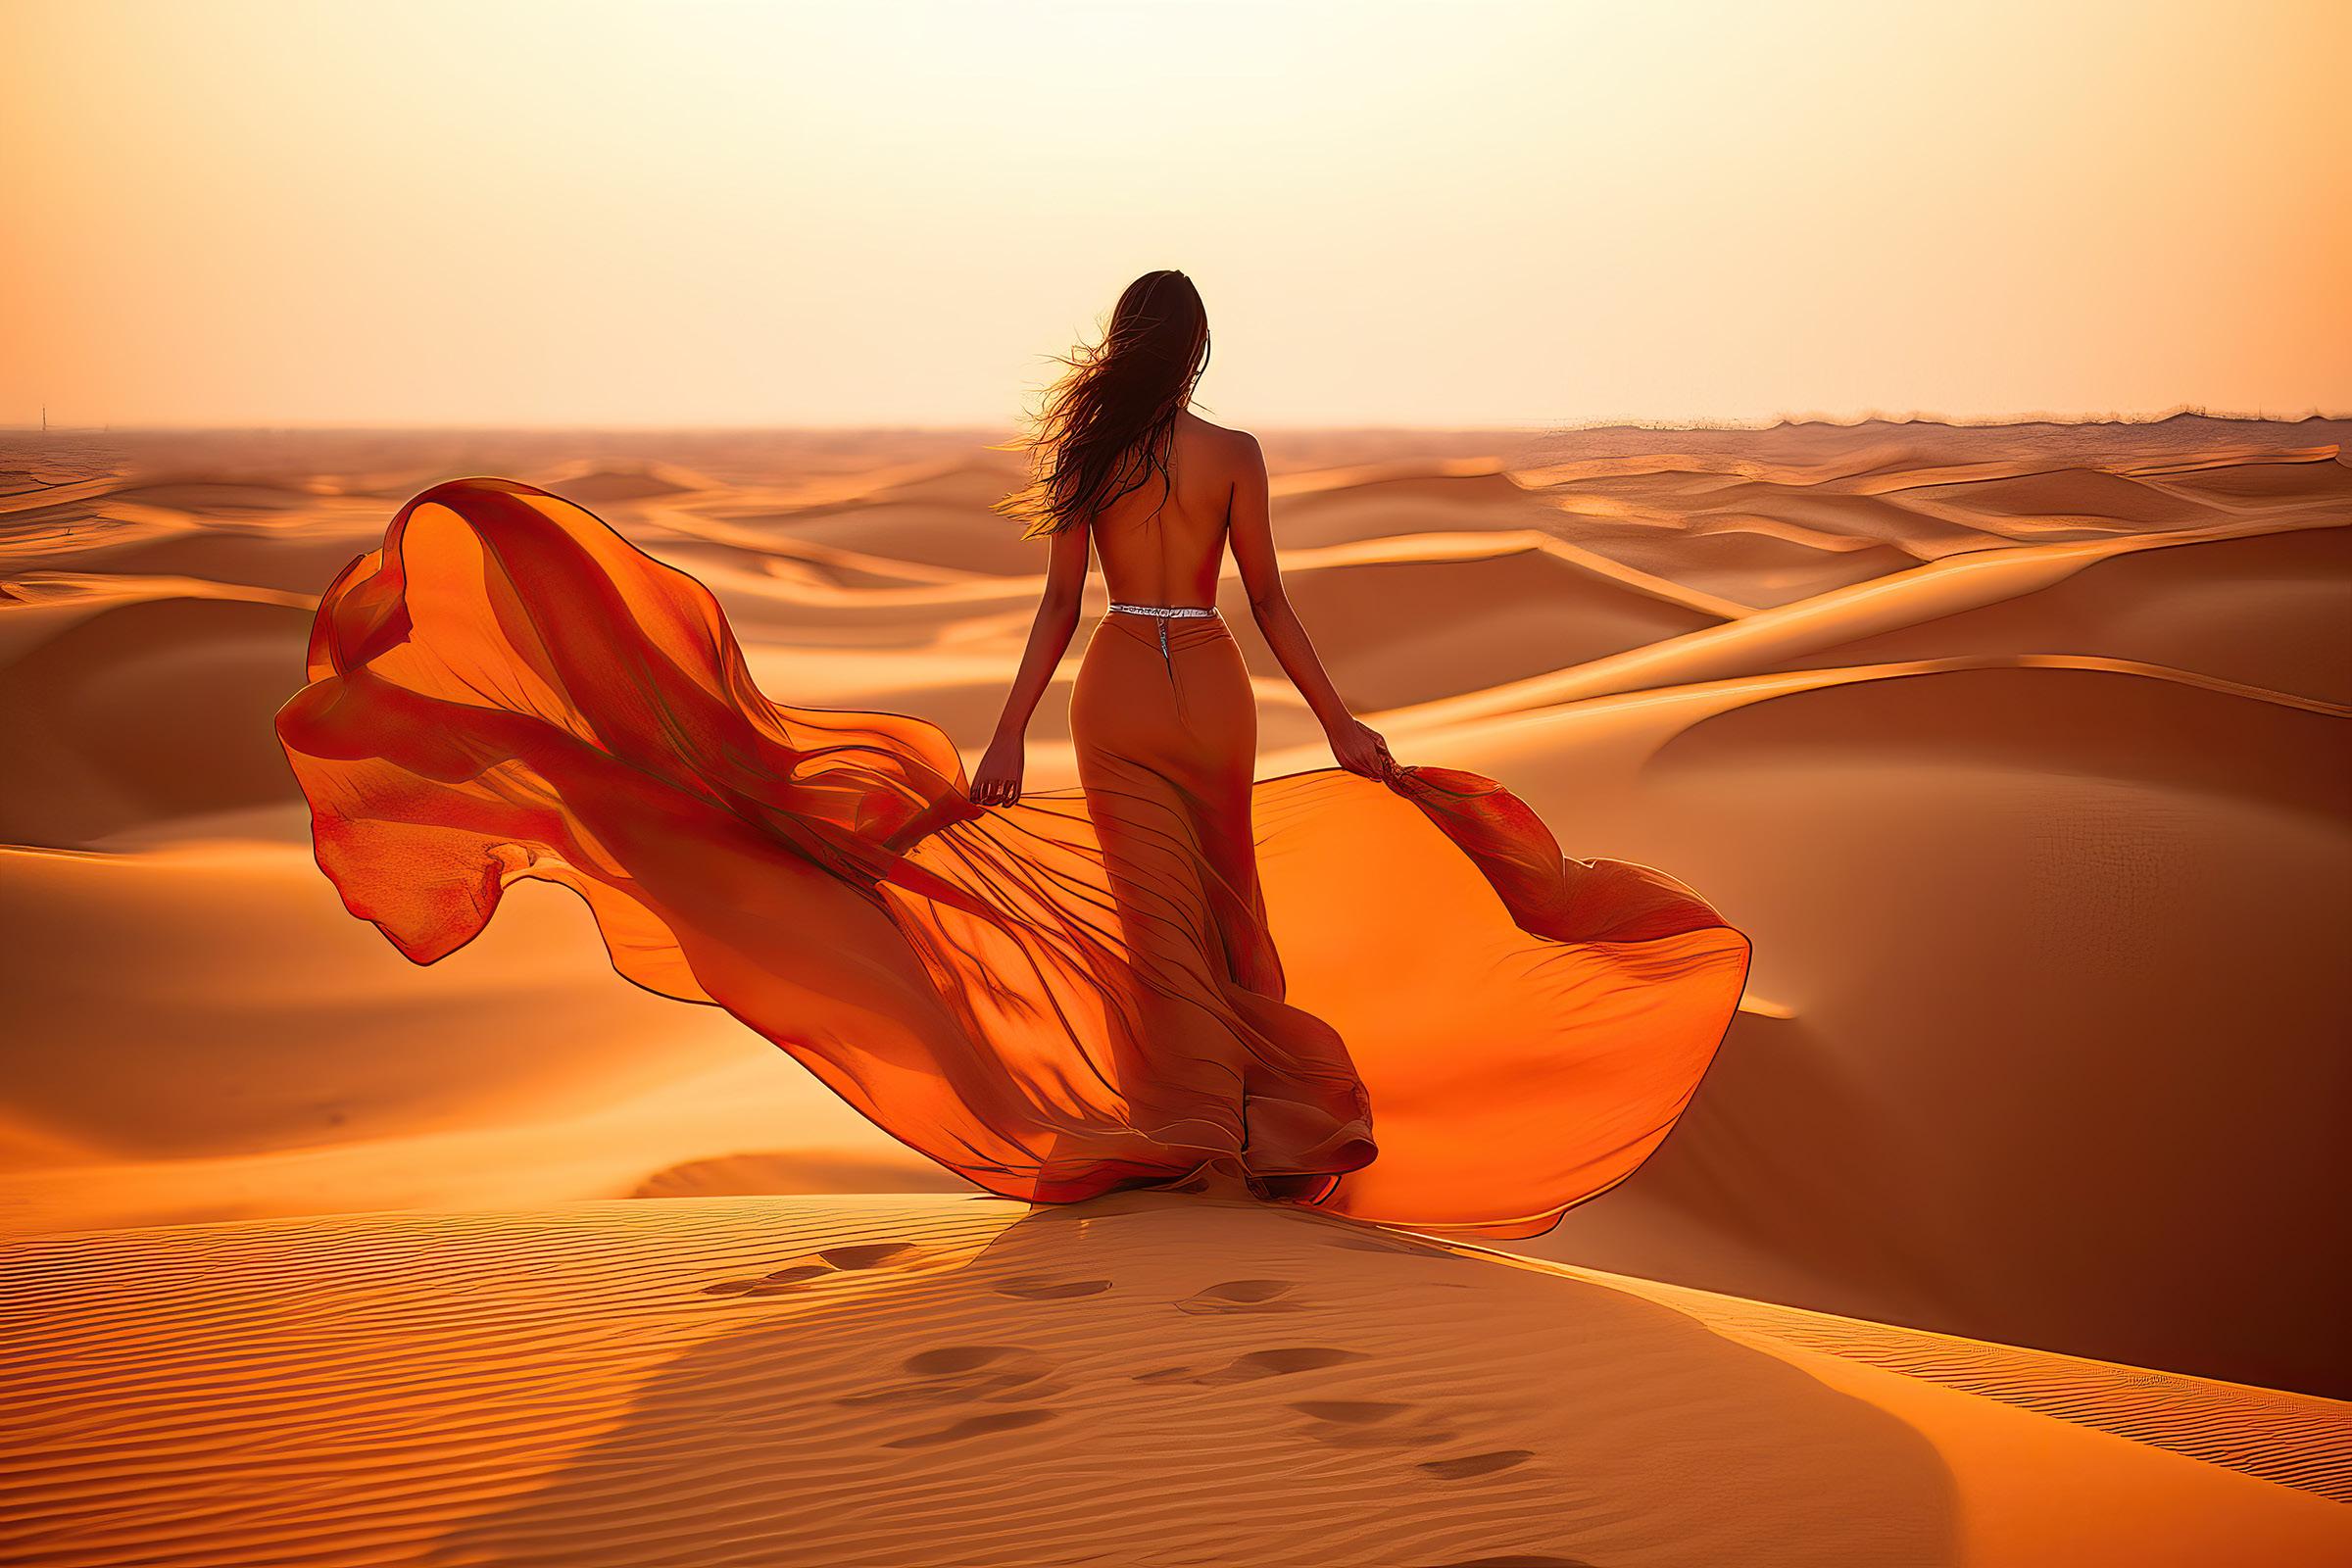
Morocco Photo Tour

August 29 - September 10, 2023

7
Focus
I think the hardest part about shooting the Milky Way is focusing on the night sky. The bottom line is that your camera won’t be able to focus on such a wide expanse that offers virtually no contrast for a meter to lock on to.
Many photographers think if you focus a lens to infinity, that takes care of the issue. It doesn’t. Some lenses are designed such that when they are focused all the way to infinity, distant elements won’t be sharp. This is done to accommodate the minute expansion and contraction of metal and glass as temperature changes.
Therefore, the only way to focus the lens to infinity is to find a distant light, such as street lamp or a security light above the garage in a distant house, and focus on it. If there are no lights near you, turn a flashlight on (always carry with you
a flashlight for night photography) and either place it on the ground or have a friend hold it for you. Move at least 30 feet (10 meters) away and then manually focus on the light. Any lens 24mm or wider will then be set to capture the night sky. The only thing you have to remember is to not touch the focus ring on the lens once you establish the correct focus. If you do, you’ll have to repeat the focus exercise.
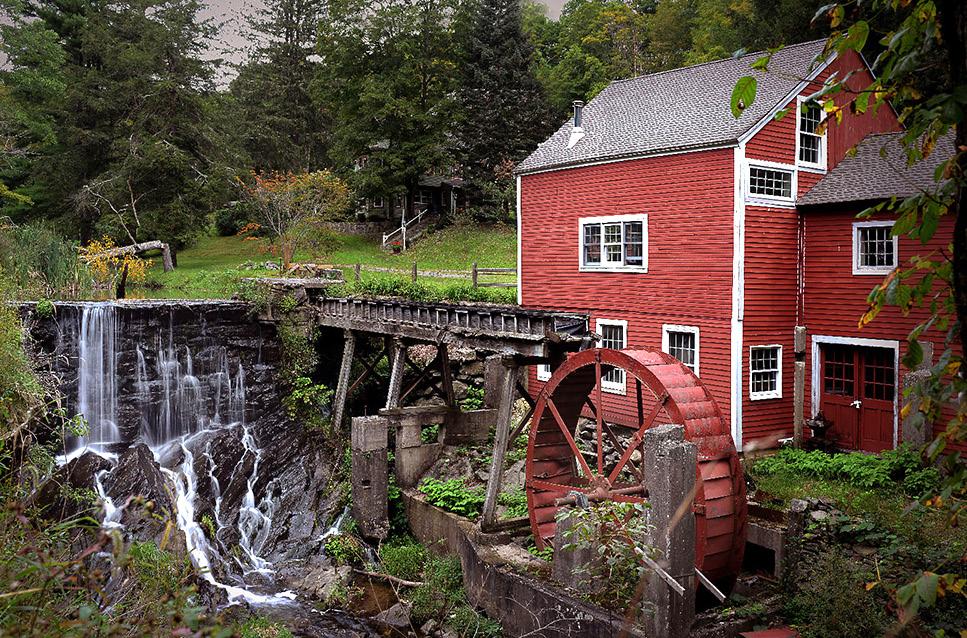
Painting with light
Including ground-based elements in front of a Milky Way background adds interest and depth to night sky photography. I did this with the abandoned bus, above (unfortunately it has since been removed from this location in the Palouse area of Washington) and with the barn and old truck on page 6. Once you establish what the composition will be, the next thing you have to do is experiment with

8
the exposure.
Painting with light makes determining the perfect exposure a challenge. You can’t use the light meter in the camera, so in essence you have to use trial and error to figure it out. Even after 55 years in photography, I have to do the same thing because there are too many variables that can’t be quantified, such as the flashlight-subject distance, the lumens of light output by the flashlight, the reflectivity of the foreground elements, the length of time the light is directed to the foreground elements, etc.
Therefore, the procedure is this: 1) First determine the length of time the shutter is open for a good exposure on the Milky Way, 2) using a tripod, open the shutter and paint the foreground elements with the flashlight. Keep the light constantly moving -- this is

important -- because if it lingers over one place in the composition, that area will ‘burn out’, i.e. become overexposed. After each test, study the LCD screen on the back of your camera to see where improvements could be made, if any. Is the foreground too light or too dark, is the lighting uneven, is one area overexposed, and so on. It may take three or four attempts (or more) to get it just right.
I typically use tungsten white balance (i.e. indoors or incandescent) to produce the colors I like. A daylight white balance makes the sky and the Milky Way too brownish for my taste. I prefer a blue color theme that you can see in each of the images that accompany this article, and that happened because I used the tungsten white balance.
Timing has to be right
9
It’s helpful to know when the Milky Way is visible if you want to take pictures of it. In the Northern Hemisphere, from November to January it disappears from view on planet Earth From about the middle of February to June, it is seen in the early morning before dawn. In July and August, it is visible during the middle of the night, and in September and October you can find it in the evening.
The smartphone app Photopills is very usefull in locating the Milky Way at any particular time. For example, if it is visible only on the other side world at noon in New York, the app shows you its current position. In this way, you can plan the timing of your night shoot.
Post-processing
In order to make your images of the Milky
Way really pop, the images have to be agresively processed in Lightroom or Adobe Camera Raw. By this I mean you have exaggerate the files to go beyond what you see. For all of my night sky images involving the Milky Way, I use the following important sliders:

Contrast
Vibrance
Clarity
And sometimes I add:
Whites
Highlights
Shadows
Saturation
Exposure
How much you tweak the images is an artistic and personal decision. §
10
Custom Functions
The custom functions built into your camera are there for your convenience and to save time in establishing camera settings you use frequently. Based on what I see on my photography tours, few people take advantage of them.

Let me give you an example of how they can be used. Most photographers use HDR often for landscapes because, and I’m sure you know, the sky is commonly brighter than the earth-bound landforms. Digital cameras can’t expose correctly for both the very bright areas of the frame --the highlights -- as well as
the very dark areas -- the shadows -- in one exposure. So, we take 3 or 5 or 7 shots of the same scene, usually from a tripod but not necessarily, and in post-processing Photoshop or a third party software program combines the several bracketed exposures into a single wellexposed image.
In order to do that, several settings have to be chosen on the camera. It is time consuming and somewhat laborious to go through this every time you want to create an HDR bracketed sequence, and that’s where the custom function commands come in.
11
Ethiopia Photo Tour

Jan, 21 - Feb. 3, 2025

12
Sometimes you’ll find access to your custom functions on a dial on top of the camera, as in the image at right, and with other models these controls will be located in a menu. They all work basically the same.

Here is how you set up a custom function. Decide on all the settings needed for a specific type of shot. Landscapes, for example, usually require a small lens aperture for maximum depth of field. Ok, so set the lens to f/32. If you like to shoot in aperture priority, set that as well. For the ISO, typically landscape photographers use low ISO settings because they are using a tripod. Set it at 200. The best white balance option for landscapes is almost always daylight, so set that, too.
Now you have to set the HDR options. In the menus, choose the number of frames for each HDR sequence. I typically use 5 frames
for landscapes with a one f/stop incremental change in exposure between each frame. Once that is set, it’s necessary (and very important) to set the frame rate. I always choose the fastest frame rate available on the camera. This minimizes misalignment and helps the software stack all the images. If your camera’s fastest frame rate is 20 fps, then that’s what you should choose.
13
At this point, you are finished with the camera settings. The only thing left to do is register these settings with one of the custom function options, presumably (if this is your first one), you’d choose C1. Each camera method for locating C1 is different, but as I indicated, it will either be on top of the camera or in one of the menus. Choose C1, and then choose register and set.
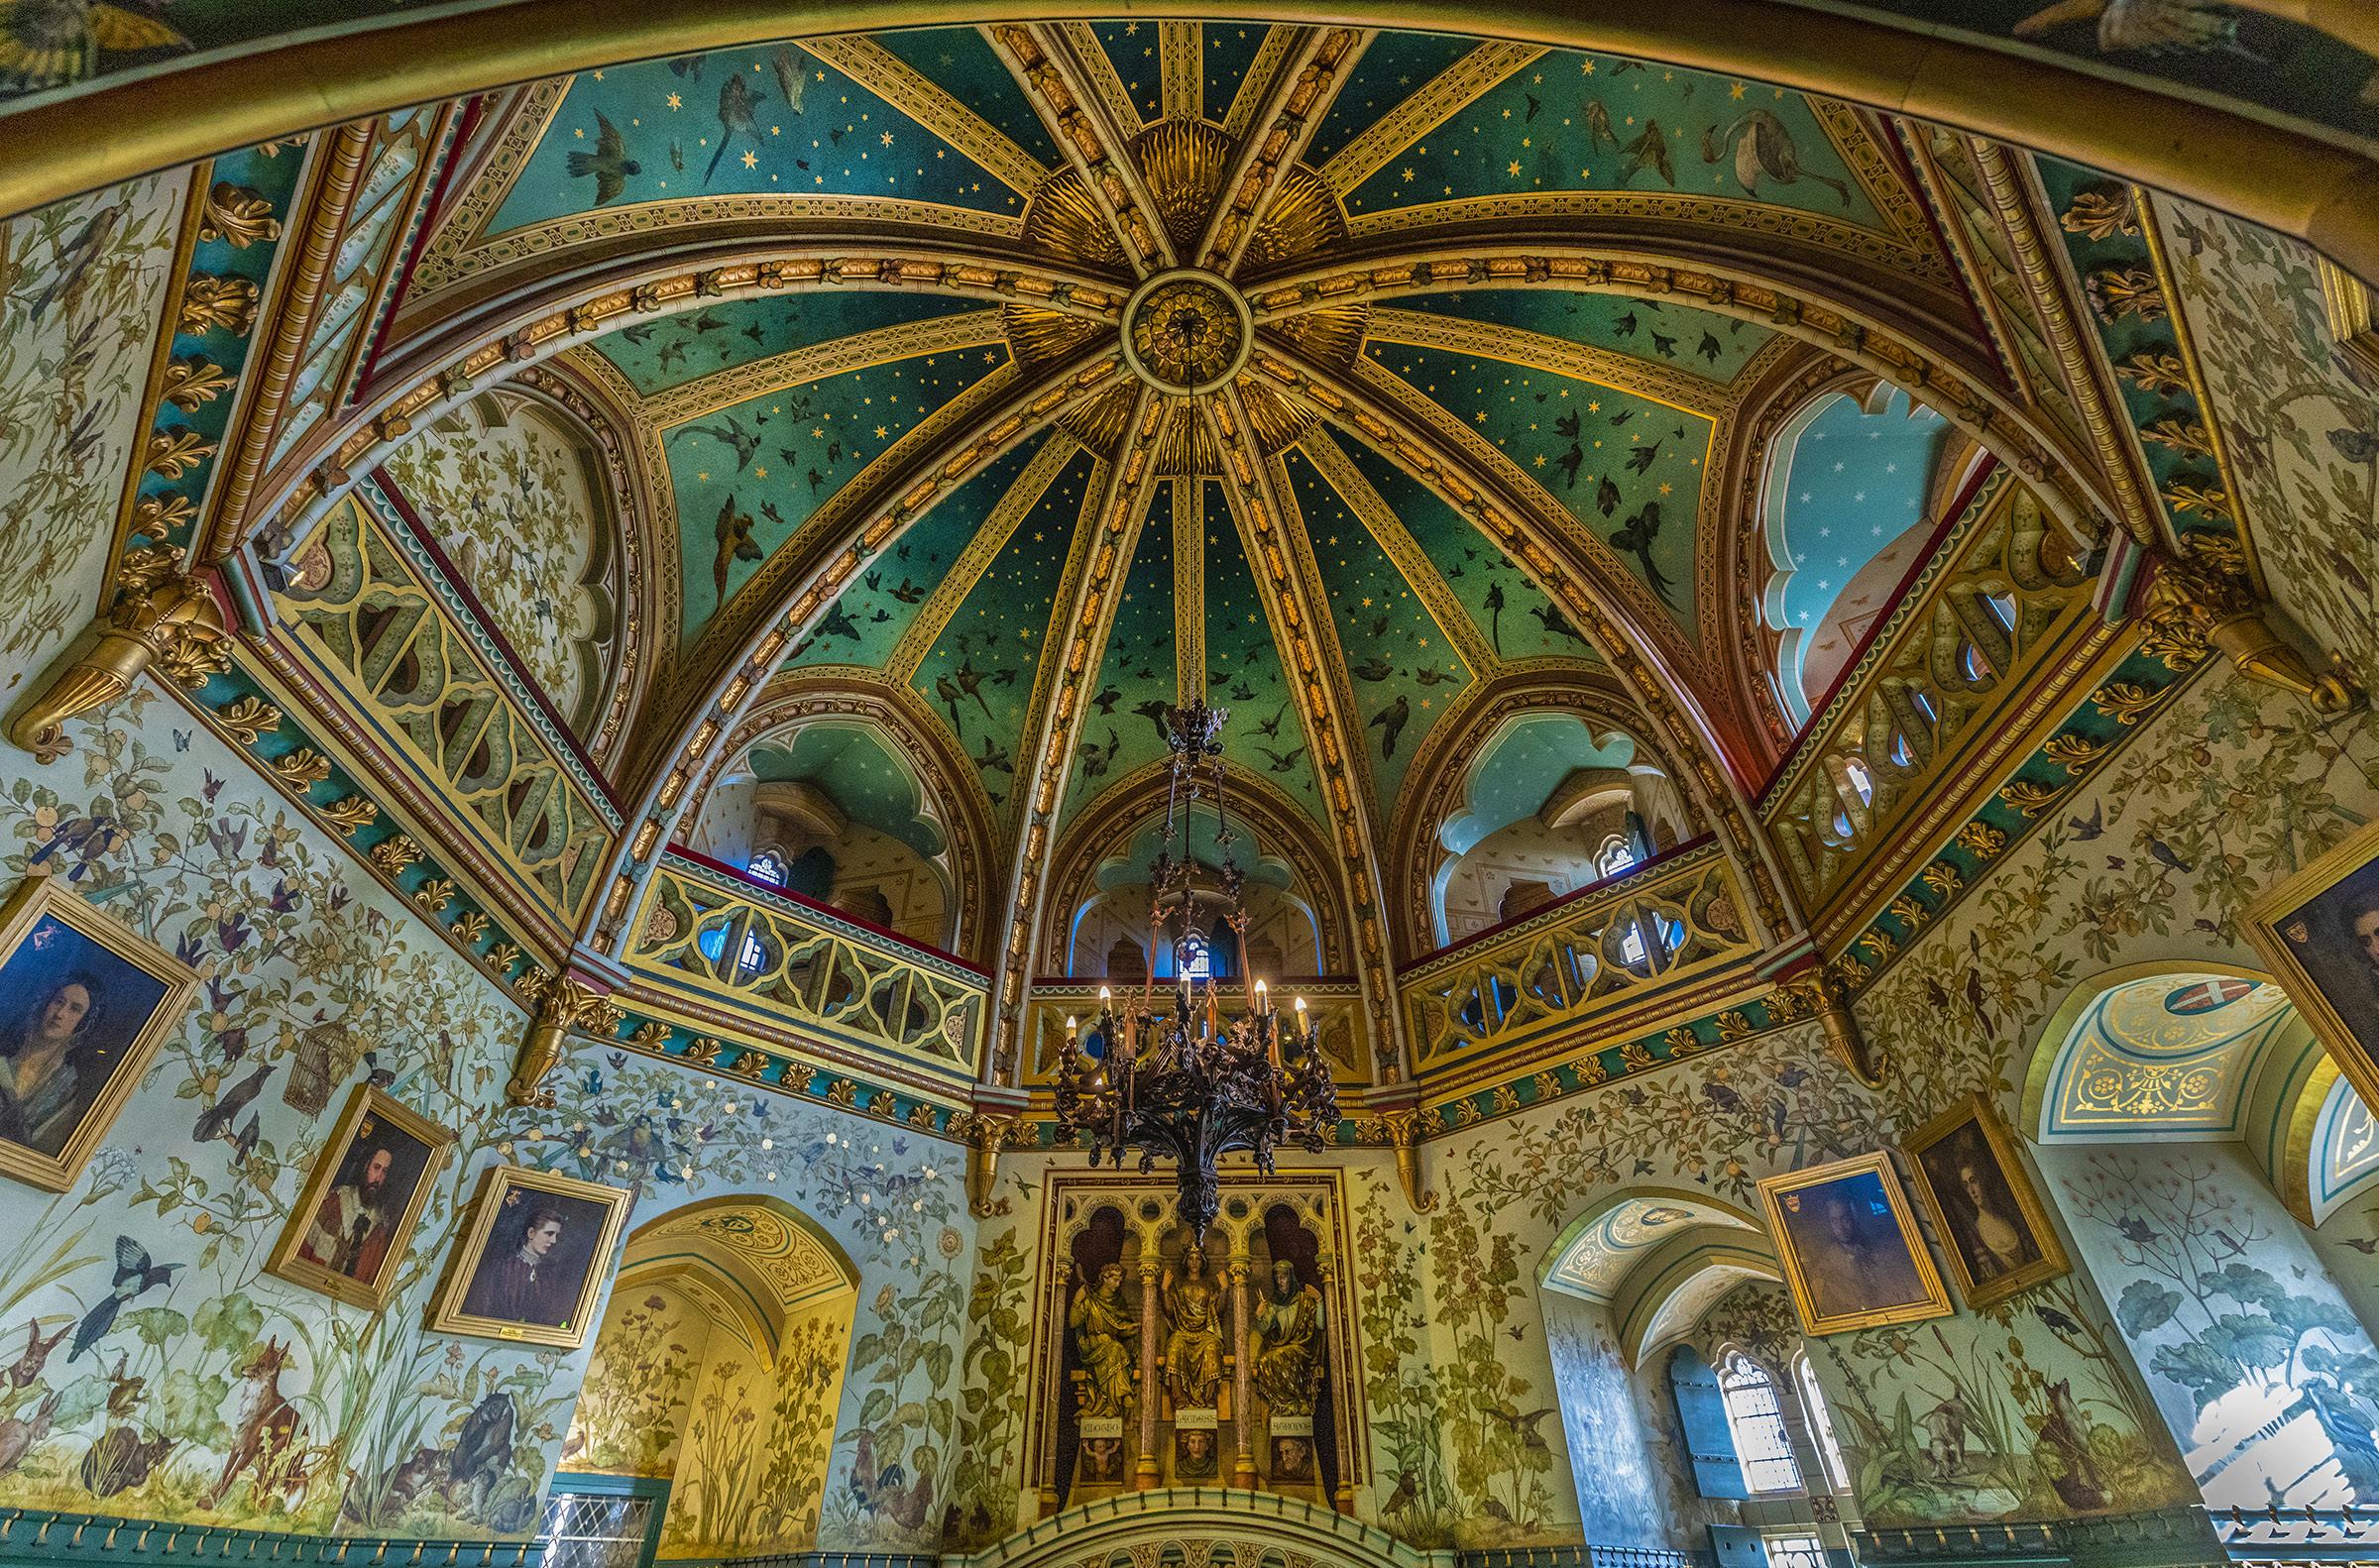
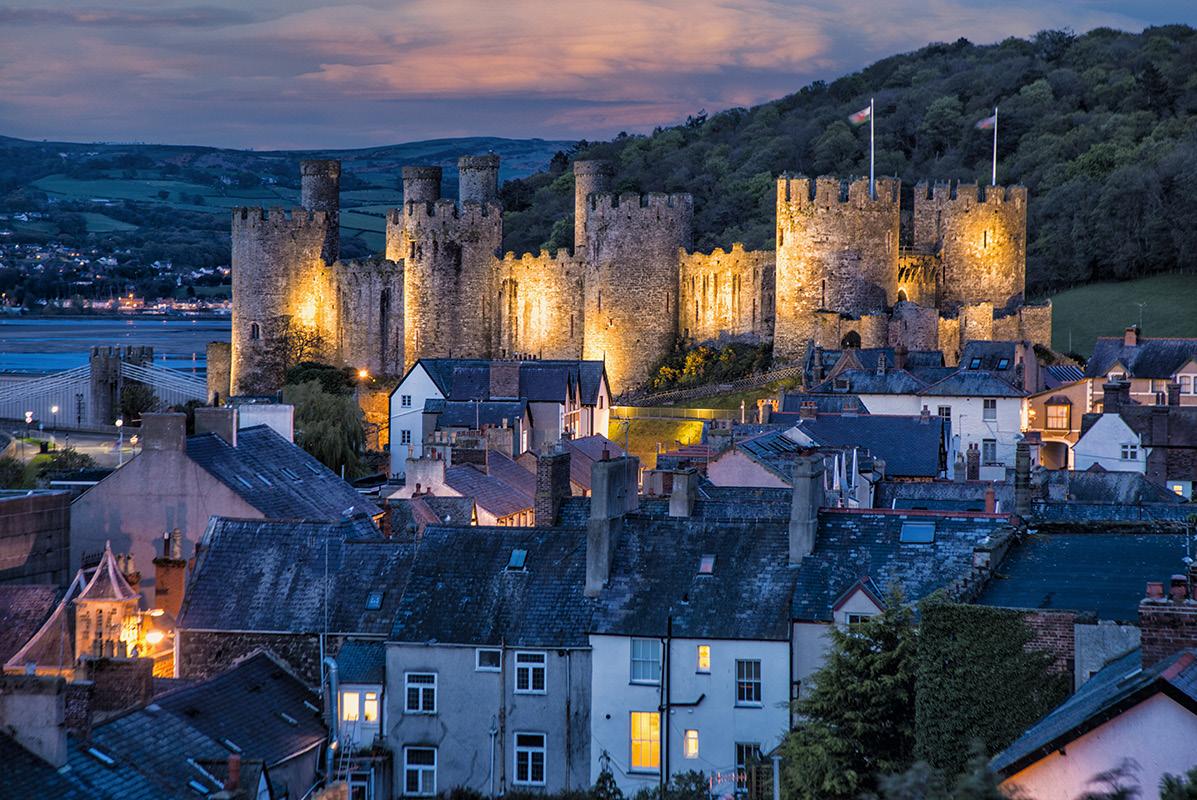
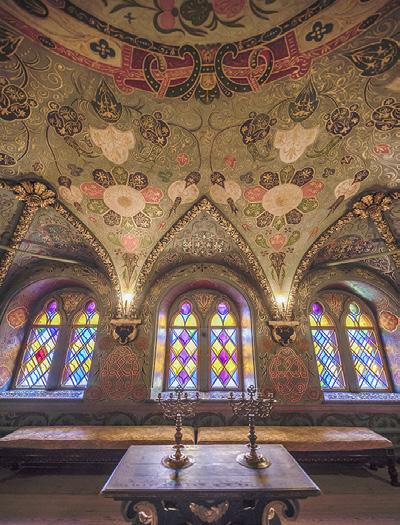
If you also use HDR for dim environments, such as large cathedrals and dim cavernous palace and castle interiors, you’ll need a C2 function that stores different camera settings. For example, instead of f/32 for complete depth of field, you’ll need the largest aperture the lens has to offer to gather as much light as possible. Usually in famous places visited by throngs of tourists, tripods are not allowed. That was the case in the interior of Castle Coch, in Wales, on the previous page and in the ‘Arab Room’

in Caridiff Castle, also in Wales, below. Therefore, set the wide angle lens to its largest aperture, the ISO to (probably) 3200, and the white balance to tungsten which produces correct colors with (presumably) tungsten or incandescent indoor light fixtures. For the number of frames in the HDR sequence, I recommend 7. The more contrast you have in a scene -such as brightly backlit stained glass windows and deep shadows under arches -- the more frames you’ll need to show detail throughout the final composite.
All other settings can remain as you’ve chosen them for C1. In the camera’s menu, register all of these new settings to C2. When you want to shoot a dim interior with HDR, all you have to do select C2 and all of the camera settings are perfect for you. It’s possible to change any of the settings at will; it’s good to know you have this flexibility. §
14
Extension tubes

Extension tubes are not used by a lot of photographers, but they offer two important functions. I always carry at least one tube with me wherever I travel.
Extension tubes are nothing more than hollow spacers. They don’t have any glass in them at all. They fit between the lens and the camera body, and they increase magnification. You can use only one of the tubes, or you can combine them in various ways. For the image of the gecko, below, taken during my frog and reptile workshop, I used two extension tubes in combination with a 50mm macro lens. The tubes increased magnification so I was able to fill the frame with the
small, intriguing eye of the reptile. Of course, as magnification increases, depth of field is reduced. Therefore, whenever I’m doing macro work especially with extension tubes, I use the

15
smallest lens aperture possible given the amount of light I have and the amount of movement on the part of the subject.
Extension tubes have another very important function. Many times when using a telephoto lens with subjects relatively close to the camera, the lens-subject distance becomes too small and you can no longer focus on the subject. Extension tubes address this problem.
For example, I set up a bird feeder just outside my office window. I put seeds on a flat pan and affixed a branch above the food for birds to perch on as they ate for natural looking images. The feeder was about 8 to 10 feet from my desk. I mounted the camera on a ballhead right next to me and set up a Canon 500mm f/4 telephoto with a 1.4x teleconverter. The latter magnified the focal length to 700mm. With this much glass, I
couldn’t focus on the birds. The minimum focusing distance of the 500mm is 14.5 feet.
So, between the 1.4x teleconverter and the camera body I attached one extension tube. Suddenly, I could no longer focus to infinity, which was fine, but now I could focus on the birds at the feeder.
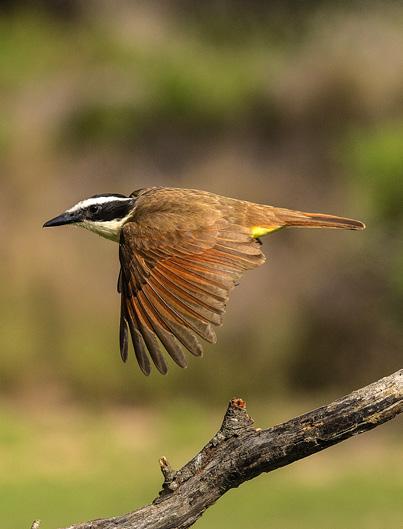
Extension tubes can be used with any lens (although they are typically not used with wide angles), and they reduce the minimum focusing distance. Again, depth of field is reduced, so to compensate I simply close the lens down as much as I’m able to given the amount of light that’s available. For the image of the blue grosbeak, above, my aperture was f/8. The blurred background was trees in the distance; it’s not an artificial backdrop. Extension tubes are inexpensive, light, and easy to carry. §

16
AI ONLINE WORKSHOP
Learn how to produce stunning images with Artificial Intelligence
Starts August 5, 2023
17
Photography Quiz
1. AI will probably replace photography in the not too distant future?
a. True
b. False
2. Which of the following indicates traditional indoor illumination?
a. Tungsten
b. Incandescent
c. 3200 K
d. All of the above
e. None of the above
3. A perspective control lens
a. Corrects parallax
b. Distorts perspective
c. Causes unwanted noise
d. Is too heavy to be practical in the field
4. Which of the following are traditional styles of studio portraiture lighting?
a. Rembrandt lighting
b. Butterfly lighting
c. Glamour lighting
d. All of the above
5. Middle gray is identical to middle yellow in tone?
a. True
b. False
6. Which of the following are not complementary colors?
a. Green and magenta
b. Black and white
c. Blue and yellow
d. Red and cyan
7. If you have to shoot through a glass window, the sharpest images result if the lens axis is oblique to the plane of the glass.
a. True
b. False
8. Strong airport x-rays will damage digital files?
a. True
b. False
9. When you convert color digital files to black and white, you always lose
a. Resolution
b. Dynamic range
c. Contrast
d. Noise
10. High key lighting means
a. Everything in the picture is middle toned
b. Everything in the picture is very light
c. Everything in the picture is very dark and moody
d. None of the above
18 Answers on page 46f
UPCOMING PHOTO WORKSHOPS
Frog and Reptile Workshop
This is a macro workshop where you will have up close and personal encounters with exotic poison dart frogs and primitive looking reptiles. Jim will explain how to use a ring flash to simulate difused daylight, and he will talk a lot about depth of field as it relates to macro work. This workshop takes place in Kansas city.
August 19 - 20, 2023
Winter Wildlife Workshop

Photograph beautiful North American mammals plus a snow leopard in natural environments. Mountain lions, red foxes, arctic foxes, bobcats, lynx, wolves and more are in their full winter coats. This is a very special workshop.

January 5 - 10, 2024
Carnival in Venice

Photograph amazing costumes in a Medieval environment, inside a 16th century palace, and in iconic gondola. The photography as well as the experience is amazing.
February 4 - 10, 2024
1919 10 w
19
Click on any ebook to see inside


18
Expand your photographic artistry with eBooks
20


212321 212123 21 1919 eBooks continued Click on any ebook to see inside
WINTER WILDLIFE WORKSHOP
January 5 -10, 2024

23
22
What’s wrong with this picture?
Even when working in AI with super sophisticated software like Midjourney, less than perfect images can happen that otherwise would be flawless. In this shot, the hands were cut off, and that’s just not acceptable.
You can see on the next page I addressed that issue. In last month’s issue I wrote about the new Generative Fill feature in the latest beta version of Photoshop, and one of its incredible abilities is to expand a subject, or parts of the subject, either horizontally or vertically to fill in what’s missing. The technology is truly astounding. So, I increased the resolution of this image from the original (and disappointing) 3.45 megabytes that represents the largest Midjourney size at the moment. I ended up with a 124 megabyte file after it was processed through

23
Topaz Gigapixel AI with a 6x magnification. I then used Topaz Sharpen AI and then brought the image into the beta version of Photoshop. Next, I expanded the canvas with Image > canvas size. With the rectangular marquee tool I selected the newly created areas plus a small amount of the original image.
In the new mini-tool bar that is part of Photoshop beta and that shows up as soon as there is a selection, I chose ‘Generative fill’, and then I clicked ‘generate’. In about 10 seconds, the top portion of the image as well as the sides were expanded and filled in with the appropriate detail. Even the hands were perfectly built out of AI’s assumption of what should be there.
We’ve never had such powerful image-making technology before, and it’s a lot of fun experimenting with it. §

24
SHORT AND SWEET
1. You can photograph birds in a tree against a bright sky and not get silhouettes if you overexpose the image significantly. Expose for the birds and don’t worry about the sky blowing out. Then, in post-processing, replace the sky with one that makes sense. This way you’ll have a good exposure on both images.


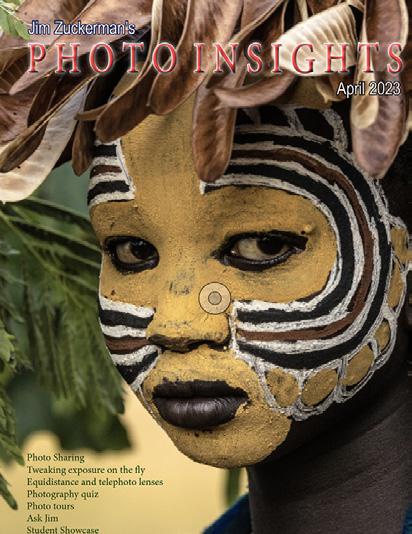
2. Many photographers don’t think about using a wide angle lens for portraiture, but it is very effective in creating a different interpretation of a person. This kind of environmental portrait connects a person with his or her environment. I used a 16mm focal length for this shot of a Karo tribesman in Ethiopia.

3. Many large cemeteries have artistic and exceptional beautiful statuary that make great subjects. Here I photographed an angel in the Bonaventure Cemetery in Savannah, Georgia, and then I used Photoshop to composite it with a dynamic sky. Always look beyond the subject itself and imagine what it could be.
4. Shooting into the sun forces the meter in your camera to underexpose the picture which is what you want when photographing silhouettes. A key factor, though, in determining the exposure is the placement of the sun in the frame. The closer it is to the center, the more influence it has on the camera’s meter. §

25
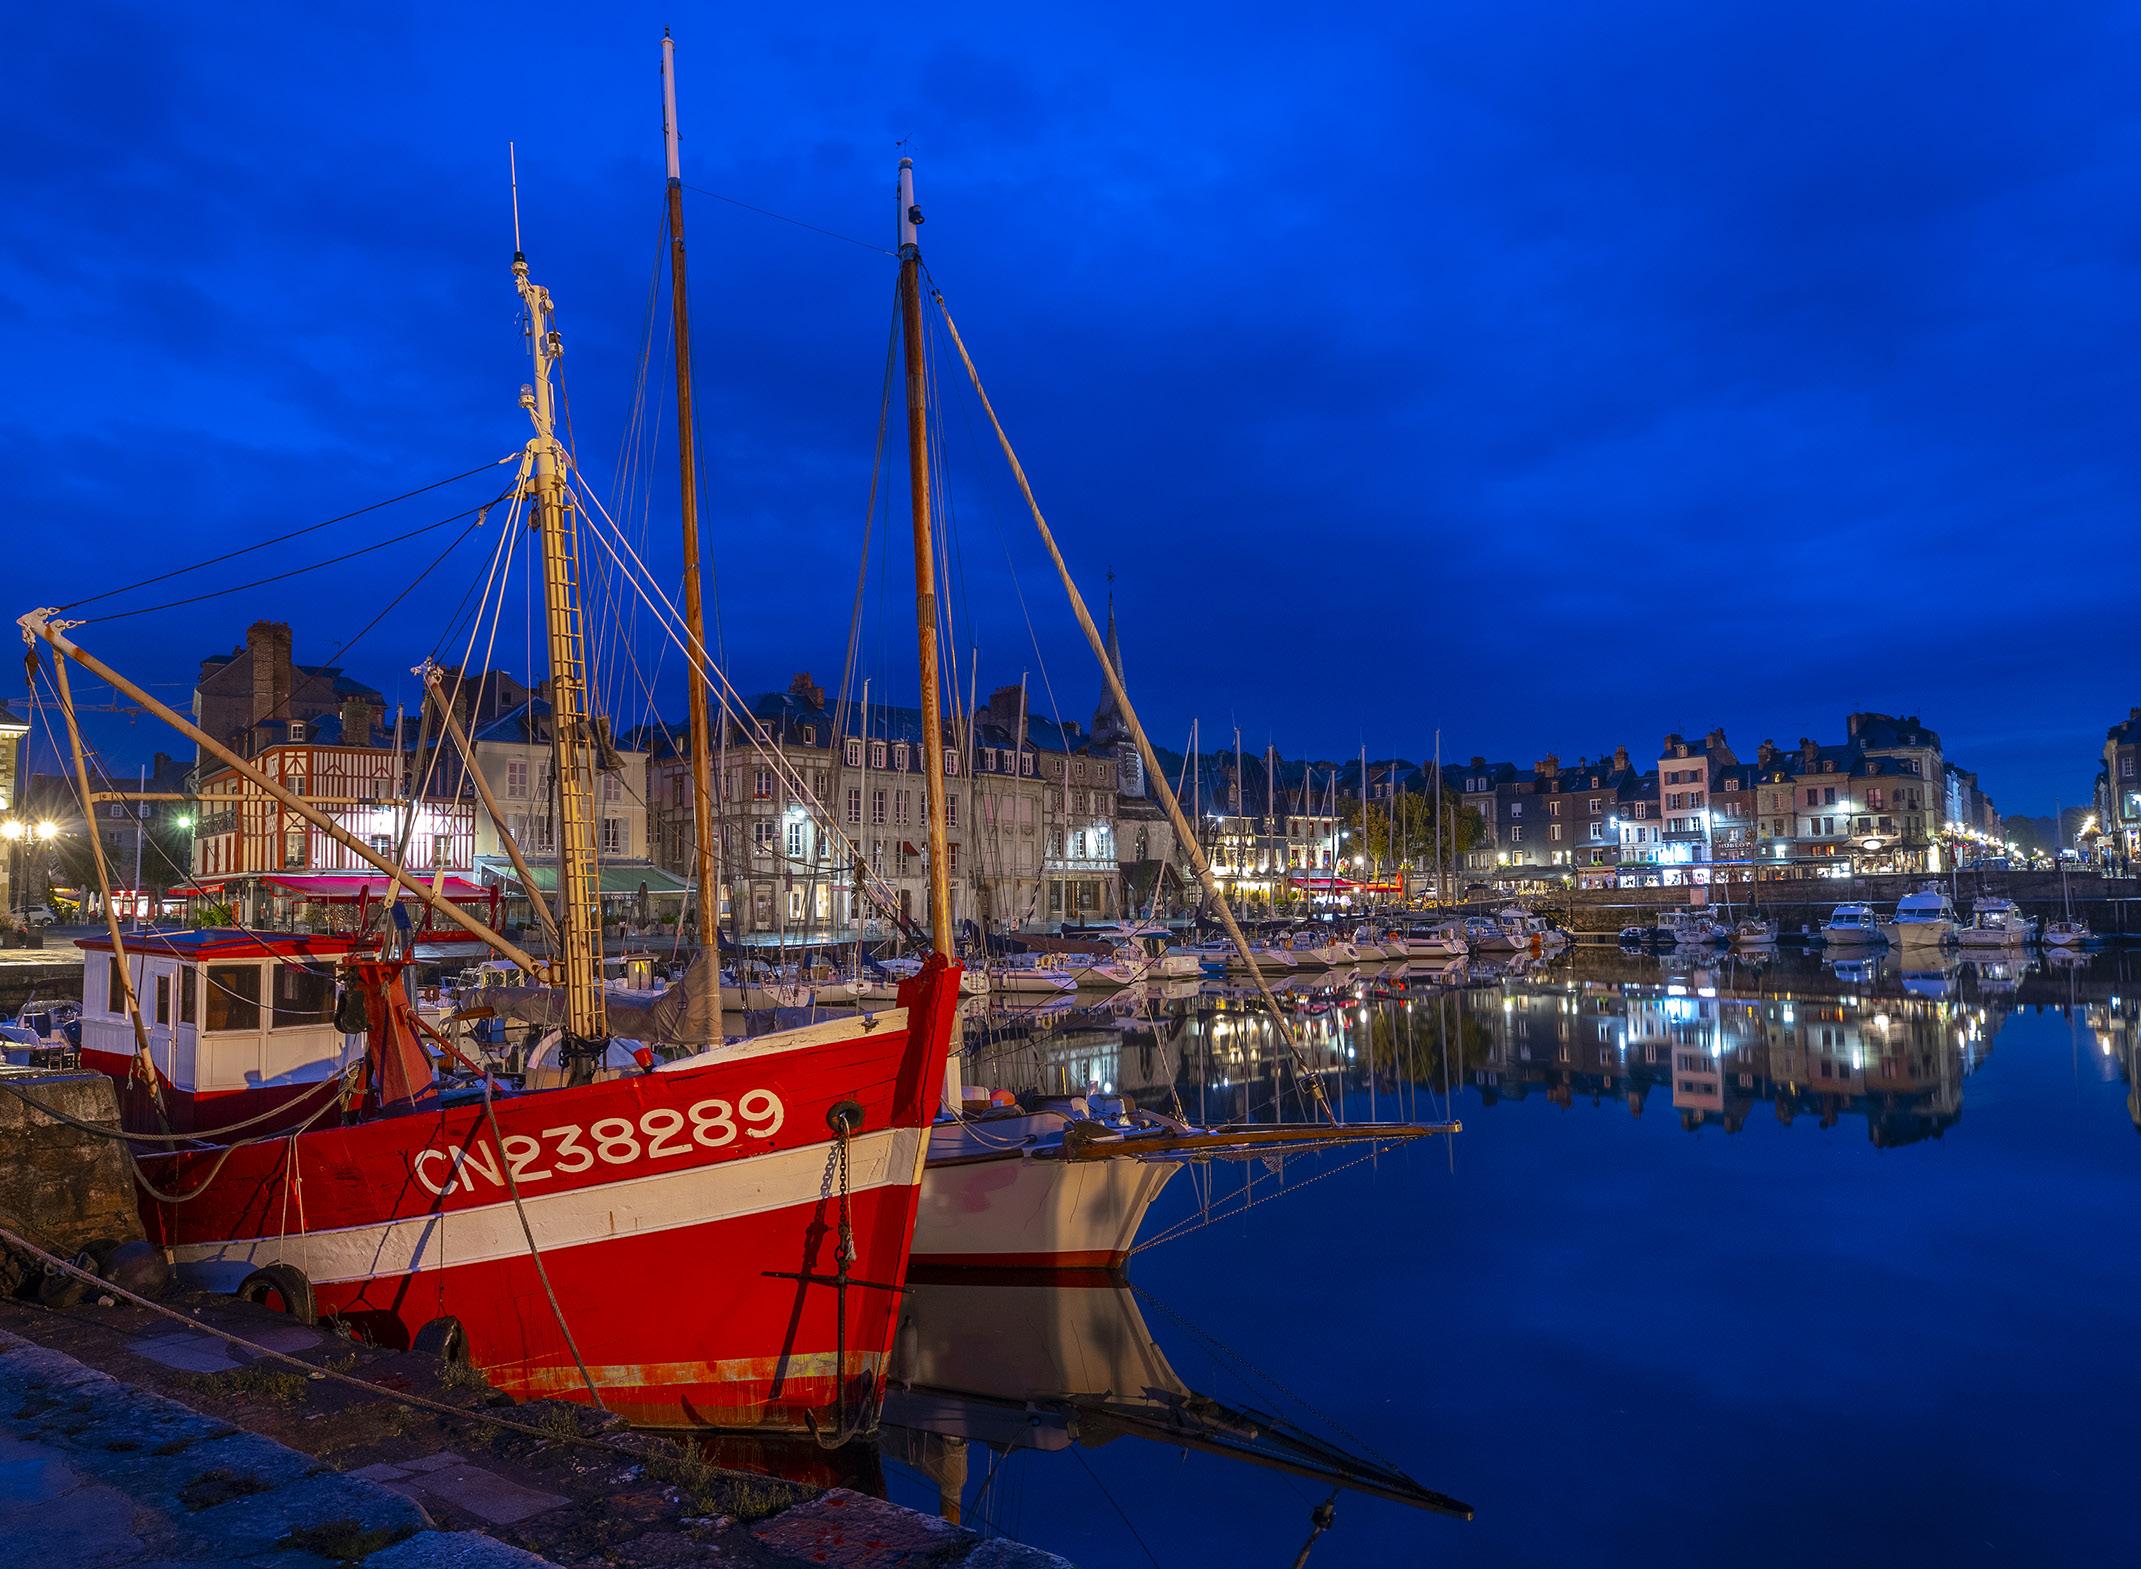
Coast of France
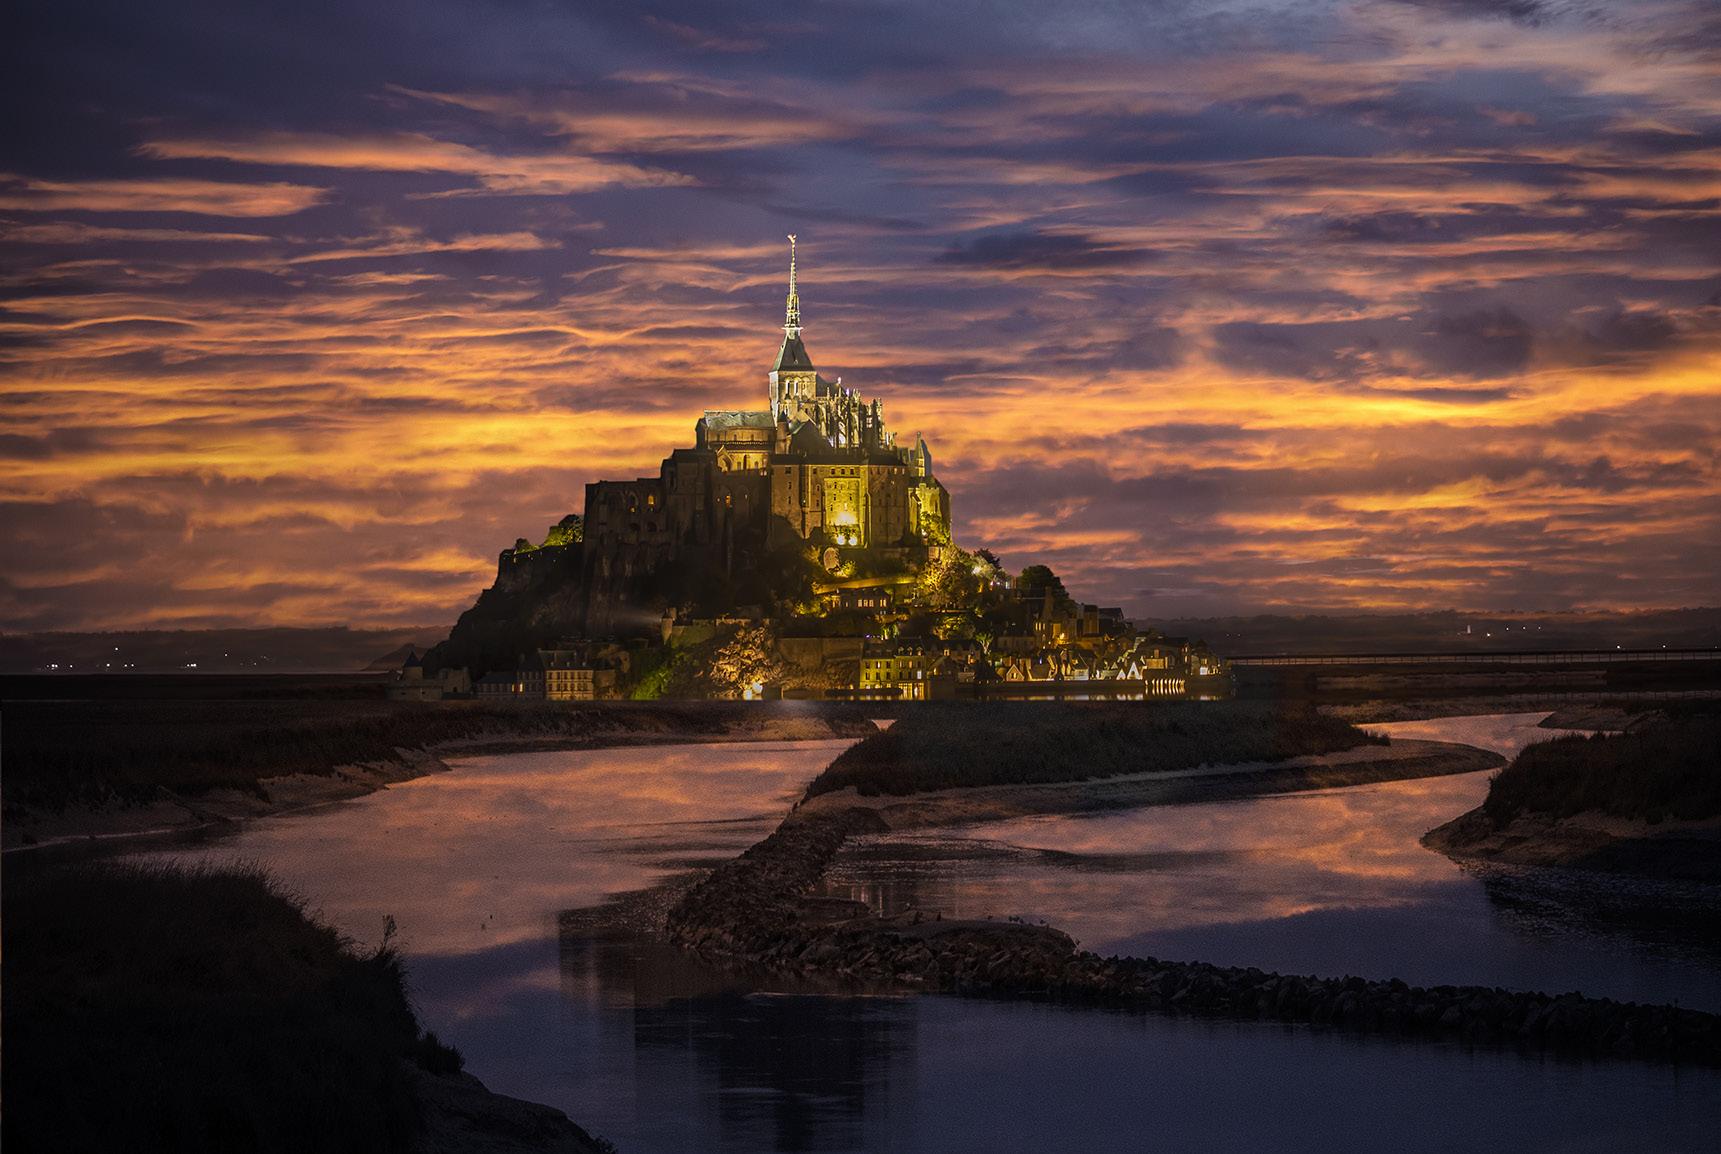
April 4 - 13, 2024
26
ASK JIM
Every month, Jim will answer a question from his online students, from people who participate in his tours and workshops, or from subscribers to this magazine. If you have a question you’d like Jim to answer, please drop him a note at photos@jimzuckerman.com.

Q: Jim I have become complacent in my photography. I feel like my best images and the most exciting times I’ve had taking pictures is behind me. What advice can you give me to reinvigorate my passion for shooting?
Margaret Cohen, New York City
wA: It’s a little bit hard for me to give you advice on this because I’ve never lost my passion for photography, and now with AI, for image making. But here is what I’d suggest. Do online research and seek out the 10 most amazing things to see and photograph in your area. It could be architecture (like the interior of an amazing church), the zoo (exotic birds in an aviary), a ballet school where young girls train, a museum with an amazing collection of minerals and gems -- whatever might appeal to you. Force yourself to go out once a week and make the best images possible -- better than what you see online -- and maybe this might jumpstart your interest in photography again. §
27
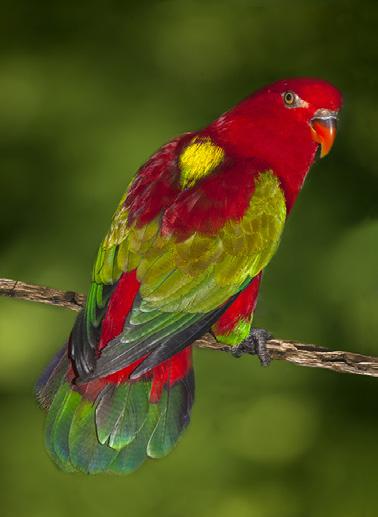
Spangled cotinga taken at the Nashville zoo
Partial List of Photography Tours 2022 - 2024
MOROCCO
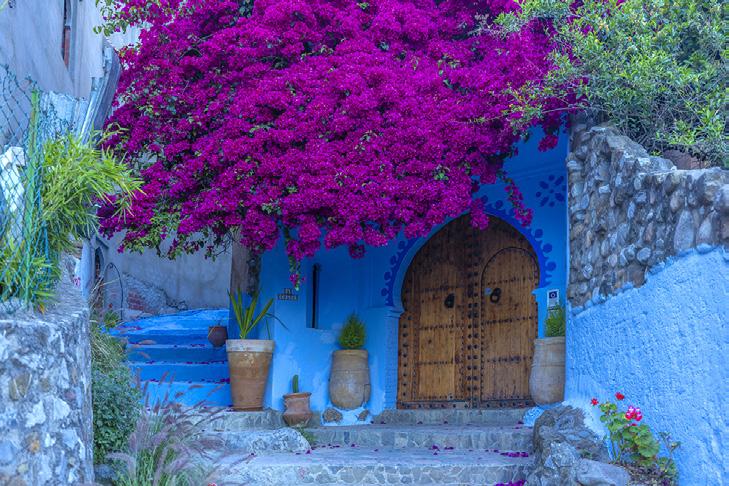
Aug/Sep 2023
ENGLAND and WALES
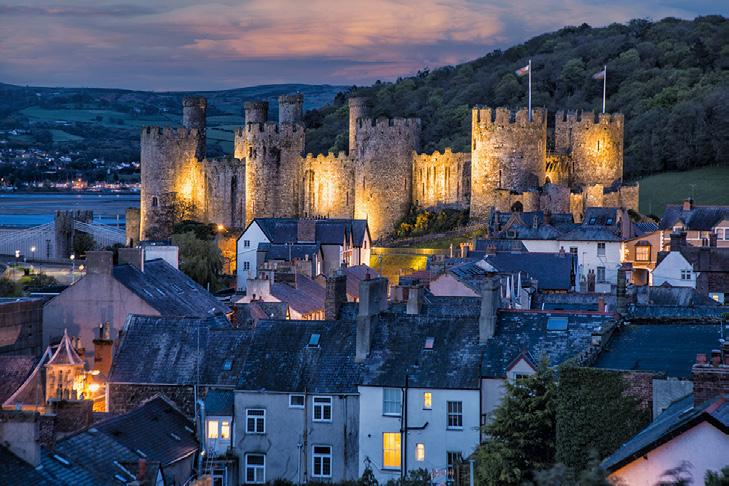
Sep 2023
HUDSON RIVER VALLEY
Oct 2023
WINTER WILDLIFE
Jan 2024
SNOWY OWLS
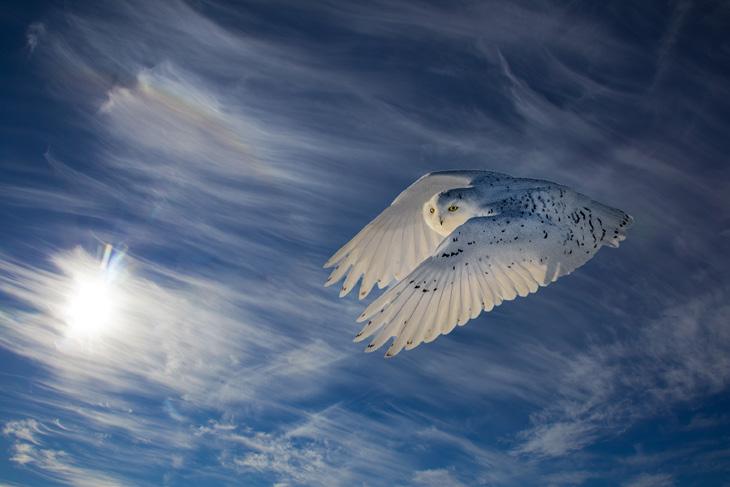
Jan 2024
CARNIVAL in VENICE

Feb. 2024
ABANDONED in GEORGIA
March 2024
HOLLAND & BELGIUM
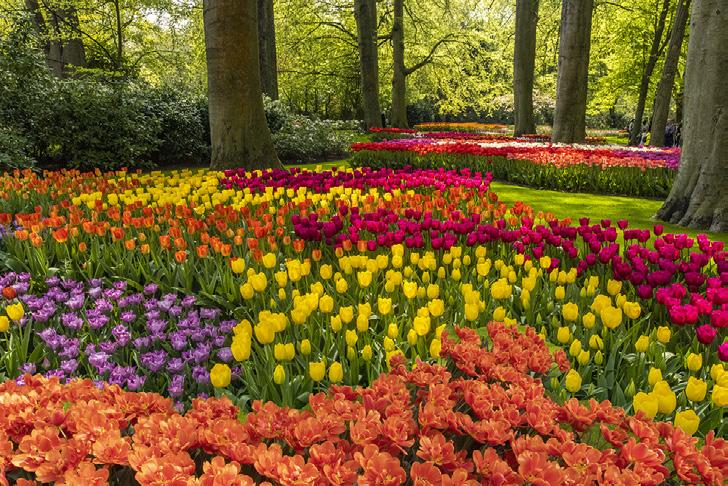
Apr/May 2024
WHITE HORSES, FRANCE
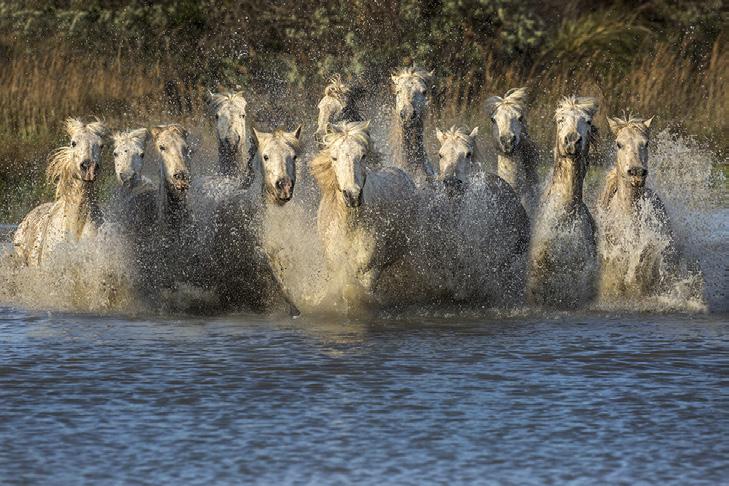
May 2024
INDONESIA
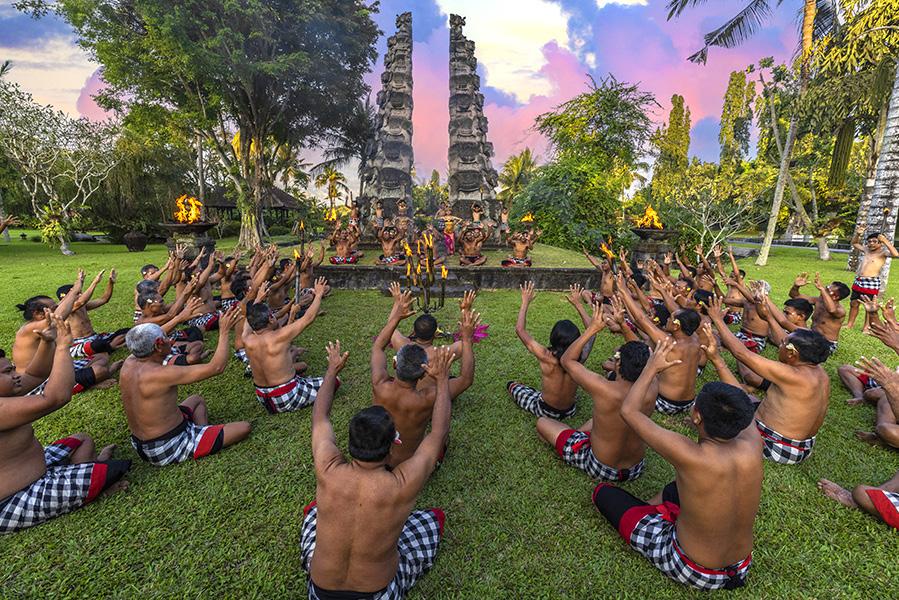
Jul/Aug 2024
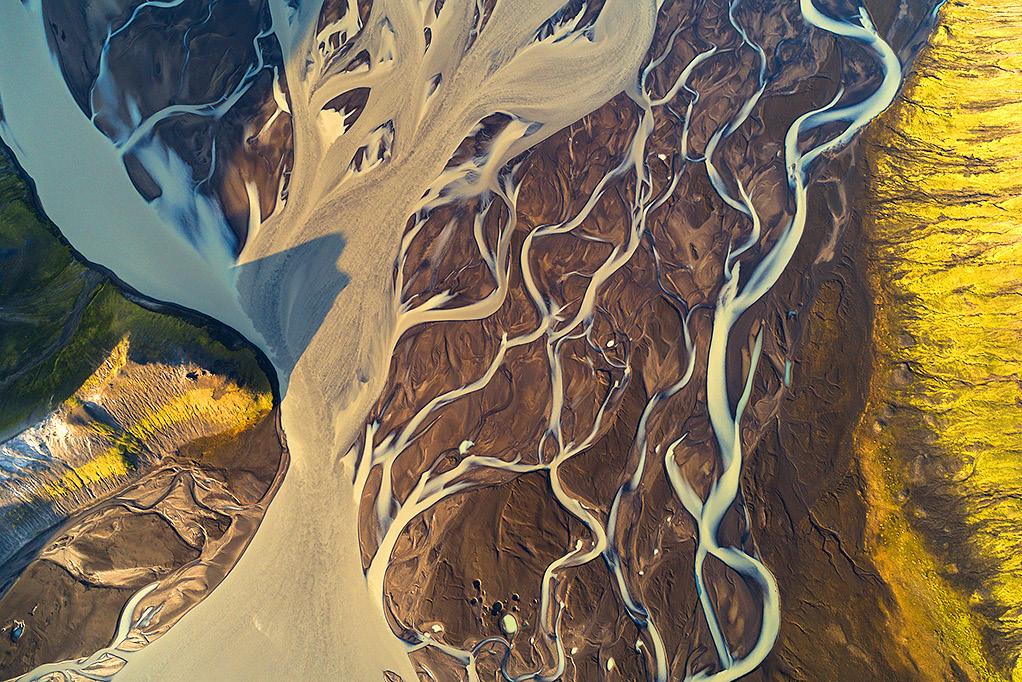
ICELAND DRONE TOUR
Aug 2024
PATAGONIA
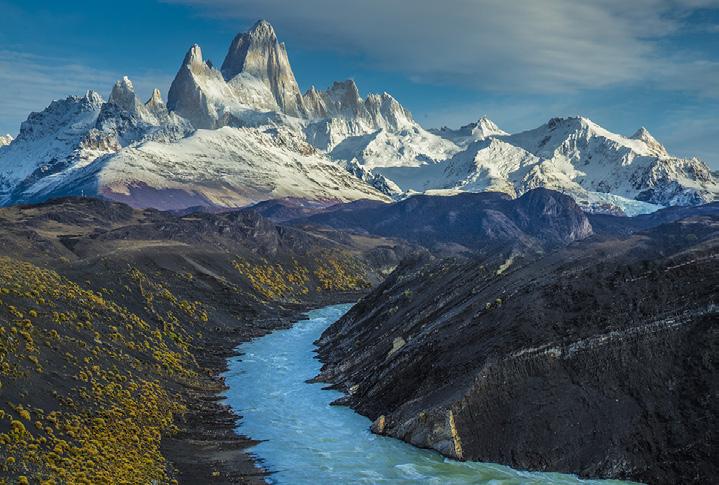
Oct 2024
For a complete list of all the photo tours/workshops Jim conducts, go to his website: www.jimzuckerman.com.
28
Online Course in AI
Starts August 5, 2023
Produce brilliant images right out of the starting gate!
29
Student Showcase
Each month, Jim features one student who took beautiful and inspiring images on one or more of his photography tours or workshops. It’s really fascinating how photographers see and compose such different images even though we may go to the same places. Everyone takes great photographs on Jim’s trips.
Joe Howard, Davidson, North Carolina Frog and Reptile workshop, Palouse photo tour, Winter in Yellowstone photo tour, online Photoshop courses, and Texas Birds and Bluebonnets photo tour.
30 27 27
30
31 3331 31 29 29
Student Showcase, continued
3533 31 29 293129 31 33 35 33 37
32
Student Showcase, continued
3333 33 31 31 33 34
Student Showcase, continued
ENGLAND & WALES PHOTO TOUR
Medieval ruins Quaint villages
Awesome architecture
September 12 - 22, 2023

34
HOLLAND & BELGIUM
April 24 to May 2, 2024

35


Nov. ‘12 Dec. ‘12 Jan. ‘13
on the past issues of P H O T O I N S I G H T S you would like to read. Feb. ‘13 Mar. ‘13 Apr. ‘13 May. ‘13 Jun. ‘13 Jul. 13 Aug. ‘13 Sept. ‘13 Feb. ‘14 Mar. ‘14 Apr. ‘14 May ‘14 Jun.‘14 Oct. ‘13 Nov. ‘13 Dec. ‘13 Jan. ‘14 36
Click


37
H O T O I N
I G H T S
Sept. ‘14 Oct. ‘14 Nov. ‘14 Dec. ‘14 May ‘15 Jun ‘15 Jul.‘15 Aug.‘15 Sept.‘15 Oct.‘15 Nov. ‘15 Dec. ‘15 Jan. ‘16 Feb. ‘16 Jan. ‘15 Feb. ‘15 Mar. ‘15 Apr. ‘15
Click on the past issues of P
S
you would like to read.


Mar. ‘16 Aug. ‘16 Jan. ‘17 Feb. ‘17 Mar. ‘17 Apr. ‘17 May ‘17 Jun ‘17 Jul. ‘17 Aug. ‘17 Sept. ‘17 Sept. ‘16 Oct. ‘16 Nov. ‘16 Dec. ‘16 Apr. ‘16 May ‘16 Jun ‘16 Jul. ‘16
on the past issues of P H O T O I N S I G H T S you would like to read. Oct. ‘17 38
Click


39 Click on the past issues of P H O T O I N S I G H T S you would like to read. Nov. ‘17 Dec. ‘17 Jan. ‘18 Feb. ‘18 Mar. ‘18 Apr. ‘18 May ‘18 Jun ‘18 Jul ‘18 Aug ‘18 Sept. ‘18 Oct. ‘18 Nov. ‘18 Dec. ‘18 Jan. ‘19 Feb. ‘19 Mar. ‘19 Apr. ‘19 May ‘19 Jun ‘19


Jul. ‘19 Jan. ‘20 Jun. ‘20 July ‘20 Aug. ‘20 Sept. ‘20 Oct. ‘20 Nov. ‘20 Dec. ‘20 Jan.. ‘21 Feb.. ‘21 Mar.. ‘21 Feb. ‘20 Mar. ‘20 Apr. ‘20 May ‘20 Aug. ‘19 Nov. ‘19 Dec. ‘19 Sept/Oct. ‘19 40
Click on the past issues of P H O T O I N S I G H T S you would like to read.

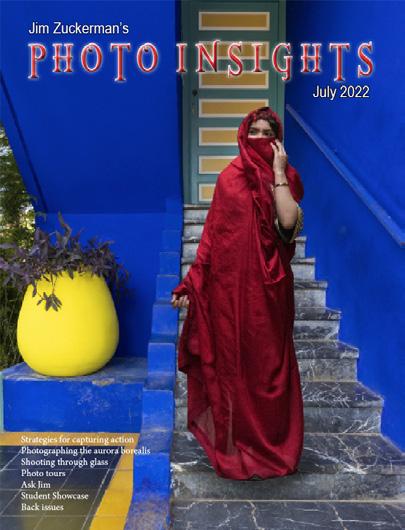
41 Apr.. ‘21 May ‘21 Jun.‘21 Jul.‘21 Aug.‘21 Sept. ‘21 Feb. ‘22 Mar. ‘22 Jul. ‘22 Aug. ‘22 Sept. ‘22 Oct. ‘22 Nov. ‘22 Apr. ‘22 May ‘22 Jun. ‘22 Oct. ‘21 Nov. ‘21 Dec. ‘21 Jan. ‘22


Dec. ‘22 Jan. ‘23 Feb. ‘23 Mar. ‘23 Apr. ‘23 May ‘23 Jun. ‘23 Jult. ‘23 42
Subject index for past Photo Insight issues
1/3 focus law
3D sphere Mar. ‘16
90 degree finder Mar. ‘13
Abstracts in soap
Abstracts, Shooting
Aerial photography
Aerial photography
African safari
Airplane windows
Alien landscapes
Anatomy of 8 photographs
Angled perspectives
Aperture vs. shutter speed
Aperture priority
Aurora Borealis
Auto white balance
Autofocus, when it fails
Autofocus failure
Autofocus failure
Autofocus challenges
Auto ISO
Auto White Balance
Autumn Foliage
Autumn Color
Autumn foliage photography
Back button focus
Backgrounds, wild
Backgrounds, busy
Backlighting
Backlighting
Birds in flight
Birds in flight
Birefringence
Birds in flight
Birds in flight, camera settings
Bird Photography
Blacklight photography
Black velvet
Black and white conversions
Black and white solarization
Black and white with color
Black and white plus color
Blown highlights
Blue monochromes
‘15
‘19
‘13
‘13
‘16
‘19
‘14
‘14
‘17
‘13
‘15
‘15
‘17
‘18
‘17
‘21
‘18
‘20
‘21
‘18
‘12
‘13
‘16
‘22
‘13
‘14
‘23
‘21
‘14
Mar. ‘17
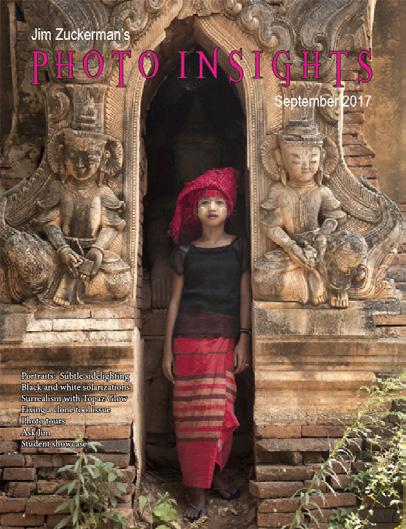
Sep. ‘17
Jan. ‘20
Mar. ‘23
Feb. ‘18
Jan. ‘22
Black Plexy Aug. ‘22
Blur, field
Blur technique
Bokeh
Nov. ‘18
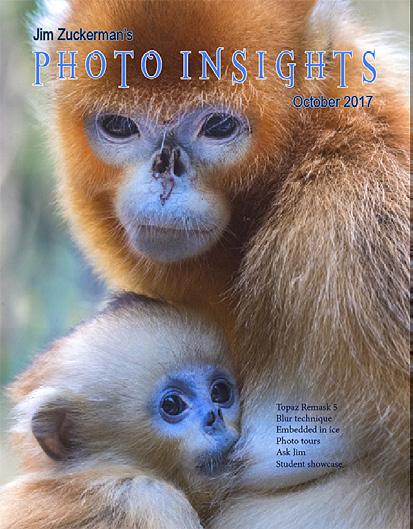
Oct. ‘17
Jun. ‘15
Botanical gardens, shooting Apr. ‘22
Butterfly photography Jul. ‘14
Camera buying guidelines
Dec. 21
Camera settings for landscapes Feb. ‘23
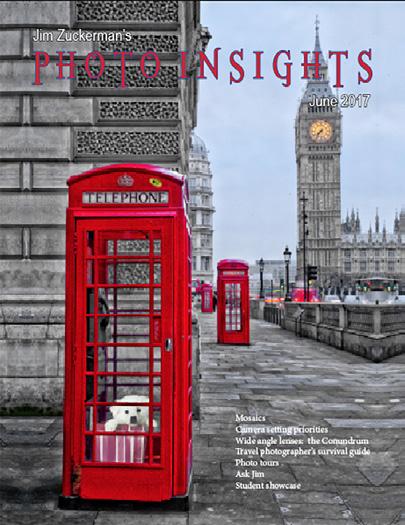
Camera setting priorities Jun. ‘17
Canon R5 Mar. ‘21
Capturing lightning Jun. ‘13
Capturing what you don’t see May ‘21
Catchlights Jul. ‘16
Changing perspective May ‘21
Cheap flash stand Apr. ‘13
Children photography Jun. ‘14
Choosing a telephoto lens Dec. ‘20
Chromatic aberration May ‘13
Chrome Dec. ‘18
Cityscapes Aug. ‘14
Cityscapes May ‘16
Clone tool, fixing an issue Sep. ‘17
Clone tool technique Jul. ‘20
Composites and Light Dec. ‘17
Compositing images Apr. ‘19
Compositing, 7 steps Jan. 22
Composition, different approach Jan. ‘15
Content-aware, New Aug. ‘20
Content aware move tool Jan. ‘23
Contrast vs. exposure Jul. ‘15
Converting to black and white Mar. ‘22
Correcting keystoning Jun. ‘21
Creating a star field Jan. ‘14
Creating Art out of Motion
Creating a Sketch
Creative blurs
May ‘22
Dec. ‘17
Jan. ‘14
Custom functions Jul. ‘23t
Dark backgrounds Nov. ‘19
Dawn photography Jan. ‘17
Dawn photography Feb. ‘17
Dead center Jan. ‘13
Dealing with smog
Oct. ‘16
Decay photography Sep. ‘15
Define Pattern Sep. ‘18
Depth of field Aug. ‘16
Depth of field confusion Jan. ‘20
Depth of field and distance Dec. ‘18
Depth of field and obliqueness May ‘21
Depth of field, shallow Apr. ‘20
Depth of field vs. sharpness Nov. ‘20
Double takes Apr. ‘20
Drone photography Mar. ‘23
Drop shadows Apr. ‘19
Dust, Minimizing Aug. ‘19
eBook, how to make Jan. ‘13
Eliminating people from photos Jun. ‘22
Embedded in Ice
Oct. 17
Energy saving bulbs Sep. ‘14
Equidistance and telephoto lenses Apri. ‘23
Exploring the power visuals of AI Mar. ‘23
Exposing for the sun Sep. ‘16
Exposure, the sun Jul. ‘13
Exposure technique Sep. ‘13
Exposure, snow Jan. ‘14
Exposure triangle Nov. ‘14
Exposure, to the right Apr. ‘15
Exposure compensation Sep. ‘16
Exposure compensation Mar. ‘21
Extension tubes Dec. ‘13
Extension tubes
Face sculpting
Face sculpting
Festival photography
Jul. ‘23
Apr. ‘21
Feb. ‘22
Sep. ‘20
Fill flash Sep. ‘13
Filter forge
Feb. ‘13
Fireworks Jul. ‘13
Fireworks, Compositing Jun ‘20
Fisheye lenses May ‘13
Fisheye lenses Feb. ‘15
Fisheye fantasies Oct. 21
Flash backlighting May ‘15
Flash, balancing exposure Oct. ‘15
Flash, balancing off-camera Dec. ‘18
43
Jul. ‘15
Feb.
Mar
Jun.
Jan. ‘21
May ‘16
Mar. ‘16
Jan.
Jan.
Jan.
May
Sept.
Apr.
Dec.
Apr.
Aug.
Jan.
Apr.
Nov
Mar’
Sep.
Sep.
Oct.
Oct.
Nov.
Apr.
Apr.
Oct.
Aug.
Jan.
May ‘18
Mar. ‘16
Jan.
Jun ‘19
Feb.
Mar.
Subject index for past Photo Insight issues
Interiors Oct. ‘15
iPad: Loading photos
Aug.‘17
iPhone photography, pros and cons Apr. ‘22
Jungle photography Dec. ‘14
Kaleidoscopic images
Kaleidoscopis images
Jan. ‘15
Aug. ‘20
Keystoning, correcting Aug. ‘15
L Bracket
L Bracket
Landscape photography
Landscape photography
Landscape photography
Feb. ‘18
Feb. ‘21
Dec. ‘12
Apr. ‘14
Nov. ‘16
Layer Masks, The Power of Feb. ‘22
Light fall-off
Light painting
Lighting a face
Lightning photography
Liquify
Liquify Distortions
Long lens portraits
Long Lenses for Flowers
Feb. ‘14
Dec. ‘21
Oct. ‘13
May ‘20
Feb. ‘18
Sept/Oct. ‘19
Oct. ‘18
Jul. ‘20
Low light photography May ‘15
Luminar 4
Macro flash
Jan. ‘20
Nov. ‘12
Macro flash Sep. ‘14
Macro flash
Macro flash
Aug. ‘15
Aug. ‘22
Macro photography and DOF Feb. ‘22
Macro trick
May ‘19
Managing soft focus Jul. ‘21
Mannequin heads Apr. ‘16
Metering modes
Nov. ‘16
Meters, How They Work Jul. ‘18
Meters, when they fail Dec. ‘16
Metering situations, Impossible Jul. ‘19
Middle gray
Nov. ‘15
‘16 HDR, hand held
‘17 HDR, hand held
‘18 HDR panoramas
‘16 HDR, choosing the number of frames
wind
Highlights, overexposed
Histograms, Why I Don’t Use
Histogram problems
Home nature projects
Hotels with a view
Humidity
Hummingbird photography
Hyperfocal distance
Image resizing
Implying motion
Impossible DOF
Impossible DOF
Indestructible camera bag
Infrared photography
Insane ISO settings
‘20
‘13
‘13
‘13
‘18
‘16
‘17
‘14
‘14
‘22
Milky Way, Shooting thet
Minimizing dust on the sensor
Mirrors
Nov. ‘21
Jan. ‘19
Mirror images May ‘23
Model shoot
Moon glow
Mosaics
Mundane to Ideal
Museum photography
Jan. ‘17
Oct. ‘16
Jun. ‘17
Nov. ‘19
Mar. ‘13
Natural Light Portraits Aug. ‘21
Negative space Jan. ‘16
Neon edges on black Aug. ‘14
Neutral Density filters
Jun. ‘18
Neutral Density filters and water Mar. ‘22
Night photography
Night Safaris
Feb. ‘14
Jun. ‘18
Night to Twilight Dec. ‘17
Noise reduction
Feb. ‘17
Oil and water May ‘20
Optical infinity Jun. ‘16
Organization of photos Mar. ‘18
Out of focus foregrounds
Jan. ‘20
art Sep. ‘16
2 Mar. ‘20
fixes problems Nov. ‘19
Portraits, Indoors Aug. ‘21 Flowers May ‘15
photography Apr ‘21
in harsh light Jul. ‘16
on the eyes Dec. ‘20
points Mar. ‘15
points Sep. ‘20
stacking Mar. ‘17 Focus stacking Aug. ‘19
in the dark Oct. ‘16
Dancers, Photographing Nov’ 17 Foreign models Jun. ‘13 Fractals, generating Sep. ‘13 Fractals Jul. ‘19
May ‘17 Freezing ultra action May ‘17 From Terrible to Beautiful Aug. ‘19 Fun with paint Oct. ‘16 Fundamental ingredients Apr. ‘13
That Make Great Photos Jan. ‘19
With Christmas Lights Jan. ‘21
with Food Graphic Design Jul. ‘20
imagery Dec. ‘15 Generative fill Jun. ‘3 Getting money for used gear Jan. 22 Great subjects Apr. ‘15 Great ceilings & HDR Panos Jul. ‘19 Green screen Mar. ‘13 Ground level shooting Oct. ‘22
technique Feb. ‘13
Lens Debate, The Feb. ‘23 HDR, one photo Apr. ‘13 HDR at twilight May ‘13 HDR, realistic Jun. ‘15 HDR, hand held Dec.
Nov
Jul.
Jun.
Jun.
Apr.
Apr.
Flat
Flexify
Flood
Floral
Flower
Flowers
Focus
Focus
Focus
Focus
Focusing
Foreign
Framing
Fundamentals
Fun
Fun
Garish
Grunge
Heavy
‘22 High
‘17 Highlights
‘14
Feb.
‘15
Jun
‘19
Apr.
‘20
Jun.
‘23
Mar.
Oct.
Apr.
Jul.
Aug.
Sept.‘14
Feb.
Jan.
Dec.
Jul.
Dec.
44
Subject index for past Photo Insight issues
Paint abstracts May ‘13
Paint abstracts
Aug. ‘21
Painting with light Sep. ‘15
Panning motion Dec. ‘16
Pano-Mirrors with a twist Jan. ‘18
Parades
Sep. ‘13
Parallelism Nov. ‘19
Parallelism and DOF Feb. ‘21
Perspective, Super Exaggeration of Dec. ‘21
Photo shsaring Apr. ‘23
Photo terms
Nov. ‘22
Photography to Art Dec. ‘17
Photography solutions Jan. ‘18
Photoshop, content Aware Nov. ‘12
Photoshop, sketch technique Apr. ‘13
Photoshop, replace background Apr. ‘13
Photoshop, actions palette Dec. ‘13
Photoshop, layer masks Feb. ‘13
Photoshop, the clone tool May ‘13
Photoshop, soft foliage Oct. ‘13
Photoshop, mixer brush tool Sept. ‘14
Photoshop, b & w with color Jun. ‘14
Photoshop, drop shadows Jul. ‘14
Photoshop, creating texture Feb. ‘14
Photoshop, face mirrors Feb. ‘14
Photoshop, liquify Mar. ‘14
Photoshop, face mirrors Aug. ‘14
Photoshop, digital spotlight Sep. ‘14
Photoshop, enlarge eyes Nov. ‘14
Photoshop, darken the periphery Dec. ‘14
Photoshop, mirror images Dec. ‘14
Photoshop, beam of light Apr. ‘15
Photoshop, polar coordinates Mar. ‘15
Photoshop, chrome May ‘15
Photoshop, actions palette Nov. ‘15
Photoshop, cut and paste Nov. ‘15
Photoshop, geometrics Oct. ‘15
Photoshop, plugins Oct. ‘15
Photoshop, multiple selections Apr. ‘16
Photoshop, sharpening Apr. ‘16
Photoshop, Flood plugin Apr. ‘16
Photoshop, Desaturation Aug. ‘16
Photoshop, making a composite Aug. ‘16
Photoshop new tool May ‘20
Photoshop, place one element behind Aug. ‘18
Photoshop, the pen tool Feb. ‘16
Photoshop, canvas size Jan. ‘16
Photoshop, using the earth Jun. ‘16
Photoshop, define patterns May ‘16
Photoshop, paste into Nov. ‘16
Photoshop, b & w with color Feb. ‘17
Photoshop, open a closed door Apr. ‘17
Photoshop, palettes May ‘17
Photoshop, My favorite plugins Jan. ‘20
Portrait options Jan. ‘19
Portrait techniques Nov. ‘15
Portraits Mar. ‘13
Portraits, mixed lighting Aug. ‘14
Portrait Professional Nov. ‘19
Portraits, Lens choice Sept/Oct. ‘19
Portraits, side lighting Sep. ‘17
Portraits, window light Mar. ‘15
Portraits, outdoors May ‘17
Post-processing checklist Dec. ‘13
Post-processing: Contrast Aug. ’17
Practicing graphic design, Part I Dec. ‘22
Practicing graphic design, Park II Jan. ‘23
Practicing graphic design, Part III Feb. ‘23
Pre-capturing technology May ‘23
Predictive Focus
Problem/solution
Sep. ‘18
Apr. ‘17
Problem Solving in Photoshop May ‘22
Problem with cruises Jan. ‘18
Protecting extremeities from the cold Dec. ‘22
Protecting highlights Dec. ‘12
Puppies Jan. ‘15
Puppy photography
Feb. ’18
Reflections Feb. ‘13
Reshaping faces
Oct. ‘22
Restoring old photos Jun ‘20
Ring flash, advantages Jul. ‘21
Ring flash versatility
Oct. ‘21
Rule of Odds May ‘22
Safari May ‘13
Safari strategies
Jul. ‘15
Seeing as the lens does Nov. ‘14
Seeking Cool Snow Photos Jan. ‘21
Selective filtering
Selective focus
Self-critiques
Self-critiques
Self-critiques
Mar. ‘18
Jun. ‘15
Jul. ‘13
Oct. ‘13
Nov. ‘20
Sensor cleaning Jun. ‘18
Sepia and dark contrast Jun. ‘15
Shade May ‘14
Shady side
Jun. ‘18
Shadows, Paying Attention to Mar. ‘18
Sharpness problems
Mar. ‘14
Shooting in Inclement Weather Nov. ‘22
Shooting through textured glass May ‘23
Shooting through wire mesh
Sept. ‘14
Shooting into the light Jun ‘20
Silhouettes
Jun. ‘13
Silhouettes, How to make Apr. ‘22
Silhouettes, Exposing for Sept/Oct. ‘19
Silvered landscapes
Mar. ‘20
Sketch, How to Make Jun ‘19
Skies make or break a picture
Sky replacement
Sky replacement strategies
Snow exposure
Snow exposure
Soft light
Aug. ‘21
Nov. ‘20
Aug. ‘22
Nov ‘17
Nov. ‘19
Jan. ‘13
Smart phone photography May ‘19
Stained glass
Star photography
Mar. ‘17
Jul. ‘16
Star photography and noise Jan. ‘18
Stock photography
Sunrise & sunset
Tamron 150-600mm
Sep. ‘14
Jan. ‘19
Apr. ‘14
Ten reasons photos are not sharp Jan. ‘19
45
Subject index for past Photo Insight issues
Texture, Adding Mar ‘19
Texture Mapping in 3D Jul. ‘21
Topaz AI Gigapixel Mar ‘19
Topaz glow Jan. ‘15
Topaz glow Sep. ‘17
Topaz Impression Sep. ‘15
Topaz Remask 5 Oct. ‘17
Topaz Simplify 4 Dec. ‘12
Topaz simplify 4 Jun. ‘14
Topaz Studio
Translucency & backlighting
Travel photography
Travel portraits
Travel tips
Travel photographer’s guide
‘18
‘18
‘13
‘14
‘14
‘17
Tweaking exposure on the fly Apr. ‘23
Twilight photography in the rain Apr. ‘19
Tripods
Two subject sharp rule
Two subject focus rule
Two subject focus rule
Urban heights
‘18
‘14
‘20
‘21
‘21
Ultra distortion May ‘18
Unusual Panos
‘22w
Upside Down Reflections Aug. ‘21
Warm fingers in winter
Water drop collisions
Quiz answers
‘15
‘18
What NOT to do in photography Apr. ‘18
When You Needed a Zoom Aug. ‘21
White on White Dec. ‘20
White vignette Aug. ‘15
White balance
‘15
White balance, custom Mar. ‘16
White balance, What
Wide angle conundrum
‘23
‘19
Wide angle lenses Mar. ‘13
Wide angle portraits Nov. ‘14
Wide angle lenses Jun. ‘17
Wide angle lenses: Outside the Box Jun. ‘22w
Wide angle keystoning Nov ‘17
Wildlife photos with wide angles Mar. ‘15
Window light Dec. ‘15
Window light portraits Aug. ‘18
Window frames Feb. ‘16
Winter photography Dec. ‘12
Winter bones May ‘13
Winter photography Dec. ‘15
Winter photography Nov. ‘18
Wire Mesh, Shooting Through Jul. ‘18
Workflow May ‘13
Your score
90% - 100%: You could have been a pro
80%: Your glasses probably need a new prescription
70%: Don’t quit your day job
60%: You should really be using an iPhone
46
Apr.
Nov.
Feb.
Mar.
Apr.
Jun.
Mar.
May
Jan.
Jun.
Jun.
Nov.
Nov.
May
Feb.
Jun.
May
1. b 2. d 3. a 4. d 5. a 6. b 7. b 8. b 9. c 10. b
Edited by: Donald Moore
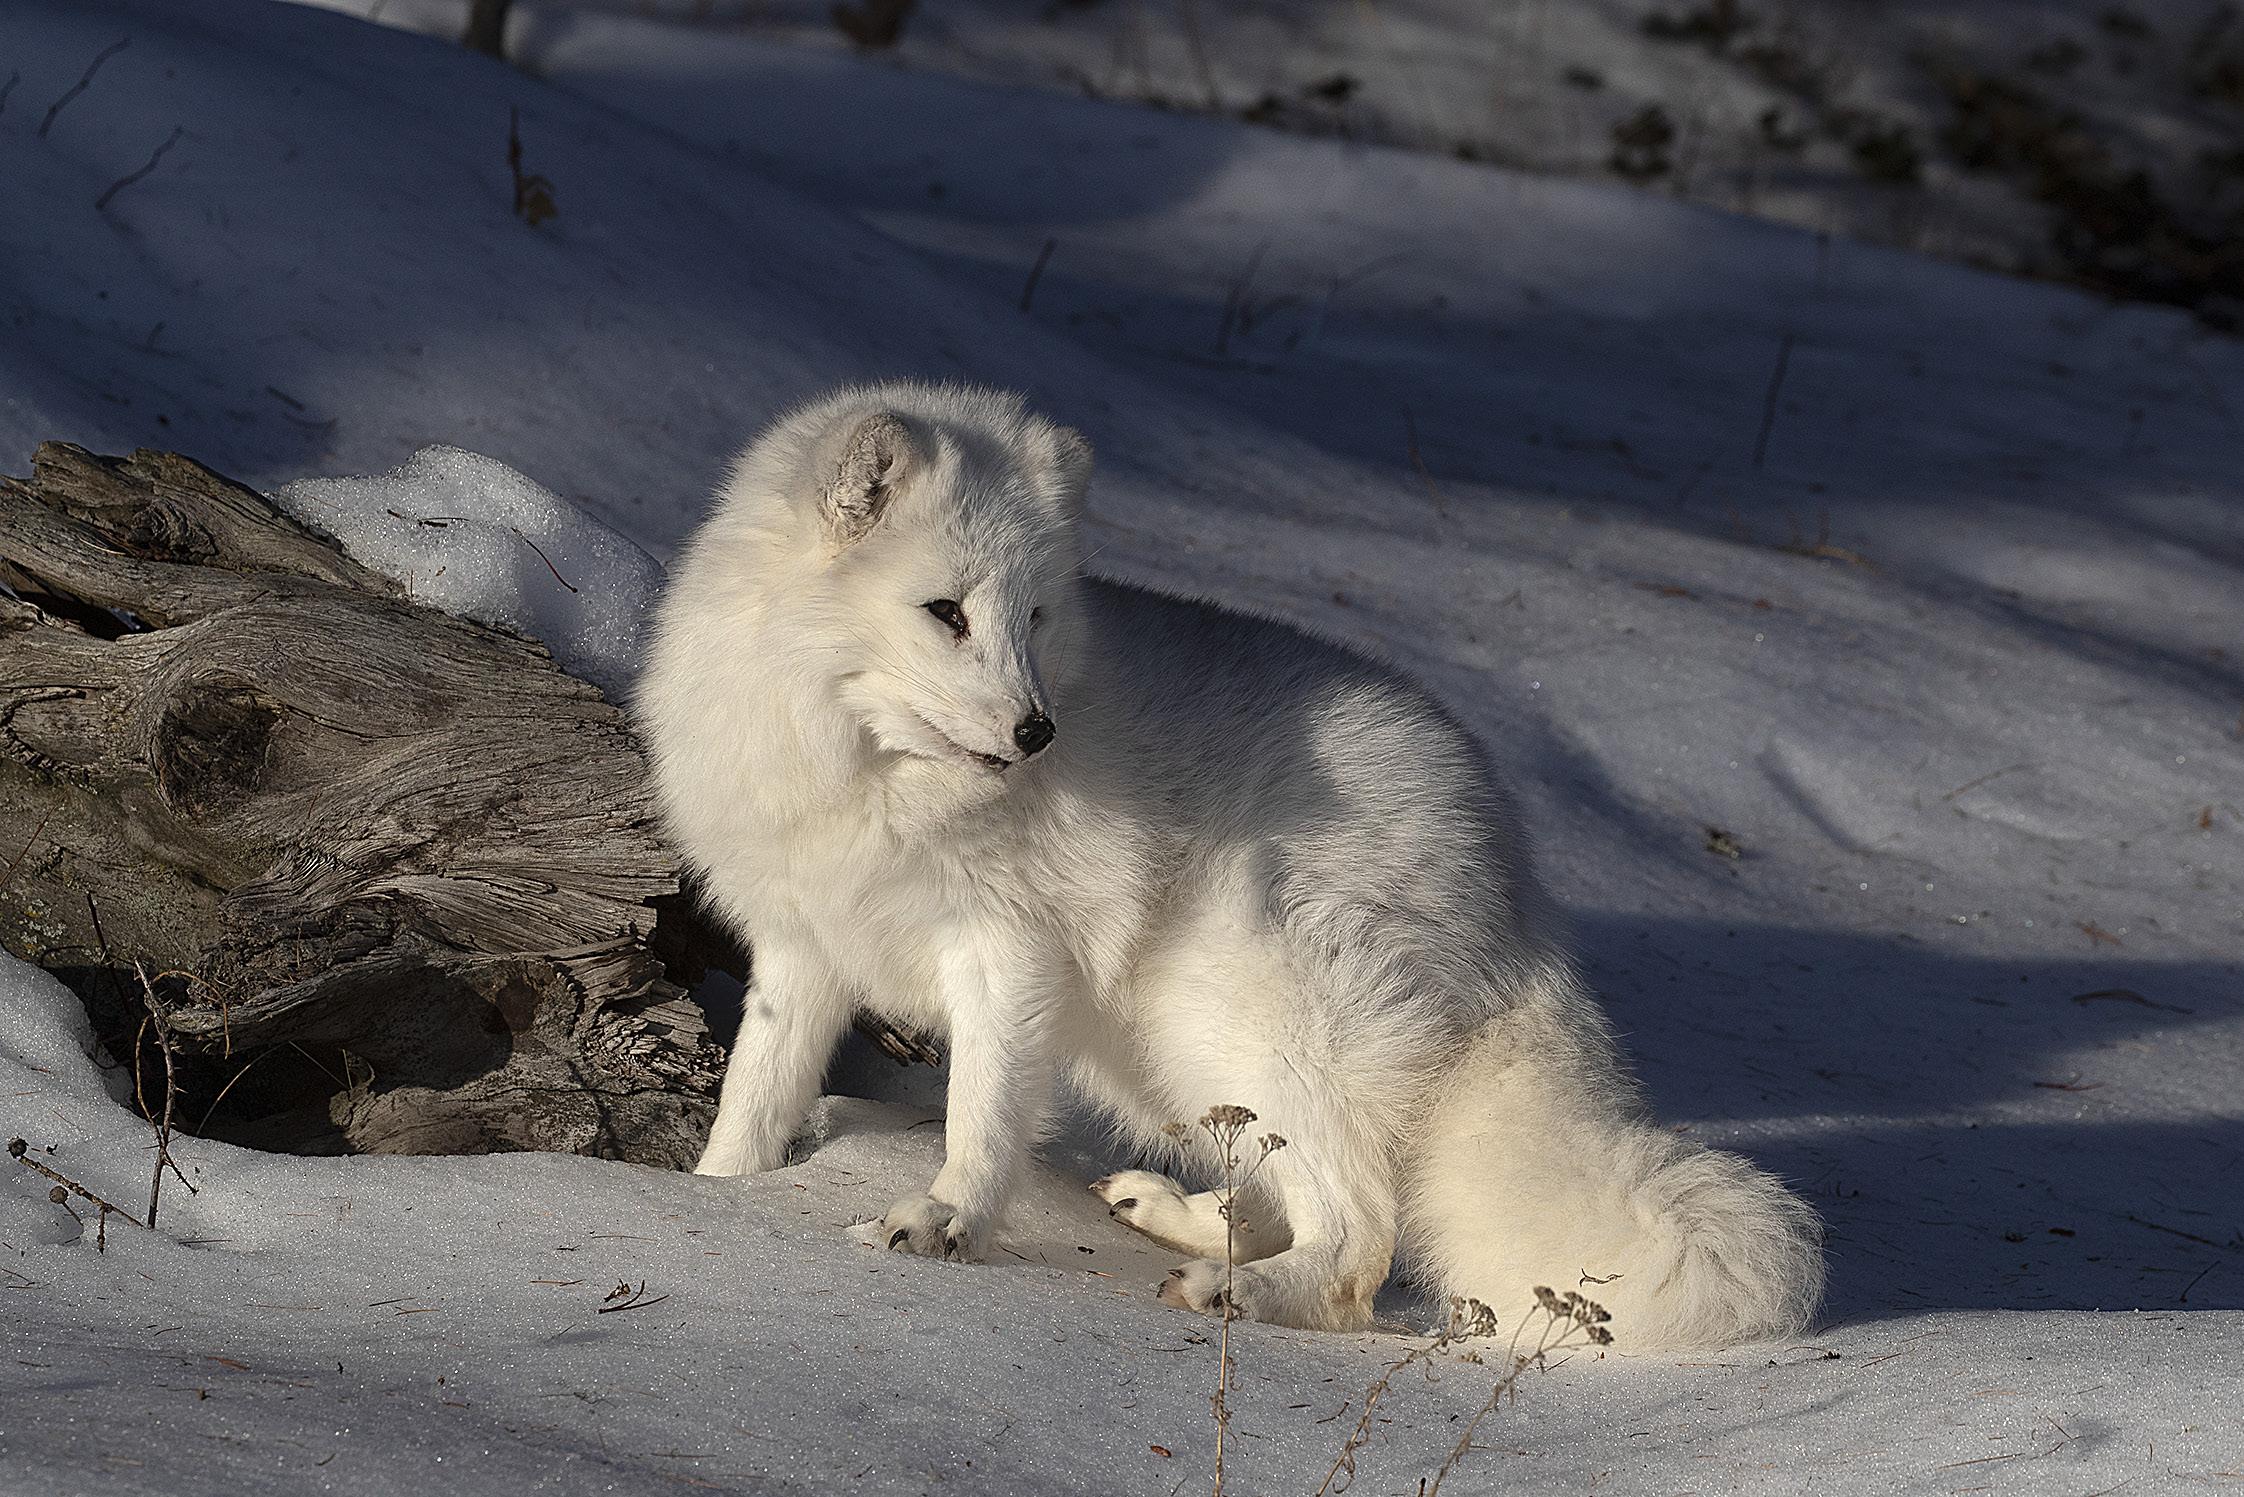
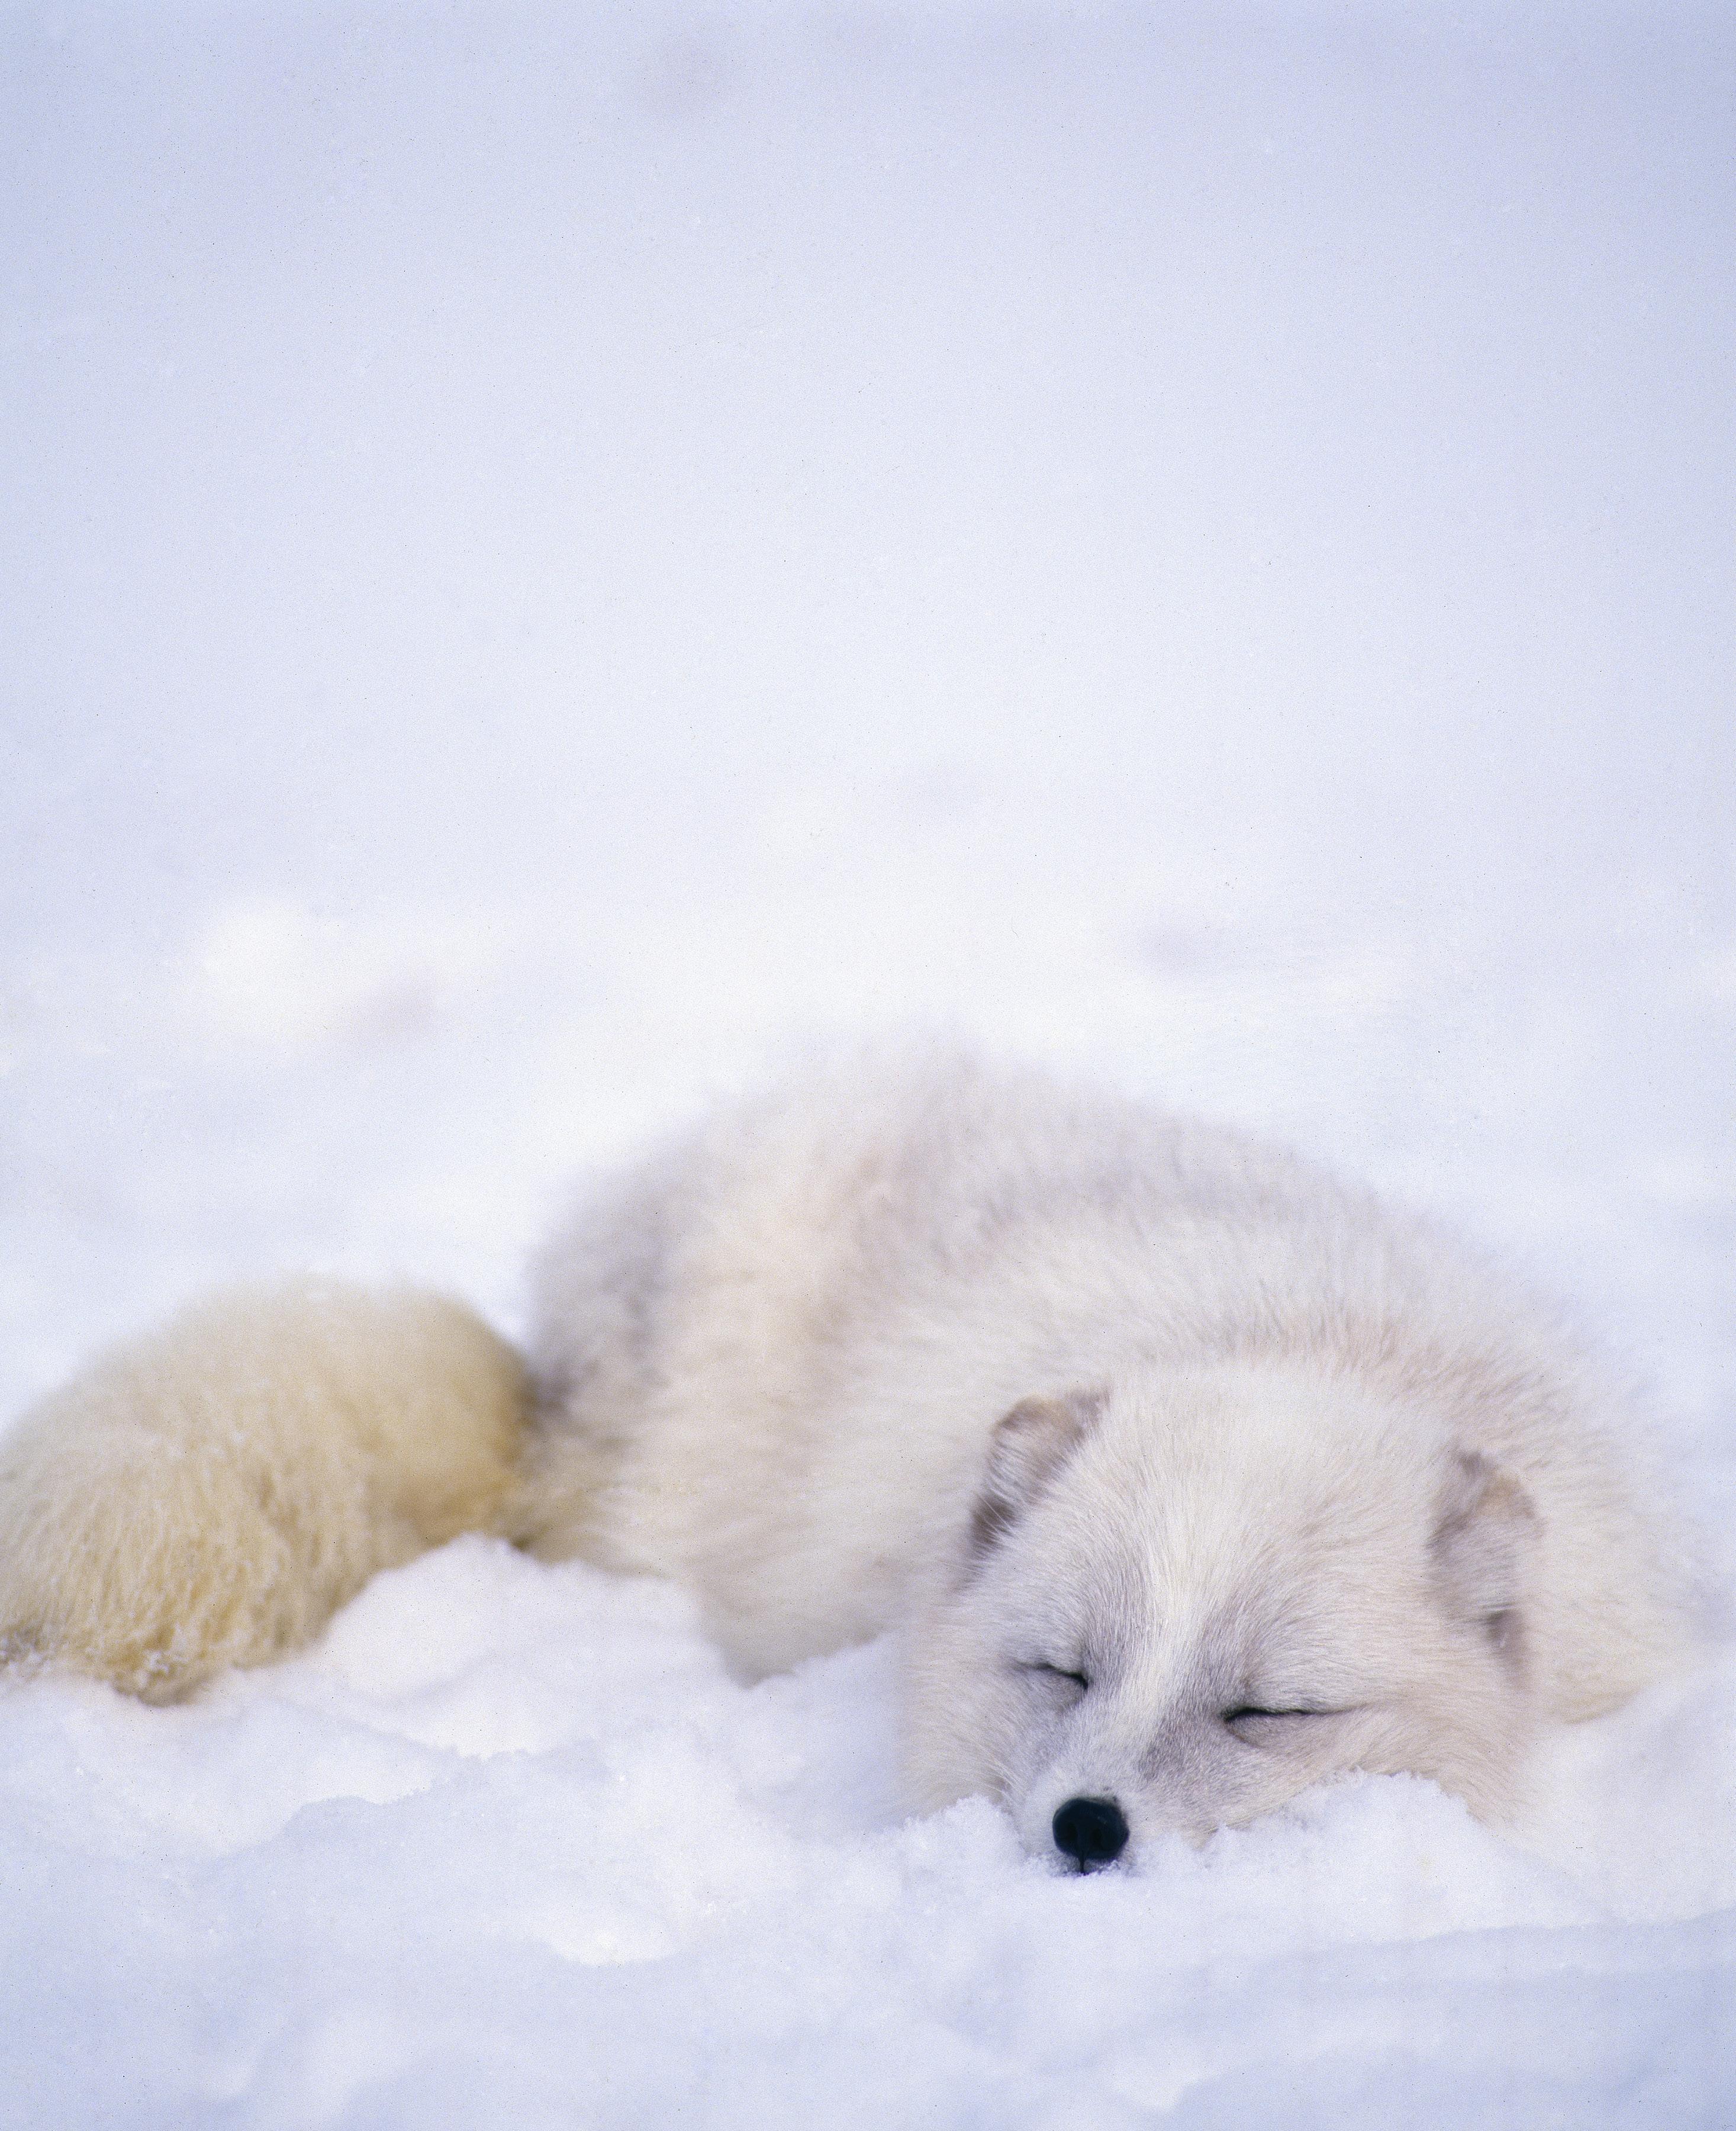
This page: An Arctic fox sleeping in the snow.
47
PHOTO INSIGHTS® published by Jim Zuckerman All rights reserved © Jim Zuckerman 2023 email: photos@jimzuckerman.com
