Simulating B & W infrared
6 Reasons photos are not sharp
Addressing the problem of harsh light
Photography quiz
Photo tours
Ask Jim Student Showcase
Back issues
N S I G
P H O T O I
H T S Jim Zuckerman’s
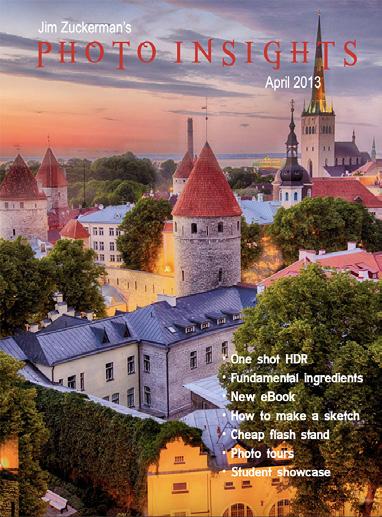
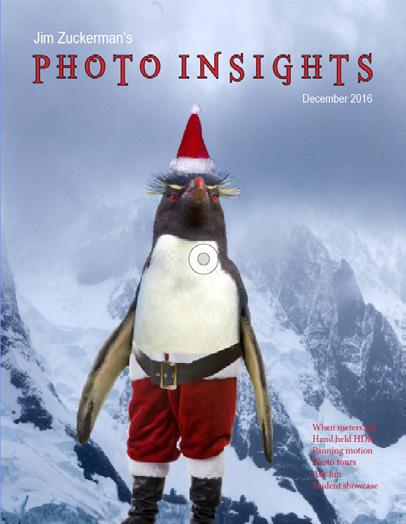
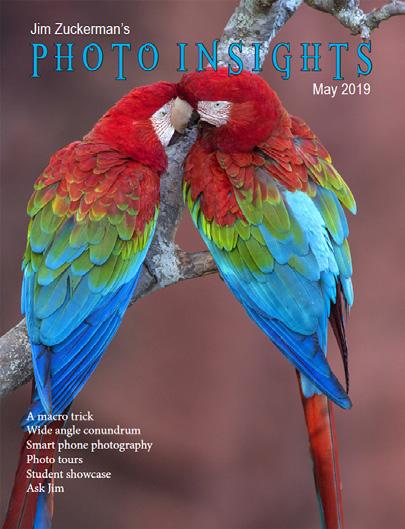
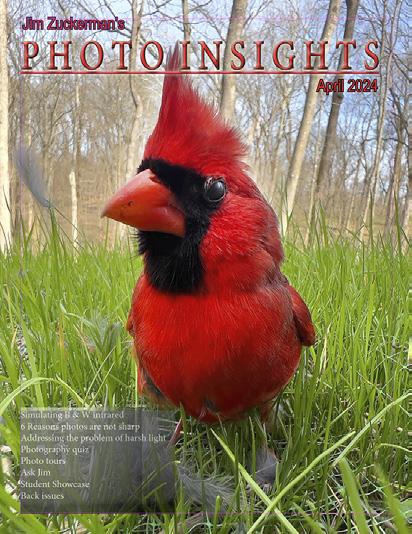
April 2024
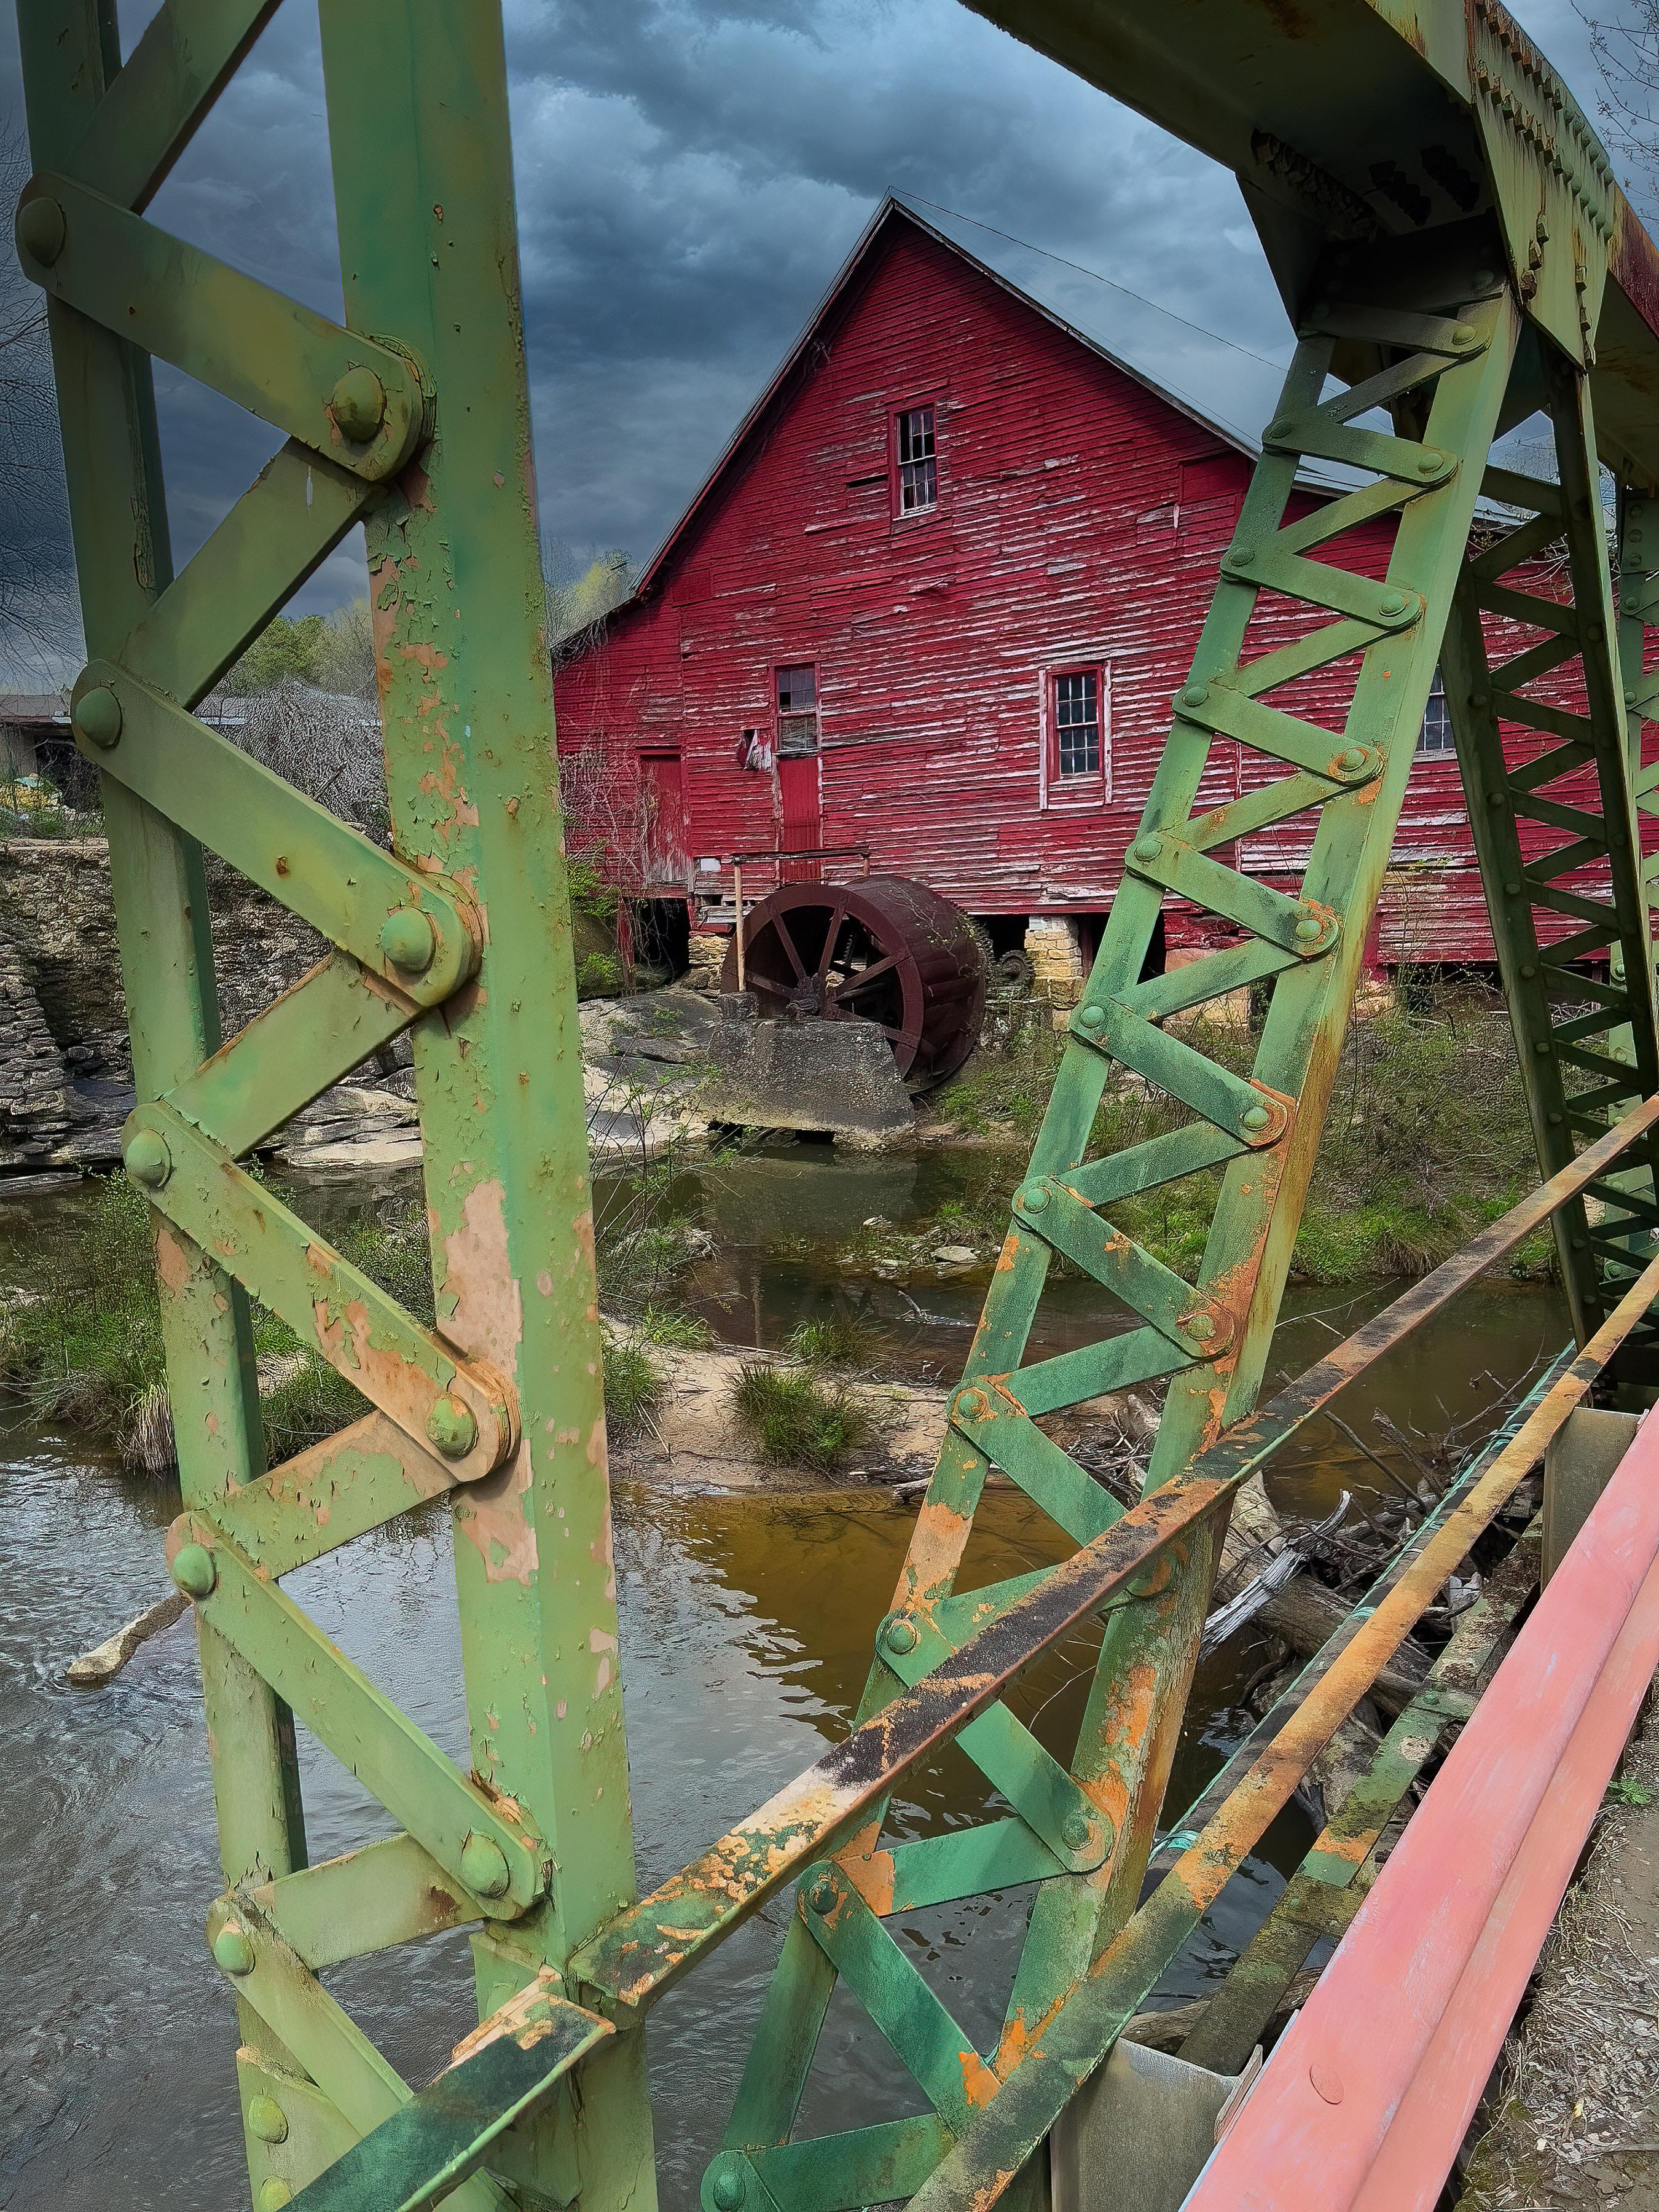
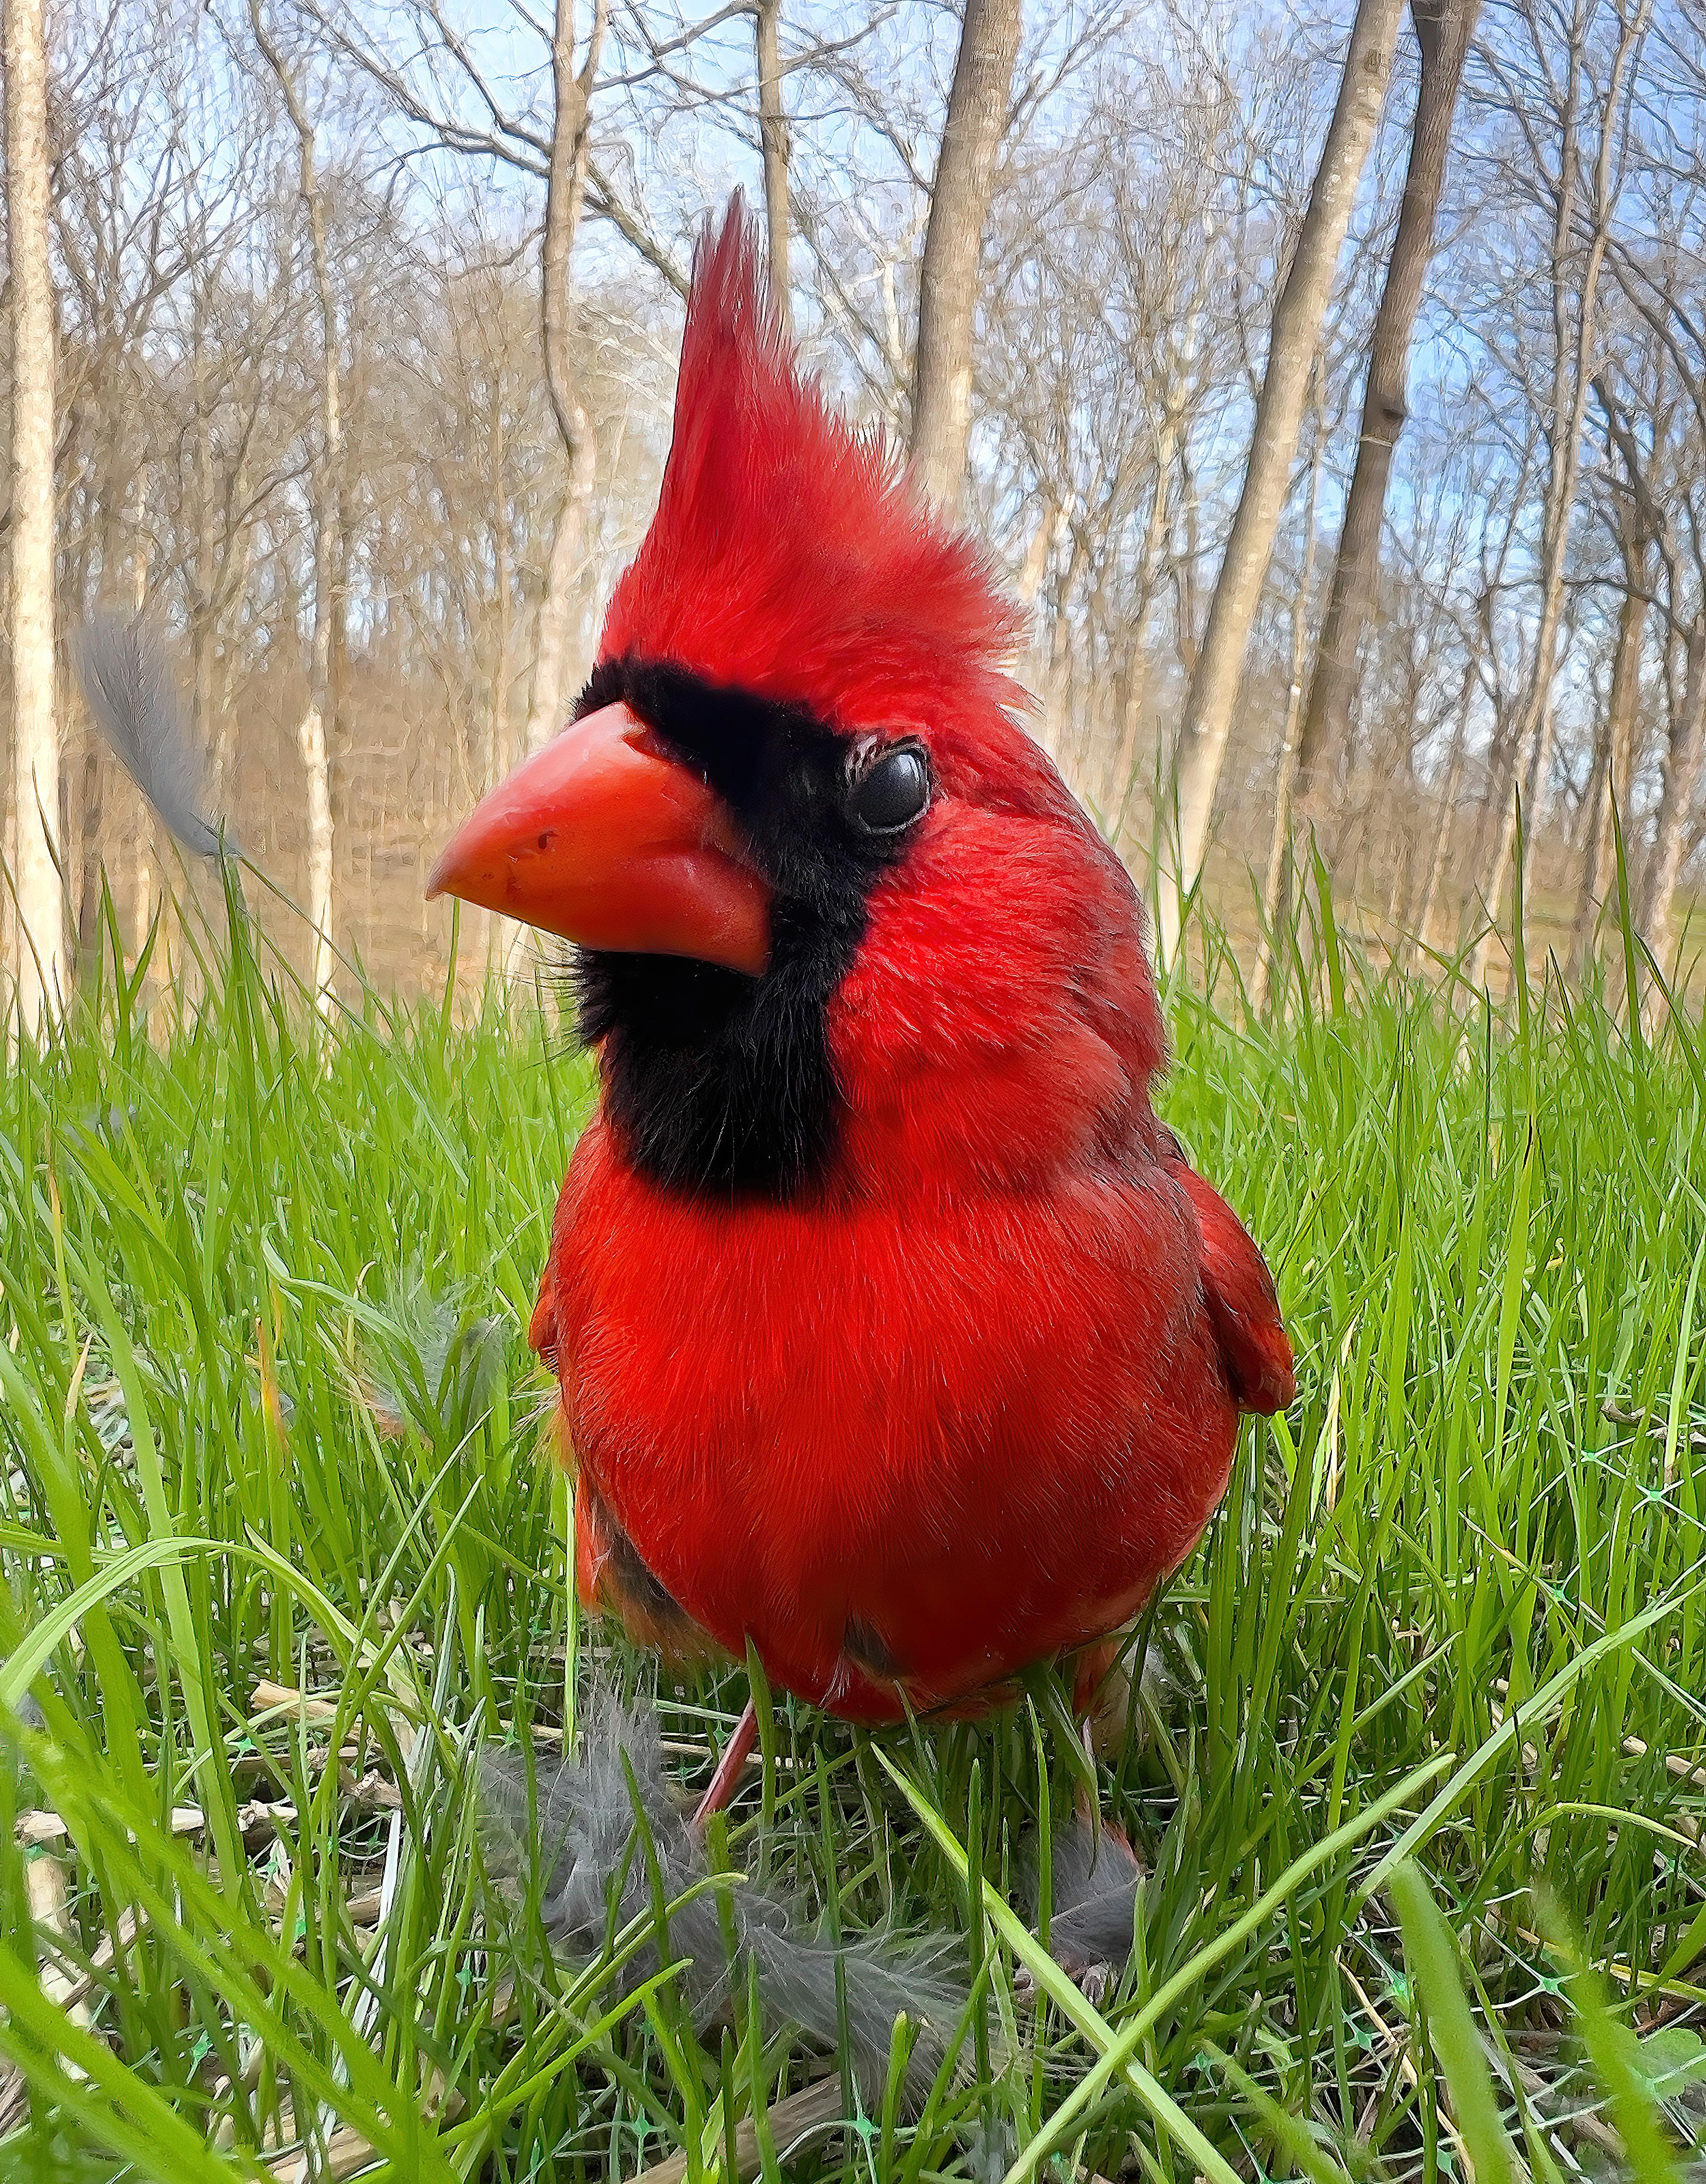
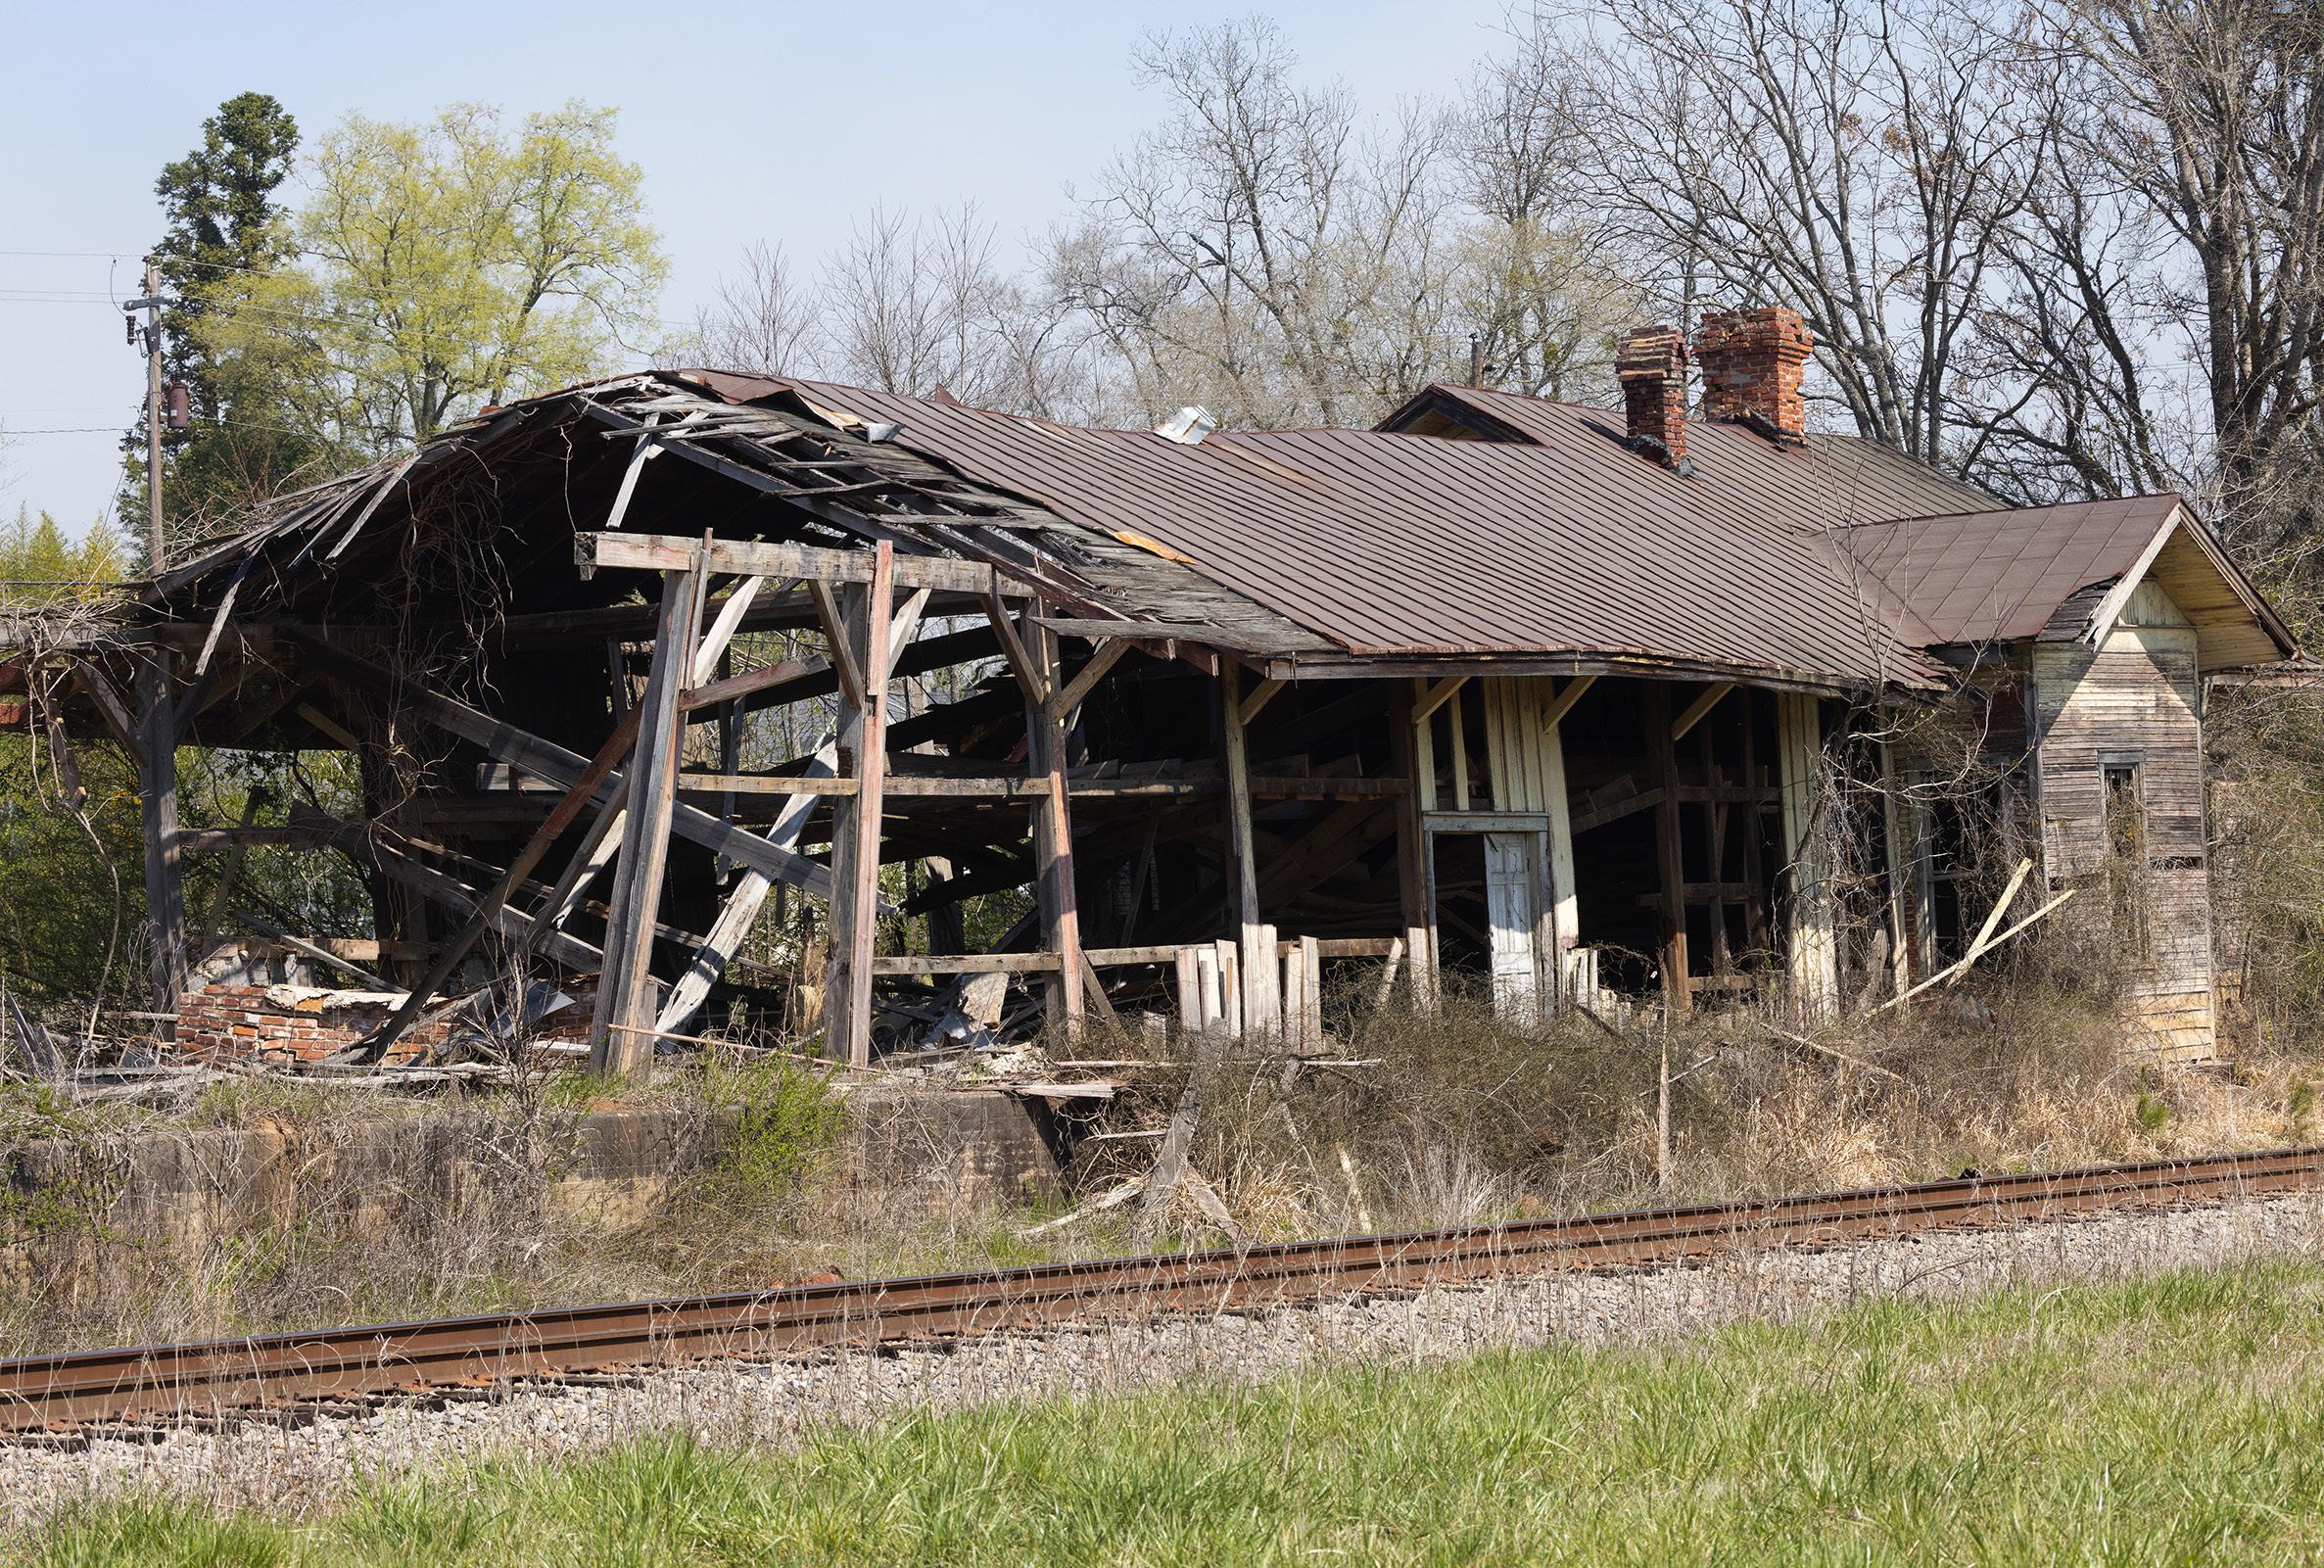
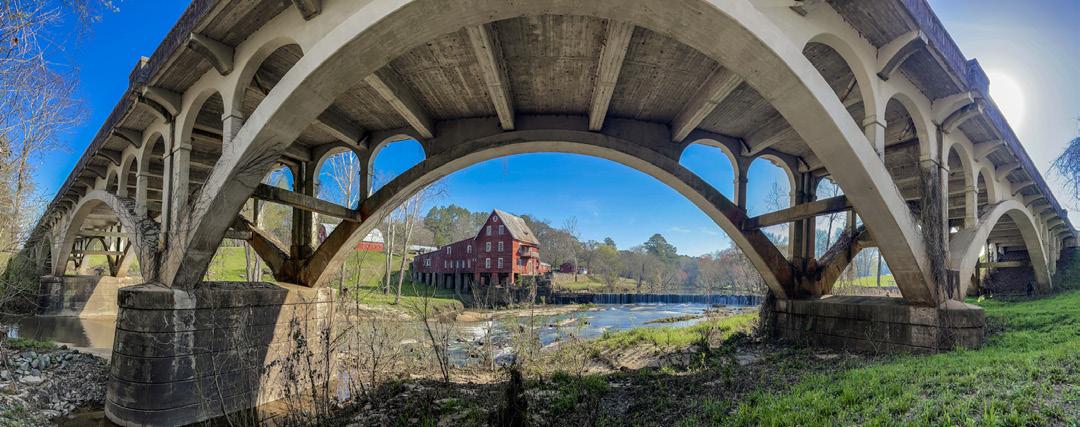
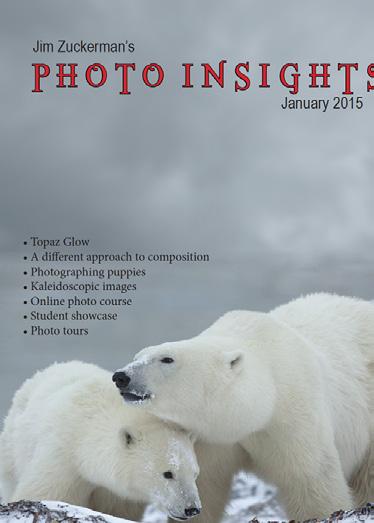
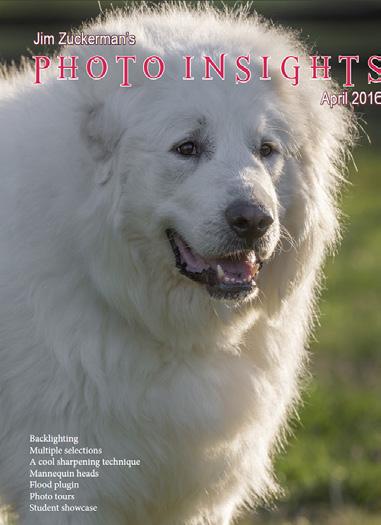
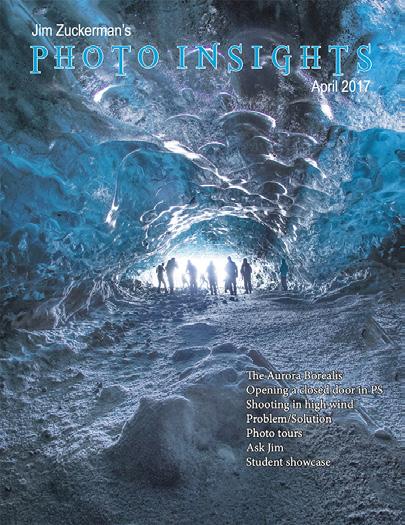
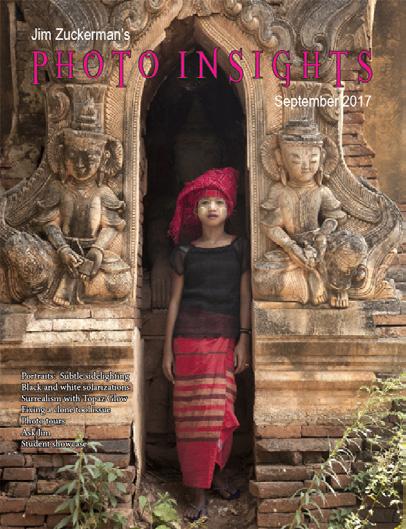
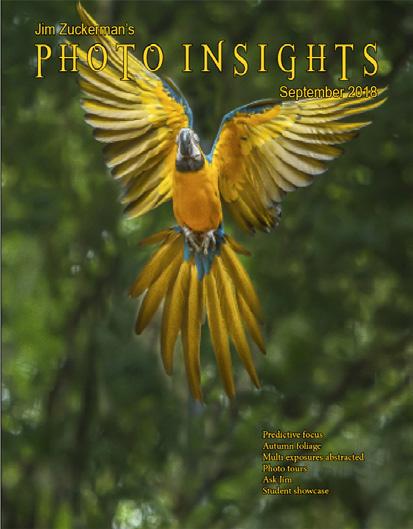
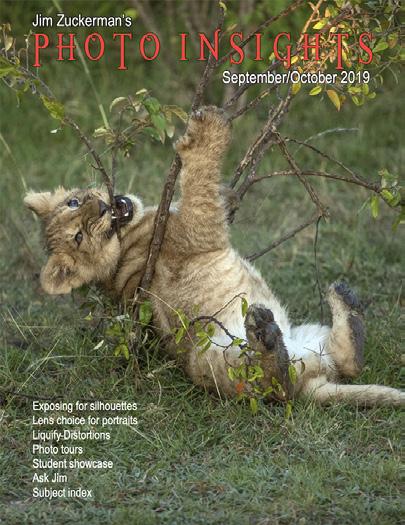
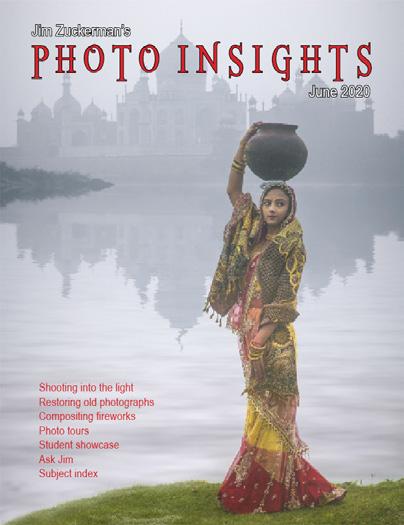
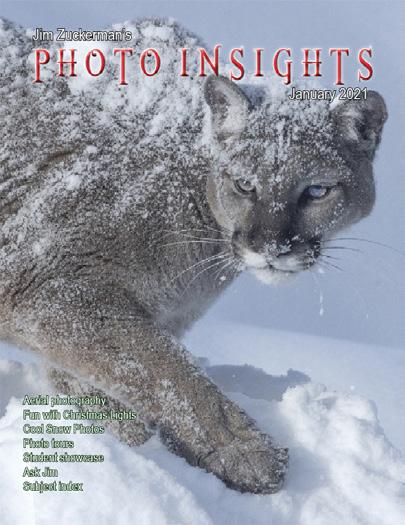
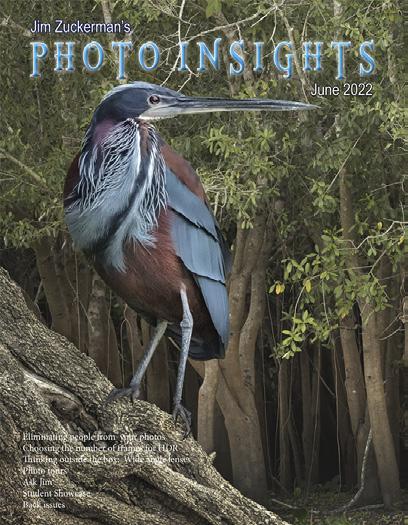
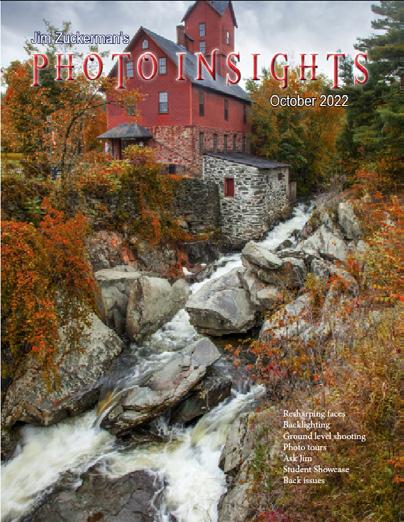
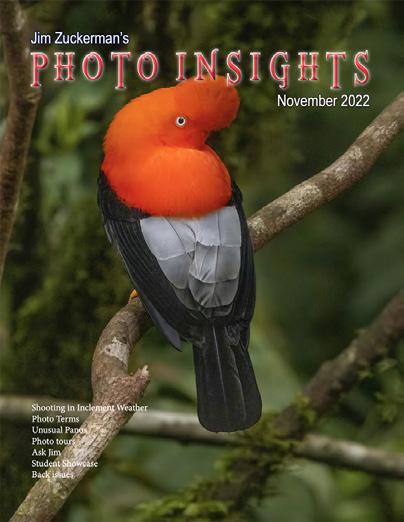
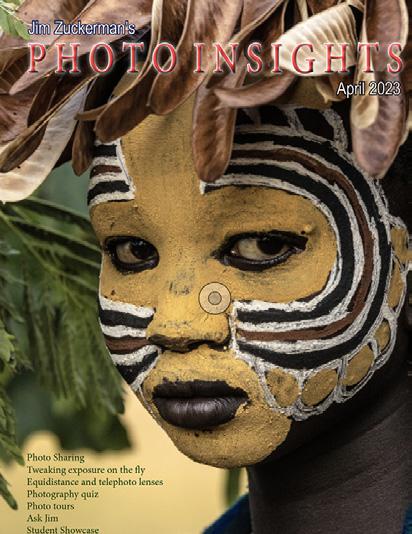
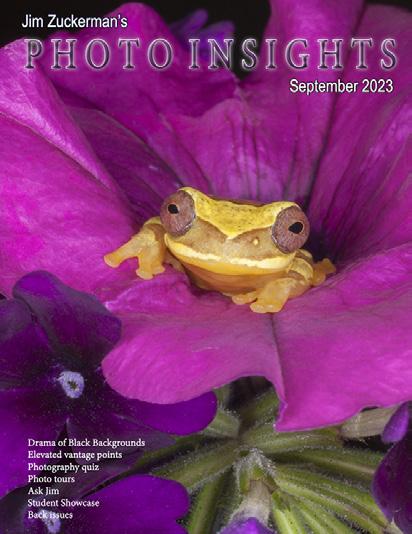
On the cover: A male cardinal allowing an unusually close approach taken from ground level with a wide angle lens. This page: The ruins of a 19th century grist mill photographed during Jim’s Abandoned in Georgia photo tour.
2 Table of Contents
Simulating B & W infrared 8. 6 reasons your photos are not sharp 14. Addressing the problem of harsh light 17. Photography quiz 19. Jim’s eBooks 22. What’s wrong with this picture? 25. Short and sweet 27. Ask Jim 28 Photography tours 30. Student Showcase 36. Past issues 43. Subject index
4.
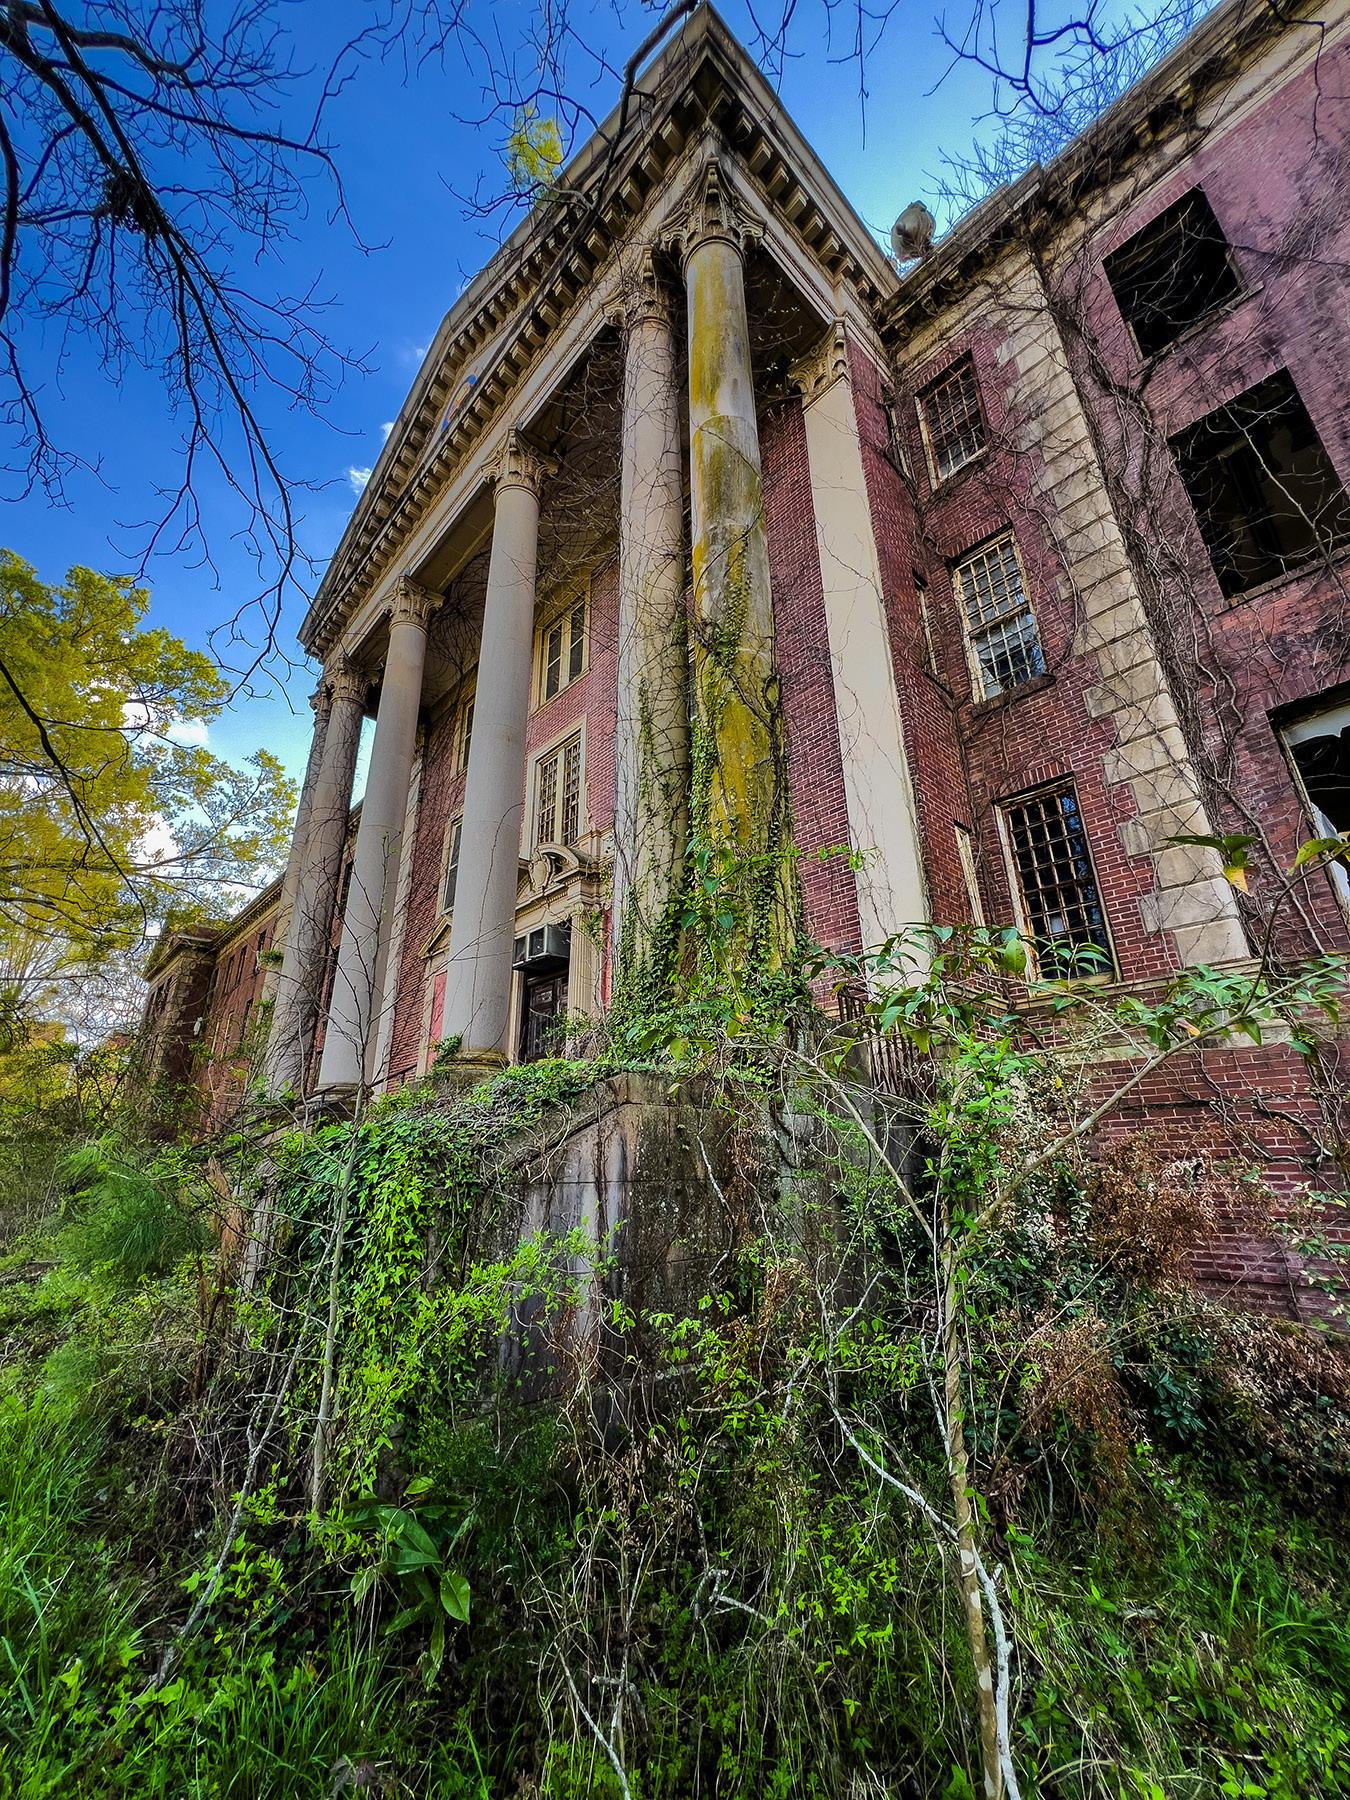
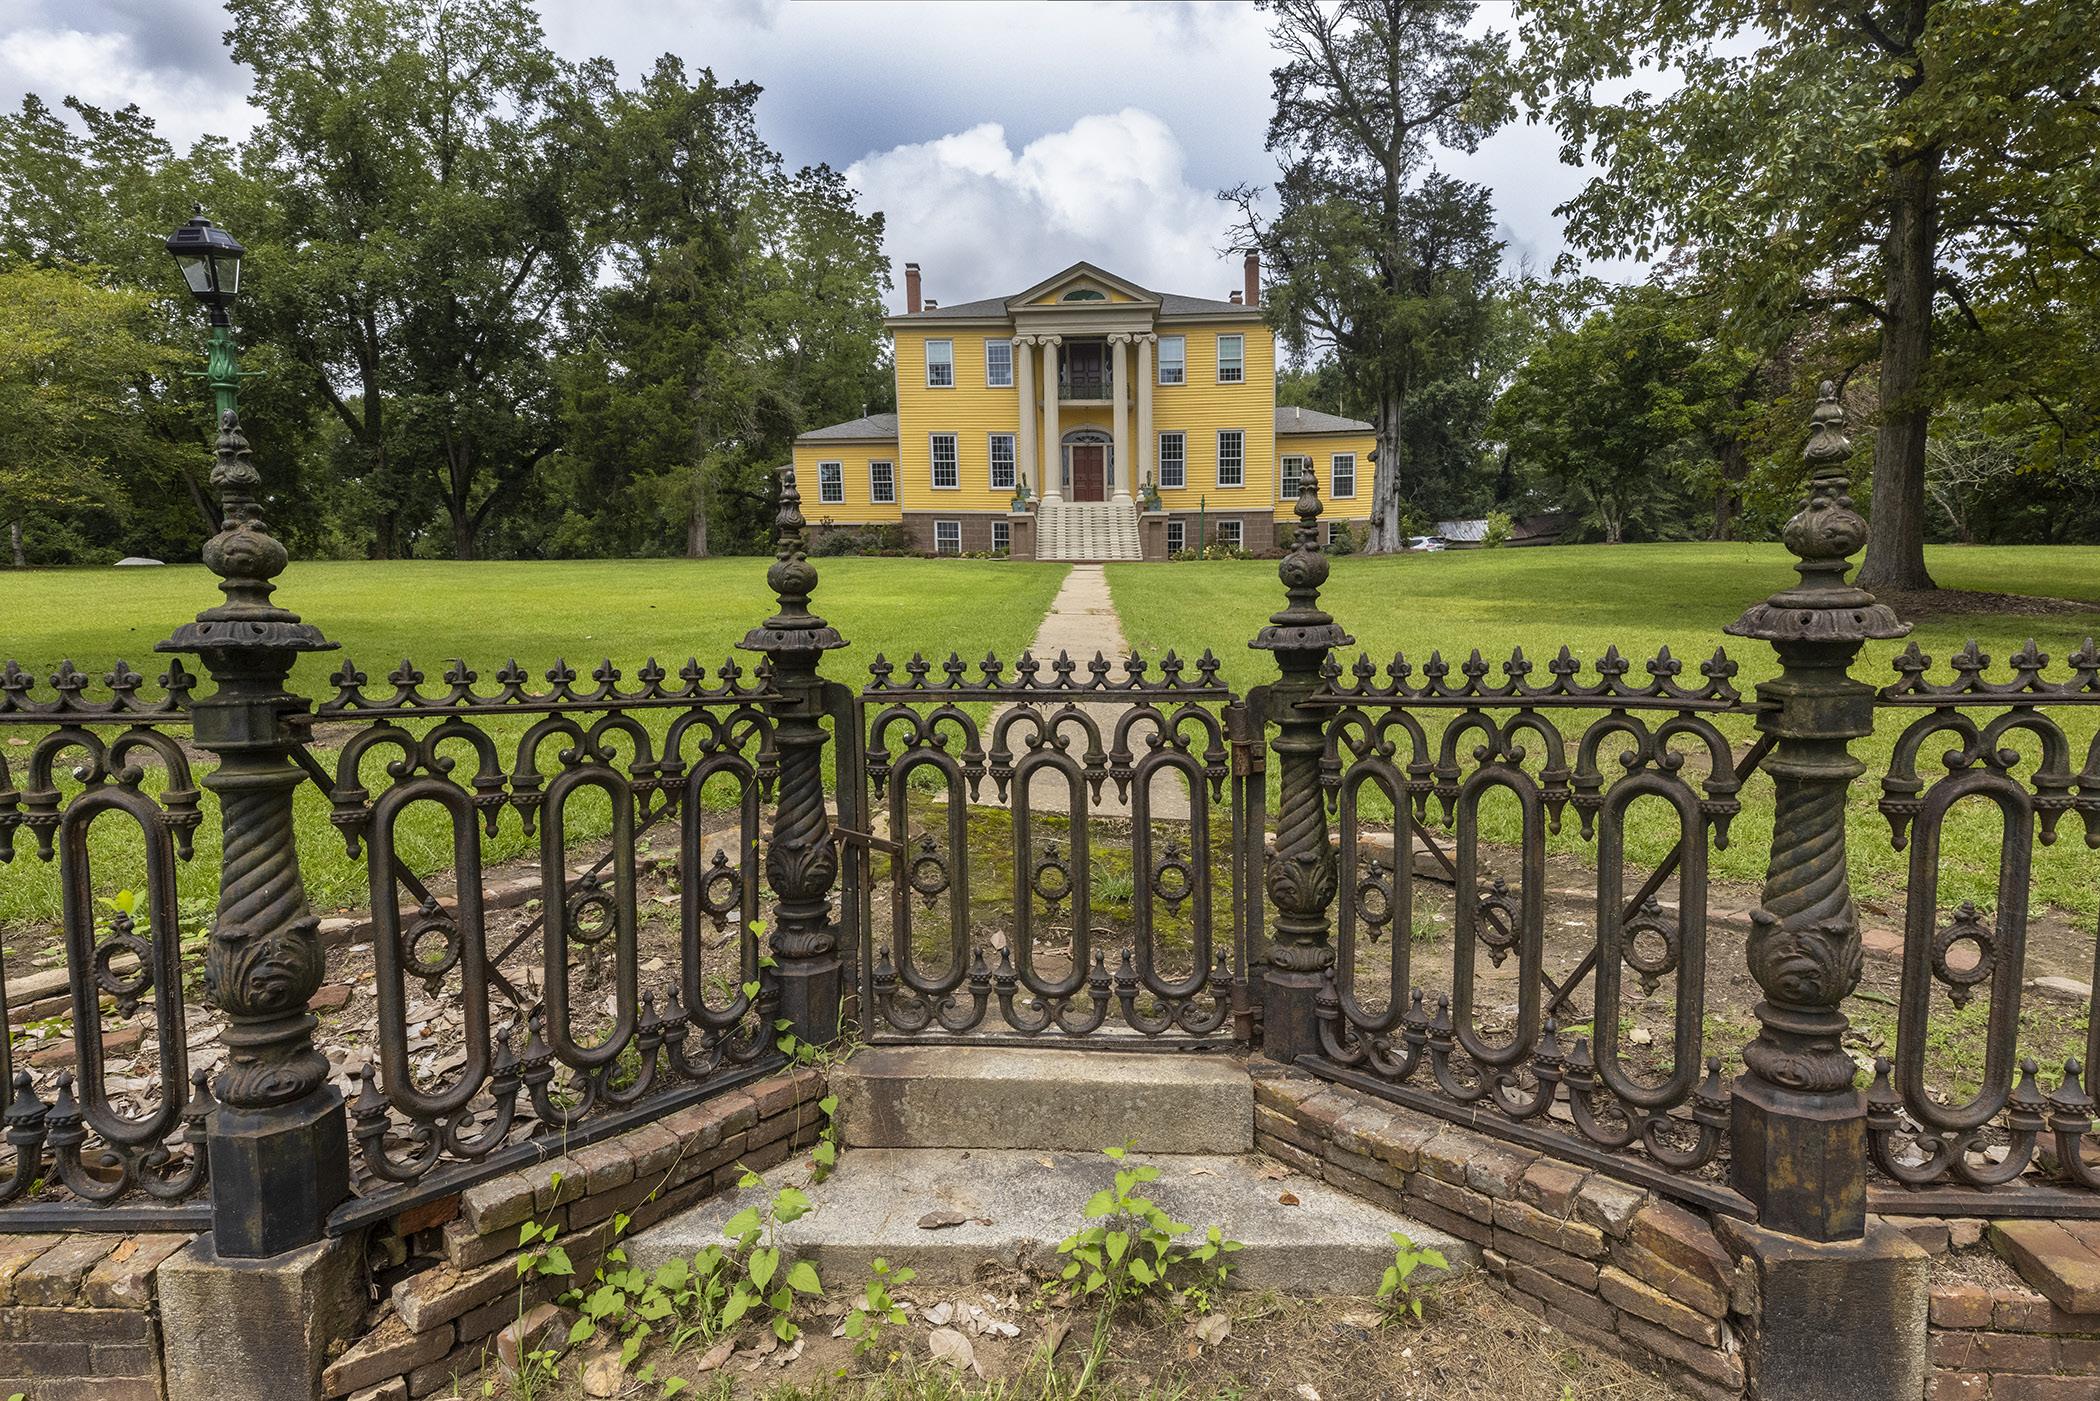
On my recent photo tour, “Abandoned in Georgia,” upon first seeing an abandoned plantation mansion as we parked in front of it, a woma commented that the photo of mine she’ had seen on my website made it look better than it was in reality. I’m not certain this was a compliment. Rather, I feel she was disappointed that the actual structure wasn’t as impressive as she had imagined.
But isn’t that what we photographers do? Make things, and people, look better than they are in reality? Fashion models wear gobs of makeup because without it, most of them are quite plain. Makeup, and professional lighting, makes them look a lot better. In photographing landscapes, architecture, wildlife, and pretty much everything else, we tweak contrast, add a sky, saturate color, use wide angle lenses to exaggerate perspective which emphasizes graphic lines, and choose a time of day when lighting is especially beautiful or dramatic with the ultimate goal of -- in essence -- improving upon reality. We want to make everything we shoot look better than it does, and this is true even if the subject already looks great.
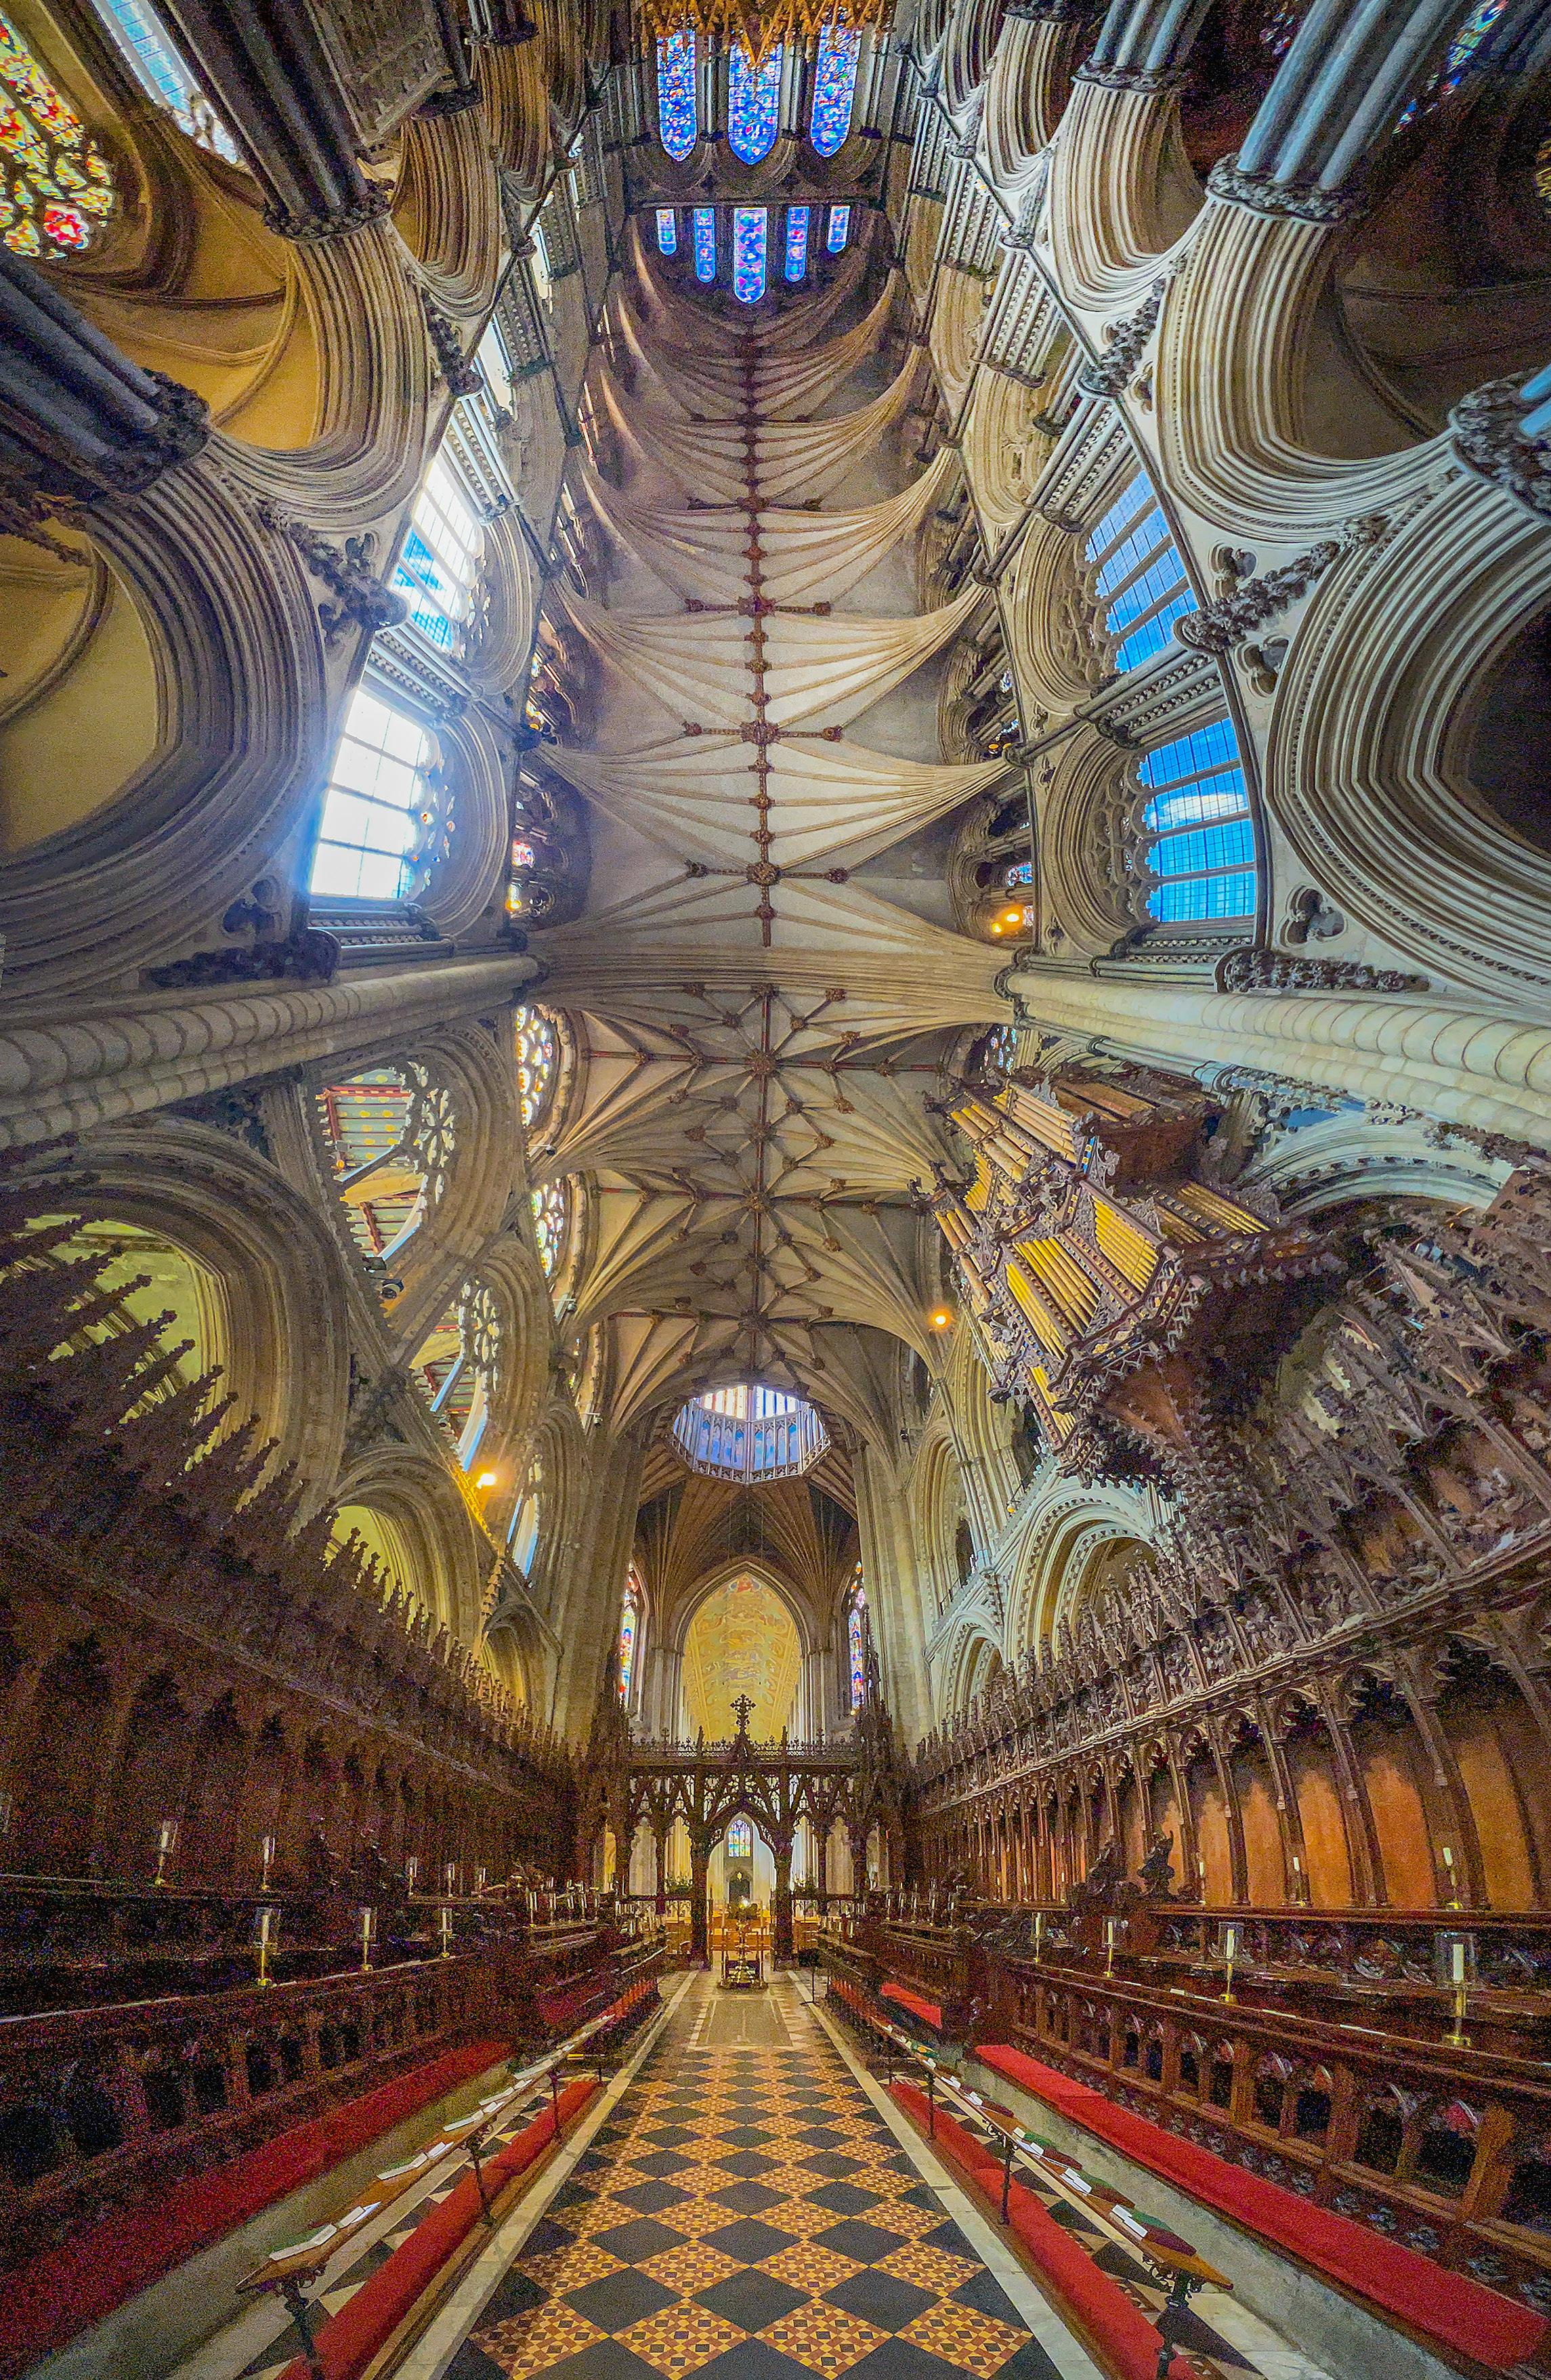
When I enter a stunning medieval cathedral, for example, I’m always overwhelmed by the artistry and the genius it took to create it. But the first thing I think about is how to photograph it so it looks even better than it does in reality. The same is true for everything. That’s been my entire orientation to photography, and it’s how all well-known photographers have approached this art form. Think about what the famous American Civil War photographer, Matthew Brady, did. For ‘compositional purposes’ -- arranging dead soldiers after a horrendous battle.
My photography tours, this eMagazine, and all of my online courses as well as my public speaking engagements to camera clubs are devoted to using the camera, and post-processing, to making reality more artistic. That’s as it should be.
Jim Zuckerman
photos@jimzuckerman.com
www.jimzuckerman.com
3
Black & white infrared Simulating
For many years I considered converting one of my camera bodies so it would only shoot infrared. Back in the day, photographers used both color as well as black and white infrared film, but with the advent of digital photography it was necessary to pay for a conversion from normative color to IR. In the end, I decided not to convert a camera for two reasons: 1) It would require carrying an extra camera body -- I’m trying to lighten my load, not increase it -- and 2) even though I like the look of infrared black and white, I didn’t think I’d shoot it enough to
warrant the cost of the conversion plus the additional weight and volume of carrying the additional body.
Thanks to Photoshop, we can now simulate the look of black and white infrared easily, quickly, and without burdening ourselves with more gear to carry in the field.
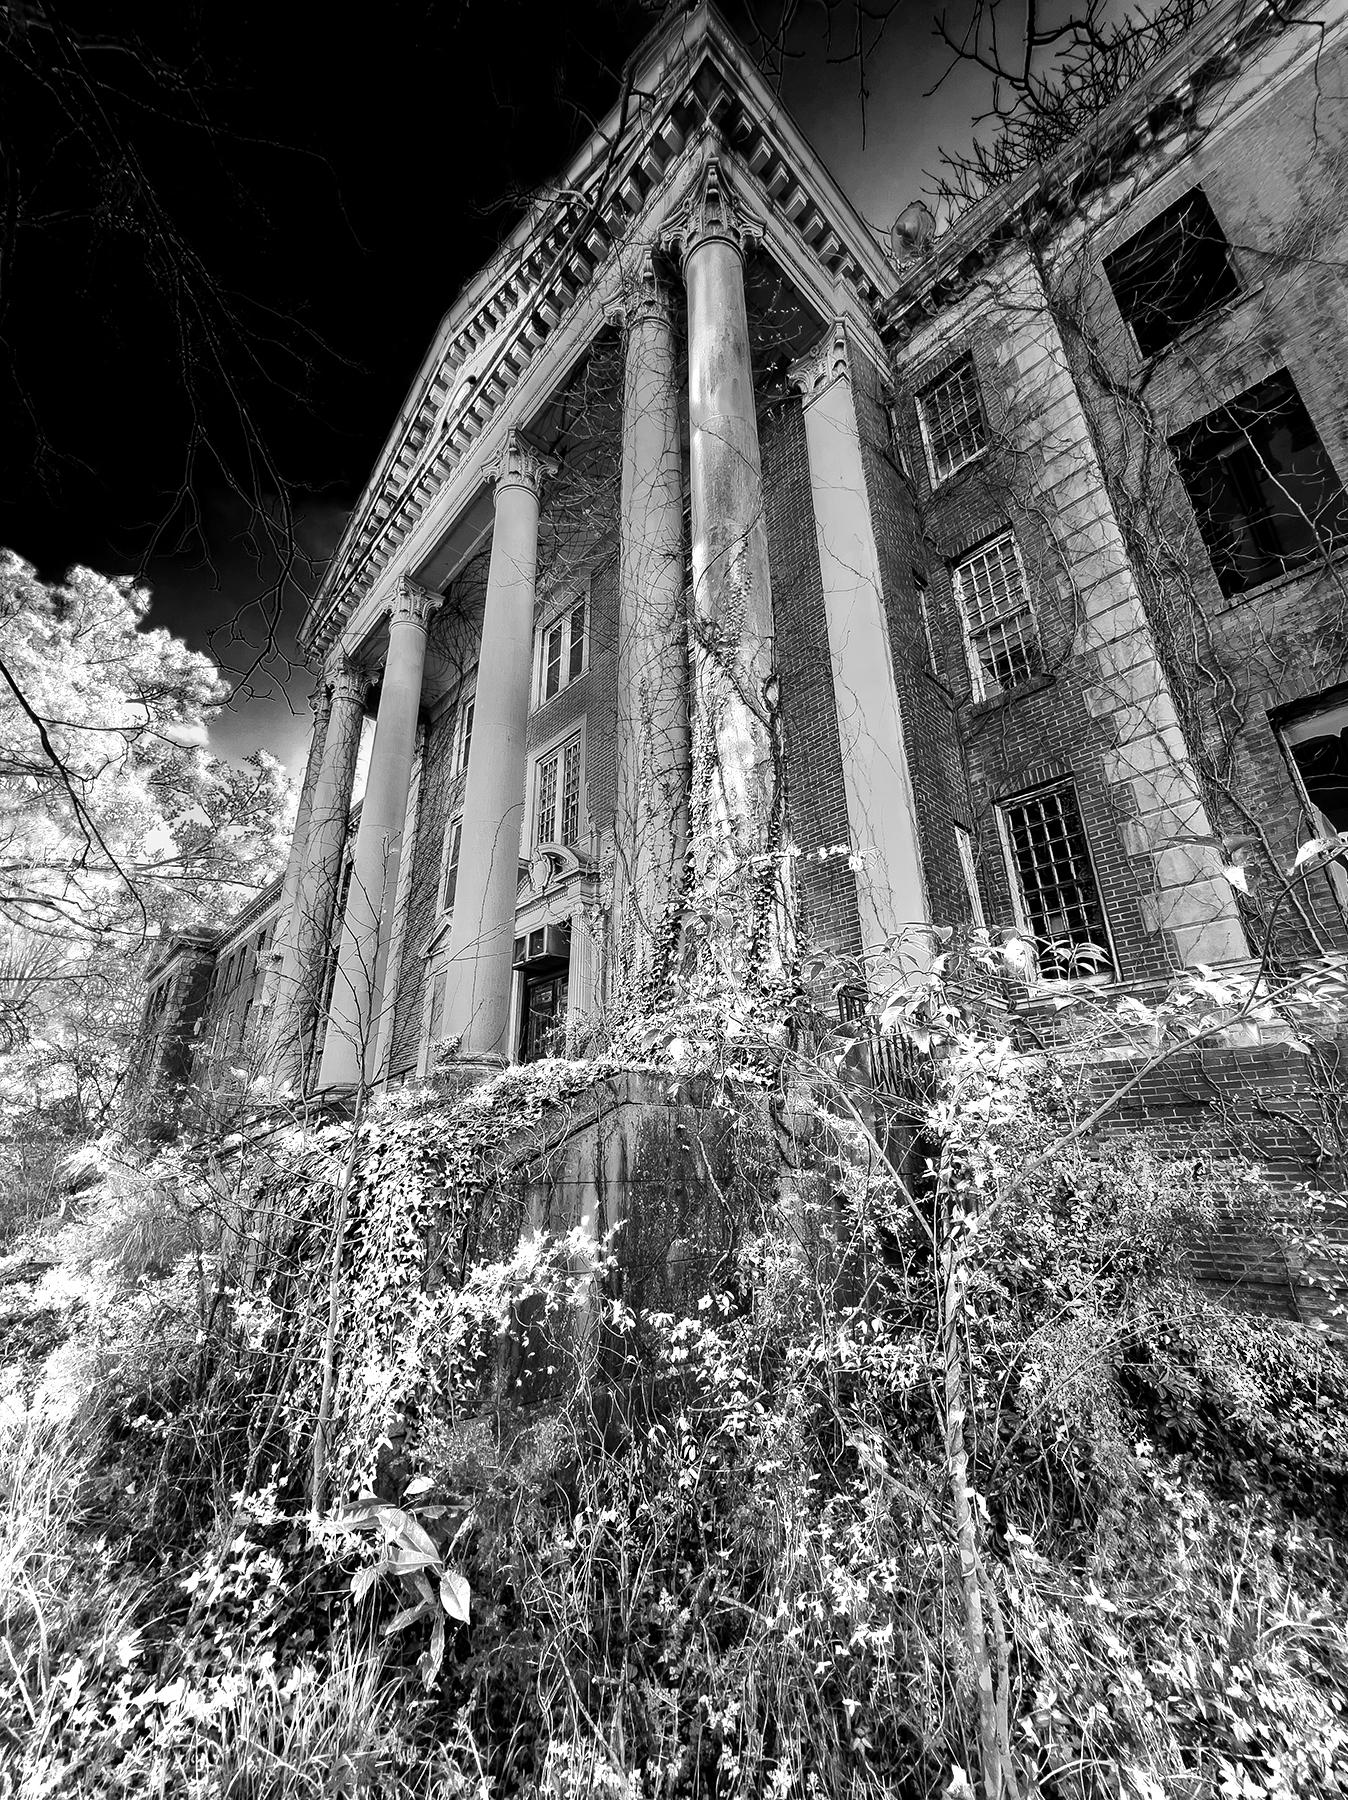
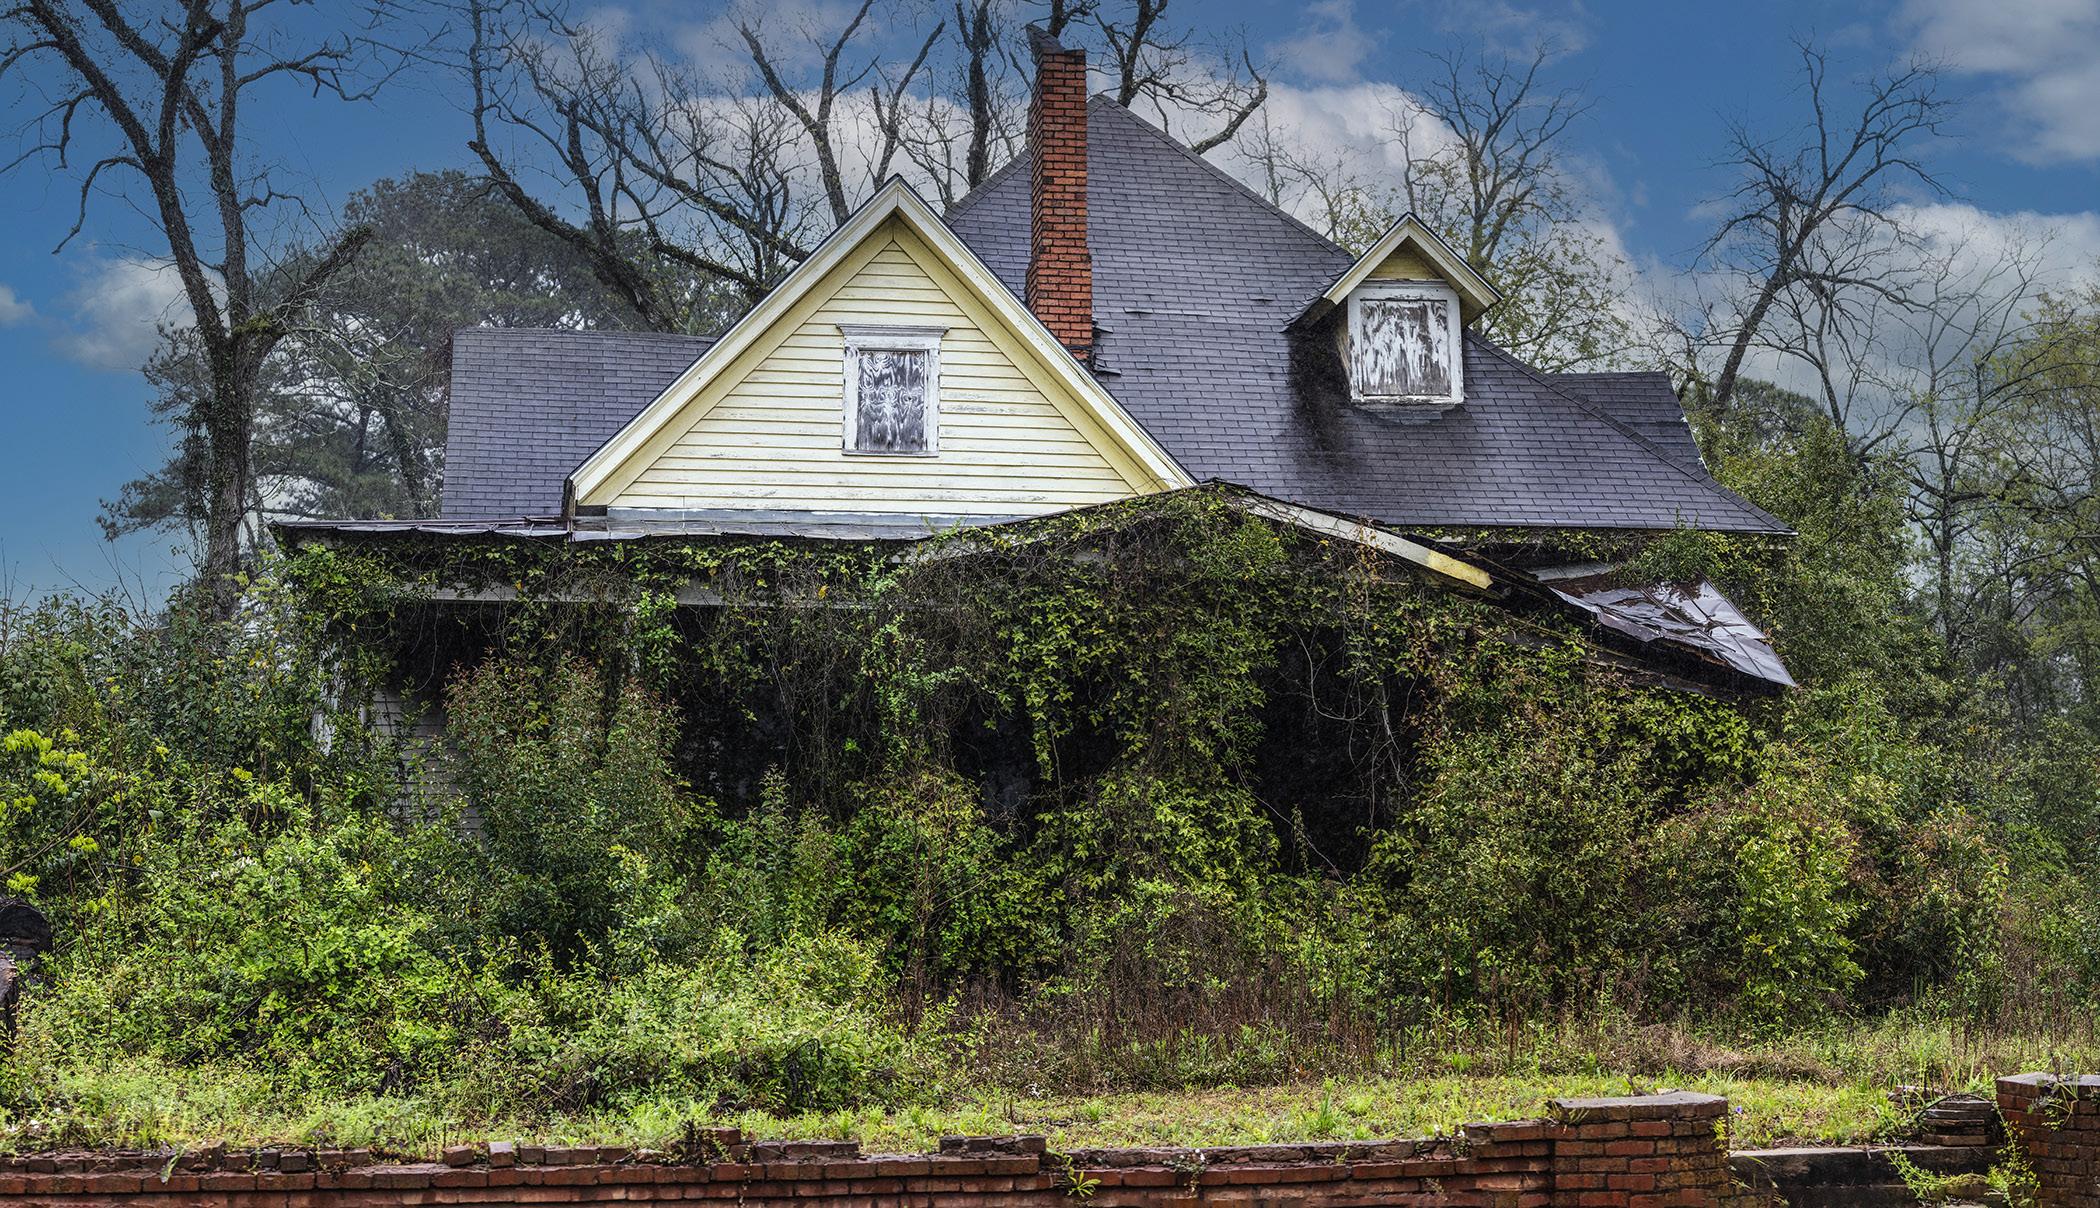
The main characteristics of monochromatic infrared that distinguishes it from regular black and white are black or unusually dark skies and white vegetation. You start with a color image,
4
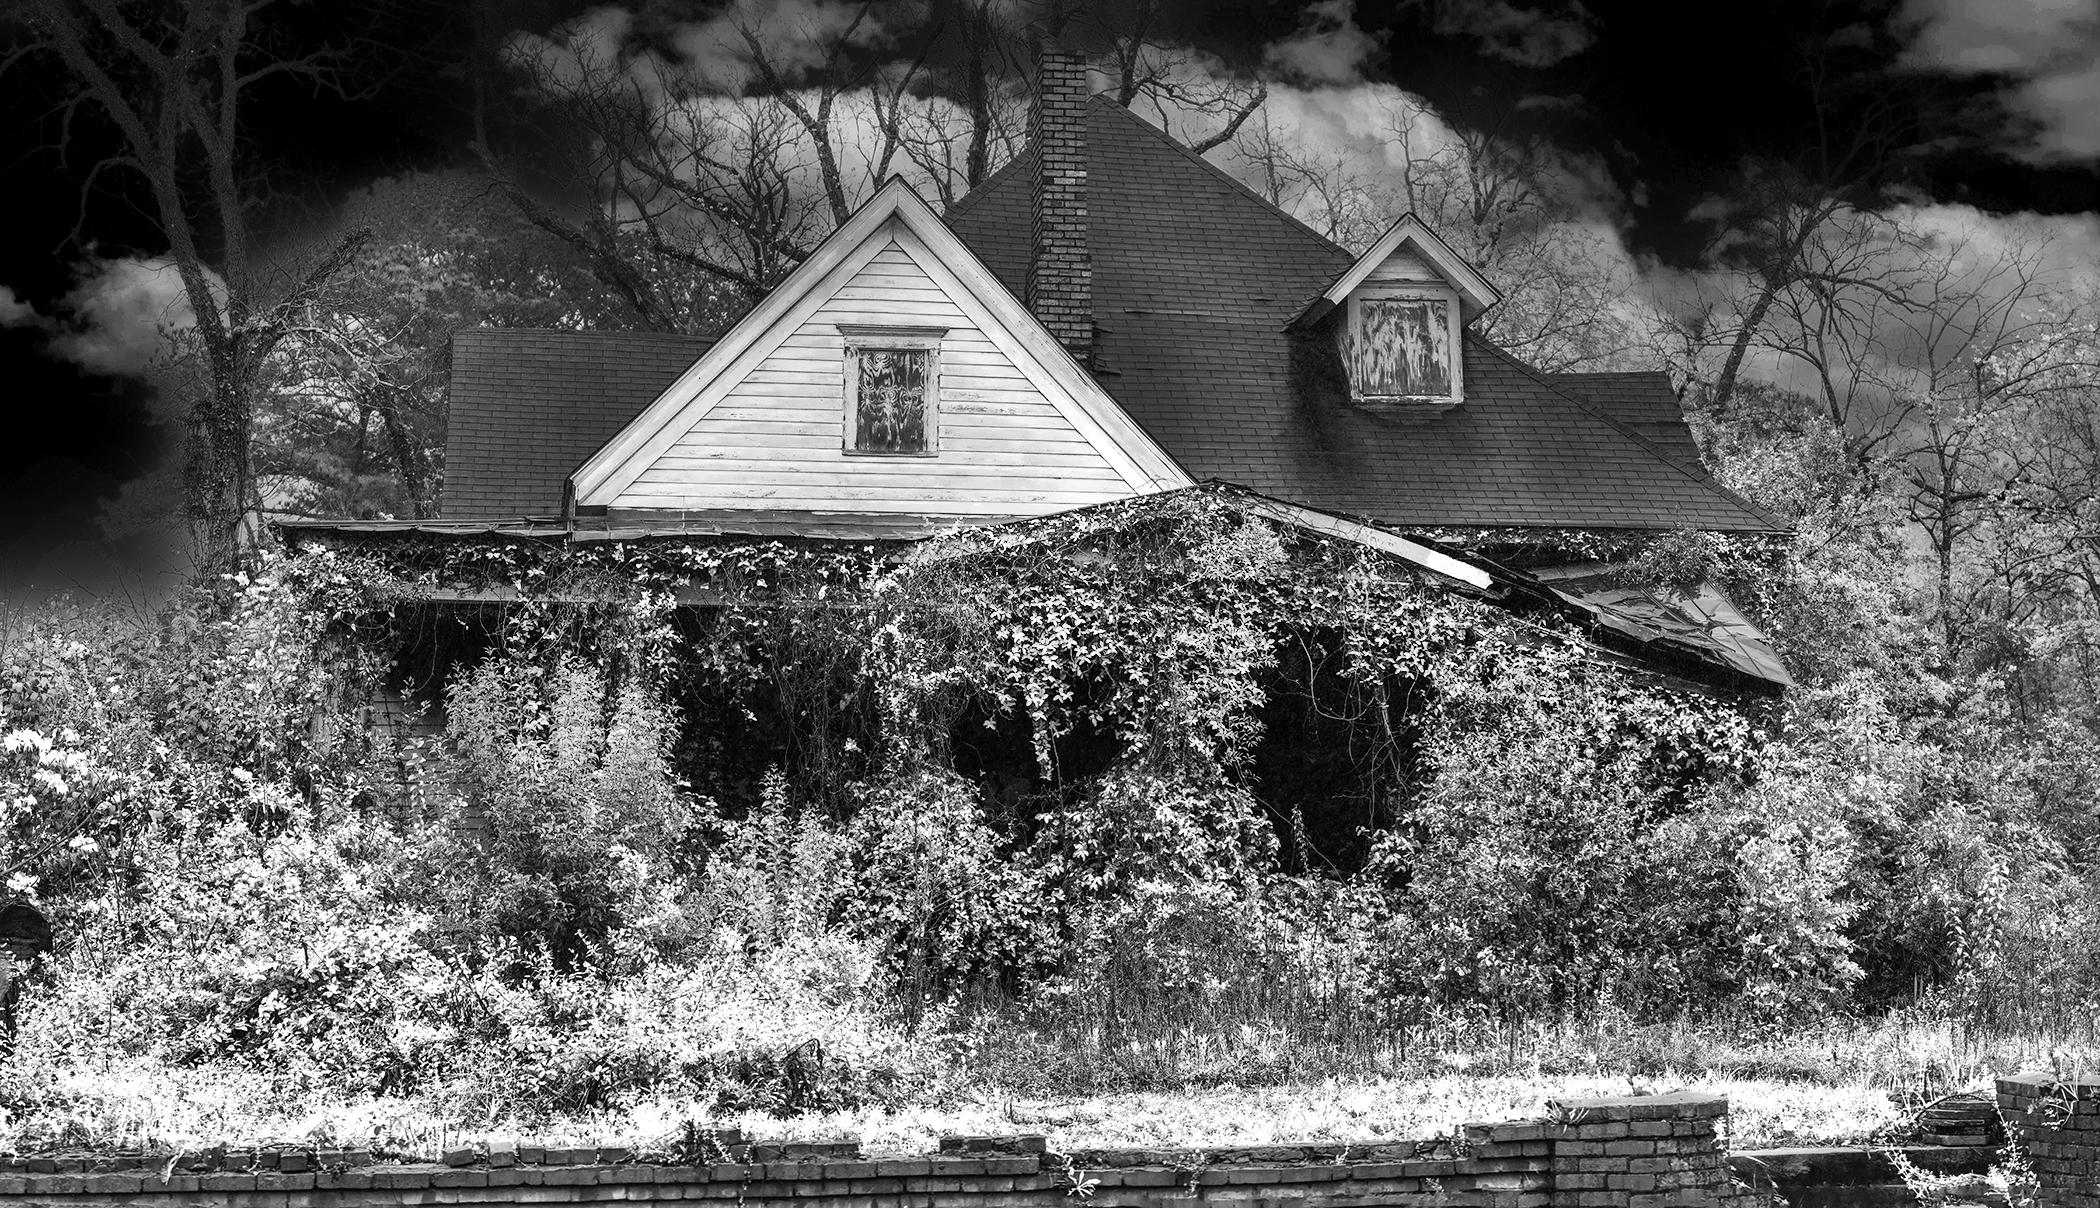
and then convert that into what looks like infra -red. The results are virtually identical to shooting with black and white infrared film
The procedure
There are three ways to convert color into black and white in Photoshop. If you want to retain
the RGB aspect of the files, use Image > adjustments > hue/saturation. In the dialog box, move the saturation slider all the way to the left. The image is now black and white.
To eliminate all the color information and end up with a grayscale image, use Image > mode > gray scale.
5
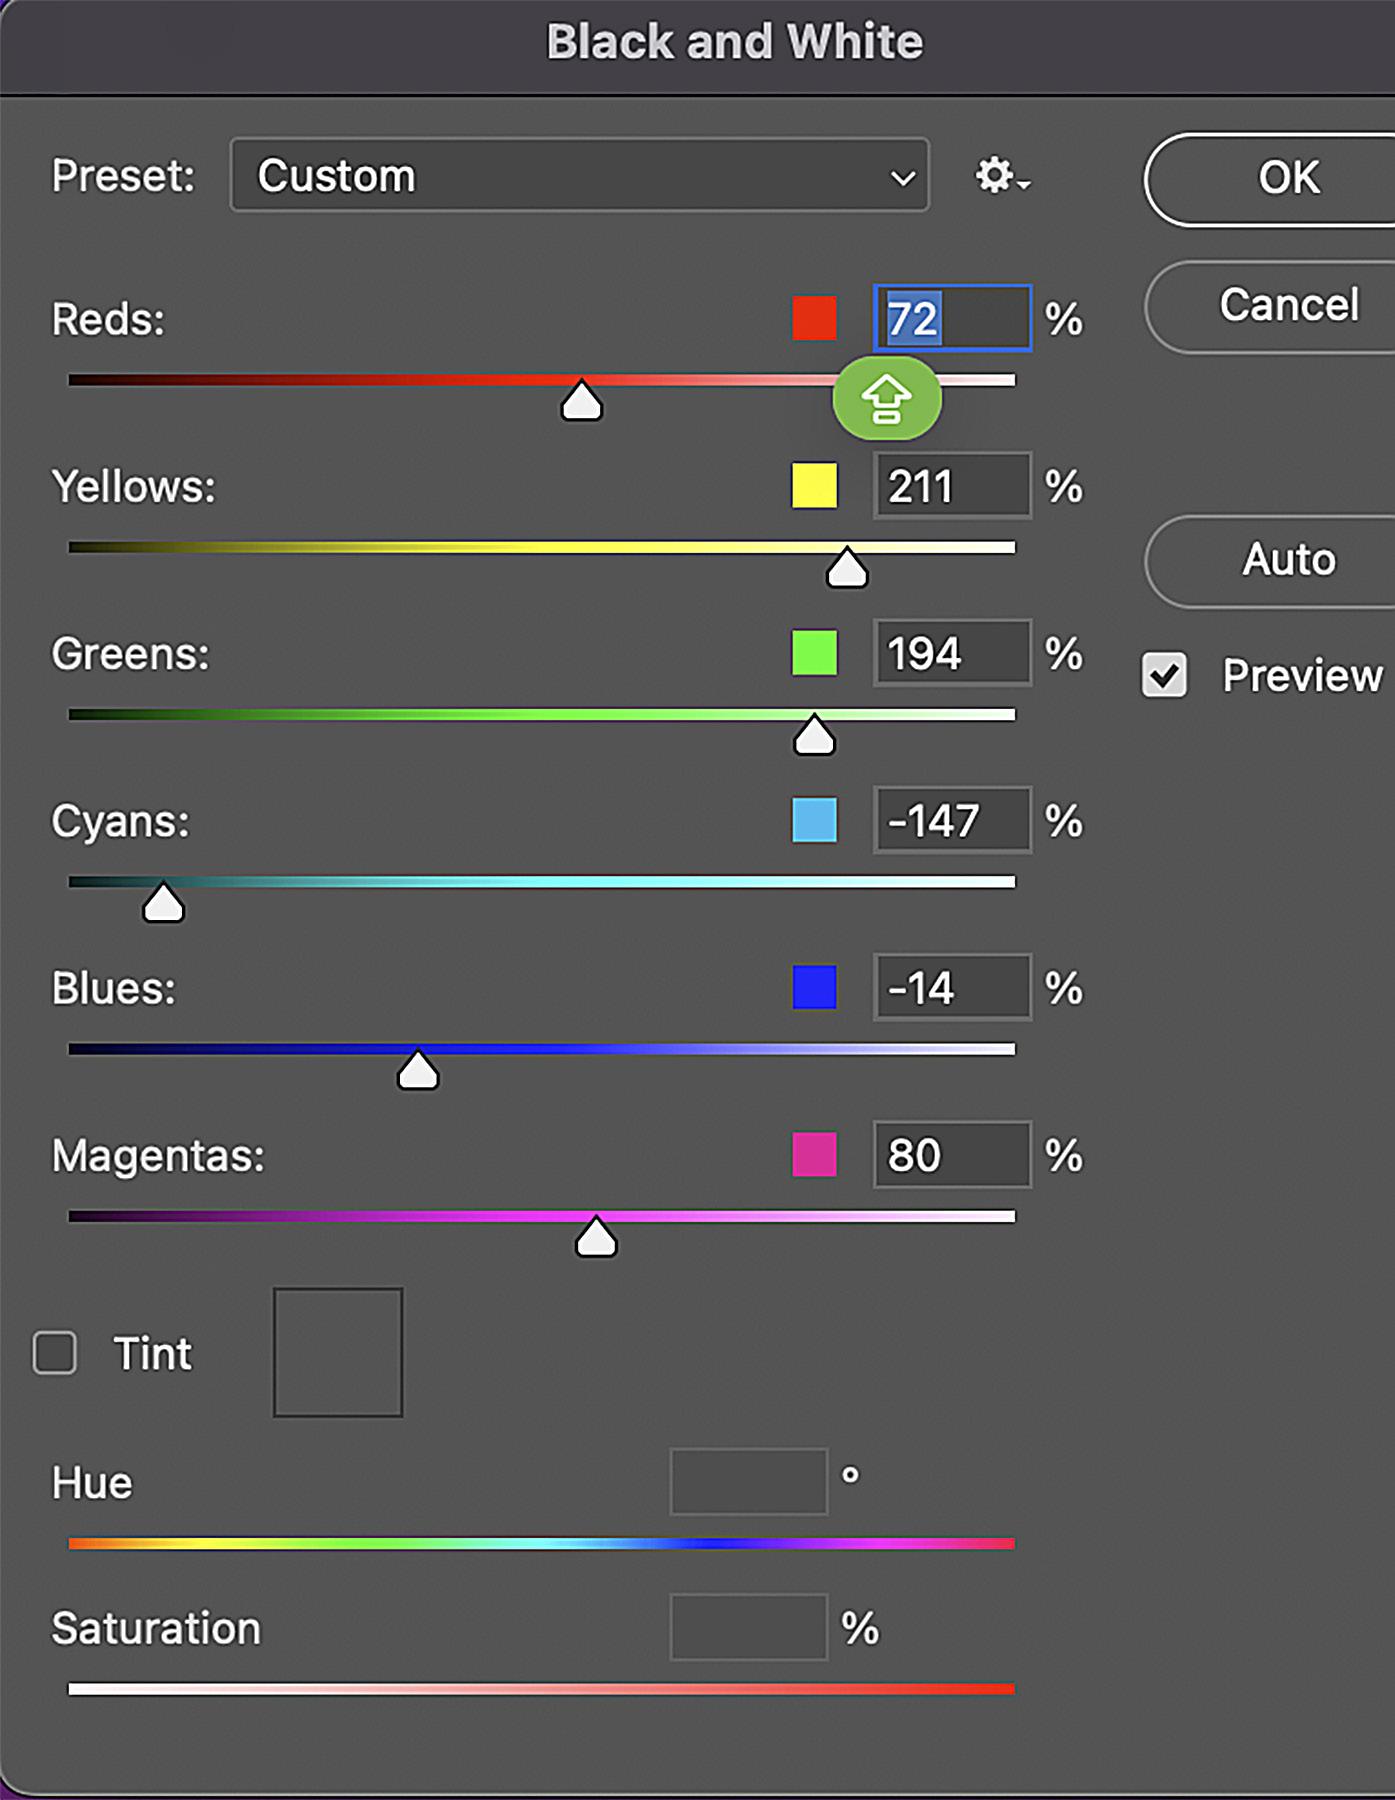
Alternatively, you can convert a color image to black and white with the Photoshop pulldown menu command, Image > adjustments > black and white. This is the one I prefer because it gives you maximum control over the tones in the image, and it’s the tool you have to use when simulating black and white infrared.
When you open the dialog box with this command, you’ll see several sliders in color, right. Even though your image will now appear completely black and white, behind the scenes it remains an RGB image. That means you can manipulate individual colors. However, the colors have been converted to monochromatic tones.
The conversion of the Georgia State Hospital in Milledgeville shown on page 4 -- this is one of the places visited on my “Abandoned in Georgia” photo tour -- was done using the slider positions shown at right. Notice that both the cyan and blue sliders were moved to the left, darkening those colors. That’s why in the resulting image on page 4 the sky is black. This shows the sky isn’t just one color; in fact, it’s a myriad number of shades of both blue and cyan.
Foliage is similarly nuanced with color. We think of leaves as being ‘green’, but in addition leaves are imbued with tones of yellow. Therefore, to turn spring and summer leaves into shimmering shades of white, indicative of infrared, you have to move both the green and the yellow sliders to the right.
If the image doesn’t have a particular col-
or, like magenta, moving that slider will have no effect on the photograph.
The two main changes to be made using the dialog box above, then, is to move the cyan and blue sliders to the left and the green and yellow sliders to the right.
The original black and white infrared film had a grain structure to it. If you want to simulate that, use Filter > noise > add noise. In the dialog box that opens, there is a slider that allows you to add as much as you want. Make sure you check the ‘monochromatic’ box. This means Photoshop will add noise devoid of color which is exactly what you want in black and white images. §
6
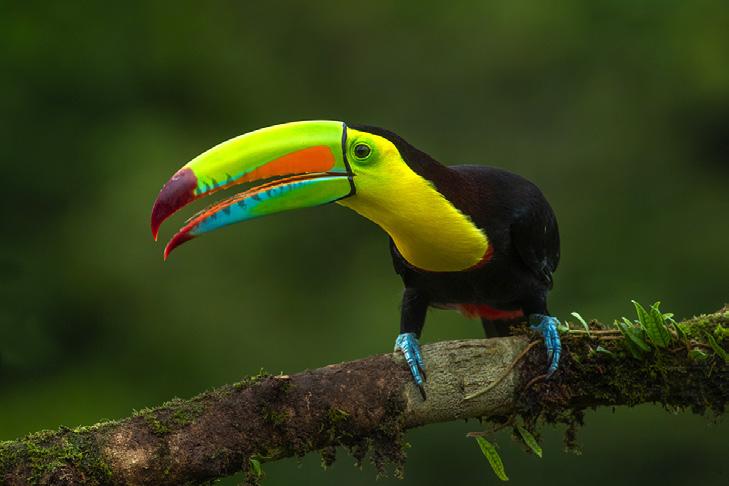
The Birds of Costa Rica
May 13 - 23, 2024y 13 - 23, 2024
7
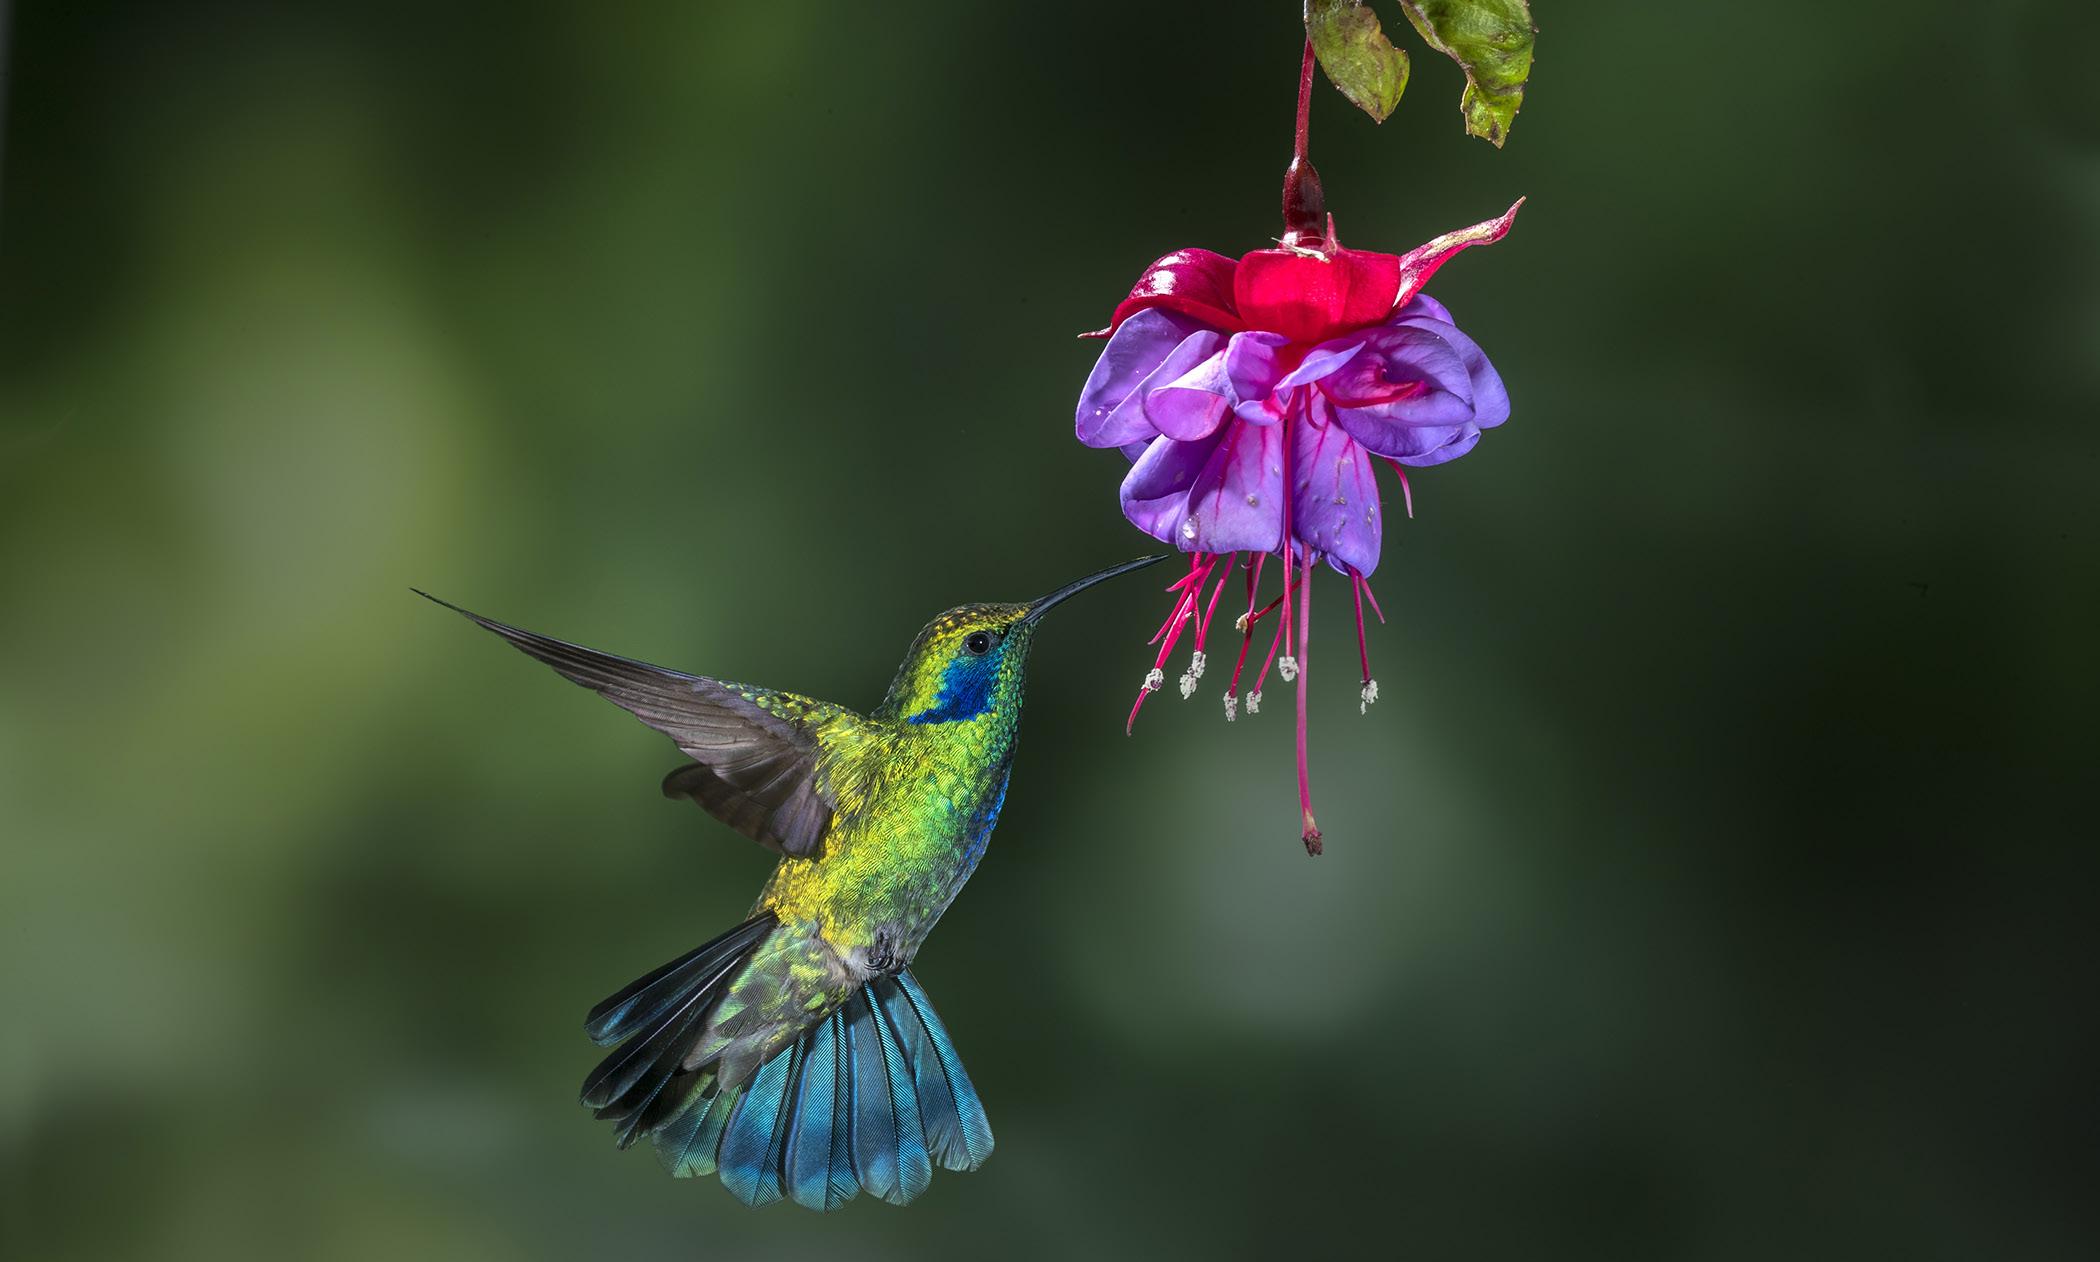
hummingbird
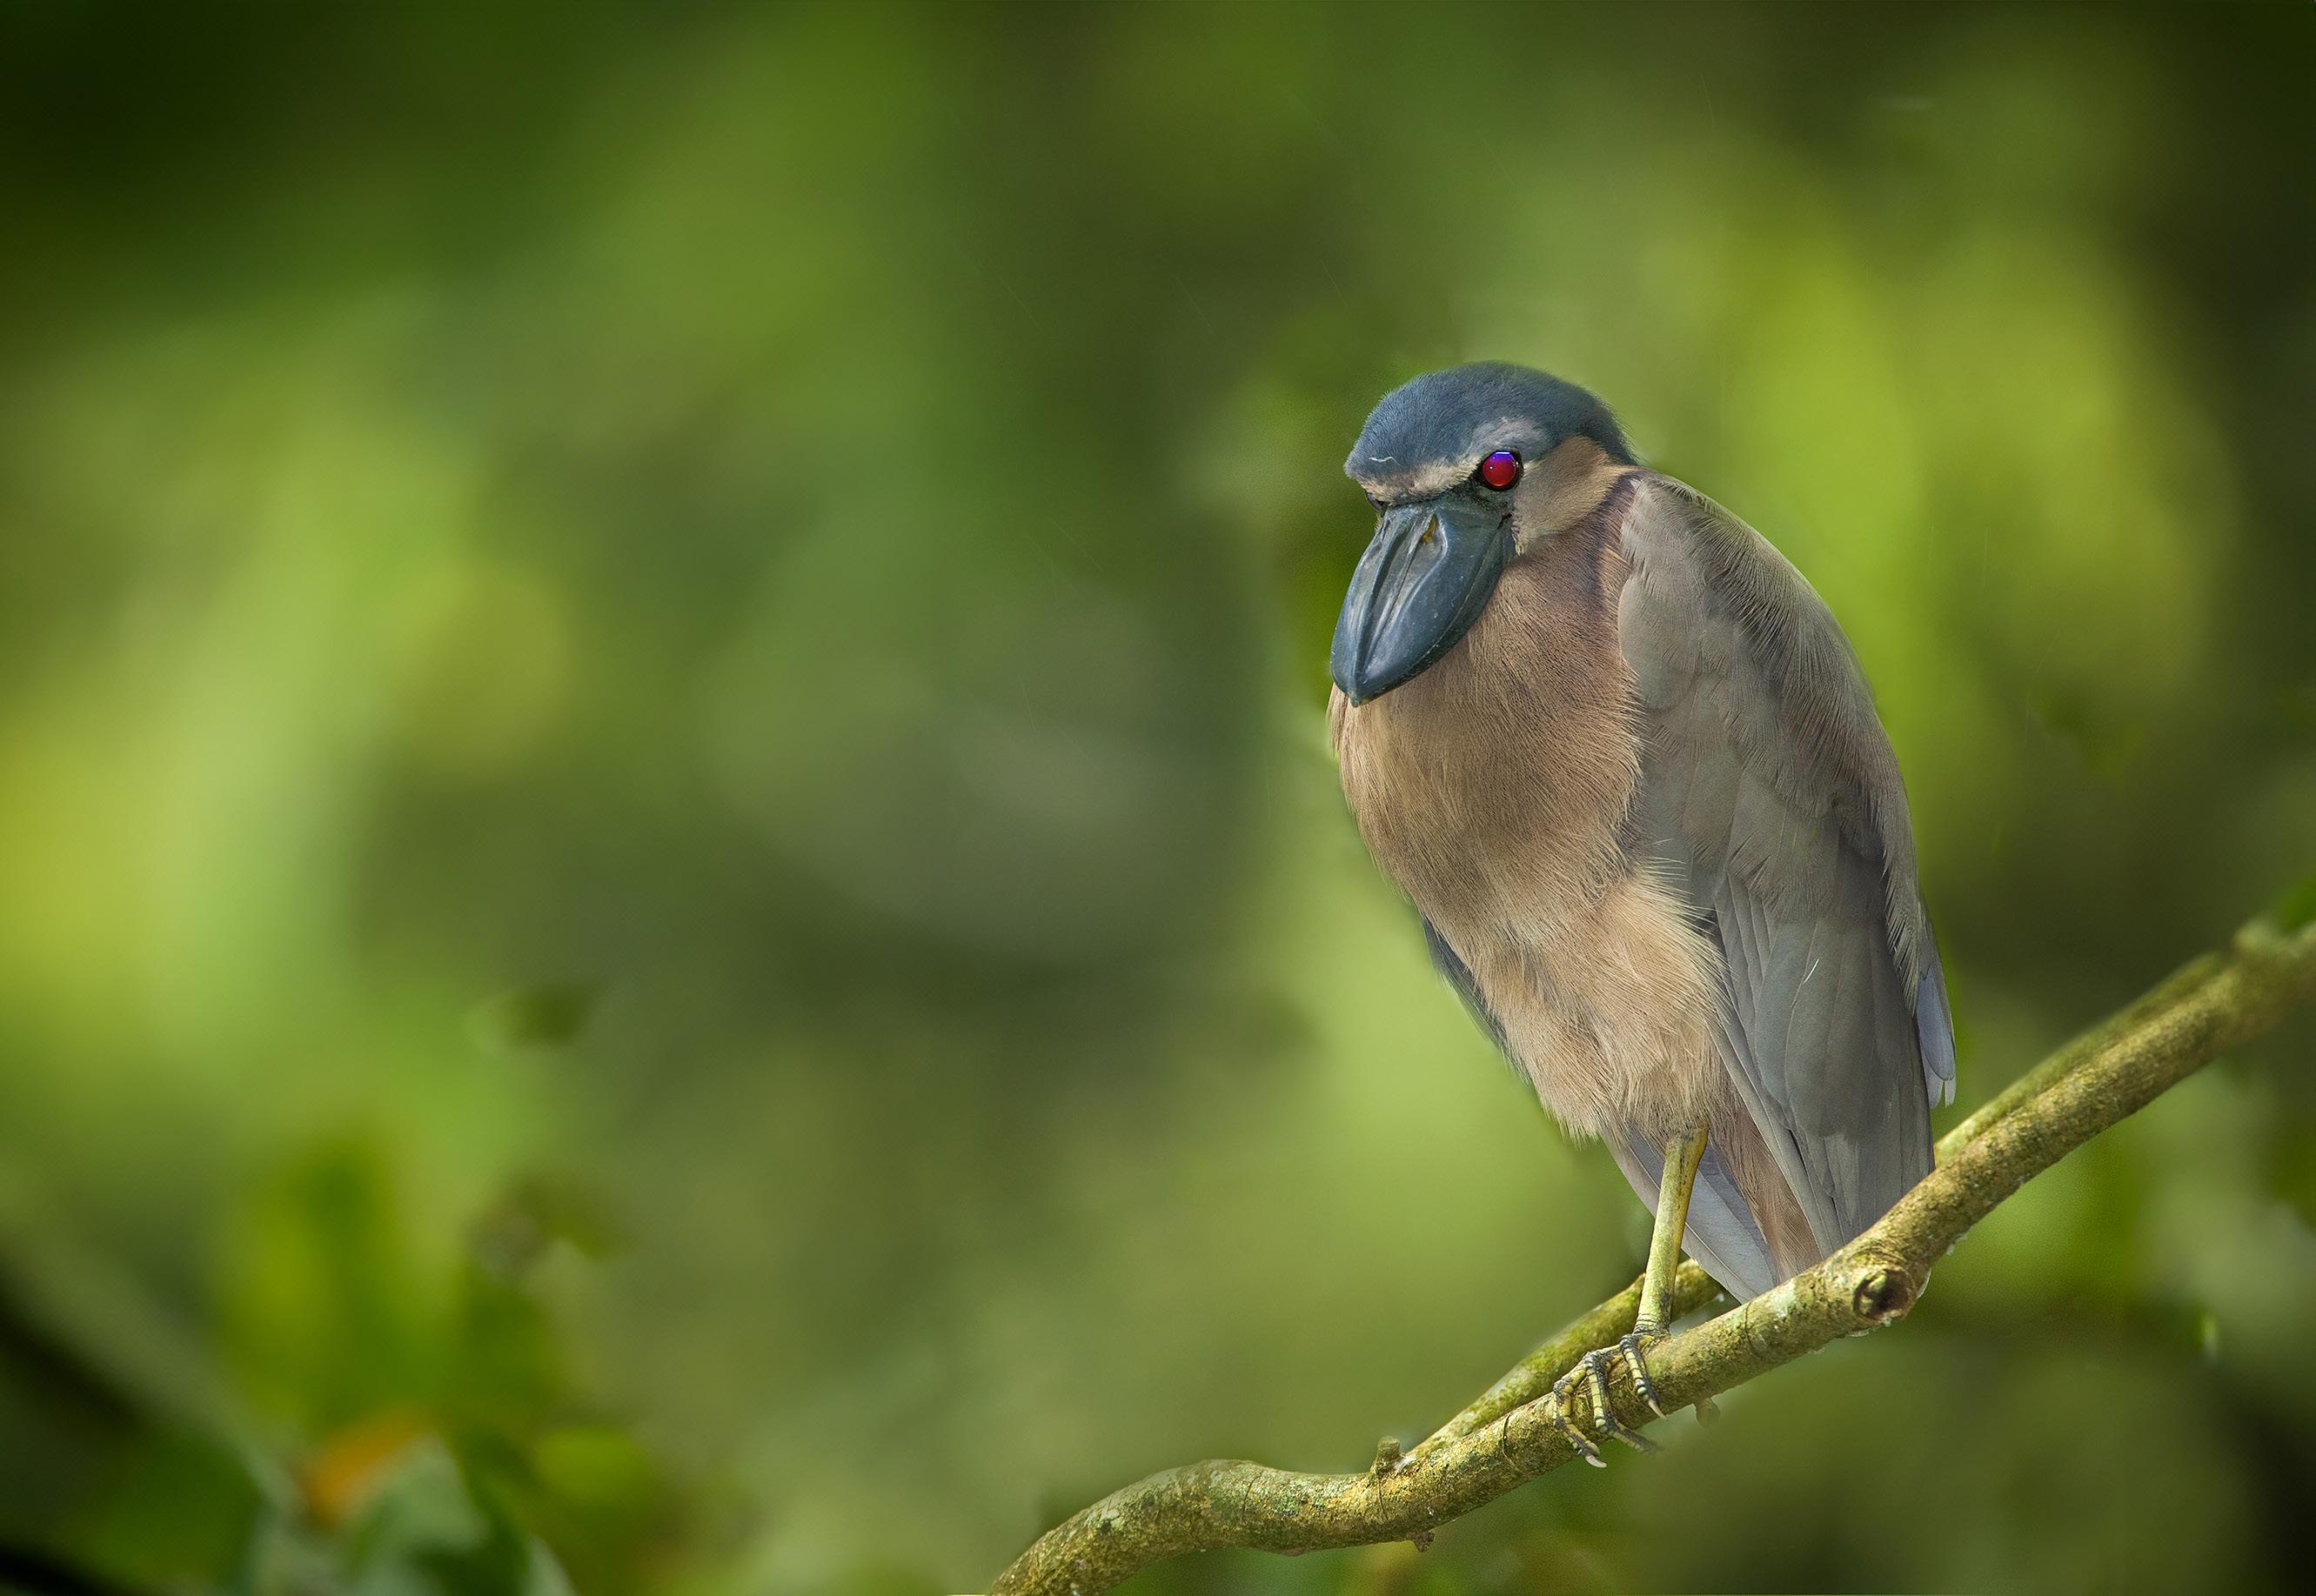
Boat-billed heron
Violetear
The 6 Biggest Reasons Your Pictures Are Not SHARP
Nothing is more aggravating to a photographer than taking an otherwise-great-picture that’s almost sharp. That’s happened to me too many times, and I’m sure it has plagued you as well.
I’ve thought about this vexing issue a lot, and over time I’ve identified six main reasons why our images are disappointingly less than tack sharp.
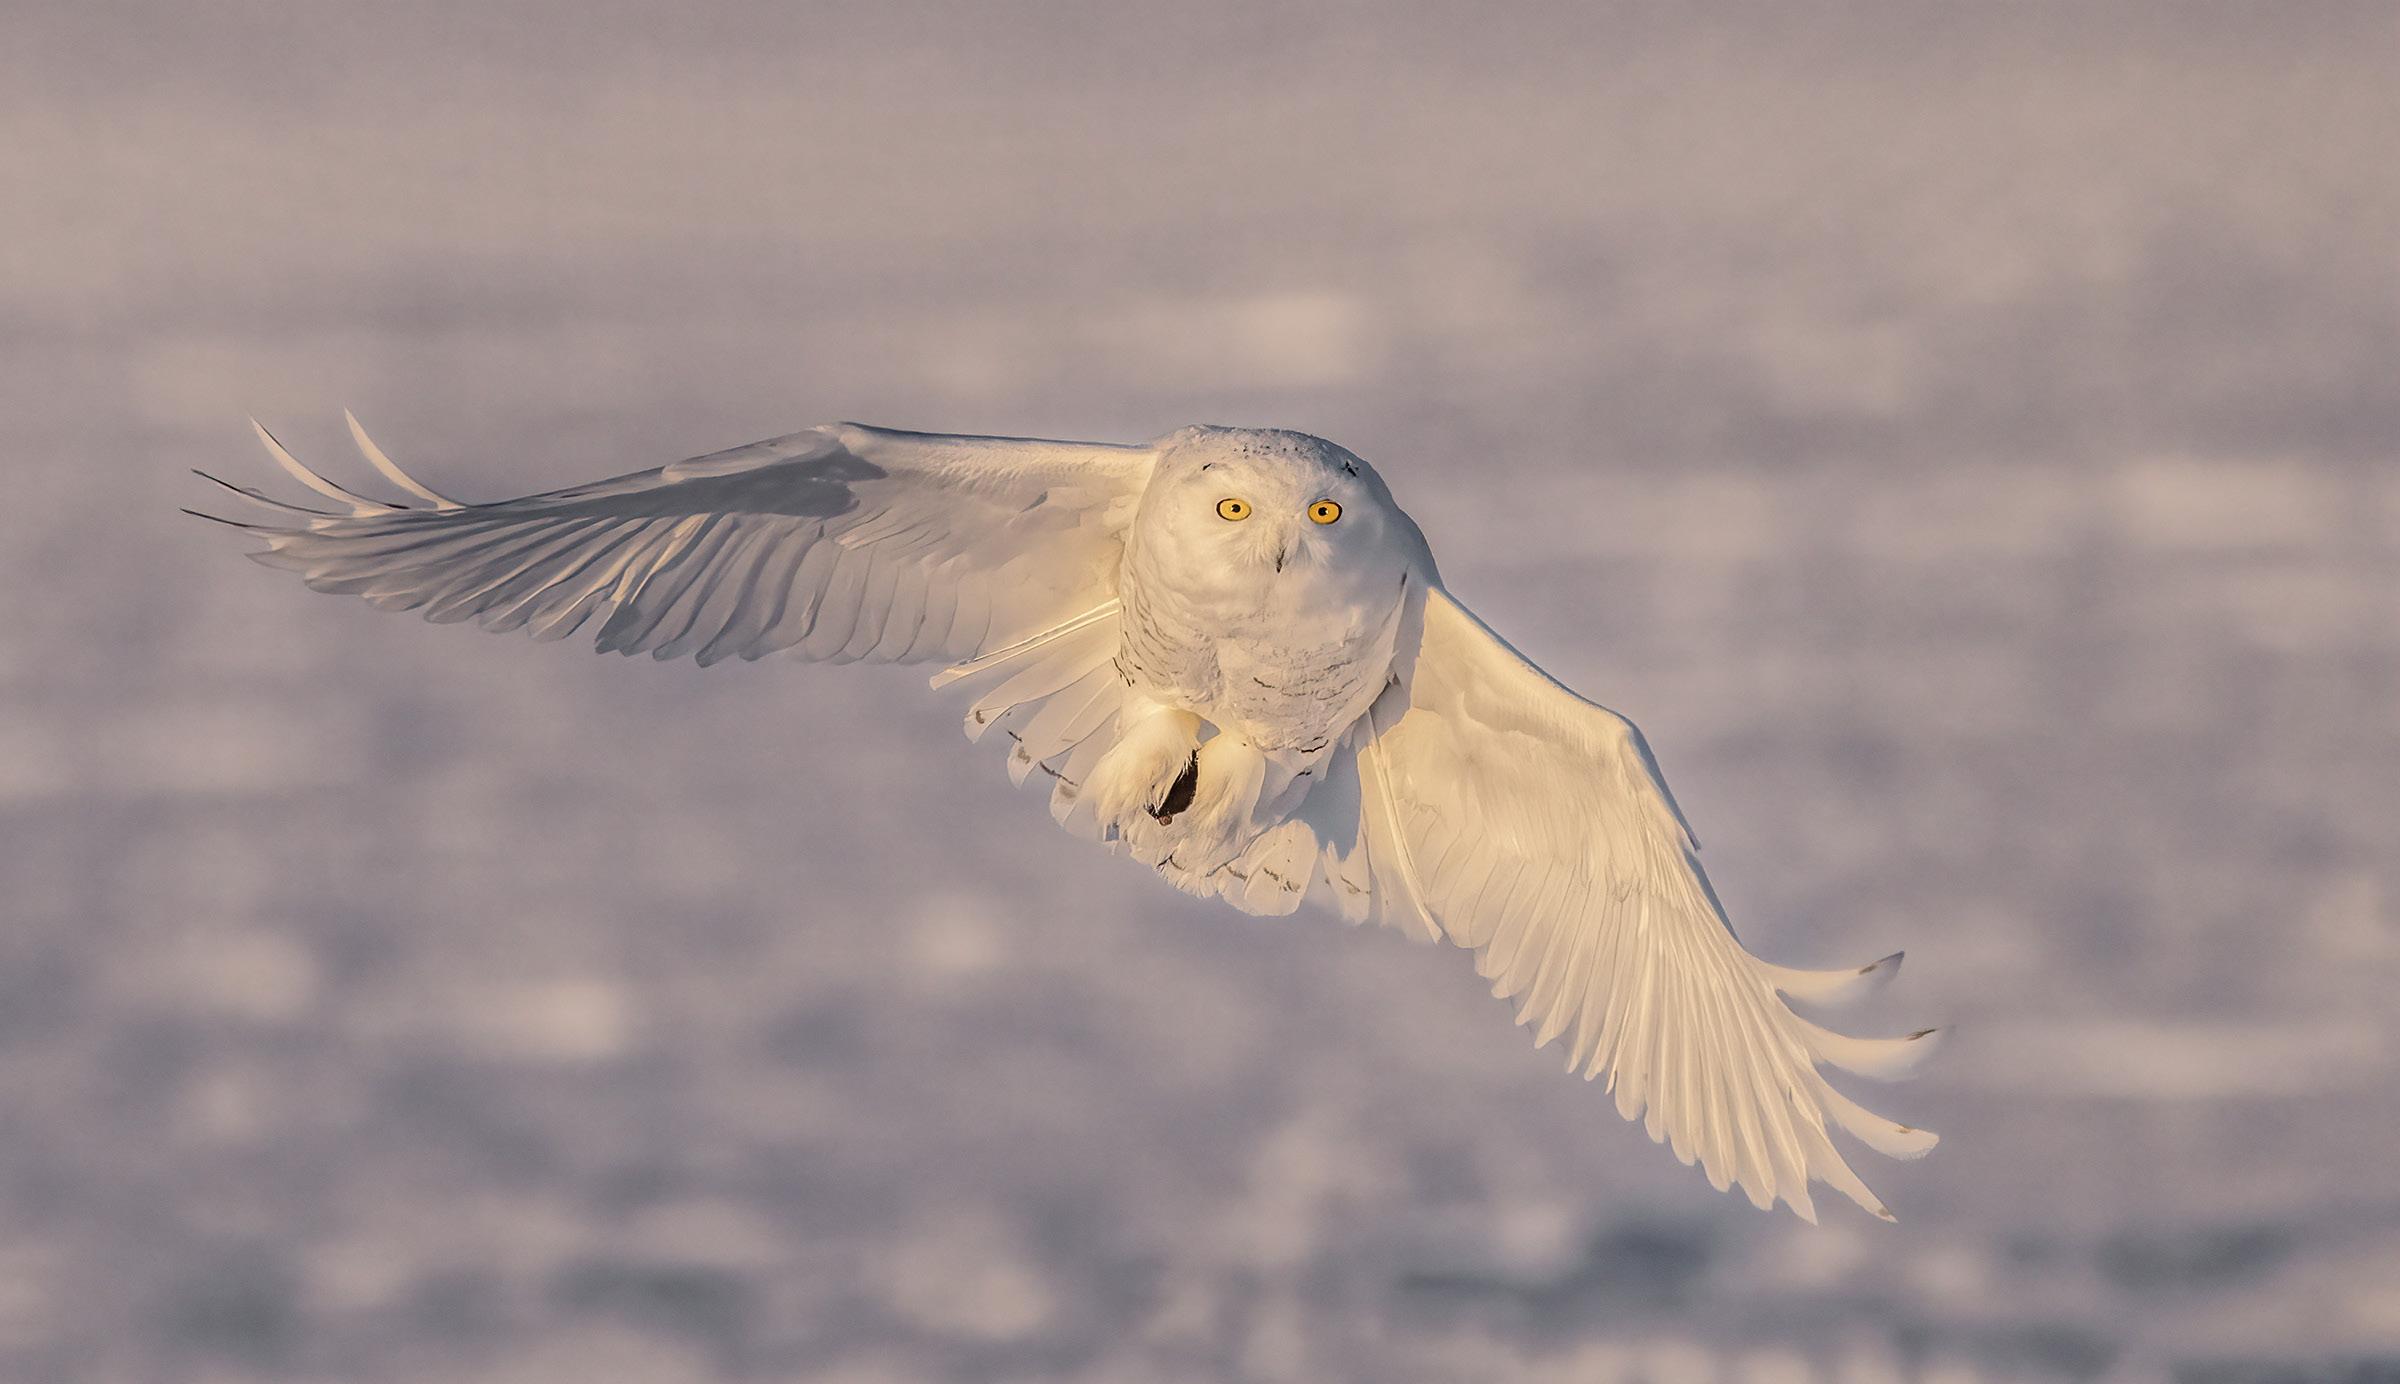
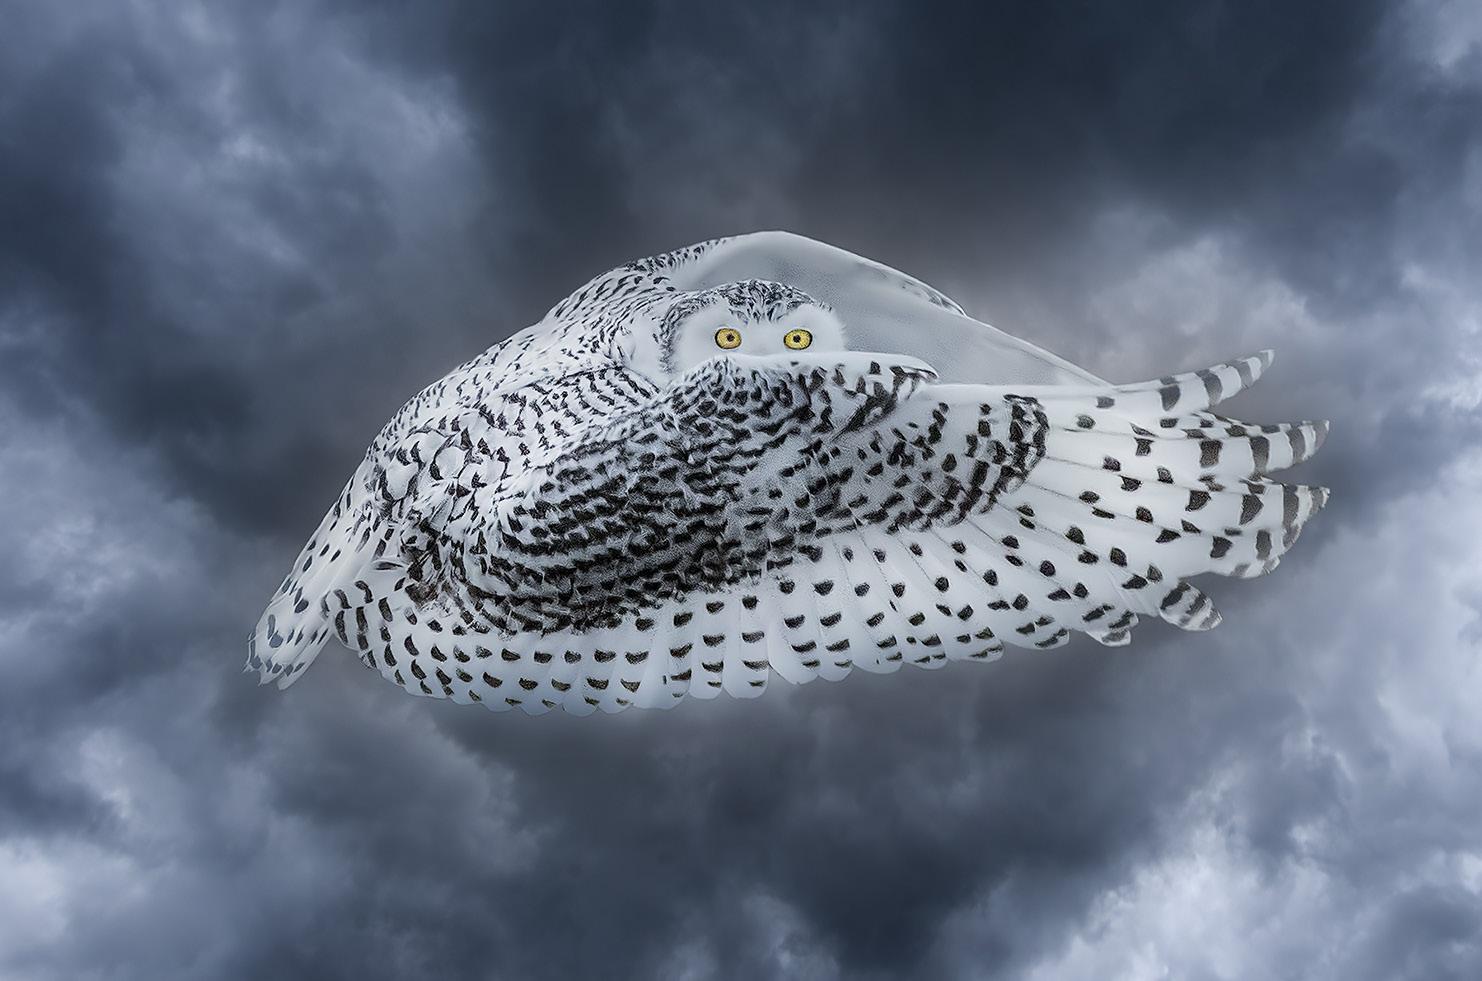
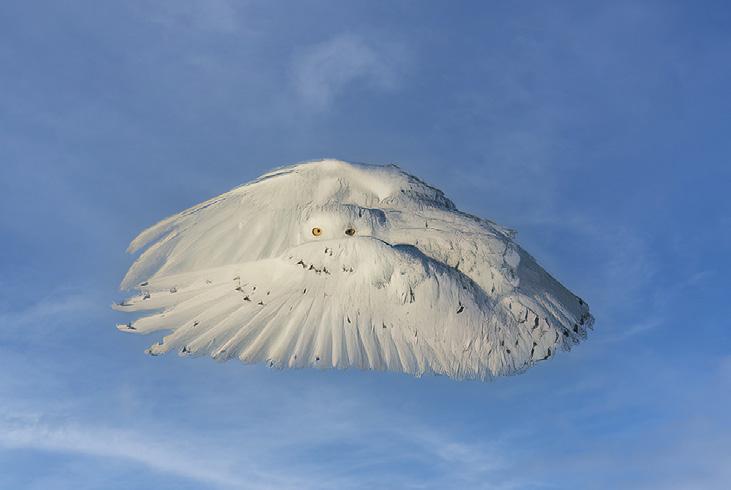
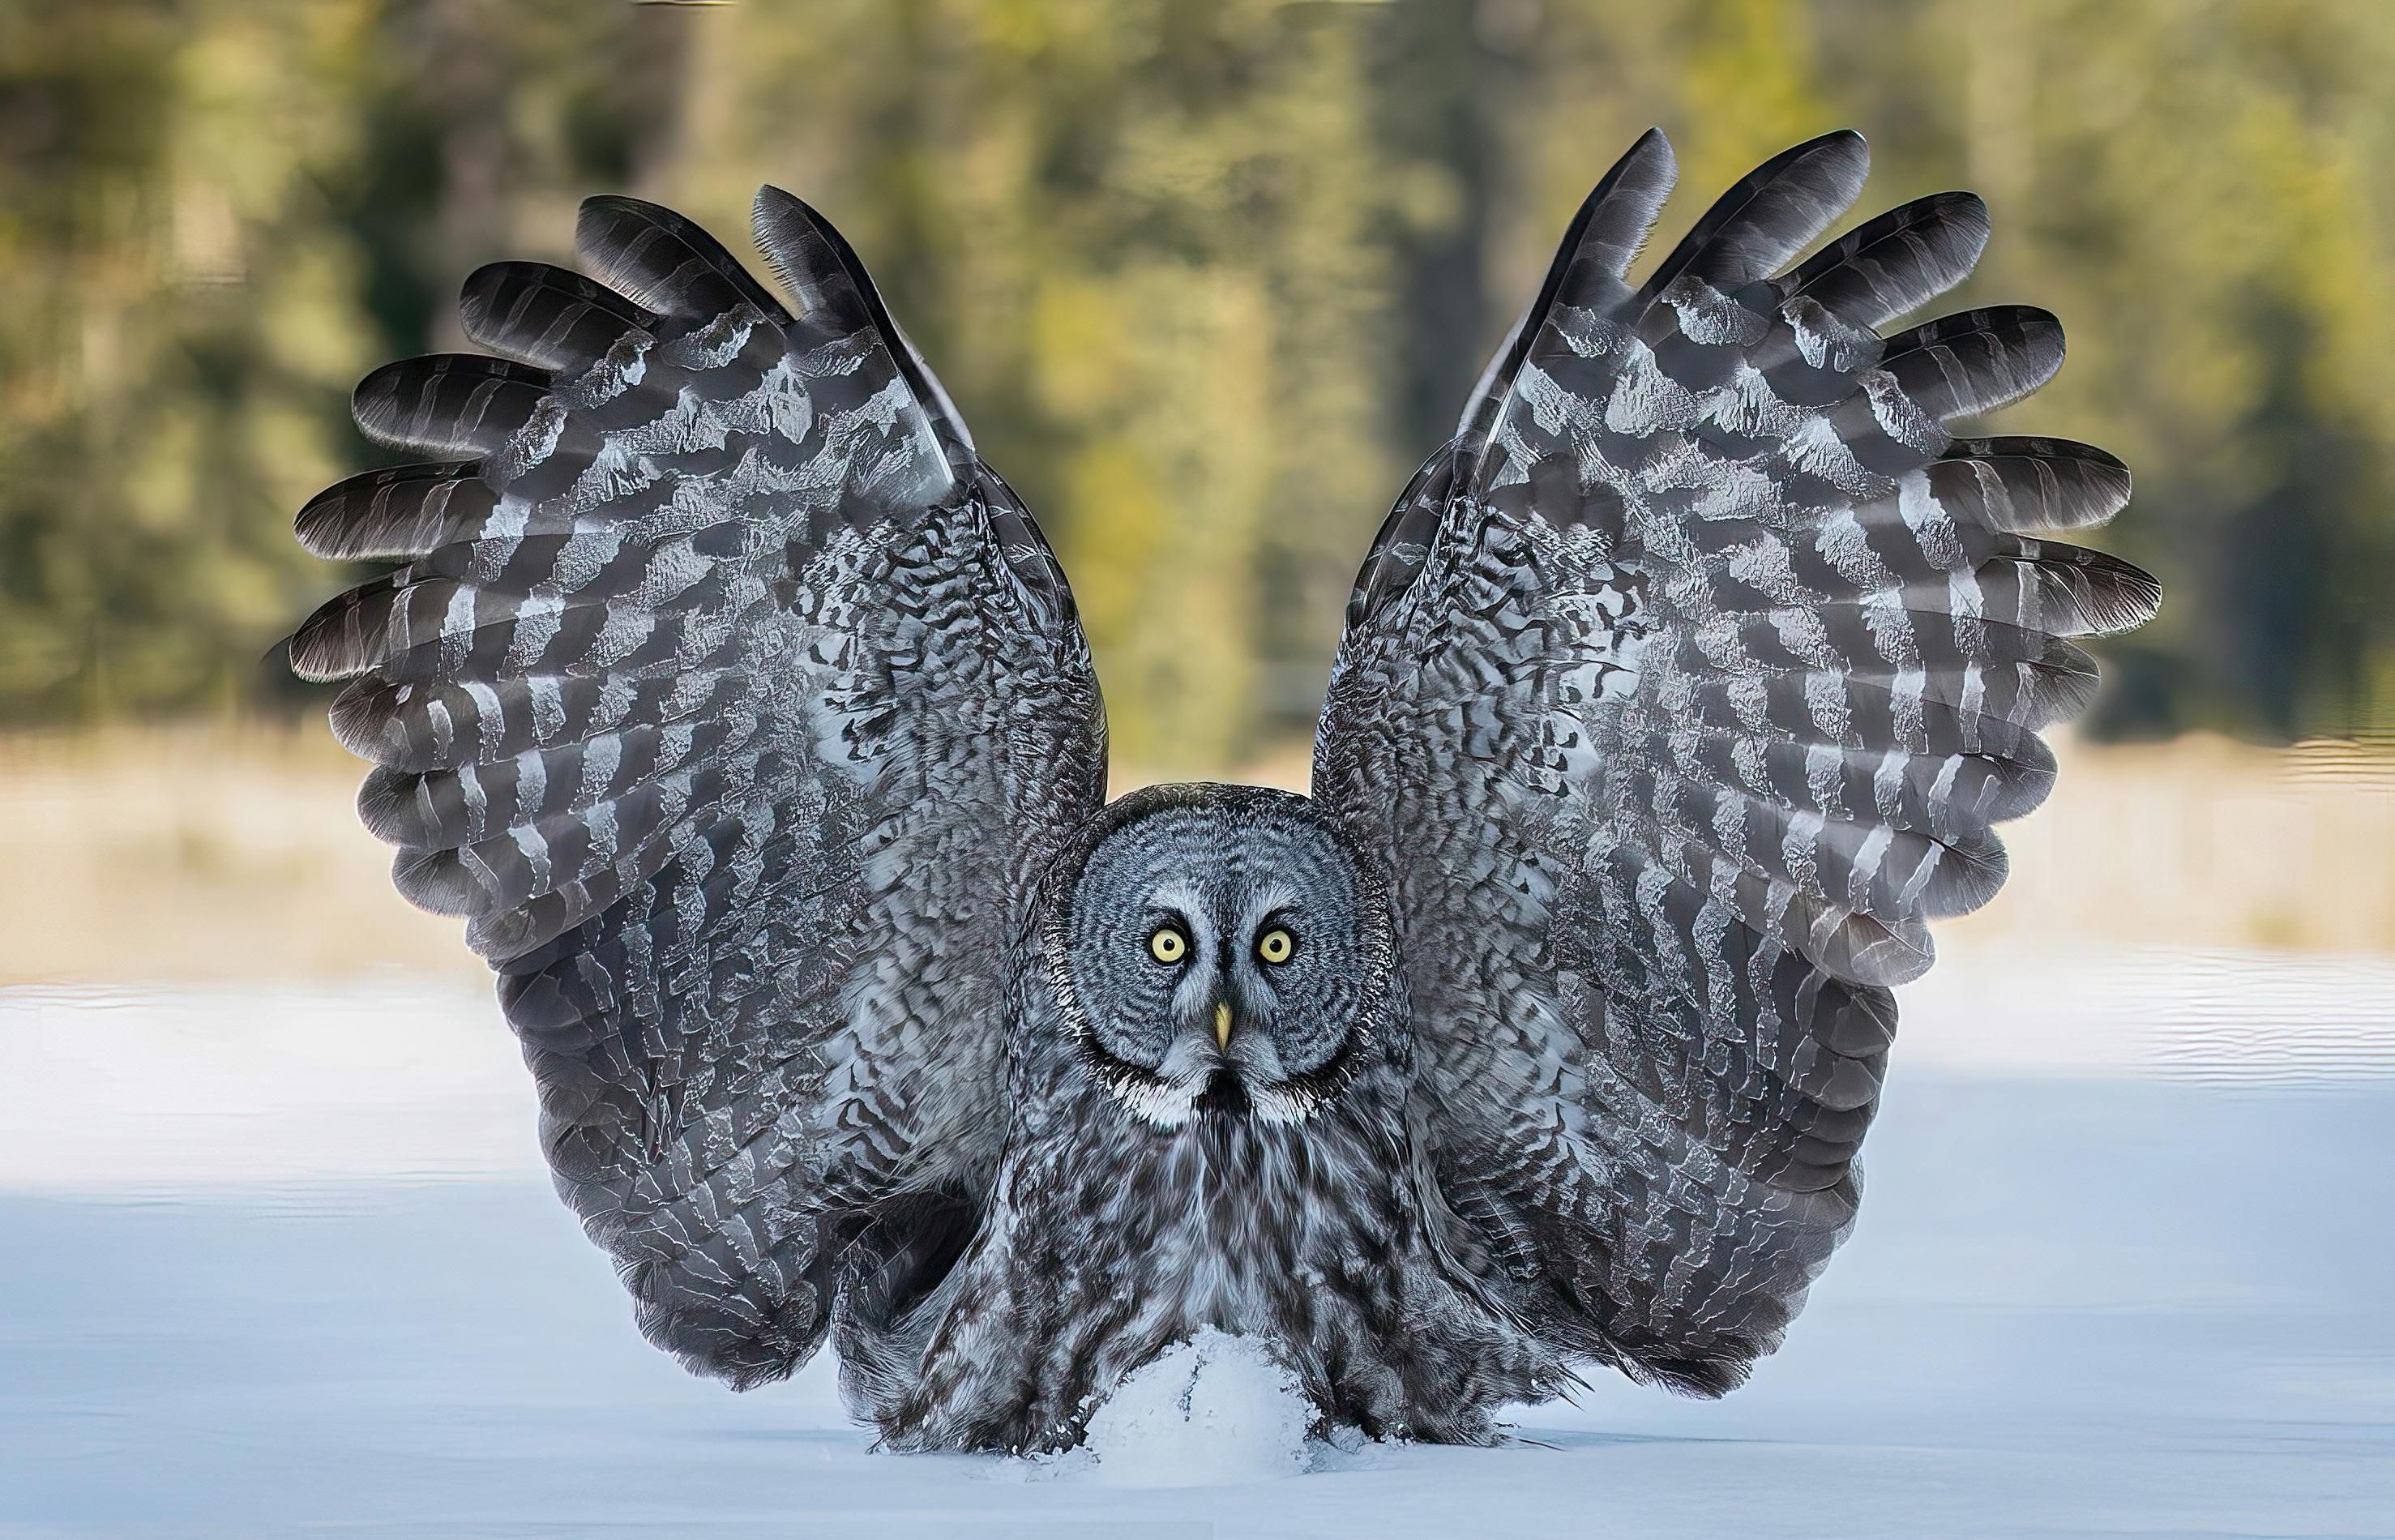
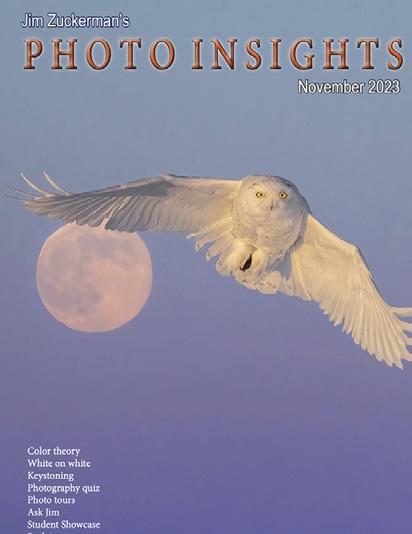
1. Shutter speed too slow. This is the main cause of unsharp pictures. Whether your subject is moving fast, like the snowy owl in
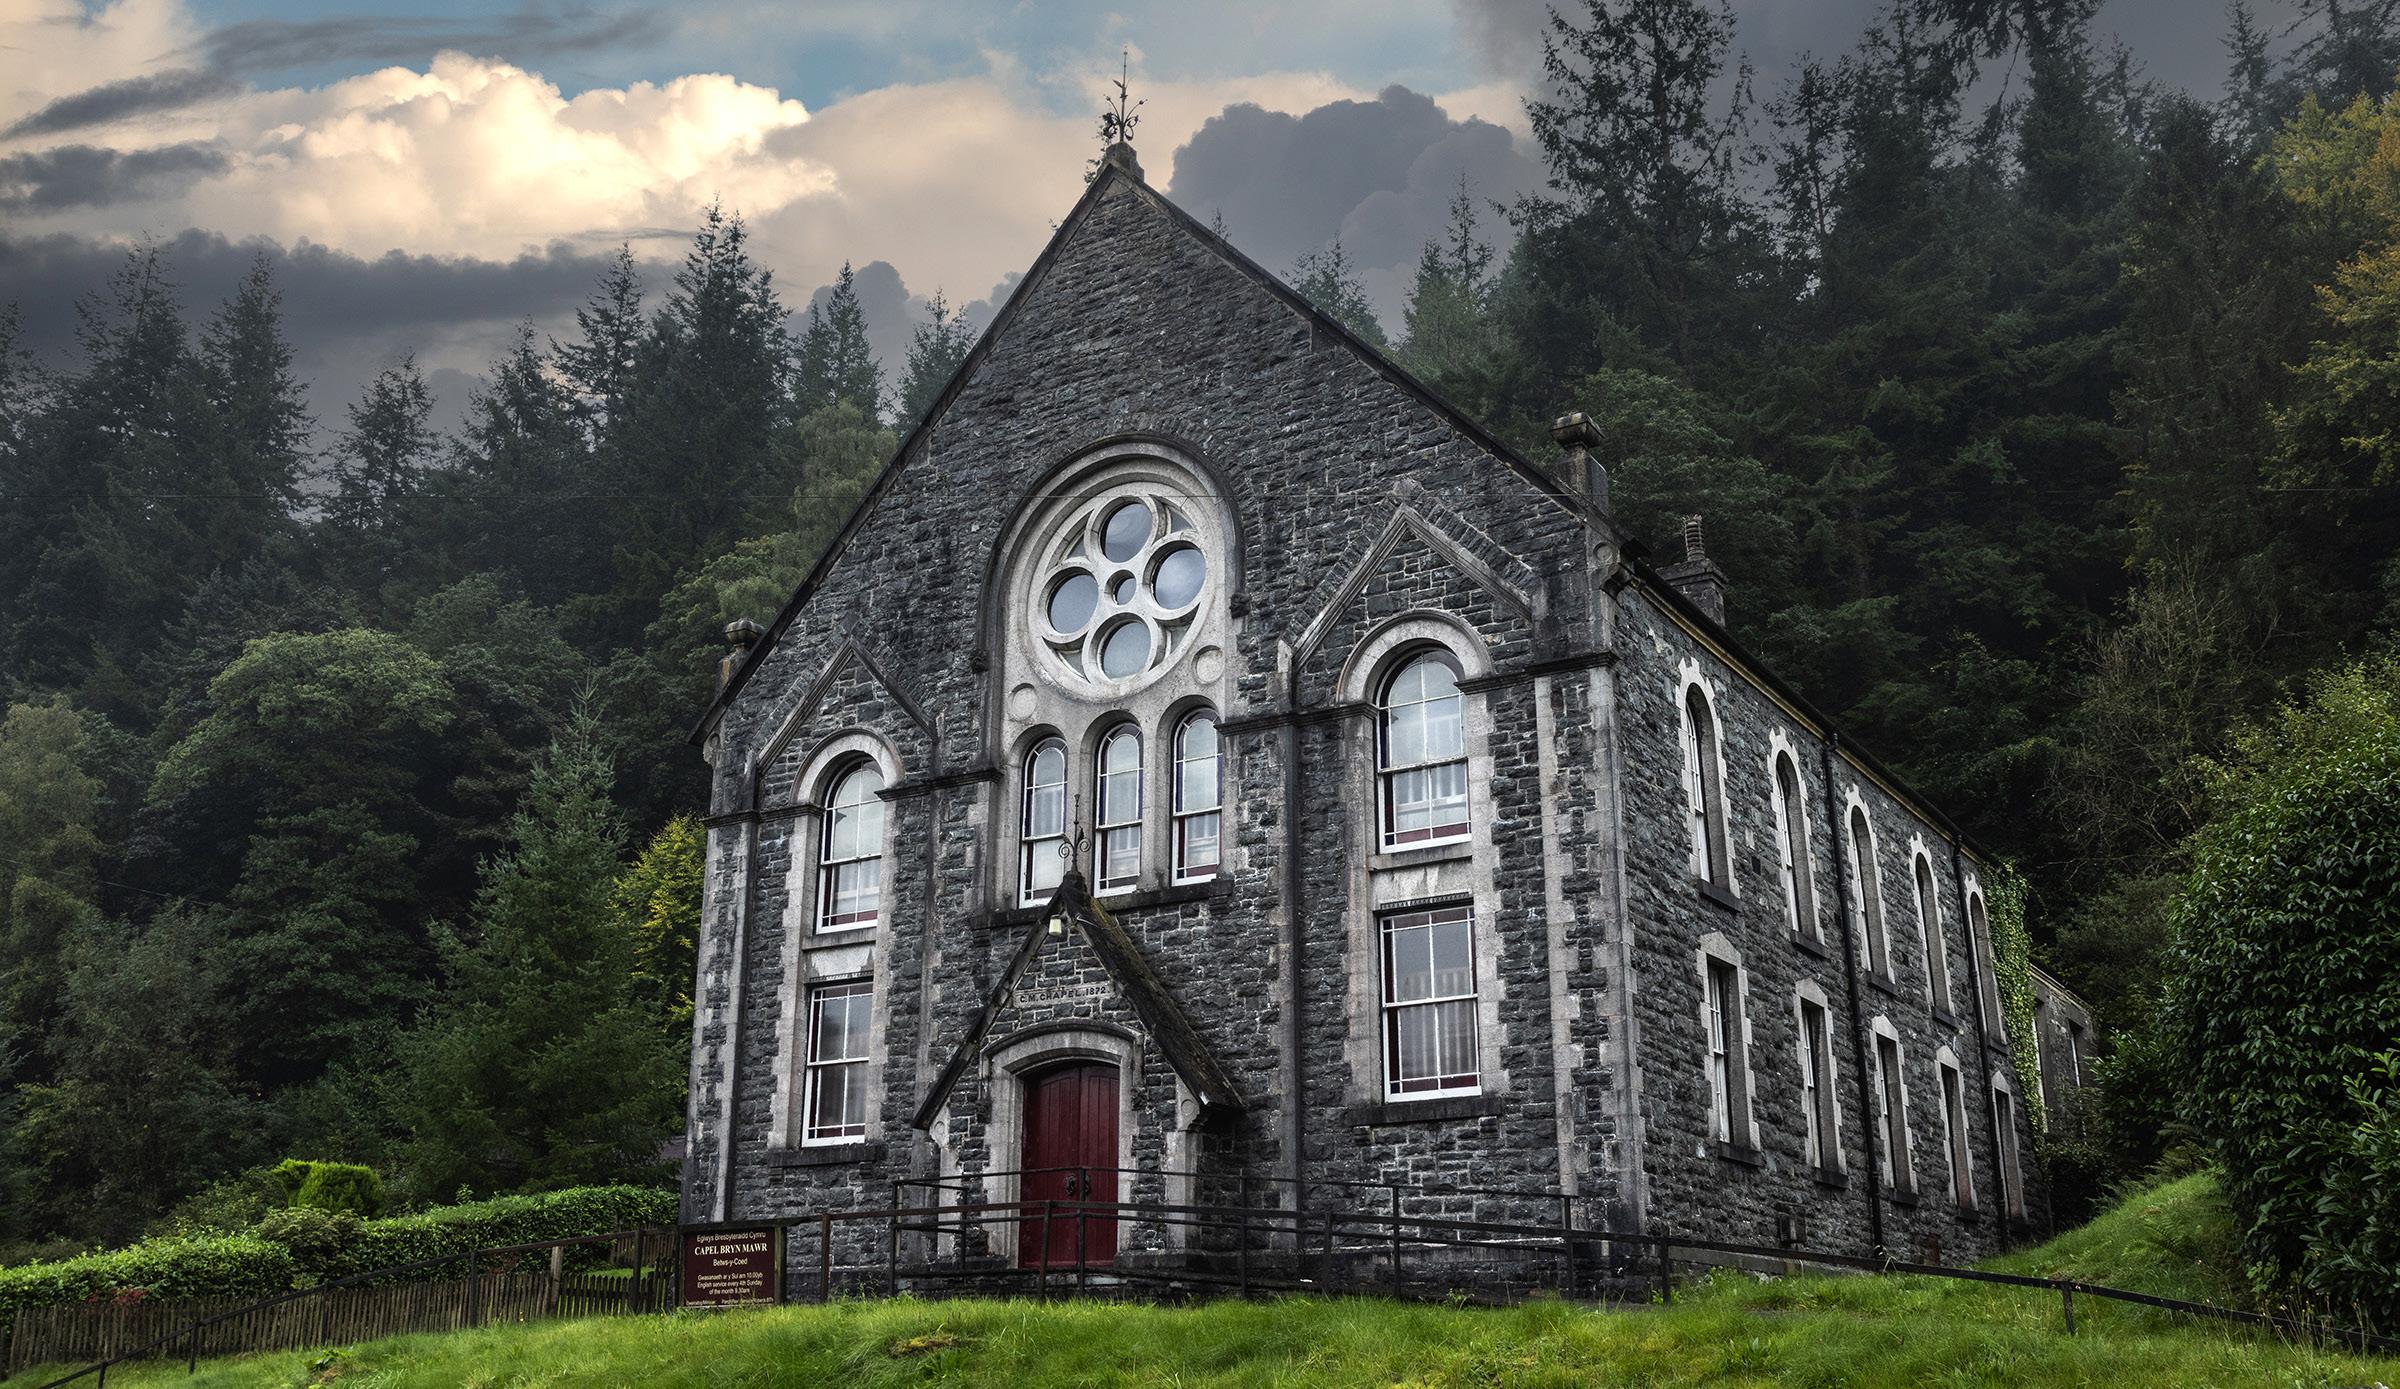
flight, shown below, or a stationary subject like the old church in Wales on the next page, if your shutter speed isn’t fast enough, especially when hand holding the camera, the resulting images will not be sharp.
The general rule when hand holding the camera is you should be using 1/60th of a second or faster for wide angle lenses. Can you get away with slower speeds if you hold your breath, push gently on the shutter button, and spread your feet apart for a secure stance? Yes, you can, but this increases the risks of taking pictures that are not as sharp as they could have been had the shutter been faster. Sometimes you simply
8
have no choice, such as in a dark cathedral where no tripods are allowed and your ISO is already high. If you are shooting wide open, the only option for getting the shot is to slow the shutter down. But the ideal is to maintain the 1/60th of a second guideline.
For telephoto lenses, the rule is the shutter speed should be the reciprocal of the focal length. In other words, if you’re shooting with a 400mm lens, the shutter should be 1/400th or faster. If you are shooting with a 500mm plus a 1.4x teleconverter, then ideally the shutter should be 1/700th or faster. With long lenses, I use this guideline even if I’m using a tripod because, inherent in their length and weight, movement is inevitable. With long lenses, that movement is magnified, and that in turn means the shutter has to be fast enough to freeze the movement.
If you are shooting birds in flight, animals running, sports action, or other subjects that move fast, you must use the appropriate shut-
ter speeds assuming you don’t want a ‘creative blur’. For example, clients of mine have said when they photograph birds flying, they like the tips of the wings to be blurred because that implies speed. If you like that, then I’m not going to argue. For me, though, I like tac sharp wing tips like in the snowy owl shot on the previous page. That requires a minimum of 1/3200th shutter. For horses galloping, I use 1/1250th or faster. During my winter wildlife workshop in Montana where we photograph foxes (who are incredibly fast), wolves, lynxes, a snow leopard (also very fast), and more, I suggest a shutter of 1/2000th.
2. Raising the center column of your tripod too high. Many people who take my tours bring small, lightweight tripods for travel. This makes sense, but some of the tripods are short. When my clients use them, it’s uncomforable to bend down and look through the camera. Therefore, they raise the center column to accommodate their height and this increases instability. You no longer have the
9
solid support of a tripod. Instead, you’ve created a cross between a monopod and a tripod. Movement can be introduced by the wind as well as the simple act of pushing the shutter. If you find yourself in this situation, the best thing to do is to use the self-timer built into the camera. With a gentle push of the shutter, you can use the 2-second timer. Assuming there isnt a strong breeze, this will result in sharp pictures.
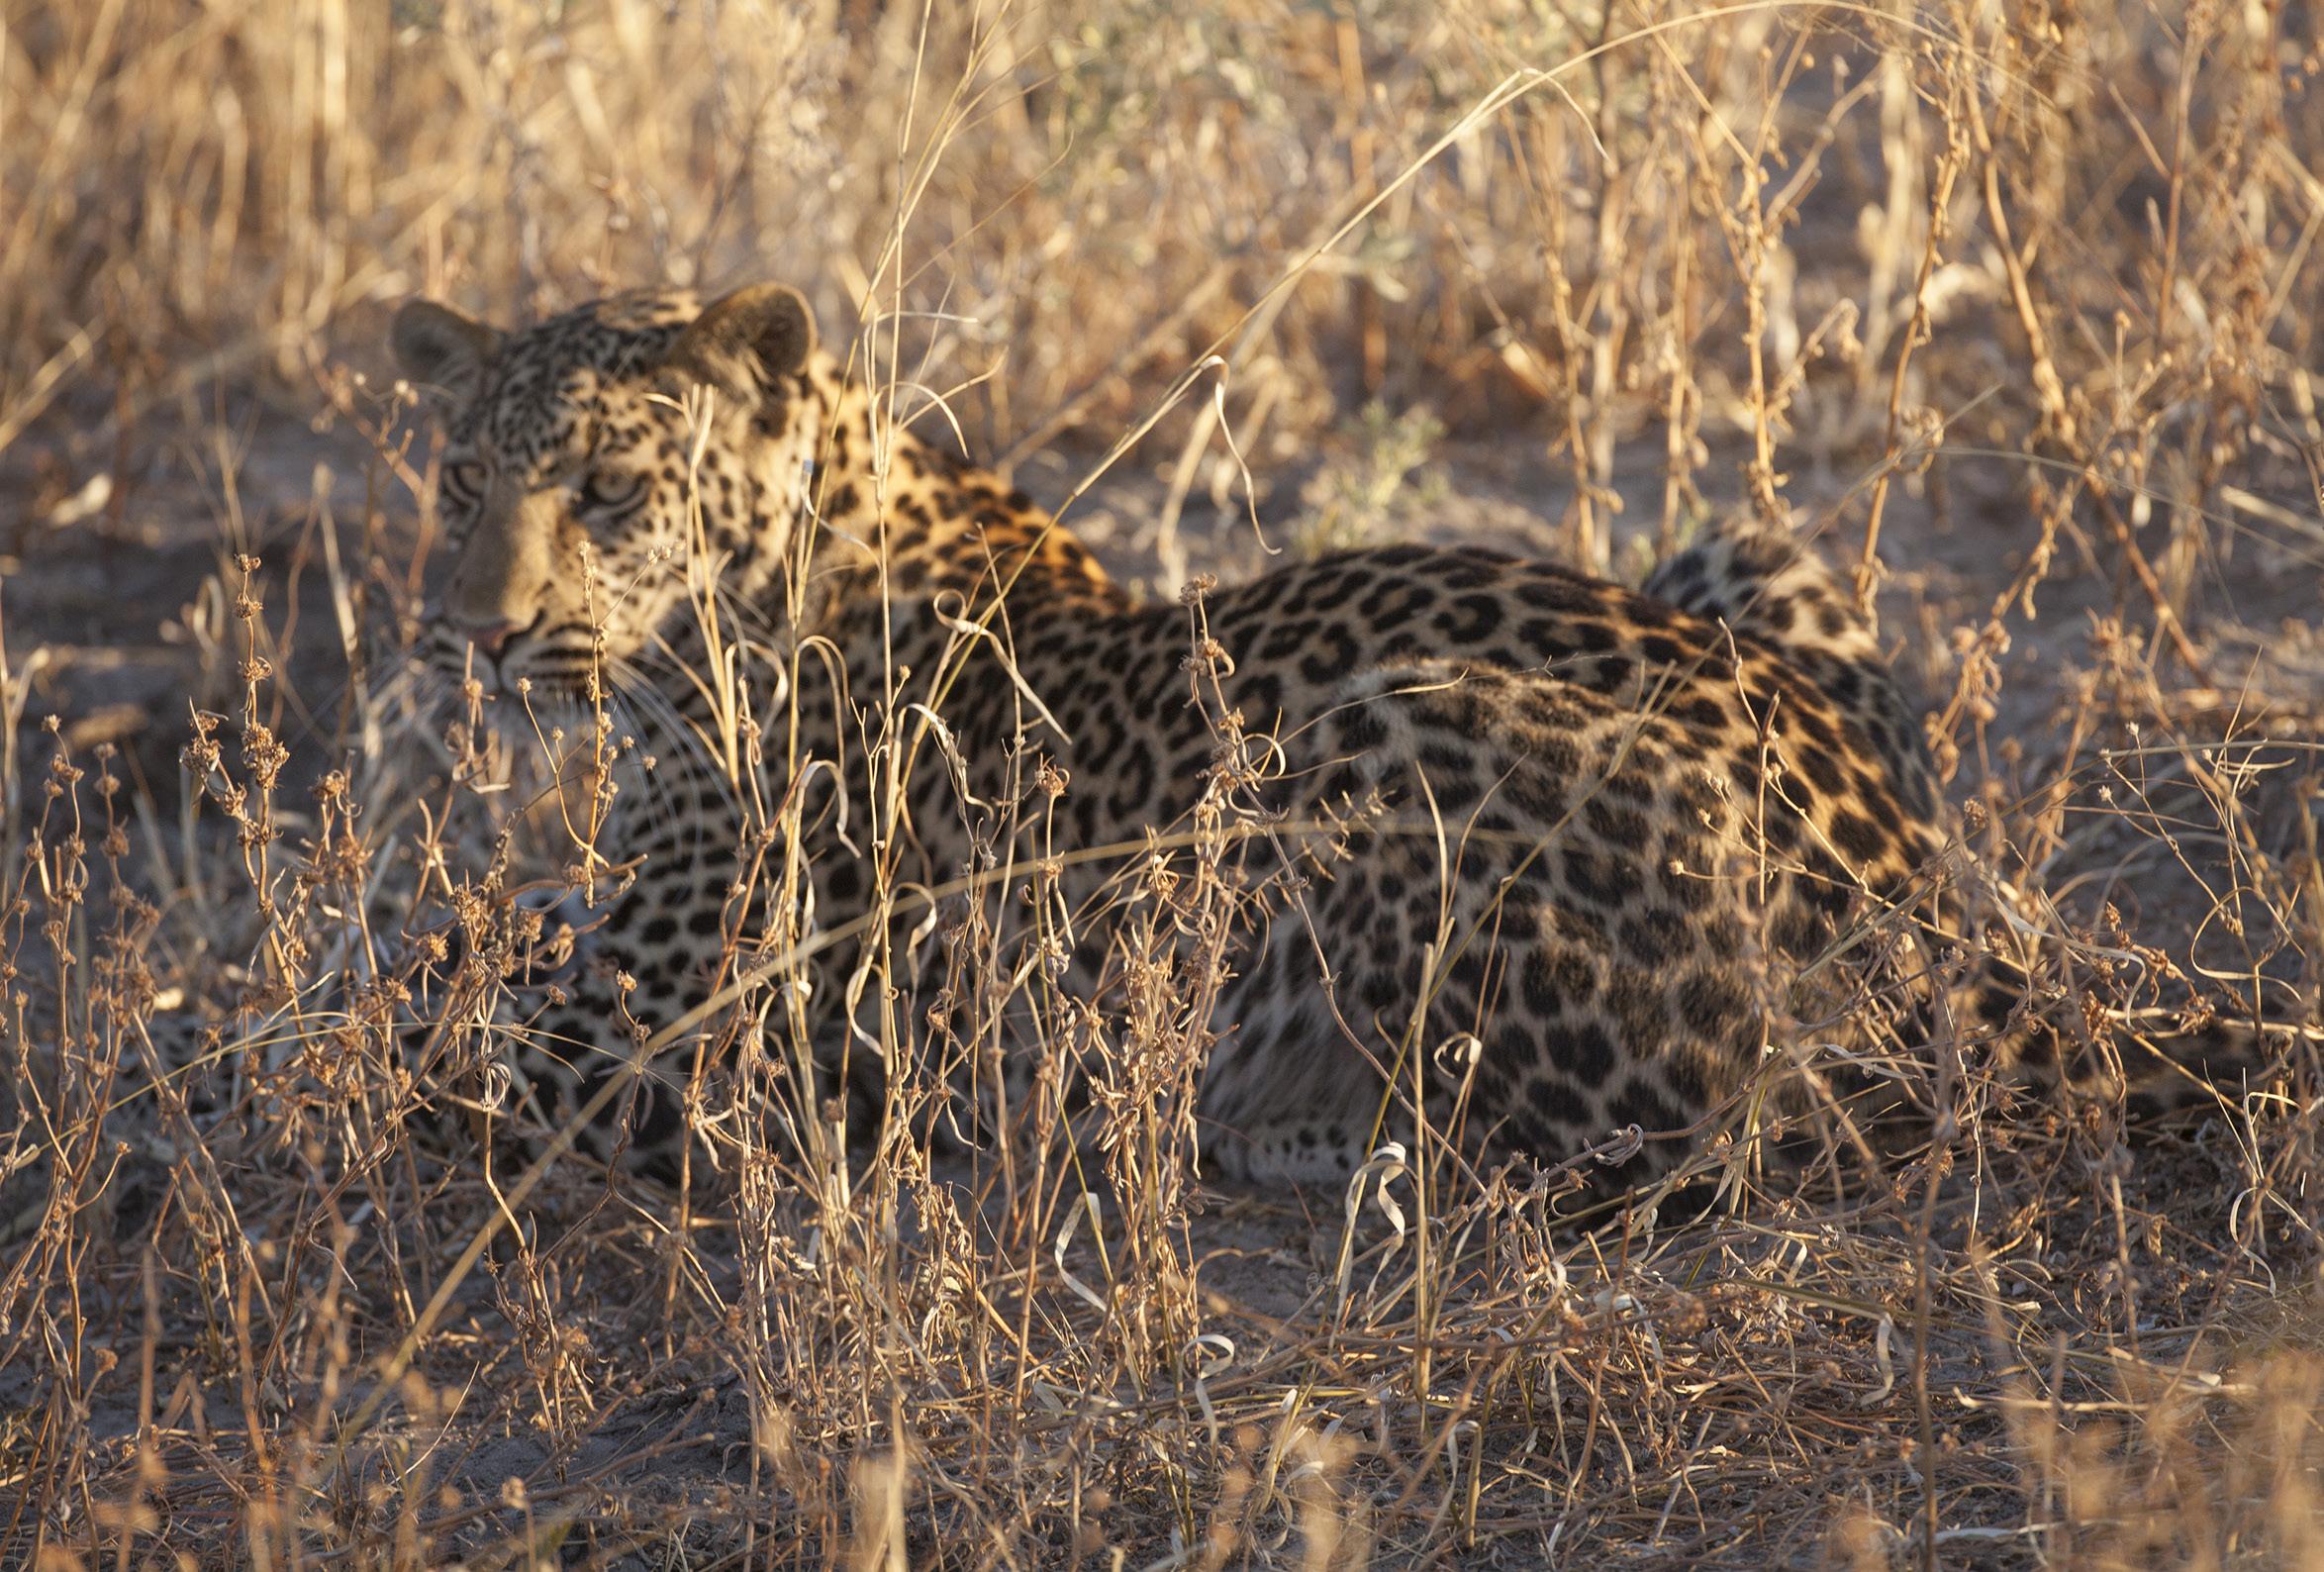
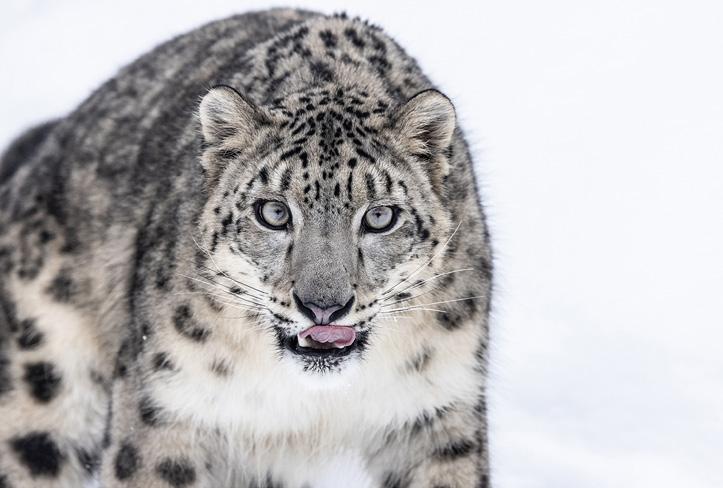
3. The autofocus mechanism is fooled by other elements. Autofocus works on the principle that a machine can determine what the subject is. A lone tree silhouetted against the sky is easy as is a person standing against a red wall. But a leopard in the grass is a lot more challenging, and in scenarios like this one it’s so easy for the AF to make a mistake. In the image below, you can see the grass in the fore-
ground was the selected subject and not the cat.
In this case, the solution is to switch to a single focus point. You would then place that small area of the viewfinder on the leopard’s face or body for accurate focusing. Or, you have to switch from autofocus to manual focus. You would then focus the old fashioned way -- by rotating the knurled focusing ring on the lens until the subject appears sharp in the viewfinder. This is predicated on having good enough eyesight to determine the point of critical focus.
4. The focus point arrangement isn’t optimal. All of the cameras we use (except smart phones) have the ability to select the arrangement of autofocus points. This is important because at times some arrangements -- like a center cluster of 9 points -- are better than others in locking focus on a subject.
10
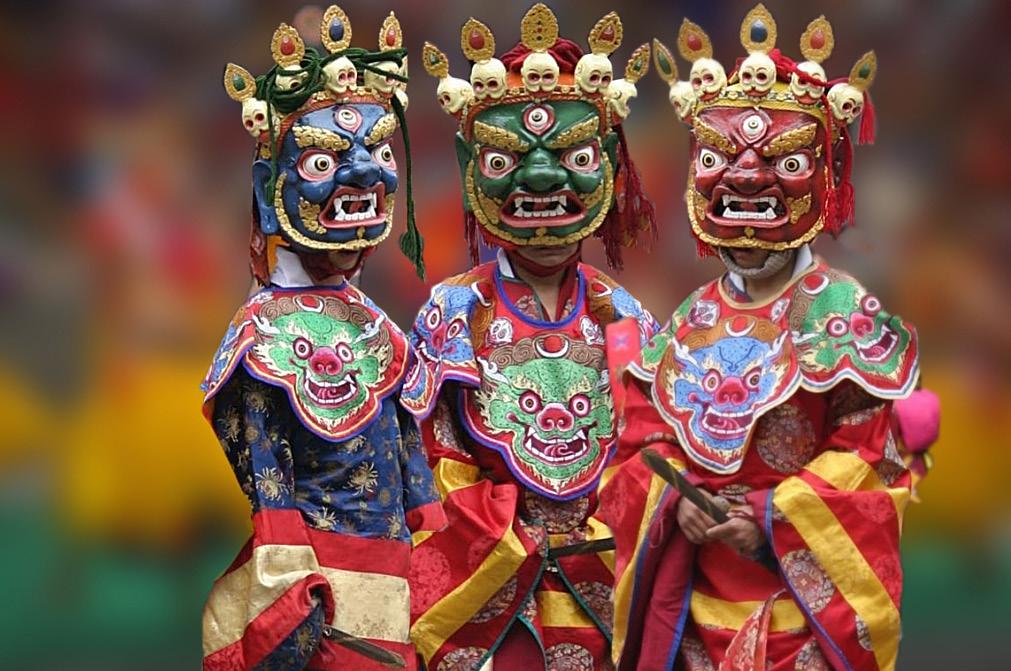
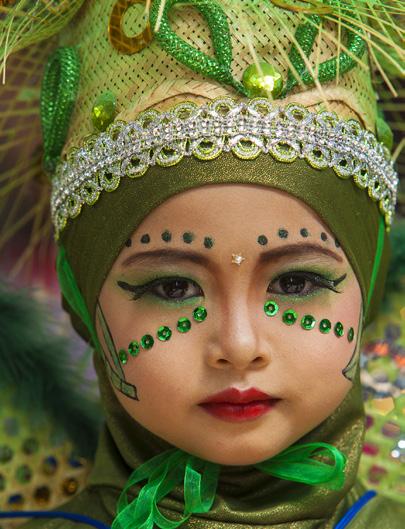
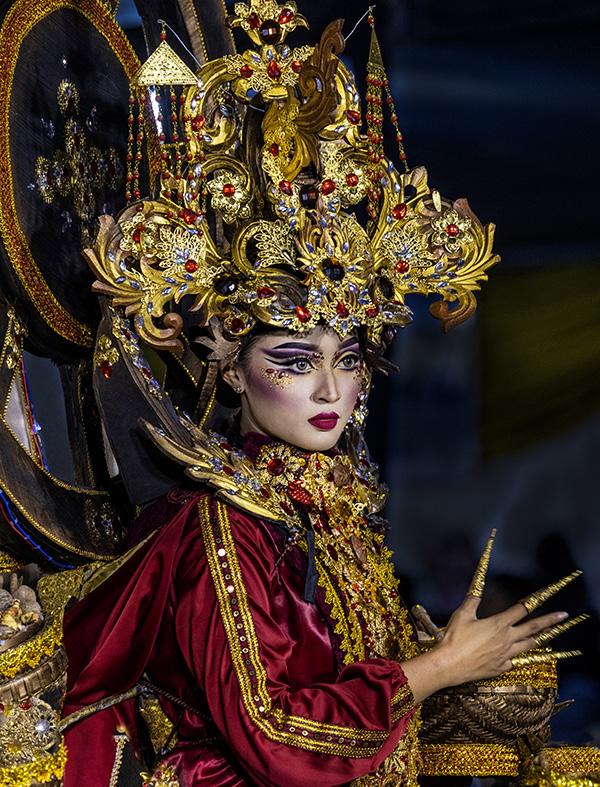
As an example, the festival picture I took in Indonesia, below, is busy with lots of elements, but a center cluster of 9 focus points easily distinguished the subject. Most subjects are placed in the center of the frame, so the odds are a group of centrally placed points will lock onto the subject, which is exactly what you want.
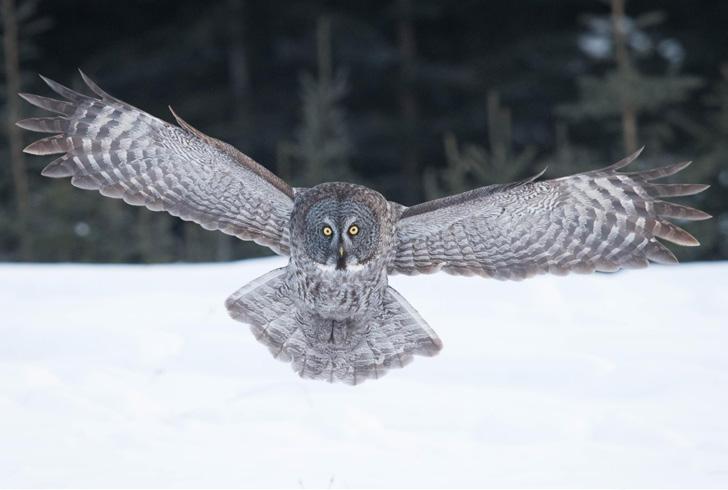
When I photograph birds against the sky, I switch to all the focus points. It’s challenging to keep a flying bird in the center of the frame, especially when using a long lens, so all of the points have a good chance of focusing on the bird no matter where it is in the frame assuming nothing in the background diverts the AF mechanism.
For some wildlife scenarios, performances on stage, portraits, and street photography, I will choose to use a single focus point usually positioned in the center of the viewfinder but some-
times off-center.
5. Your tripod is too flimsy. Photographers have a love-hate relationship with tripods. They are burdensome, expensive, and they force you to tavel with a larger piece of luggage. But . . . they are necessary in so many situations. A super light and compact tripod looks very tempting, but too often they are not sturdy. Super light tripods can be used if there is no wind and you use either a cable release or the self-timer in the camera so when you snap the shutter the camera isn’t jarred. Just be cognizant of the stability issue and direct your attention to doing everything possible to take sharp pictures.
6. Ground vibrations. When photographing cityscapes from a bridge, invariably the bridge itself vibrates due to vehicular and sometimes pedestrian traffic. It’s easy to overlook this be-

11
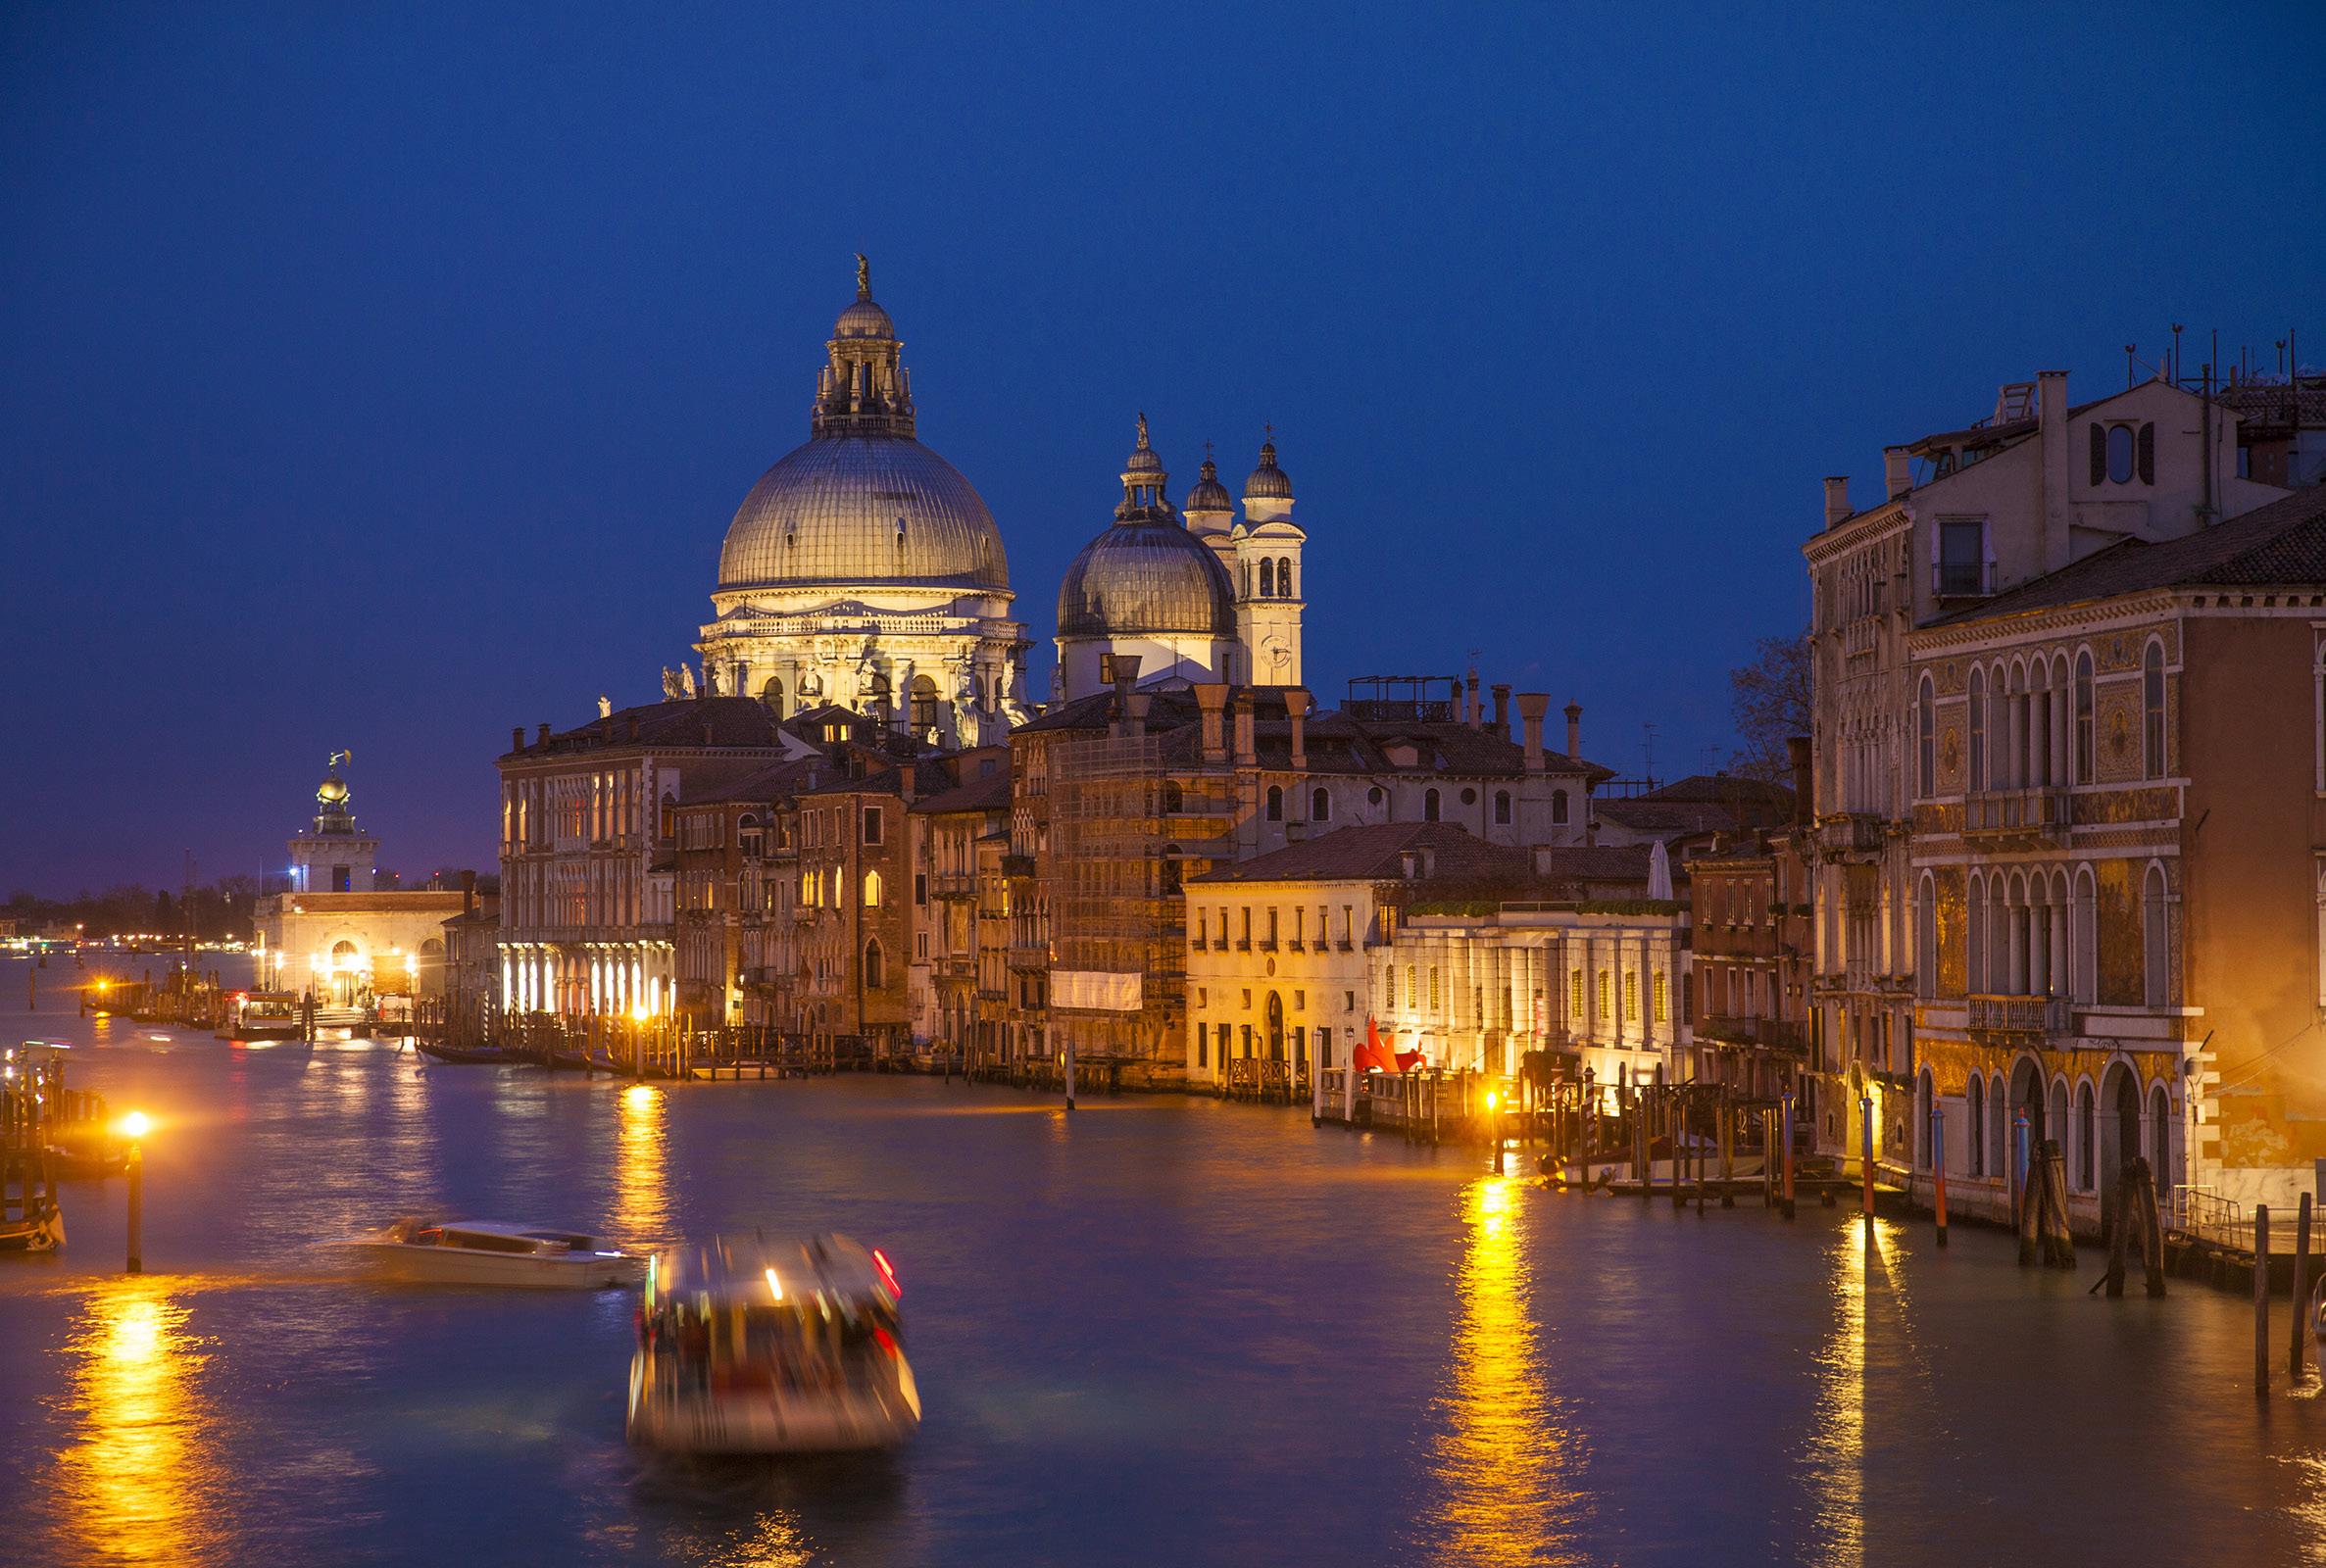
cause you’re focusing your attention on composition, exposure, and other factors that have to do with good picture taking.
When I took the picture of the Grand Canal in Venice, above, I was using a tripod and the exposure time was two seconds. I was standing on the Academia Bridge, a large wooden structure built in the 1930’s. It was made only for pedestrians, but during carnival the sheer numbers of people walking across it cause the bridge to vibrate just enough to affect long exposure photography. I experienced the same vibration on Westminster Bridge in London, right, caused by cars and double deck buses.
The only thing to do in this situation is wait until there is a lull in the traffic and the vibrations momentarily cease before you shoot. That might take a while, but you have no choice. §

12
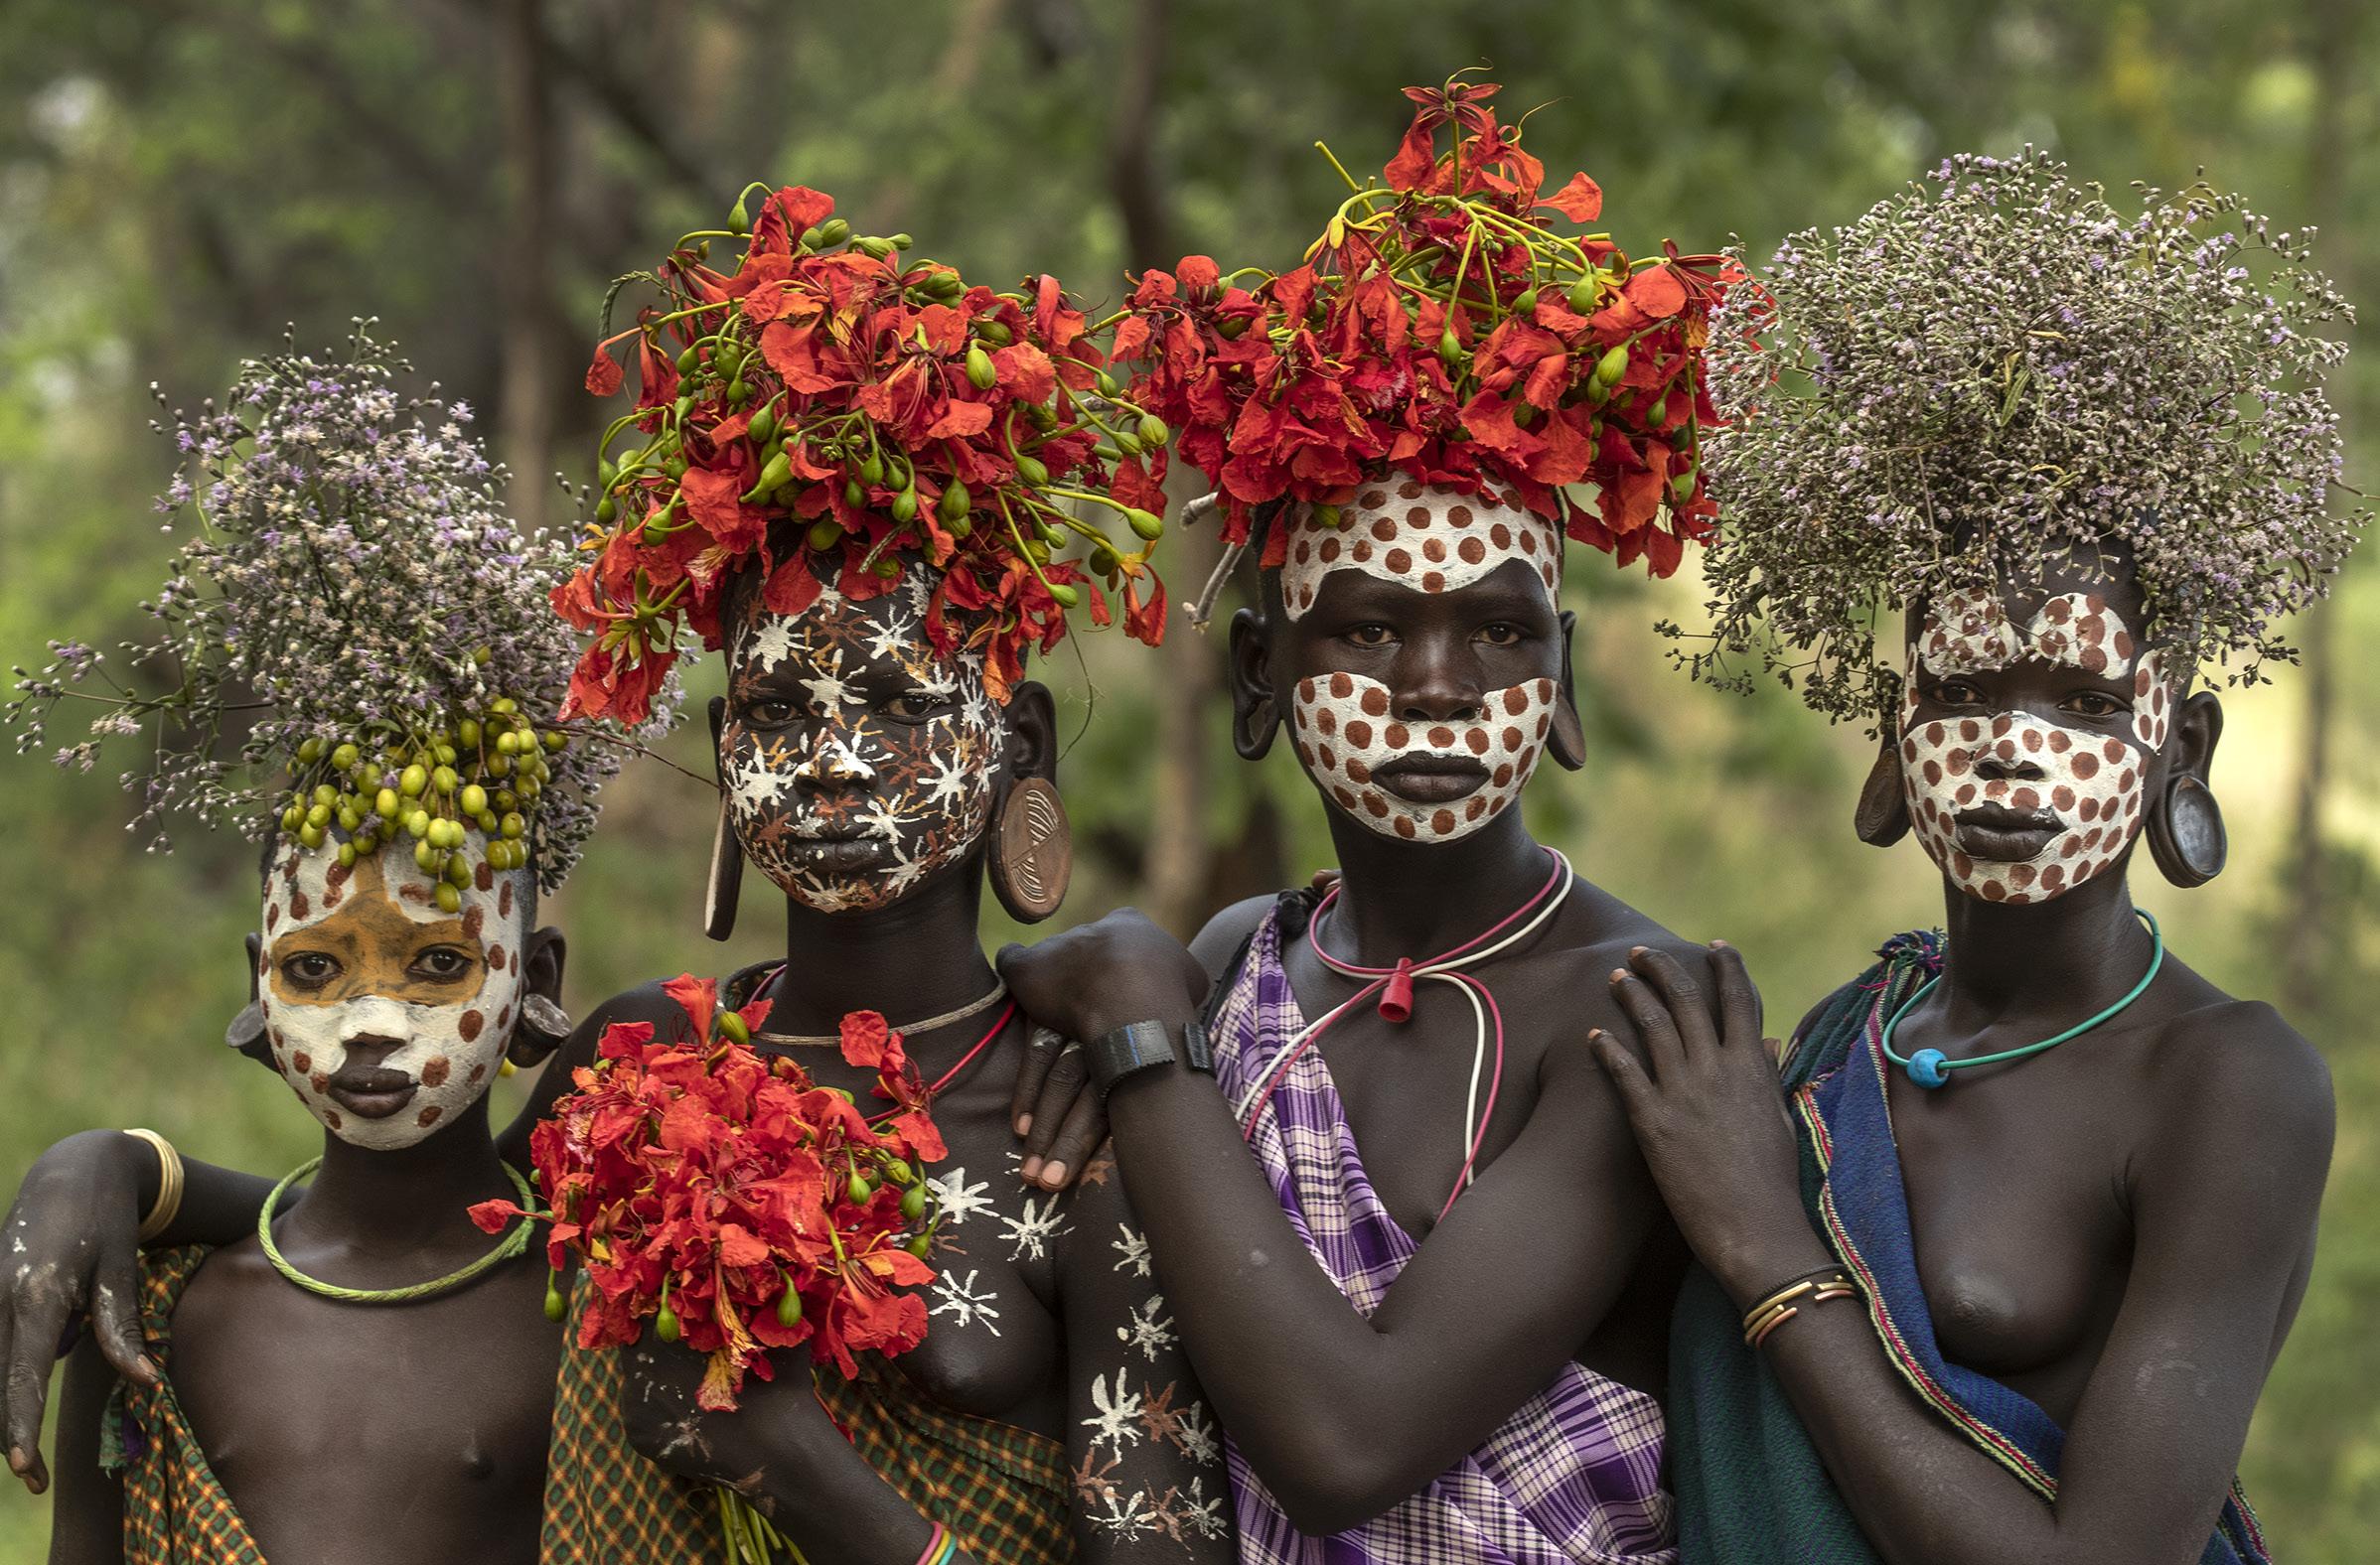
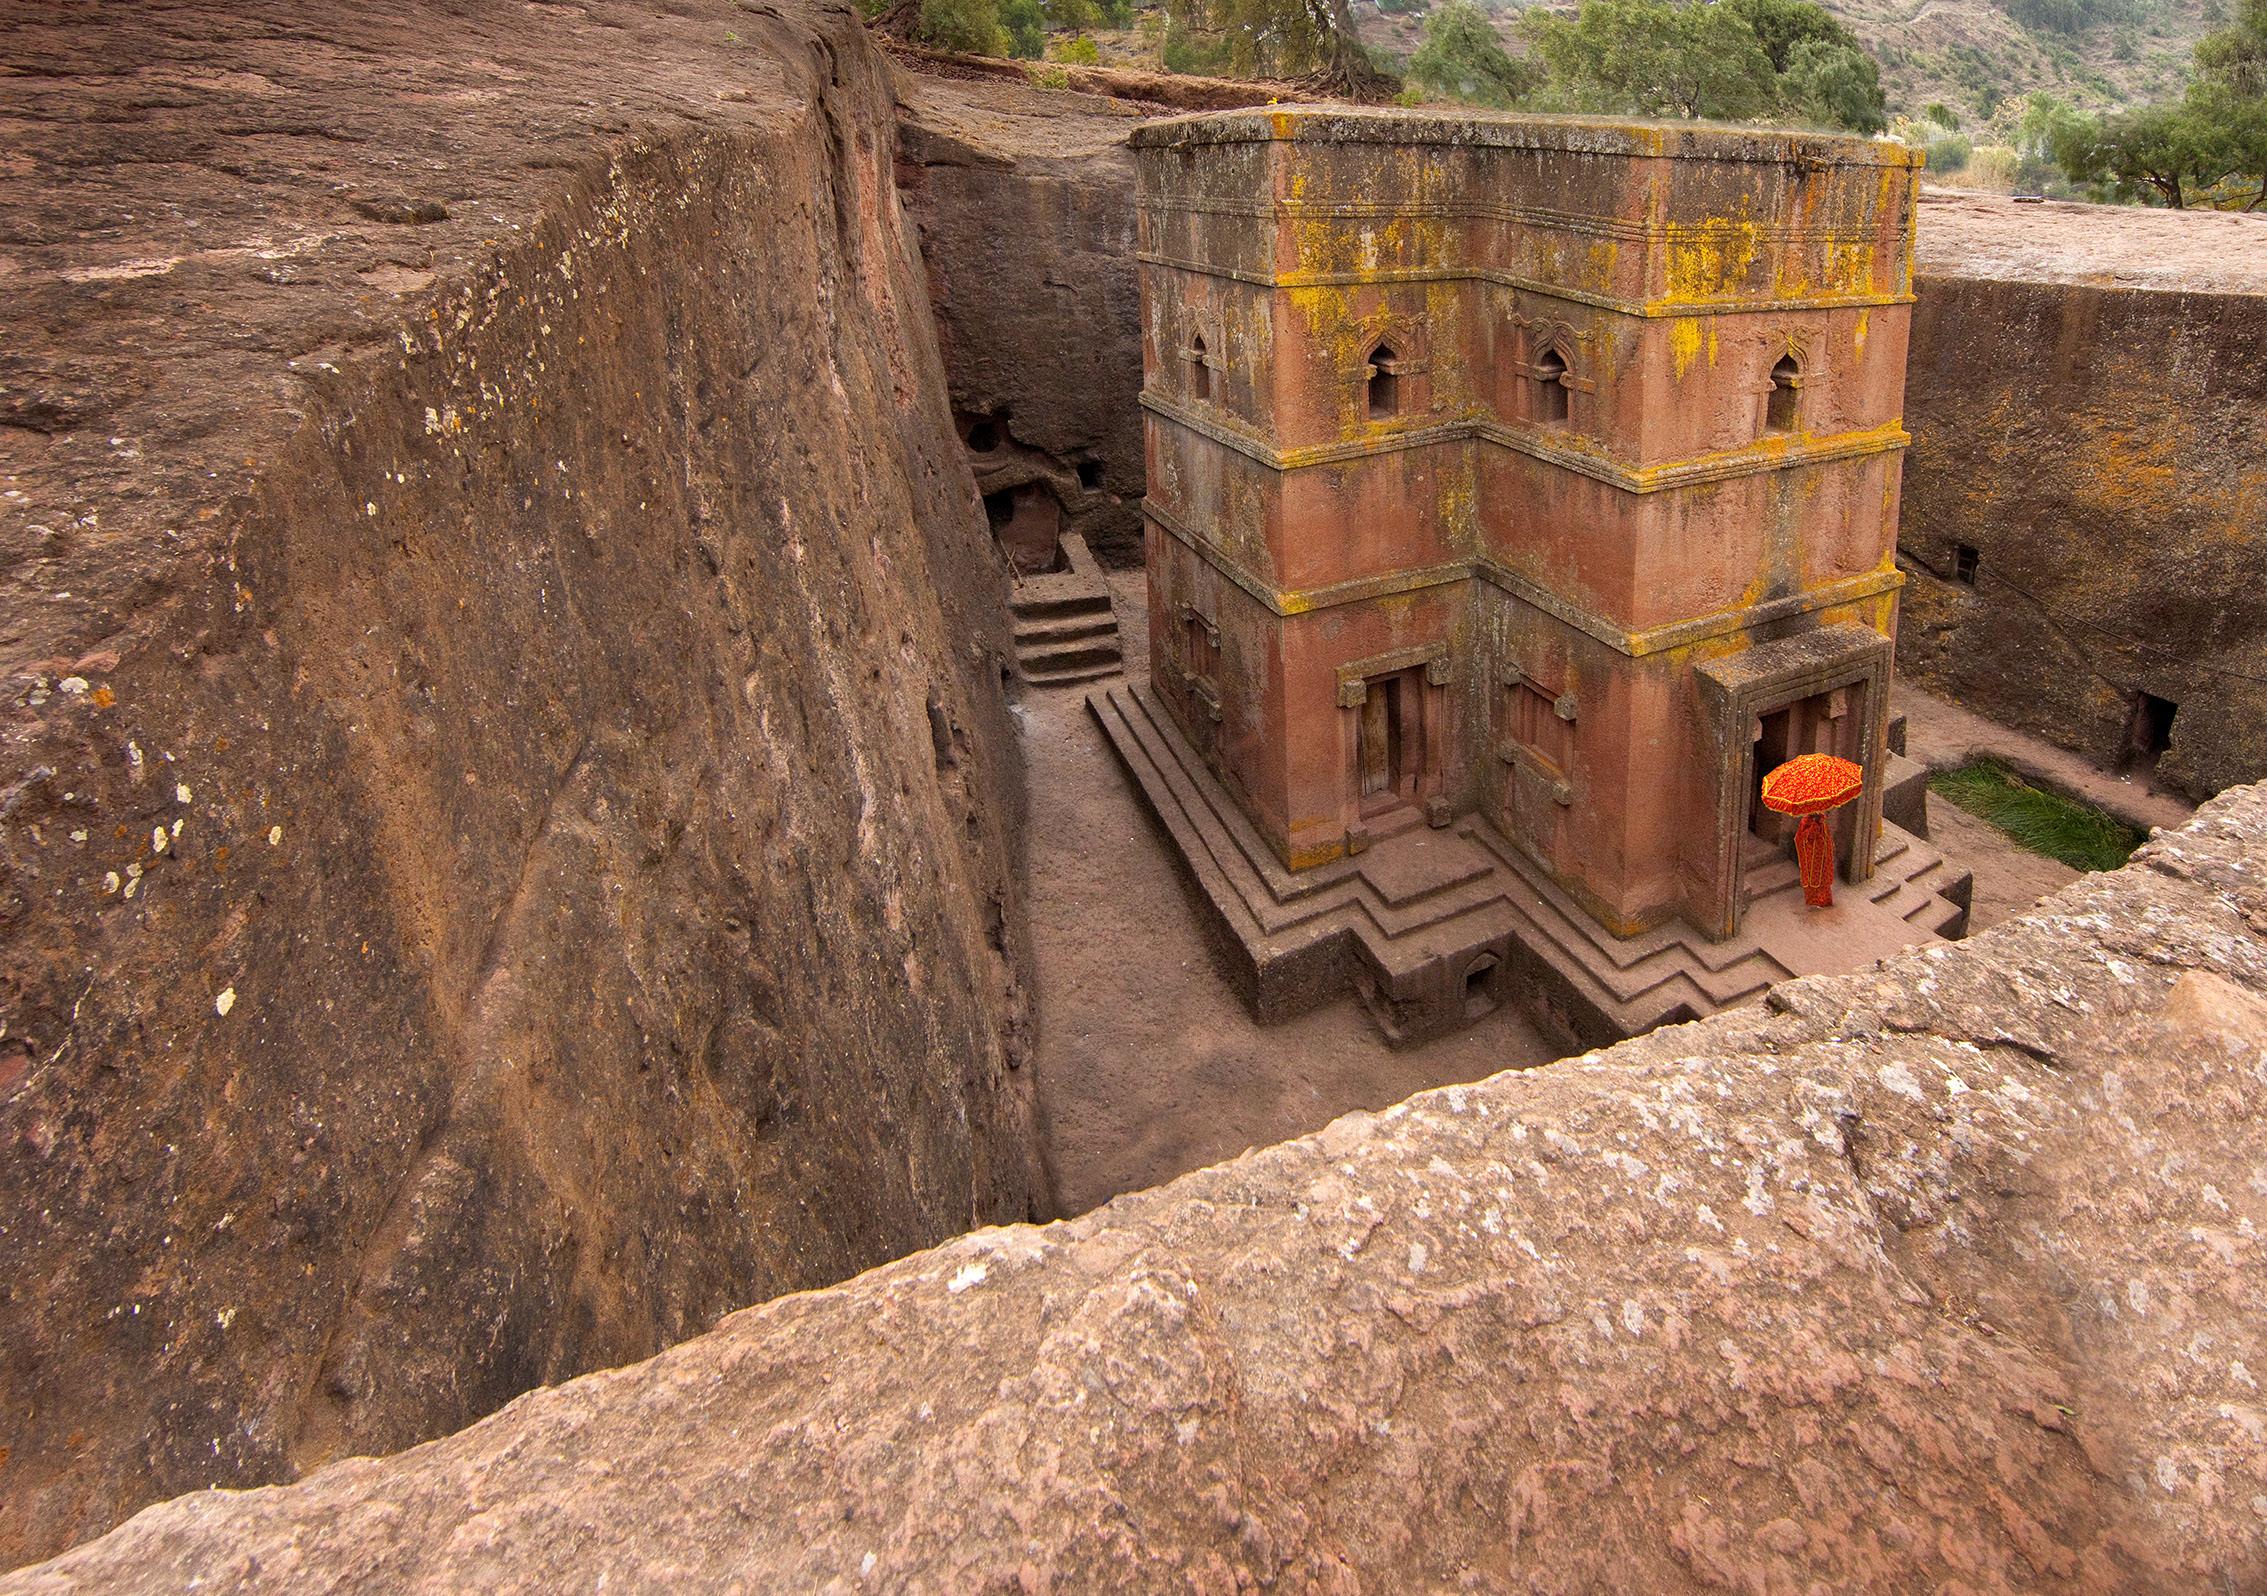
Ethiopia Photo Tour
Jan. 21 - Feb. 3, 2025
13
Addressing the Problem of
Midday lighting under a clear sky is problematic. I’ll take diffused light any day. Harsh light is contrasty, unappealing, and it makes you want to put your camera back into the photo backpack.
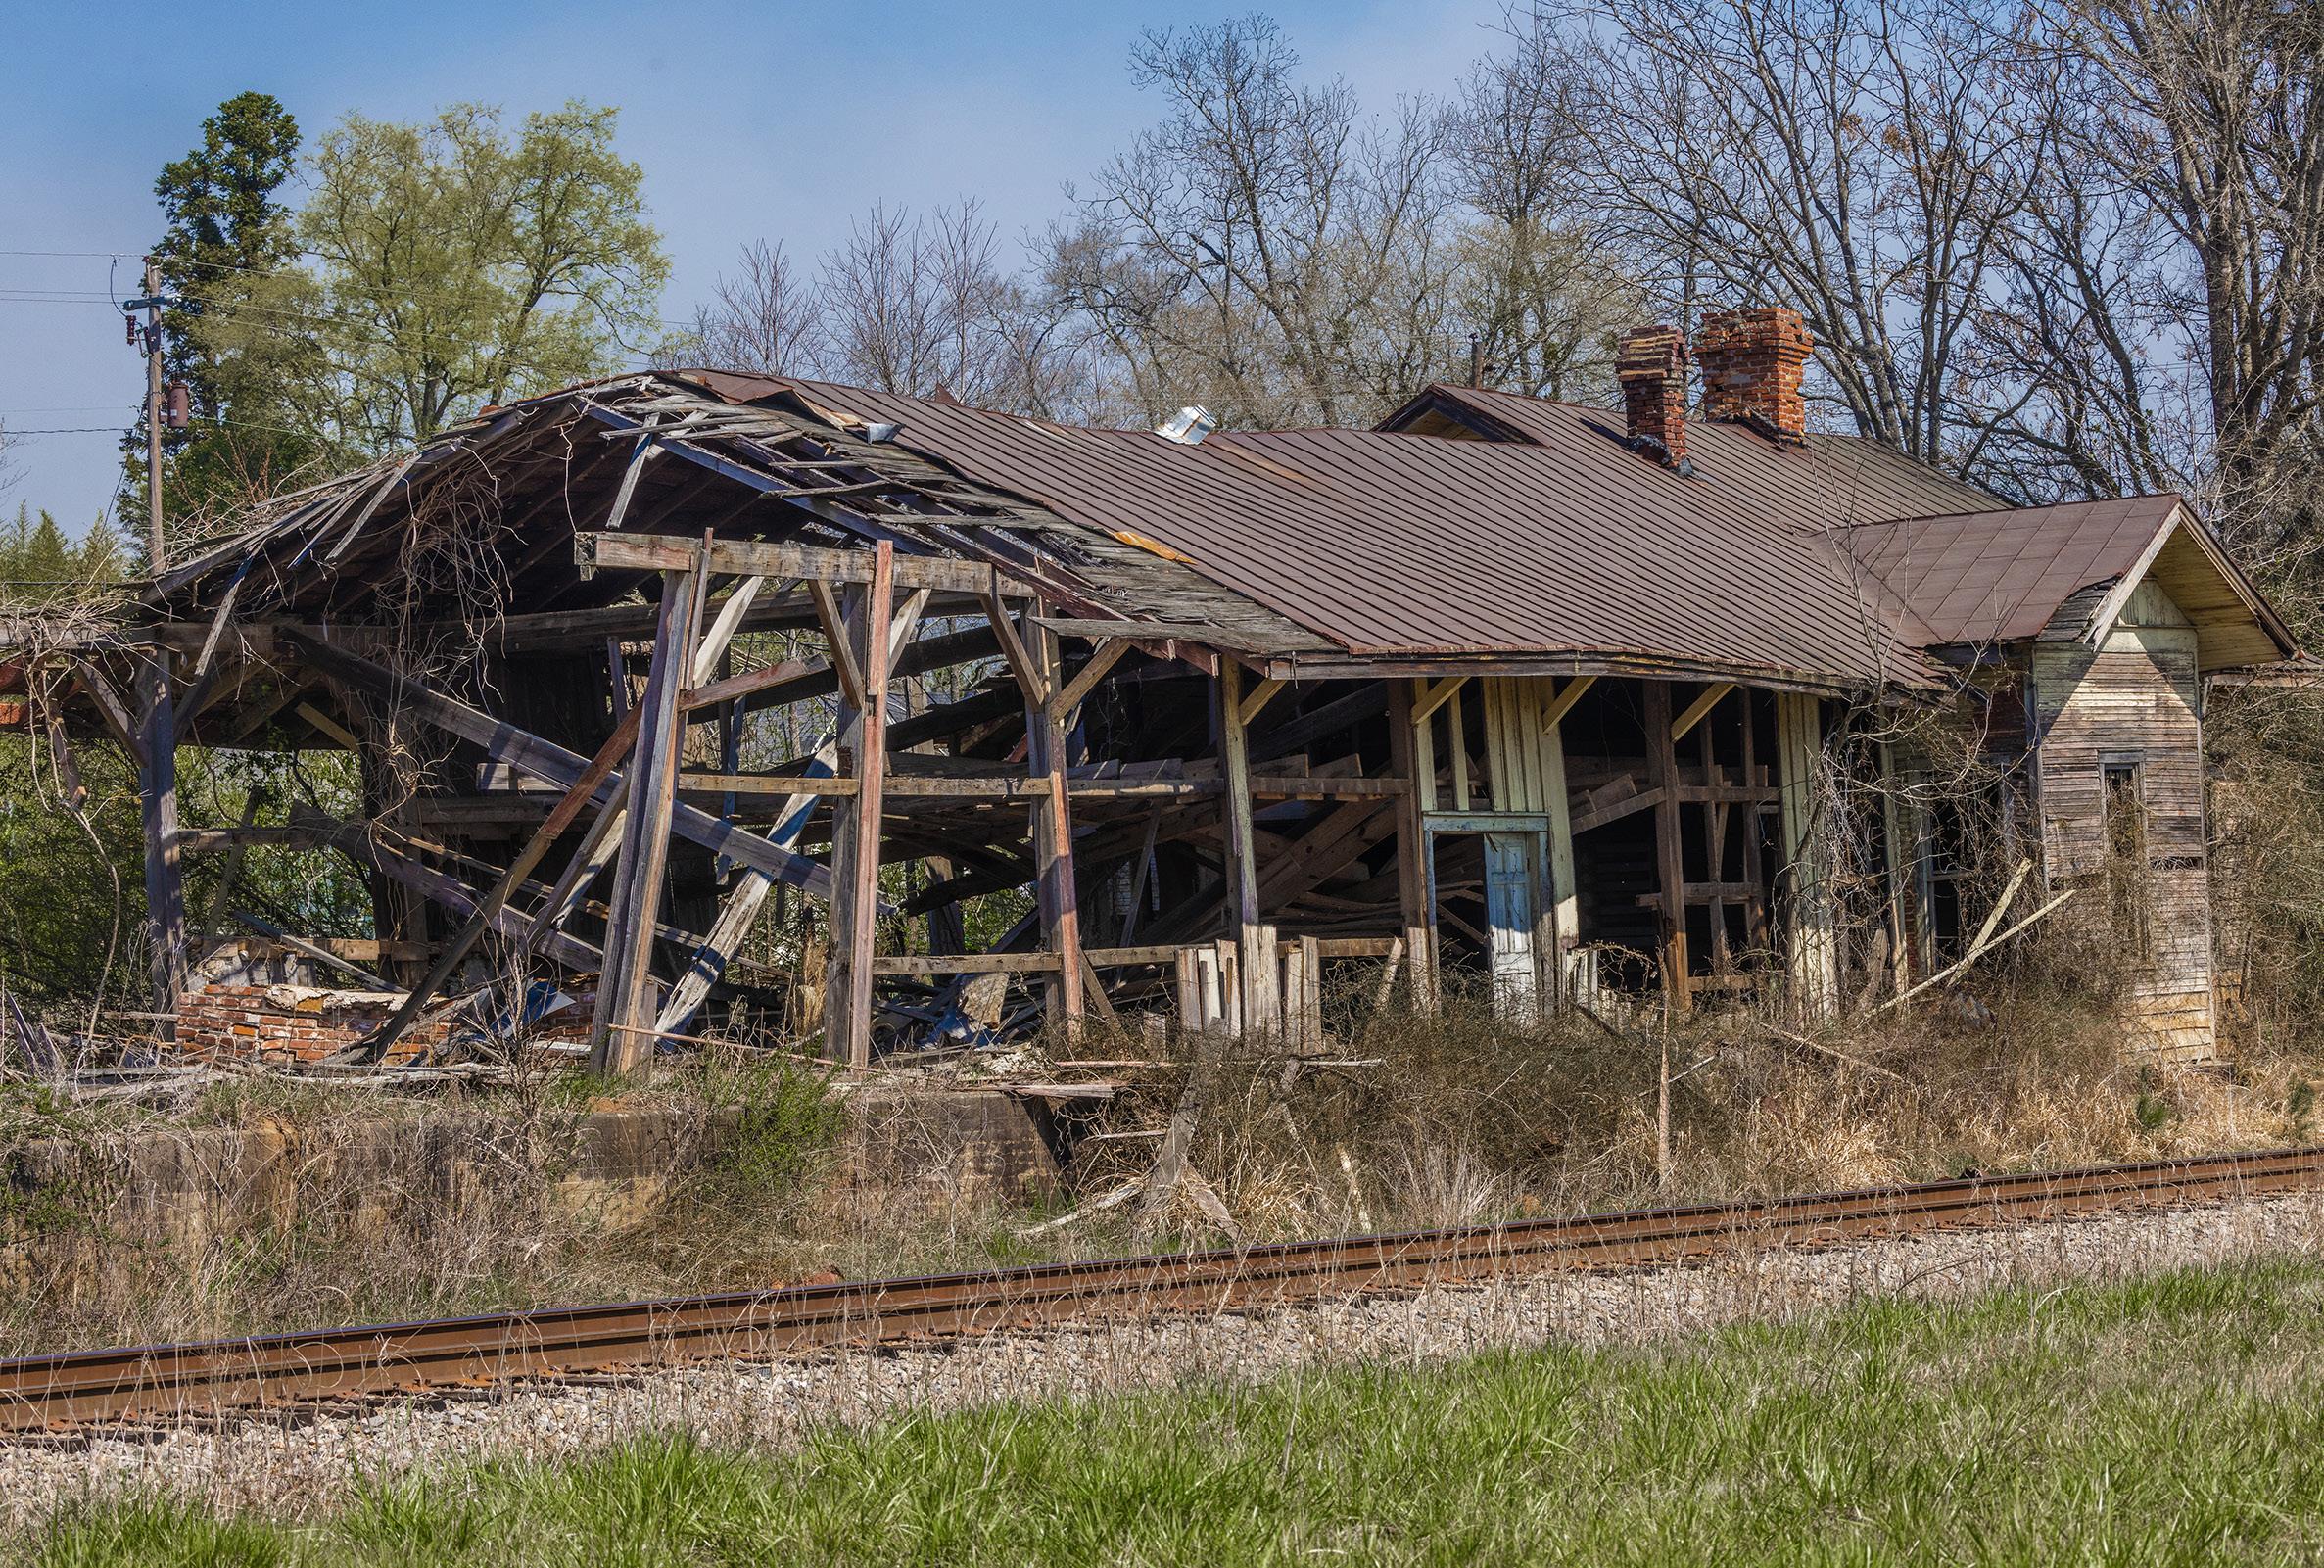
I recently shot an abandoned building in Georgia, below, and as you can see the shadows have gone dark, almost black, while the colors are weak and boring. There are two methods I use to make this less-than-desirable situation we
are often faced with look better.
1. I take an HDR sequence of 5 images with one f/stop increments. In Photoshop, I stack all 5 shots and then adjust the shadows, highlights, and midtones as well as the color in Abode Camera Raw (or Lightroom).
2. I take one correctly exposed frame and then, in ACR, or Lightroom make the following adjustments based on what looks natural to me:
14
A. I first move the shadows slider to the right. Depending on the original contrast in the scene, I may move the slider all the way to the right side to reveal detail in the very dark shadows. You can see in the image below that the darkest parts of the image show detail. They aren’t unnaturally light, but they reveal detail that wasn’t visible in the original.
B. I move the highlight slider to the left. This tones down bright highlights. In this example, the sky was washed out and moving this slider brought back some subtle detail.
C. I move the vibrance slider to the right, increasing saturation. I prefer working with vibrance in most cases because the saturation slider introduces too much yellow in the image.
Some people will argue that increasing exposure in the shadows introduces too much
noise. While that is often true, the 3rd party Photoshop plugin, Topaz DeNoise, significantly reduces or eliminates altogether any noise created. With more megapixels in your camera, this problem is virtually eliminated.
If you do find that lightening shadows adds unwanted noise, then use the first method I described. Take an HDR seqeuence of images. If the contrast in the scene is severe, instead of a 5-frame sequence, take 7 frames. Doing this means there will be no additional noise introduced to the image when the various frames are stacked together.
For the image below, I used the second method -- I simply worked with sliders in ACR. It’s important not to overdo the shadows slider. §
15
PATAGONIA PHOTO TOUR
October 15 - 26, 2024

16
Photography Quiz
1. A 2x teleconverter loses how much light?
a. 1 f/stop
b. 2 f/stops
c. 2 1/3 f/stops
d. 3 f/stops
2. The complementary color of cyan is:
a. Blue
b. Yellow
c. Green
d. Red
3. On most cameras, what does Tv stand for?
a. Tonal value
b. Telephoto value
c. Time value
d. Tonal variation
4. What is a pixel in photographic terms?
a. 1000th of a megapixel
b. The speed at which the shutter interacts with the digital sensor
c. A single square unit of color and exposure information in an image
d. The transition between zeros and ones in forming the image
5. How many pixels would make up a 45 megapixel image?
a. 4500
b. 45,000
c. 450,000
d. 45,000,000
6. From one full second to 1/15 second is how many stops?
a. Eightf/stops
b. Five f/stops
c Four f/stops
7. If you photograph a black dog against a black wall on fully automatic exposure mode:
a. The dog would be correctly exposed
b. The dog would be overexposed
c. The dog would be underexposed
8. If you use auto white balance (AWB) at sunrise and sunset, the colors in the resulting images will be as you see them:
a. True
b. False
9. An incident light meter never gives a false reading of snow if used correctly.
a. True
b. False
10. Depth of field depends on:
a. Camera to subject distance
b. Lens aperture
c. Focal length of the lens
d. All of the above
e. None of the above
Answers on page 45
17
UPCOMING PHOTO WORKSHOPS

Snowy Owl Workshop
Close up encounters with these beautiful birds of the North. Capture bird in flight shots in a snowy environment. Jim guides you in camera settings and technique to take the best pictures possible.
January 9 - 13, 2025
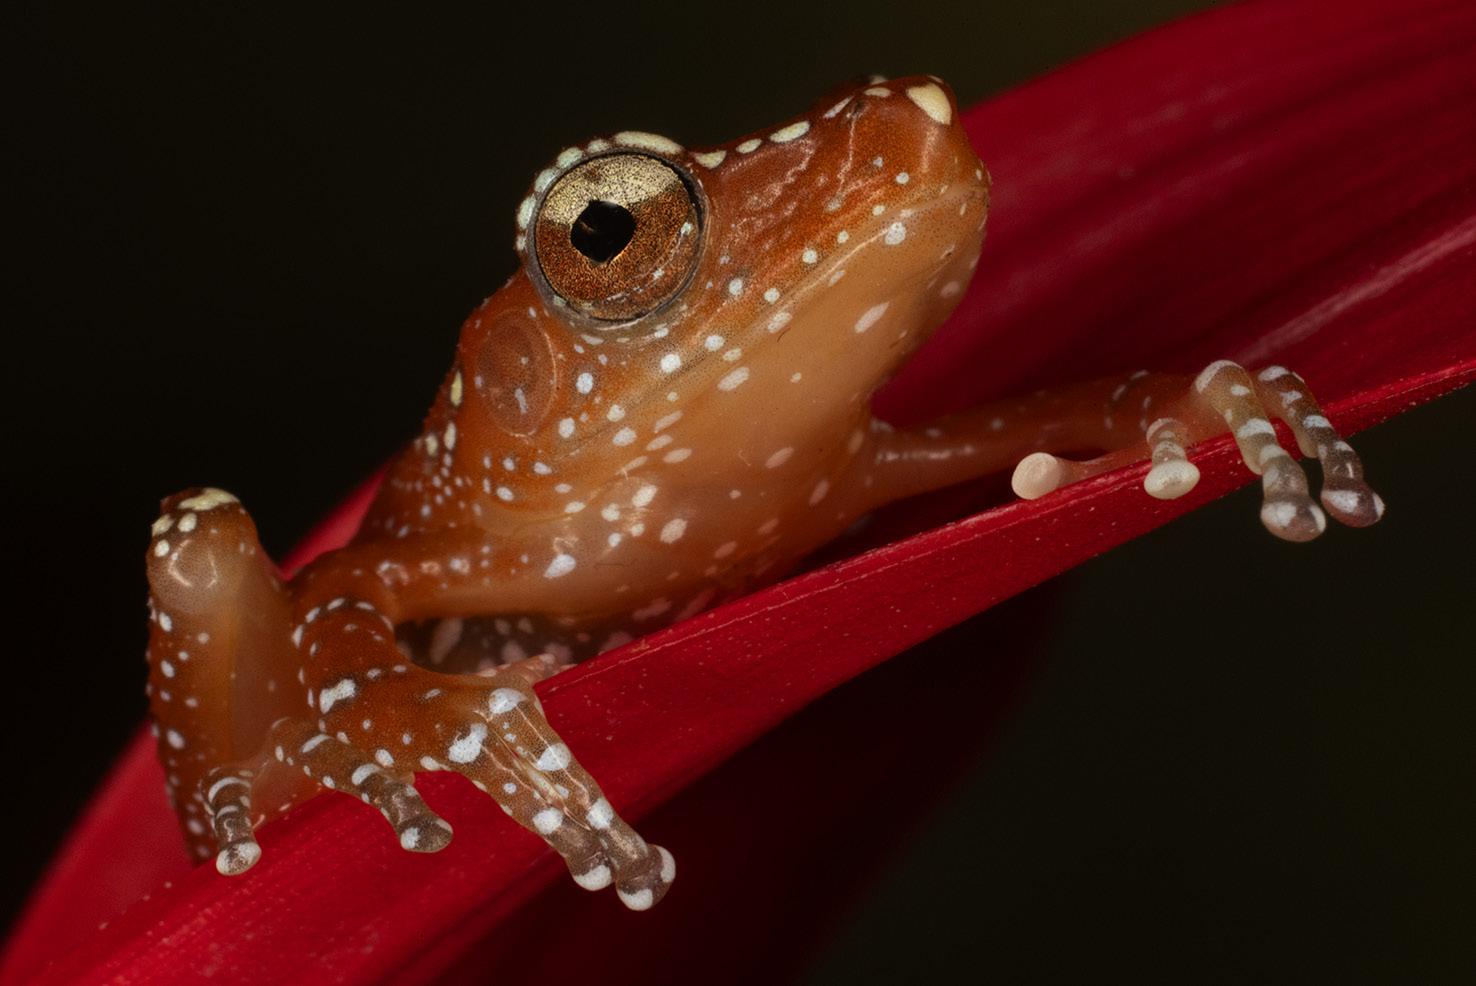
Frog & Reptile Workshop
Get upclose and personal with exotic and colorful dart frogs and primitive looking reptiles. This is a macro photography workshop. We use a ring flash or similar for outstanding nature images. This takes place in a hotel conference room with natural looking backgrounds. Held in Kansas City.
August 17 - 18, 2024
Carnival in Venice
Photograph amazing costumes in a Medieval environment. We shoot inside a 16th century palace, in an iconic gondola, in a stunning bedroom with traditional Venetian decor, and in other great locations. The photography as well as the experience is phenomenal.
February 23 - March 1, 2025
1919 10 w
18
18 Expand your photographic artistry with eBooks Click on any ebook to see inside 19

212321 212123 21 1919 eBooks continued Click on any ebook to see inside 20
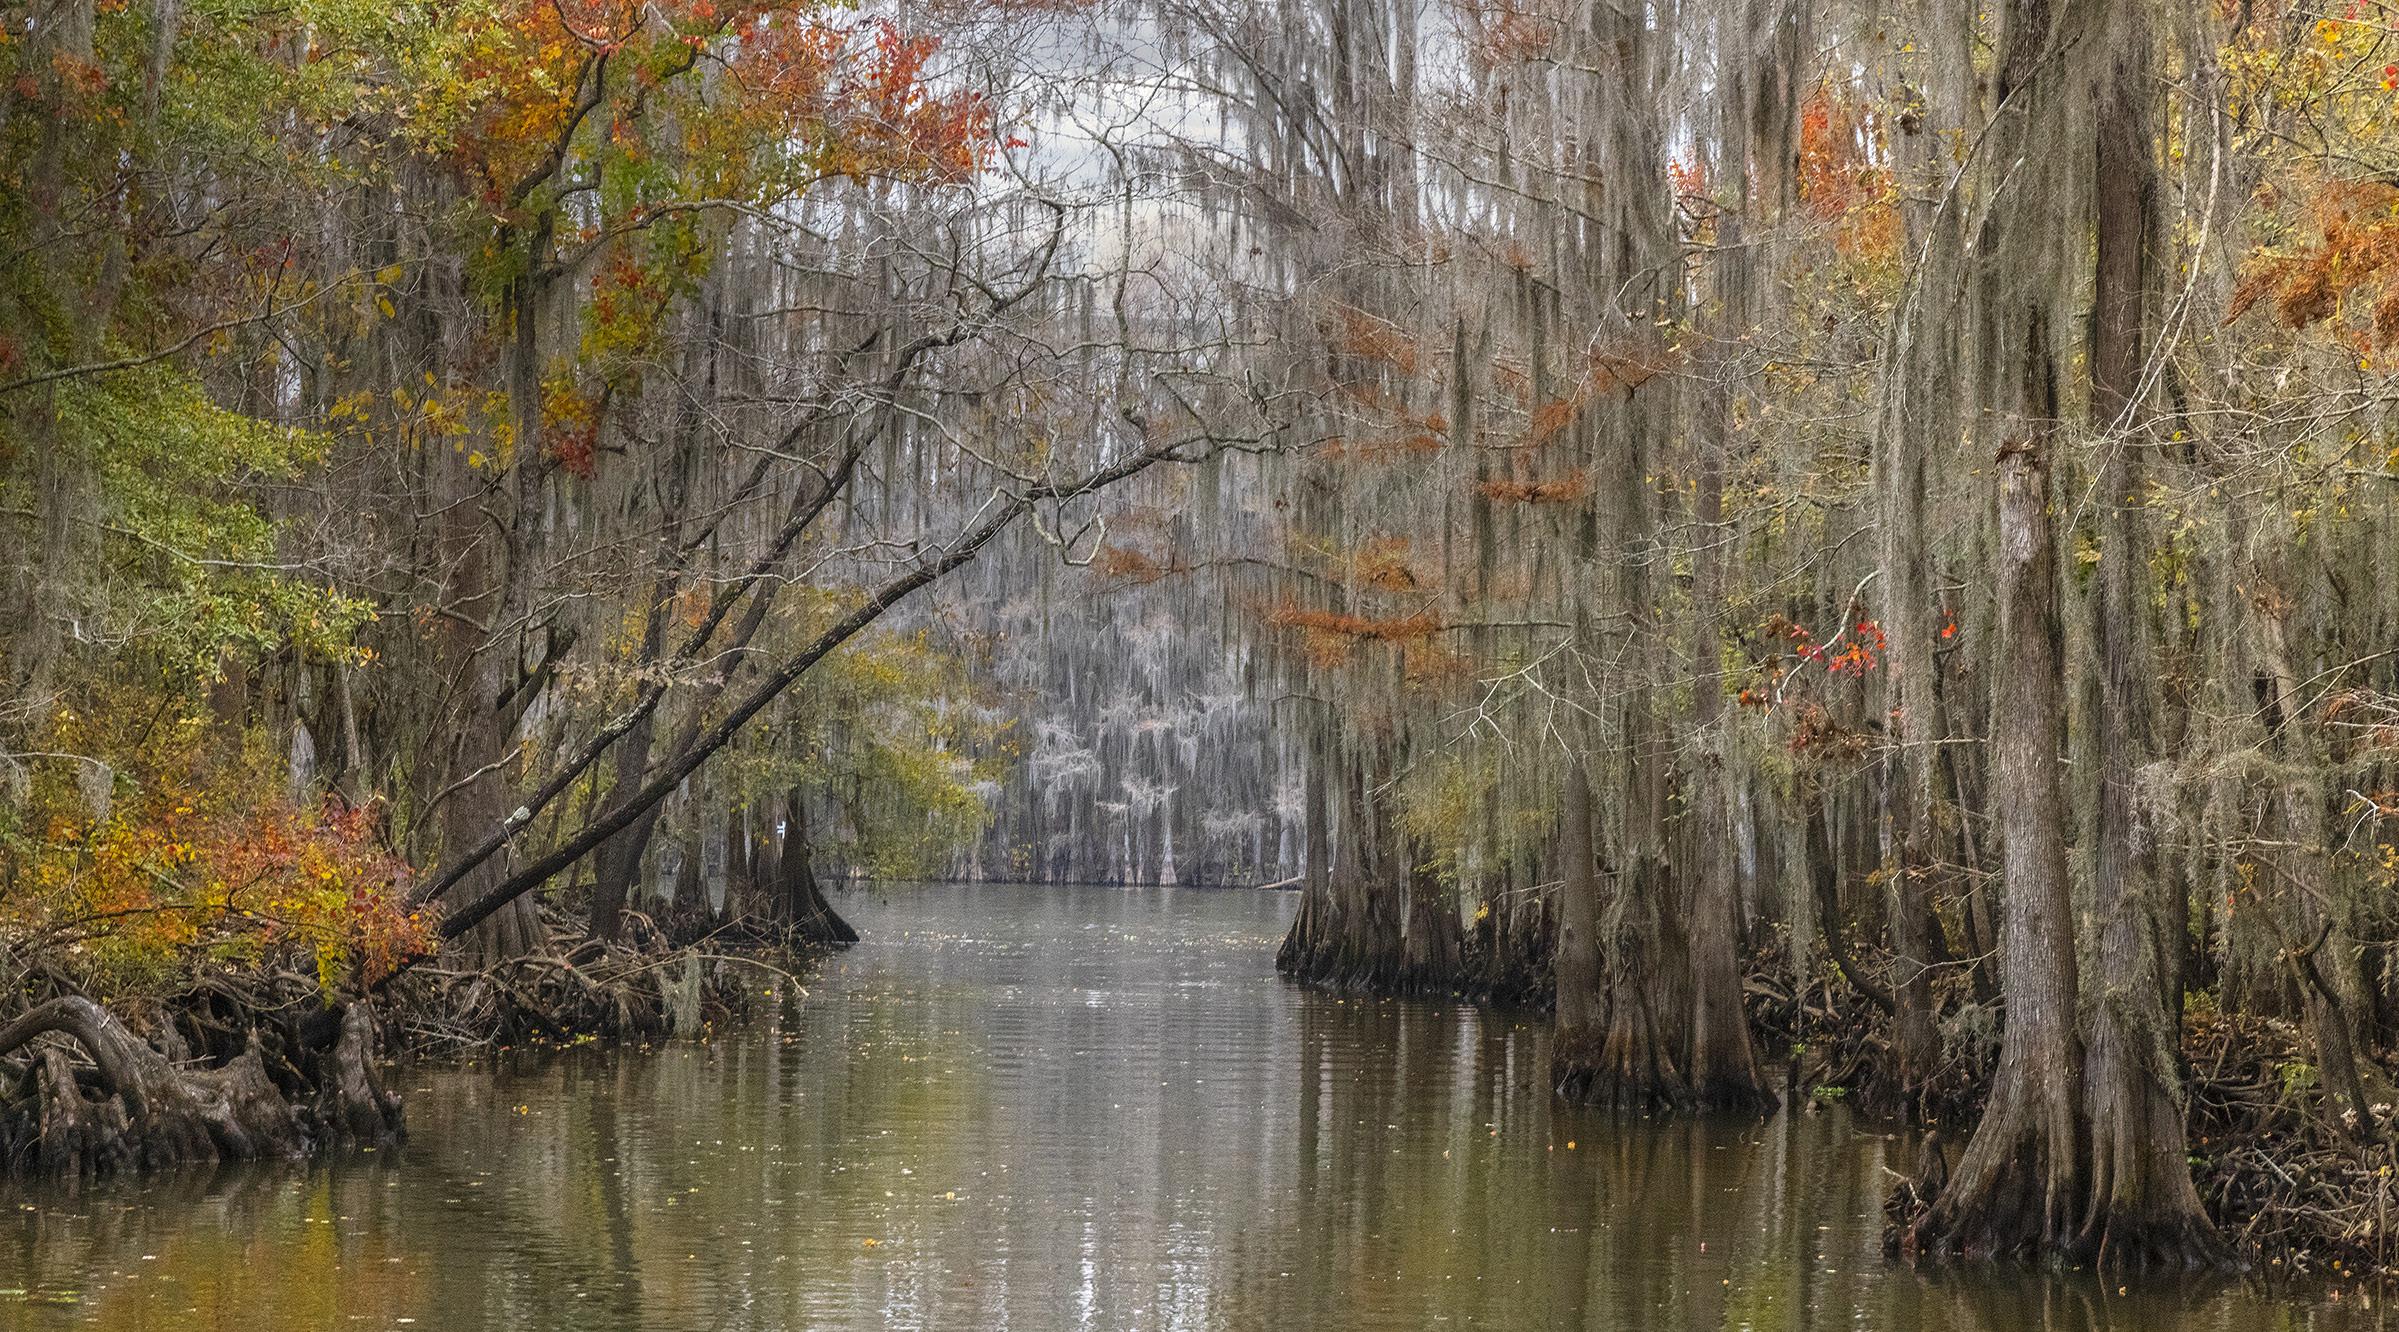
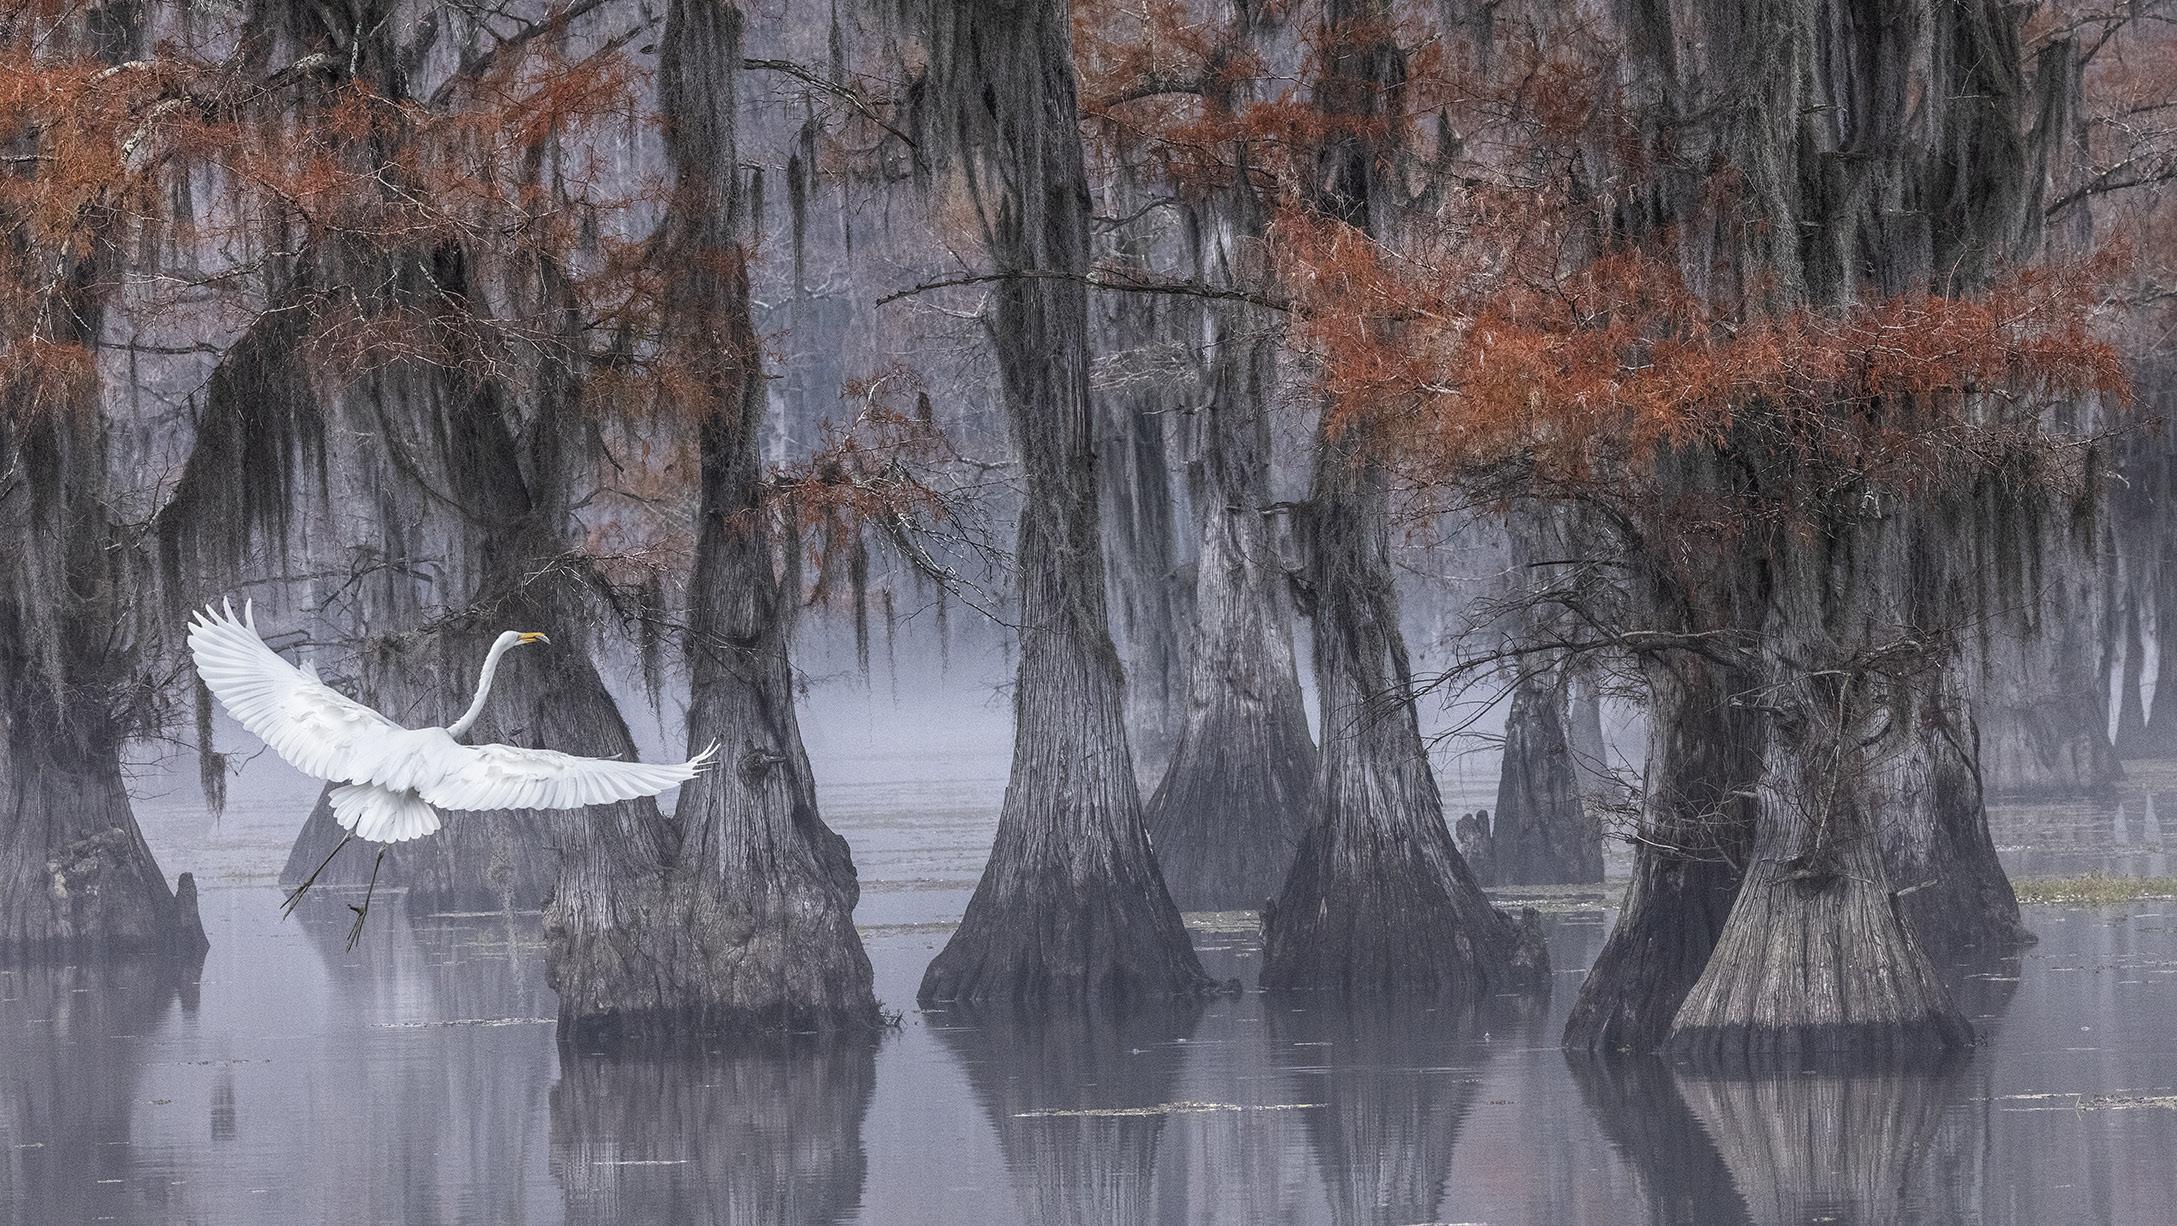
Mystical Swamps of Louisiana
October 29 - November 2, 2024
23
21
What’s wrong with this picture?
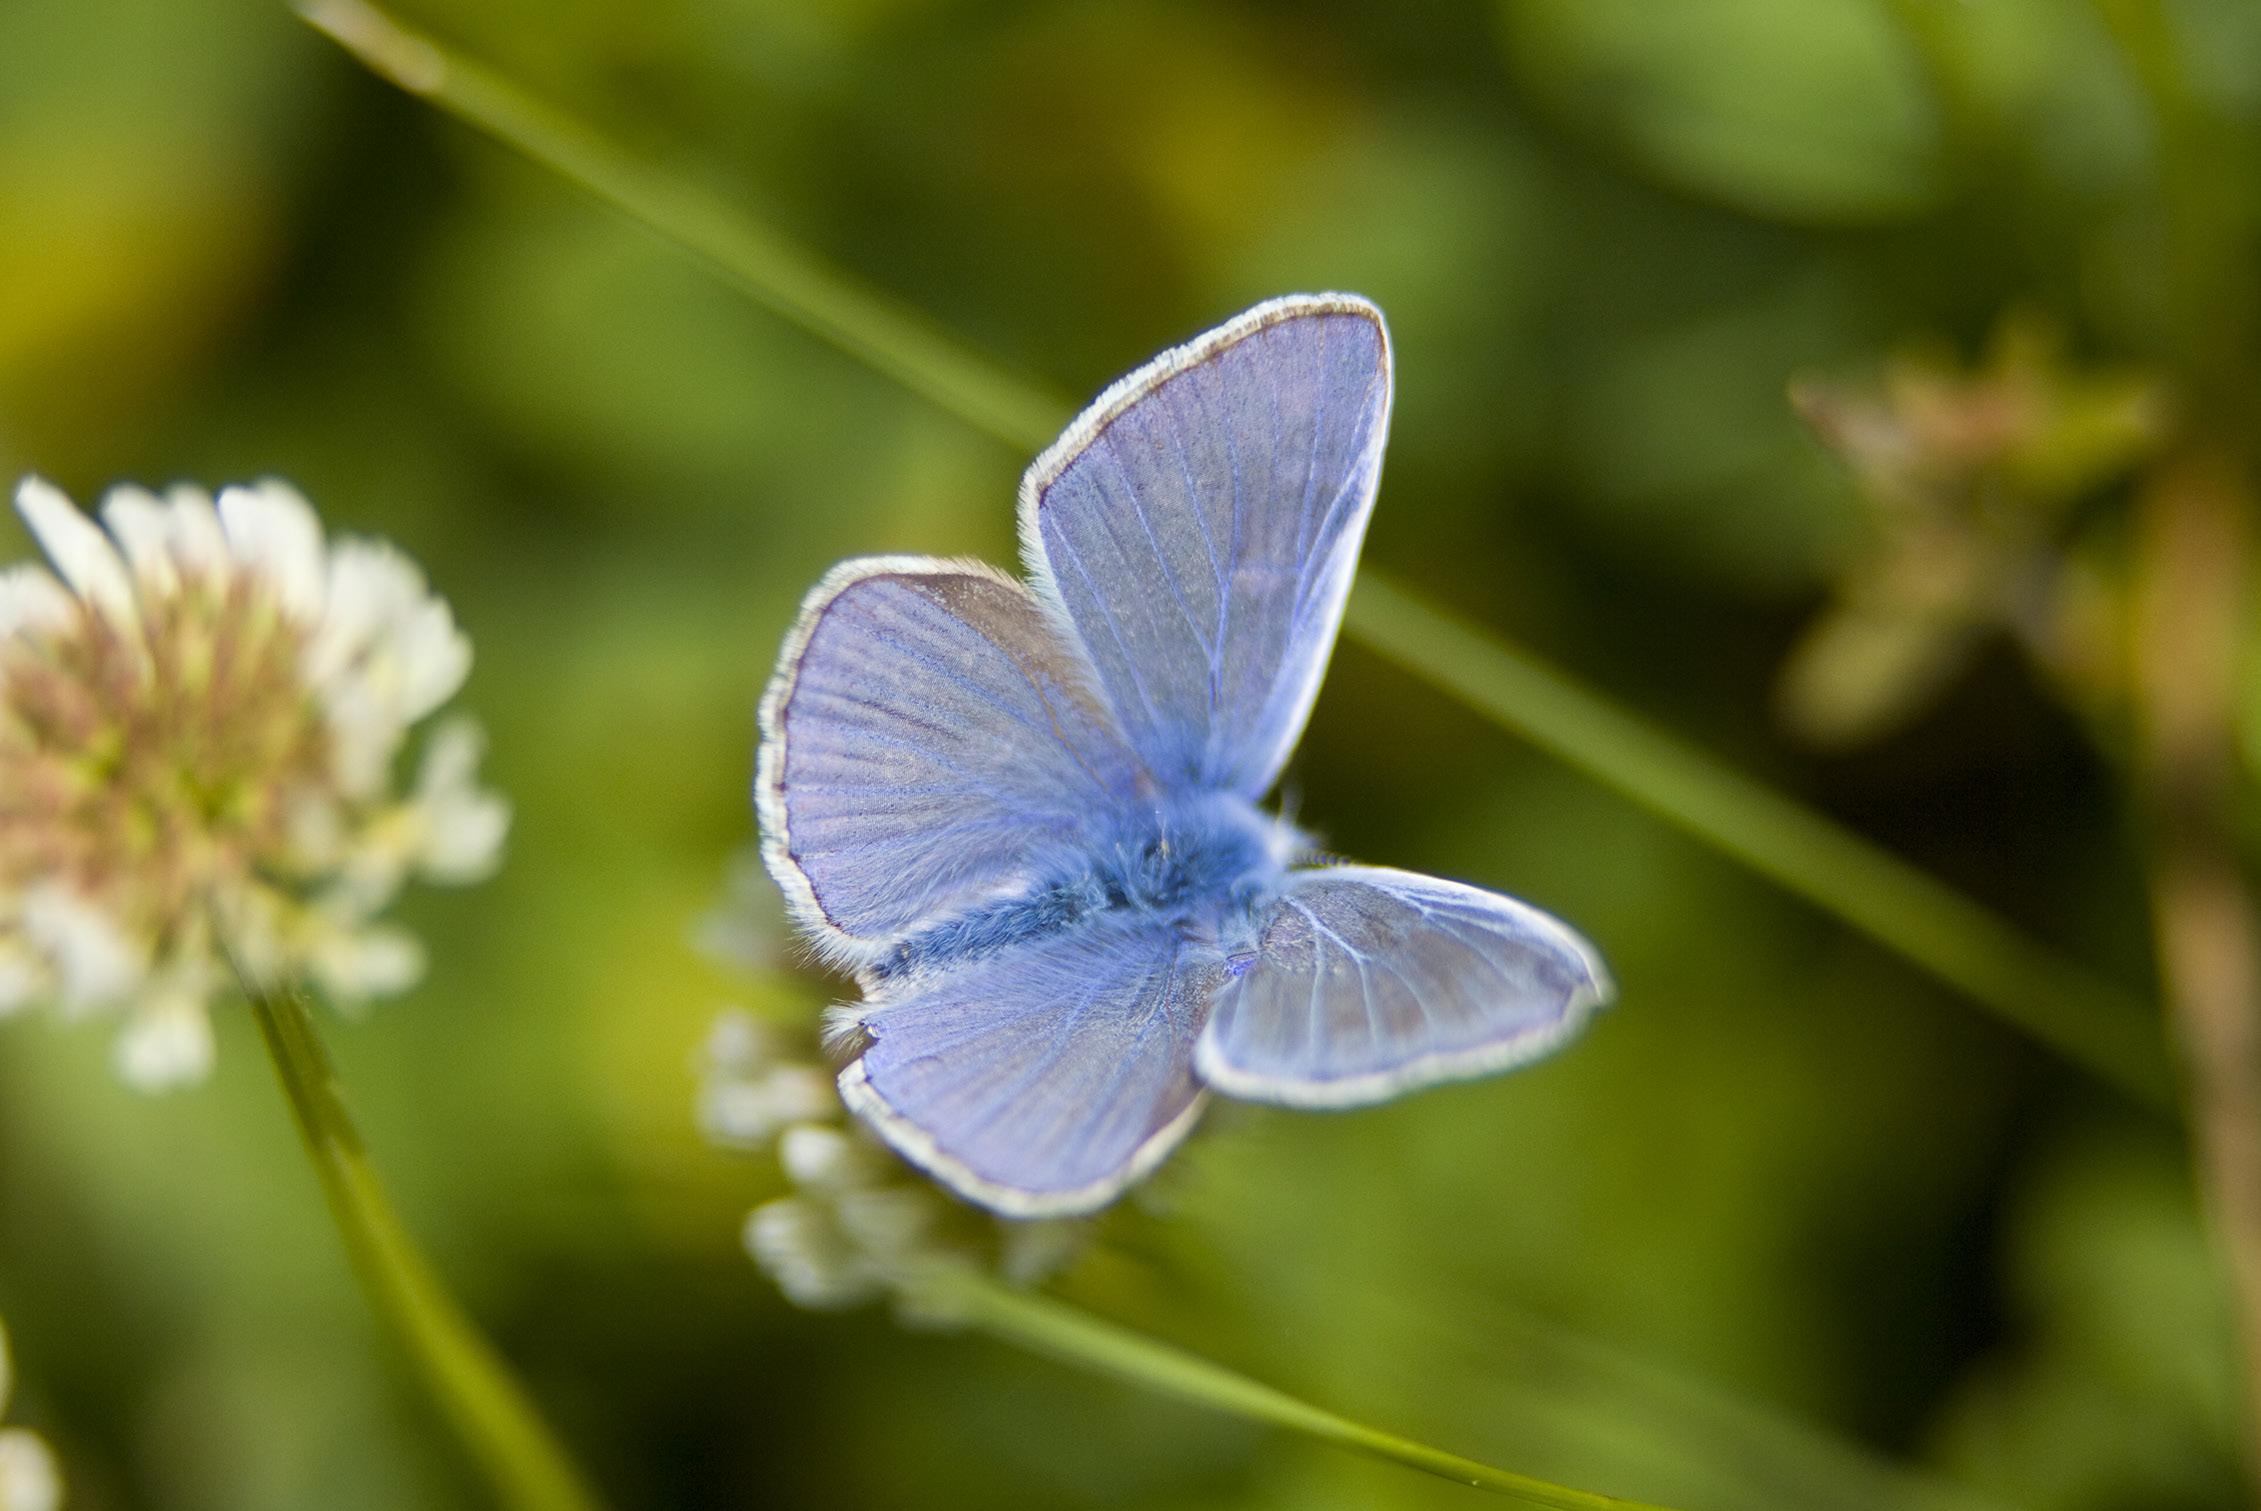
The biggest problem with photographing butterflies is they often hold their wings in a dihedral position -- a V shape -- and when shooting with a macro lens where depth of field is so shallow, it’s almost impossible to render the small subect completely in focus. That was the case with this butterfly I found nectaring on flowers in Slovakia. Butterflies have such beautiful and intricate detail that it’s a shame to capture them with only parts of their wings and bodies are out of focus.
What really bothers me about this picture is that both the right forewing and hindwing are soft. It’s common to see this in macro photography, but I don’t like it. Out of focus backgrounds are not only acceptable, but often usually desirable. It seems to me there’s no point in making the effort to capture subjects with such great detail and then render them, or a part of them, too blurry to appreciate.
22
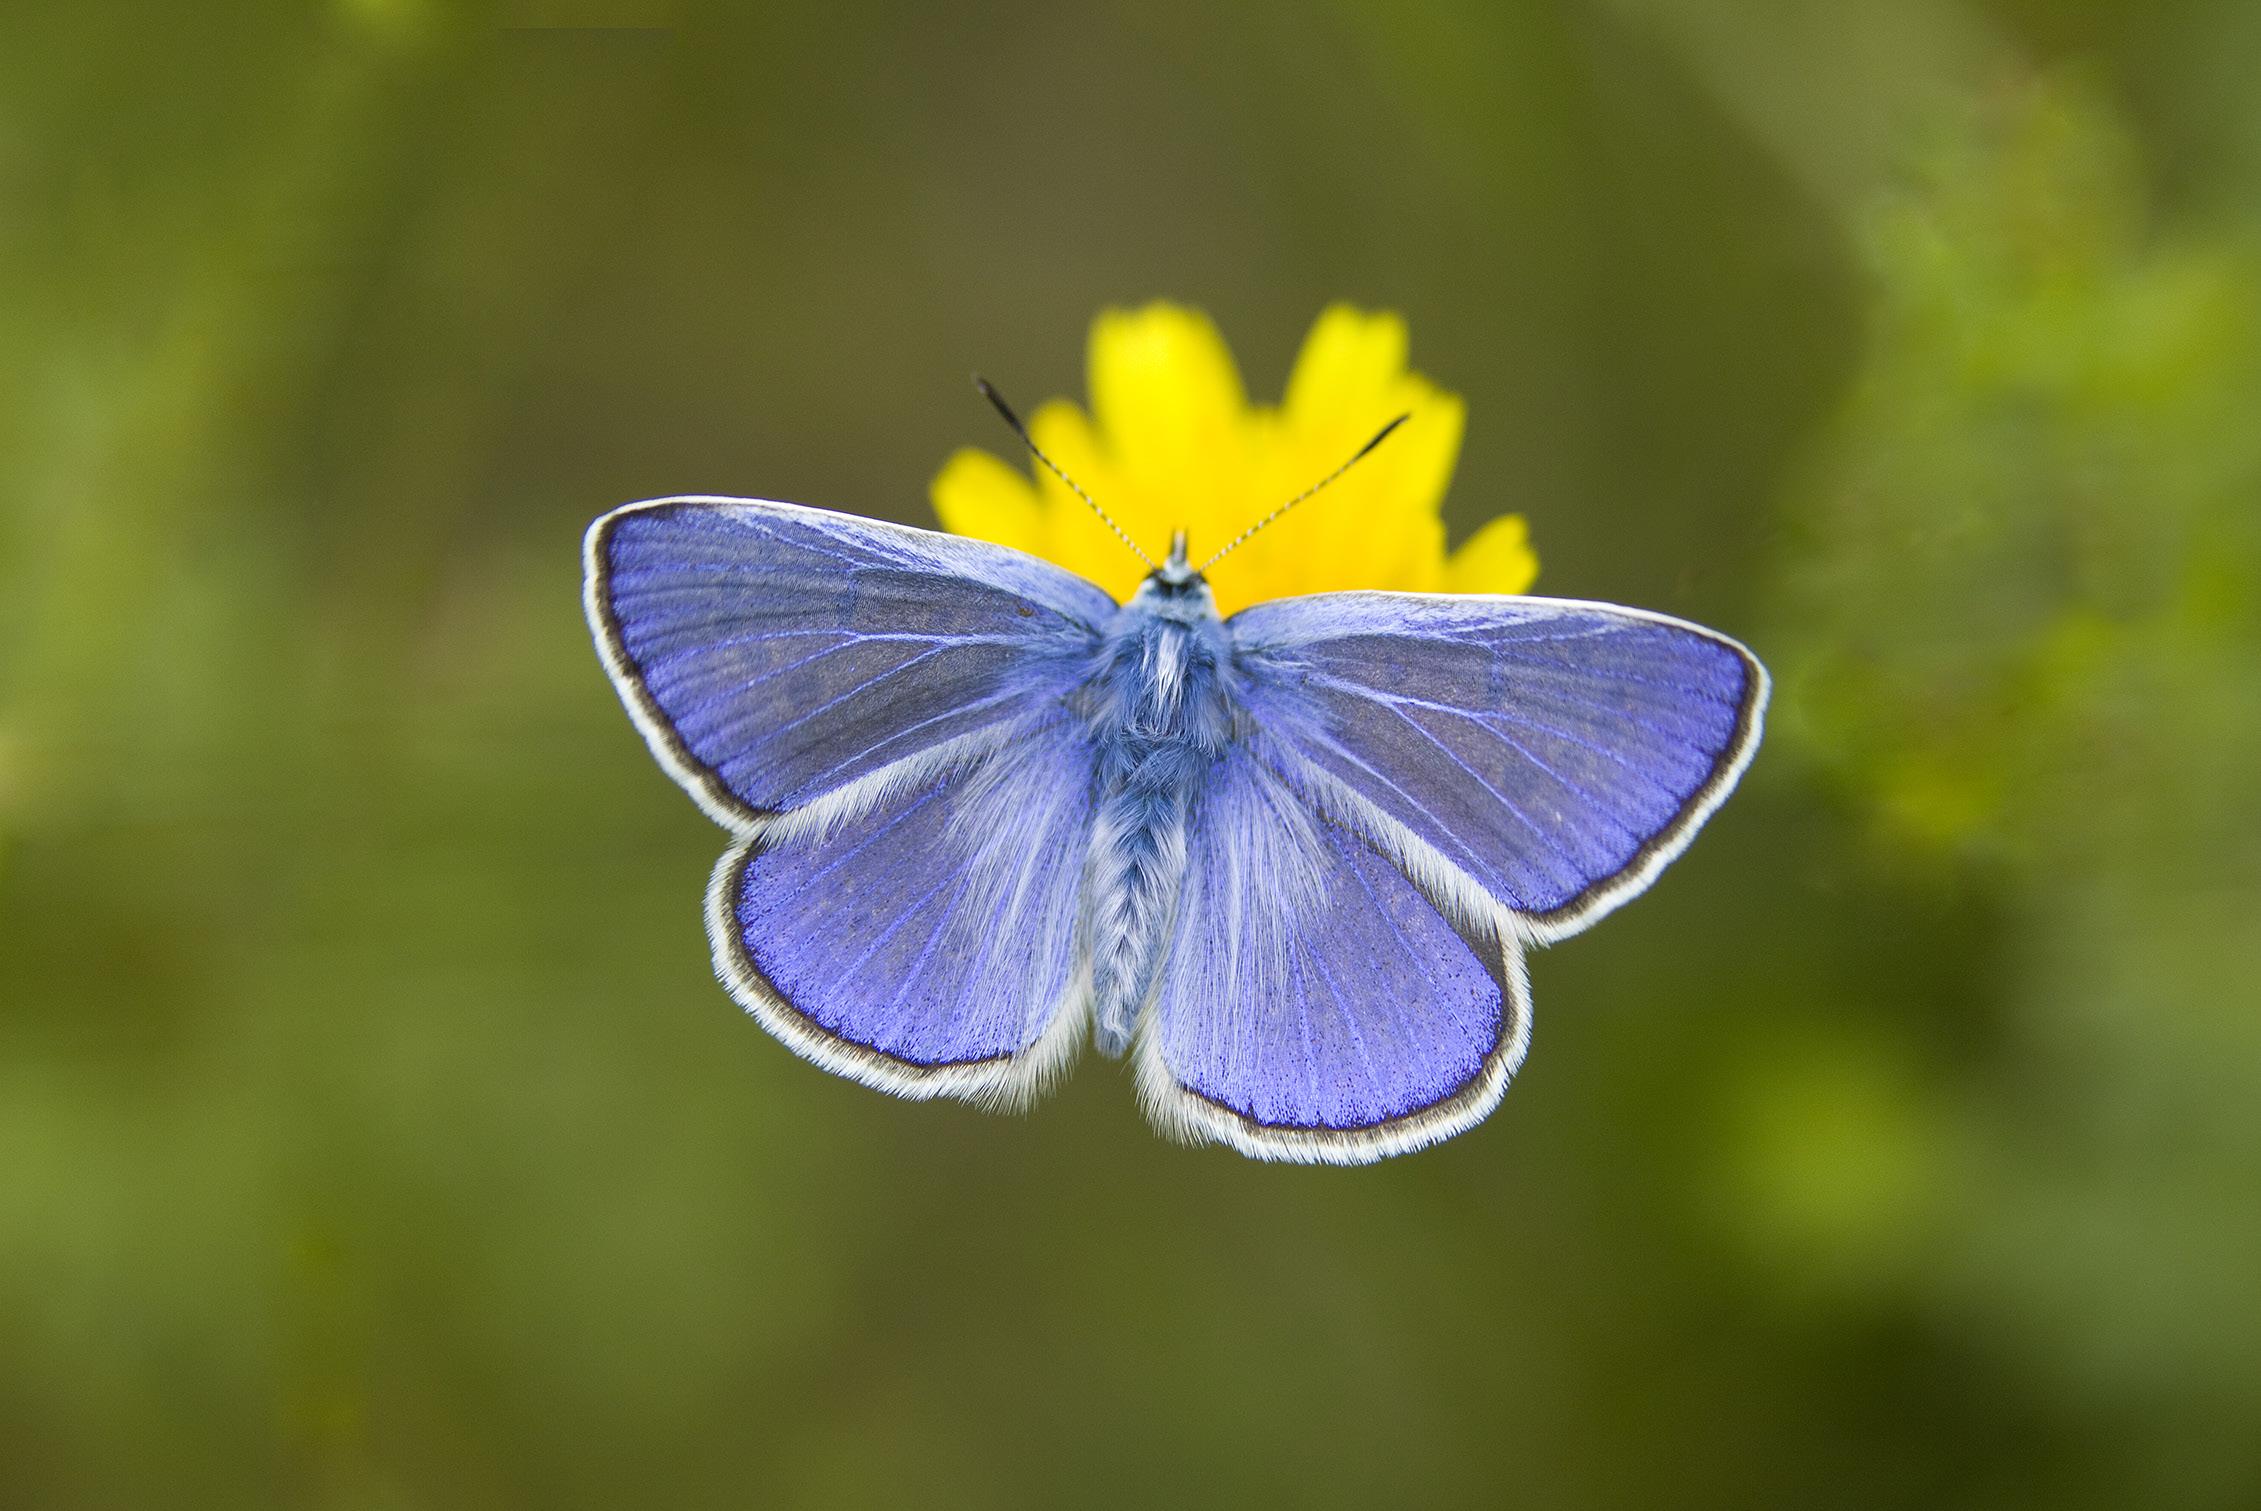
The problem, of course, is you need a shutter speed fast enough to freeze the fluttering of the wings and an ISO low enough to maintain maximum picture quality. This means that the lens aperture almost always ends of being too large for sufficient depth of field.
The solution is to be patient and follow the butterfly as it flutters from flower to flower hoping at some point it will hold its wings flat. If and when that happens, you need to position yourself so the back of the camera, i.e., the plane of the digital sensor, is as parallel as possible to the plane of the butterfly’s wings. This means you’ll obtain complete depth of field at any lens aperture. t Butterflies are sensitive to moving shadows because it could mean danger; they take flight as soon as they see an encroaching shadow. Therefore, move with slow deliberation until you gain the best angle that offers the most depth of field. §
23
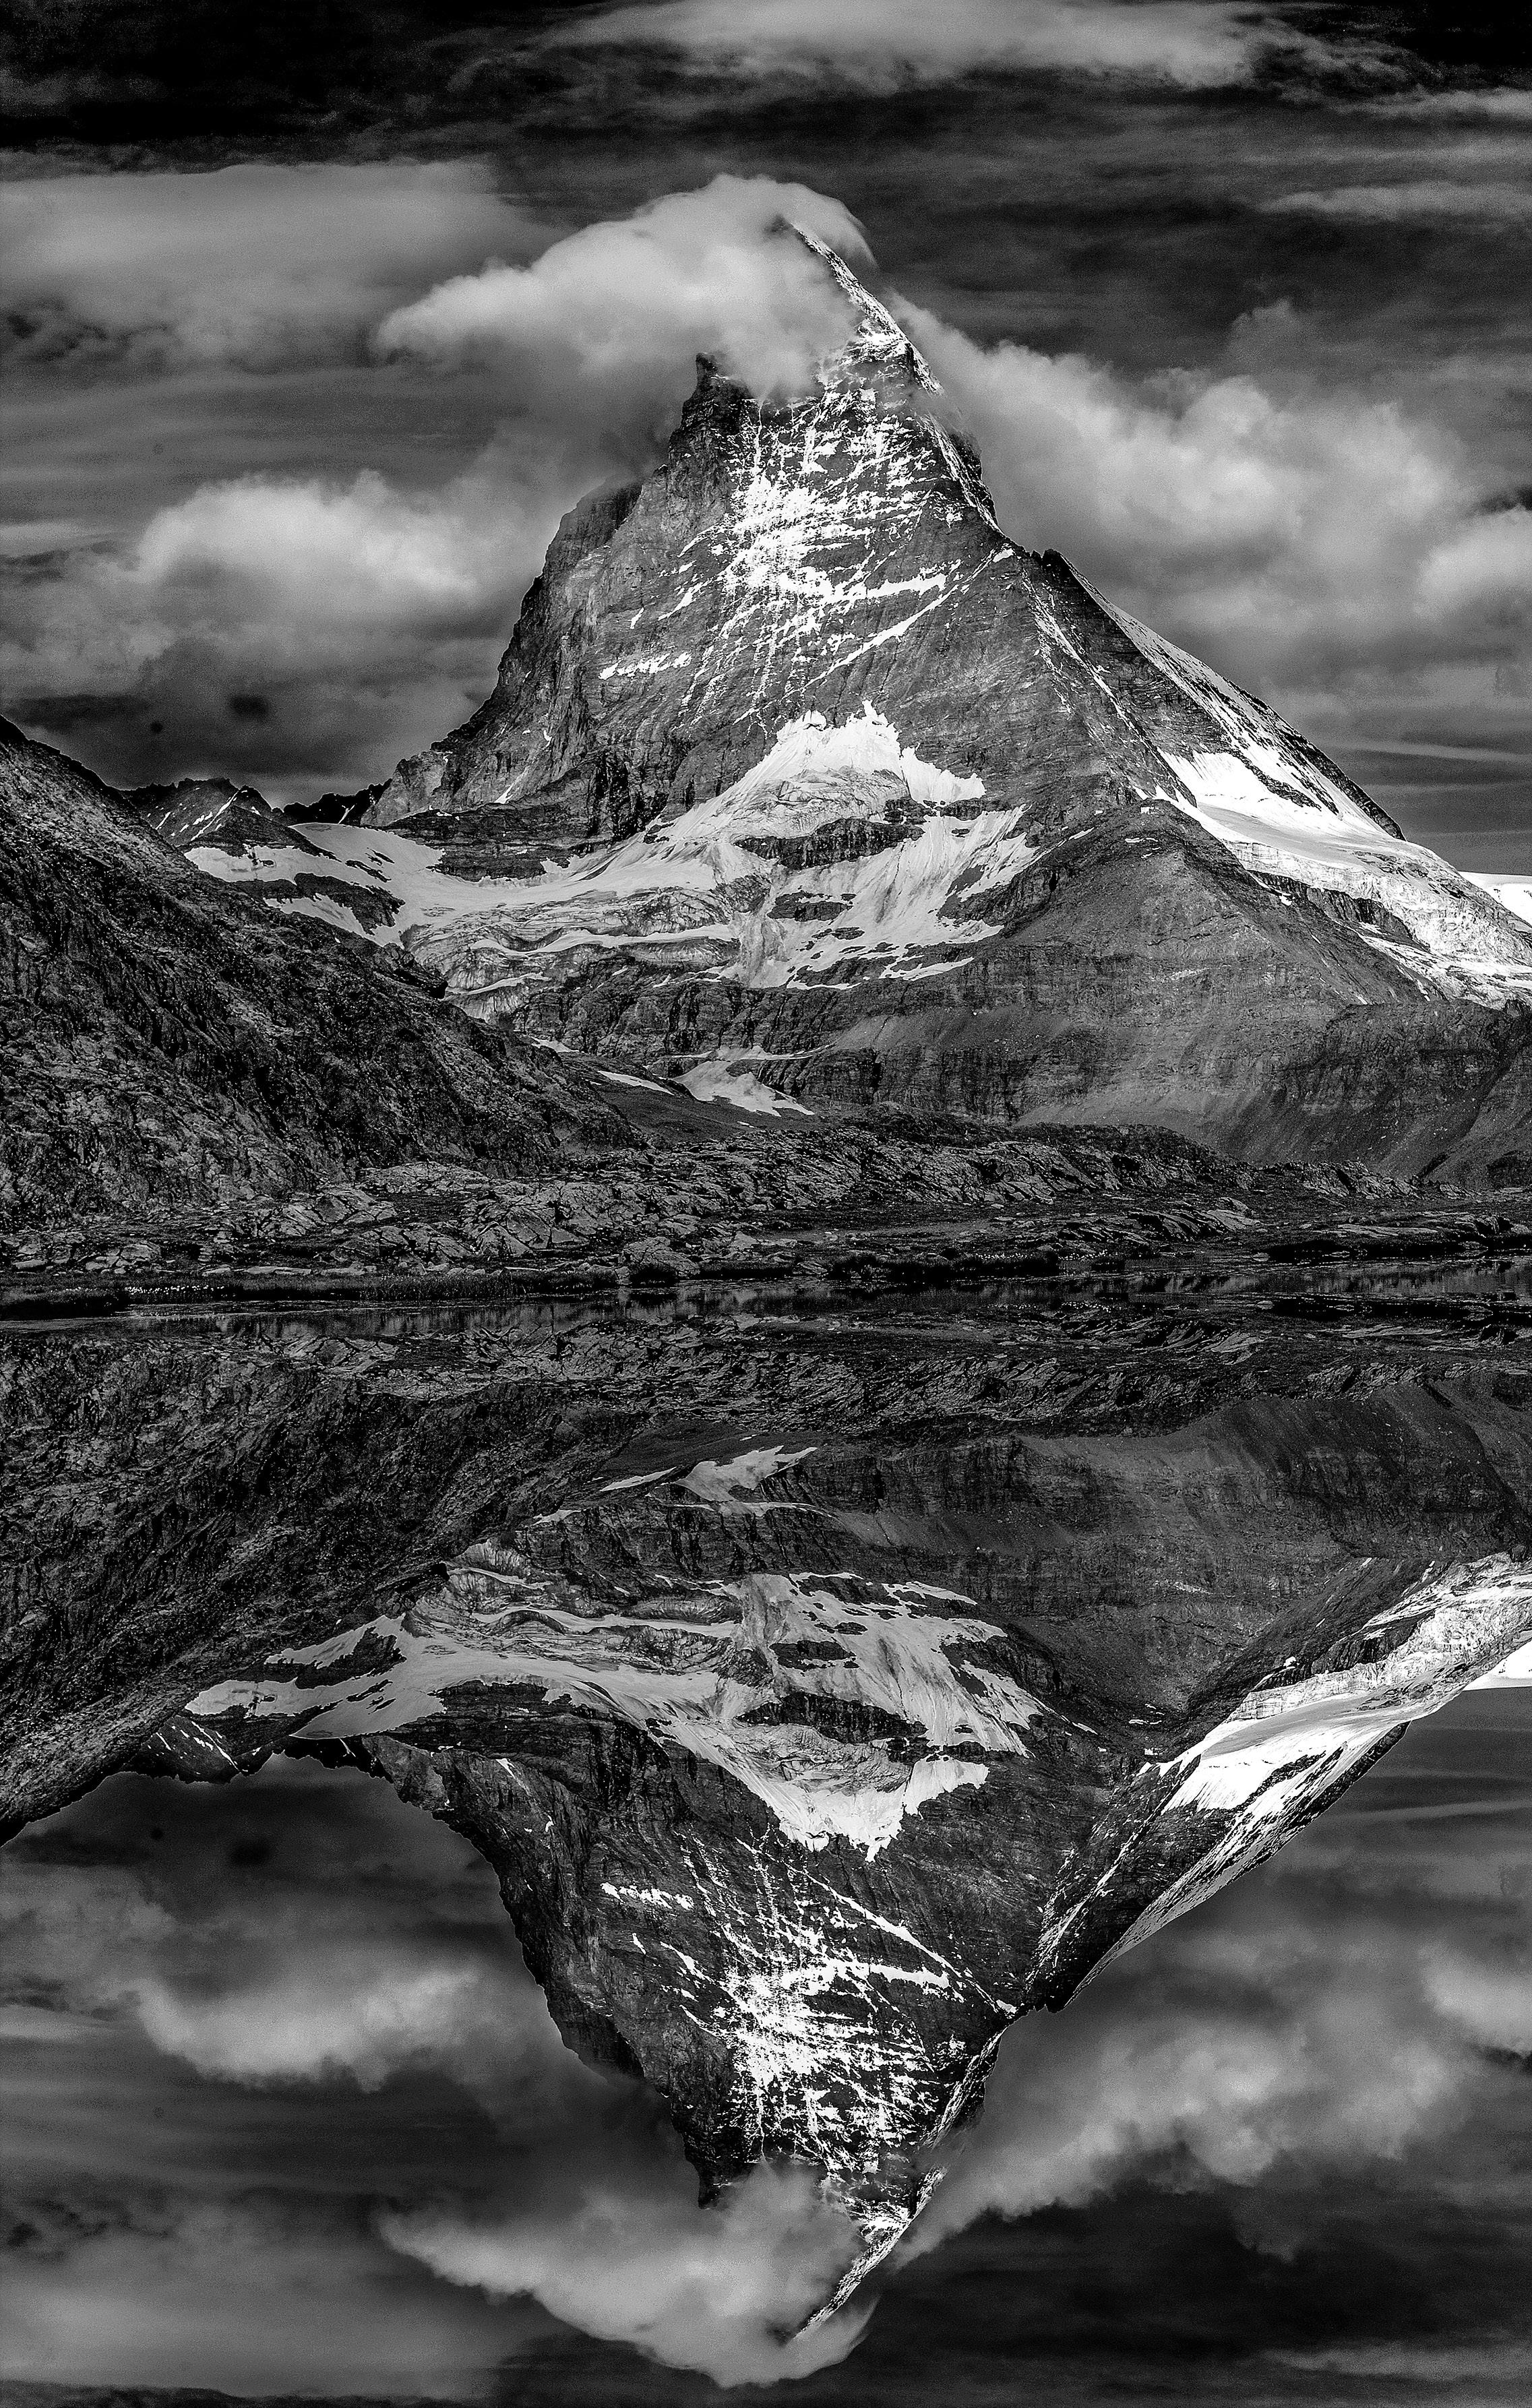
Switzerland Photo Tour
September 16 - 24, 2024
24
SHORT AND SWEET
1. Use your smart phone to take test shots just like photographers in the past used Polaroid film to study light and shadow in studio environments. Smart phones can also be used to test pano shots. When you like what you see, then you can take the several frame sequence with your ‘real’ camera.
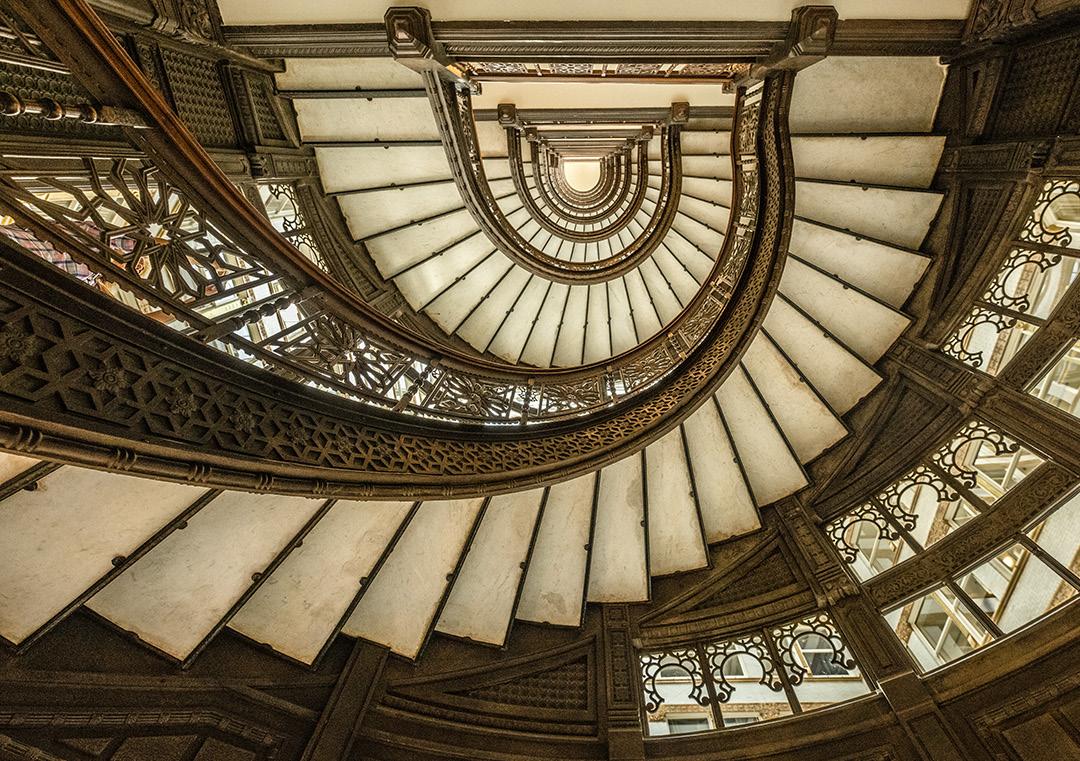
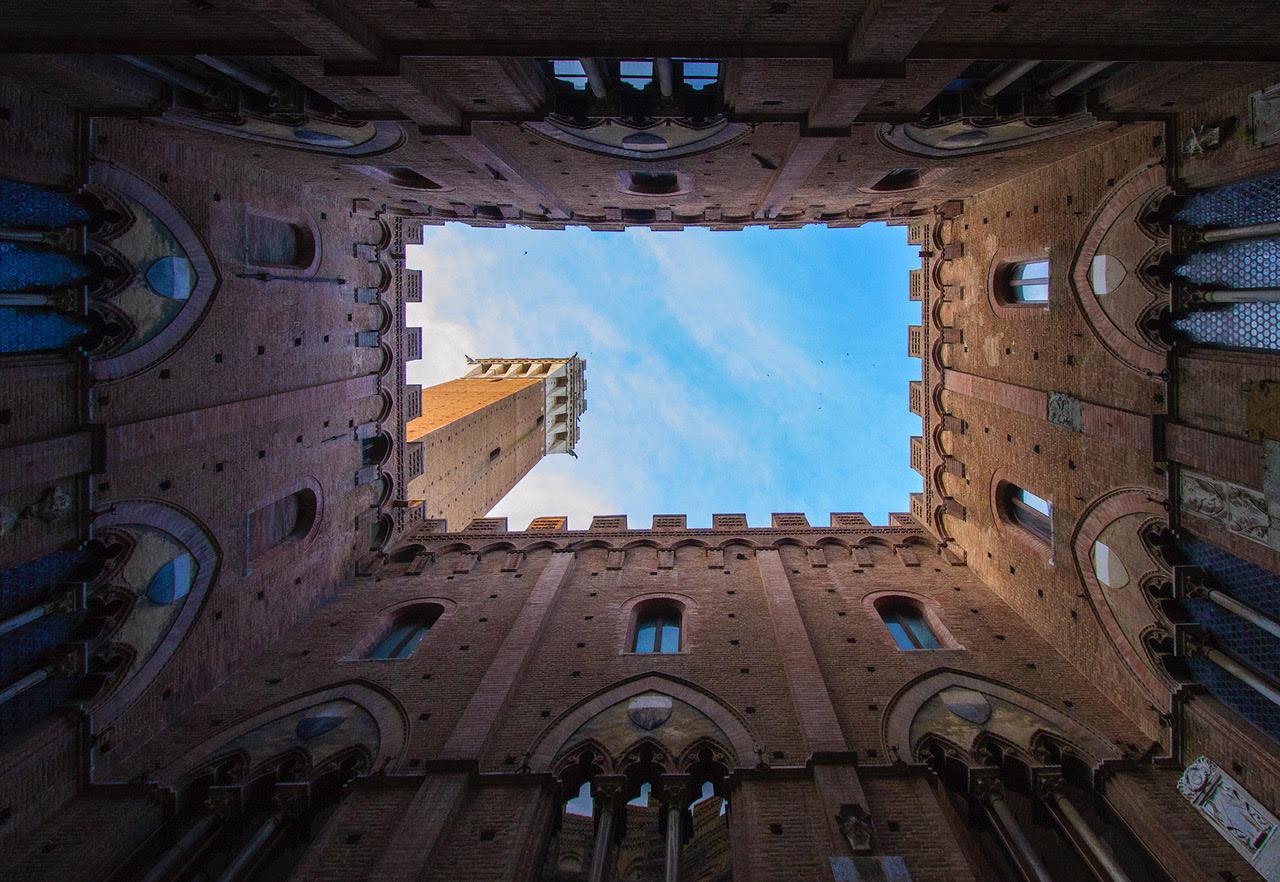
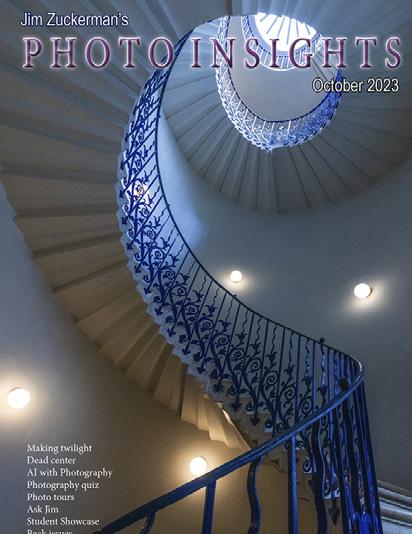
2. Be on the lookout for spiral staircases. When I travel, this is one of the things on my list to find. They make awesome subjects, and you can find them sometimes in the most unlikely places. This one is in an office building called The Rookery in Chicago. You’ll want the widest lens you have to dramatize the design.
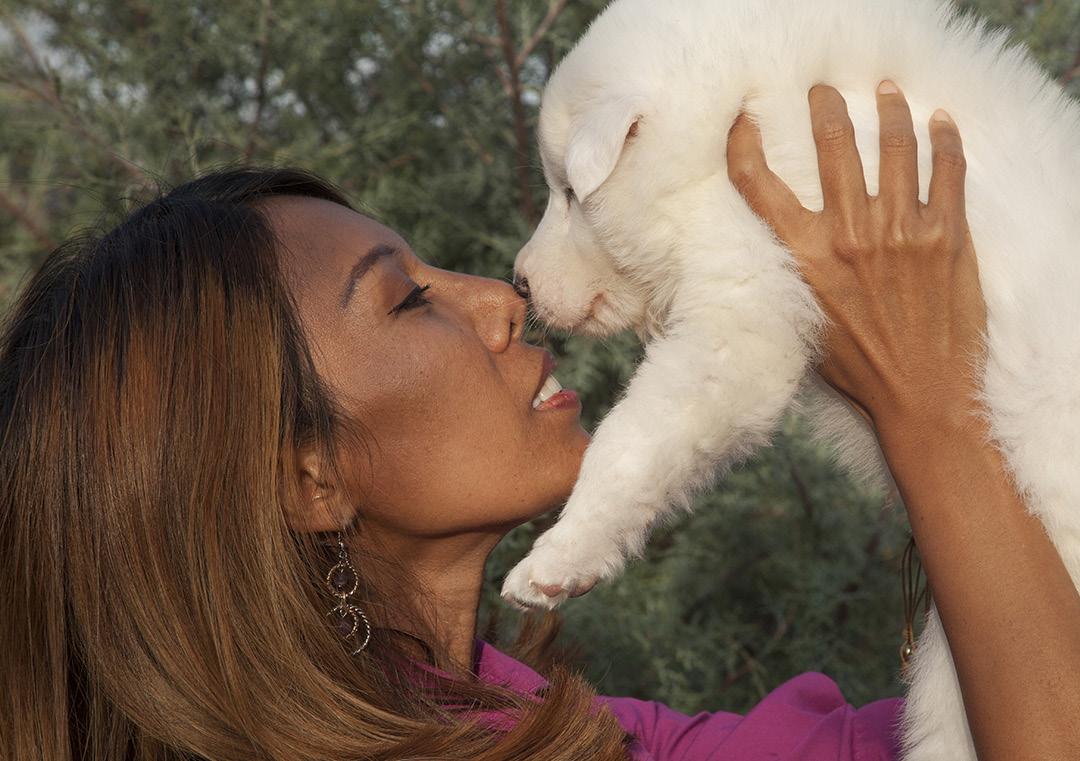
3. Always pay attention to the background, even with family portraits. Nothing can ruin a picture faster than distracting backgrounds. Simplicity always works-an out of focus tree, a stucco wall, the sky. We all take snapshots without thinking about what’s behind the subject, but it makes a big difference if you do.
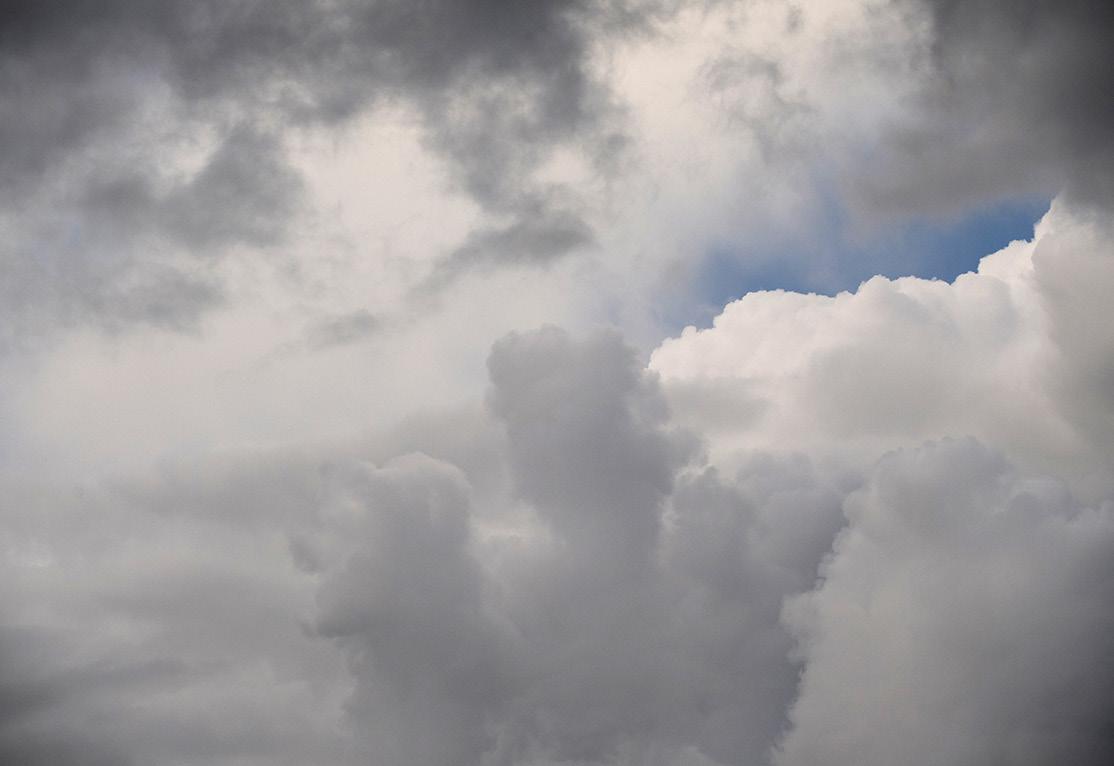
4. If you don’t have one already, start a folder with a collection of skies. A great sky behind any subject makes a huge difference in artistry and drama. Shoot cloudy skies, sunrises/sunsets, stormy skies, rainbows, lightning, and more. Take horizontals and verticals, and you’ll definitely find a use for them. §
24 25
England & Wales
September 4 - 14, 2024
26
ASK JIM
Every month, Jim answers a question from his online students, from people who participate in his tours and workshops, or from subscribers to this magazine. If you have a question you’d like Jim to answer, please drop him a note at photos@jimzuckerman.com.
Q: Jim . . Why do smart phones have such incredible depth of field? We have no control over it, but it amazes me how everything is so sharp throughout each image.
Dave Lapides, Flint, Michigan
A: Smart phones have extensive DOF because the physical diameter of the lens aperture is so small. Lens apertures of various formats offer differing amounts of depth of field. For example, in the 8x10 inch format like Ansel Adams used, f/32 didn’t offer as much DOF as f/32 in a 35mm camera or a full frame digital camera simply because the f/32 aperture in the 8x10 camera was physically larger. It had to be larger to let in more light to travel the distance from the lens to the film through the lengthy bellows. Ansel was a member of the “F/64 club” because large view cameras had to have f/stops down to f/90 and more to provide the same depth of field we enjoy in our digital cameras at f/32. §
27
Partial List of Photography Tours 2024 - 2025

For a complete list of all the photo tours/workshops Jim conducts, go to his website: www.jimzuckerman.com.
WINTER WILDLIFE Feb 2025
GREAT GRAY OWLS, CANADA Feb 2025
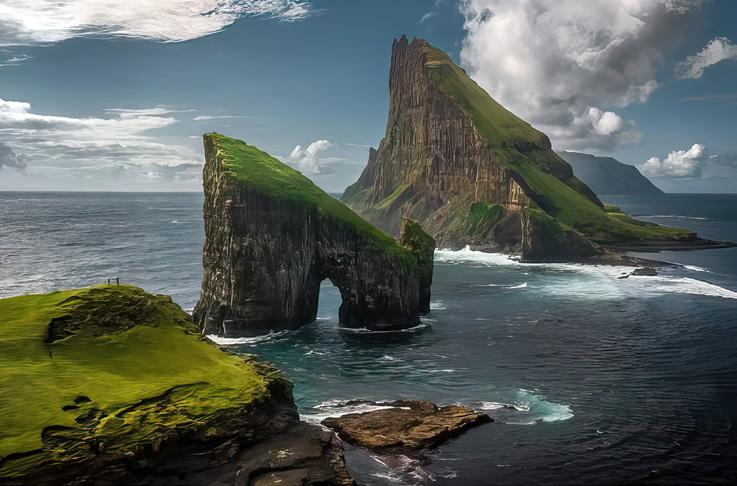
FAROE ISLANDS Apr/May 2025
BHUTAN Mar/Apr 2025
HOLLAND & BELGIUM Apr/May 2024
BIRDS of COSTA RICA May 2024
PATAGONIA Oct 2024
SWAMPS of LOUISIANA Oct/Nov 2024
AUTUMN in JAPAN Nov 2024
COLORADO in AUTUMN Sept/Oct 2024
ICELAND DRONE TOUR Aug/Sept 2024
28
SNOWY OWLS in CANADA Jan 2025
Great Gray Owls, Canada
February 16 - 21, 2025
29
Student Showcase
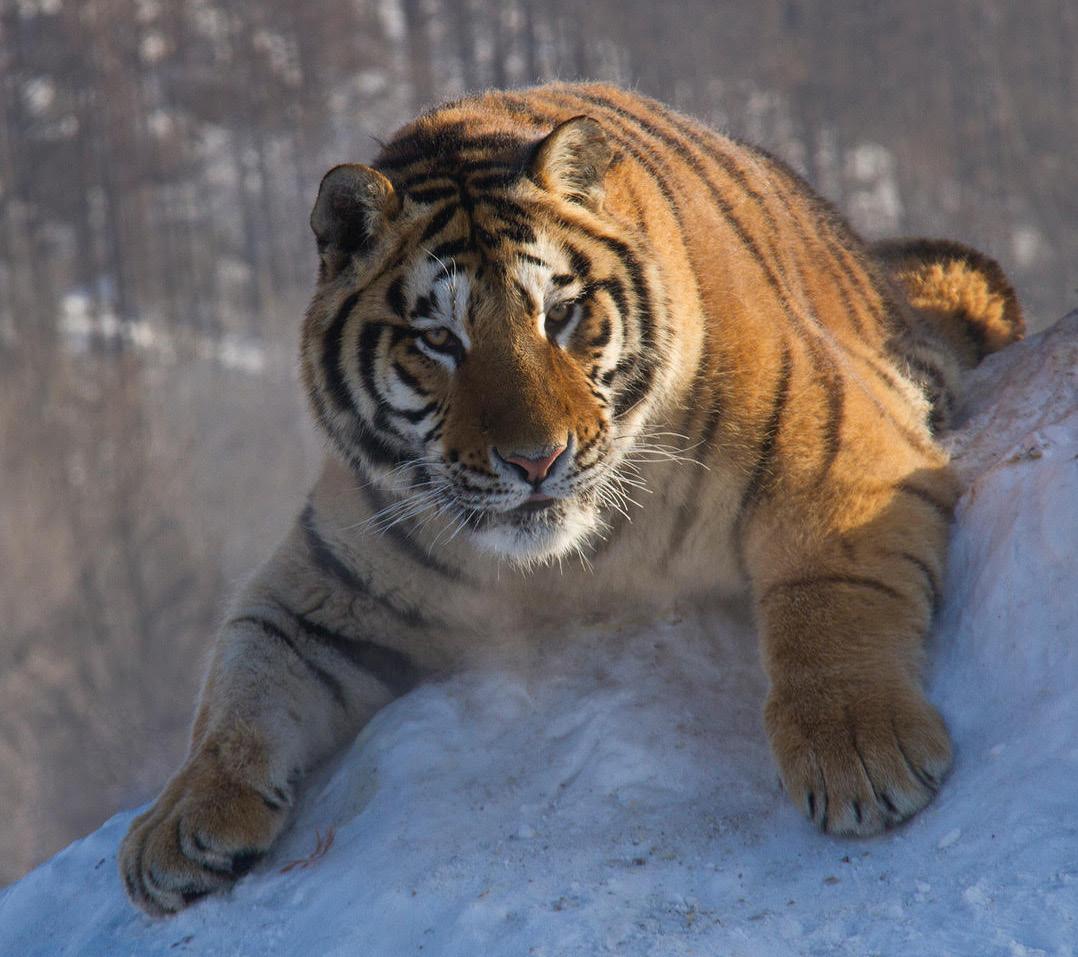
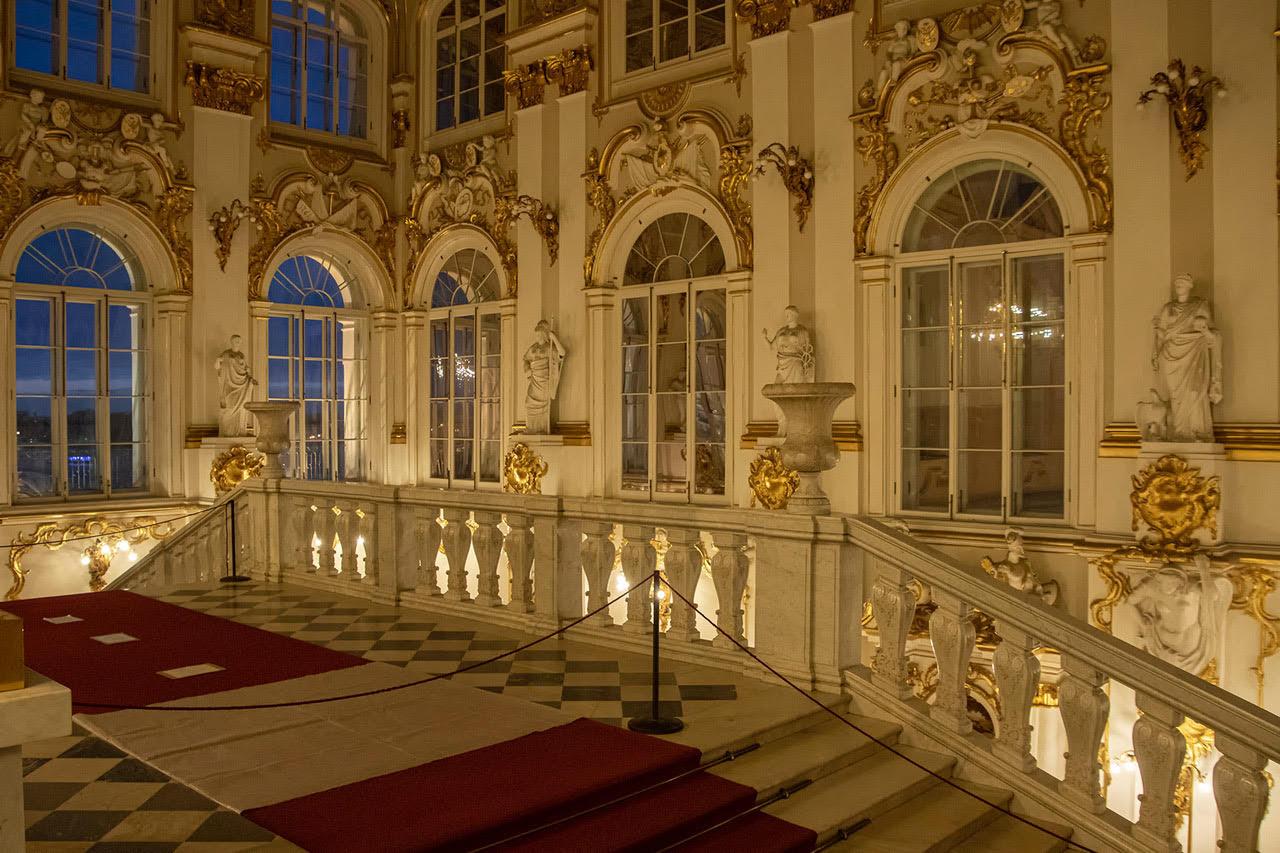
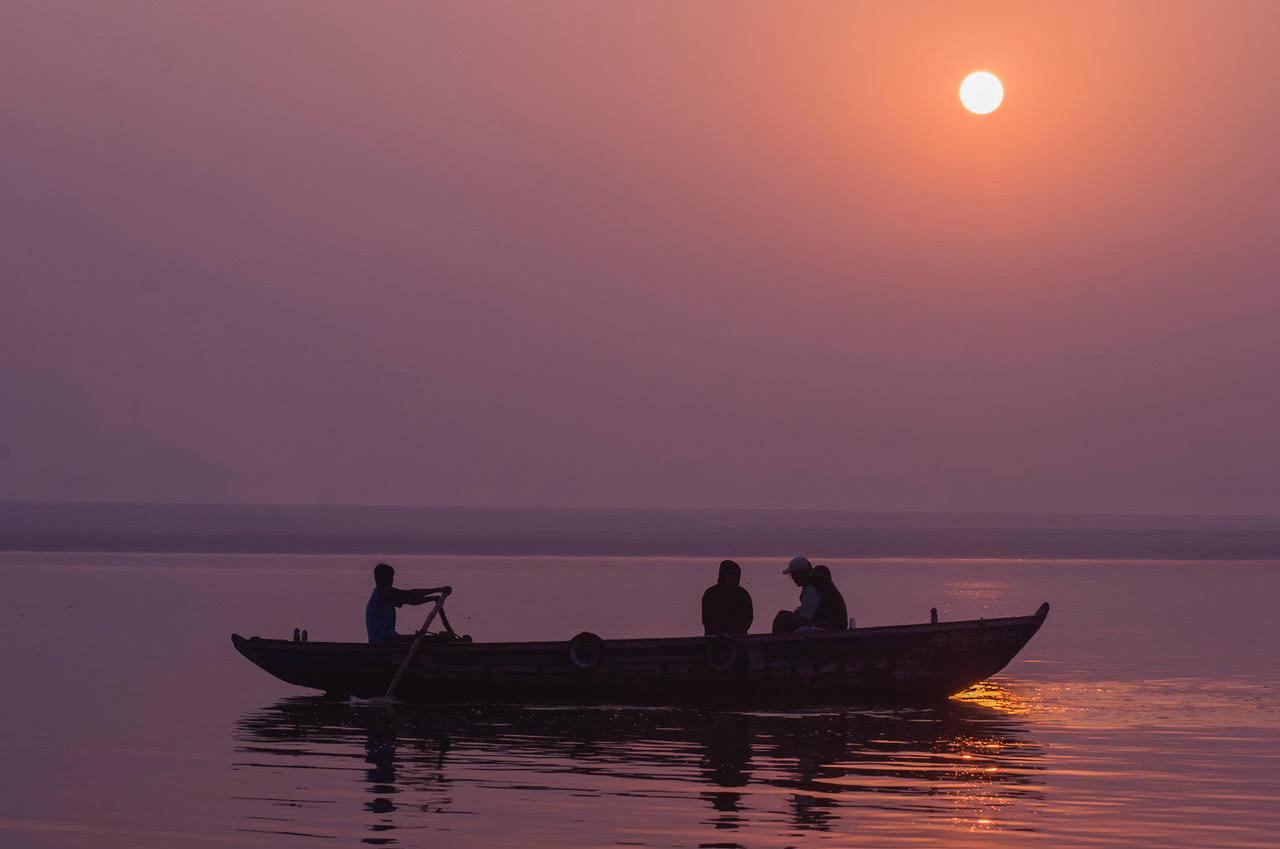
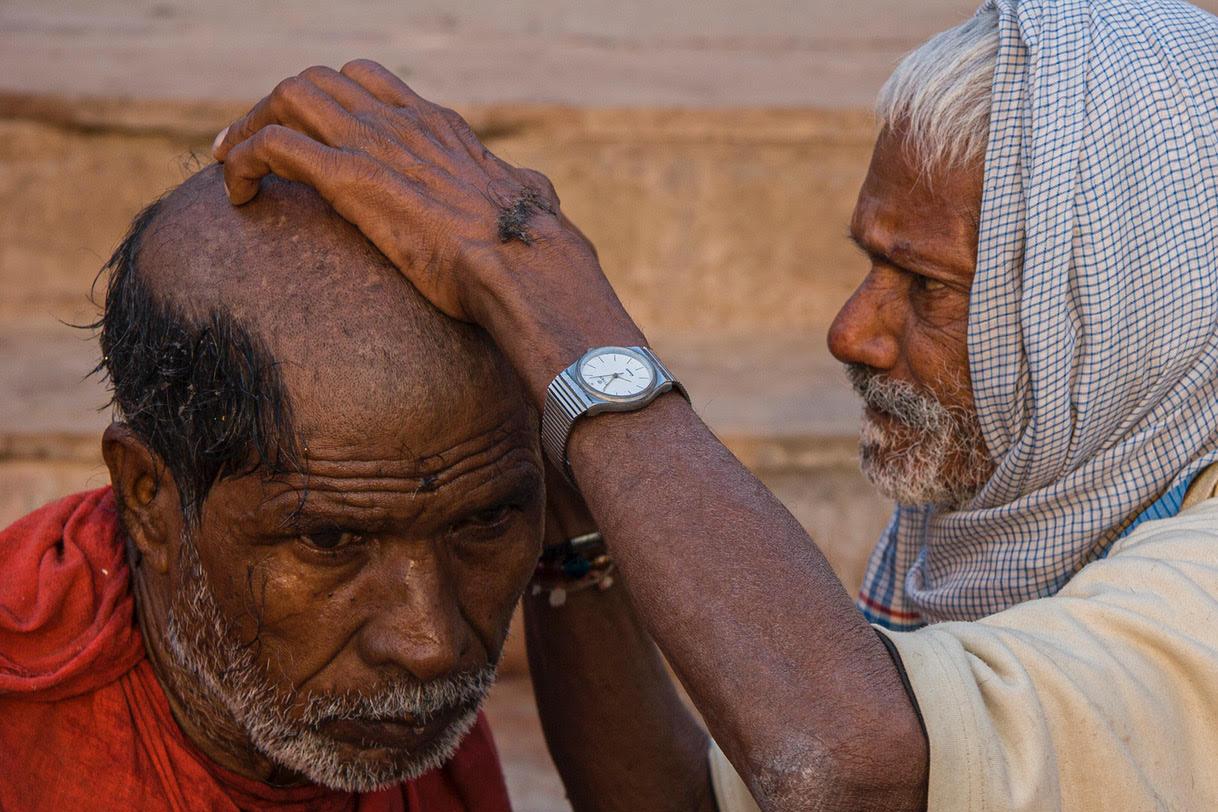
Each month, Jim features one student who took beautiful and inspiring images on one or more of his photography tours or workshops. It’s really fascinating how photographers see and compose such different images even though we may go to the same places. Everyone takes great photographs on Jim’s trips.
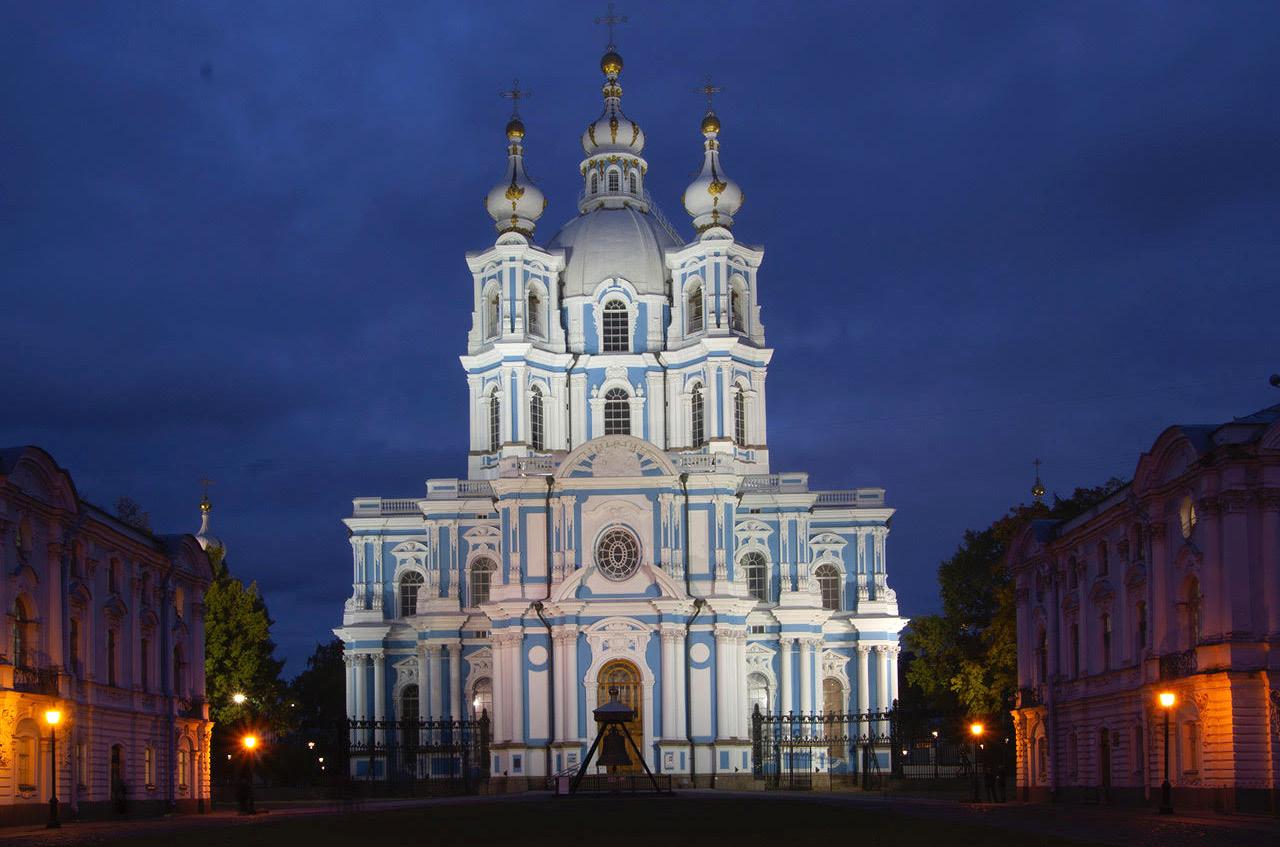
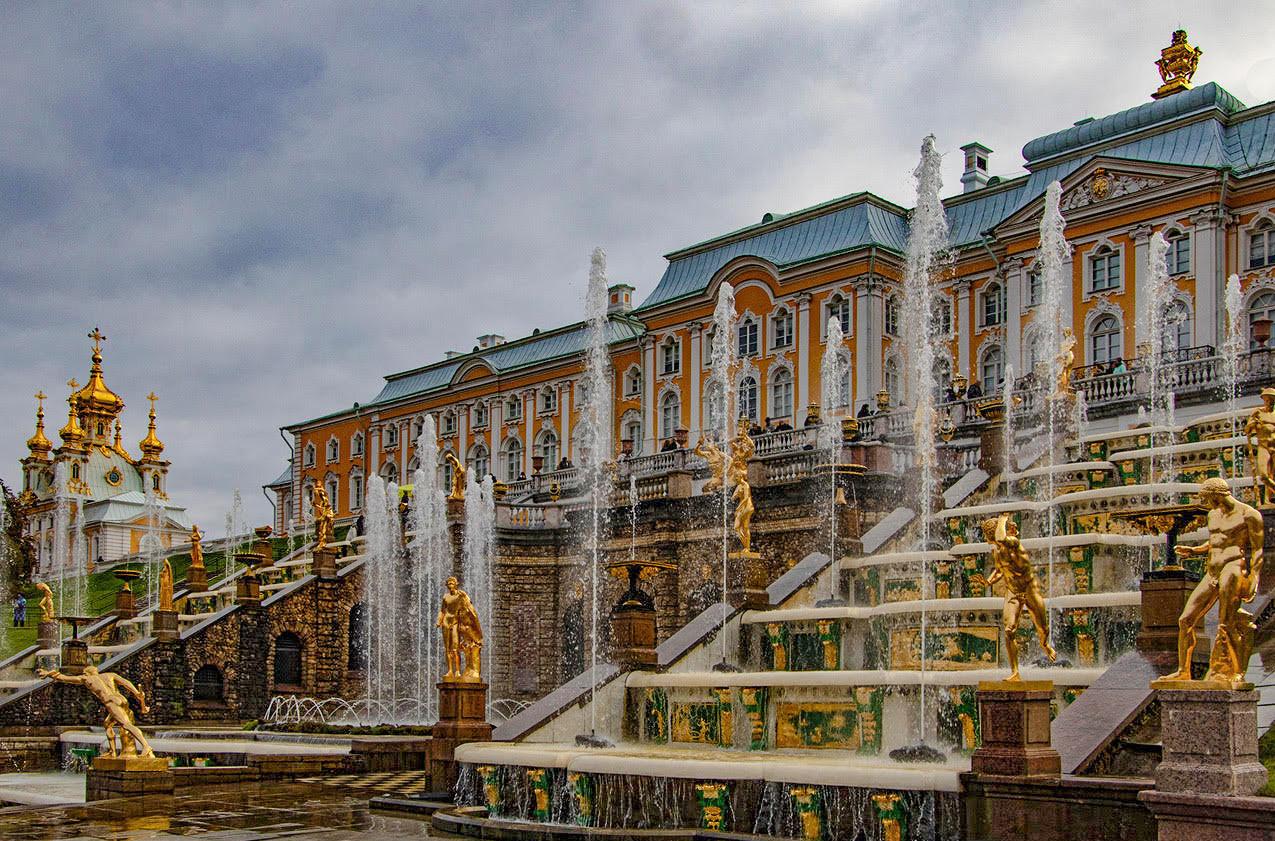
Dr. Nancy Hopwood, Ann Arbor, Michigan Russia photo tour, India photo tour, China photo tour, Tuscany photo tour, Newfoundland photo tour, and Coast of France photo tour.
30 27 27
30
© Nancy Hopwood
 © Nancy Hopwood
31 333131 31 29 29
31
Student Showcase, continued
3533 31 29 293129 31 33 35 33 37
Student Showcase, continued
32
© Nancy Hopwood
333333 33 31 31 33 34
Showcase, continued 33
Student
© Nancy Hopwood
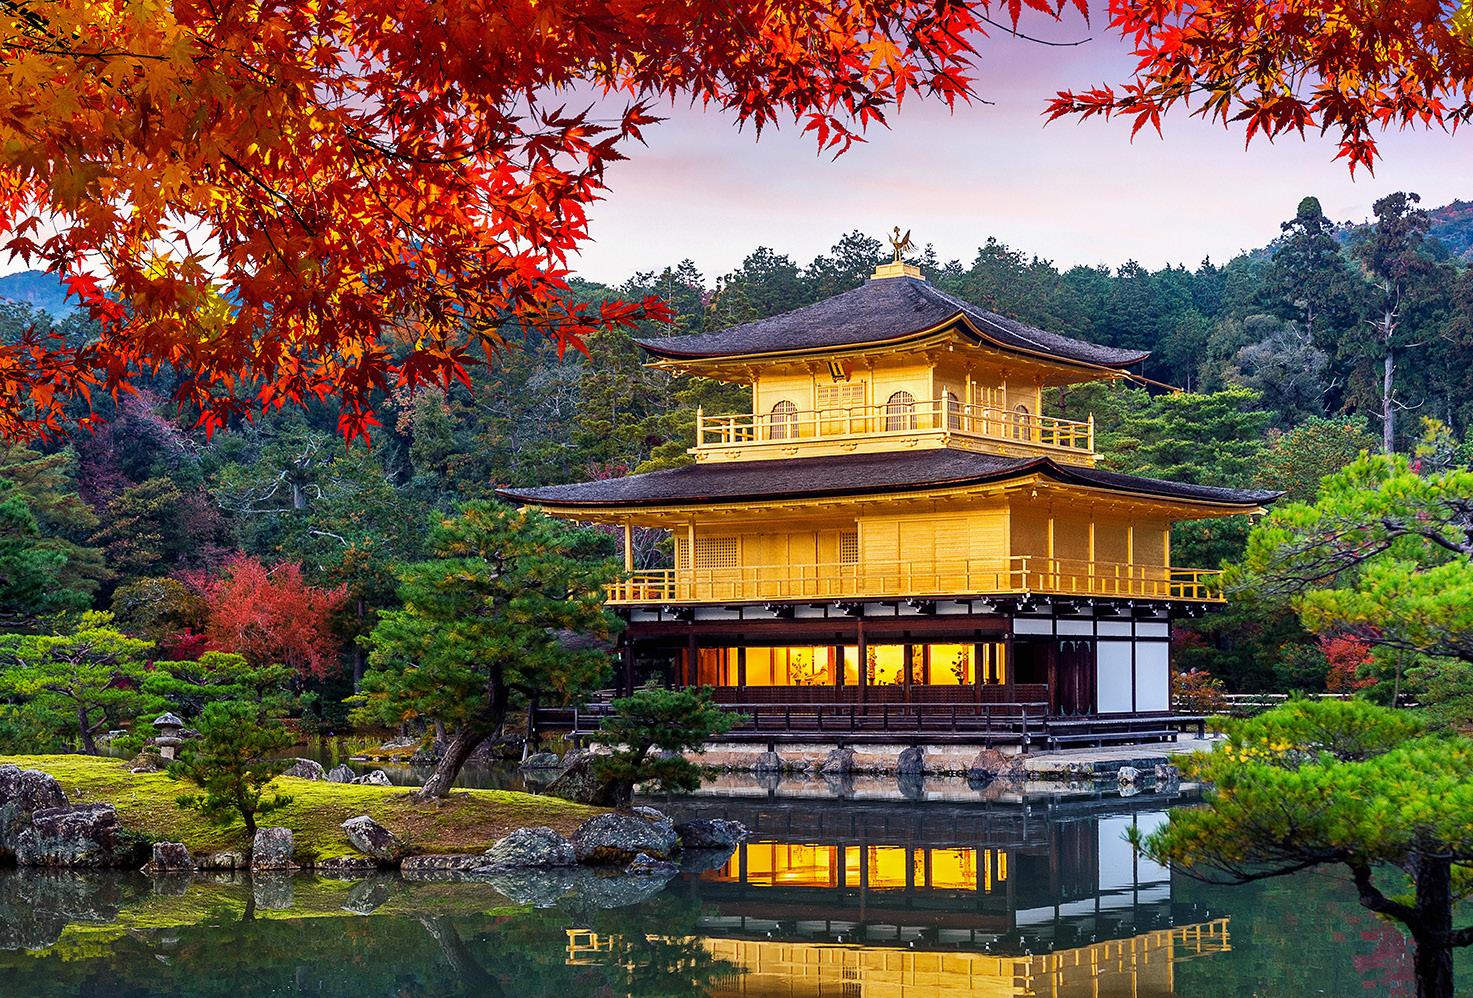
Autumn in JAPAN
November

34
20 -29, 2024
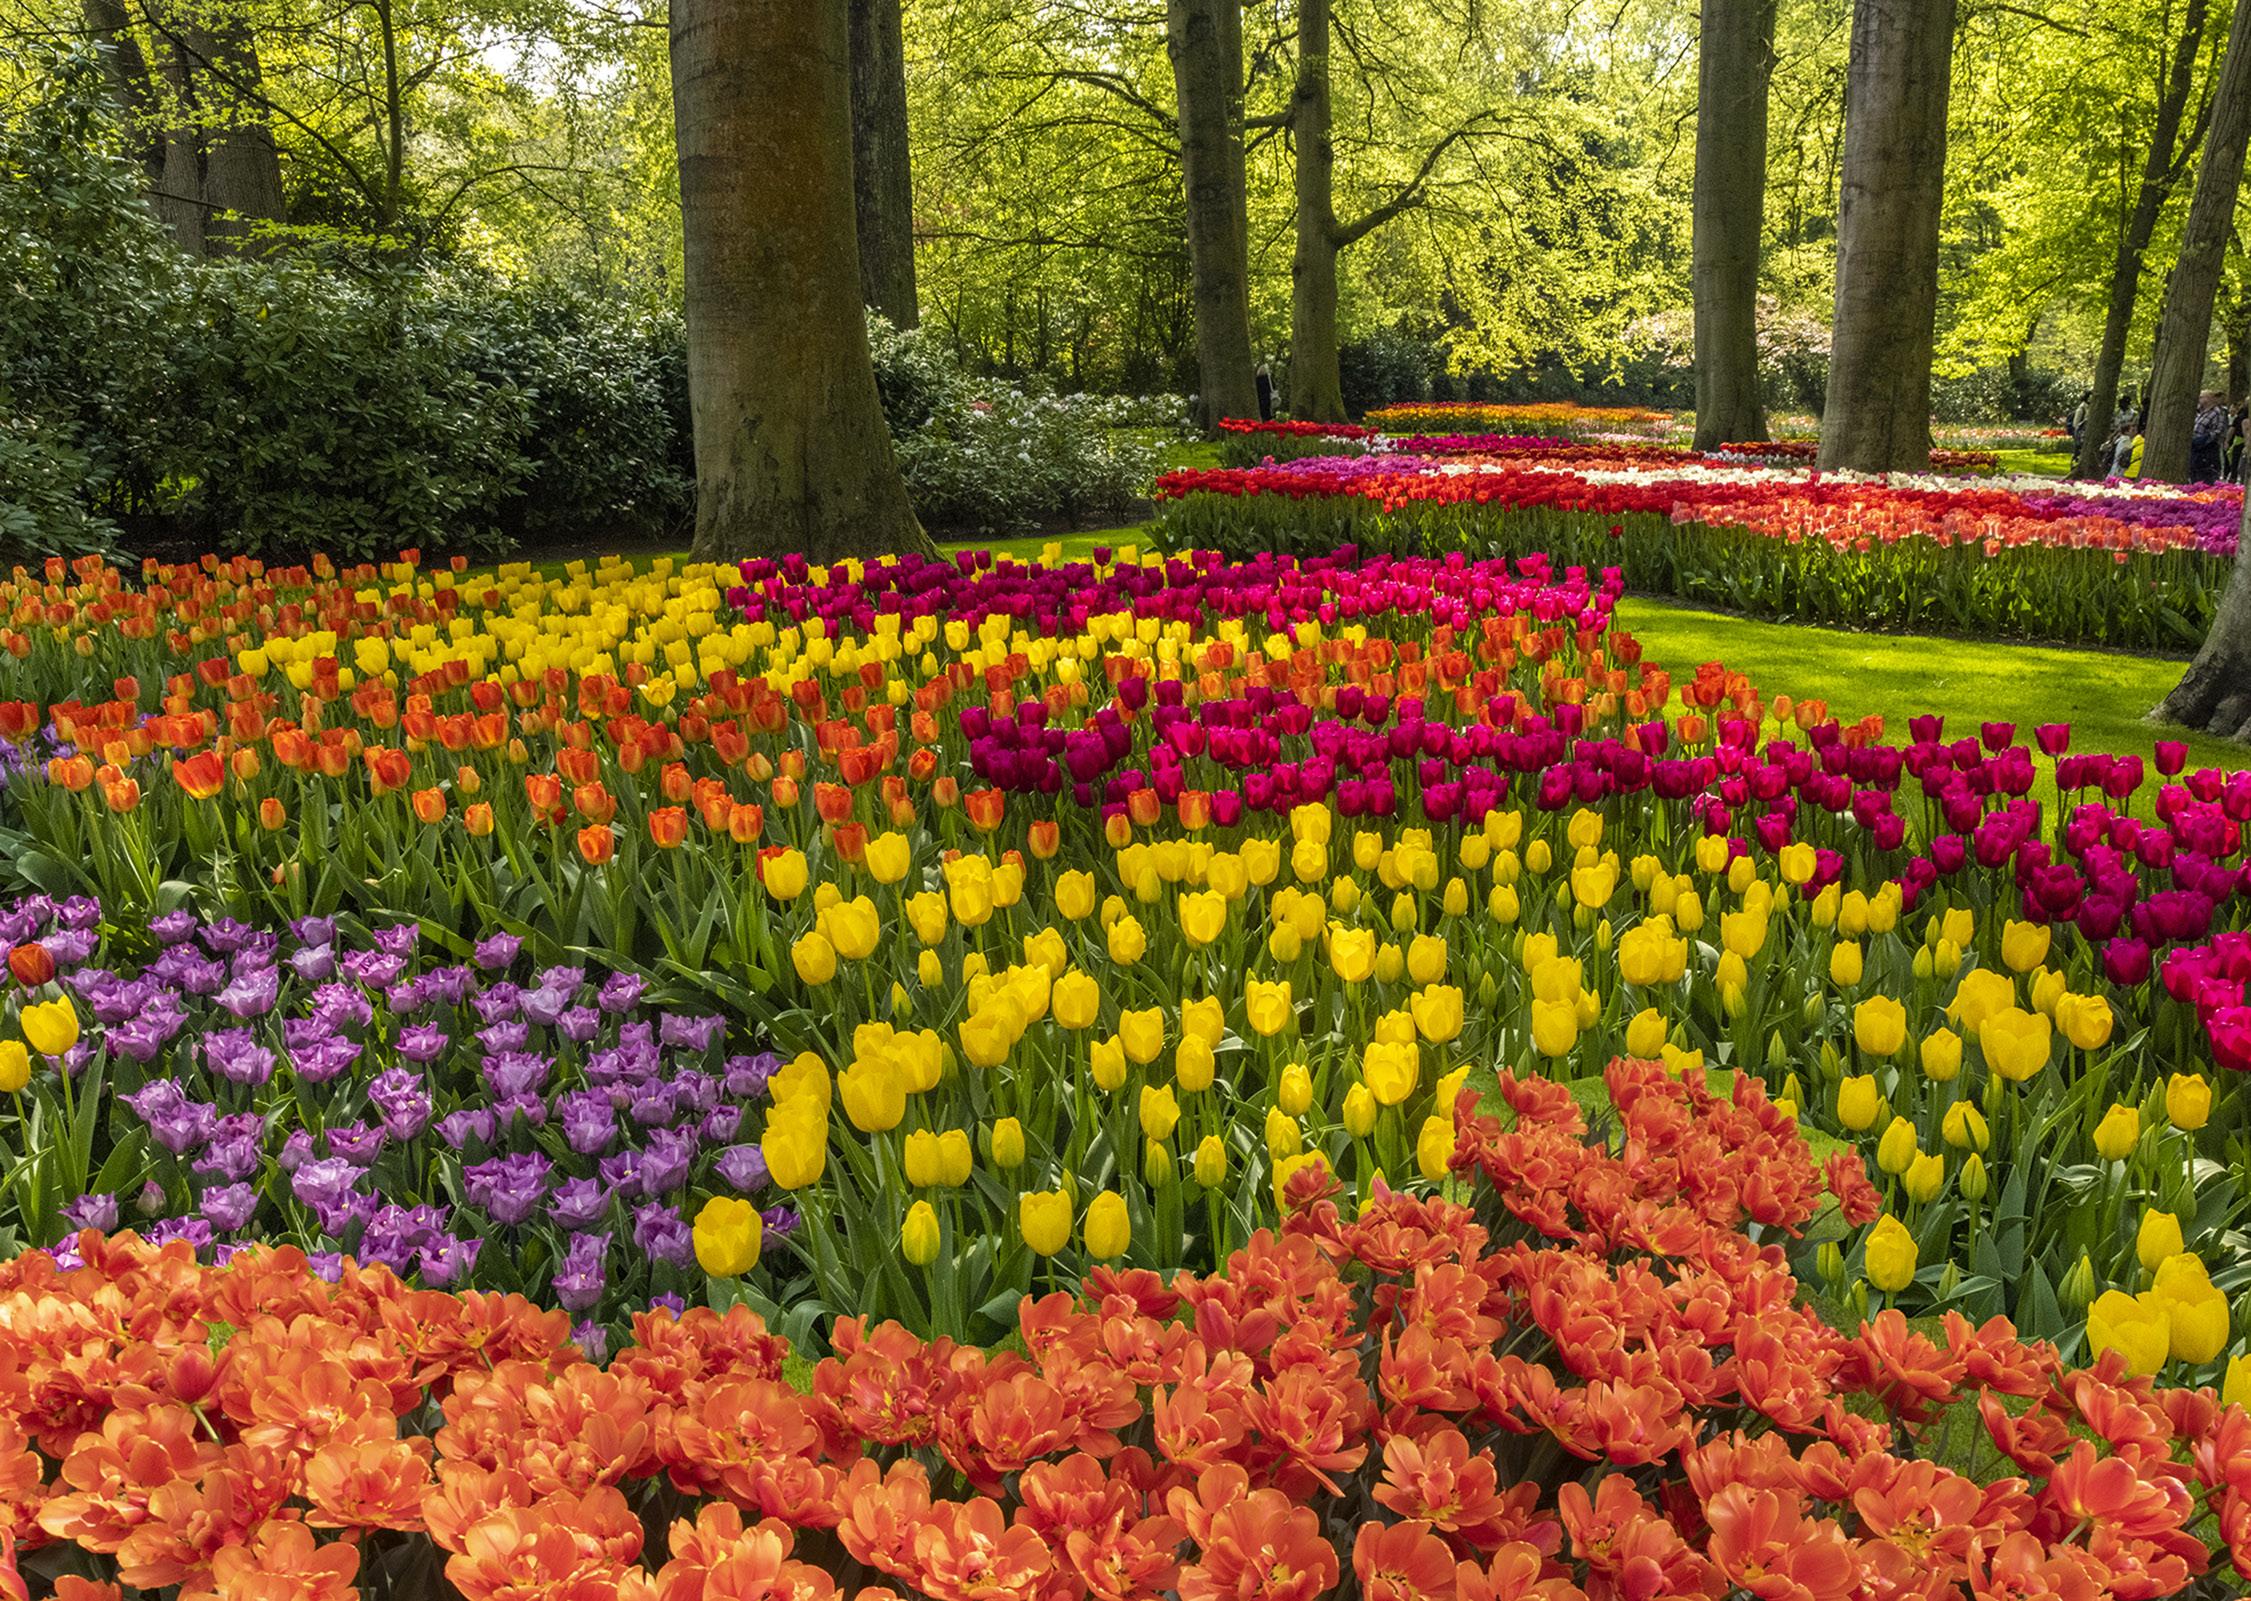
HOLLAND & BELGIUM
April 24 to May 2, 2024
35
Click on the past issues of
you would like to read.


Nov. ‘12 Dec. ‘12 Jan. ‘13
Feb. ‘13 Mar. ‘13 Apr. ‘13 May. ‘13 Jun. ‘13 Jul. 13 Aug. ‘13 Sept. ‘13 Feb. ‘14 Mar. ‘14 Apr. ‘14 May ‘14 Jun.‘14 Oct. ‘13 Nov. ‘13 Dec. ‘13 Jan. ‘14 36
P H O T O I N S I G H T S


37 Click on the past issues of P H O T O I N S I G H T S you would like to read. Sept. ‘14 Oct. ‘14 Nov. ‘14 Dec. ‘14 May ‘15 Jun ‘15 Jul.‘15 Aug.‘15 Sept.‘15 Oct.‘15 Nov. ‘15 Dec. ‘15 Jan. ‘16 Feb. ‘16 Jan. ‘15 Feb. ‘15 Mar. ‘15 Apr. ‘15 Aug. ‘14 Jul. ‘14


Mar. ‘16 Aug. ‘16 Jan. ‘17 Feb. ‘17 Mar. ‘17 Apr. ‘17 May ‘17 Jun ‘17 Jul. ‘17 Aug. ‘17 Sept. ‘17 Sept. ‘16 Oct. ‘16 Nov. ‘16 Dec. ‘16 Apr. ‘16 May ‘16 Jun ‘16 Jul. ‘16 Click on the past issues of P H O T O I N S I G H T S you would like to read. Oct. ‘17 38


39 Click on the past issues of P H O T O I N S I G H T S you would like to read. Nov. ‘17 Dec. ‘17 Jan. ‘18 Feb. ‘18 Mar. ‘18 Apr. ‘18 May ‘18 Jun ‘18 Jul ‘18 Aug ‘18 Sept. ‘18 Oct. ‘18 Nov. ‘18 Dec. ‘18 Jan. ‘19 Feb. ‘19 Mar. ‘19 Apr. ‘19 May ‘19 Jun ‘19


Click on the past issues of P H O T O I N S I G H T S you
Jul. ‘19 Jan. ‘20 Jun. ‘20 July ‘20 Aug. ‘20 Sept. ‘20 Oct. ‘20 Nov. ‘20 Dec. ‘20 Jan.. ‘21 Feb.. ‘21 Mar.. ‘21 Feb. ‘20 Mar. ‘20 Apr. ‘20 May ‘20 Aug. ‘19 Nov. ‘19 Dec. ‘19 Sept/Oct. ‘19 40
would like to read.


41 Apr.. ‘21 May ‘21 Jun.‘21 Jul.‘21 Aug.‘21 Sept. ‘21 Feb. ‘22 Mar. ‘22 Jul. ‘22 Aug. ‘22 Sept. ‘22 Oct. ‘22 Nov. ‘22 Apr. ‘22 May ‘22 Jun. ‘22 Oct. ‘21 Nov. ‘21 Dec. ‘21 Jan. ‘22


Dec. ‘22 Jan. ‘23 Feb. ‘23 Mar. ‘23 Apr. ‘23 May ‘23 Jun. ‘23 Jul. ‘23 Aug. ‘23 Sept. ‘23 Oct. ‘23 Nov. ‘23 Dec. ‘23 Jan. ‘24 Feb.. ‘24 Mar. ‘24 Apr. ‘24 42
Subject index for past Photo Insight issues
1/3 focus law Jul. ‘15
3D sphere Mar. ‘16
90 degree finder Mar. ‘13
Abstracts in soap Feb. ‘15
Abstracts, Shooting Mar ‘19
Aerial photography Jun. ‘13
Aerial photography Jan. ‘21
African safari May ‘16
AI plus Photograpjhy Oct. ‘23
Airplane windows Mar. ‘16
Alien landscapes Jan. ‘13
Anatomy of 8 photographs Jan. ‘16
Anatomy of an Action Shot Feb. ‘24
Angled perspectives Jan. ‘19
Aperture vs. shutter speed May ‘14
Aperture priority Sept. ‘14
Aurora Borealis Apr. ‘17
Auto white balance Dec. ‘13
Autofocus, when it fails Apr. ‘15
Autofocus failure Aug. ‘15
Autofocus failure Jan. ‘17
Autofocus challenges Apr. ‘18
Auto ISO Nov ‘17
Auto White Balance Mar’ ‘21
Autumn Foliage Sep. ‘18
Autumn Color Sep. ‘20
Autumn foliage photography Oct. ‘21
Back button focus Oct. ‘18
Backgrounds, wild Nov. ‘12
Backgrounds, busy Apr. ‘13
Backlighting Apr. ‘16
Backlighting Oct. ‘22
Birds in flight Aug. ‘13
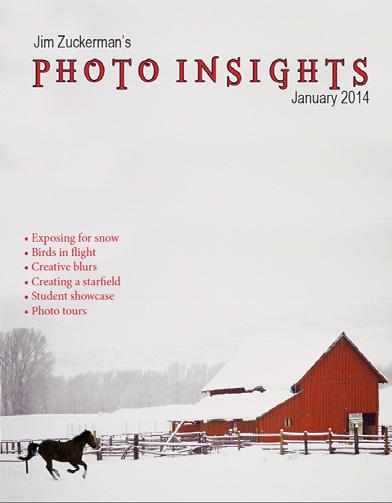
Birds in flight Jan. ‘14
Birefringence May ‘18
Birds in flight Mar. ‘16
Birds in flight, camera settings Jan. ‘23
Bird Photography Jun ‘19
Black backgrounds Aug. ‘23
Blacklight photography Feb. ‘21
Black velvet Mar. ‘14
Black and white conversions Mar. ‘17
Black and white infrared Apr. ‘24
Black and white solarization Sep. ‘17
Black and white with color Jan. ‘20
Black and white plus color Mar. ‘23
Blown highlights Feb. ‘18
Blue monochromes Jan. ‘22
Black Plexy Aug. ‘22
Blur, field Nov. ‘18
Blur technique Oct. ‘17
Bokeh Jun. ‘15
Botanical gardens, shooting Apr. ‘22
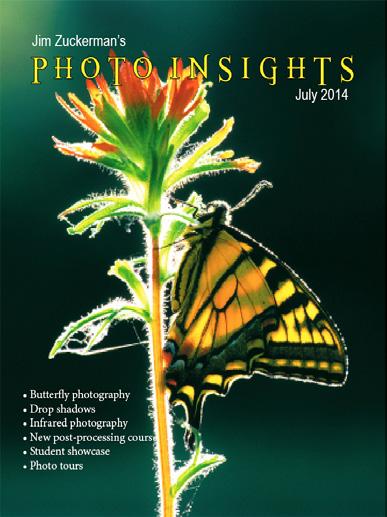
Butterfly photography Jul. ‘14
Camera buying guidelines Dec. 21
Camera settings for landscapes Feb. ‘23
Camera setting priorities Jun. ‘17
Canon R5 Mar. ‘21
Capturing lightning Jun. ‘13
Capturing what you don’t see May ‘21
Catchlights Jul. ‘16
Changing perspective May ‘21
Cheap flash stand Apr. ‘13
Children photography Jun. ‘14
Choosing a telephoto lens Dec. ‘20
Chromatic aberration May ‘13
Chrome Dec. ‘18
Cityscapes Aug. ‘14
Cityscapes May ‘16
Clone tool, fixing an issue Sep. ‘17
Clone tool technique Jul. ‘20
Color theory Nov. ‘23
Composites and Light Dec. ‘17
Compositing images Apr. ‘19
Compositing, 7 steps Jan. 22
Composition, different approach Jan. ‘15
Content-aware, New Aug. ‘20
Content aware move tool Jan. ‘23
Contrast vs. exposure Jul. ‘15
Converting to black and white Mar. ‘22
Correcting keystoning Jun. ‘21
Creating a star field Jan. ‘14
Creating Art out of Motion May ‘22
Creating a Sketch Dec. ‘17
Creative blurs Jan. ‘14
Custom functions Jul. ‘23t
Dark backgrounds Nov. ‘19
Dawn photography Jan. ‘17
Dawn photography Feb. ‘17
Dead center Jan. ‘13
Dead center Oct. ‘23
Dealing with smog Oct. ‘16
Decay photography Sep. ‘15
Define Pattern Sep. ‘18
Depth of field Aug. ‘16
Depth of field confusion Jan. ‘20
Depth of field and distance Dec. ‘18
Depth of field and obliqueness May ‘21
Depth of field, shallow Apr. ‘20
Depth of field vs. sharpness Nov. ‘20
Double takes Apr. ‘20
Drone photography Mar. ‘23
Drop shadows Apr. ‘19
Dust, Minimizing Aug. ‘19
eBook, how to make Jan. ‘13
Elevated vantage points Aug. ‘23
Eliminating people from photos Jun. ‘22
Embedded in Ice Oct. 17
Energy saving bulbs Sep. ‘14
Equidistance and telephoto lenses Apri. ‘23
Exploring the power visuals of AI Mar. ‘23
Exposing for the sun Sep. ‘16
Exposure, the sun Jul. ‘13
Exposure technique Sep. ‘13
Exposure, snow Jan. ‘14
Exposure triangle Nov. ‘14
Exposure, to the right Apr. ‘15
Exposure compensation Sep. ‘16
Exposure compensation Mar. ‘21
Extension tubes Dec. ‘13
Extension tubes Jul. ‘23
Face sculpting Apr. ‘21
Face sculpting Feb. ‘22
Festival photography Sep. ‘20
Fill flash Sep. ‘13
Filter forge Feb. ‘13
Fireworks Jul. ‘13
Fireworks, Compositing Jun ‘20
43
Subject index for past Photo Insight issues
Fisheye lenses May ‘13
Fisheye lenses Feb. ‘15
Fisheye fantasies Oct. 21
Flash backlighting May ‘15
Flash, balancing exposure Oct. ‘15
Flash, balancing off-camera Dec. ‘18
Flat art Sep. ‘16
Flexify 2 Mar. ‘20
Flood fixes problems Nov. ‘19
Floral Portraits, Indoors Aug. ‘21
Flowers May ‘15
Flower photography Apr ‘21
Flowers in harsh light Jul. ‘16
Focus on the eyes Dec. ‘20
Focus points Mar. ‘15
Focus points Sep. ‘20
Focus stacking Mar. ‘17
Focus stacking Aug. ‘19
Focusing in the dark Oct. ‘16
Foreign Dancers, Photographing Nov’ 17
Foreign models Jun. ‘13
Fractals, generating Sep. ‘13
Fractals Jul. ‘19
Framing May ‘17
Framing Jan. ‘24
Freezing ultra action May ‘17
From Terrible to Beautiful Aug. ‘19
Fun with paint Oct. ‘16
Fundamental ingredients Apr. ‘13
Fundamentals That Make Great Photos Jan. ‘19
Fun With Christmas Lights Jan. ‘21
Fun with Food
Graphic Design Jul. ‘20
Garish imagery Dec. ‘15
Generative fill Jun. ‘23
Getting money for used gear Jan.’ 22
Getting the blues out Dec. ‘23
Great subjects Apr. ‘15
Great ceilings & HDR Panos Jul. ‘19
Green screen Mar. ‘13
Ground level shooting Oct. ‘22
Grunge technique Feb. ‘13
Harsh light, the problem of Apr. ‘24
Heavy Lens Debate, The Feb. ‘23
HDR, one photo Apr. ‘13
HDR at twilight May ‘13
HDR, realistic Jun. ‘15
HDR, hand held Dec. ‘16
HDR, hand held Nov ‘17
HDR, hand held Jul. ‘18
HDR panoramas Jun. ‘16
HDR, choosing the number of frames Jun. ‘22
High wind Apr. ‘17
Highlights Apr. ‘14
Highlights, overexposed Feb. ‘15
Histograms, Why I Don’t Use Jun ‘19
Histogram problems Apr. ‘20
Home nature projects Jun. ‘23
Hotels with a view Mar. ‘20
Humidity Oct. ‘13
Hummingbird photography Apr. ‘13
Hyperfocal distance Jul. ‘13
Image resizing Aug. ‘18
Implying motion Sept.‘14
Impossible DOF Feb. ‘16
Impossible DOF Jan. ‘17
Indestructible camera bag Dec. ‘14
Infrared photography Jul. ‘14
Insane ISO settings Dec. ‘22
Interiors Oct. ‘15
iPad: Loading photos Aug.‘17
iPhone photography, pros and cons Apr. ‘22
Jungle photography Dec. ‘14
Kaleidoscopic images Jan. ‘15
Kaleidoscopis images Aug. ‘20
Keystoning Nov. ‘23t
Keystoning, correcting Aug. ‘15
L Bracket Feb. ‘18
L Bracket Feb. ‘21
Landscape photography Dec. ‘12
Landscape photography Apr. ‘14
Landscape photography Nov. ‘16
Layer Masks, The Power of Feb. ‘22
Lessons Learned from Extreme Cold Feb. ‘24
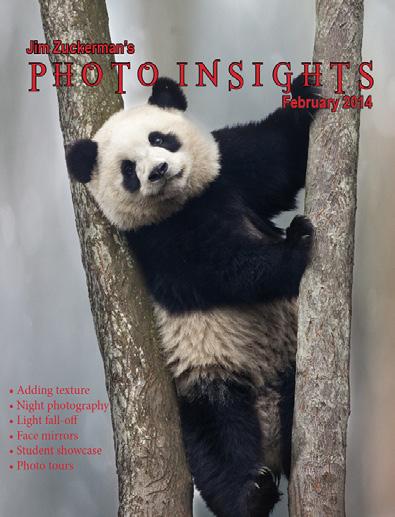
Light fall-off Feb. ‘14
Light painting Dec. ‘21
Lighting a face Oct. ‘13
Lightning photography May ‘20
Liquify Feb. ‘18
Liquify Distortions Sept/Oct. ‘19
Lenses, Essential Aug. ‘23
Long lens portraits Oct. ‘18
Long Lenses for Flowers Jul. ‘20
Low light photography May ‘15
Luminar 4 Jan. ‘20
Macro flash Nov. ‘12
Macro flash Sep. ‘14
Macro flash Aug. ‘15
Macro flash Aug. ‘22
Macro photography and DOF Feb. ‘22
Macro trick May ‘19
Managing soft focus Jul. ‘21
Mannequin heads Apr. ‘16
Metering modes Nov. ‘16
Meters, How They Work Jul. ‘18
Meters, when they fail Dec. ‘16
Metering situations, Impossible Jul. ‘19
Middle gray Nov. ‘15
Milky Way, Shooting thet
Minimizing dust on the sensor Nov. ‘21
Mirrors Jan. ‘19
Mirror images May ‘23
Model shoot Jan. ‘17
Moon glow Oct. ‘16
Mosaics Jun. ‘17
Mundane to Ideal Nov. ‘19
Museum photography Mar. ‘13
Natural Light Portraits Aug. ‘21
Negative space Jan. ‘16
Neon edges on black Aug. ‘14
Neutral Density filters Jun. ‘18
New depth of field preview Mar. ‘24
New shooting style Mar. ‘24
44
Optical infinity Jun. ‘16
Subject index for past Photo Insight issues
Neutral Density filters and water Mar. ‘22
Night photography Feb. ‘14
Night Safaris Jun. ‘18
Night to Twilight Dec. ‘17
Noise reduction Feb. ‘17
Off-camera flash Jan. ‘24
Oil and water May ‘20
Organization of photos Mar. ‘18
Out of focus foregrounds Jan. ‘20
Paint abstracts May ‘13
Paint abstracts Aug. ‘21
Painting with light Sep. ‘15
Panning motion Dec. ‘16
Pano-Mirrors with a twist Jan. ‘18
Parades Sep. ‘13
Parallelism Nov. ‘19
Parallelism and DOF Feb. ‘21
Perspective, Super Exaggeration of Dec. ‘21
Photo shsaring Apr. ‘23
Photo terms Nov. ‘22
Photographing Christmas Dec. ‘23
Photography to Art Dec. ‘17
Photography solutions Jan. ‘18
Photoshop, content Aware Nov. ‘12
Photoshop, sketch technique Apr. ‘13
Photoshop, replace background Apr. ‘13
Photoshop, actions palette Dec. ‘13
Photoshop, layer masks Feb. ‘13
Photoshop, the clone tool May ‘13
Photoshop, soft foliage Oct. ‘13
Photoshop, mixer brush tool Sept. ‘14
Photoshop, b & w with color Jun. ‘14
Photoshop, drop shadows Jul. ‘14
Photoshop, creating texture Feb. ‘14
Photoshop, face mirrors Feb. ‘14
Photoshop, liquify Mar. ‘14
Photoshop, face mirrors Aug. ‘14
Photoshop, digital spotlight Sep. ‘14
Photoshop, enlarge eyes Nov. ‘14
Photoshop, darken the periphery Dec. ‘14
Photoshop, mirror images Dec. ‘14
Photoshop, beam of light Apr. ‘15
Photoshop, polar coordinates Mar. ‘15
Photoshop, chrome May ‘15
Photoshop, actions palette Nov. ‘15
Photoshop, cut and paste Nov. ‘15
Photoshop, geometrics Oct. ‘15
Photoshop, plugins Oct. ‘15
Photoshop, multiple selections Apr. ‘16
Photoshop, sharpening Apr. ‘16
Photoshop, Flood plugin Apr. ‘16
Photoshop, Desaturation Aug. ‘16
Photoshop, making a composite Aug. ‘16
Photoshop new tool May ‘20
Photoshop, place one element behind Aug. ‘18
Photoshop, the pen tool Feb. ‘16
Photoshop, canvas size Jan. ‘16
Photoshop, using the earth Jun. ‘16
Photoshop, define patterns May ‘16
Photoshop, paste into Nov. ‘16
Photoshop, b & w with color Feb. ‘17
Photoshop, open a closed door Apr. ‘17
Photoshop, palettes May ‘17
Photoshop, My favorite plugins Jan. ‘20
Portrait options Jan. ‘19
Portrait techniques Nov. ‘15
Portraits Mar. ‘13
Portraits, mixed lighting Aug. ‘14
Portrait Professional Nov. ‘19
Portraits, Lens choice Sept/Oct. ‘19
Portraits, side lighting Sep. ‘17
Portraits, window light Mar. ‘15
Portraits, outdoors May ‘17
Post-processing checklist Dec. ‘13
Post-processing: Contrast Aug. ’17
Practicing graphic design, Part I Dec. ‘22
Practicing graphic design, Park II Jan. ‘23
Practicing graphic design, Part III Feb. ‘23
Pre-capturing technology May ‘23
Predictive Focus Sep. ‘18
Problem/solution Apr. ‘17
Problem Solving in Photoshop May ‘22
Problem with cruises Jan. ‘18
Protecting extremeities from the cold Dec. ‘22
Protecting highlights Dec. ‘12
Puppies Jan. ‘15
Puppy photography Feb. ’18
Reflections Feb. ‘13
Reshaping faces Oct. ‘22
Restoring old photos Jun ‘20
Ring flash, advantages Jul. ‘21
Ring flash versatility Oct. ‘21
Rule of Odds May ‘22
Safari May ‘13
Safari strategies Jul. ‘15
Seeing as the lens does Nov. ‘14
Seeking Cool Snow Photos Jan. ‘21
Selective filtering Mar. ‘18
Selective focus Jun. ‘15
Self-critiques Jul. ‘13
Self-critiques Oct. ‘13
Self-critiques Nov. ‘20
Sensor cleaning Jun. ‘18
Sepia and dark contrast Jun. ‘15
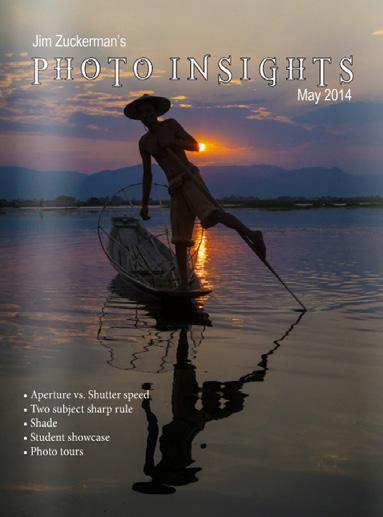
Sepia, Traditional look of Shade May ‘14
Shady side Jun. ‘18
Shadows define the shot Dec. ‘23
Shadows, Paying Attention to Mar. ‘18
Sharp, 6 reasons why photos are not Apr. ‘24
Sharpness problems Mar. ‘14
Shooting in Inclement Weather Nov. ‘22
Shooting through textured glass May ‘23
Shooting through wire mesh Sept. ‘14
Shooting into the light Jun ‘20
Side lighting Jan. ‘24
Silhouettes Jun. ‘13
45
Subject index for past Photo Insight issues
Silhouettes, How to make Apr. ‘22
Silhouettes, Exposing for Sept/Oct. ‘19
Silvered landscapes Mar. ‘20
Sketch, How to Make Jun ‘19
Skies make or break a picture Aug. ‘21
Sky replacement Nov. ‘20
Sky replacement strategies Aug. ‘22
Snow exposure Nov ‘17
Snow exposure Nov. ‘19
Soap abstracts Aug. ‘23
Soft light Jan. ‘13
Smart phone photography May ‘19
Stained glass Mar. ‘17
Star photography
Star photography and noise Jan. ‘18
Stock photography Sep. ‘14
Sunrise & sunset Jan. ‘19
Tamron 150-600mm Apr. ‘14
Ten reasons photos are not sharp Jan. ‘19
Texture, Adding Mar ‘19
Texture Mapping in 3D Jul. ‘21
Topaz AI Gigapixel Mar ‘19
Topaz glow Jan. ‘15
Topaz glow Sep. ‘17
Topaz Impression Sep. ‘15
Topaz Remask 5 Oct. ‘17
Topaz Simplify 4 Dec. ‘12
Topaz simplify 4 Jun. ‘14
Topaz Studio Apr. ‘18
Total solar eclipse, How to shoot Mar. ‘24
Translucency & backlighting Nov. ‘18
Travel photography Feb. ‘13
Travel portraits Mar. ‘14
Travel tips Apr. ‘14
Travel photographer’s guide Jun. ‘17
Tweaking exposure on the fly Apr. ‘23
Twilight photography in the rain Apr. ‘19
Twilight, Creating Oct. ‘23
Tripods Mar. ‘18
Two subject sharp rule May ‘14
Two subject focus rule Jan. ‘20
Two subject focus rule Jun. ‘21
Urban heights Jun. ‘21
Ultra distortion May ‘18
Unusual Panos Nov. ‘22w
Upside Down Reflections Aug. ‘21
Warm fingers in winter Nov. ‘15
Water drop collisions May ‘18
What NOT to do in photography Apr. ‘18
When You Needed a Zoom Aug. ‘21
White on White Dec. ‘20
White on White Nov. ‘23
White vignette Aug. ‘15
White balance Feb. ‘15
Quiz answers
1. b 2. d 3. c 4. c 5. d 6. c 7. b 8. b 9. a 10. d Your score 90% - 100%: You could have been a pro 80% - 89%: Your glasses probably need a new prescription 70% - 79%: Just don’t quit your day job < 70%: You should really be using an iPhone 46
Subject index for past Photo Insight issues
White balance, custom Mar. ‘16
White balance, What Jun. ‘23
Wide angle conundrum May ‘19
Wide angle lenses Mar. ‘13
Wide angle portraits Nov. ‘14
Wide angle lenses Jun. ‘17
Wide angle lenses: Outside the Box Jun. ‘22w
Wide angle keystoning Nov ‘17
Wildlife photos with wide angles Mar. ‘15
Window light Dec. ‘15
Window light portraits Aug. ‘18
Window light portraits Feb. ‘24
Window frames Feb. ‘16
Winter photography Dec. ‘12
Winter bones May ‘13
Winter photography Dec. ‘15
Winter photography Nov. ‘18
Wire Mesh, Shooting Through Jul. ‘18
Workflow May ‘13
47
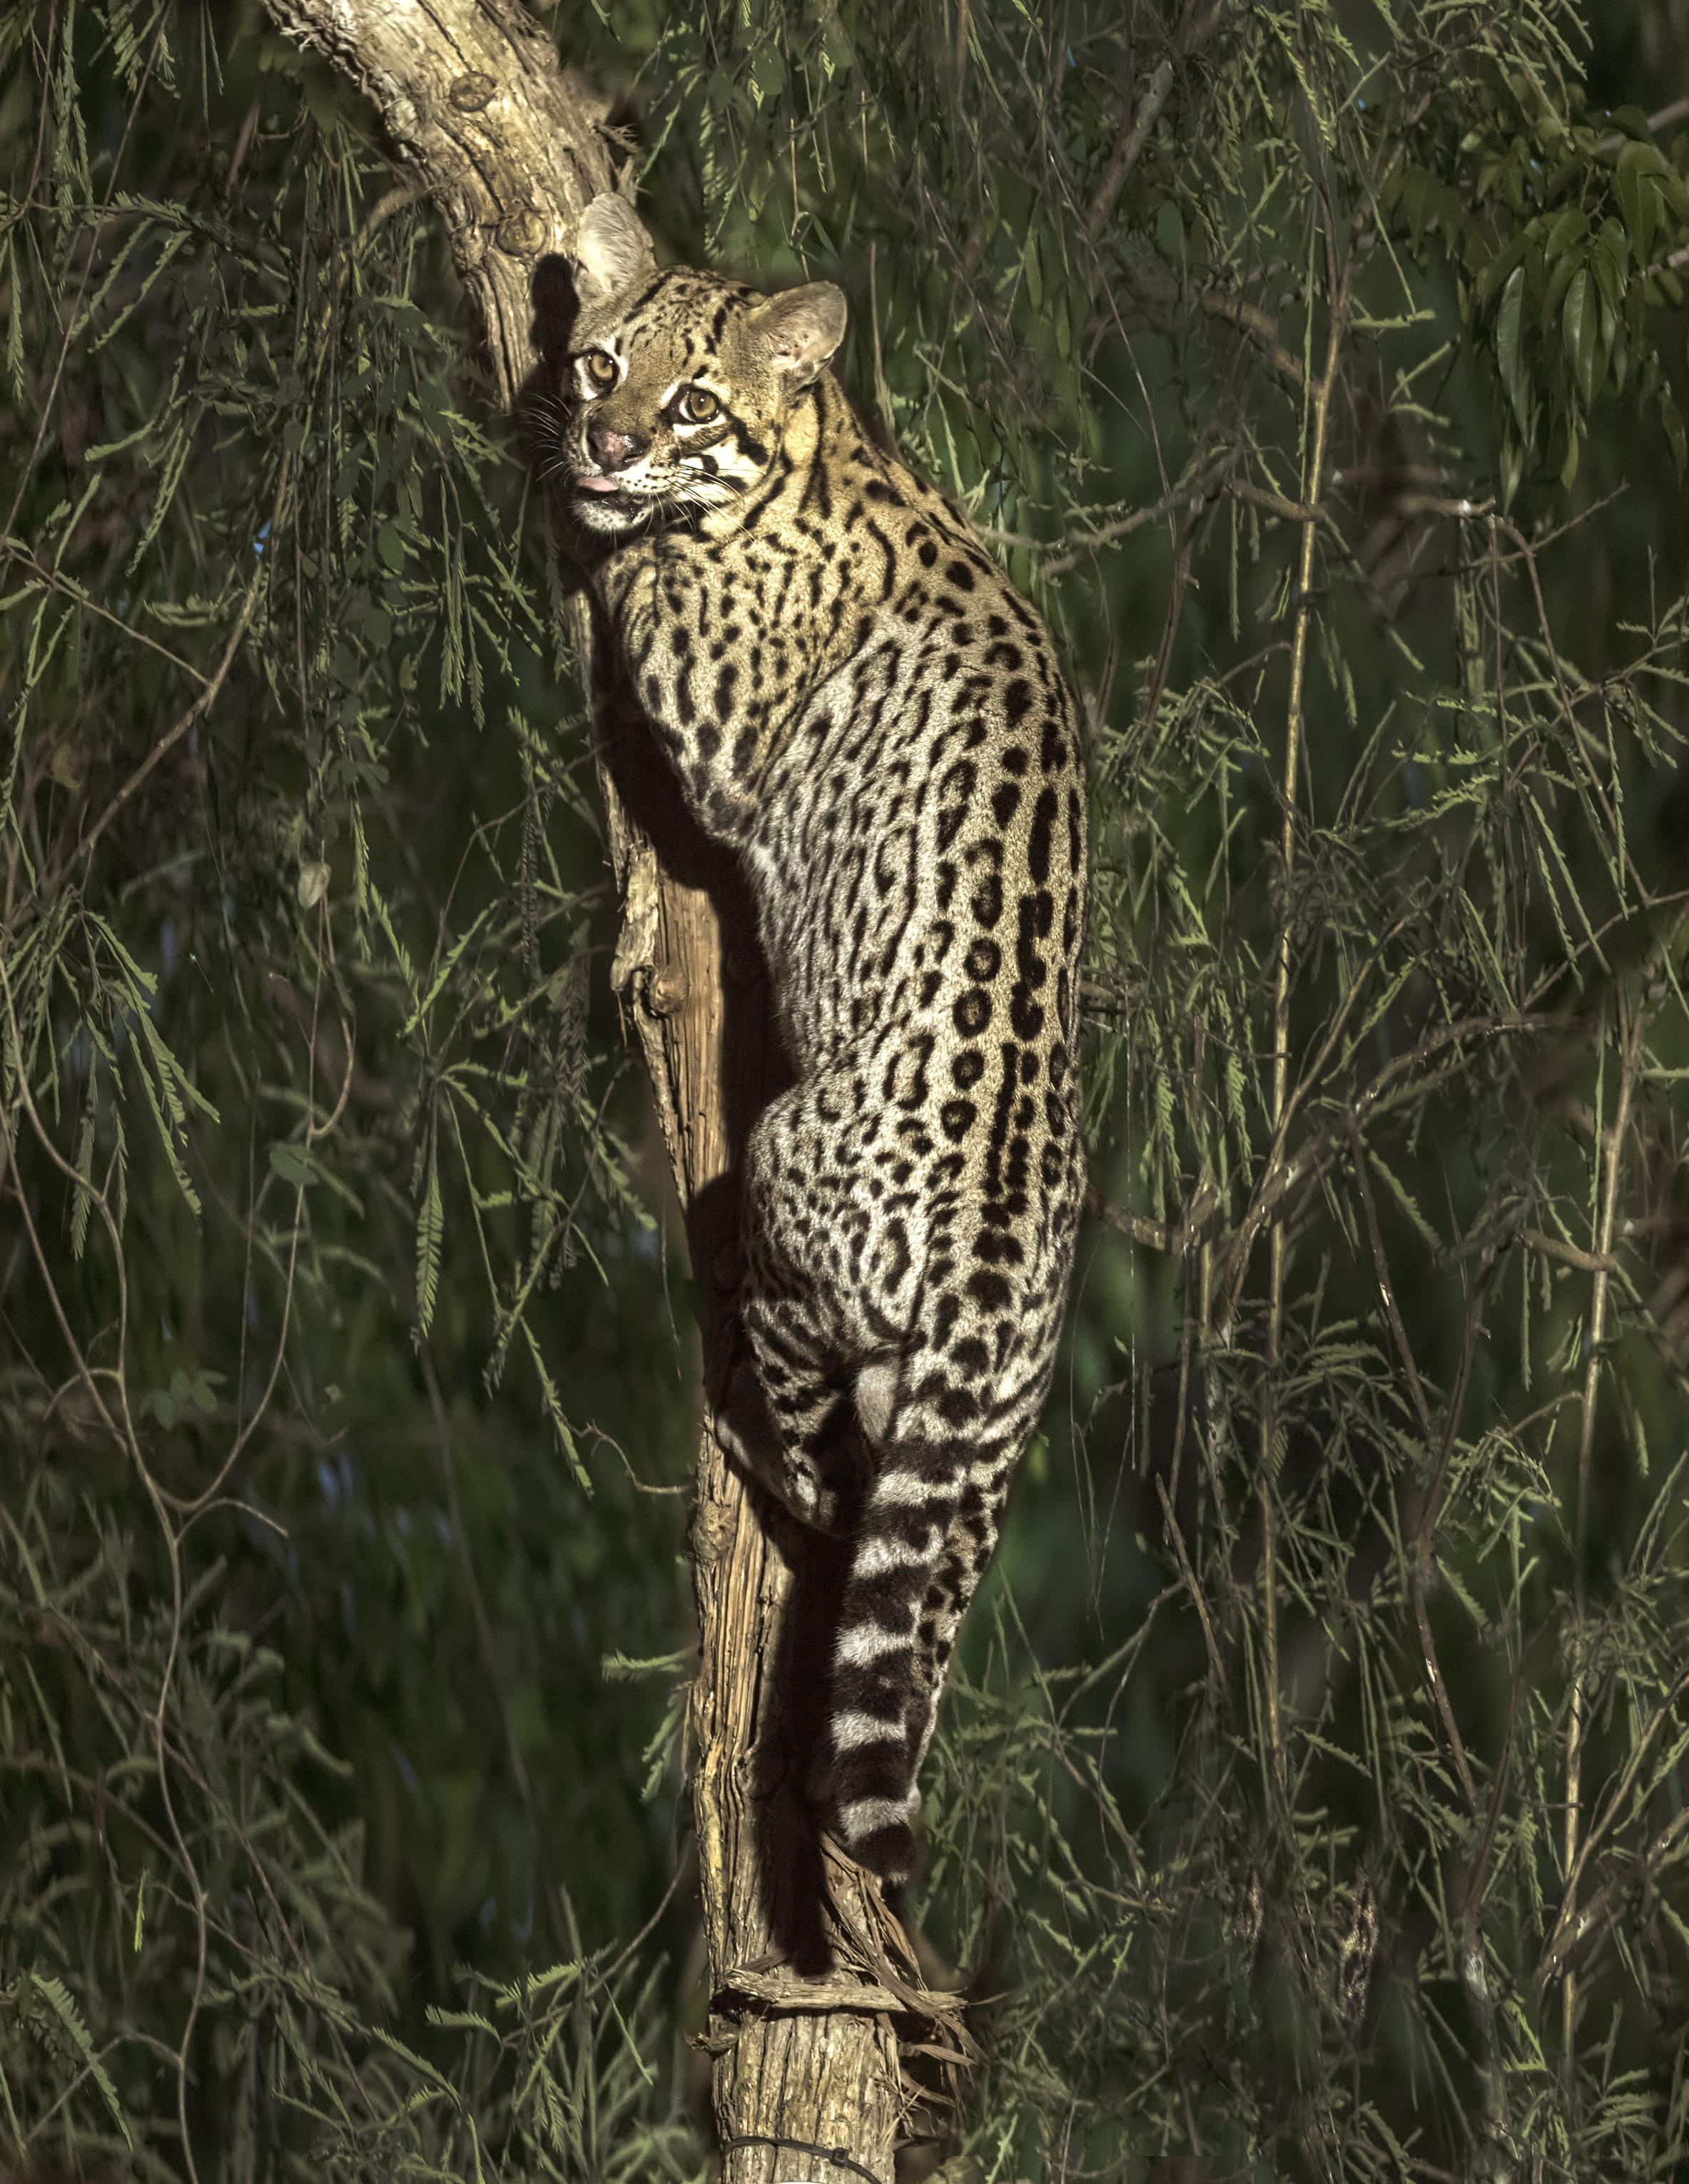
PHOTO INSIGHTS
published monthly by Jim Zuckerman
All rights reserved
© Jim Zuckerman 2024
email: photos@jimzuckerman.com
Edited by Donald Moore
48
An ocelot lit by artificial lighting in the Pantanal.
