
20 minute read
PROJECT: Budget manager


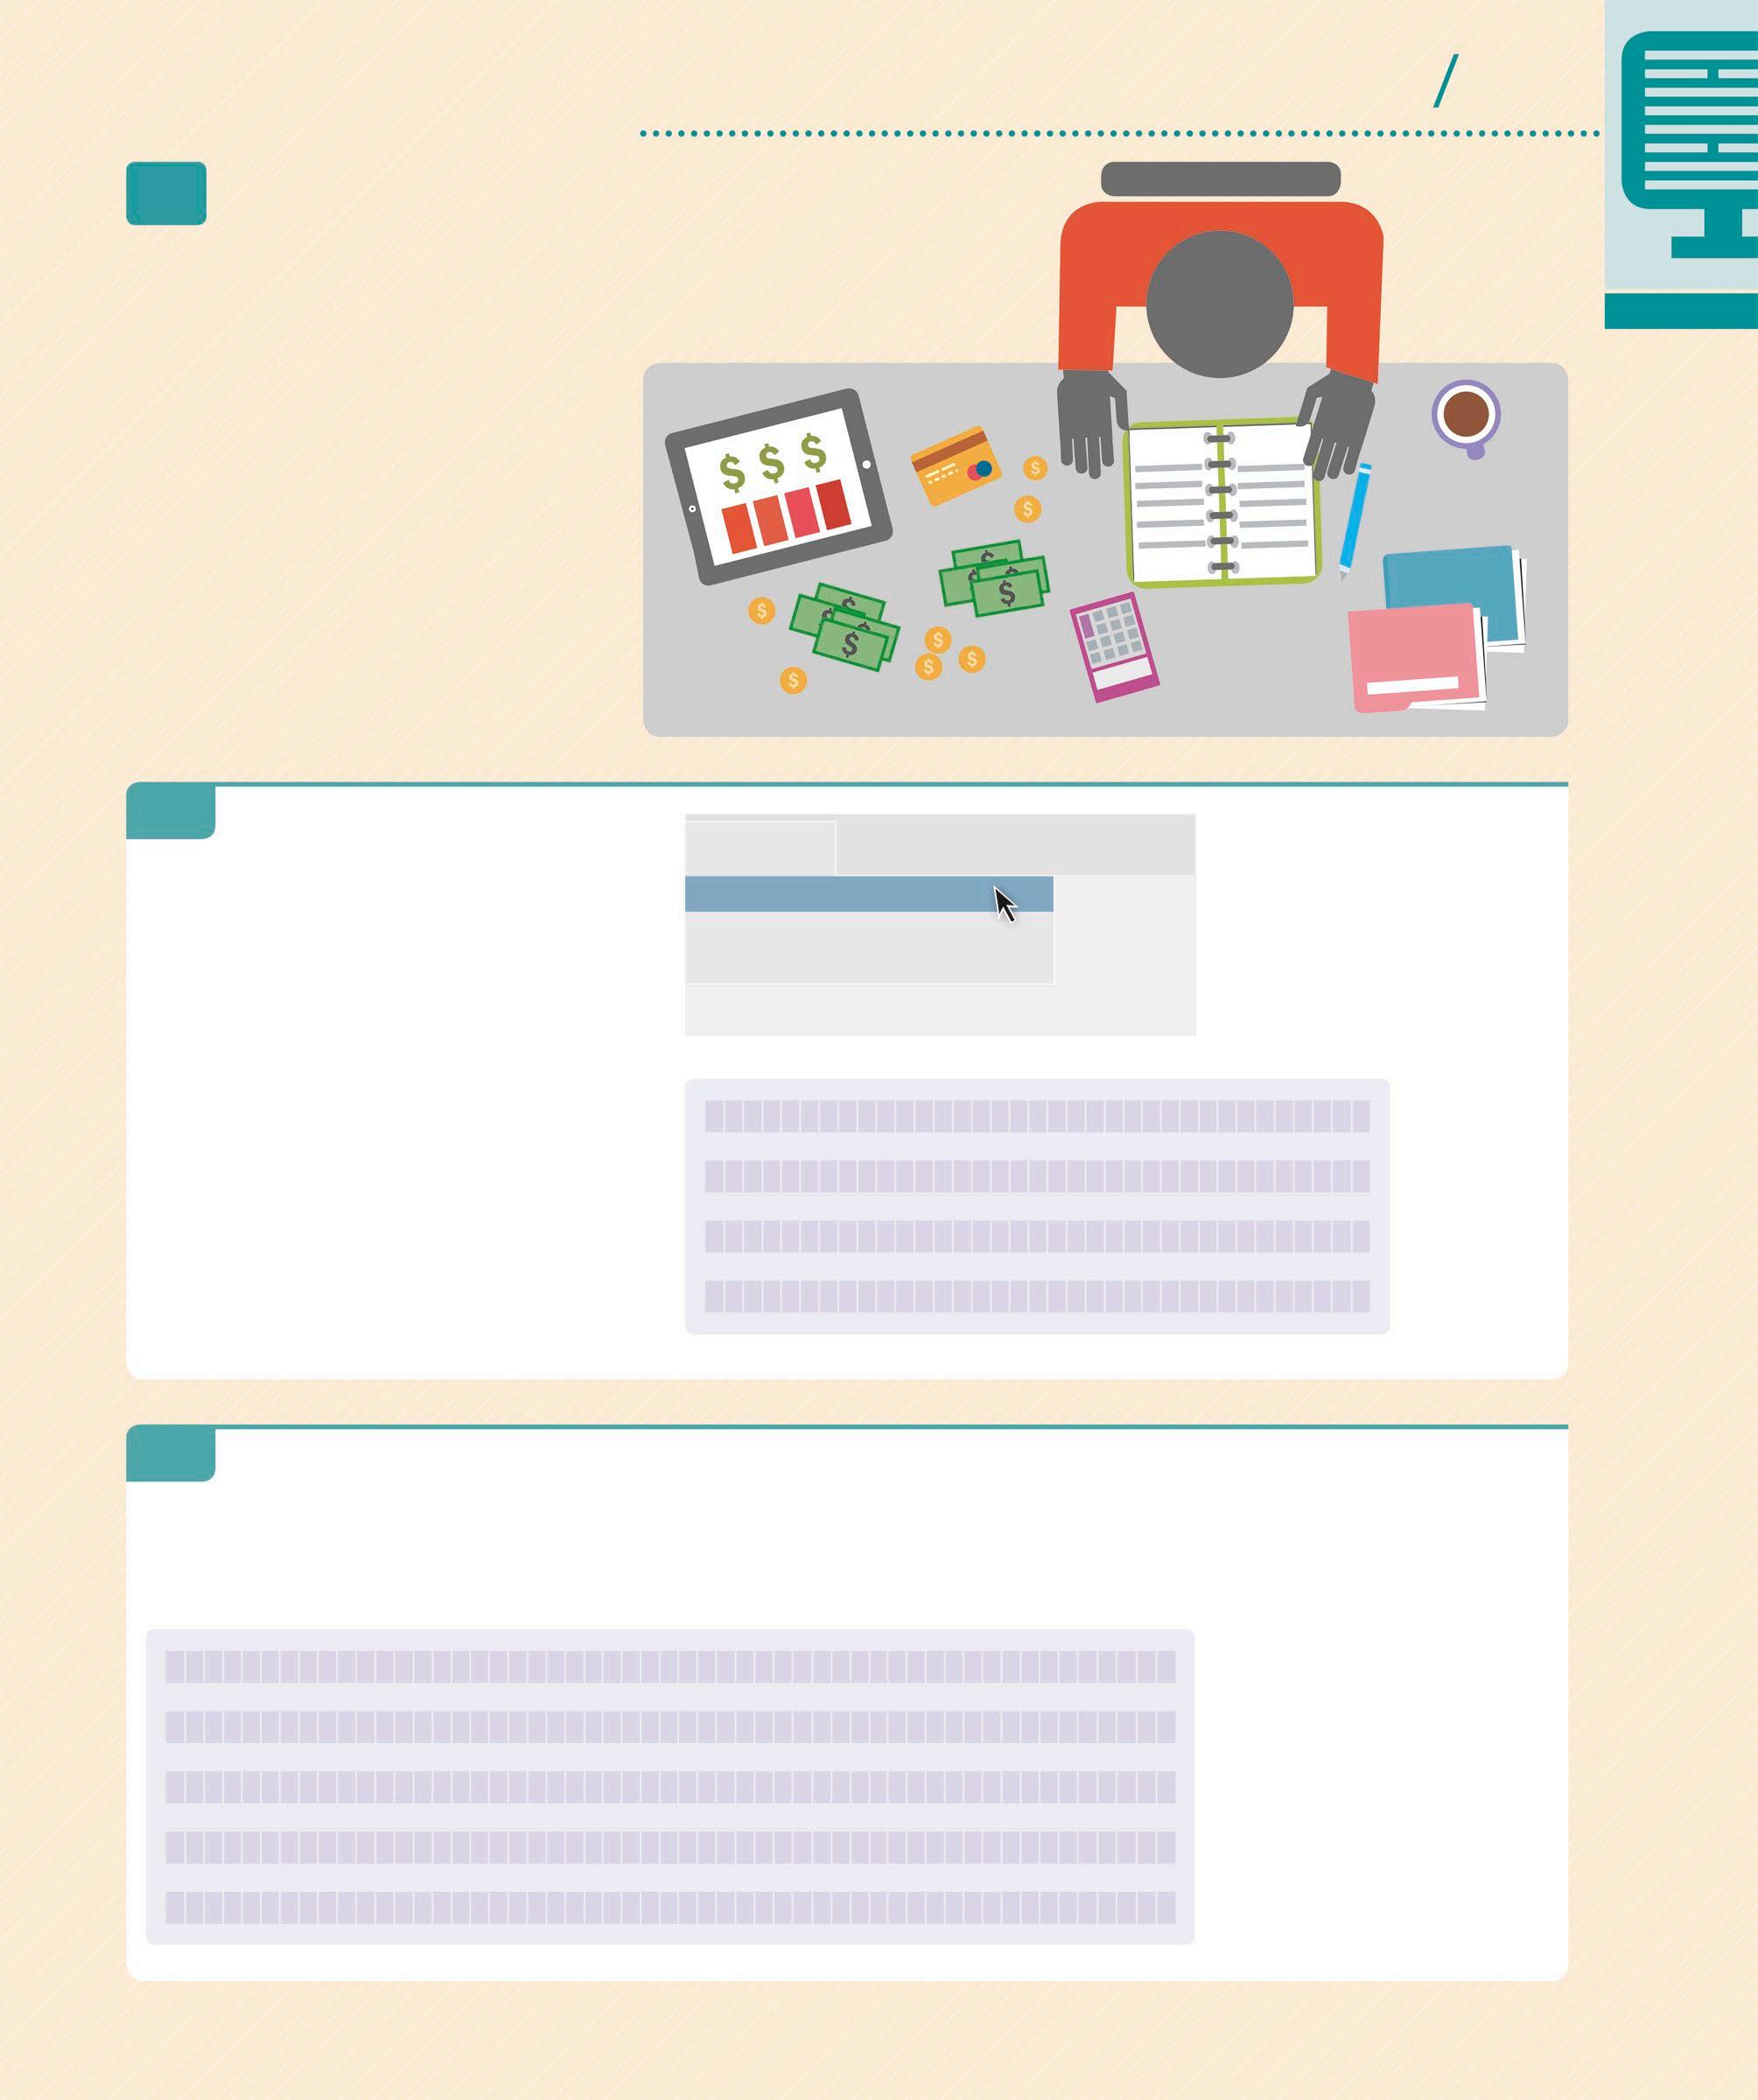
Budget manager
Managing money can be a tedious task, which can be made easier with a computer. There are various apps for tracking what you spend, based on setting budgets for different kinds of expenses. This project will create a simple budget manager using Python dictionaries and classes.
Advertisement
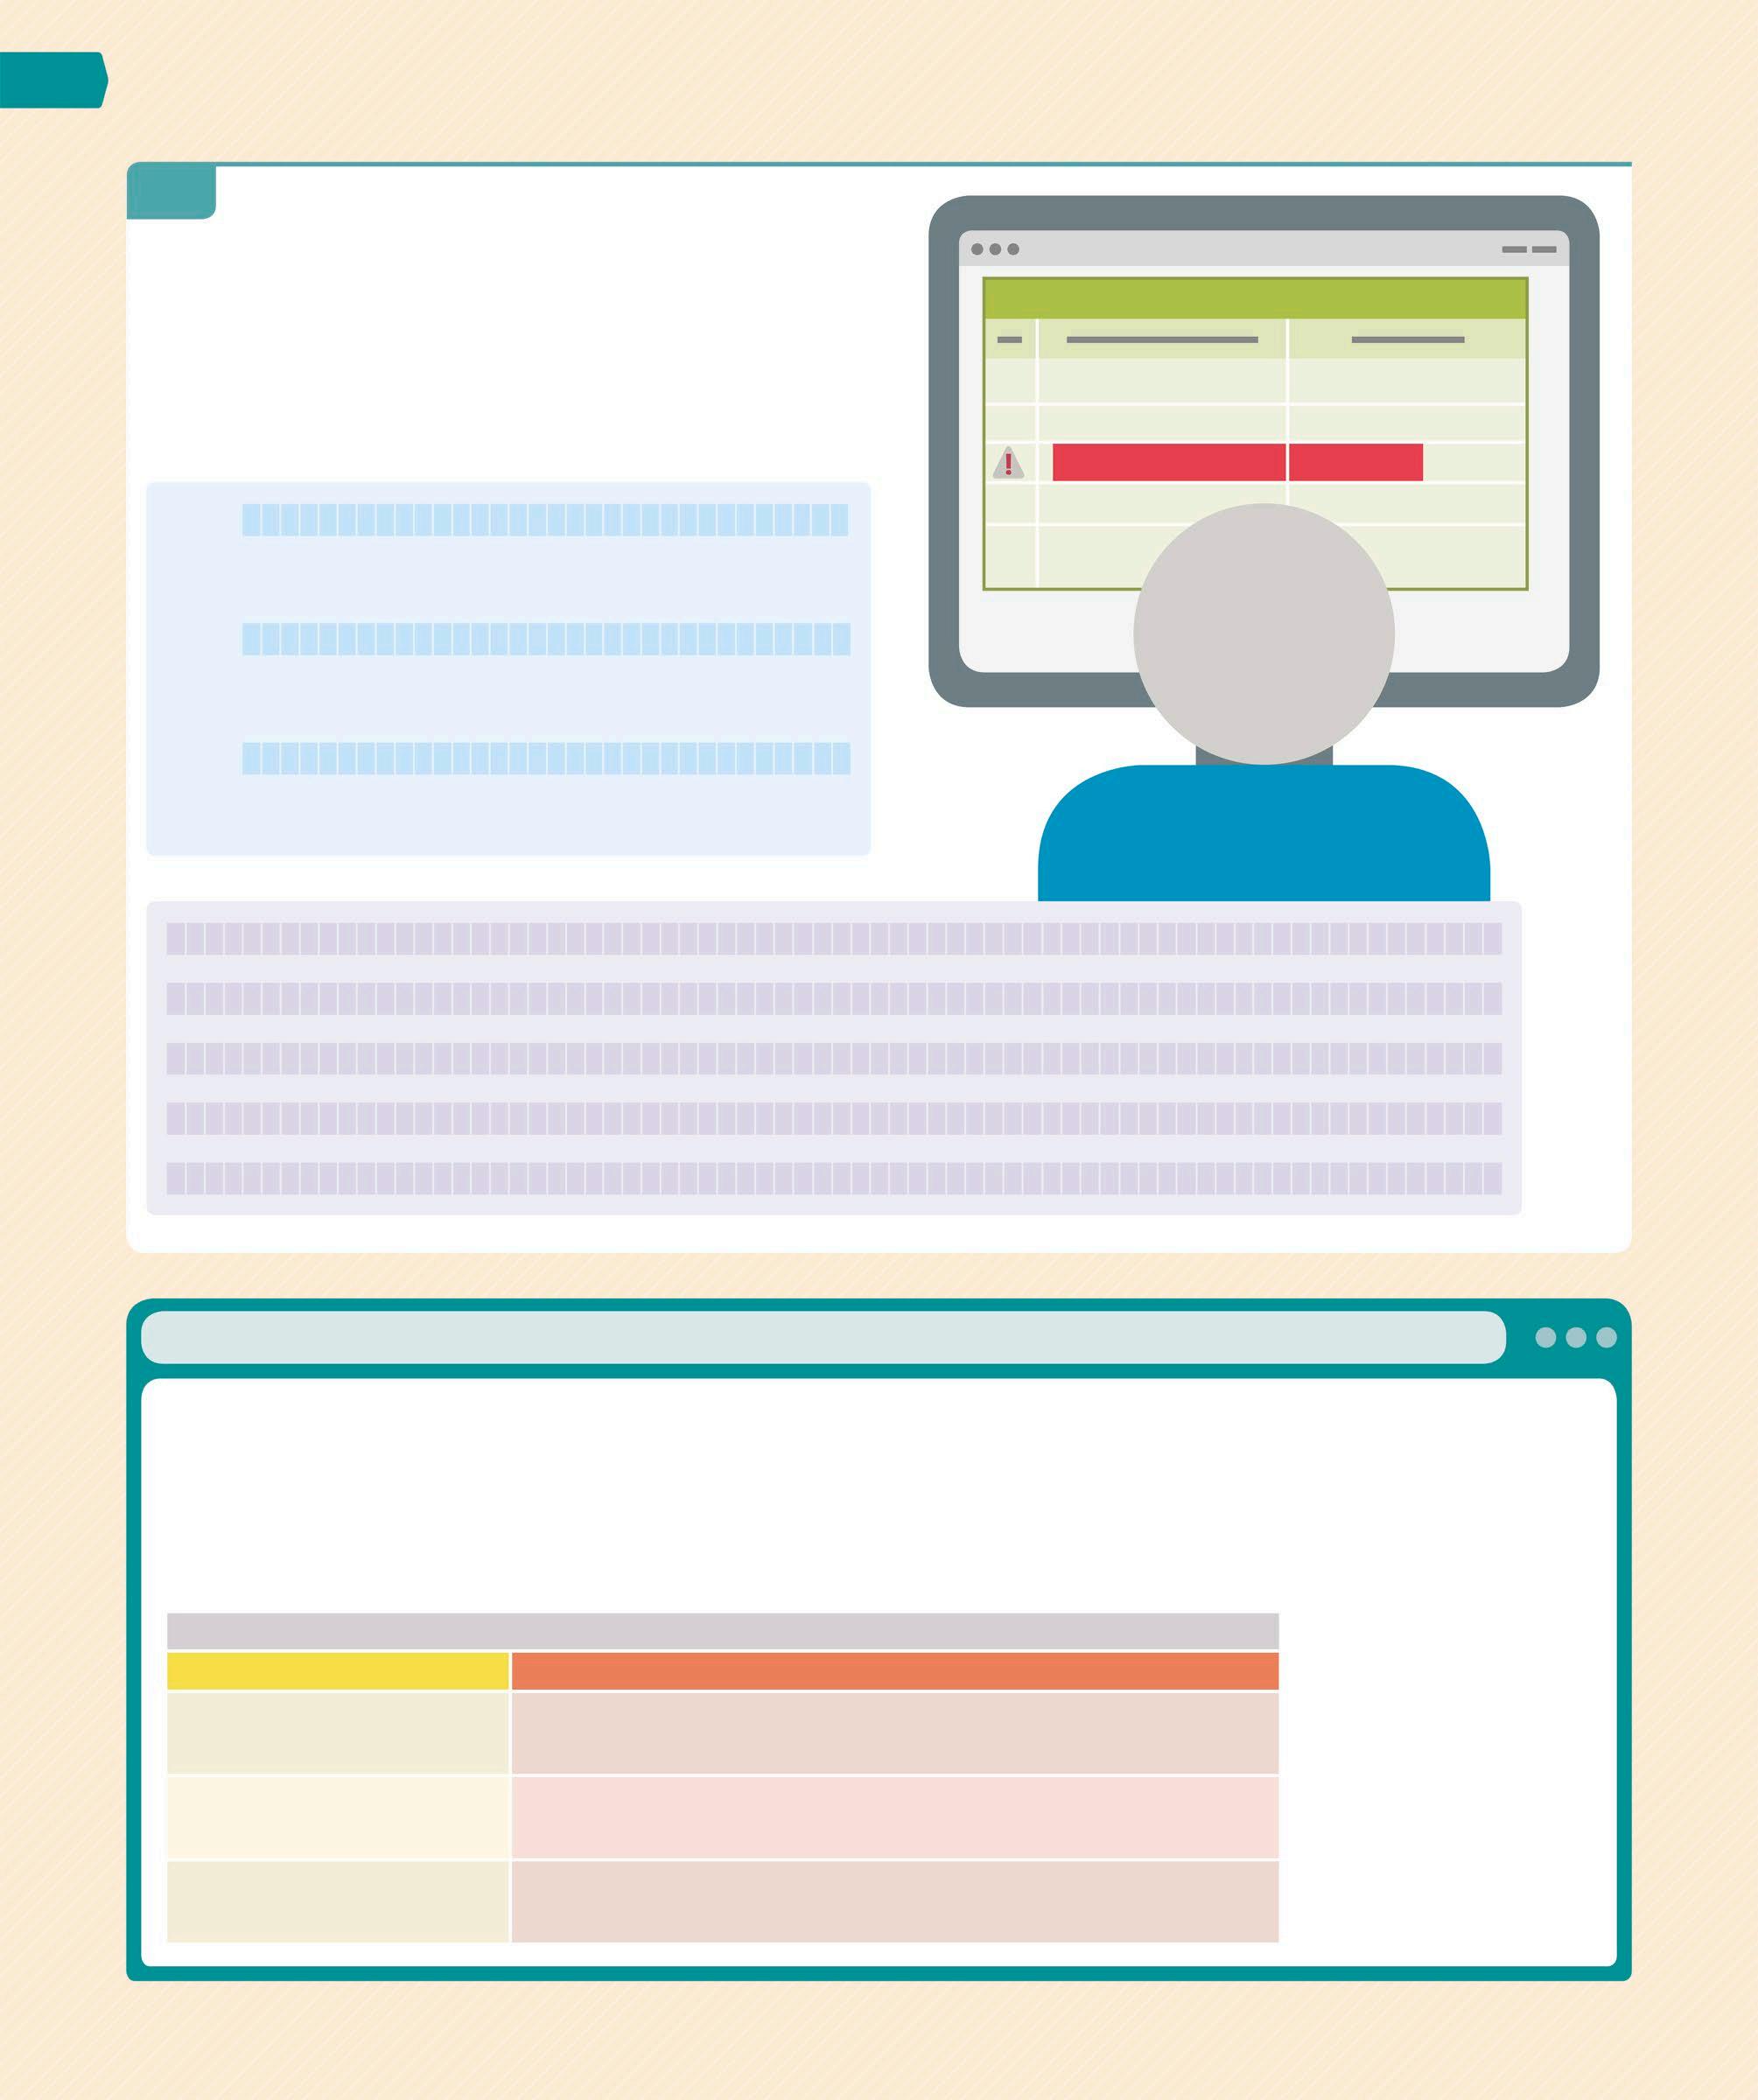
What the program does
This budget manager will allow users to keep track of their expenditure against an overall budget of 2500. To start, a budget is allocated for different kinds of expenditure, such as groceries and household bills. The expenses can then be compared against their allocated budget. A summary is displayed to get a quick overview of the finances.
Python 3.7.0 Shell
>>> add_budget("Groceries", 500) 2000.00
>>> add_budget("Rent", 900) 1100.00
>>> spend("Groceries", 35) 465.00
>>> spend("Groceries", 15) 450.00
>>> print_summary() Budget Budgeted Spent Remaining
Groceries 500.00 50.00 450.00
Rent 900.00 0.00 900.00
Total 1400.00 50.00 1350.00
The summary gives an overview of all the expenses
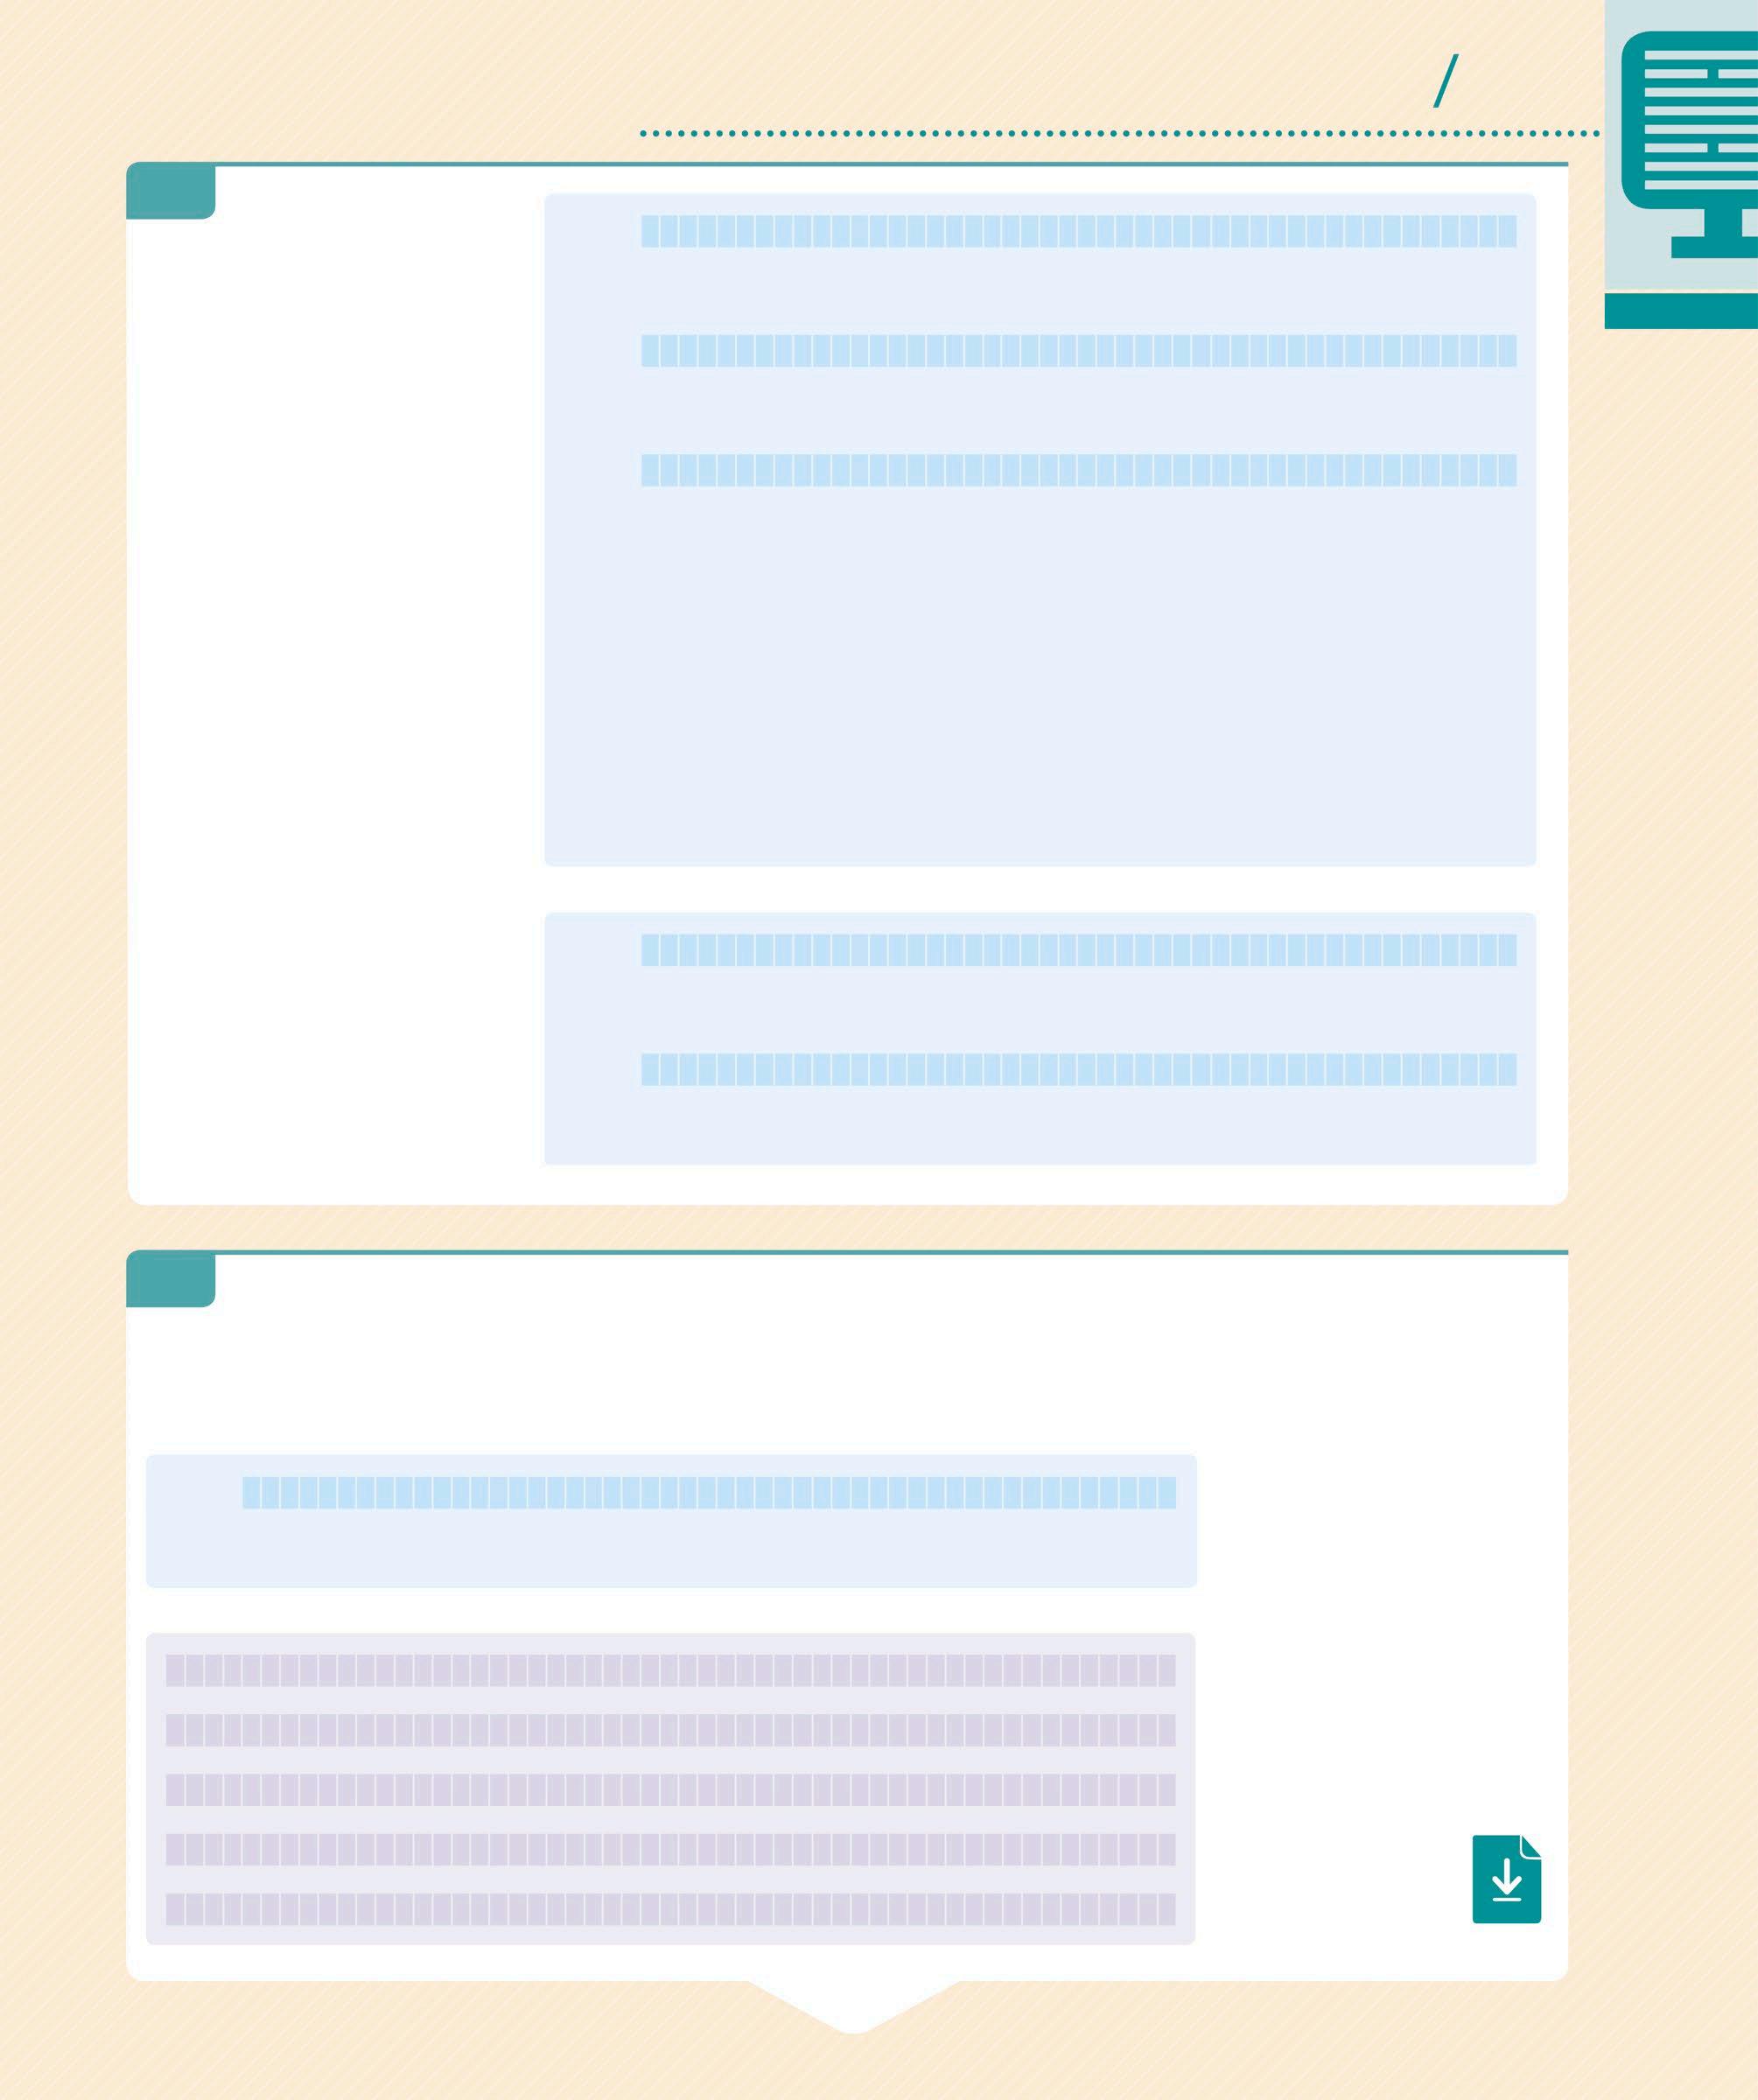
Budget planner
Rather than directly creating a program, this project will create a set of functions that can be called from the Python shell. These functions can also be imported and used in other programs.
Allocates spend against budget
Returns the budget left
YOU WILL LEARN
❯ How to use Python dictionaries ❯ How to raise exceptions for errors ❯ How to format strings for output ❯ How to create a Python class
Time: 1 hour
Lines of code: 43
Difficulty level
Function calls
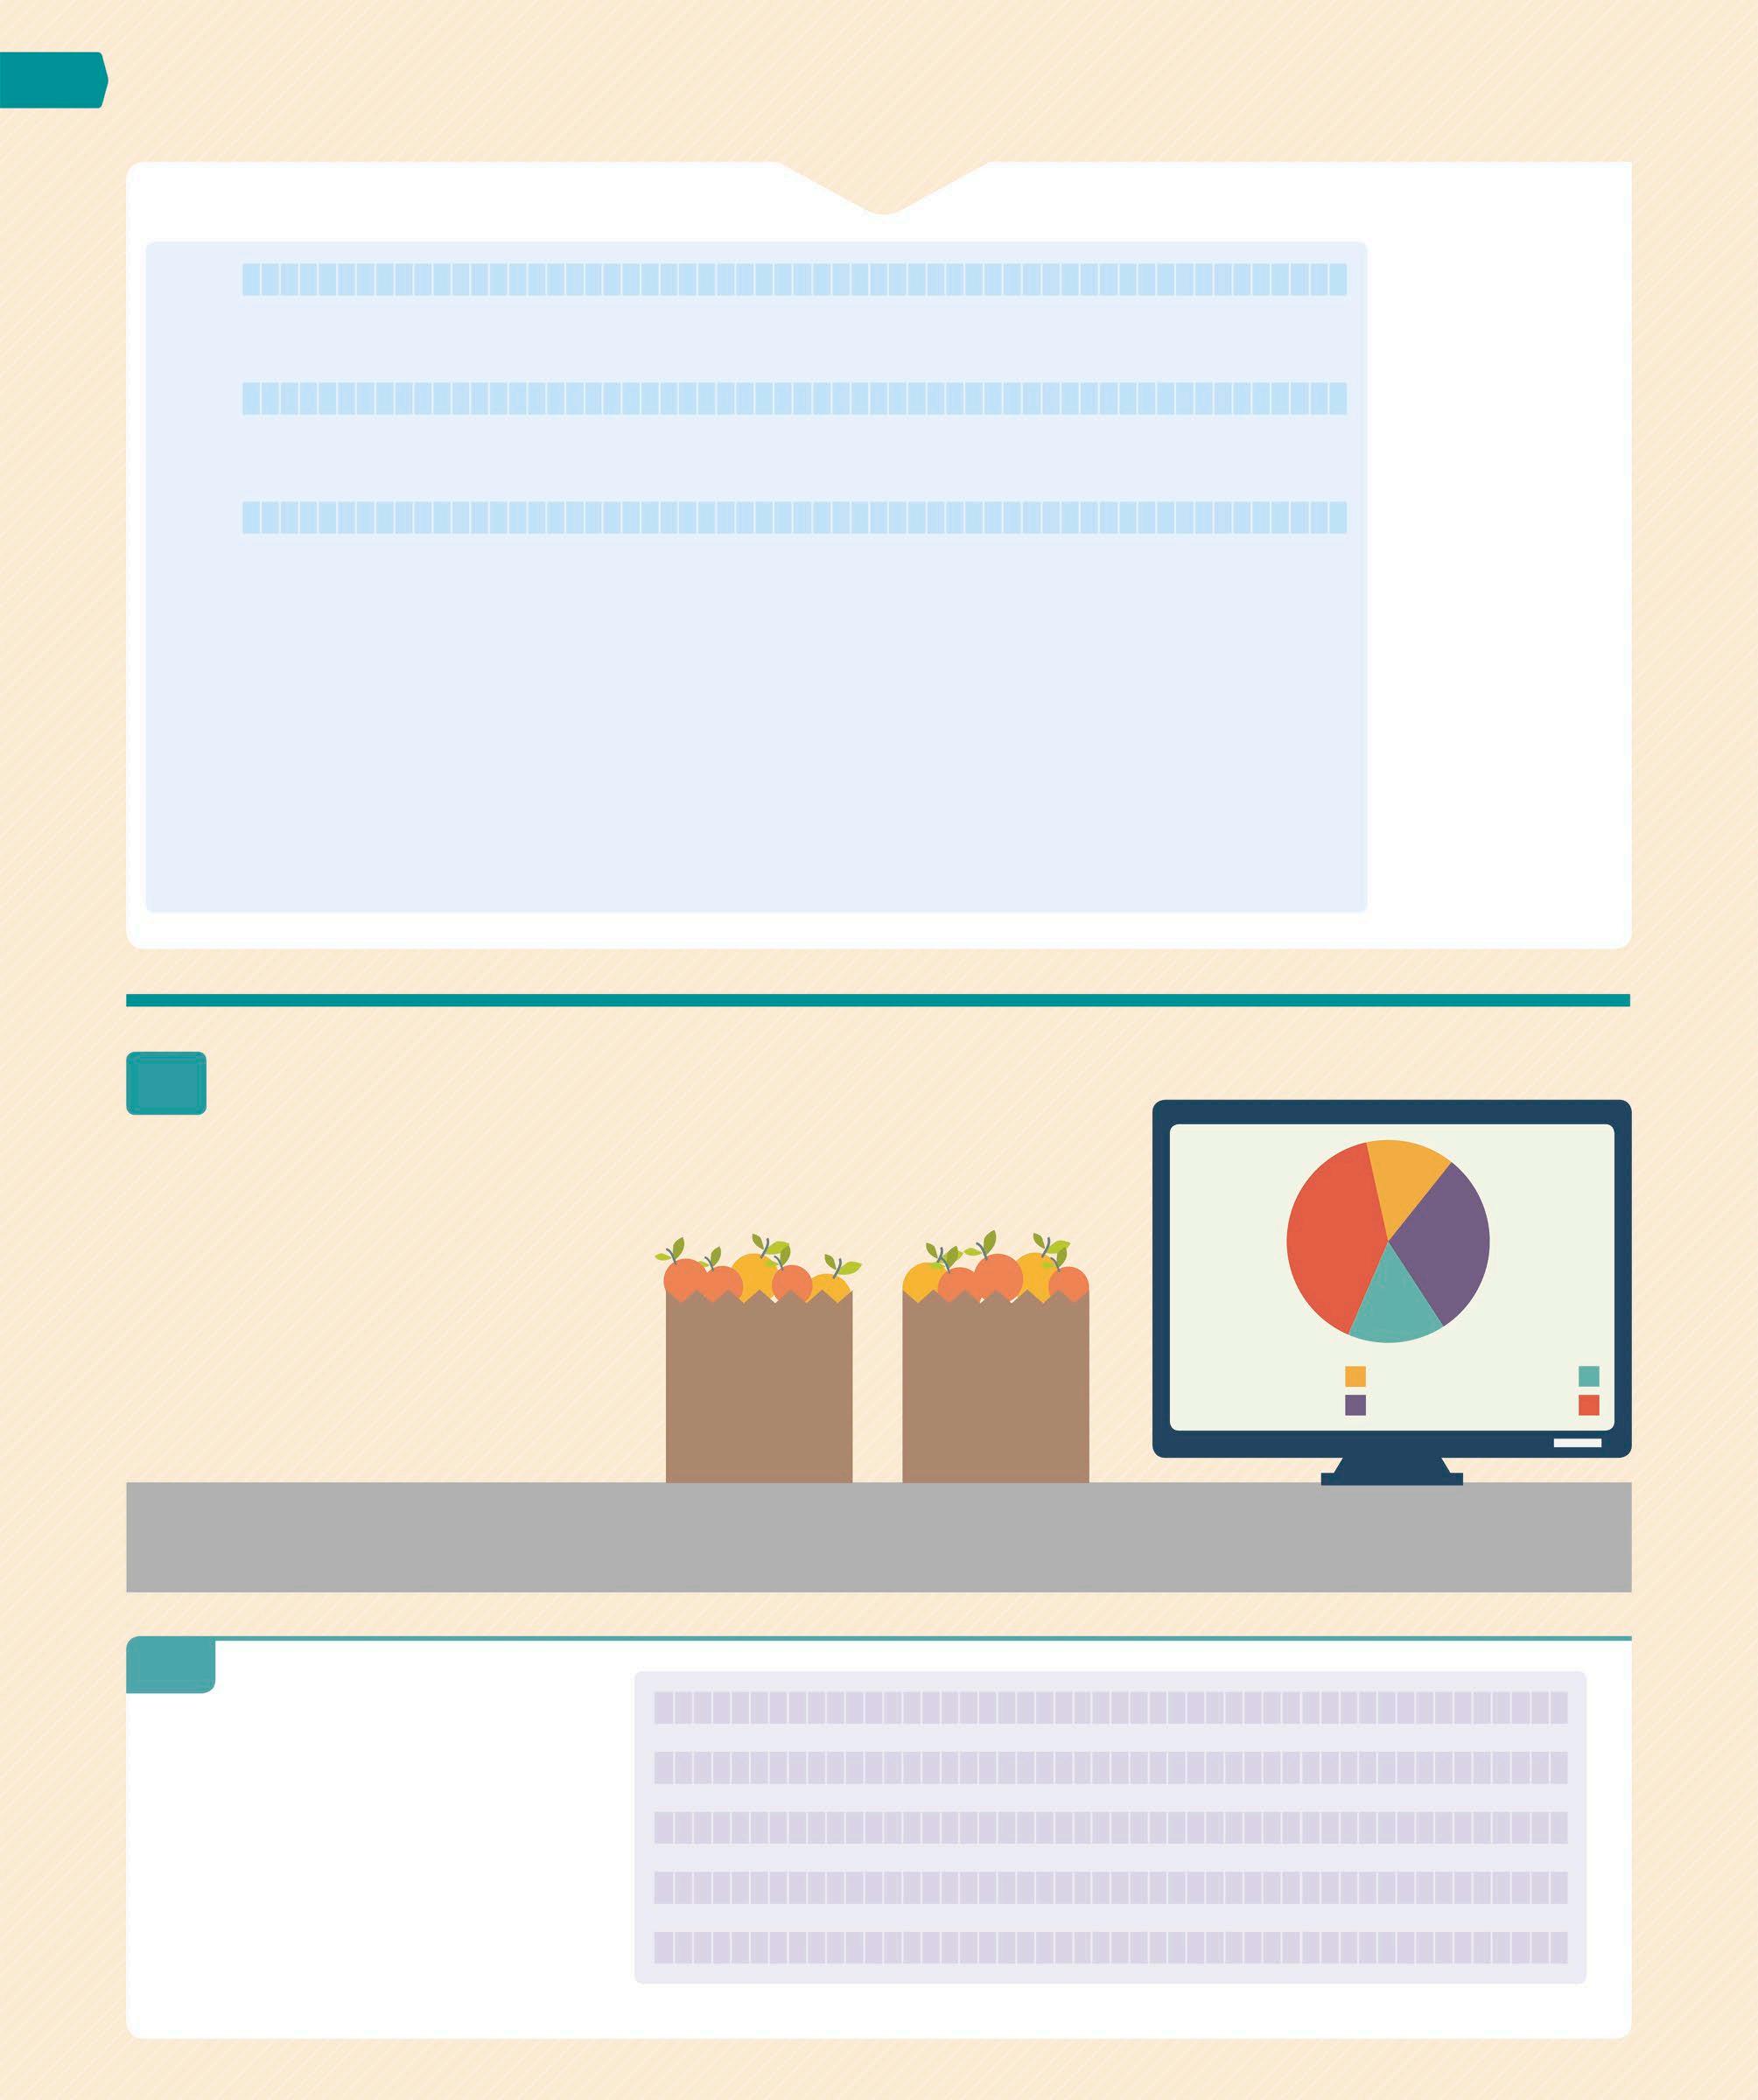
The functions written in this program will allow you to allocate an amount of income to different named budgets. The functions will then track spending against these budgets to see the total amount spent compared to the amount that was budgeted. The diagram below shows an example of making a series of function calls.
LIBRARY USER
add_budget ("Groceries", 500) BUDGET LIBRARY
2000

add_budget ("Rent", 900)
1100
spend ("Groceries", 35)
465
spend ("Groceries", 15)
450
WHERE THIS IS USED
The library developed in this project, with the addition of a user interface, can be used in a simple financial-planning application. Splitting up a program into multiple modules and encapsulating code and data in classes are both techniques that are used extensively in programming.
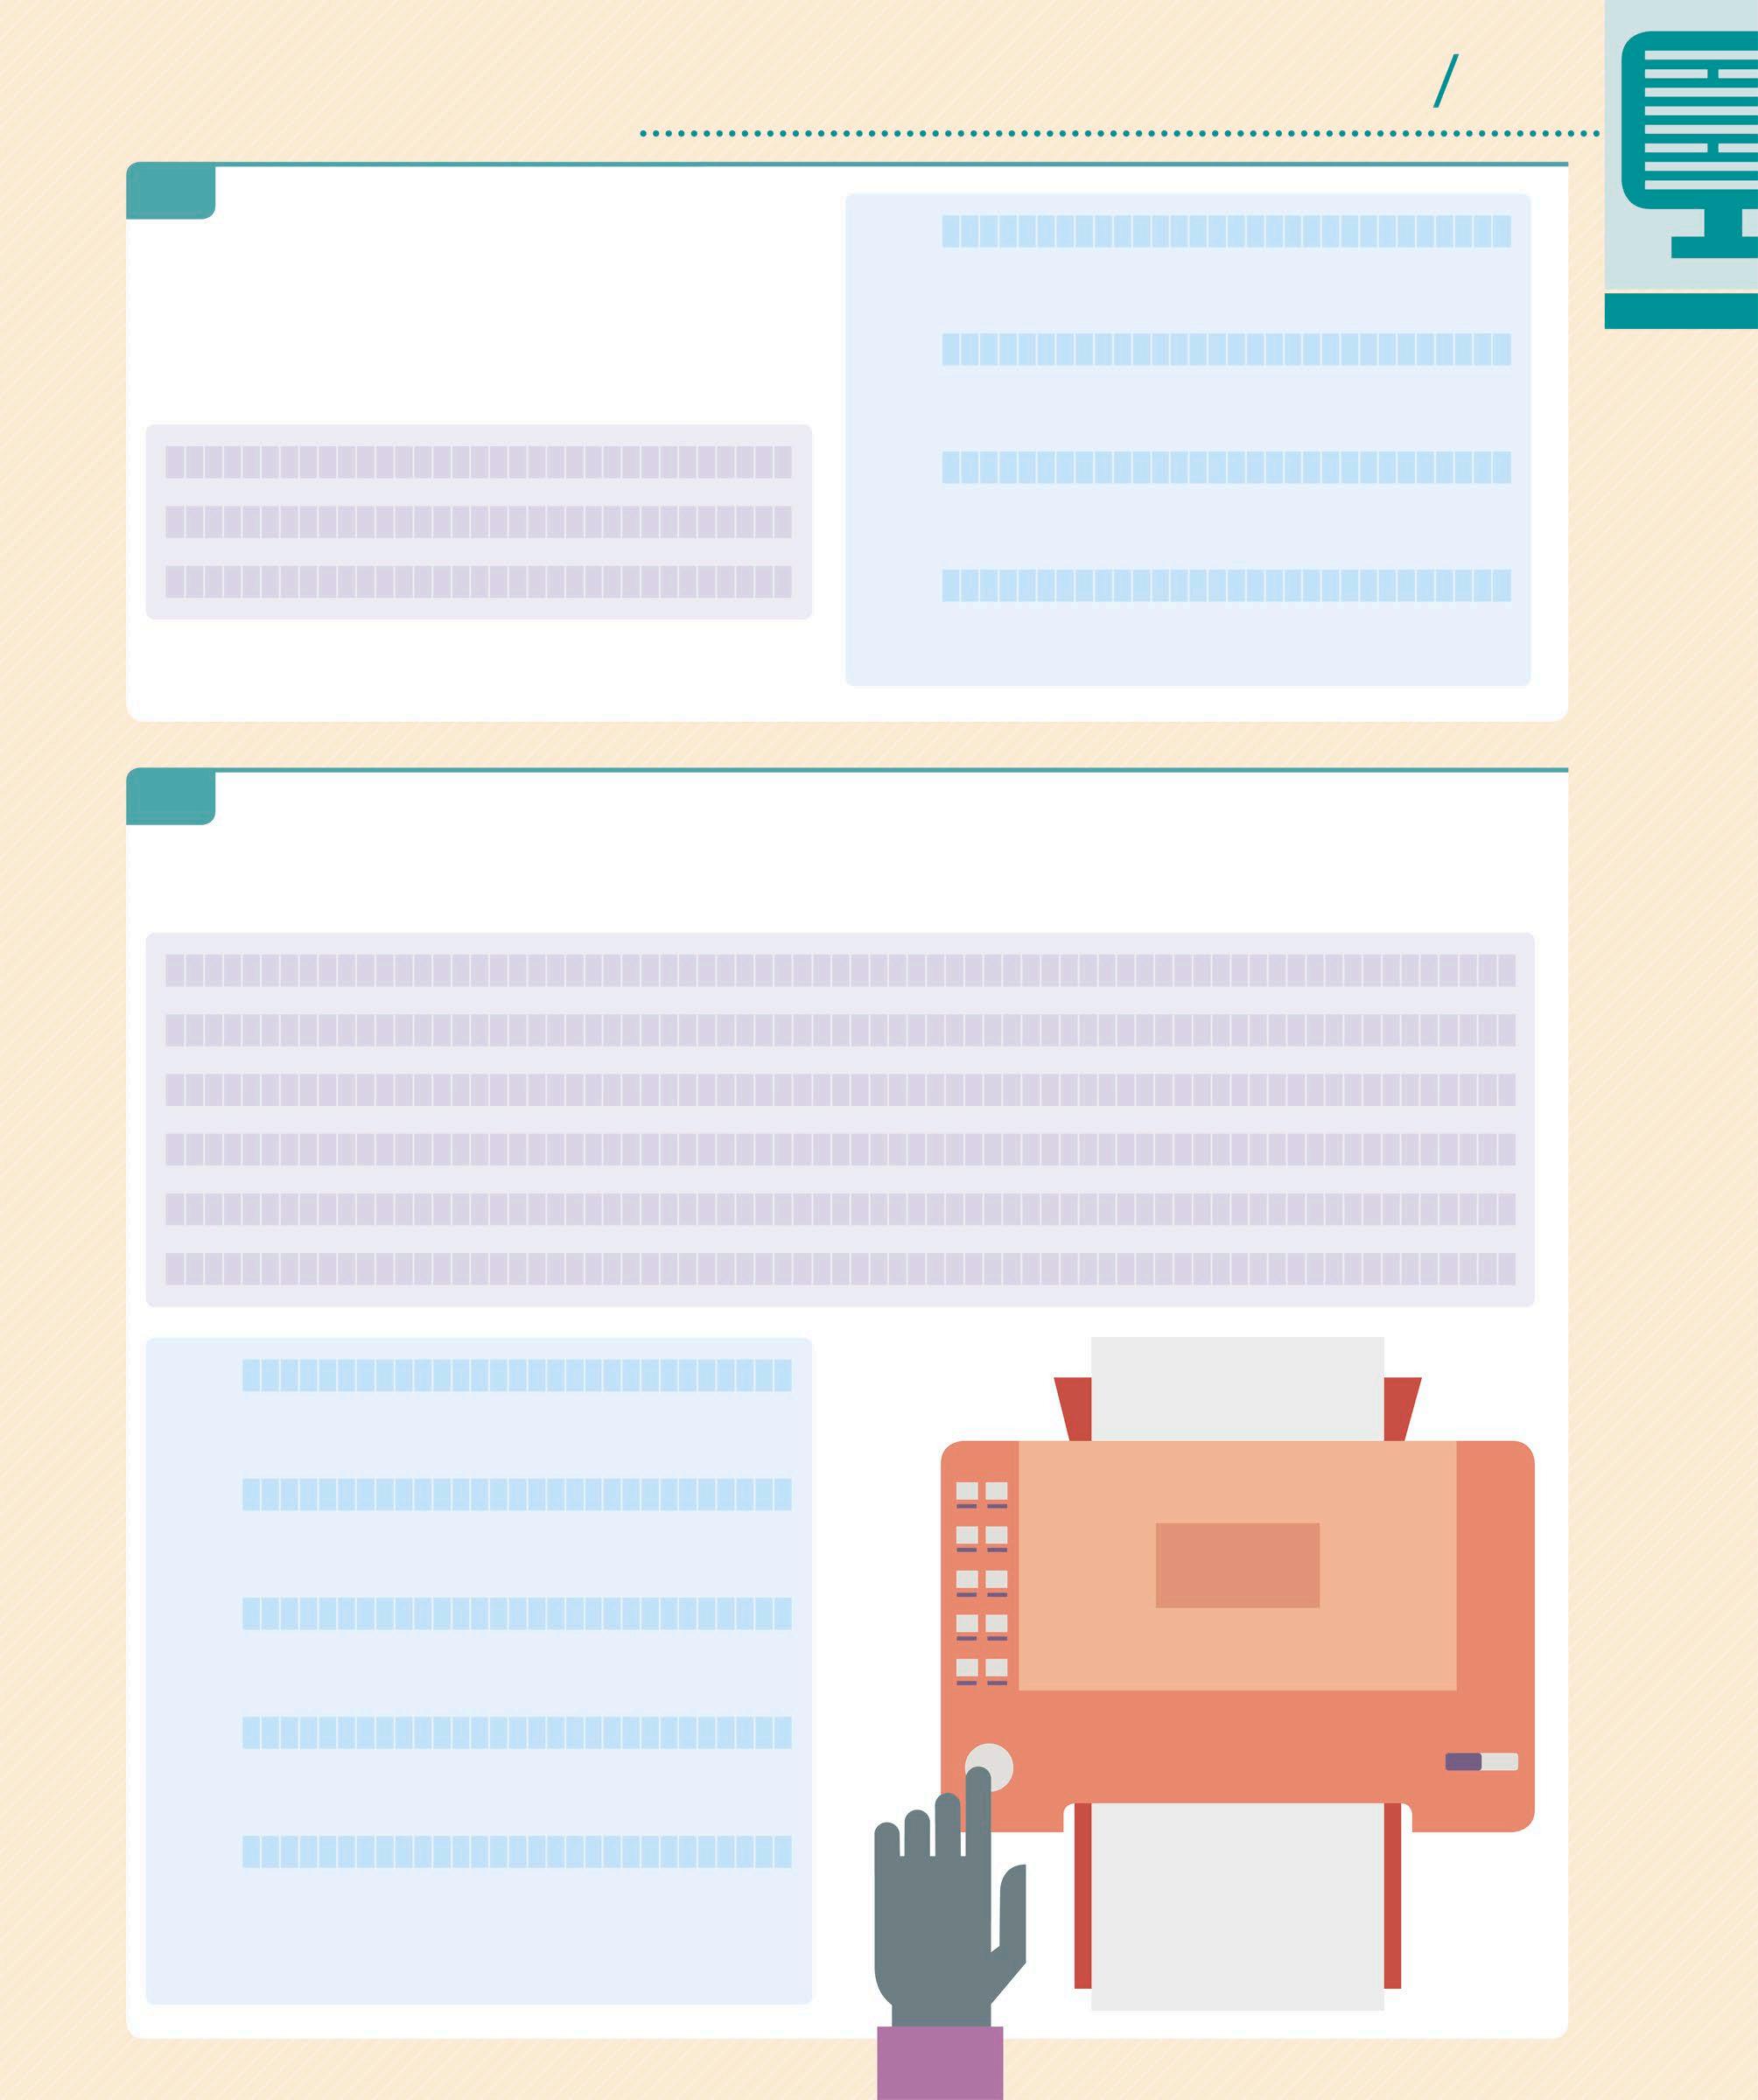
Program design
In this project, functions are added sequentially to create the budget library. Then, a summary of all the expenses is printed. In the end, all the code is converted into a Python class to make it more useful.
START
Add budget
Add expenditure
Print summary
Convert the code to a class
1 Setting up To create this budget manager, you will need a new Python file. You can then add some basic code to the file and build on it later. The use of Python dictionaries will allow you to save the amount budgeted and spent.
1.1 CREATE A NEW FILE The first step is to create a new file that will contain the code for this project. Open IDLE and select New File from the File menu. Create a new folder on your desktop called BudgetManager, and save this empty file inside it. Name the file “budget.py”.
1.2 SET UP THE VARIABLES Now create some global variables that will track the amount of money available, the amount you have budgeted, and the amount spent. You will use Python dictionaries (see box, below) for the budgets and expenditure that will map from a name, such as “Groceries”, to an amount of money. Type this code into the new file.
BUDGET.PY BUDGET MANAGER
available = 2500.00
budgets = {} expenditure = {}
Sets the variable available to an example starting amount
Curly brackets are used to create a dictionary – an empty dictionary in this instance
DICTIONARIES

When deciding what Python data structure to use, think about how you would write the information to be stored. Often, the obvious way to write something down is similar to the table shown below. If the information in the first column is unique (the items in it are not repeated), then using Python dictionaries might be the answer. A dictionary is a data structure that consists of multiple key:value pairs. It maps one value, such as a name, to
DICTIONARY FORMAT Budget name Budget amount
Groceries 500
Bills
Entertainment 200
50 another, such as an amount of money. In the table below, the first column contains the keys of the dictionary and the second contains the values. If the table has multiple value columns, then these can be stored in separate dictionaries using the same keys. You can, therefore, have one dictionary for budgets and another for expenditure.
The table information above as a Python dictionary
2 Adding a budget In this section, you will create budgets for the various expenses. First, you will add code to enable the user to add these budgets, and then ensure that the code prevents users from making some common budgeting errors.
CLOTHES RENT GROCERIES
2.1 ADD A BUDGET FUNCTION Write a function to add a budget. The function will take the name of the budget and the amount of money to be budgeted. It will then store these in the budgets dictionary and deduct the amount from the amount available. The function then returns the new available amount to show how much is still left to budget. Add this code below the global variables.

Deducts the budgeted amount from the available amount
2.2 RUN FILE Save and then run the file by selecting Run Module from the Run menu. This will open the IDLE Python shell window. You can test the function by typing an example call in the shell. You will see >>> in the window, which is the Python shell prompt. You can type small pieces of Python code next to this and they will be executed when you press Enter or return.
Typing the name of variables at the prompt will show their values
def add_budget(name, amount): global available budgets[name] = amount available -= amount
expenditure[name] = 0 return available
Returns the new available amount Sets the spent amount for this budget to 0
available
will be global when set in this function
Stores the budgeted amount in the budgets dictionary
SAVE
>>> add_budget("Groceries", 500)
2000.0 Returned value of the function call
Type this line and press Enter
2.3 ERROR CHECKING To see what happens if you add a budget twice, type this code in the shell window. You will notice that the budgets dictionary will be updated with the new value, but the available amount is reduced by both. To avoid this, you need to add some code to check if the same budget name has been used twice. Add the code shown in the editor window below to make changes to the add_budget() function.
>>> add_budget("Rent", 900) 1100.0
>>> add_budget("Rent", 400)
700.0 The available amount is deducted twice
>>> budgets {'Groceries': 500, 'Rent': 400}
BUDGET PLANNER
Rent Groceries Rent Clothes 900 500 400 300
def add_budget(name, amount): global available if name in budgets: raise ValueError("Budget exists") budgets[name] = amount
Checks if name already exists as a key in the budgets dictionary
Leaves the function immediately with an exception if a budget name appears more than once
EXCEPTIONS
In Python, errors are indicated by raising exceptions. These exceptions interrupt the normal execution of code. Unless the exception is caught, the program will immediately exit and display the exception that has been raised and the line of code it occurred at. There are a number of standard exception types in Python. Each of these accept a string value giving an error message that can be displayed to the user to explain what has gone wrong. The table below lists a few standard exception types and when they should be used.
TypeError
Name
ValueError
TYPES OF EXCEPTIONS Use when
A value is not of the expected type: for example, using a string where a number was expected
A value is invalid in some way: for example, too large or too small
RuntimeError Some other unexpected error has occurred in the program
2.4 RUN THE MODULE Test the code again to check if the error has now been fixed. When you run the code, the three global variables will be set back to their initial values. Type this code in the shell window. You will now get an error message if you try adding the same budget twice. If you check the variables budgets and available, you will see that they have not been updated with the wrong values.
Error message displayed on screen
The variables will not be updated with wrong values
>>> add_budget("Groceries", 500) 2000.0
>>> add_budget("Rent", 900) 1100.0
>>> add_budget("Rent", 400) Traceback (most recent call last): File "<pyshell>", line 1, in <module> add_budget("Rent", 400) File "budget.py", line 7, in add_budget raise ValueError("Budget exists") ValueError: Budget exists
1100.0
MORE ERROR CHECKING
Continue in the shell window to see what happens if you budget an amount of money that is more than what is available. This is clearly an error, since you should not be able to over-budget. Add another check into the add_budget() function to fix this.
2.5 Update the code in the editor window. Then save the file and run the code once again to test if the new error message is displayed, and over-budgeting is prevented.
>>> add_budget("Clothes", 2000) -900.0
A negative value indicates over-budgeting
Checks if the amount being budgeted is more than the amount available
Raises an exception and leaves the function immediately
>>> add_budget("Groceries", 500) 2000.0
>>> add_budget("Rent", 900) 1100.0
>>> add_budget("Clothes", 2000) Traceback (most recent call last): File "<pyshell>", line 1, in <module> add_budget("Clothes", 2000) File "budget.py", line 9, in add_budget raise ValueError("Insufficient funds") ValueError: Insufficient funds
3 Tracking expenditure Next, you need to add a way to track all the expenditure. To do this, you will first add a function that allows you to enter the money that has been spent, and then add another function to display the summary. This will indicate the total money spent and the amount remaining.
Error message for over-budgeting is displayed
RENT GROCERIES CLOTHES MONEY LEFT
3.1 ADD SPEND FUNCTION Add a function to note the amount you have spent and the name of the budget that you want to track it against. Add a new spend() function below the add_budget() function. The Python “+=” operator is used to add an amount to a variable. Save the file and then run the module to try using this new function.
return available
def spend(name, amount): if name not in expenditure: raise ValueError("No such budget") expenditure[name] += amount
Raises an exception if the value of name is not a key in the expenditure dictionary
3.2 RETURNING THE REMAINING AMOUNT It will also be useful to track the amount left in the budget. Add this code to the end of the spend() function you just created, then save and run the file to test the code. You will notice that you can spend more than the budgeted amount. You do not need an exception for this, as you will want to track overspending. Gets the budgeted amount for name
Returns the amount left in the budget Gets the total amount spent
>>> add_budget("Groceries", 500) 2000.0
>>> spend("Groceries", 35) 465
>>> spend("Groceries", 15) 450
>>> spend("Groceries", 500) -50
Negative value indicates that spending exceeds the budget
3.3 PRINT A SUMMARY In this step, you will add a function that will display an overview of each budget name, the amount originally budgeted, the amount spent, and the amount left to spend (if any). Add this code at the bottom of the file. Then, save the changes and run the file in the shell window. The summary will display the figures for every category.
def print_summary(): for name in budgets: budgeted = budgets[name] spent = expenditure[name] remaining = budgeted - spent print(name, budgeted, spent, remaining) >>> add_budget("Groceries", 500) 2000.0 >>> add_budget("Rent", 900) 1100.0 >>> spend("Groceries", 35) 465 >>> spend("Groceries", 15) 450 >>> print_summary() Groceries 500 50 450 Rent 900 0 900
Loops through all the keys in the budgets dictionary Gets the budgeted amount for the name key
Gets the amount spent for the name key Calculates the remaining amount by deducting budgeted from spent Prints a single line summary for this budget
Groceries 500 50 450 Rent 900 0 900
3.4 FORMAT THE SUMMARY At this stage, the summary will be a bit hard to read with the numbers squeezed together. To fix this, you can line them up in a proper table by using “string formatting” (see box, below). Change the print line in the print_summary() function as shown below. This will create a string from the values, formatting each to a specific width and number of decimal places. It will then print that string.
The amount will be displayed with two decimal places
>>> add_budget("Groceries", 500) 2000
>>> add_budget("Rent", 900) 1100
>>> spend("Groceries", 35) 465
>>> spend("Groceries", 15) 450
>>> print_summary() Groceries 500.00 50.00 450.00
Rent 900.00 0.00 900.00
The values will have two decimal places and will be lined up in columns, similar to a table
FORMAT STRINGS
In Python, formatted strings can be created from values with special format strings. These are written like normal strings, but have an “f” character before the opening quotation mark. Inside the string, you can place code expressions within curly brackets. These will be executed and replaced with their values. The most common expressions used are variable names, but arithmetic calculations can also be used. Any part of the string outside the brackets is used without change. Detailed formatting instructions can be added after a colon. This includes a letter specifying how to format the value. Placing a number before this letter allows a width to be specified.
EXAMPLES OF FORMAT STRINGS Example Result
f'{greeting} World!' 'Hello World!'
f'{greeting:10s}' 'Hello '
f'{cost:5.2f}' ' 3.47'
f'{cost:5.1f}'
f'The answer is {a * b}' ' 3.5'
'The answer is 42'
3.5 ADD A TABLE HEADER Now, add a header to the table so that the numbers within each category can be easily distinguished. Add two print statements in the print_summary() function. It may be easier to type the line with dashes first – 15 dashes followed by three lots of 10 dashes, with spaces in between. You can then line up the titles against the dashes.
ADD A TABLE FOOTER
To complete the summary table, you can add a footer to it. This will add up the contents of the various columns and display their total value. Update the print_summary() function as shown below. Use the same format instructions
BUDGETED SPENT REMAINING
900.00 0.00 900.00
def print_summary(): print("Budget Budgeted Spent Remaining") print("--------------- ---------- ---------- ----------") for name in budgets: budgeted = budgets[name] spent = expenditure[name]

The titles have been aligned against the dashes
3.6
for printing the totals that you used for the budget. However, remember to use “Total” instead of the budget name, and total_budgeted, total_spent, and total_remaining for the other variables.
def print_summary(): print("Budget Budgeted Spent Remaining") print("--------------- ---------- ---------- ----------") total_budgeted = 0 total_spent = 0 total_remaining = 0 for name in budgets:
Sets the total variables to 0
budgeted = budgets[name] spent = expenditure[name] remaining = budgeted - spent print(f'{name:15s} {budgeted:10.2f} {spent:10.2f} ' f'{remaining:10.2f}') total_budgeted += budgeted
total_spent += spent Adds the amount to the totals
total_remaining += remaining print("--------------- ---------- ---------- ----------") print(f'{"Total":15s} {total_budgeted:10.2f} {total_spent:10.2f} ' f'{total_budgeted - total_spent:10.2f}') >>> add_budget("Groceries", 500) 2000.0 >>> add_budget("Rent", 900) 1100.0 >>> spend("Groceries", 35) 465 >>> spend("Groceries", 15) 450 >>> print_summary() Budget Budgeted Spent Remaining --------------- ---------- ---------- ---------Groceries 500.00 50.00 450.00 Rent 900.00 0.00 900.00 --------------- ---------- ---------- ---------Total 1400.00 50.00 1350.00
Prints another separator line and the summary with the totals below it
Final summary table printed with a header and footer
4
Converting the code into a class
In this section, you will take all the code written so far and turn it into a Python class (see pp.156–57). This will allow the user to track multiple budgets simultaneously.
4.1 INDENT THE CODE Since Python is structured using indentation, you need to indent the entire code to convert it into a class. Select all the code in the file and then choose “Indent Region” from the Format menu. Next, add a new class header at the top of the file, before the variables.
Defines the new class
The variables will now appear indented Format Run Options
Indent Region Dedent Region Comment Out Region
class BudgetManager: available = 2500
budgets = {} expenditure = {}
budgets = {} expenditure = {}
Click here to add indents to the entire file
4.2 ADD INITIALIZER Indent the three variables again and add a function header to them. Functions inside a class are known as methods. The __init__ method is called when a new instance of a class is created. This method is called the “initializer” as it sets the initial values for the instance variables. The first argument of the initializer is the new instance, called self by convention. You can also add additional arguments that will allow you to provide useful values, such as amount here.
Arguments within the initializer
4.3 CREATE INSTANCE VARIABLES Next, convert the three variables into instance variables. This is done by adding “self.” before each of the variable names. Use the argument amount instead of 2500 as the initial value for the available instance variable.
Converts the variables to instance variables
self.budgets = {} self.expenditure = {}
4.4 TURN THE FUNCTIONS INTO METHODS Now you need to turn all the other functions in the code into methods. Just like with the initializer, you can do this by adding self as the first argument of every function, and then adding self. before each use of the instance variables. Modify the add_budget() function as shown below. Delete the global available line from the add_budget method, as available is now an instance variable.
Remove the line
global available
from between these two lines of code
def add_budget(self, name, amount): if name in self.budgets: raise ValueError("Budget exists") if amount > self.available:
raise ValueError("Insufficient funds") self.budgets[name] = amount self.available -= amount
self.expenditure[name] = 0 return self.available
def spend(self, name, amount): if name not in self.expenditure: raise ValueError("No such budget") self.expenditure[name] += amount budgeted = self.budgets[name] spent = self.expenditure[name] return budgeted - spent def print_summary(self):

Adds an argument to the function
print("Budget Budgeted Spent Remaining") print("--------------- ---------- ---------- ----------") total_budgeted = 0 total_spent = 0 total_remaining = 0 for name in self.budgets: budgeted = self.budgets[name] spent = self.expenditure[name]
Add self. before each use of the instance variable
4.5 RUN THE MODULE Save and run the module. Type these lines in the shell window to test the code. This will add a newly created instance of the BudgetManager class. The code inspects the instance variables by putting outgoings. before their name. You can call methods in a similar way, by putting the variable name before the function name with a full stop.
>>> outgoings.add_budget("Groceries", 400) 900
Sets the variable outgoings to an instance of the BudgetManager class
SAVE
>>> outgoings.add_budget("Bills", 300) 600
>>> outgoings.budgets {'Rent': 700, 'Groceries': 400, 'Bills': 300, 'Entertainment': 100} >>> outgoings.spend("Groceries", 35) 365
Rent 700.00 0.00 700.00
Groceries 400.00 35.00 365.00
Bills 300.00 0.00 300.00
Entertainment 100.00 0.00 100.00
Total 1500.00 35.00 1465.00

5 TRACKING MULTIPLE BUDGETS
It is possible to reset the budget by simply creating a new instance of the BudgetManager class, by typing this code in the shell window. You can even have multiple BudgetManager instances for tracking separate budgets. To test this, create a new
Creates a new instance of the BudgetManager class budget called holiday. As the available, budgets, and expenditure variables are stored within each instance, they are distinct from each other and can have different values for the different instances.
Prints the summary for the new instance
Budget Budgeted Spent Remaining
Groceries 500.00 0.00 500.00
Total 500.00 0.00 500.00
>>> holiday.add_budget("Hotel", 300) 450
>>> holiday.spend("Flights", 240) 10
Total 550.00 240.00 310.00

Adds another new instance of BudgetManager
5.1 USING THE CODE The code written in this project is a module that can be used in other programs. This module can be imported and used like any other Python library (see pp.116–17). Try this out by creating a new module that will import this one. Open a new file and save it in the BudgetManager folder you created earlier. Name this new file “test.py”. Now add this code to create an instance of the BudgetManager class that calls methods on it.
import budget outgoings = budget.BudgetManager(2500) outgoings.add_budget("Groceries", 500) outgoings.print_summary()
Imports the module budget into this new one
The BudgetManager class is referenced by adding the budget module name before it with a full stop
Hacks and tweaks
Changing your mind
In the project, you modified the add_budget method to stop the same budget from being added twice. However, it would also be useful to have a way to change a budget later. You can add a new method to do this. Add the following new method below the existing add_budget method. You may need to look at this code carefully to follow the logic. Add a line in the test.py module to call this new method so that you can see it working.
def change_budget(self, name, new_amount): if name not in self.budgets: raise ValueError("Budget does not exist") old_amount = self.budgets[name] if new_amount > old_amount + self.available: raise ValueError("Insufficient funds") self.budgets[name] = new_amount self.available -= new_amount - old_amount return self.available
Updates the budget
Reduces available by the difference between the old and the new amounts
Checks if the budget to be changed exists
Gets the old amount of the budget
Checks if the old amount added to the available amount covers the new amount
Record expenditure details
So far, the project tracks the total expenditure against each budget. However, in a more advanced program you would want to keep track of each particular item of expenditure. You can do this by using lists of amounts spent inside the expenditure dictionary and then adding these together whenever you need the total.
1 CREATE AN EXPENDITURE LIST
Start by modifying the expenditure dictionary in the add_budget method. You need to store an empty list inside expenditure, instead of 0. This allows multiple values to be stored in it.
Stores an empty list
self.budgets[name] = amount self.expenditure[name] = [] self.available -= amount
return self.available
2 ADD EXPENSES TO LIST
Now in the spend method, change the expenditure variable so that each new expense is added to the list. Since expenditure no longer sums up the amounts spent automatically, you will have to modify the spent variable to perform the calculations and get the total spent so far.
3GET TOTAL EXPENDITURE
You now need to sum up the items in the print_summary method. Modify the spent variable as shown below. You will find that the code functions identically if you run the “test.py” module again, with a record for each item of expenditure.
raise ValueError("No such budget") self.expenditure[name].append(amount) budgeted = self.budgets[name] spent = sum(self.expenditure[name]) return budgeted - spent
for name in self.budgets: budgeted = self.budgets[name] spent = sum(self.expenditure[name]) remaining = budgeted - spent
Appends the amount to the list

Gets the amount spent for each budget