5)
6)
Click the lower-left corner of the stairs as the move start point.
Click the lower corner of the modified floor profile as the move end point, and then press ESC.
Modify the railing type:
Open the To Building 3D view.
While pressing CTRL, select both railings (zoom in as necessary).
In Properties palette ► Change Element Type drop-down and select Railing : Guardrail - Pipe [Railing : 900mm Pipe].
Add a railing to the entry deck:
Open the 02 Entry Level floor plan.
Click Architecture tab ► Circulation panel ► RAILING.
On the Draw panel, click
On the Options Bar, for Offset enter 4'' [150 mm].
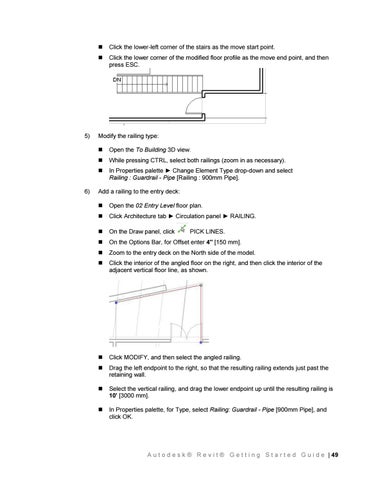
Zoom to the entry deck on the North side of the model.
Click the interior of the angled floor on the right, and then click the interior of the adjacent vertical floor line, as shown.
Click MODIFY, and then select the angled railing.
Drag the left endpoint to the right, so that the resulting railing extends just past the retaining wall.
Select the vertical railing, and drag the lower endpoint up until the resulting railing is 10' [3000 mm].
In Properties palette, for Type, select Railing: Guardrail - Pipe [900mm Pipe], and click OK.
PICK LINES.
A u t o d e s k ® R e v i t ® G e t t i n g S t a r t e d G u i d e | 49