4 minute read
Disassemble the main unit


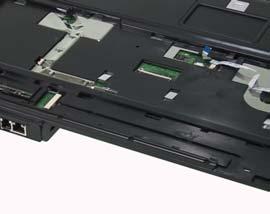
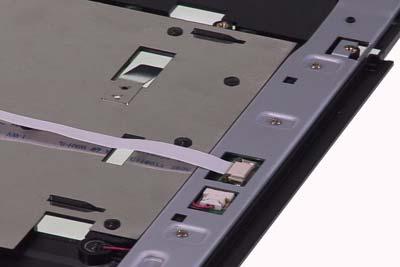
1. Disconnect the LCD cable from the mainboard. 2. Tear off the tape on the wireless antenna.
3. Pull out the wireless antenna.
4. Remove the two screws securing the LCD hinge on the bottom. 5. Remove the two screws securing the LCD hinge on the rear panel. 6. Remove the two screws securing the LCD hinge as shown. 7. Remove the LCD module from the main unit.


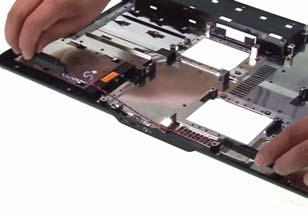
Separate upper and lower case
1. Disconnect the touchpad board FFC from the mainboard 2. Disconnect the function keyboard FFC from the mainboard.
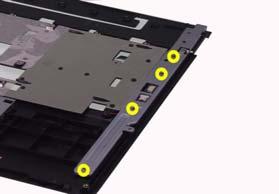
3. Remove the three screws on the upper case.
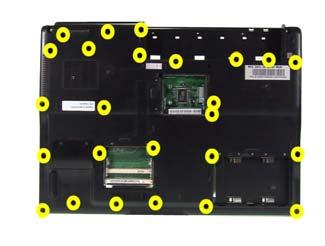
4. Remove the 25 screws on the lower case.
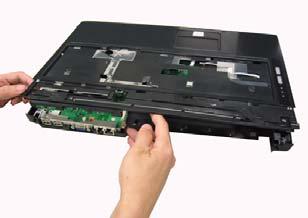
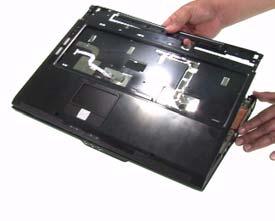
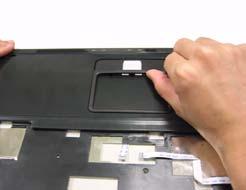
5. Lift up the upper case and disconnect the lid switch cable.


Removing the Function Keyboard
1. Disconnect the function keyboard FFC from the function keyboard. 2. Remove the four screws securing the function keyboard bracket.
3. Remove the function keyboard bracket.
4. Pull the function keyboard up, disconnecting the microphone cable and remove the function keyboard.


Removing the Touchpad Board
1. Disconnect the touchpad board FFC from the touchpad board. 2. Remove the touchpad bracket from the upper case.


Removing the ODD
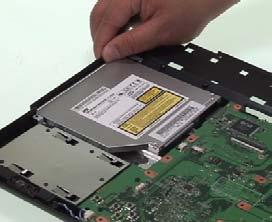
1. Remove the ODD from the main unit.
1. Remove the dummy card from the main unit.

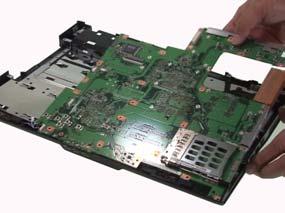
Removing the Mainboard
1. Disconnect the fan cable from the mainboard.
2. Disconnect the speaker cable from the mainboard.
3. Remove the four screws securing the mainboard.


Removing the System Fan
1. Remove the two screws securing the heatsink. 2. Remove the heatsink.


Removing the Speakers
1. Remove the four screws securing the left and right speakers. 2. Tear off the tape on the speaker cable. 3. Remove the speakers from the lower case.

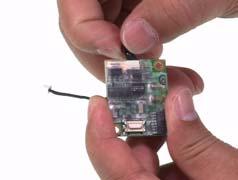
Removing the MDC Module
1. Disconnect the MDC cable from the mainboard.

2. Remove the two screws securing the MDC board.

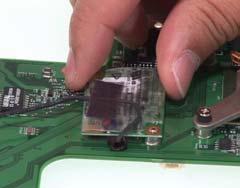
4. Disconnect the MDC cable from the MDC board and tear off the tape on MDC board.

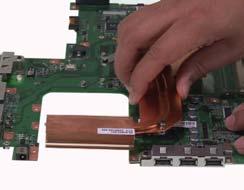
Removing the Heatsink Module
1. Remove the five screws securing the heatsink. 2. Remove the heatsink module from the mainboard.

Removing the CPU
1. Turn the screw counterclockwise with a flat screw driver to release the CPU. 2. Remove the CPU from the CPU socket.