1 minute read
Removal and Installation of Cushion Valve
from Sumitomo SH250-5 SH250-5LR Hydraulic Excavator Service Repair Manual WLSM2105-00W - PDF DOWNLOAD
Warning ・ Be sure to release hydraulic pressure before beginning work.
Caution ・ Be sure to stop the engine before beginning work.
Items to prepare •Wrenches (17 mm, 19 mm, 22 mm) •Marking pen •Caps •Plugs •Waste oil can •Rag •Cleaning fluid 1.Removal of Cushion Valve [1] Attach the specialty adapter (1) to the area where the air breather was removed, and set the vacuum pump (2). Create negative pressure in the hydraulic oil tank using the vacuum pump.
[2] Use a wrench (19 mm) to remove the 5 bolts (3), and then remove the under cover (4).
1 Specialty adapter 2 Vacuum pump 3 Bolt 4 Under cover
[3] Prepare a waste oil can.
5 Waste oil can
[4] Remove the connector (8). [5] Use wrenches (17 mm, 19 mm, 22 mm) to remove each hose and line. •Mark the cushion valve, hoses and lines so that the connectors match at the time of assembly. •Use caps and plugs to cover the cushion valve, hoses and lines to prevent any entry of water, dust or dirt. •Clean the cushion valve, hoses and lines by spraying them with a parts cleaner to prevent scratches and prevent dirt from accumulating on the connectors.
6 Pilot hose 7 Line 8 Connector 9 Use 17 mm wrench 10 Use 19 mm wrench 11 Use 22 mm wrench
[6] Use a wrench (17 mm) to remove the 4 bolts (12) on the cushion valve bottom, then remove the cushion valve.
12 Bolt
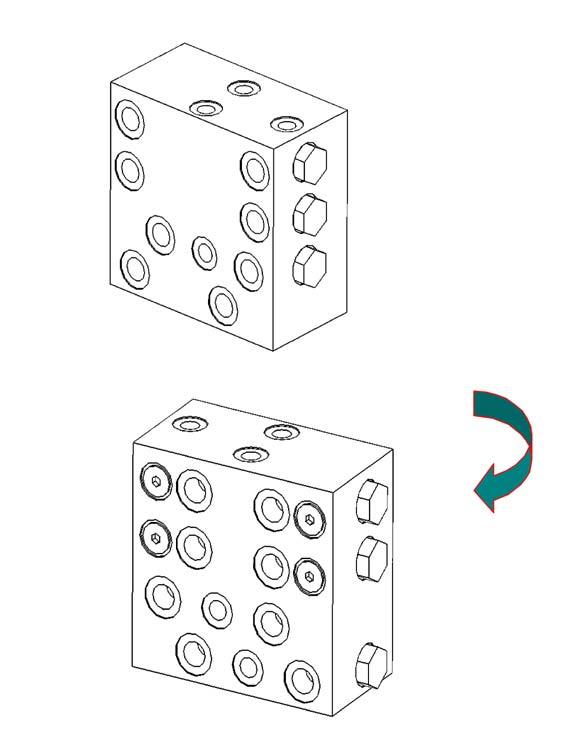
2.Installation of Cushion Valve
Perform the reverse of the removal procedure.
The connections are as follows.
1 Arm in 2 Boom up 3 Swing right 4 Bucket close 5 Heat circuit line 6 Arm out 7 Boom down 8 Swing left 9 Bucket open 10 Pressure sensor (swing) 11 Swing priority switching pilot line 12 Drain line


