1 minute read
Opening the emergency exit in the roof


Practical advice
Opening the emergency exit in the roof
M54_00-0694-01
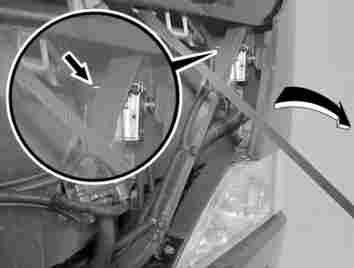
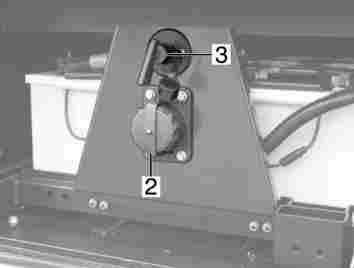
Connect a suitable jump lead to battery charging socket (2).
Note:
Example illustrated: Nato socket
Run the engine of the donor vehicle at an elevated idling speed.
Start the engine of the bus to be jump-started in the normal way and let it run at idling speed. Switch off the engine of the donor vehicle. Disconnect the jump lead.
Note:
To prevent voltage peaks, switch on the more powerful consumers of the jumpstarted bus, such as the lighting, heated windows or ventilation, before you disconnect the jump lead.
Opening the emergency exit in the roof
M77_00-0001-01
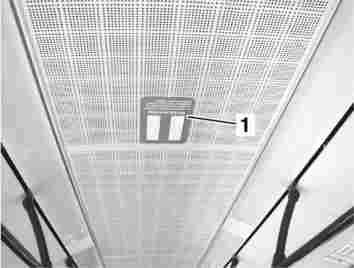
Press in security foil (1).
Behind the security foil is a handle.
Roof plate (2) can be removed using handle (3).
M77_00-0002-01
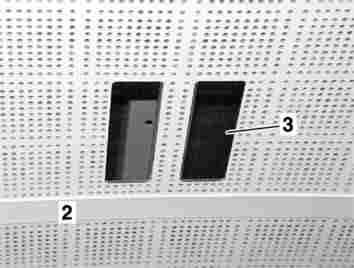
Remove roof plate (2) using handle (3).
Danger.
Risk of accident. Only remove the roof plate or operate the emergency exit in an emergency and with the bus stationary. Practical advice
Opening the emergency exit in the roof
M77_00-0014-01
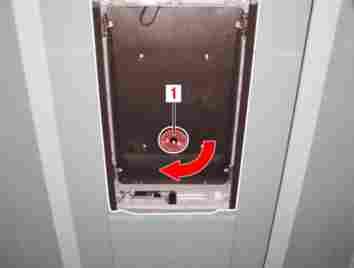
The emergency operation is triggered using a red rotary handle on the inside or outside (1).
Note:
In emergencies, the twistgrip on the inside (1) must be turned in the direction of the arrow (clockwise). The emergency exit cover can now be secured by a safety rope and placed to one side outside the bus.
Danger.
The cover for the roof emergency exit hatch must be fitted by skilled personnel at an EvoBus Service Partner following the emergency operation.
On an articulated bus, an emergency hammer is located in the roof of the rear car underneath the emergency exit cover. In an emergency, the hammer can be used to break the glass panel in the emergency exit.
Danger.
Risk of injury. There is a risk of injury from flying glass splinters when smashing the window with the emergency hammer. Protect your hands and eyes.