1 minute read
CAPSCREW


FRONT VIEW
* ITEMS 5, 6 AND 7 FOR NORMAL POSITION
SIDE VIEW 12508
1.OPERATOR
COMPARTMENT 2.SPREADER BAR (REF) 3.MOUNT LOCATIONS 7.SUPPORT, LH 8.FRAME AND SUPPORT PEDESTAL 9.LOW–MOUNT POSITION
4.PLATFORM 5.SUPPORT, RH 6.CROSS–MEMBER,
SUPPORT
FIGURE 13. OPERATOR COMPARTMENT, INSTALLATION ARRANGEMENT
3. Carefully lower the operator compartment and platform assembly to the main frame members. Align the mounting holes in the bottom frame rails of the operator platform with the mounting holes is the main frame. Install the capscrews, washers and nuts (5 fasteners at each mount location). These are the same holes used to mount the operator compartment support plates that were removed.
Installation of Operator Compartment
NORMAL POSITION
NOTE: If the operator compartment was removed for repair or replacement, install it as follows:
1. Connect a lifting device to a spreader bar that is through the door openings at the top of the operator compartment (under the overhead guard tubes). Put material that will be a cushion at the top of the door openings to prevent damage. Install the operator’s compartment on the mounts. Install the rubber isolators, washers, nuts and bolts for the mounts.
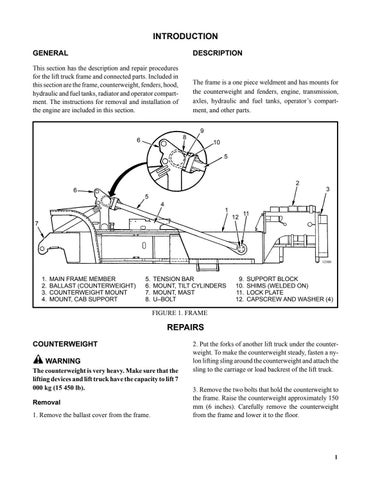
2. Install the tension bars on either side of the lift truck. See FIGURE 1.
a.Apply grease to the stub shaft on the frame member and install the bottom end of the tension bar.
Install the lock plate and fasten with the four washers and capscrews. Tighten the capscrews to 120 Nm (90 lbf ft). b.Install the support block between the forward end of the tension bar and the tubular crossmember of the tilt cylinder mount. Install the U–bolts and tighten the nuts. Now, measure the gap between the shims (which are welded in place on the end