3 minute read
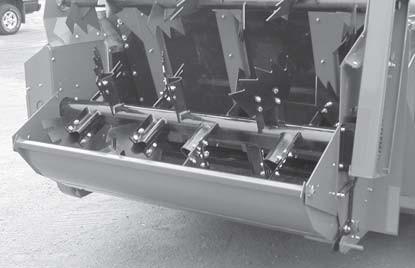
OPTIONAL EQUIPMENT
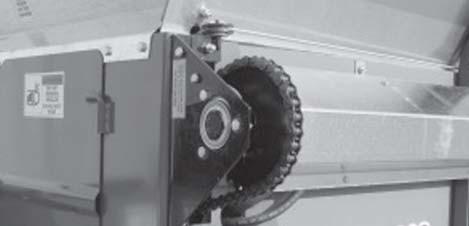
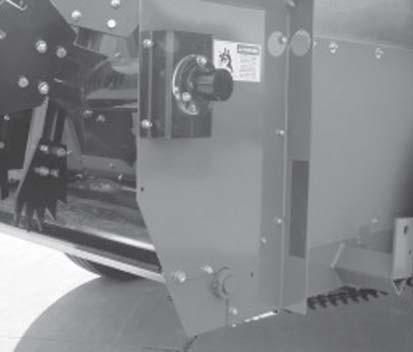
The rear pan shown below is optional equipment.
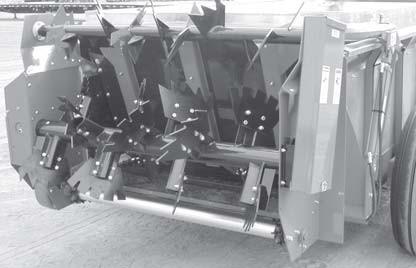
Top Beater
The top beater shown below is optional equipment.
2nd HYDRAULIC ENDGATE CYLINDER
Your manure spreader is equipped with brackets to accept an optional second cylinder to raise and lower the hydraulic endgate. The optional cylinder is located on right hand side of spreader. The kit includes a cylinder, brace, hoses, and connectors to attach to existing cylinder.
Lubrication
General Information
IMPORTANT: Catch and dispose of fluid per local waste disposal regulations whenever service is performed on hydraulic components, valves, cylinders, hoses, etc.
Grease Fittings
There are numerous grease fittings on your manure spreader. If these are lubricated properly and often enough, it will prolong the life of the spreader. The operator should become familiar with all lubrication points and establish a systematic routine to insure complete and quick lubrication of the machine. (Grease every 10 hours, also before storage and after power washing. ) Make certain that the grease fittings are free of paint and dirt. Force a high-quality grease into them until the grease comes out around the shaft on the sleeve-type bearings. On the sealed ball bearings, grease should be added slowly until a slight bead forms at the seals indicating the correct amount of lubricant. Wipe off excess grease to prevent the accumulation of chaff and grit around the bearings.
Gearbox
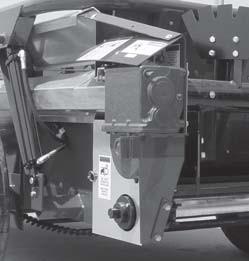
Before using your new machine, check the oil in the main apron drive and beater drive gearbox. Keep the gearbox filled to the oil plug on the rear of the gearbox as shown with 75W90 gear lube.
Drive Chains
Lubricate the drive chains with a light machine oil. Keep chains aligned with sprockets, this will lengthen the life of the sprockets and chain. Lubricate chains often. Saturate foam oiler on rear driveshaft with light oil.
Pto Assembly
Care must be taken to keep the male and female driving elements well lubricated and free sliding. Failure to observe this precaution will result in excessive pressure being required to collapse or extend the assembly while subject to operating torque. This excessive force may damage or displace the jackshaft bearings. DO NOT lubricate the shield surfaces. The shield surfaces must be kept dry, as dirt accumulation on them will quickly cause these units to bind and not rotate. Care should also be taken to be certain that the rotating integral shields are not dented or damaged, as this also will result in excessive force being applied against the jackshaft. Damaged shields also cause obvious difficulties when installing the assembly. If at any time the shields do not turn freely, they should be checked to determine the cause, and repaired or cleaned. To avoid damage to the main drive bearings, avoid turning sharp corners while PTO is running. Start and Stop PTO slowly to avoid damage to the drive line.
Lubrication
GREASE ZERK LOCATION - Grease every 10 Hours
A. (3) PTO Shaft
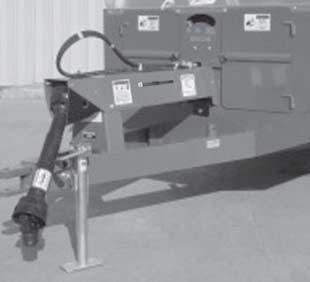
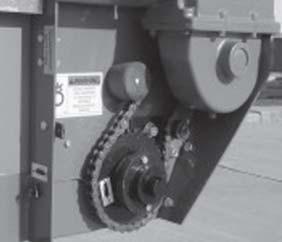
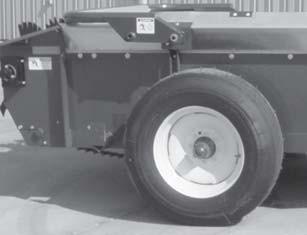
B. (2) Front jack shaft bearings.
C. (2) Side shaft on S3123 (4) Side shaft on S3127
D. (2) Rear drive shaft (LH is a remote fitting)
E. (1) Rear drive shaft shear sprocket
F. (1) Beater bearing (RH side)
G. (2) Hydraulic endgate arms
H. (2) Transport wheel hubs (1 Zerk on each hub)
NOTE: Shields removed in some pictures for clarity. DO NOT OPERATE WITH SHIELDS REMOVED

Decal Location
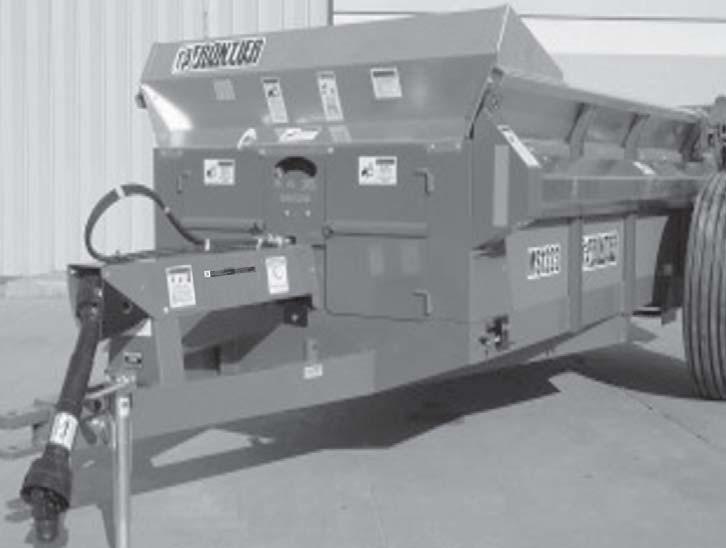
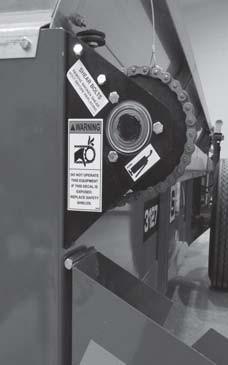
Your Frontier Manure Spreader was manufactured with operator safety in mind. Located on the manure spreader are various decals to aid in operation, and warn of danger or caution areas. Pay close attention to all decals on your Manure Spreader.
DO NOT REMOVE ANY OF THESE DECALS. IF DECALS ARE LOST, DAMAGED, OR IF MANURE SPREADER IS REPAINTED, REPLACE DECALS. REMEMBER: DECALS ARE FOR YOUR PROTECTION AND INFORMATION.
Listed below are the decals on your Manure Spreader. These decals may be ordered individually by part number or by ordering a complete set.
5HP311
5HP1494A 4Warning - Do Not Operate ( 1 Under Top Beater Shield)
5HP1494B
2Warning - Do Not Remove Shields
5HP1494H 1 Danger - Stay Clear (Used on optional Top Beater)
5HP1494J 3Warning - Do Not Clean or Work (1 Used on Top Beater)
5HP1494K
3Warning - Do Not Remove Shields
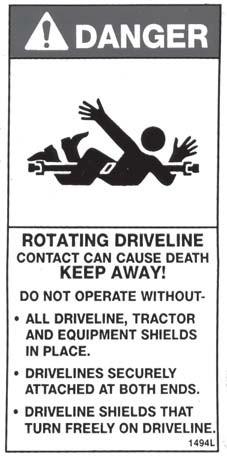
5HP1494L 1 Danger - Rotating Driveline
5HP9194A 2 Danger - No Step - Stay Clear
5HP9194B 1 Danger - Never Allow Riders 5HP11599
5HP71494A
5HP72479
- Do Not Operate if Decal is Exposed
5HPDCAMB
5HP093020


