2 minute read
ADJUSTMENTS


Apron
1. Adjust the apron by loosening the mounting bolts on the chain slides on the outside of the frame. Mounting bolts shown in the drawing.
2. Tighten the adjusting bolts until the apron chain clears the underside of the axle by 1 inch.
3. Retighten the mounting bolts.
Mounting Bolts Adjusting Bolt
NOTE: Tighten the adjusting bolts (on each front corner) equally on each side so that the apron slats run parallel with the ends of the bed. The apron will be damaged if the machine is operated with one end of the apron slats running ahead of the opposite end. Do not tighten the apron chains excessively.
Apron Worm Drive Chain
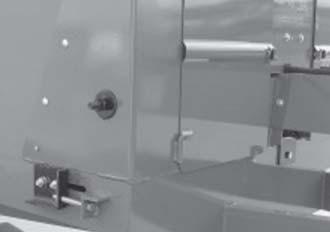
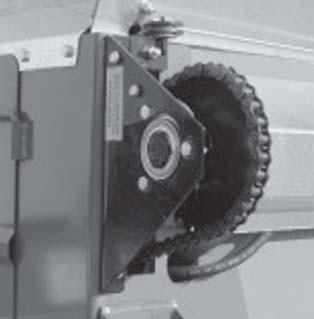
The main apron drive chain is kept tight with a nylon roller type adjustable tightener. Periodically check tension on chain. Chain is properly adjusted when there is 1/8” deflection in center of chain. Also check tightener for wear and replace when necessary.
Wheel Hubs
To adjust wheel hubs, tighten the castellated nut on the spindle to the point where there is no end-play and a slight drag on the bearings. Replace the cotter key with a new one of the correct size.
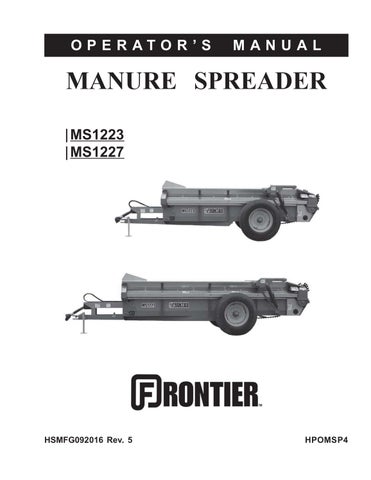
SHEAR BOLTS - Main Drive
The beater and the apron drive are protected by one shear bolt located on the front end of the side drive shaft (left side of spreader). Two spare shear bolts are provided. Shearing of the bolts is normally due to foreign objects in the manure or starting the spreader PTO too quickly with high tractor RPM’s. Always use Frontier shear bolts when replacing shear bolts.
Shields Removed for Clarity
Spare Shear Bolts Shear Bolt
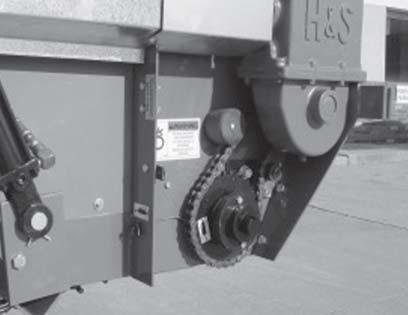
SHEAR BOLTS - Apron Drive
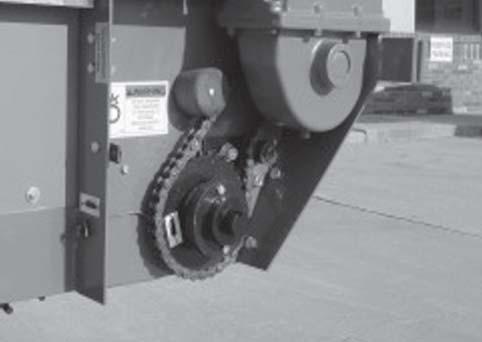
The main apron is protected by two shear bolts located on the drive sprocket on the main conveyor drive shaft at the rear of the spreader. Two spare shear bolts are provided. Shearing of the bolts is normally due to the apron being frozen fast to the floor or the slats catching on manure that is frozen to the floor. In some cases, the bolt will shear due to the spreader being overloaded. Always determine the cause of the failure and eliminate the cause before installing new shear bolts. Always use Frontier shear bolts when replacing shear bolts.
Replacement Shear Bolts
Shear Bolt
Shields Removed for Clarity
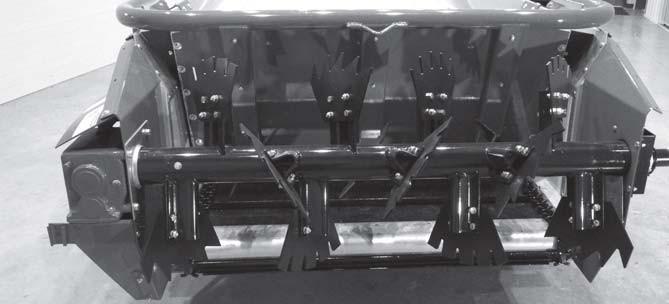
Beater
Periodically inspect the beater for wear or damage. Replace damaged or worn beater blades. Always use Frontier special grade 5 bolts, washers, and nuts when replacing blades. Torque bolts to 60 ft. lbs. Consult with your local Frontier dealer for additional ordering information.
WHEEL BEARING LUBRICATION, CLEAN & RE-PACK INSTRUCTIONS
Wheel hubs are equippped with a grease zerk for regular maintenance. Annually disassemble and clean parts in solvent. Reassemble bearings per instructions in the Service Chapter and tighten the castellated nut on the spindle to the point where there is no end-play and a slight drag on the bearings. Replace the cotter key with a new one of the correct size, bend cotter pin over and re-install cap.
TIRES & WHEELS
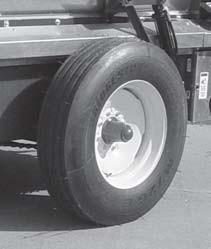
Check the tire pressure after every 50 hours of operation. Tires should be inflated to the appropriate pressure listed in the table.
295/75R22.575-80 PSI
Wheel lug torque should be checked after every 50 hours of operation and tightened to the appropriate torque. Wheel bolts must be tightened between 85-95 ft./lbs. of torque.