1 minute read
Remove the bolts, the releasing cover and the cup

from CNH 721F W170C Wheel Loader Front & Rear Axle Bronze Brakes Installation Instructions Manual - PDF

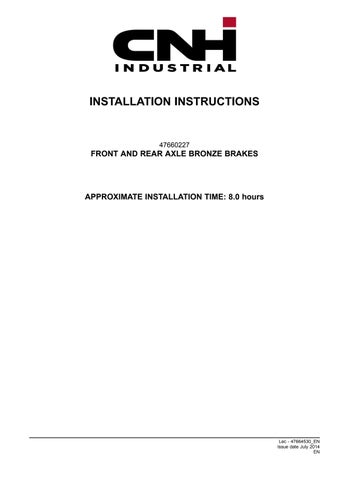
50. Reinstall the cover onto the output shaft until fully seated.
51. Reinstall the stub shaft into the teeth the axle bevel gear until contact is made.
52. Reinstall the sun gear shaft until contact is made.
RAIL1 1WEL0449BA 49

RCIL1 1WHL142BAF 50

RCIL1 1WHL143BAF 51
53. Reinstall the sun gear shaft into the planetary carrier
Reinstall the sun gear with the determined shim set into the sun gear shaft with grease. NOTE: the shim set is determined measuring the dimension from the face the sun gear the mounting face the axle housing. For more information see the Service Manual your machine.
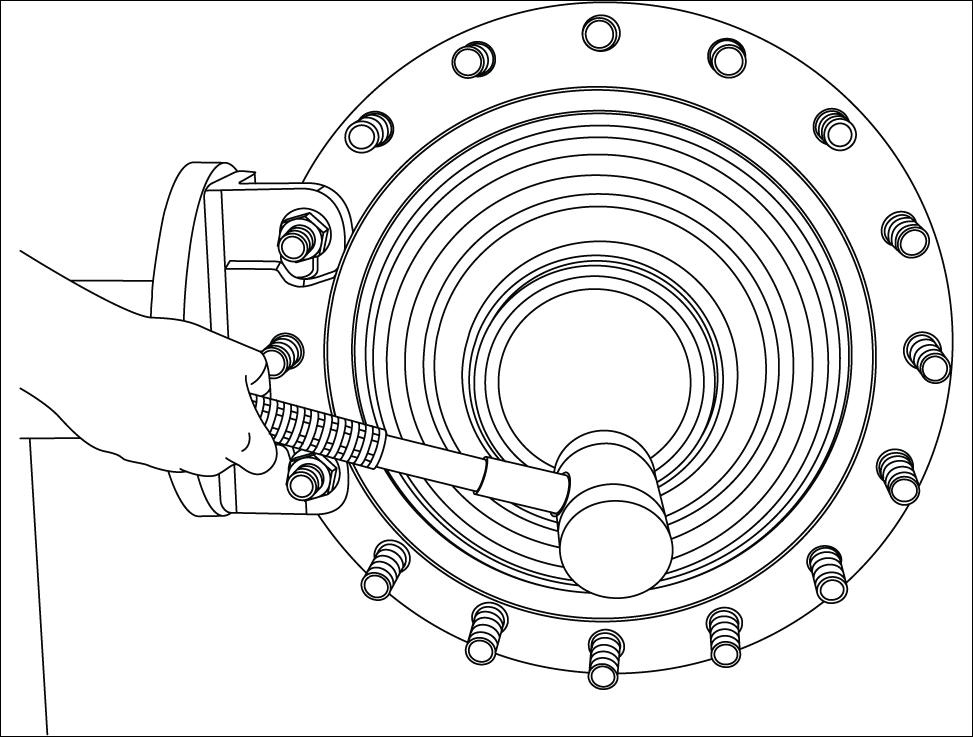
54. Install a new O- ring (A) onto the axle housing and a new O- ring in the brake port (B) in the axle housing.
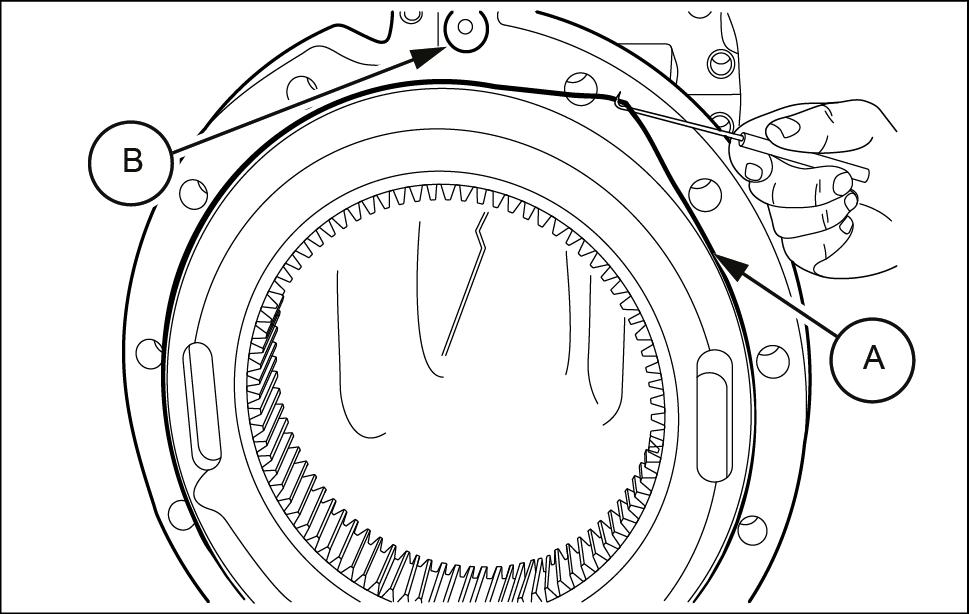
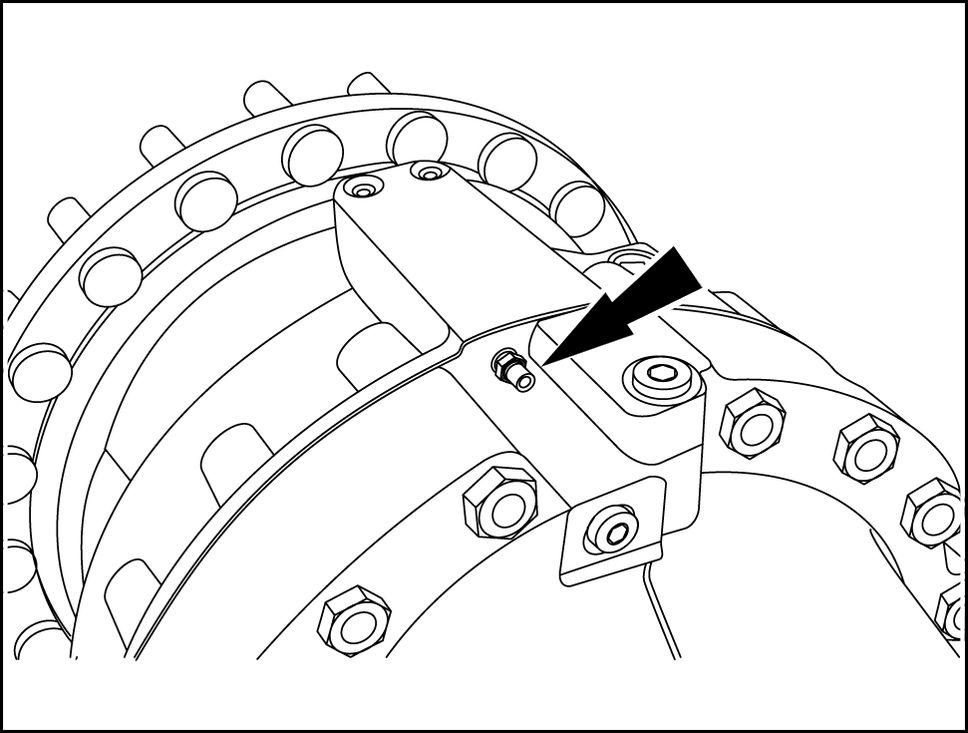
55. Use a lifting bracket and reinstall the assembled wheel hub onto the axle housing. 56. Reinstall the bleeder valve.
57. Refill the axle with 22.0 L ( 23.2 ) CASE
AKCELA NEXPLORE™ FLUID / NEW HOLLAND
AMBRA MUL G 134™ HYDRAULIC TRANSMIS-
SION OIL . 58. Reinstall the wheels both sides the front axle. 59. Remove the hydraulic jack stand positioned under the front axle. Use the hydraulic jack positioned under the front axle lower the machine the ground.

RCIL1 1WHL146BAF 52
LEIL14WHL0040AB 53
RCIL1 1WHL150BAF 54
60. Remove the hydraulic jack stand positioned under the front axle. Use the hydraulic jack positioned under the front axle lower the machine the ground.
Rear axle bronze brakes
61. Repeat from step 1 step install the bronze brakes kit the rear axle. NOTICE: rear axle oil capacity: 23.0 L ( 24.3 ).