3 minute read
TRACKS


Service specifications
Clean.......................Periodically and when the machine has been working in mud Check tension........................................................................................Periodically Check steel pad screw torques.....................................................Every 250 hours (after the first 50 hours during the run-in period) IMPORTANT : If tracks are too tight, they wear quickly. If tracks are not tight enough, they wear quickly and the links can catch on the sprocket wheel or slide off the idler wheel or the sprocket wheel. Clean the tracks after work.
Cleaning
When the machine has been working in mud, a reduction in temperature can cause the mud to solidify.
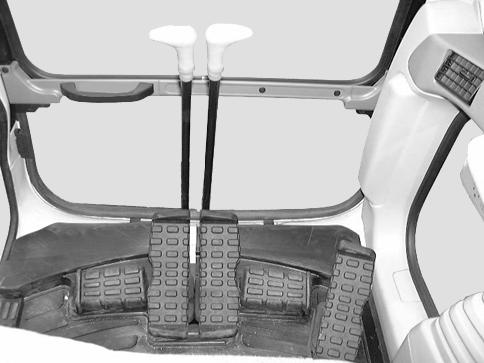
CD00E084 1. Place the upperstructure at right angles to the undercarriage. Use the attachment to press on the ground and lower the boom until the track is raised off the ground.

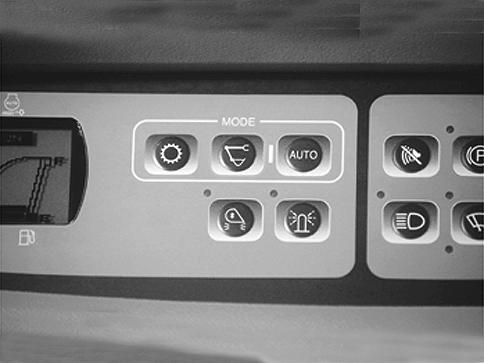
CD00E060 2. Turn the engine throttle button to maximum speed position.
Tracks (continued)
Checking tension
1. Park the machine on flat, horizontal ground. 2. Clean the tracks.
CD00E075 3. Use the travel speed selector to select high speed.
CD00E147 4. Operate the travel control lever for the raised track forwards and then in reverse, to remove the mud. 5. Repeat Steps 1 to 4 for the other track.
CD00E084 3. Place the upperstructure at right angles to the undercarriage. Use the attachment to press on the ground and lower the boom until the track is raised off the ground. 4. Use the travel control lever to operate the raised track in reverse for a few moments. 5. Stop the engine and remove the starter switch key.
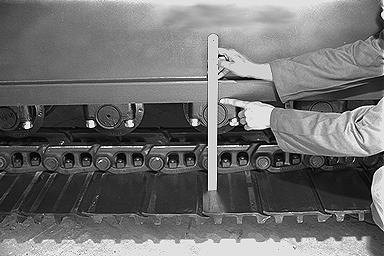
PE07531 PE07531
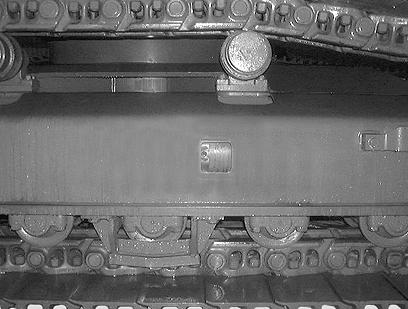
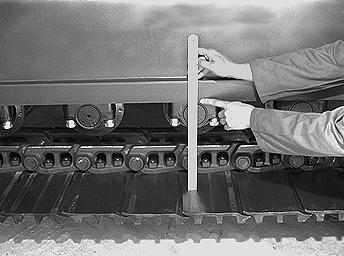
6. Measure the sag of the track at the center between the base of the undercarriage and the pad. The value should be between: 340mm and 360mm. 7. Adjust tension if necessary and then lower the raised track to the ground. 8. Repeat Steps 3 to 7 for the other track. 2. Inject grease to obtain the right amount of track sag. The value should be between: 340mm and 360mm. 3. Remove the grease gun, clean the grease fitting. and then lower the raised track to the ground. 4. Repeat Steps 1 to 3 for the other track.
Adjusting tension
This operation is to be carried out after the tension has been checked.
To reduce tension
To increase tension
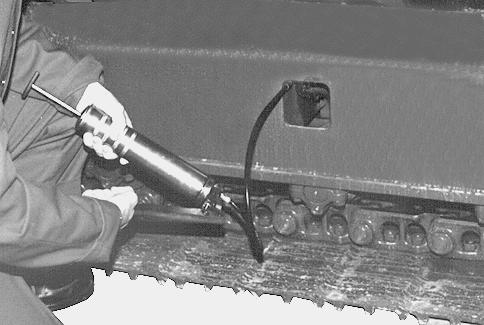
CP99B021 CD01K045 1. With the track in raised position, loosen the grease fitting adaptor about three turns to allow grease to flow out of the cylinder.
1. With the track in raised position, clean the grease fitting adaptor and connect the grease pump hose to the grease fitting.
!
WARNING: Never unscrew the grease fitting adaptor completely to speed up the flow of grease. The grease in the cylinder is under high pressure.
Tracks (continued)
PE07531 2. As soon as the right track sag is obtained, tighten the adaptor. The value should be between: 340mm to 360mm. 3. Clean the grease adaptor and fitting and then lower the raised track to the ground. 4. Repeat Steps 1 to 3 for the other track. IMPORTANT: If the grease fitting adaptor is damaged, grease may leak out. Check the condition of the grease fitting adaptor regularly and replace it if necessary.
Pad screw torque

PE08316 Tighten the pad screws to a torque: 1236 and 1510 Nm.
1
4 3
2
CS00E504 Tighten the screws in the order shown.