2 minute read
OPERATING IN COLD WEATHER


Template Date: 1994_04_29Template Name: OM_1_col
TRIM THIS EDGE 6. Drive the wheel loader up to the bucket or other attachment.
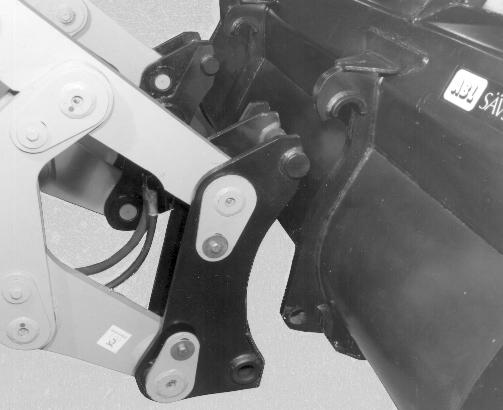
7. Position the upper pins on the quick attach coupler directly below the large hooks on the bucket or other attachment.
Raise the quick attach coupler to securely latch the coupler pins in the hooks.
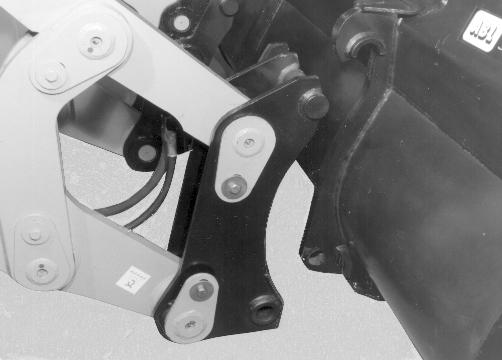
8. Tilt the coupler backward to be sure that the lower retaining holes on the bucket or attachment align with the coupler locking pins.
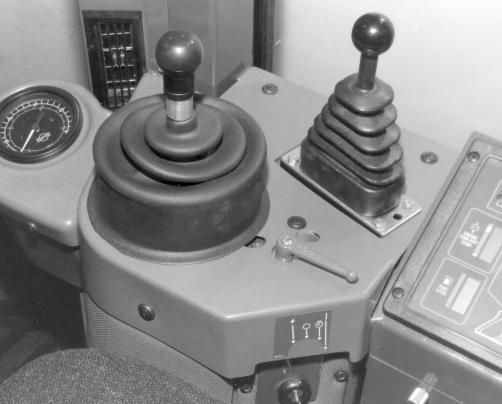
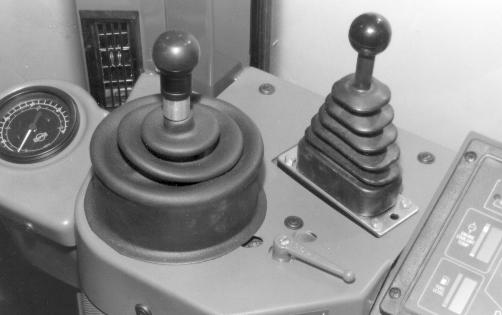
9. Pull the auxiliary hydraulics control lever backward to activate the coupler hydraulic cylinder and extend the locking pins and indicator tabs. The indicator tabs on the coupler extend when both coupler locking pins are fully extended.
FAR1051 FAR1052
10. Lower the bucket or other attachment to the level surface.
11. Apply the parking brake. Stop the engine.
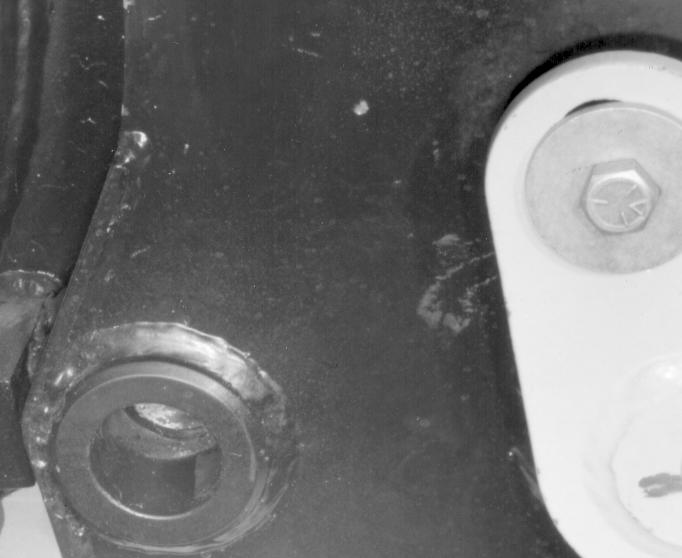
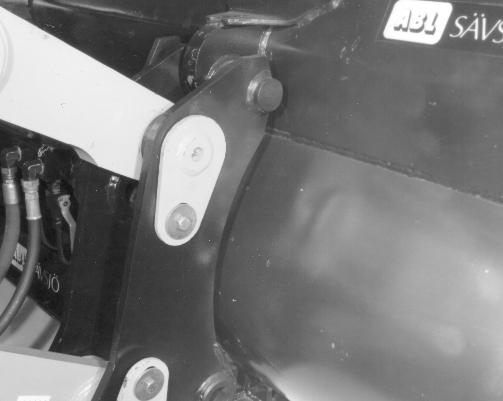
12. Exit the cab. Check that both locking pins are fully extended through the lower attachment retaining holes. Check that both indicator tabs are fully extended.
CONTROL LEVER PIN
FAR1046
70
TRIM THIS EDGE
LEFT PAGE FAR1053
FAR1054
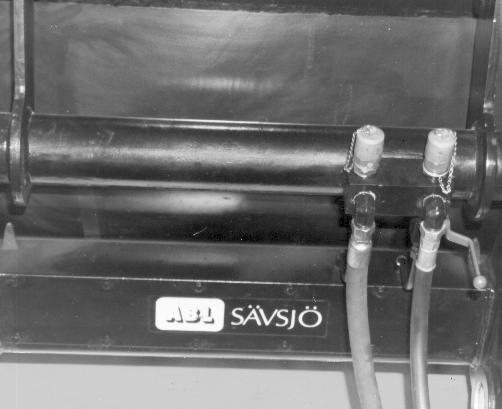
13. Close the coupler hydraulic cylinder locking valve by rotating the red control handle up to a horizontal position. FAR1055
14. Connect the attachment to the auxiliary hydraulic couplers, if required.
Disconnecting Attachments from the Coupler
1. Lower the bucket or other attachment onto a level surface. Tilt the bucket or attachment so that it is flat on the surface.
2. Apply the parking brake. Stop the engine. 3. Disconnect the attachment hydraulic hoses from the auxiliary couplers, if connected.
4. Open the coupler hydraulic cylinder locking valve by rotating the red control handle down to a vertical position.
5. Start the engine.
CONTROL LEVER
FAR1046 6. Push the auxiliary hydraulics control lever forward to retract the locking pins and indicator tabs.
7. Lower the lift arms and back away from the bucket or other attachment. TRIM THIS EDGE
FAR1056
71 FAR1051
TRIM THIS EDGE
RIGHT PAGE