1 minute read
Removing the Upper Cover


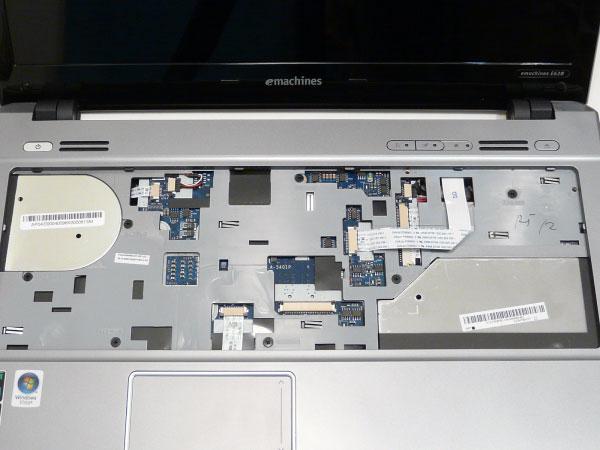
1. Remove all external modules. See “External Modules Disassembly Flowchart” on page 45. 2. Remove the screws securing the Upper Cover to the Lower Cover.
3. Turn the computer over and disconnect the following cables from the Mainboard:
a. Disconnect the Speaker Cable as shown.
Step
Size
Upper Cover M2.5*8 18
Quantity Screw Type
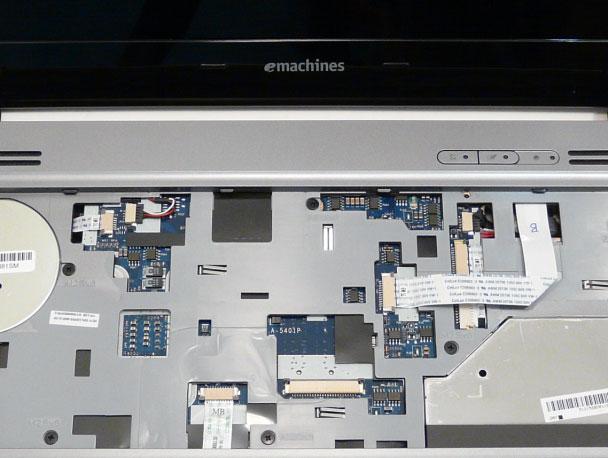

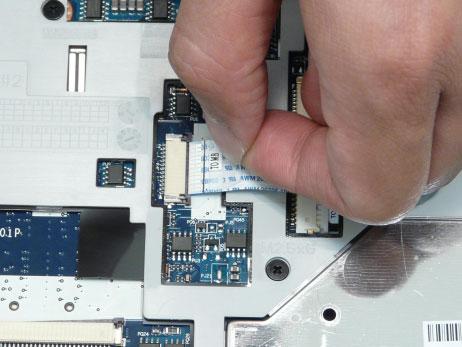
b. Release the locking latch and disconnect the Power Board FFC as shown.
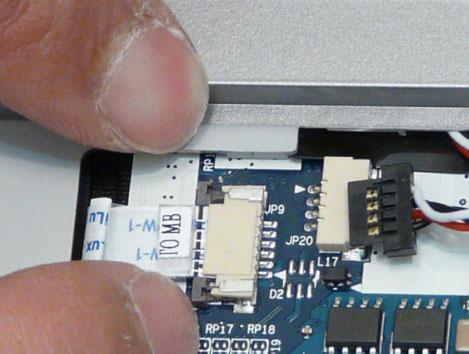

c. Release the locking latch and disconnect the Button Board FFC as shown.


d. Release the locking latch and disconnect the Media Board FFC as shown.

4. Remove the seven securing screws from the Upper Cover.
Step
Size
Upper Cover M2.5*6 7
Quantity Screw Type
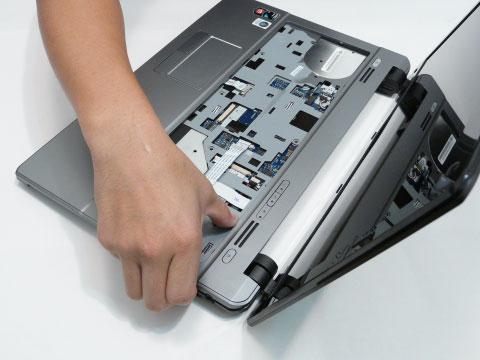
5. Starting at a top corner, pry apart the Upper and Lower Covers as shown.
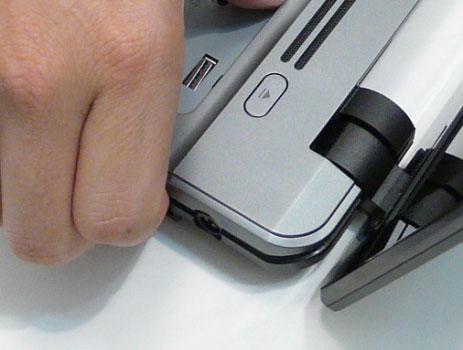
6. Working from the back corners toward the back center, pry apart the covers to release the securing hooks on the top edge as shown.
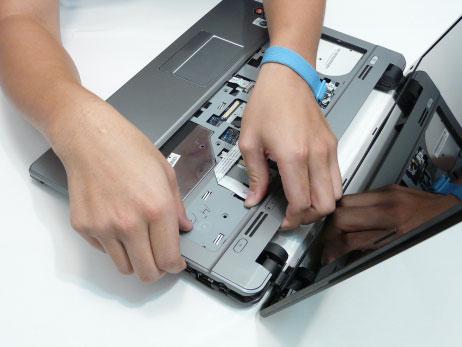

7. Lift the cover away from the assembly.