3 minute read
Grasping Grip


Stomping is fun and really works because it keep students’ feet on the floor and parallel in front of them. The arm movements make their trunks straight. The noise lets them release energy, but it’s under your control. When you have them stop stomping, they’ll have good posture and be ready to pay attention. Use “Stomp Your Feet” a few times a day.
Materials
• “Stomp Your Feet” from
Rock, Rap, Tap & Learn music album
Activity
1. Sit down and show the children how to stomp their feet and wave their arms. 2. Have them shout, “Na, na, naaaah, na, na naaah,” with you as they wave and stomp. 3. Have children push and pull their hands. Have them hug themselves. 4. End by having children raise their shoulders up, pull shoulders back, and let them down.
Push palms Pull hands Hug yourself tightly
Raise shoulders Pull shoulders back Let them down
ENRICHMENT
Video Lesson: View “Stomp Your Feet” at idtt.LWTears.com/ext/TGKSK/2022
SUPPORT/ELL
While doing the motions, say the words out loud: “stomping,” “pulling,” “pushing.”
PLACE THE PAPER
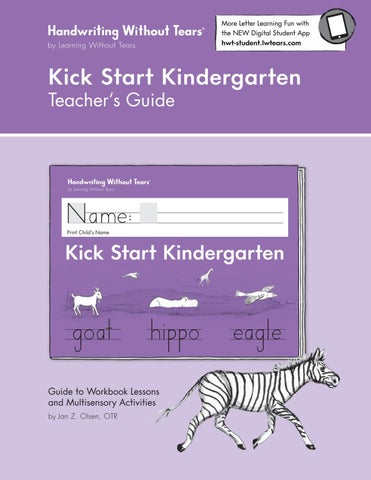
How do you position paper correctly? Some children may lean over in an awkward position to write. Children who put their paper in front of them and slant it properly can write more efficiently because they position their arms naturally with the paper. You need to teach them how to place their papers appropriately. Have your students turn to p. 6 in Kick Start Kindergarten, and teach them how to slant their papers for their handedness.
Children who are able to print sentences across the page are ready to tilt the paper at a slight angle to follow the natural arc of the writing hand. The correct way to tilt the paper is easy to remember (see illustrations below). For right-handed children, put the right corner higher; for left-handed children, put the left corner higher. The writing hand is below the line of writing. This practice encourages a correct, neutral wrist position.
LOOKING OUT FOR LEFTIES
You might observe some left-handed children slanting their papers too much. They do this to prevent their wrists from hooking. Allow them to exaggerate the slant on their papers if it doesn’t cause speed or neatness trouble. Visit idtt.LWTears.com/ext/TGKSK/2022 for more information about the left-handed writing position.

Left–Handed Students Right–Handed Students
Cross Strokes
When writing, we typically travel from top to bottom and left to right. At times, left-handed children may choose to cross letters by pulling their writing hand from right to left. This is natural. Model it for them in their student editions for the letters below.
Mark arrows for right-handed students. Mark arrows for left-handed students.
A E F G H I J T - f t
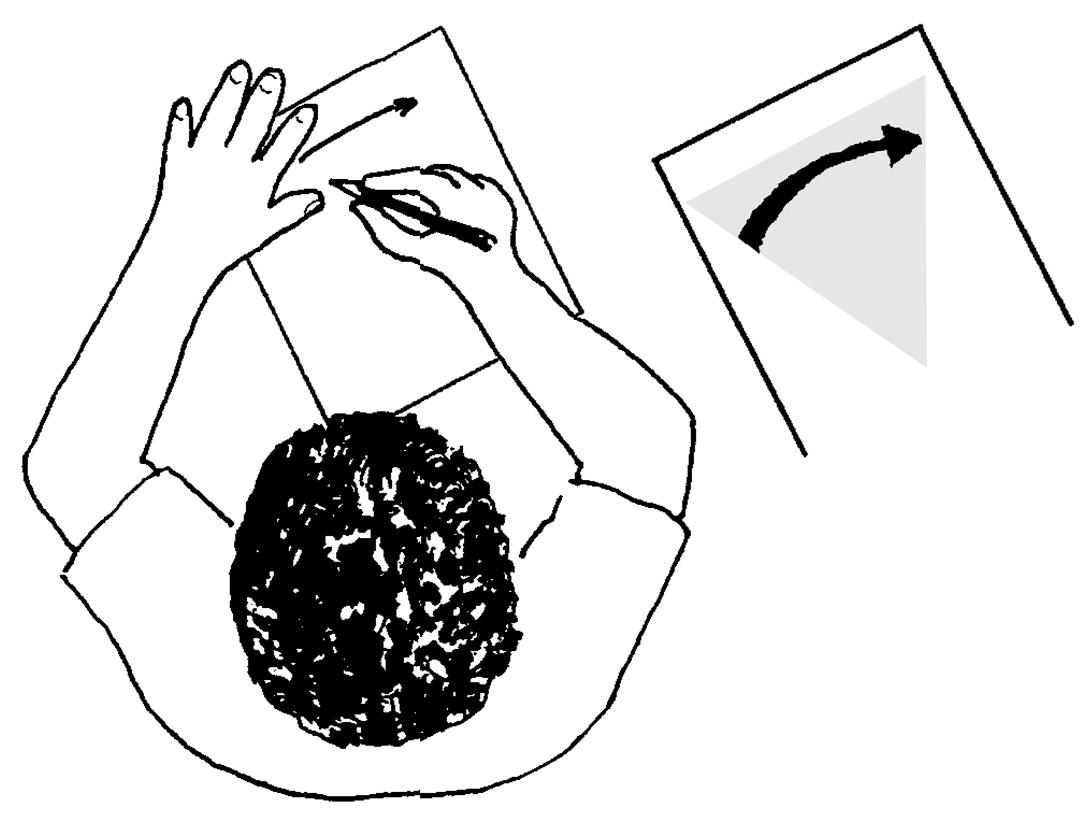
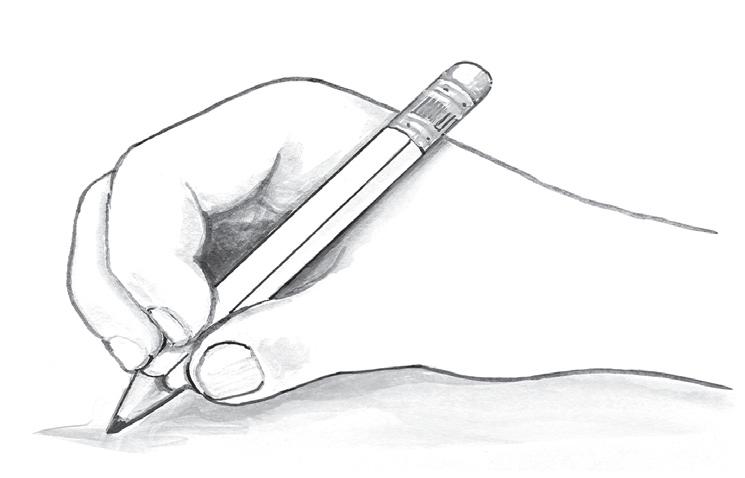
The standard way for children to hold their pencil is illustrated below. If you write using a grip that is different than tripod or quadropod, alter your grip for classroom demonstration.
Tripod Grip
Standard grip: Hold pencil with thumb + index finger. Pencil rests on middle finger.
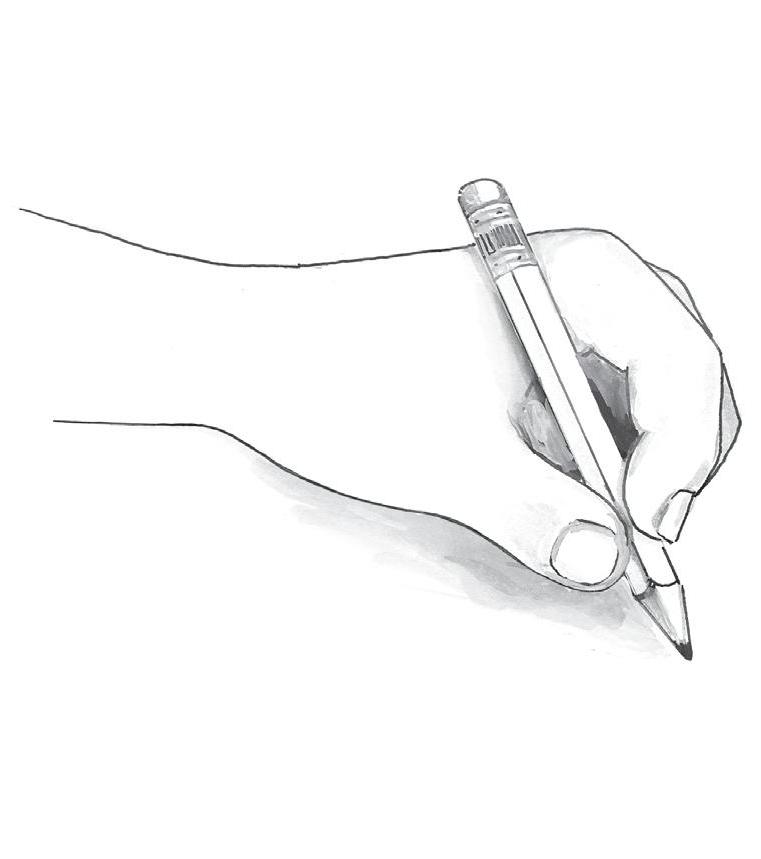
Quadropod Grip

Alternate grip: Hold pencil with thumb + index and middle fingers. Pencil rests on ring finger.
A Note About Pencil Size
Start by using golf-size pencils. As children gain handwriting experience, their control will improve. Typically, as children gain more control in first grade, they will be ready for a standard-size pencil.
Flip the Pencil Trick
Here is another method that someone introduced to us at a workshop. It’s such fun that we love to share it. Children like to do it and it puts the pencil in the correct position. (Illustrated for right-handed students.)
Place pencil on table pointing away from you. Pinch the pencil on the paint where the paint meets the wood. Hold the eraser and twirl the pencil around. Voilà! Correct grip.