ROOKIE PAINTER’S HANDBOOK

A HOW-TO GUIDE FOR NEW PAINTING PROS

The essential skills and tools you need to find success in your painting career


02 ROOKIE PAINTER’S HANDBOOK PAINTING SKILLS TECHNIQUES TO GET THE JOB DONE RIGHT 06 Properly prepping a jobsite 08 Repairing drywall 10 Proper painter's tape application and removal 11 The secret to painting stucco 11 Masking cabinets 12 Application 101: Brushing, rolling & spraying TOOLS OF THE TRADE THE GEAR THAT GIVES YOU AN EDGE 16 Understanding paint types 18 Choosing brushes 20 Choosing rollers 22 Choosing sprayers 24 Choosing the right FrogTape® » Delicate Surface » Multi-Surface » Pro Grade » Pro Grade Orange™ » High Bond Exterior CONTENTS
NAVIGATING THE PRO LANDSCAPE 28 Polishing your people skills 30 Making a good first impression 32 How to join a good team 34 How to lower your risk for jobsite falls [ SECTION 03 ] ROOKIE PAINTER’S HANDBOOK A How-To Guide for New Painting Pros [ SECTION 01 ] [ SECTION 02 ]
SOFT SKILLS
WELCOME, NEW PAINTERS
Ask any veteran painter and they’ll tell you success in the painting industry comes with a combination of a strong work ethic, a willingness to learn and a constant attention to honing your craft.
If you’re an apprentice, you’ll see your biggest growth with a brush in hand, but there are still some tips and tricks to learn when you’re not on the job painting that can help you work smarter and faster.
If you’re brand new to the industry, there are tools and terminology, plus a few core basics, that you’ll need to know—everything from brush types to paint selection to jobsite safety—that will serve as a foundation for the skills you’ll pick up on the job.
The Rookie Painter’s Handbook is intended to serve as a springboard for the skills you’ll grow with every new job—a guide to round out painting fundamentals and offer you a jump-start as you begin your career in the painting industry.
03 A HOW-TO GUIDE FOR NEW PAINTING PROS
PAINTING SKILLS
LEARNING THE FUNDAMENTALS
What’s the first step to mastering the craft? Mastering the basics. Every job, from prep work to painting, benefits from time-tested techniques that yield pro results. Section 01 offers an overview of these techniques to get you started on entry-level skills, from the best methods for masking to brush, roller and sprayer basics.

04 ROOKIE PAINTER’S HANDBOOK
[ SECTION 01 ] x

05 A HOW-TO GUIDE FOR NEW PAINTING PROS
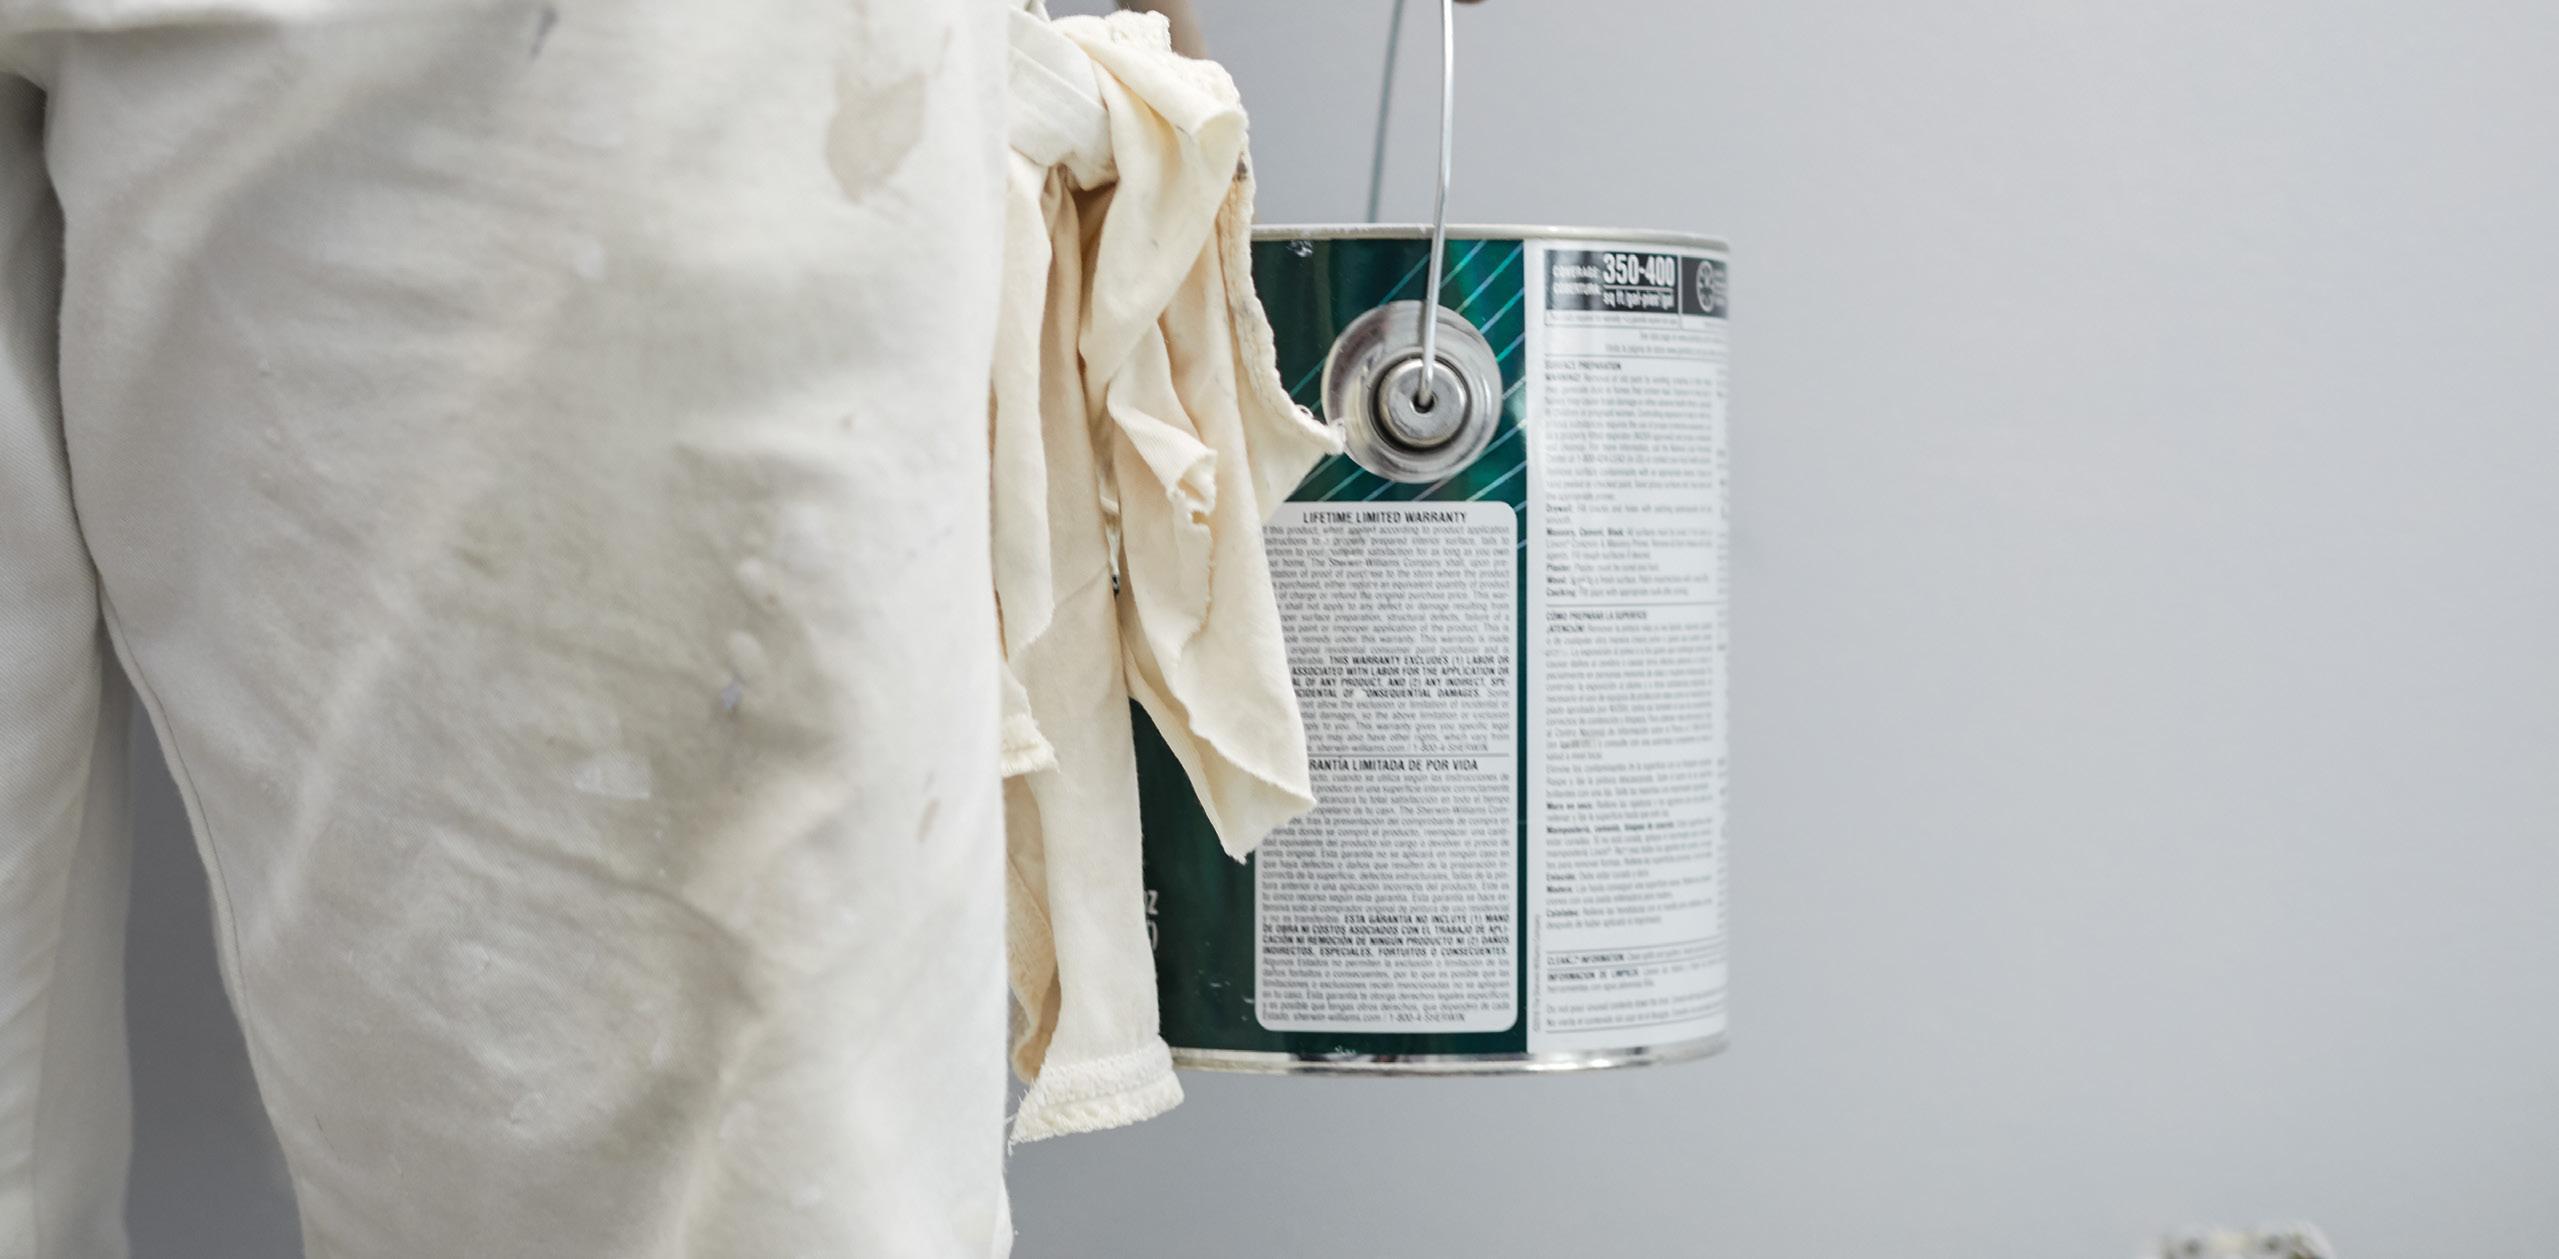
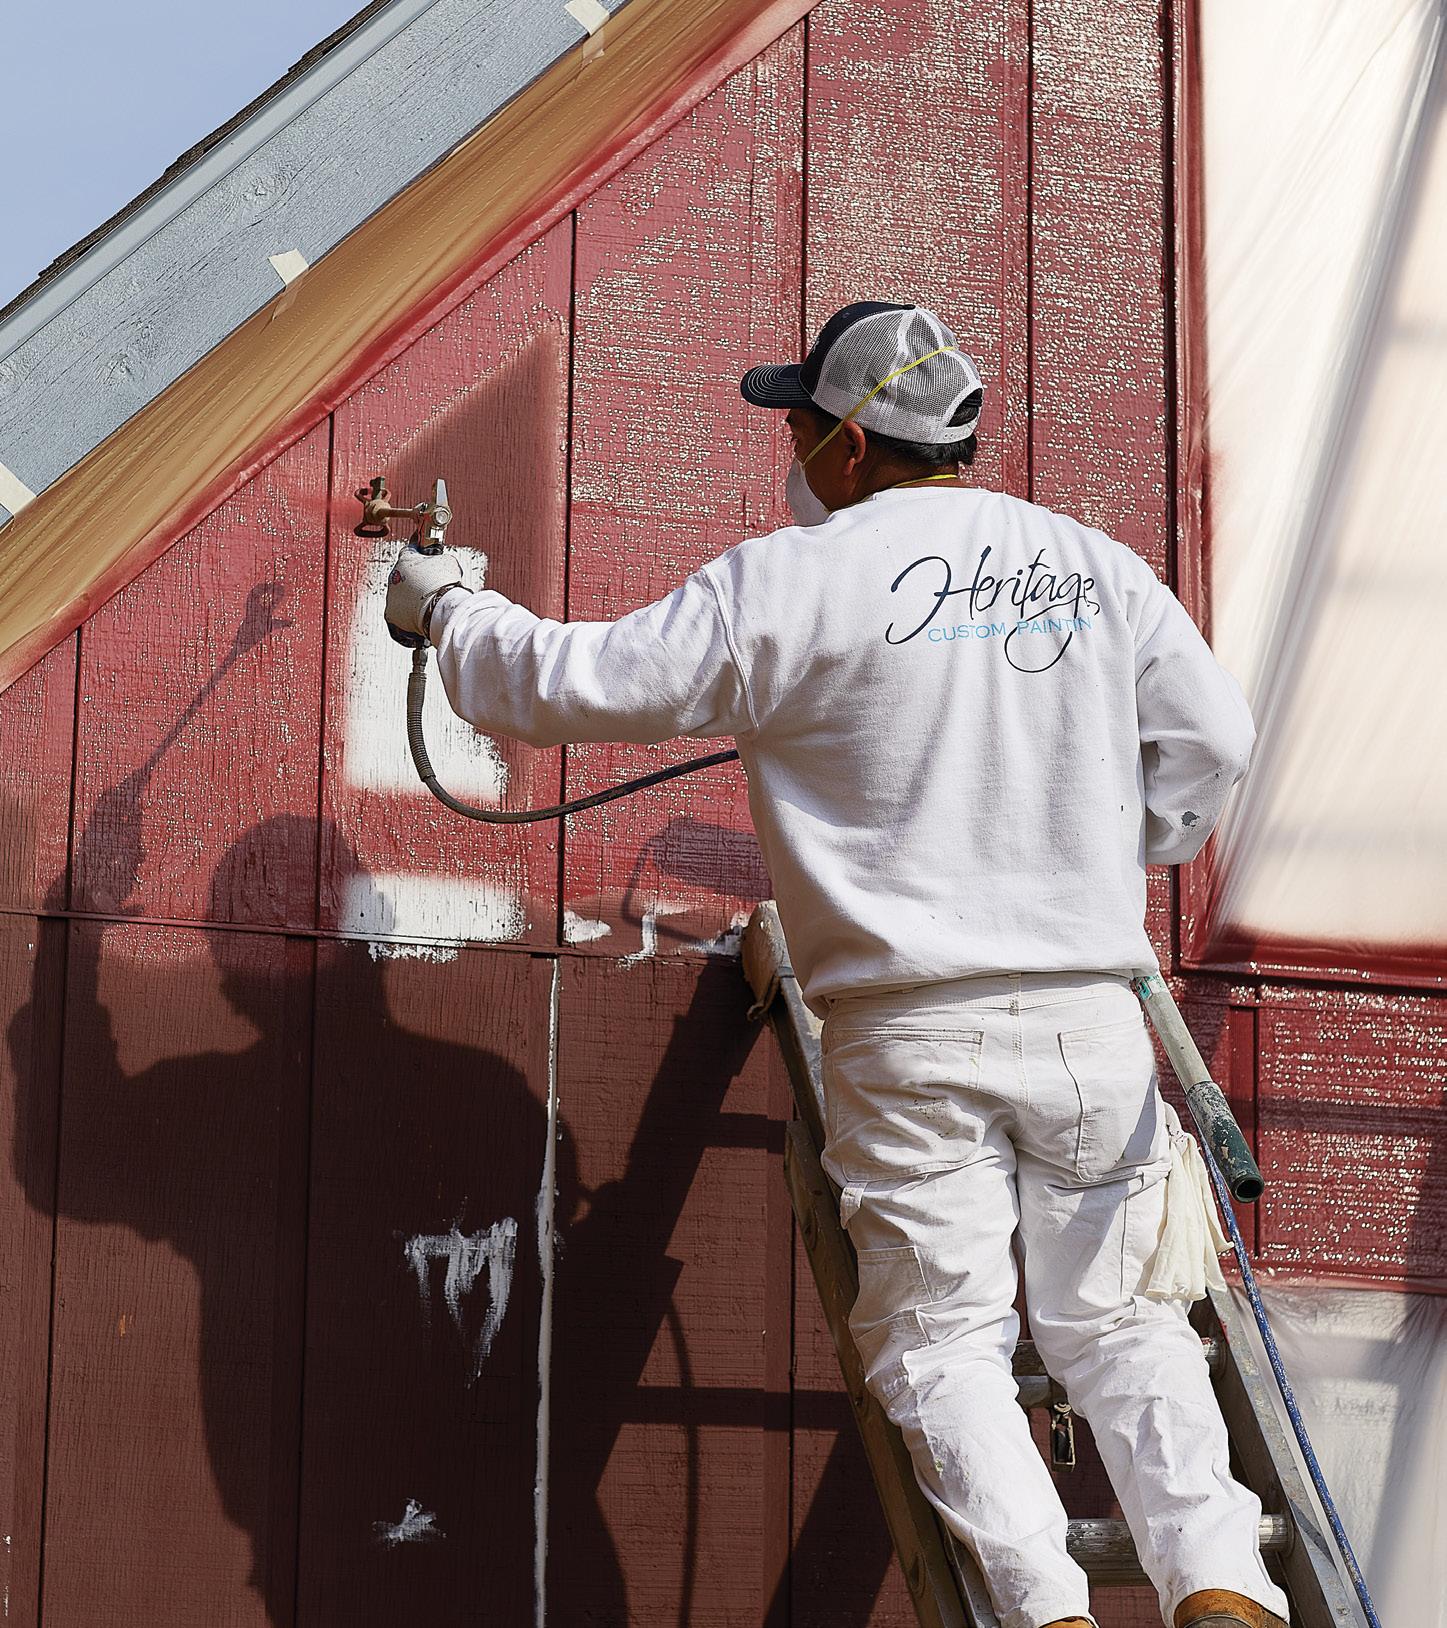
PROPERLY PREPPING A JOBSITE
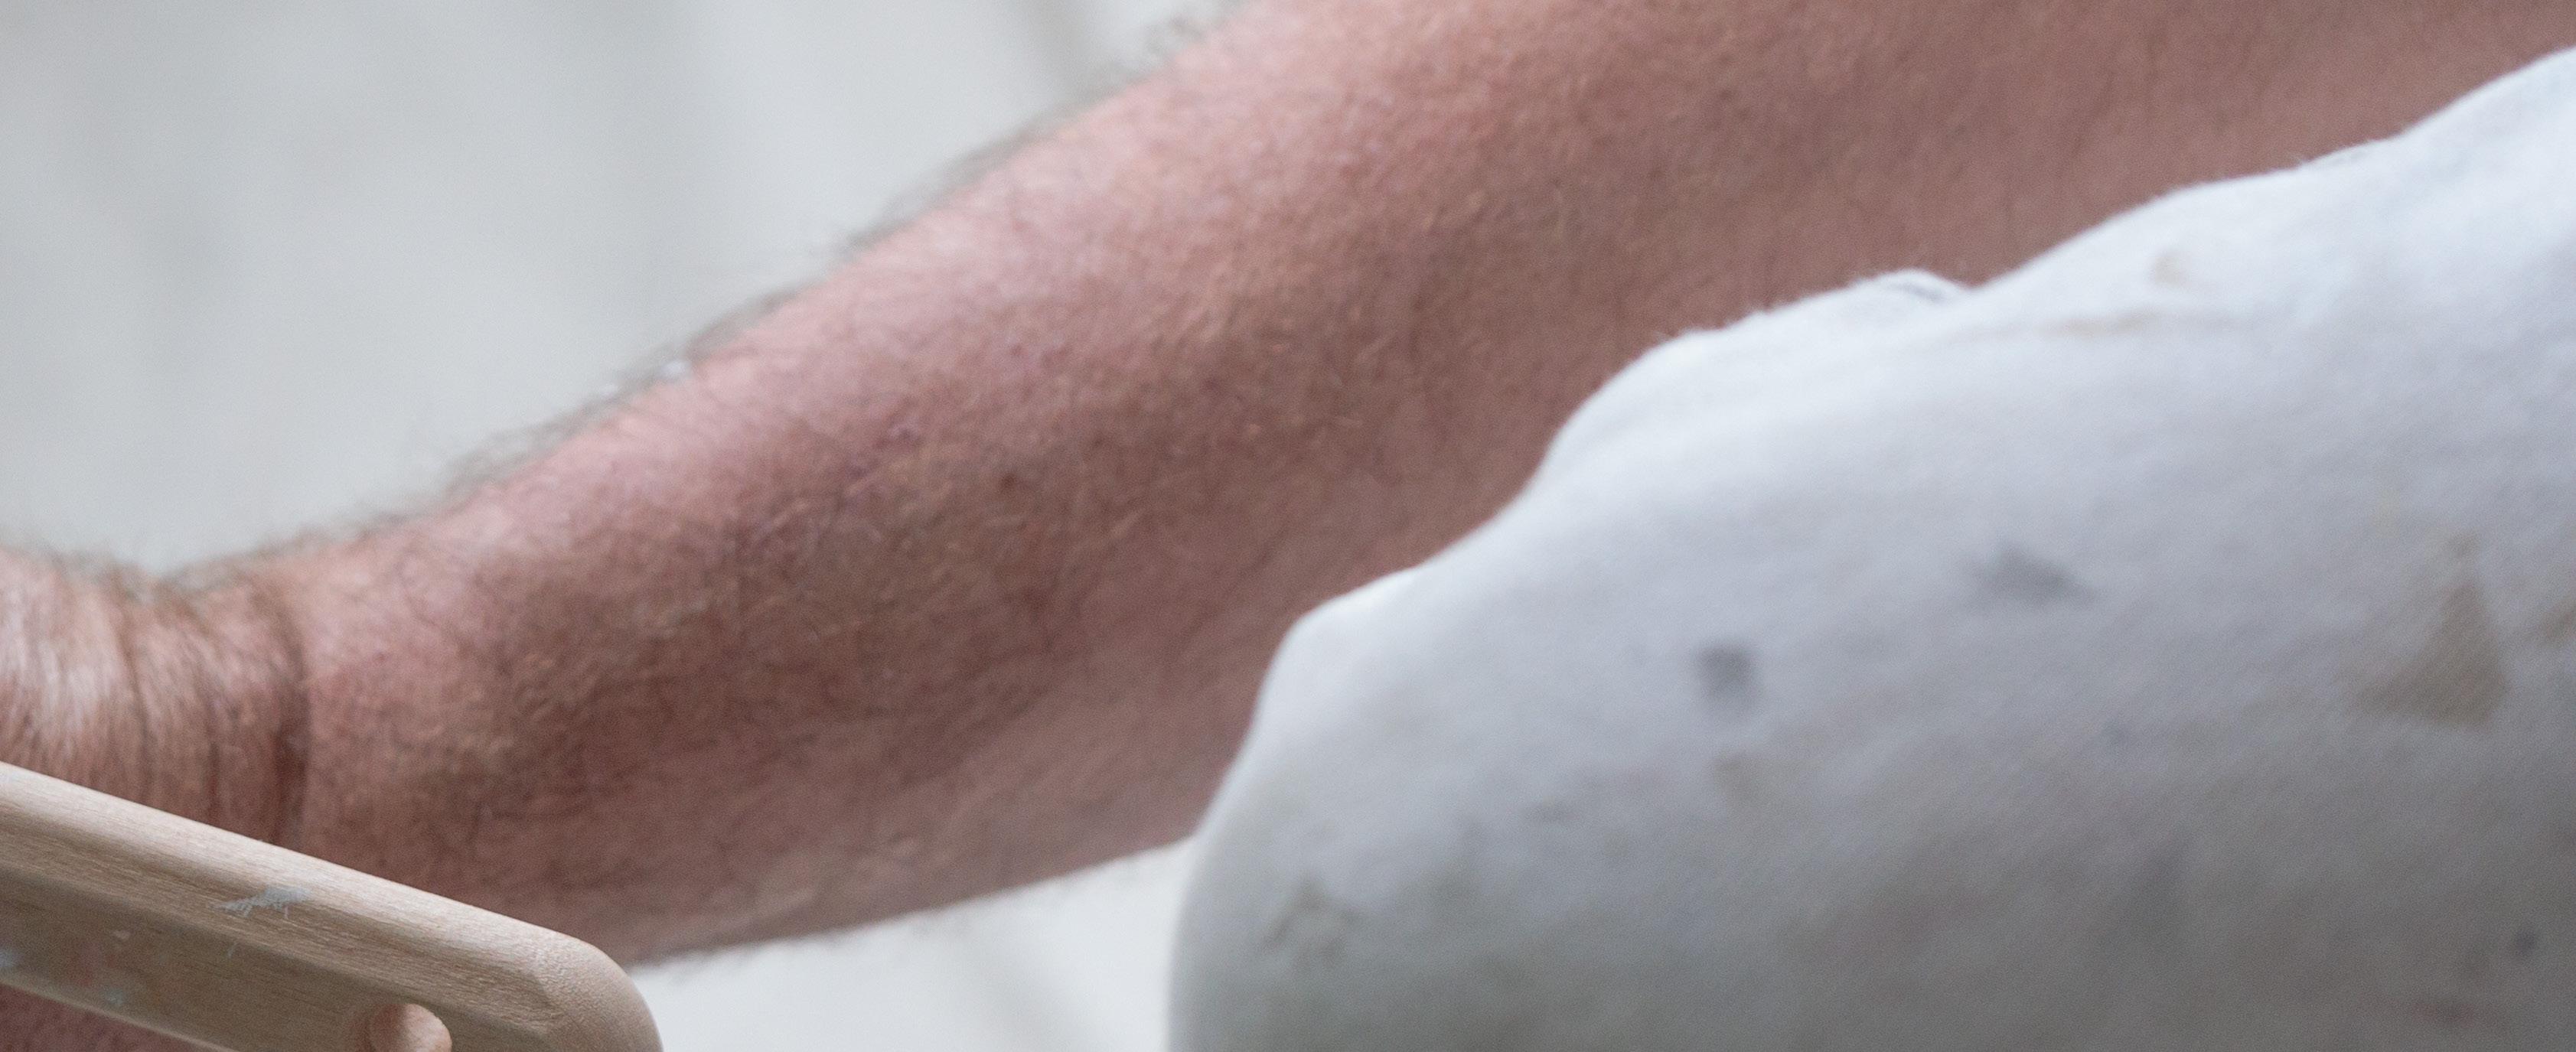
When you’re on the job, you have care, custody and control of your customers’ property, and they rely on you to protect their homes and valuables while you work.
So it’s crucial to make a good impression by showing respect for their homes and belongings—your good reputation depends on it. That means properly prepping the jobsite, even before you begin sanding, patching and painting.

Here are a few tips to keep your customers’ property protected.
Your first rule of thumb: If it doesn’t get painted, move it or cover it.
Any furniture, appliances, lamps and decorations that can be removed should be. Take pictures with your smartphone before moving anything to help you remember where furnishings should be placed when you reassemble the room.
When it comes to highly expensive items—fine art or a piano, for example—always check with the homeowner before moving them, if they’re able to be moved at all. Sometimes homeowners prefer high-value belongings to be left in place.
If possible, light switch and receptacle plates should be removed, along with door and window hardware, doorknobs, door bolt plates, striker plates, locks and any other removable hardware.
PREPPING IN ACTION
Most jobs are 90% prep and 10% painting. Watch this video on what to move, what to cover, what to mask and how to do it all efficiently in your prep work.

06 ROOKIE PAINTER’S
HANDBOOK
PAINTING SKILLS [ SECTION 01 ]
WATCH THE VIDEO NOW
COVER ANYTHING THAT CAN’T BE MOVED
Light fixtures at the center of a room are a good place to start—cover these with plastic film. When securing film to film, use production-grade tape or a versatile tape like FrogTape® Pro Grade, which is budget-friendly enough for production jobs but high-quality enough to achieve clean, sharp paint lines. Save the premium tapes for masking walls, windows and other surfaces that need to be protected.
Furniture and other large pieces that can’t be taken out of the room should be grouped near the center of the space to allow access to the walls and ceiling and should be covered with lightweight plastic sheeting. Face furniture inward so that homeowners and visitors are discouraged from sitting, keeping the furniture protected for the entire paint job.
PROTECTING THE FLOORS
Wipe off or vacuum the floor surface near the walls to remove residual dust and dirt so the tape sticks correctly. Use a tape suitable for hardwood floors, or use any production or multi-surface tape on carpet.
After taping, cover the remaining floor with plastic film or canvas drop cloths. You can also use masking paper on adjacent floors when painting, or you can attach paper or plastic sheeting with tape.
MASKING OTHER SURFACES
For surfaces like mirrors, countertops, vanities and sinks, masking with paper or lightweight plastic will keep them protected from paint spatter. Again, production-grade tapes or FrogTape ® Pro Grade are best for securing paper to paper and plastic to plastic.

WHEN PRECISION COUNTS
Mask with premium painter’s tape when sharp lines matter—for example, baseboards and trim, switches and hardware that can’t be removed, adjoining walls of differing colors, windows, cabinets and backsplashes. FrogTape® Delicate Surface, Multi-Surface and Pro Grade painter’s tapes are treated with PaintBlock® Technology that forms a barrier when it comes into contact with moisture, preventing paint bleed and ensuring clean, sharp lines.
07 A HOW-TO GUIDE FOR NEW PAINTING PROS
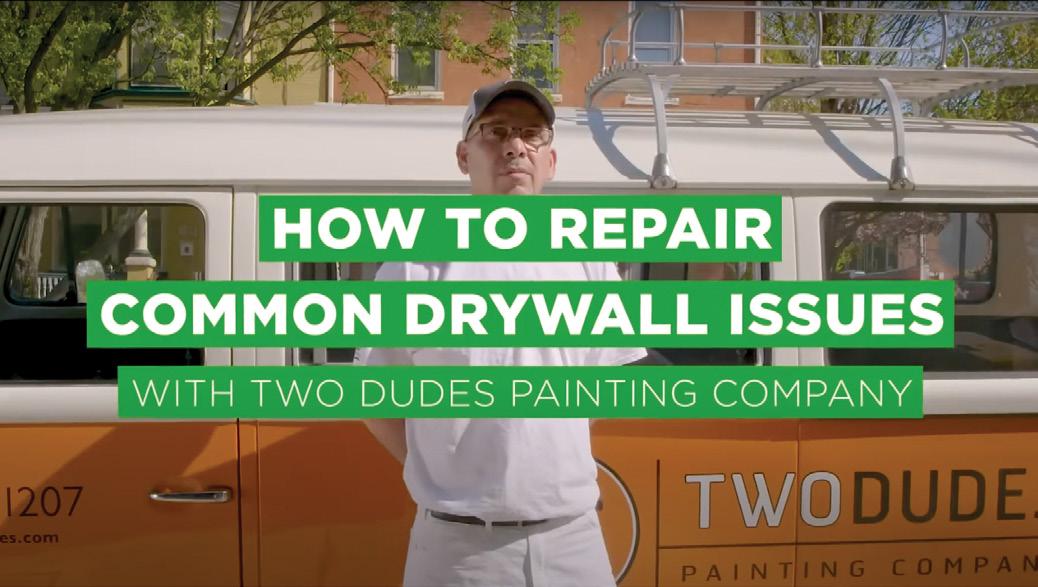
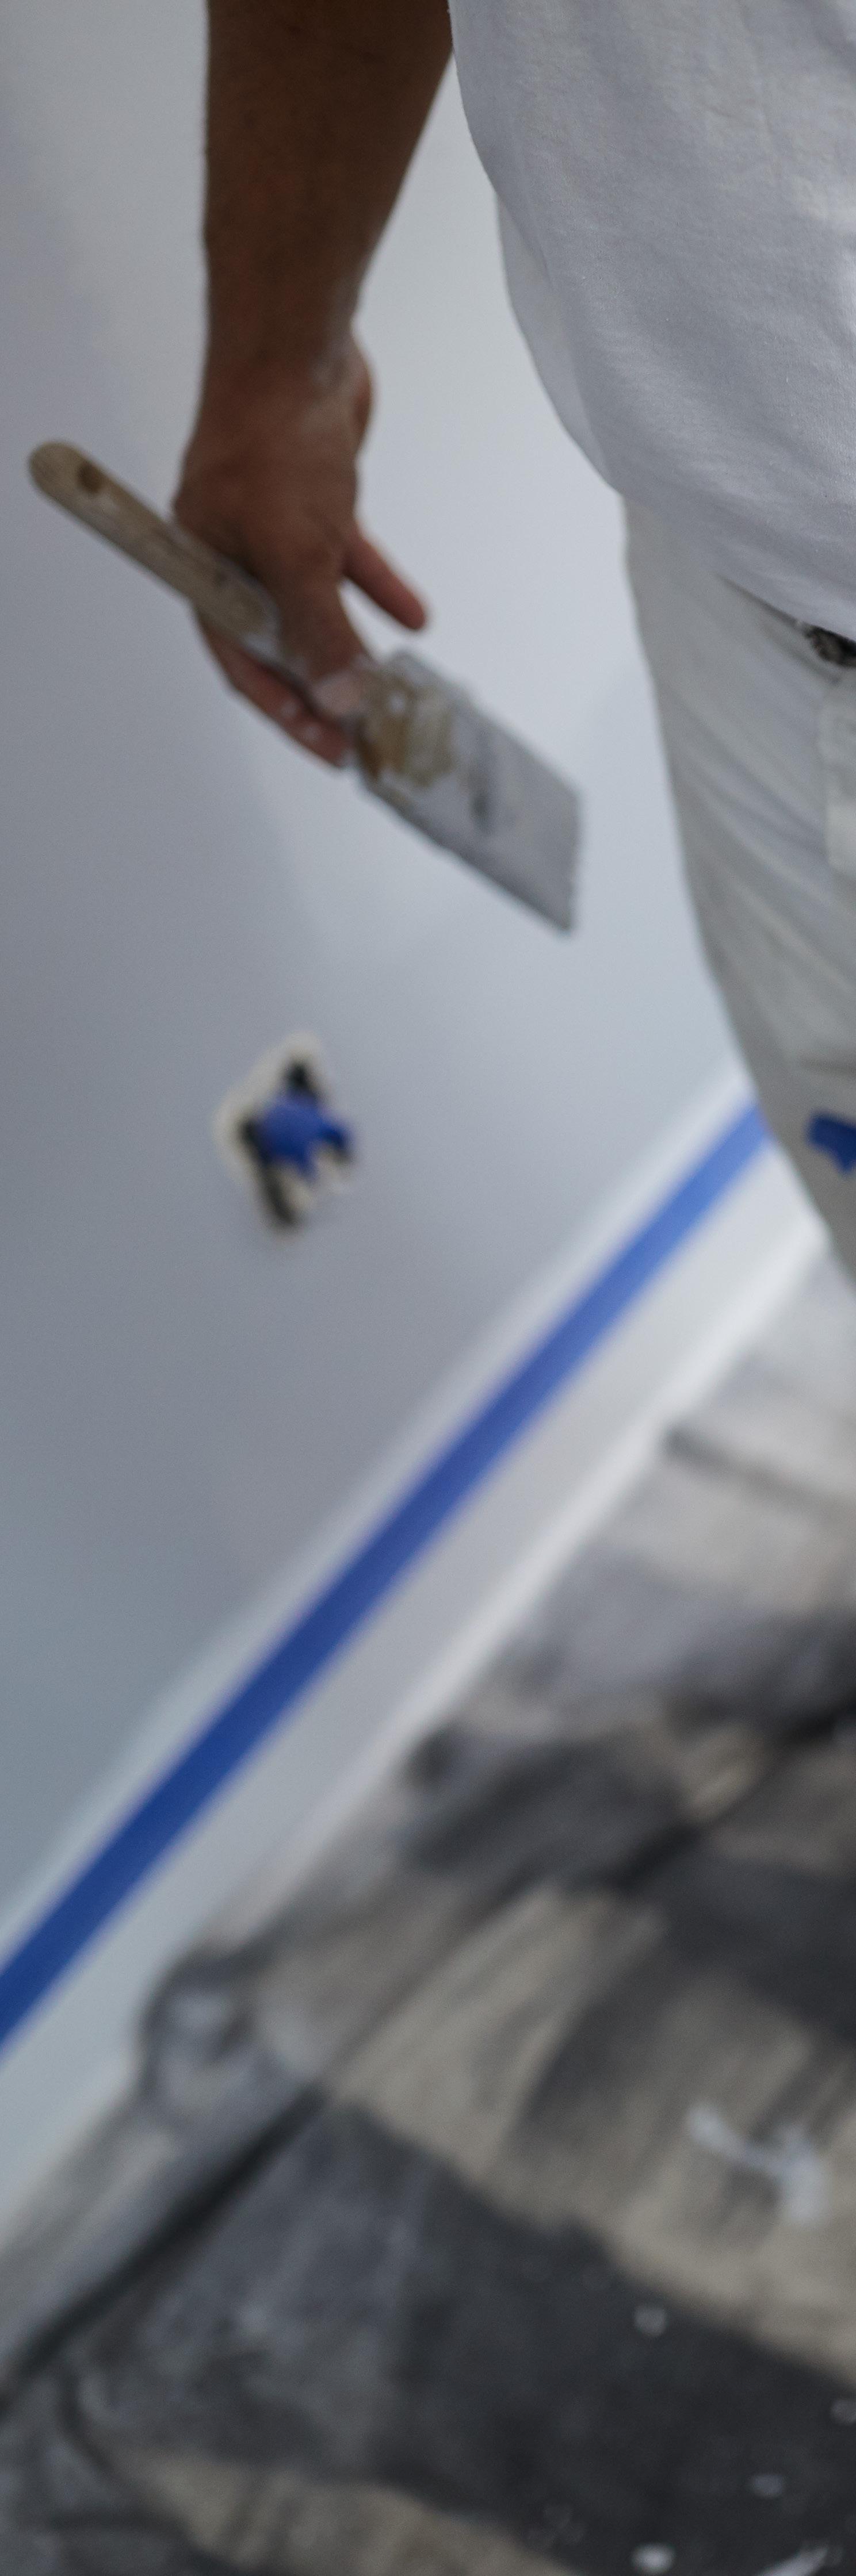
REPAIRING COMMON DRYWALL ISSUES
Drywall is the most common interior wall material in American homes, which means in most residential repaint jobs, you can expect to encounter a few minor repair issues before you get down to painting. Nail pops, dents, holes and cracks show up in homes of all ages. Here, we’ll outline proven methods for repairing these four common drywall issues so you can start with a smooth surface for a flawless paint job.
Nail pops have a variety of causes, from misaligned framing and improper drywall installation to large temperature fluctuations and just plain gravity. It’s important to repair these
issues before you apply paint in order to get the best results possible.
If the nail head has worked loose and become visible, don’t just drive it back in—pull out the nail and replace it. The best and most permanent replacement is a drywall screw.
Once the screw is in, lightly sand the edges around the screw, then fill in the depression with drywall mud using a standard 6-in. drywall blade. Let it dry completely, then lightly sand and add a second coat. When the second coat is dry, you’re ready to sand, prime and paint.
08 ROOKIE PAINTER’S HANDBOOK
PAINTING SKILLS [ SECTION 01 ]
FILLING IN SMALL DENTS
Every home has its share of little dents and dings. The easiest solution for these shallow dents is a fast-drying one-coat application patch. Again, sand down any rough edges around the dent, then apply the lightweight patch with a small knife. It’s OK to leave the patch a little rough and just sand it when it dries in an hour.
If the surface is nice and even after one coat, you can move on with priming and painting. If not, apply another light coat of patch following the same steps you did for the first coat.
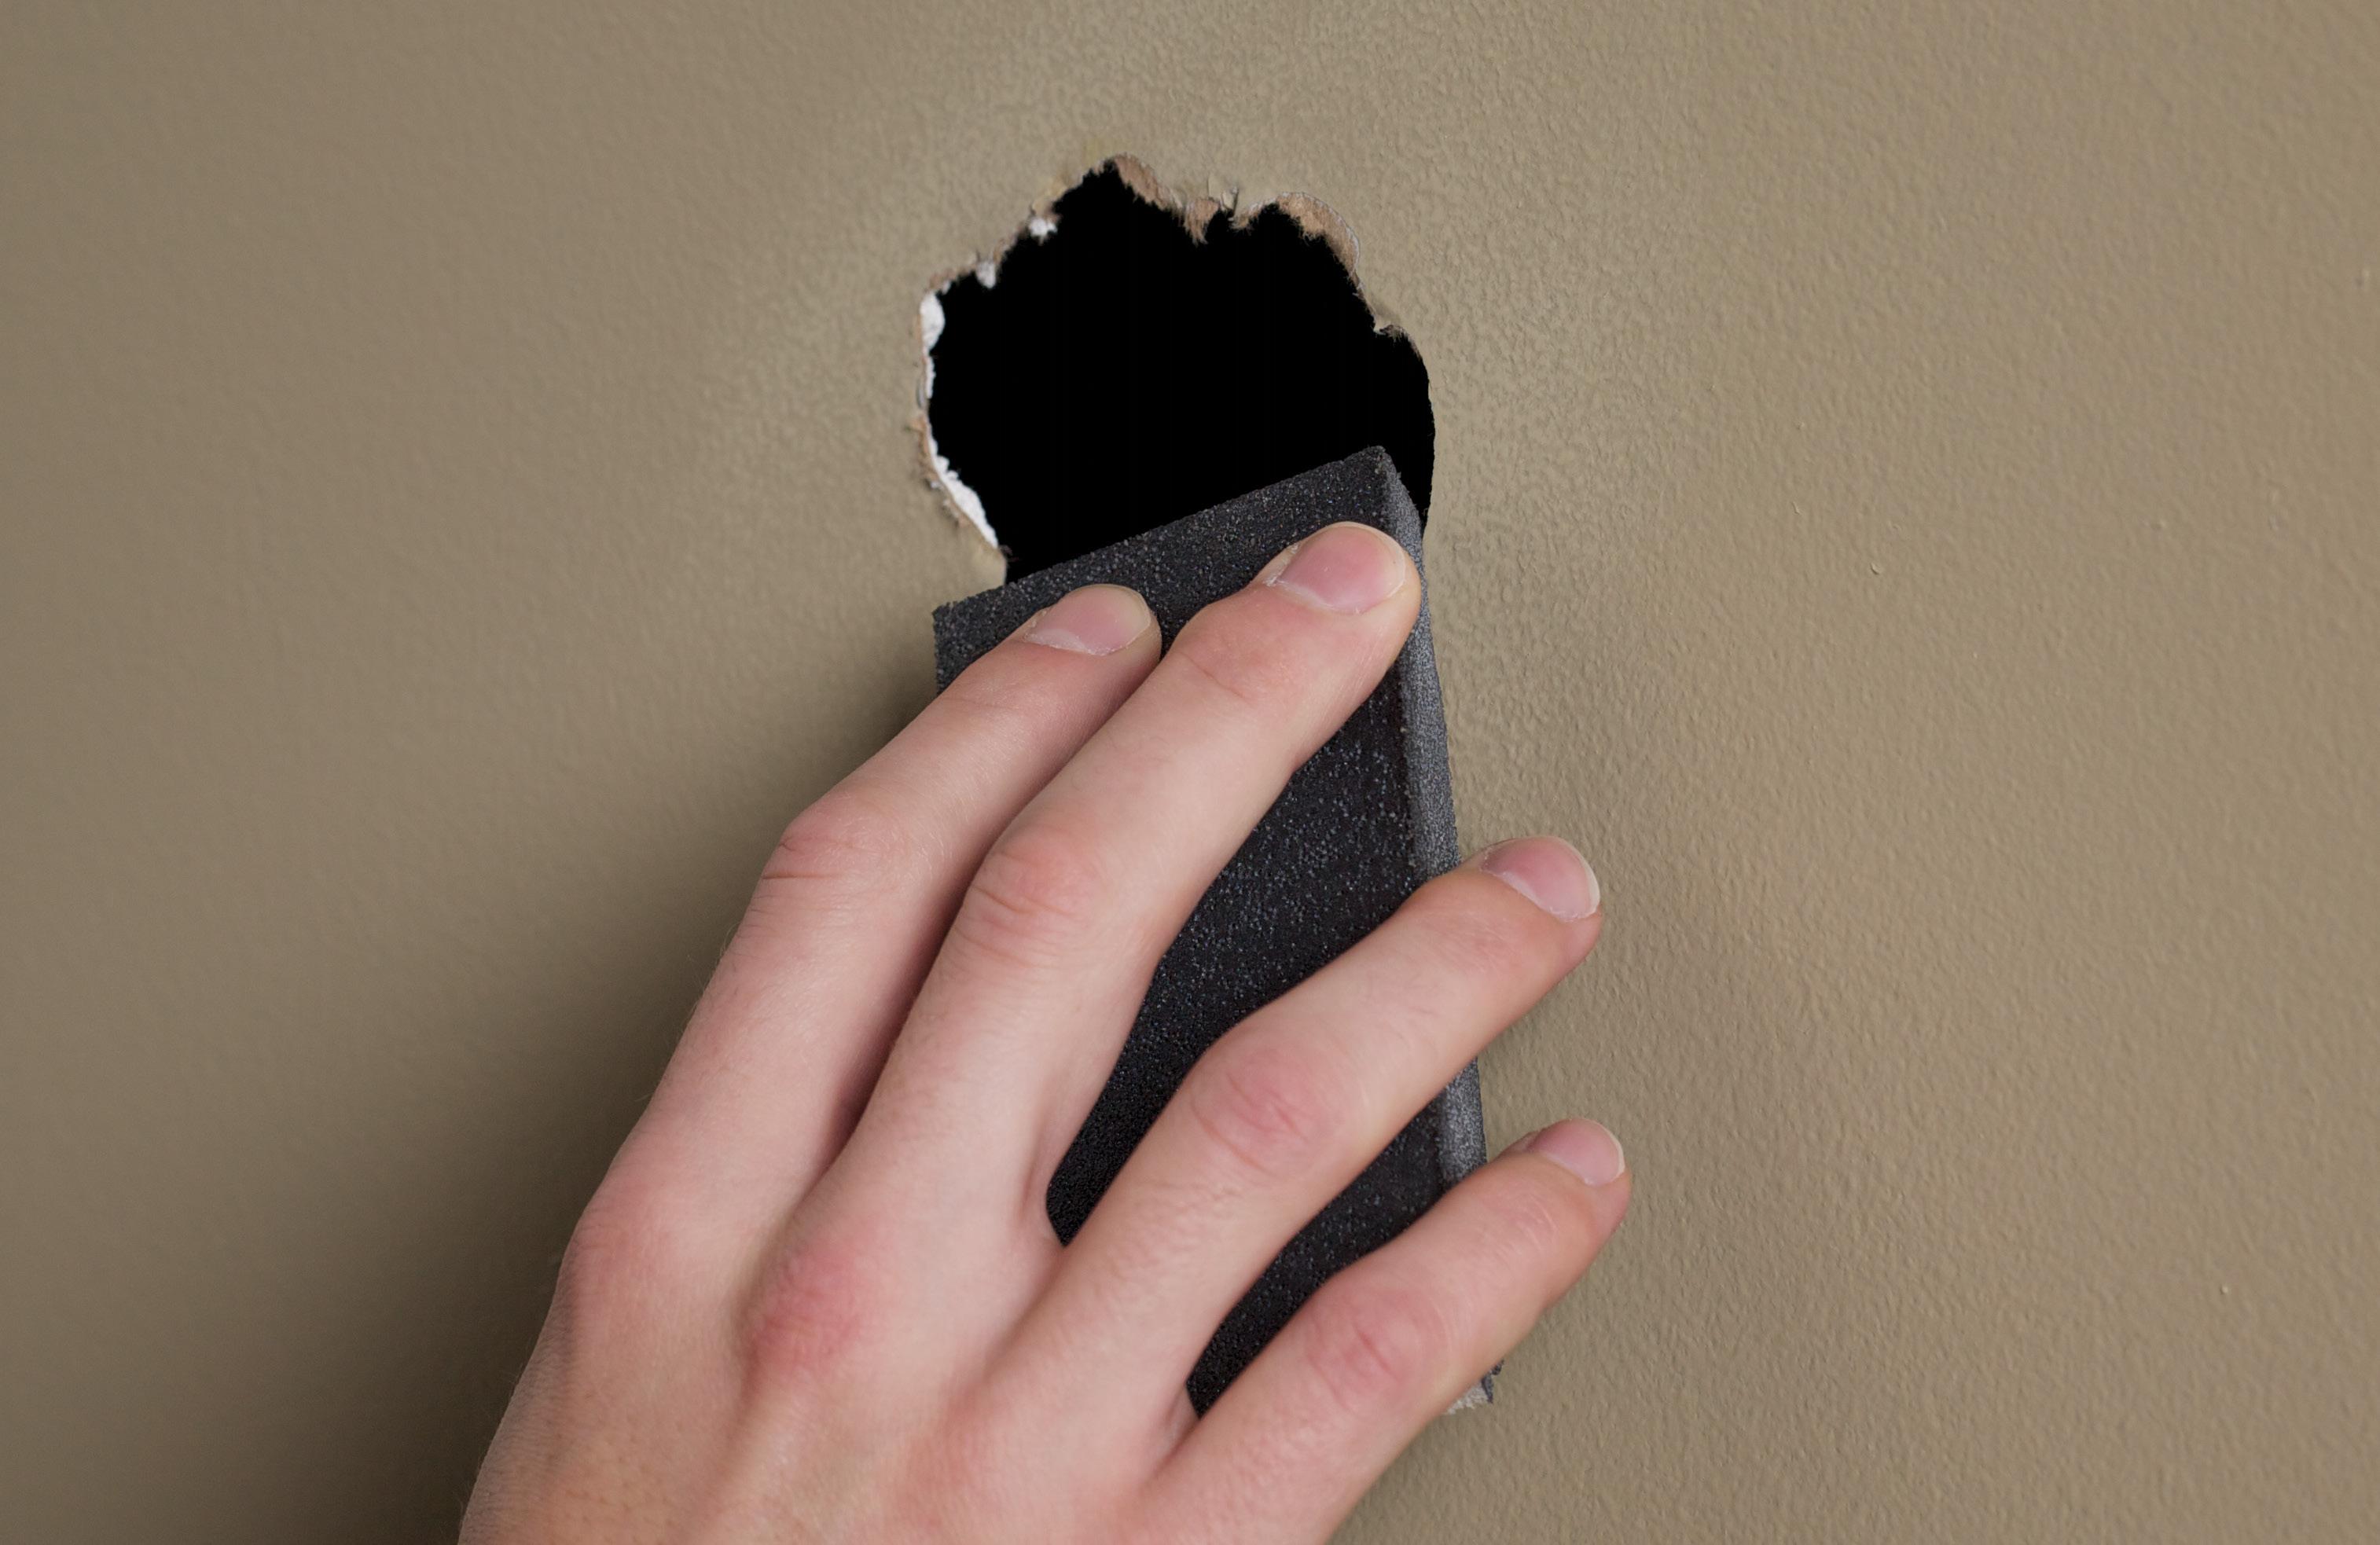
PATCHING HOLES
Great strides have been made in the development of drywall patching solutions for small holes. One of the most efficient is the self-adhesive aluminumreinforced patch, which is ideal for holes up to about 2 in. in diameter.

Once you have sanded any rough edges around the hole, simply peel off the backing and center the patch over the hole before pressing down to adhere. Then apply a heavy coat of drywall mud with a knife to fill in all the nooks and crannies in the mesh. The mesh will still be visible once you smooth out the first coat. Allow it to dry fully—a good six hours—and then sand lightly and apply a second thin coat of mud. Repeat with a third coat, and it should be all set to prime and paint.
SMOOTH SURFACES ARE A KEY PART OF PREP
SEALING CRACKS
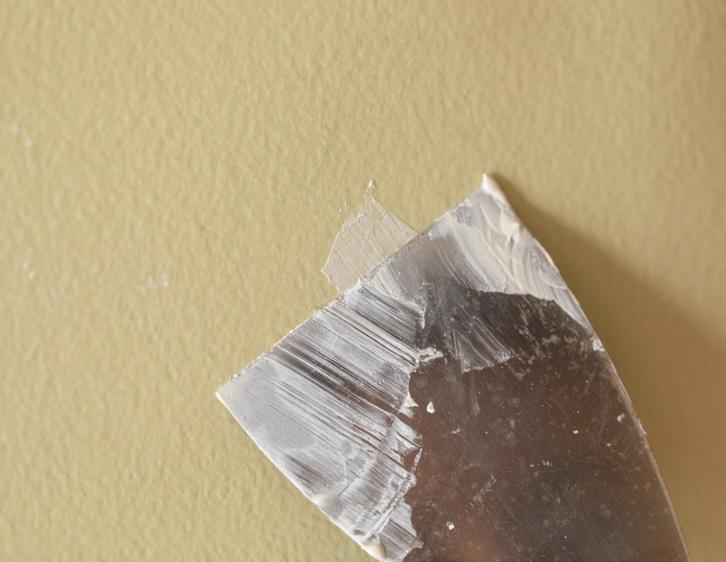
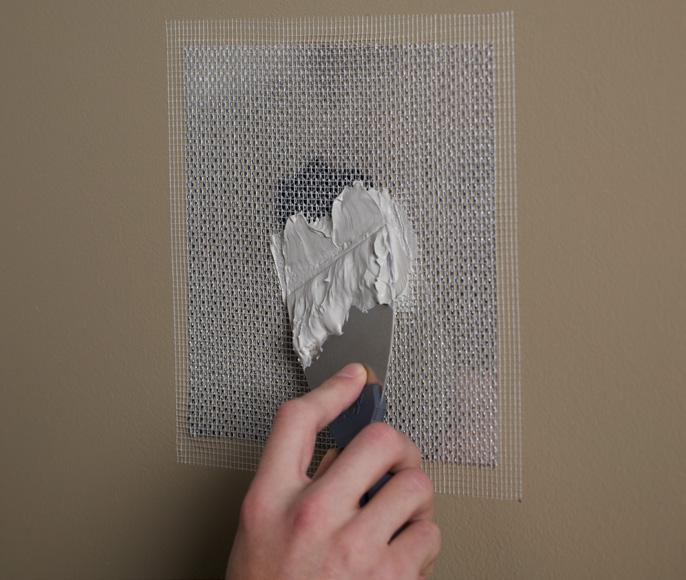
As tempting as it may be to take the shortcut, you should never just fill in a crack with mud. It will just reappear when the mud dries. Instead, use a selfadhesive fiberglass mesh tape. These tapes are strong yet thin, so they require less mud to complete the repair.
Cut a length of tape and affix it to the crack. With the large 6-in. knife, apply a generous layer of mud, once again making sure to work it into the mesh. The mesh will still be visible once you smooth out the first coat. Allow it to dry fully (up to six hours) then sand lightly and apply the second coat of mud. Repeat with a third coat and do a final sanding, and then it’s time to prime and paint.
Preparation is the most important part of any paint job, and while a smooth drywall surface won’t guarantee smooth sailing for the rest of the job, it will go a long way toward ensuring a quality end product.
SEE HOW IT’S DONE
Watch a step-by-step video on repairing cracks, dings, dents and small or large holes in drywall.
09 A HOW-TO GUIDE FOR NEW PAINTING PROS
WATCH THE VIDEO NOW
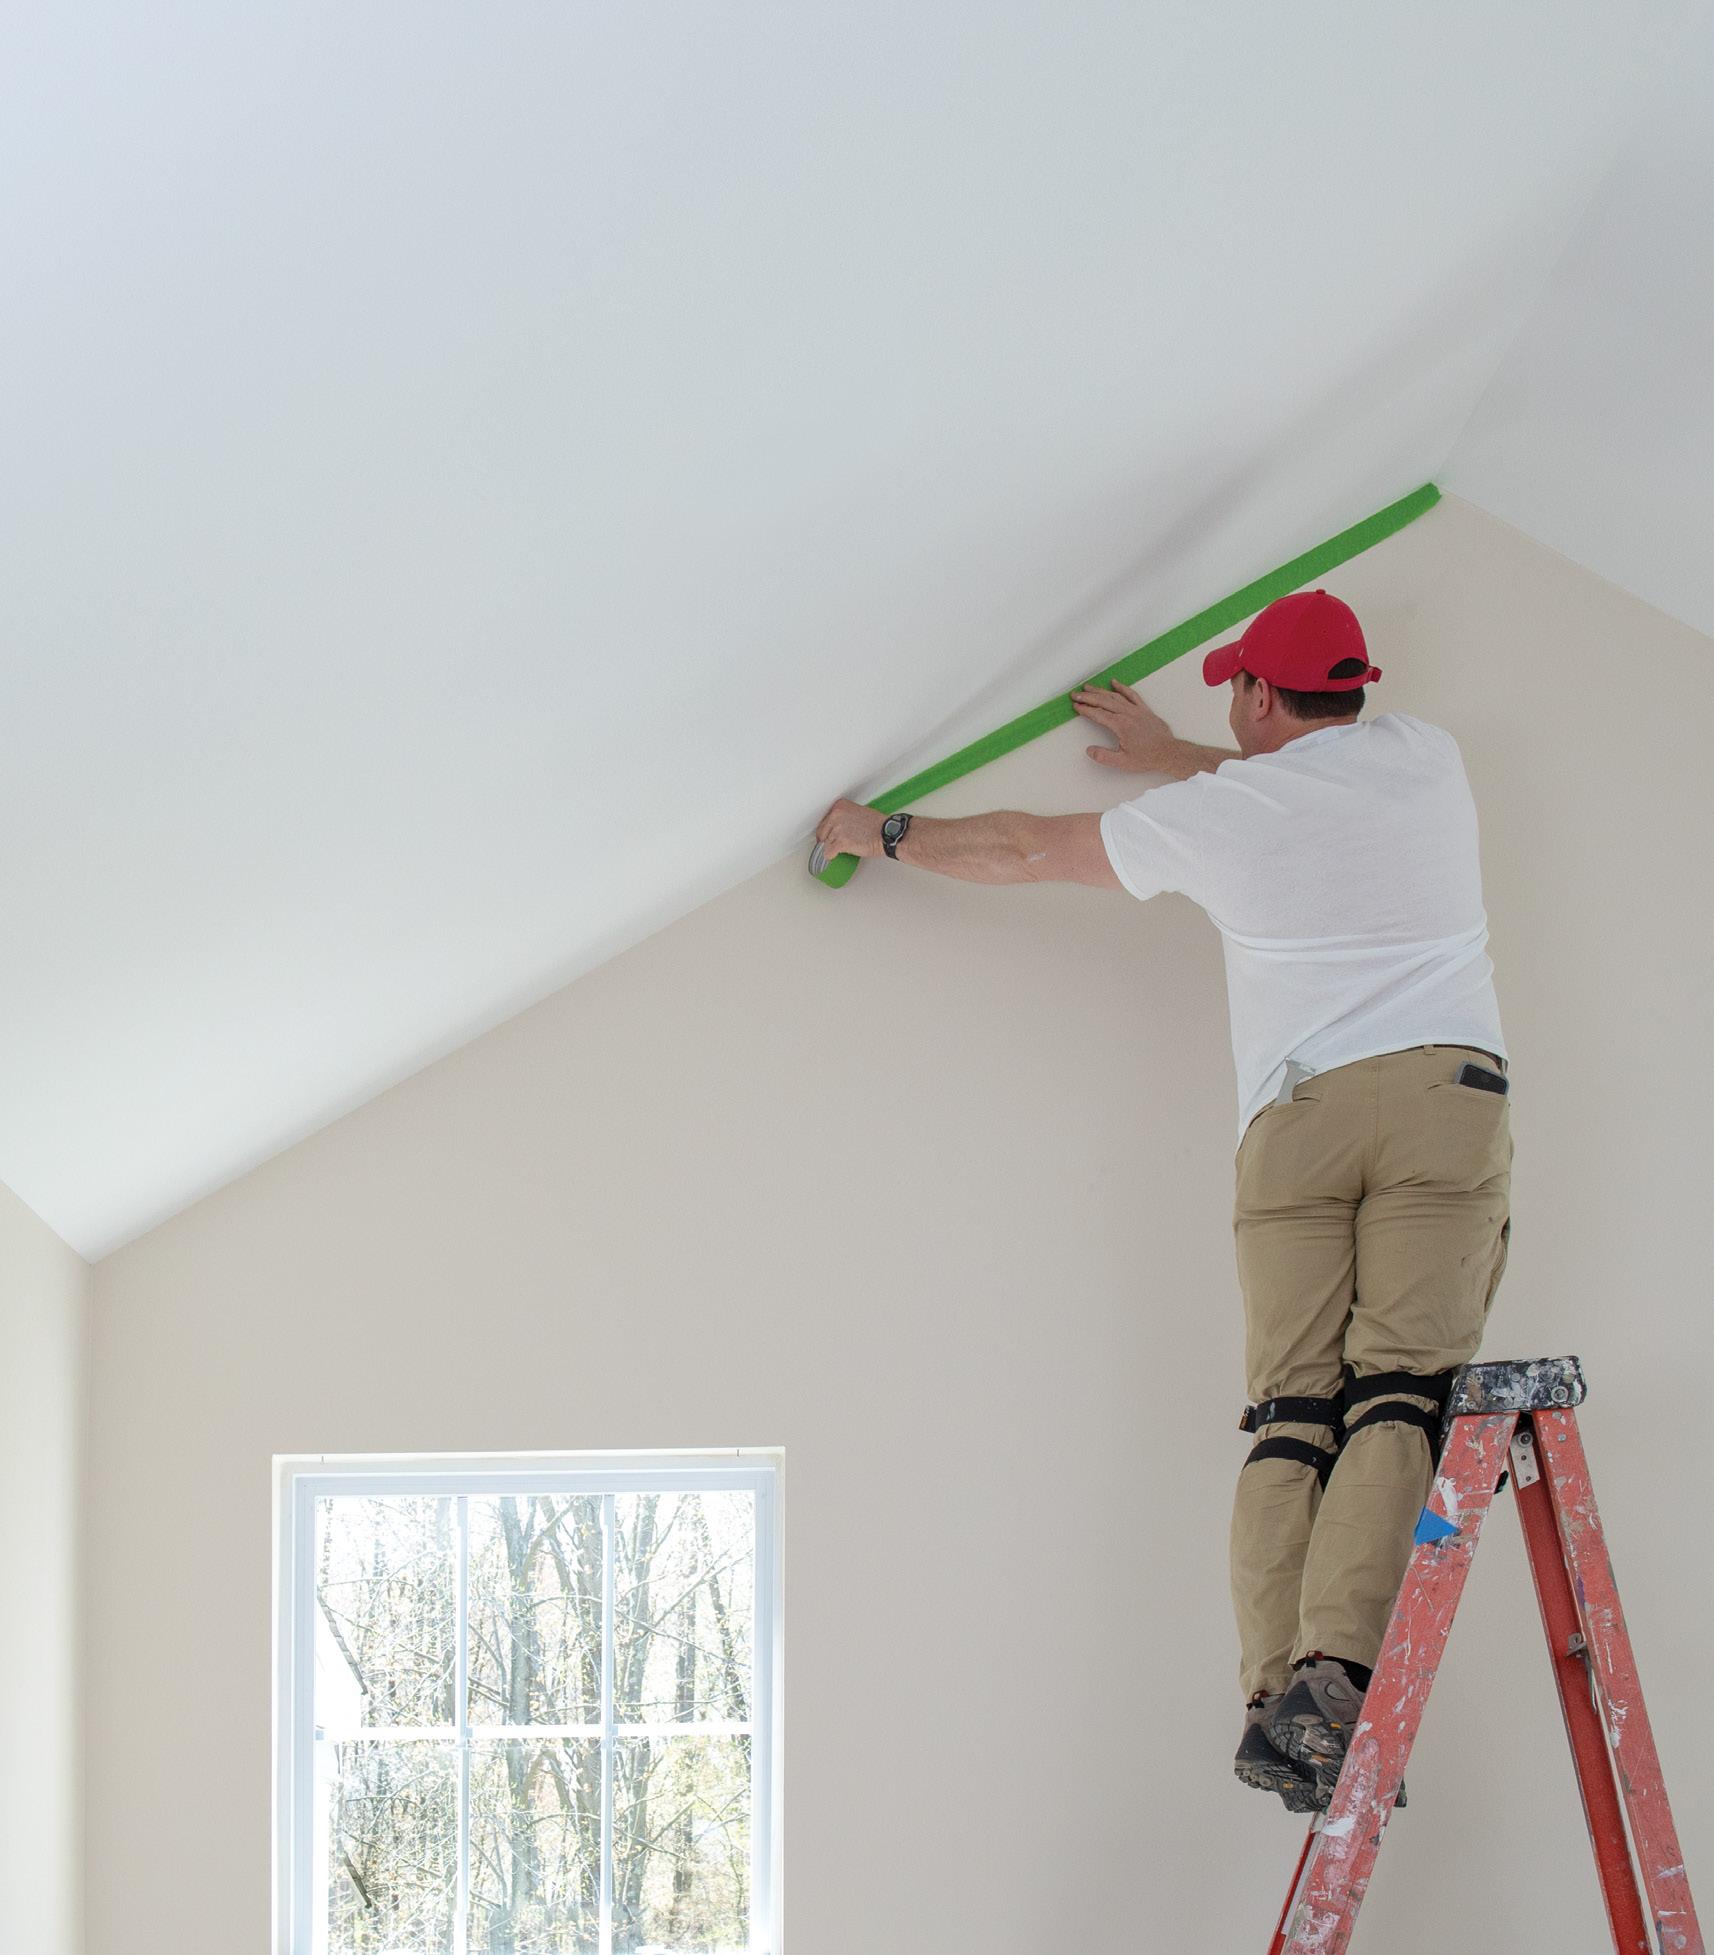
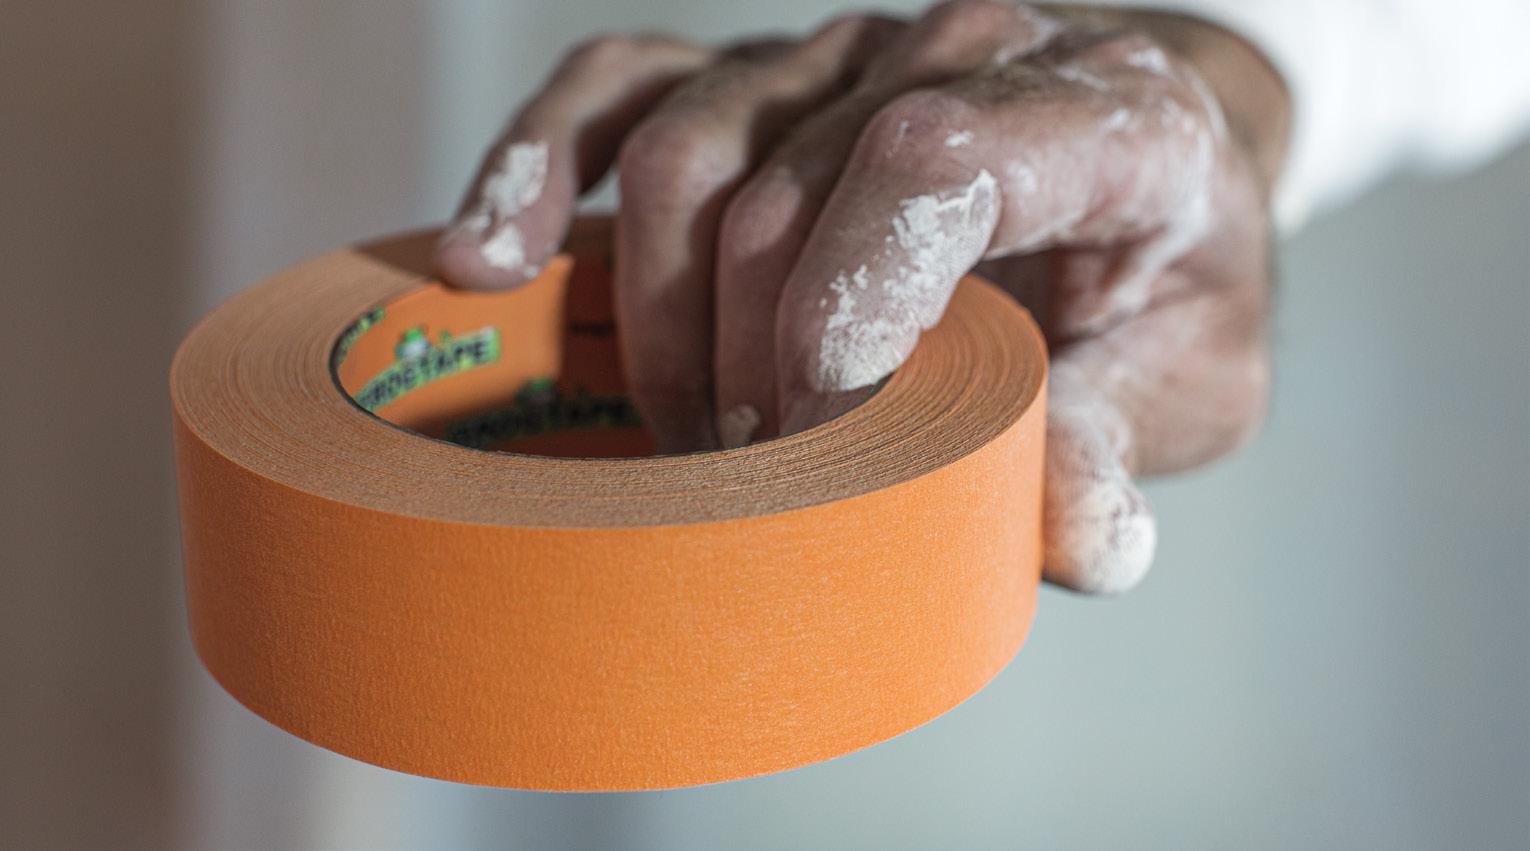
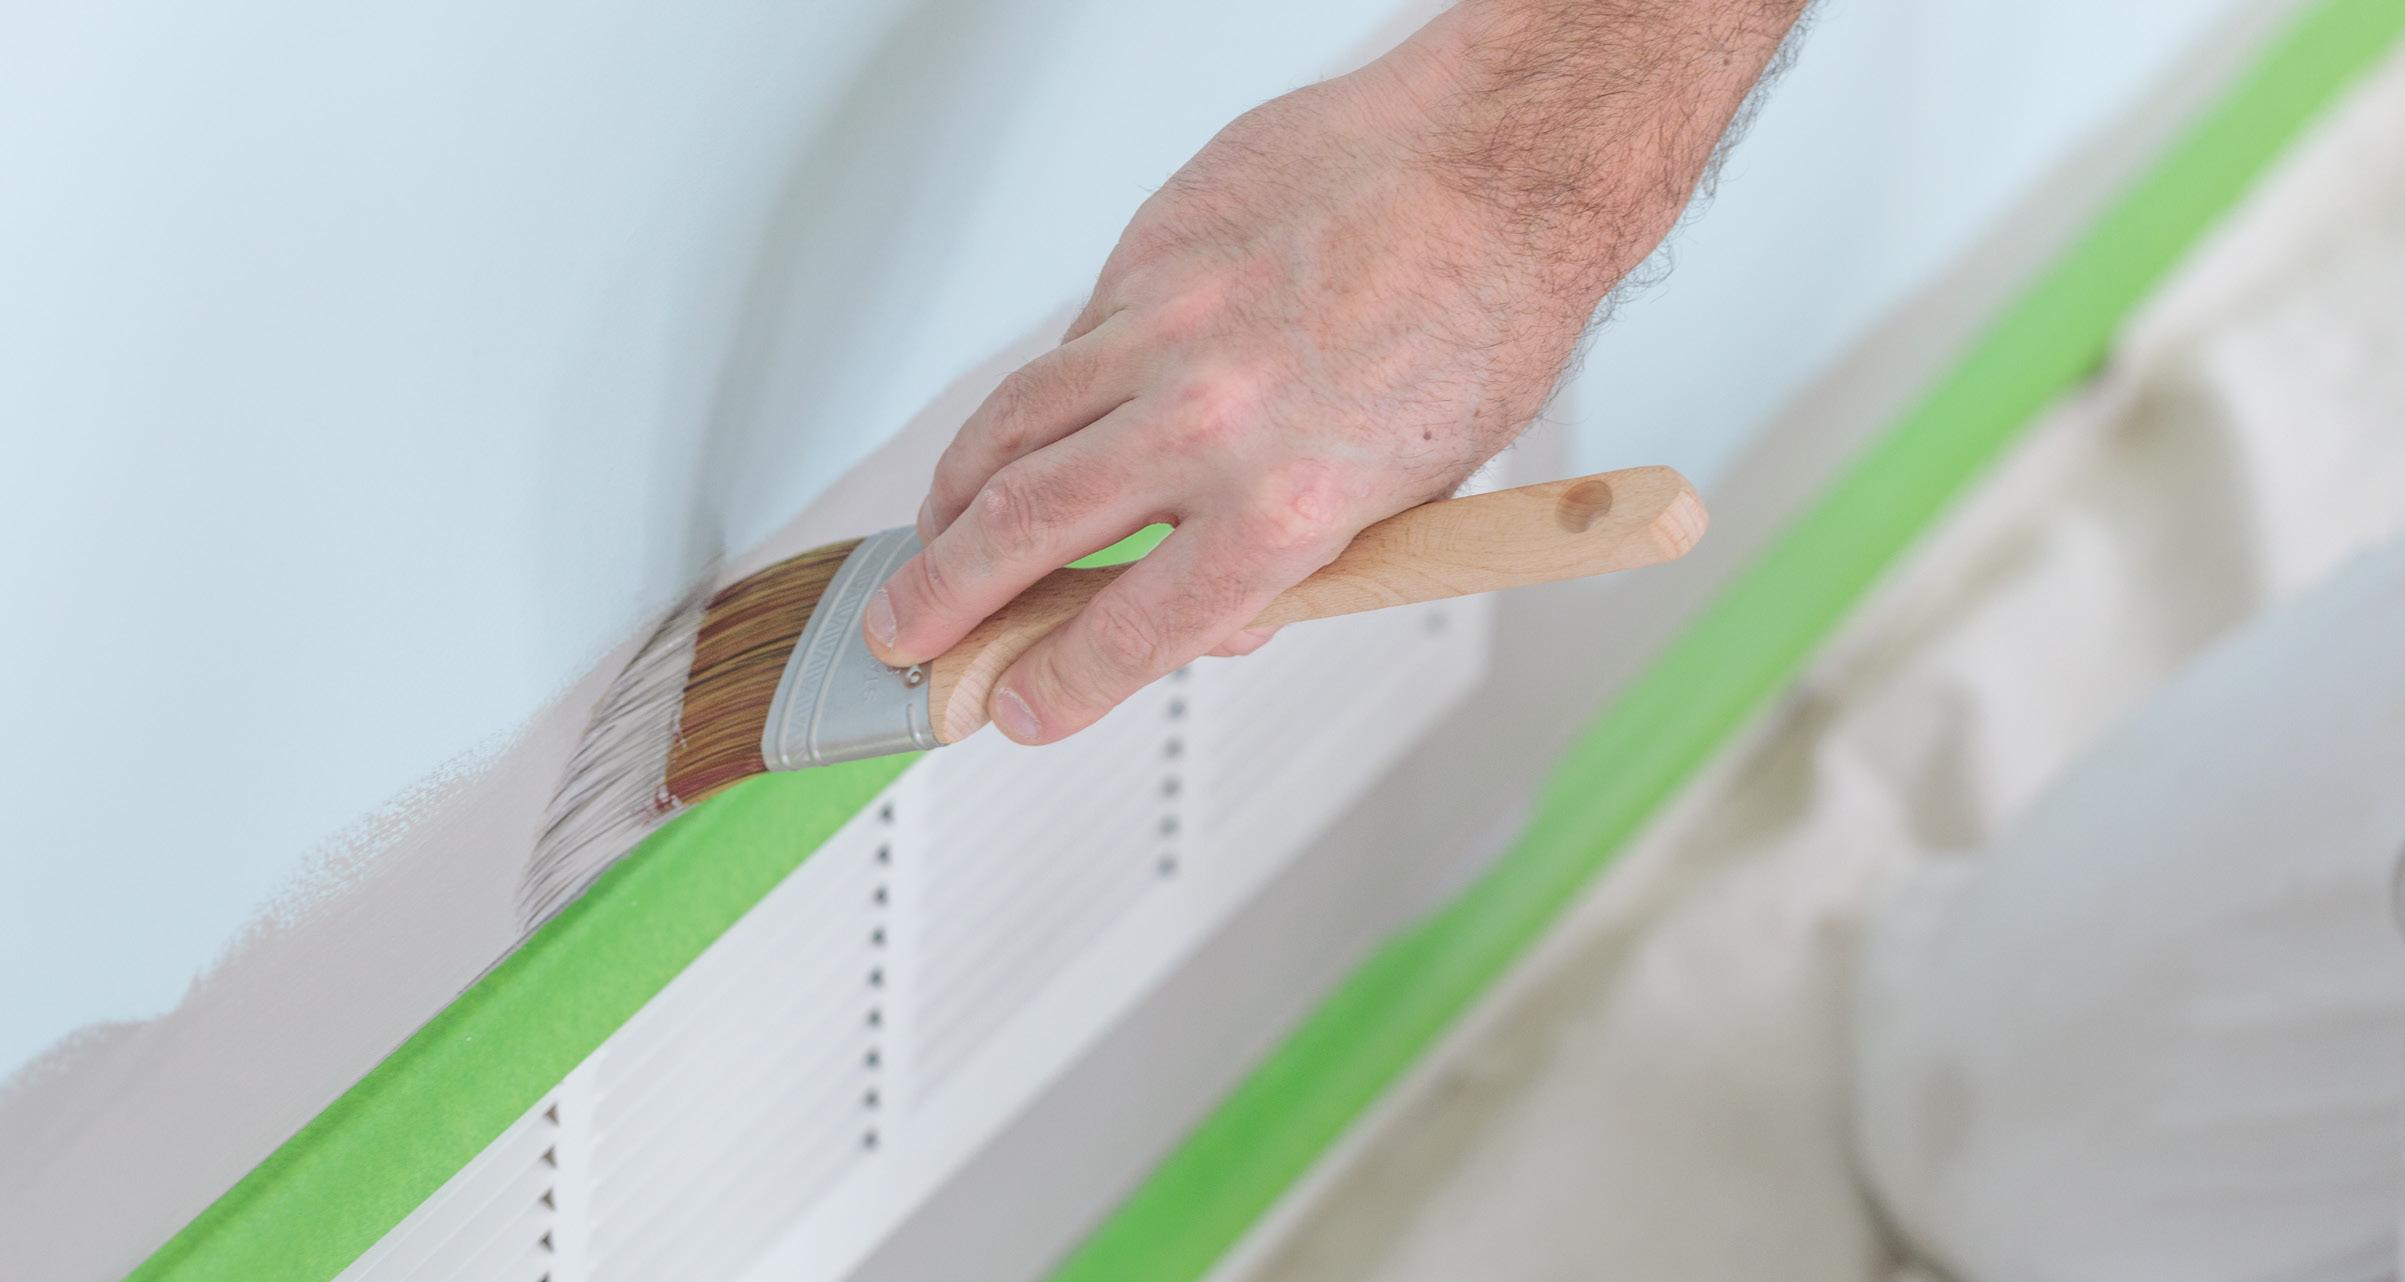
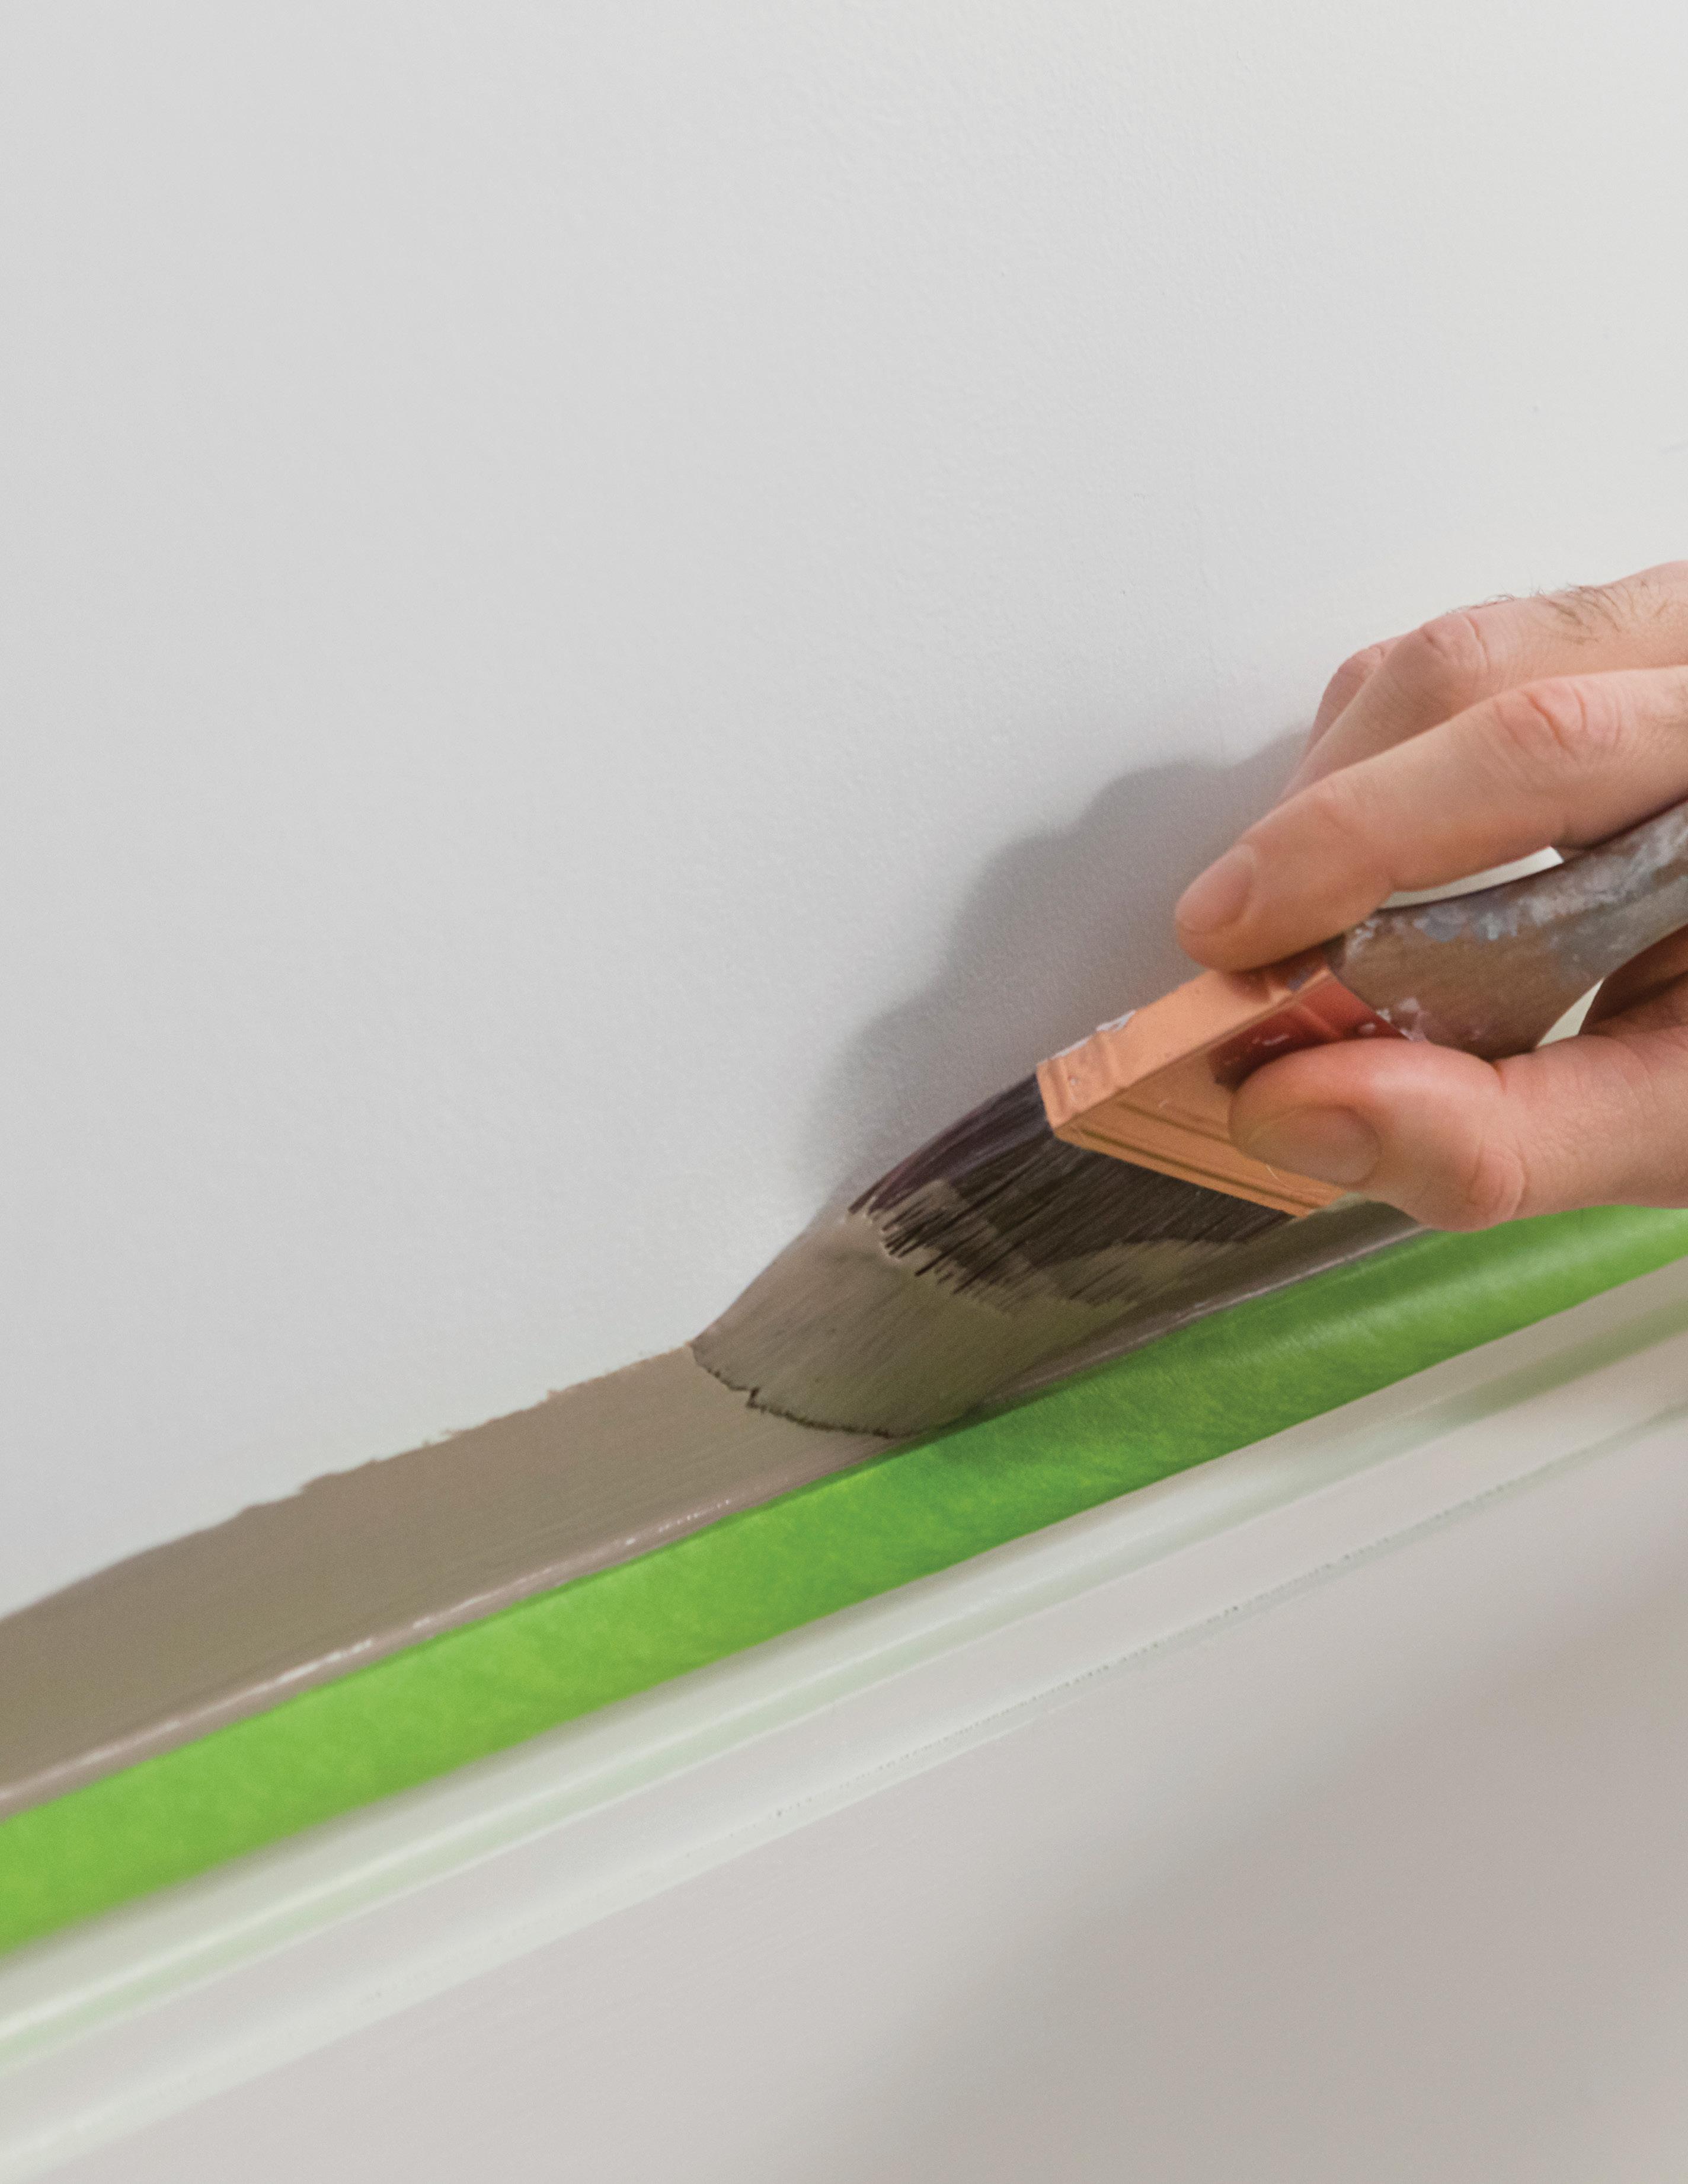
PROPER PAINTER’S TAPE APPLICATION AND REMOVAL
Like any tool, painter’s tape works most effectively when you use it the right way. Here’s a step-by-step guide for how to apply it and remove it.
1 2 3 4
Start by making sure your surfaces are dust- and debrisfree. These particles can prevent a tape from bonding properly with the surface, resulting in messy paint lines.
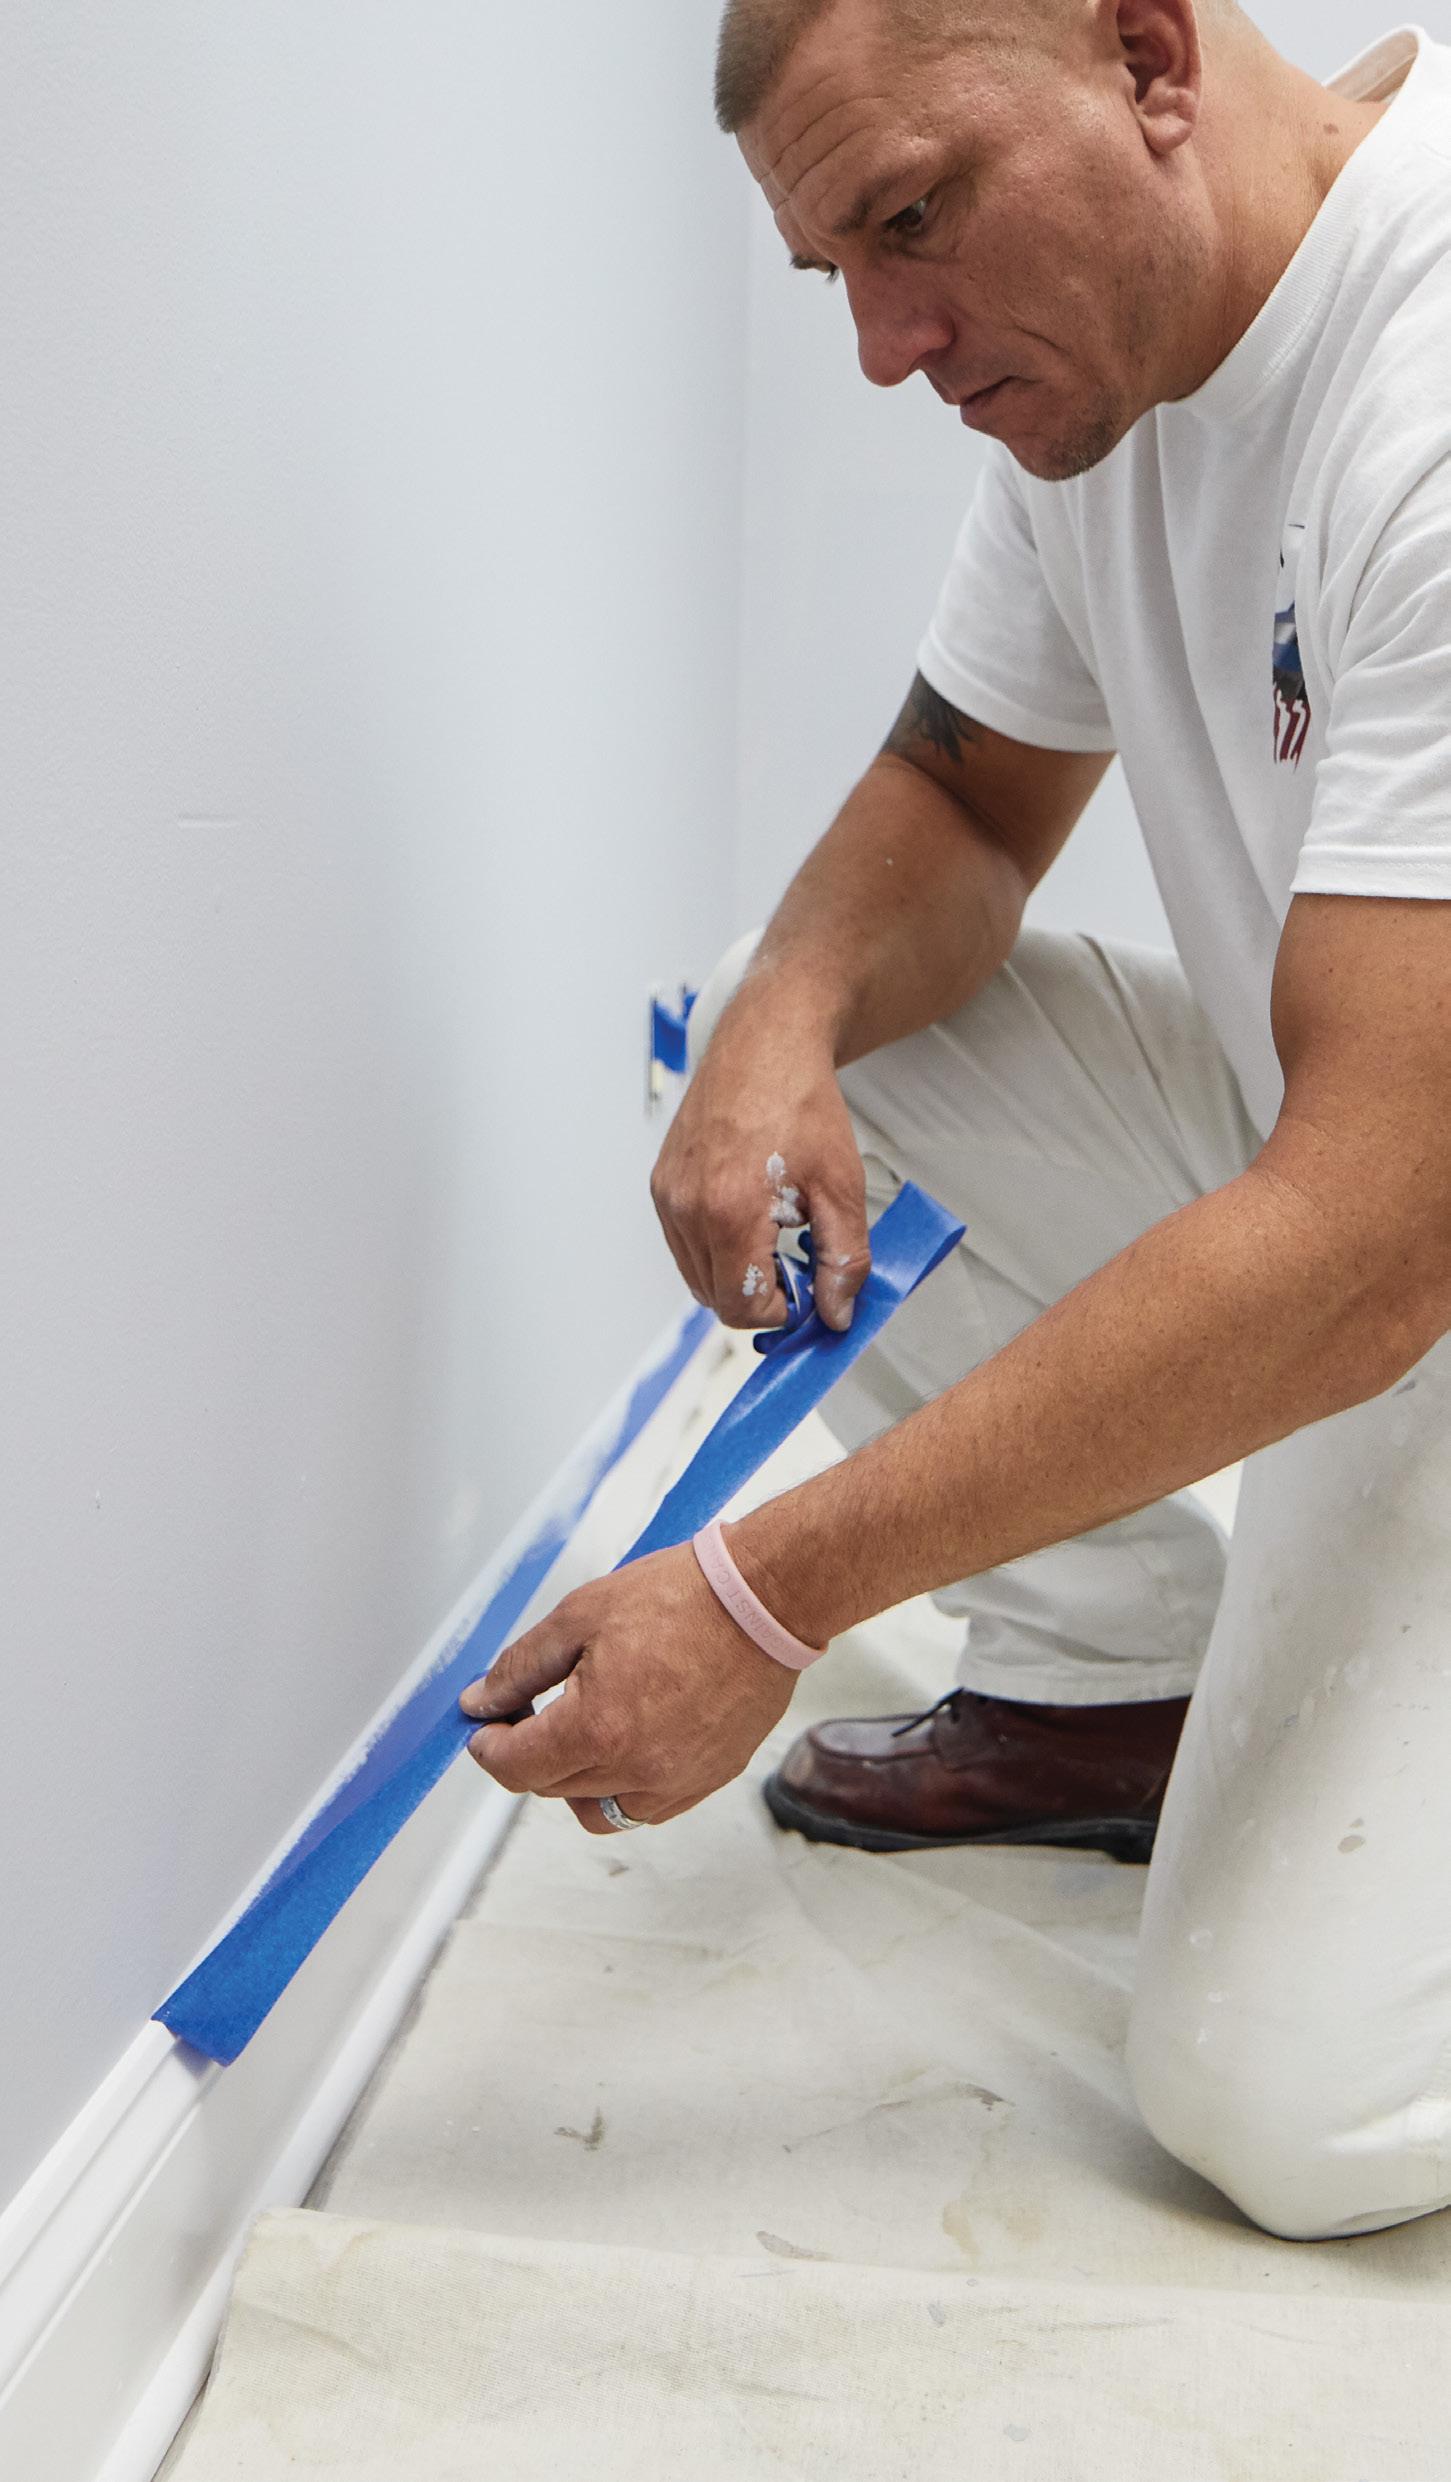
Next, keep the roll flat against the wall so that you only cover the trim without getting any tape on the wall. New painters should try pulling tape off the roll in slightly smaller sections to ensure a straight line and to avoid stretching the tape.
Then eliminate all gaps and seal the edges of the tape by rubbing a firm, plastic tool or card along your tape—often referred to as “burnishing.”
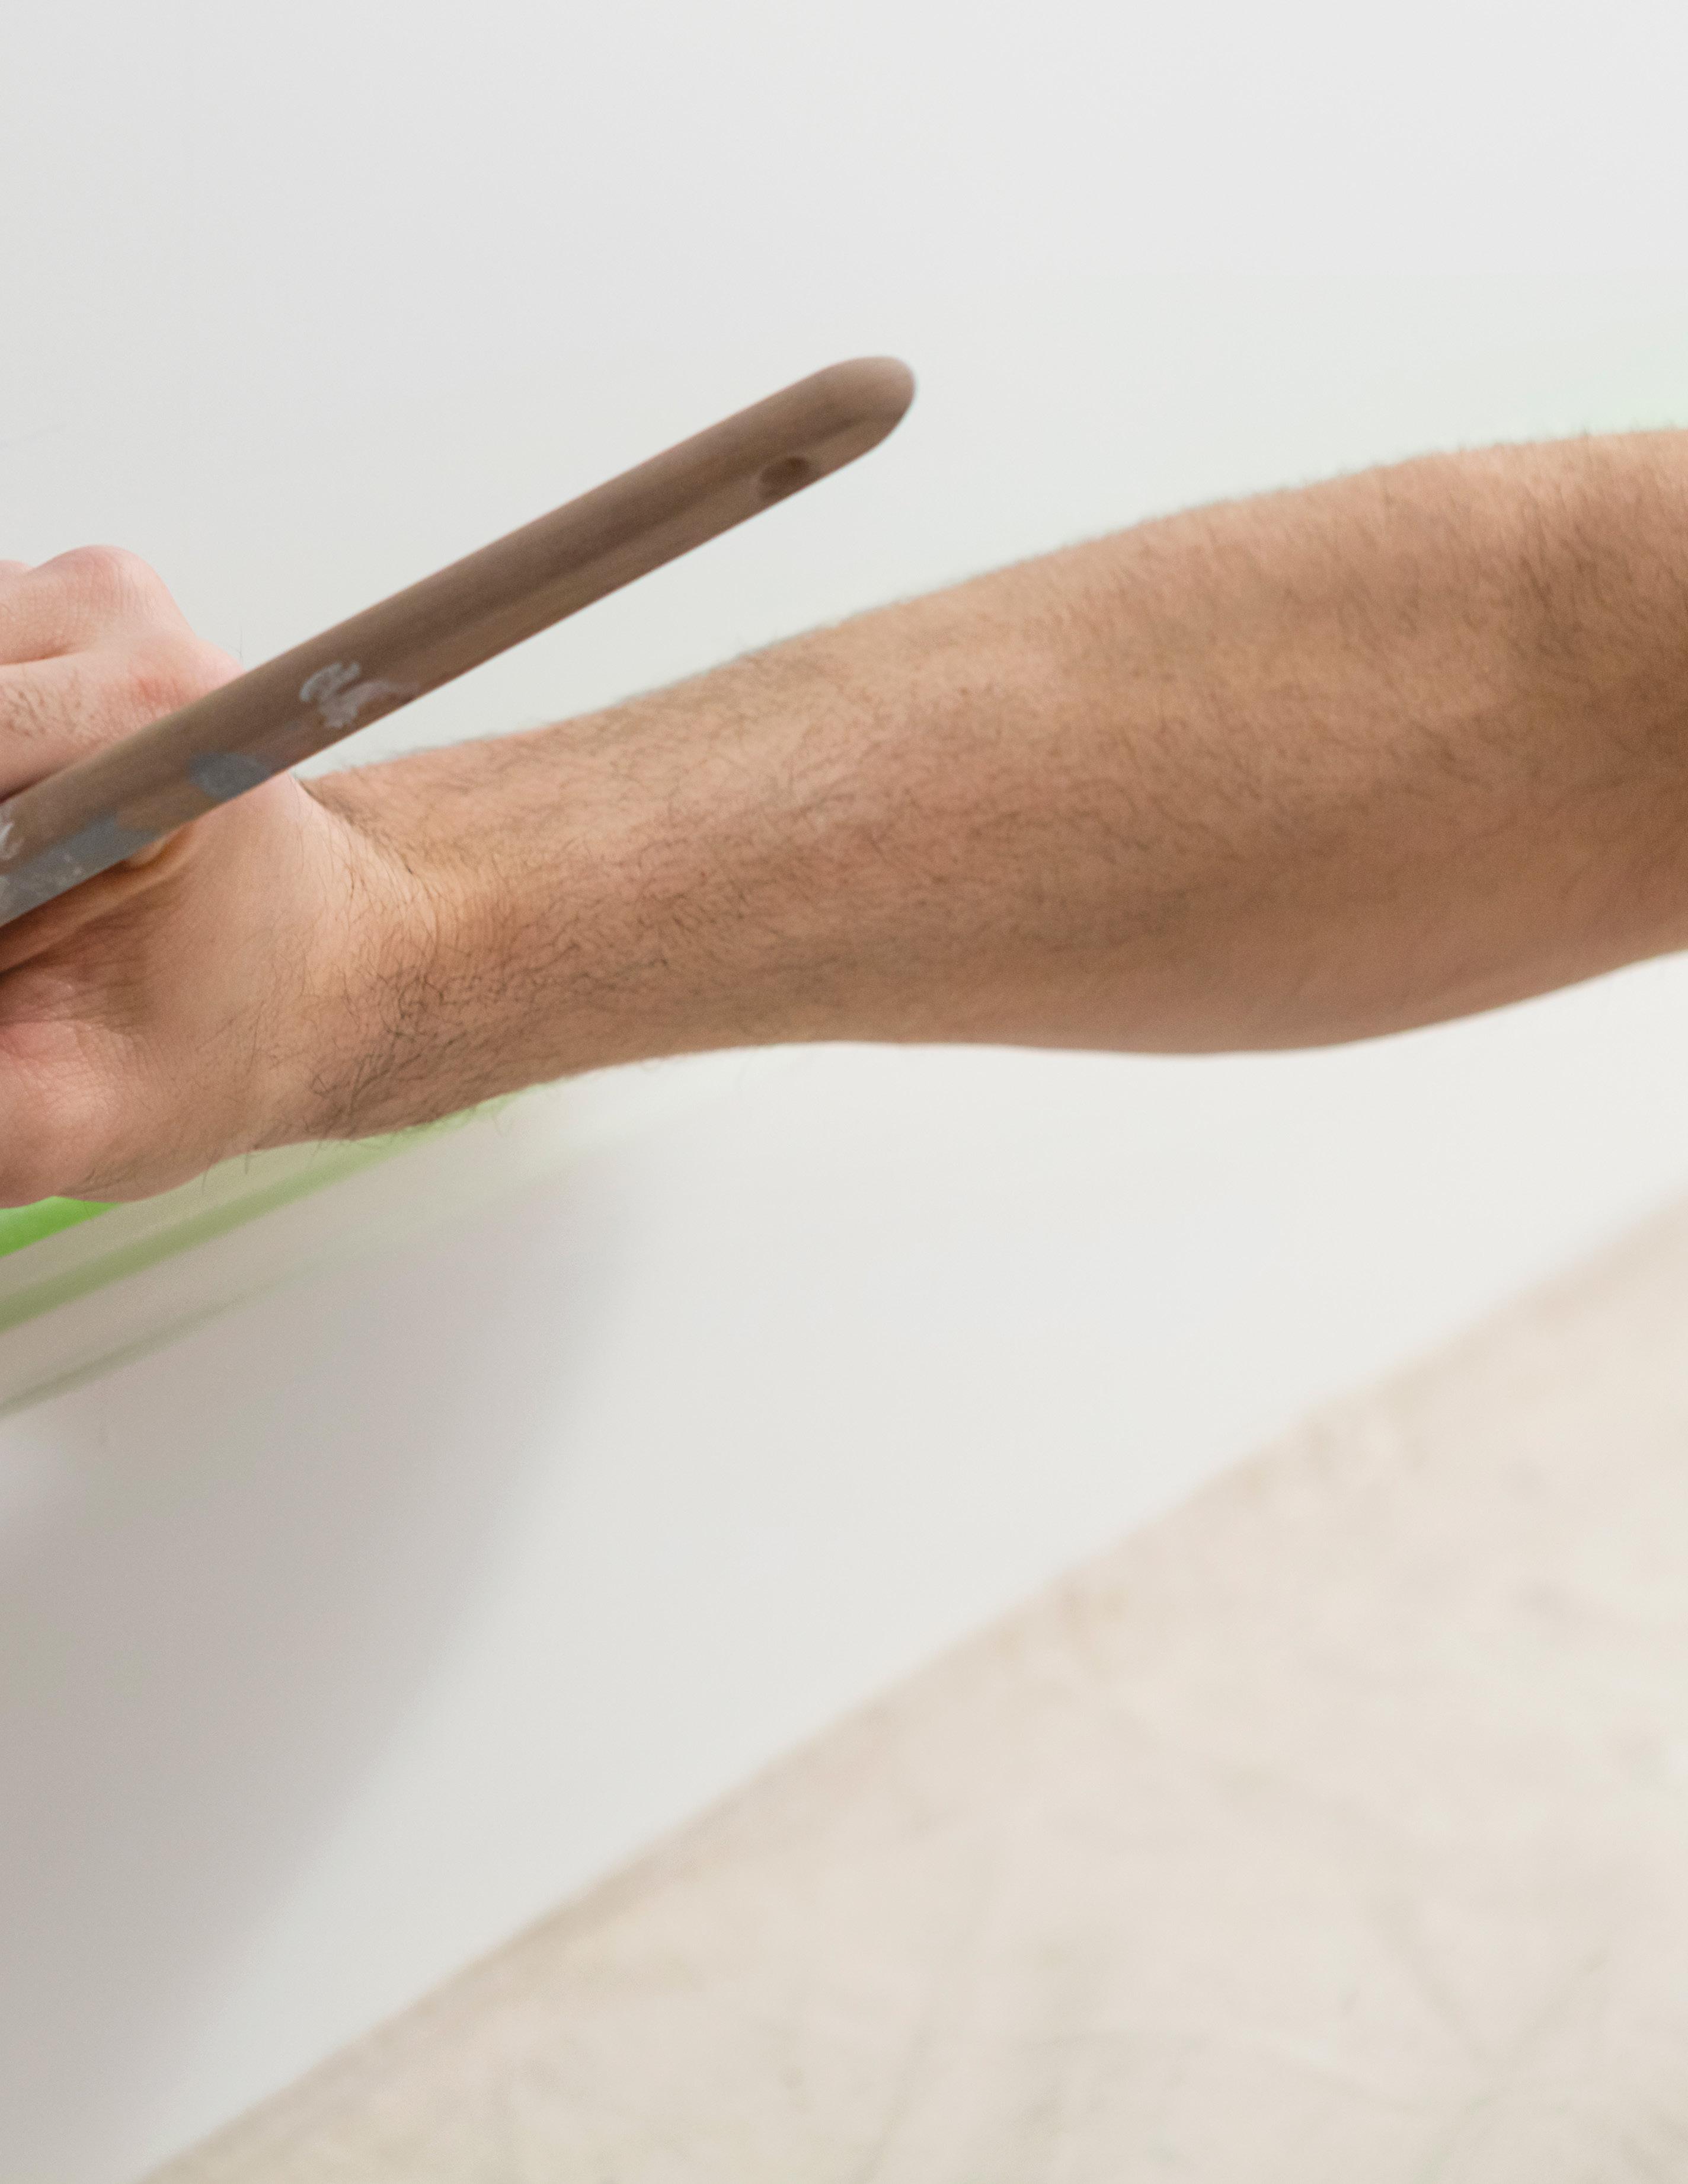
After painting, for best results, remove the tape while the paint is still wet. Pull it backward slowly, at a 45-degree angle to achieve crisp, professionallooking lines.
It is important to make sure the paint has not bonded with the tape, as this can result in an uneven edge when the tape is removed, taking pieces of paint with it. To prevent this, use a razor blade to break the bond between the tape and the paint, then pull back slowly. If you notice any tearing, this is generally a sign that you are pulling the tape too fast.
10 ROOKIE PAINTER’S HANDBOOK PAINTING SKILLS [ SECTION 01 ]
THE SECRET TO PAINTING STUCCO

MAKE STUCCO A BREEZE
With its surface inconsistency and tendency to crack, stucco is a tricky exterior surface to prep and paint. The Idaho Painter, Chris Berry, and Journeyman John of The Paint Life Academy share four ways to make stucco jobs easier.
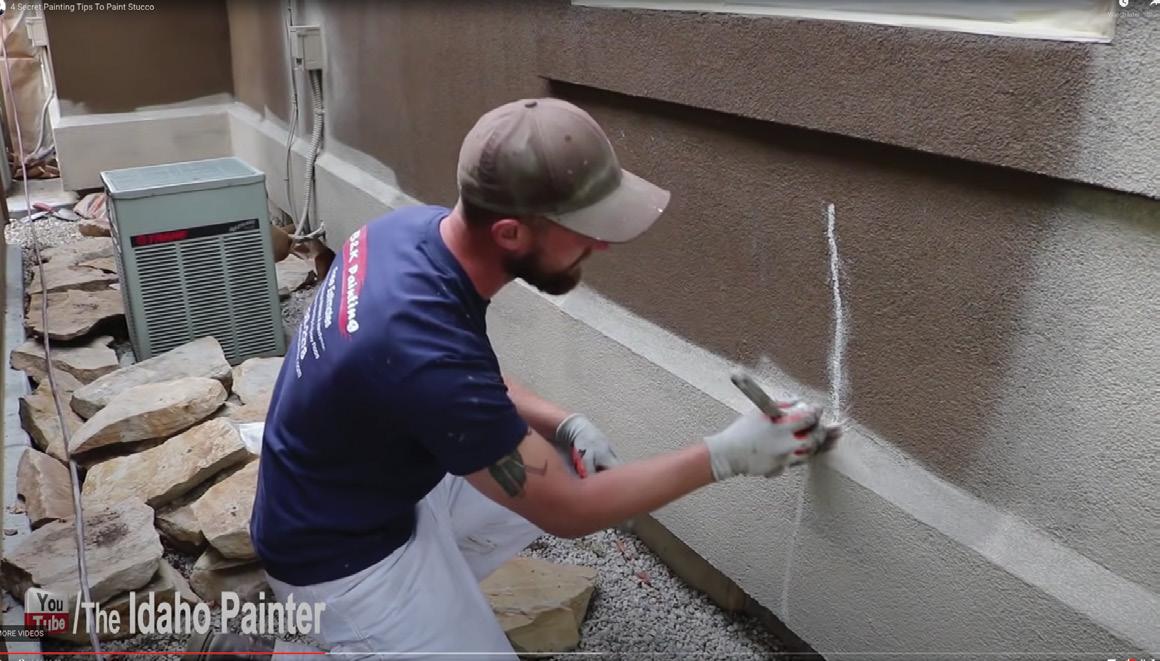
WATCH THE VIDEO NOW
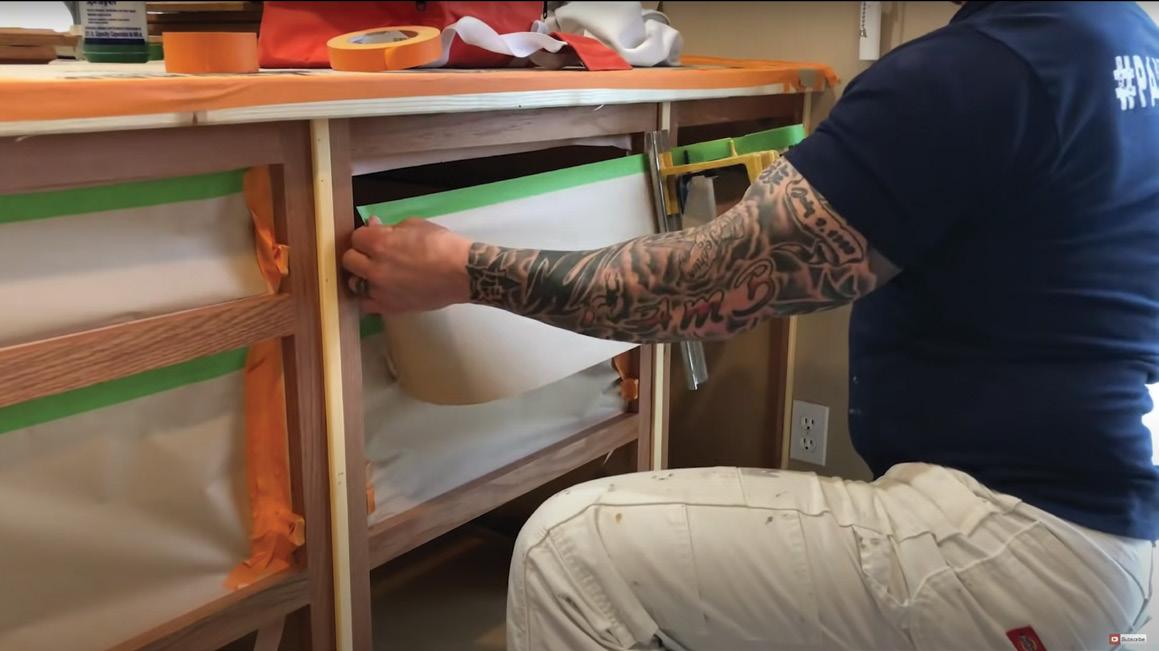
MASKING CABINETS
GET PRO RESULTS
Painting cabinetry is one of the skills that separates pros from novices. And like most painting jobs, much of the skill lies in the prep work. Watch this Paint Life Academy video for tips on achieving pro results with cabinets.
WATCH THE VIDEO NOW
11 A HOW-TO GUIDE FOR NEW PAINTING PROS
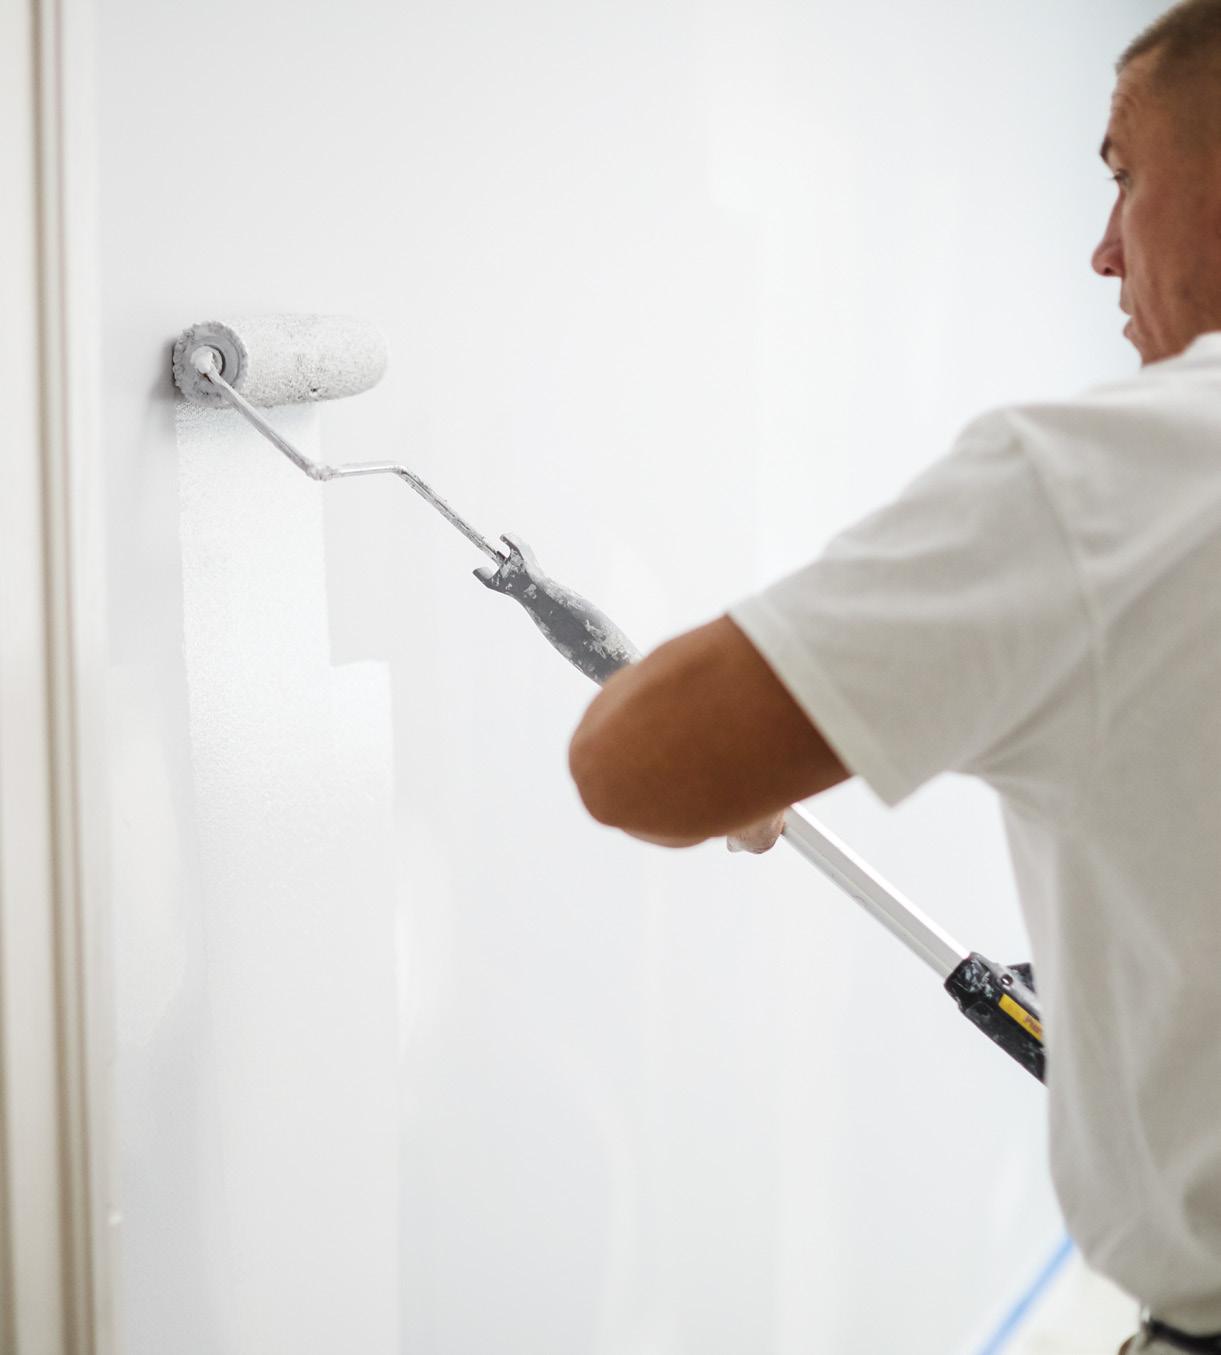
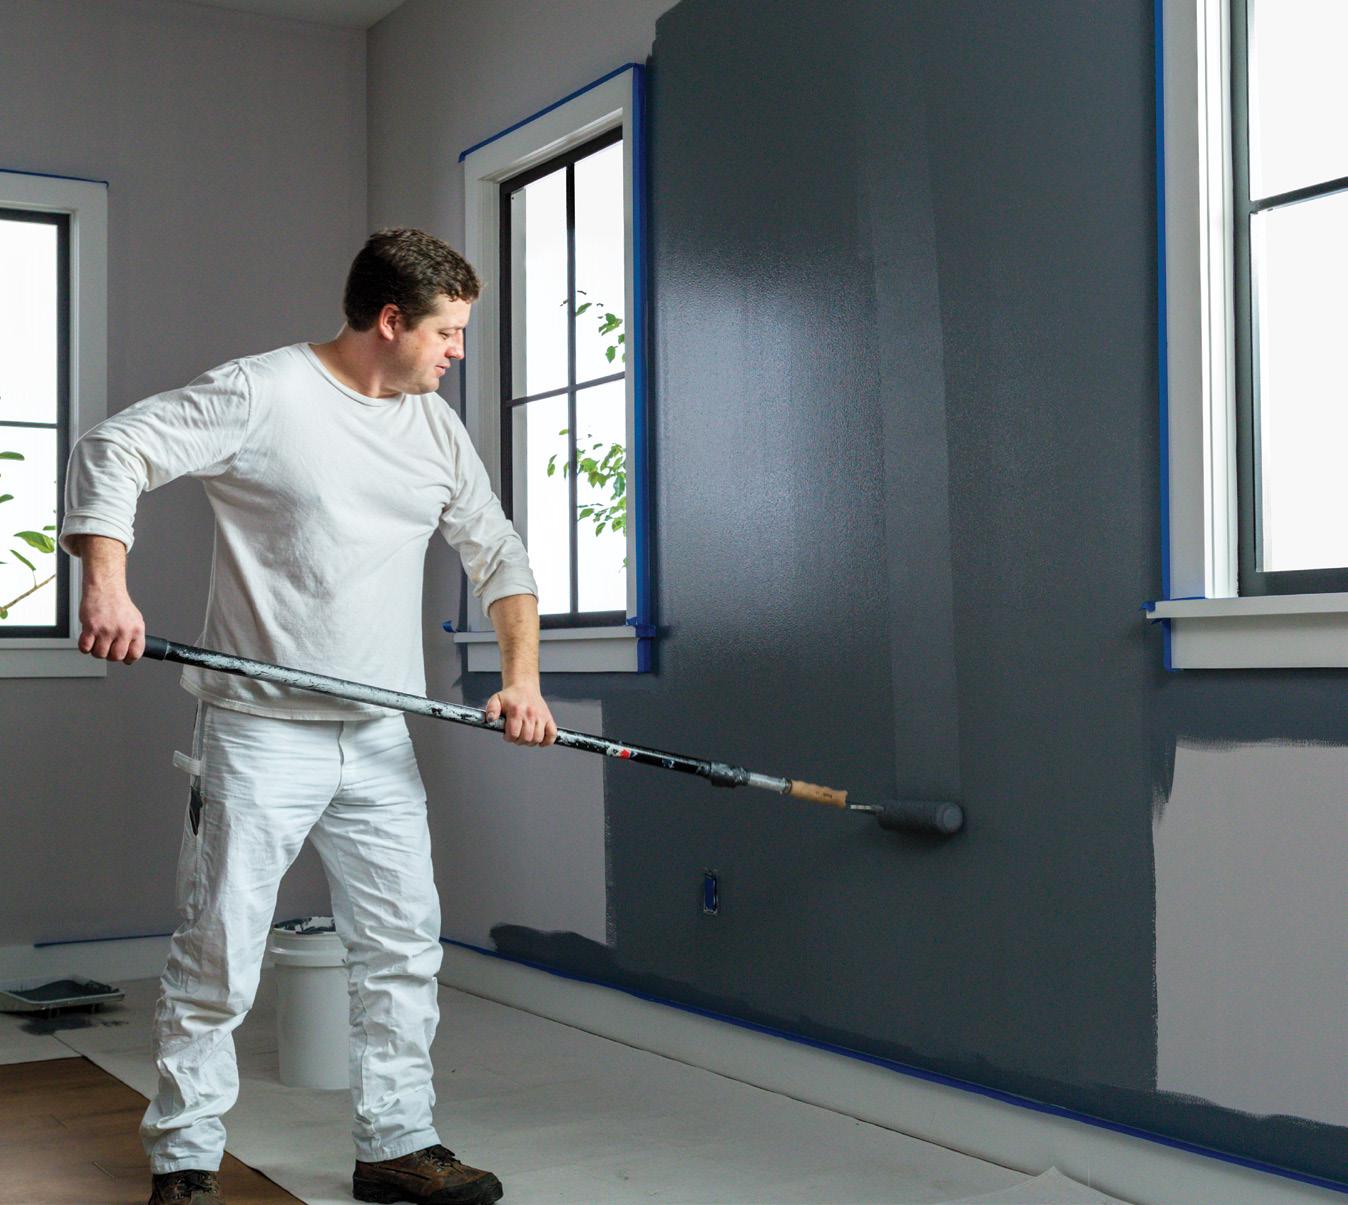
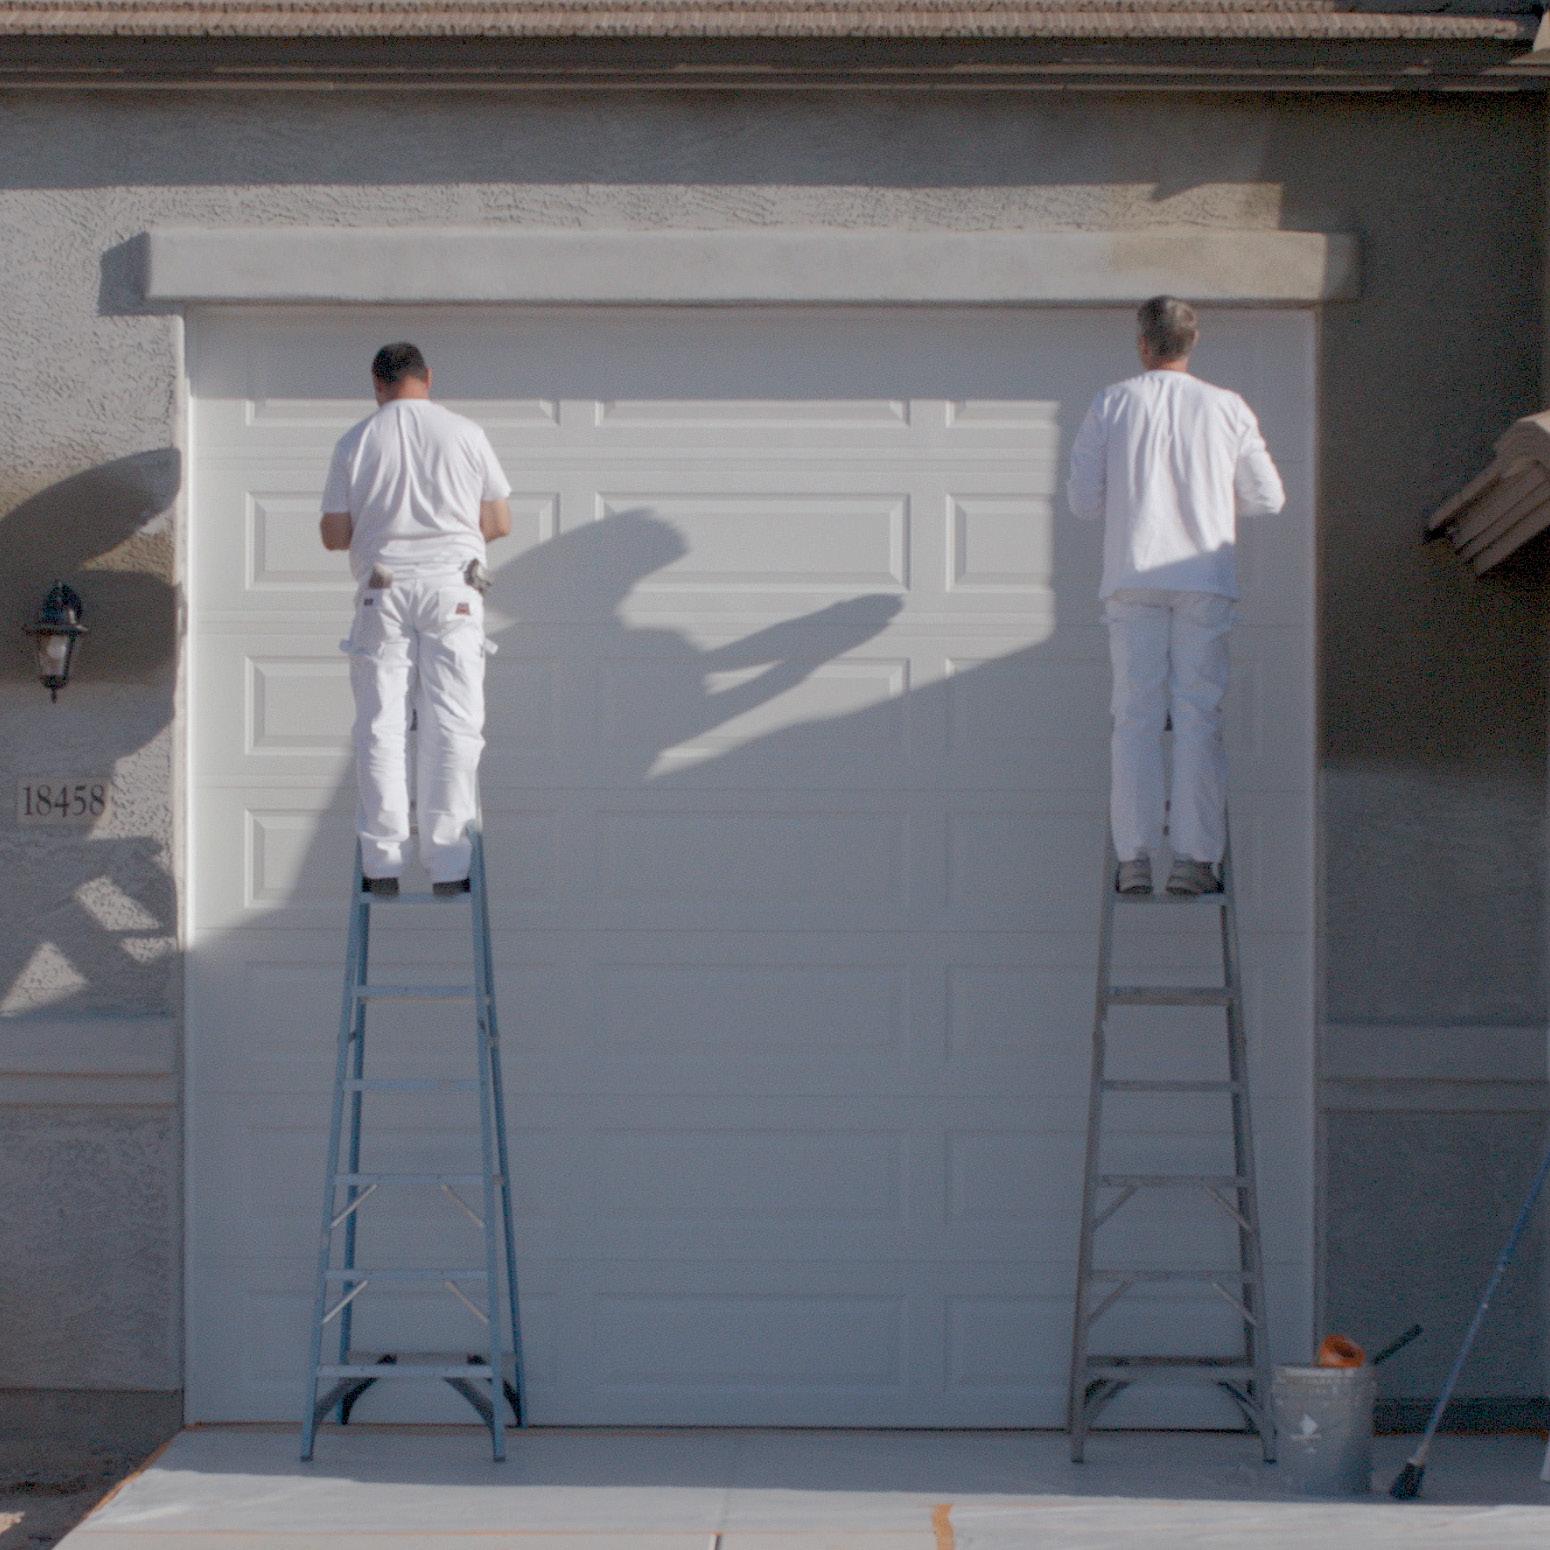
APPLICATION 101: BRUSHING, ROLLING & SPRAYING
Brushing, rolling and spraying may seem simple, but we can always learn how to work smarter and produce better results from painting professionals with experience. Here, we’ve gathered some of the most important fundamentals from around the painting industry to help you master the technique for each type of application.
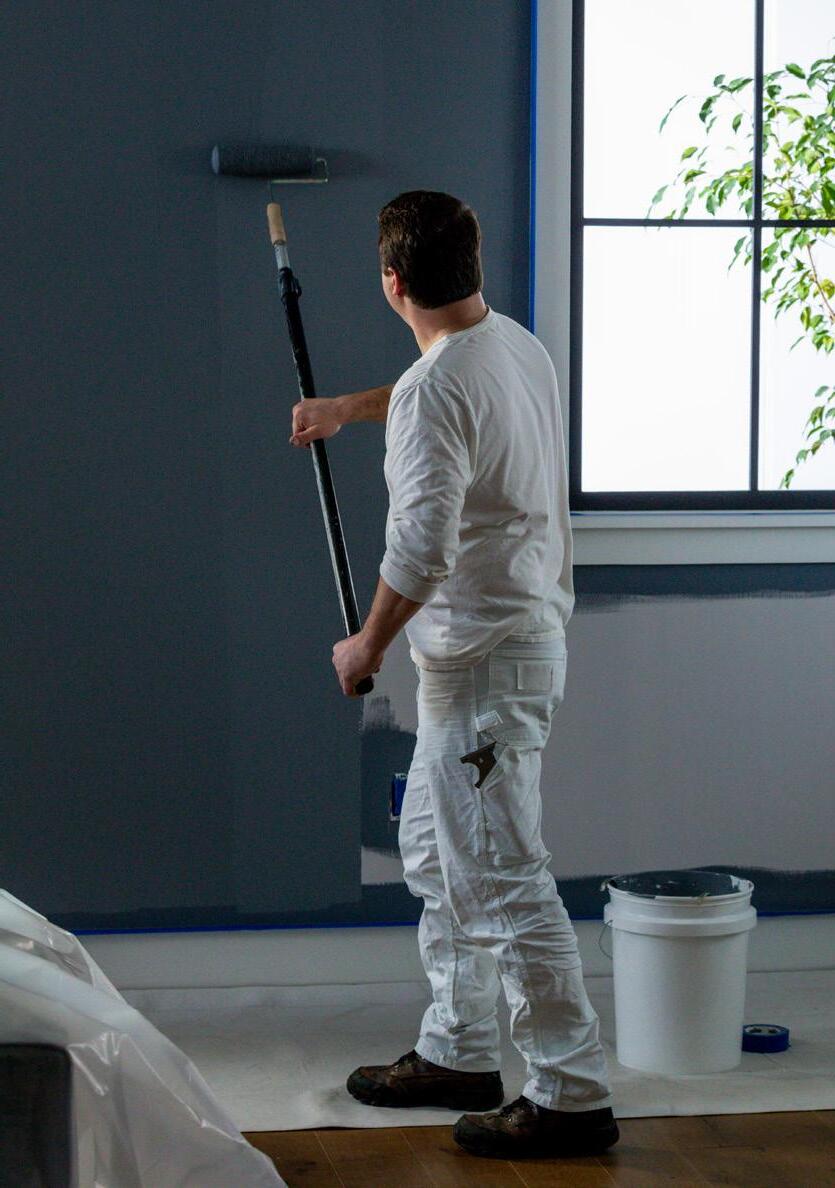
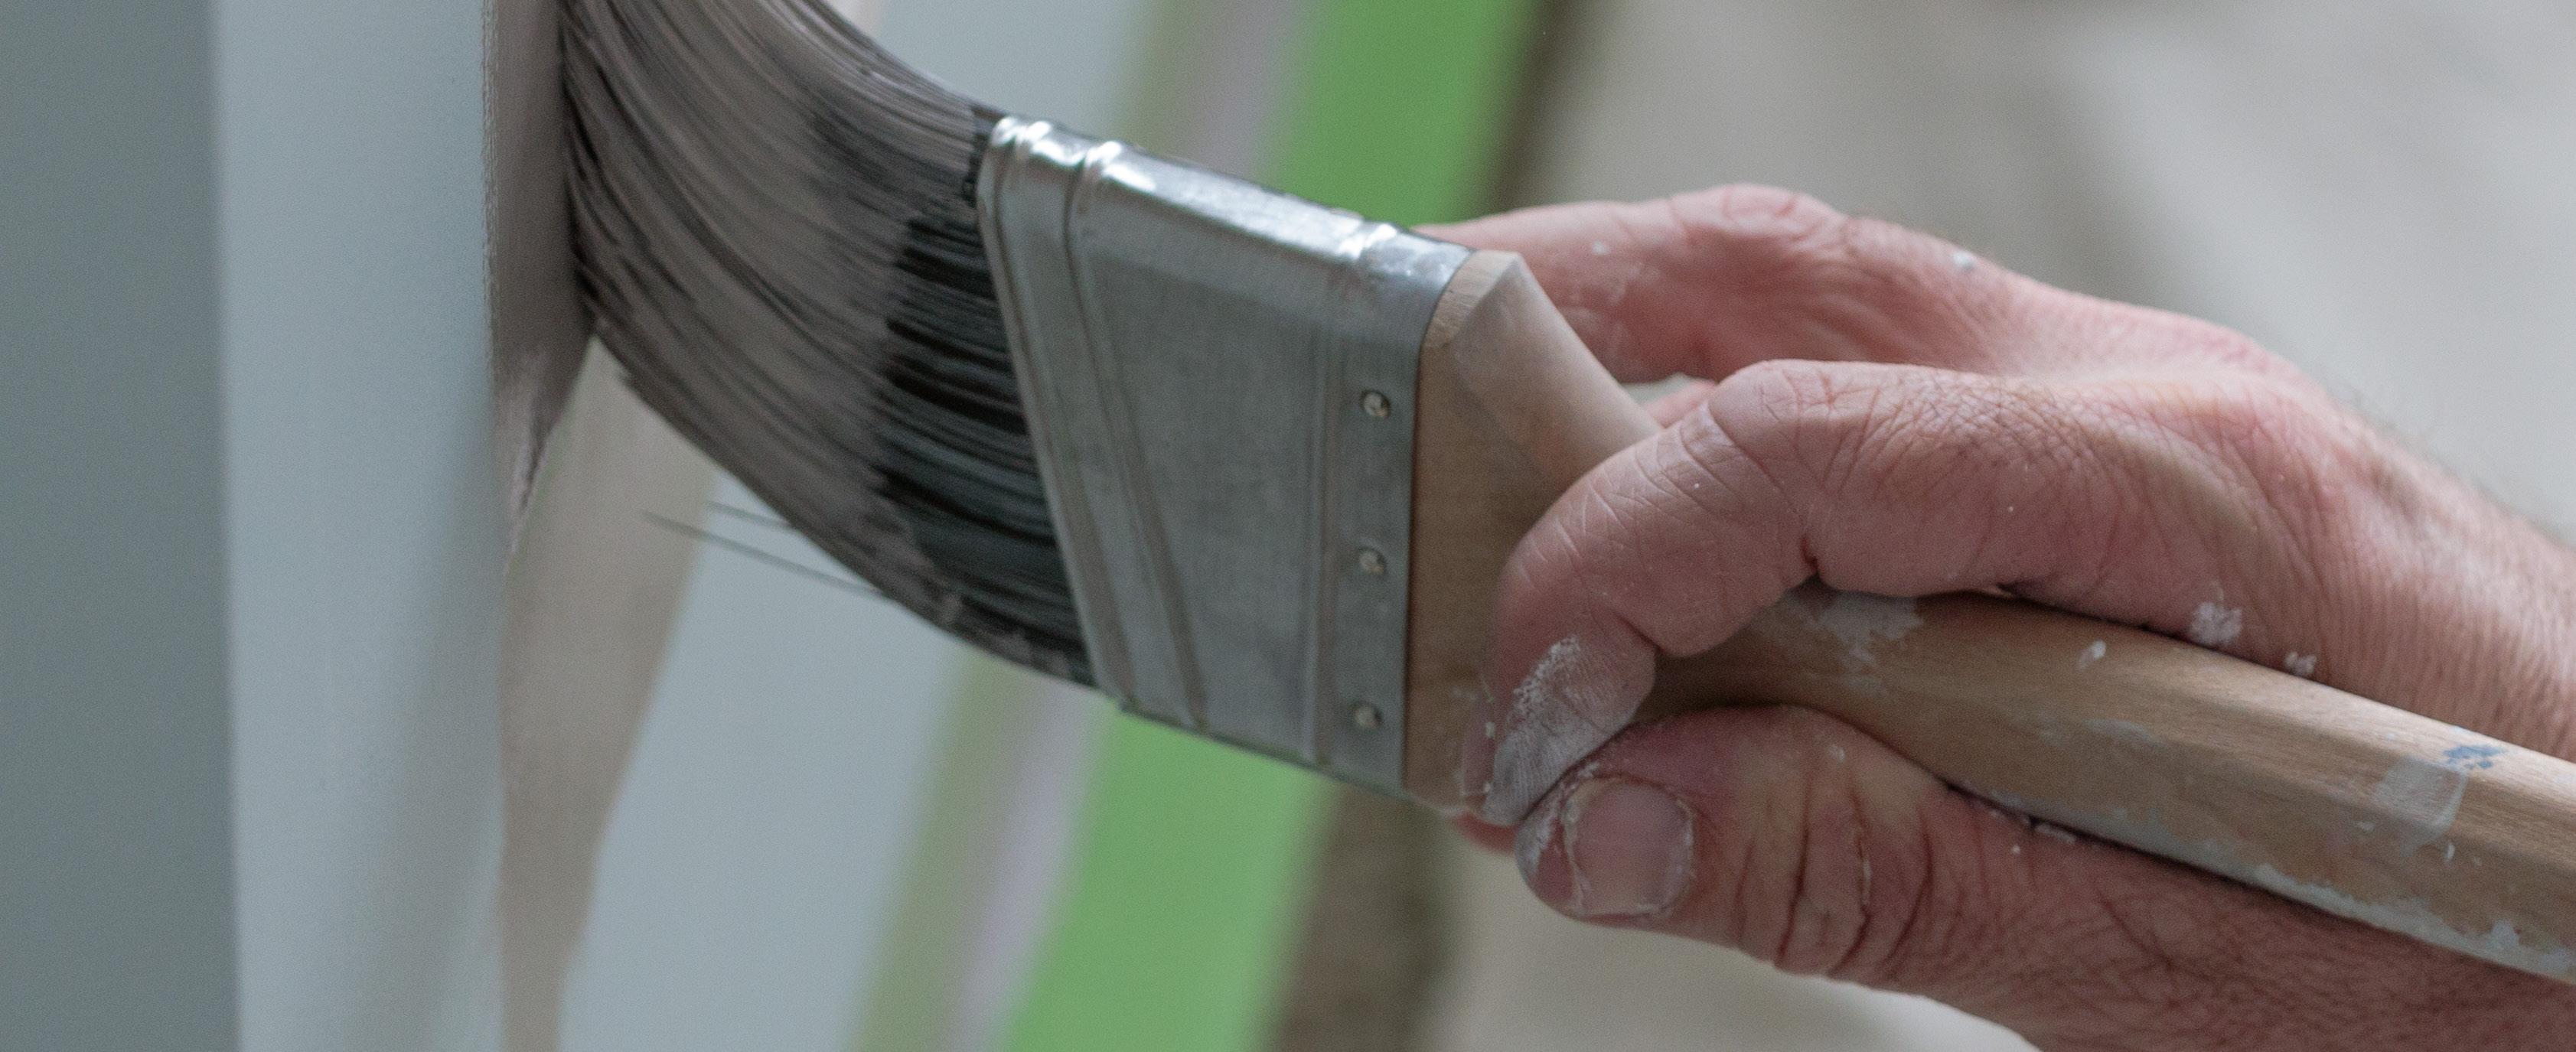
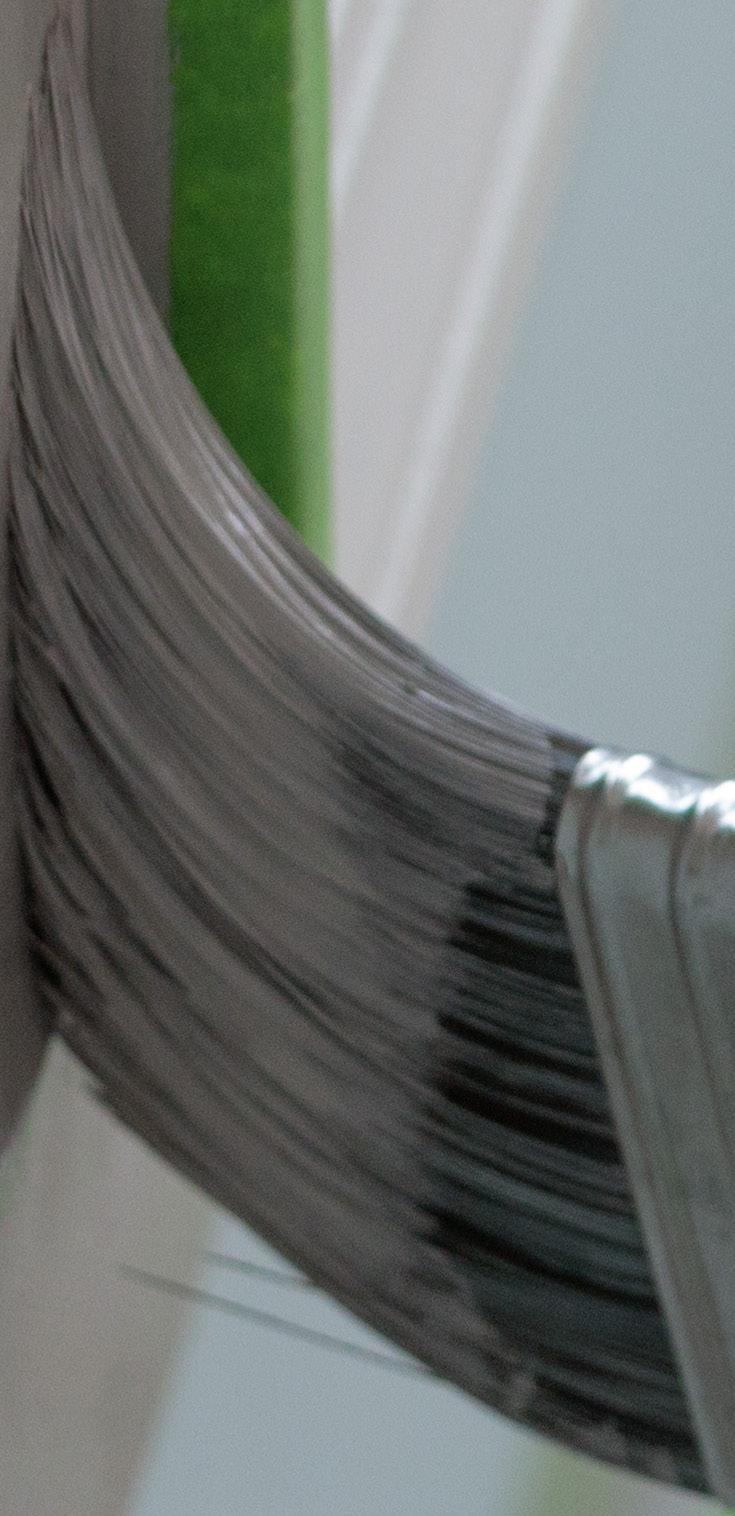
BRUSHING
Brushing is the most versatile application method. Technically, you can apply paint with a brush anywhere. But efficiency is key on the jobsite, so it’s best to limit brushing to areas too small or detailed for rolling or spraying, such as corners, edges, door and window frames, doors, trim and baseboards.
1. Select the right paint brush with the size, bristle type and tip angle best suited for the job. For tips on brush selection, check out Section 02: Tools of the Trade.
2. When painting a wall or ceiling, cut in the edges first. Using the narrow side of an angled brush along with properly applied FrogTape® Brand Painter’s Tape will create a clean edge. After cutting in, switch to a roller or sprayer if possible to cover larger fields more quickly and efficiently.
3. Always work from top to bottom so that you are working with gravity and the natural spread of the paint.
4. When loading the brush, only dip about one-third of the bristle length into the paint. Avoid immersing the entire bristle length, as this can lead to dripping and paint waste. To achieve optimal loading, lightly tap the brush on the side of the paint can or tray instead of dragging it. This loads more paint into the brush
so you get better coverage with fewer trips back to the can or tray. (Remember— efficiency is the name of the game).
5. Overlap your brush strokes by about 50% to maintain a wet edge and to avoid an uneven surface.
6. When you finish painting an area, lightly brush over the area in a consistent direction to level out the brush strokes and create a clean finish.
12 ROOKIE PAINTER’S HANDBOOK PAINTING SKILLS [ SECTION 01 ]
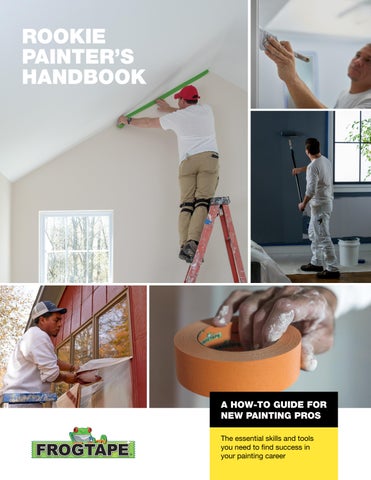
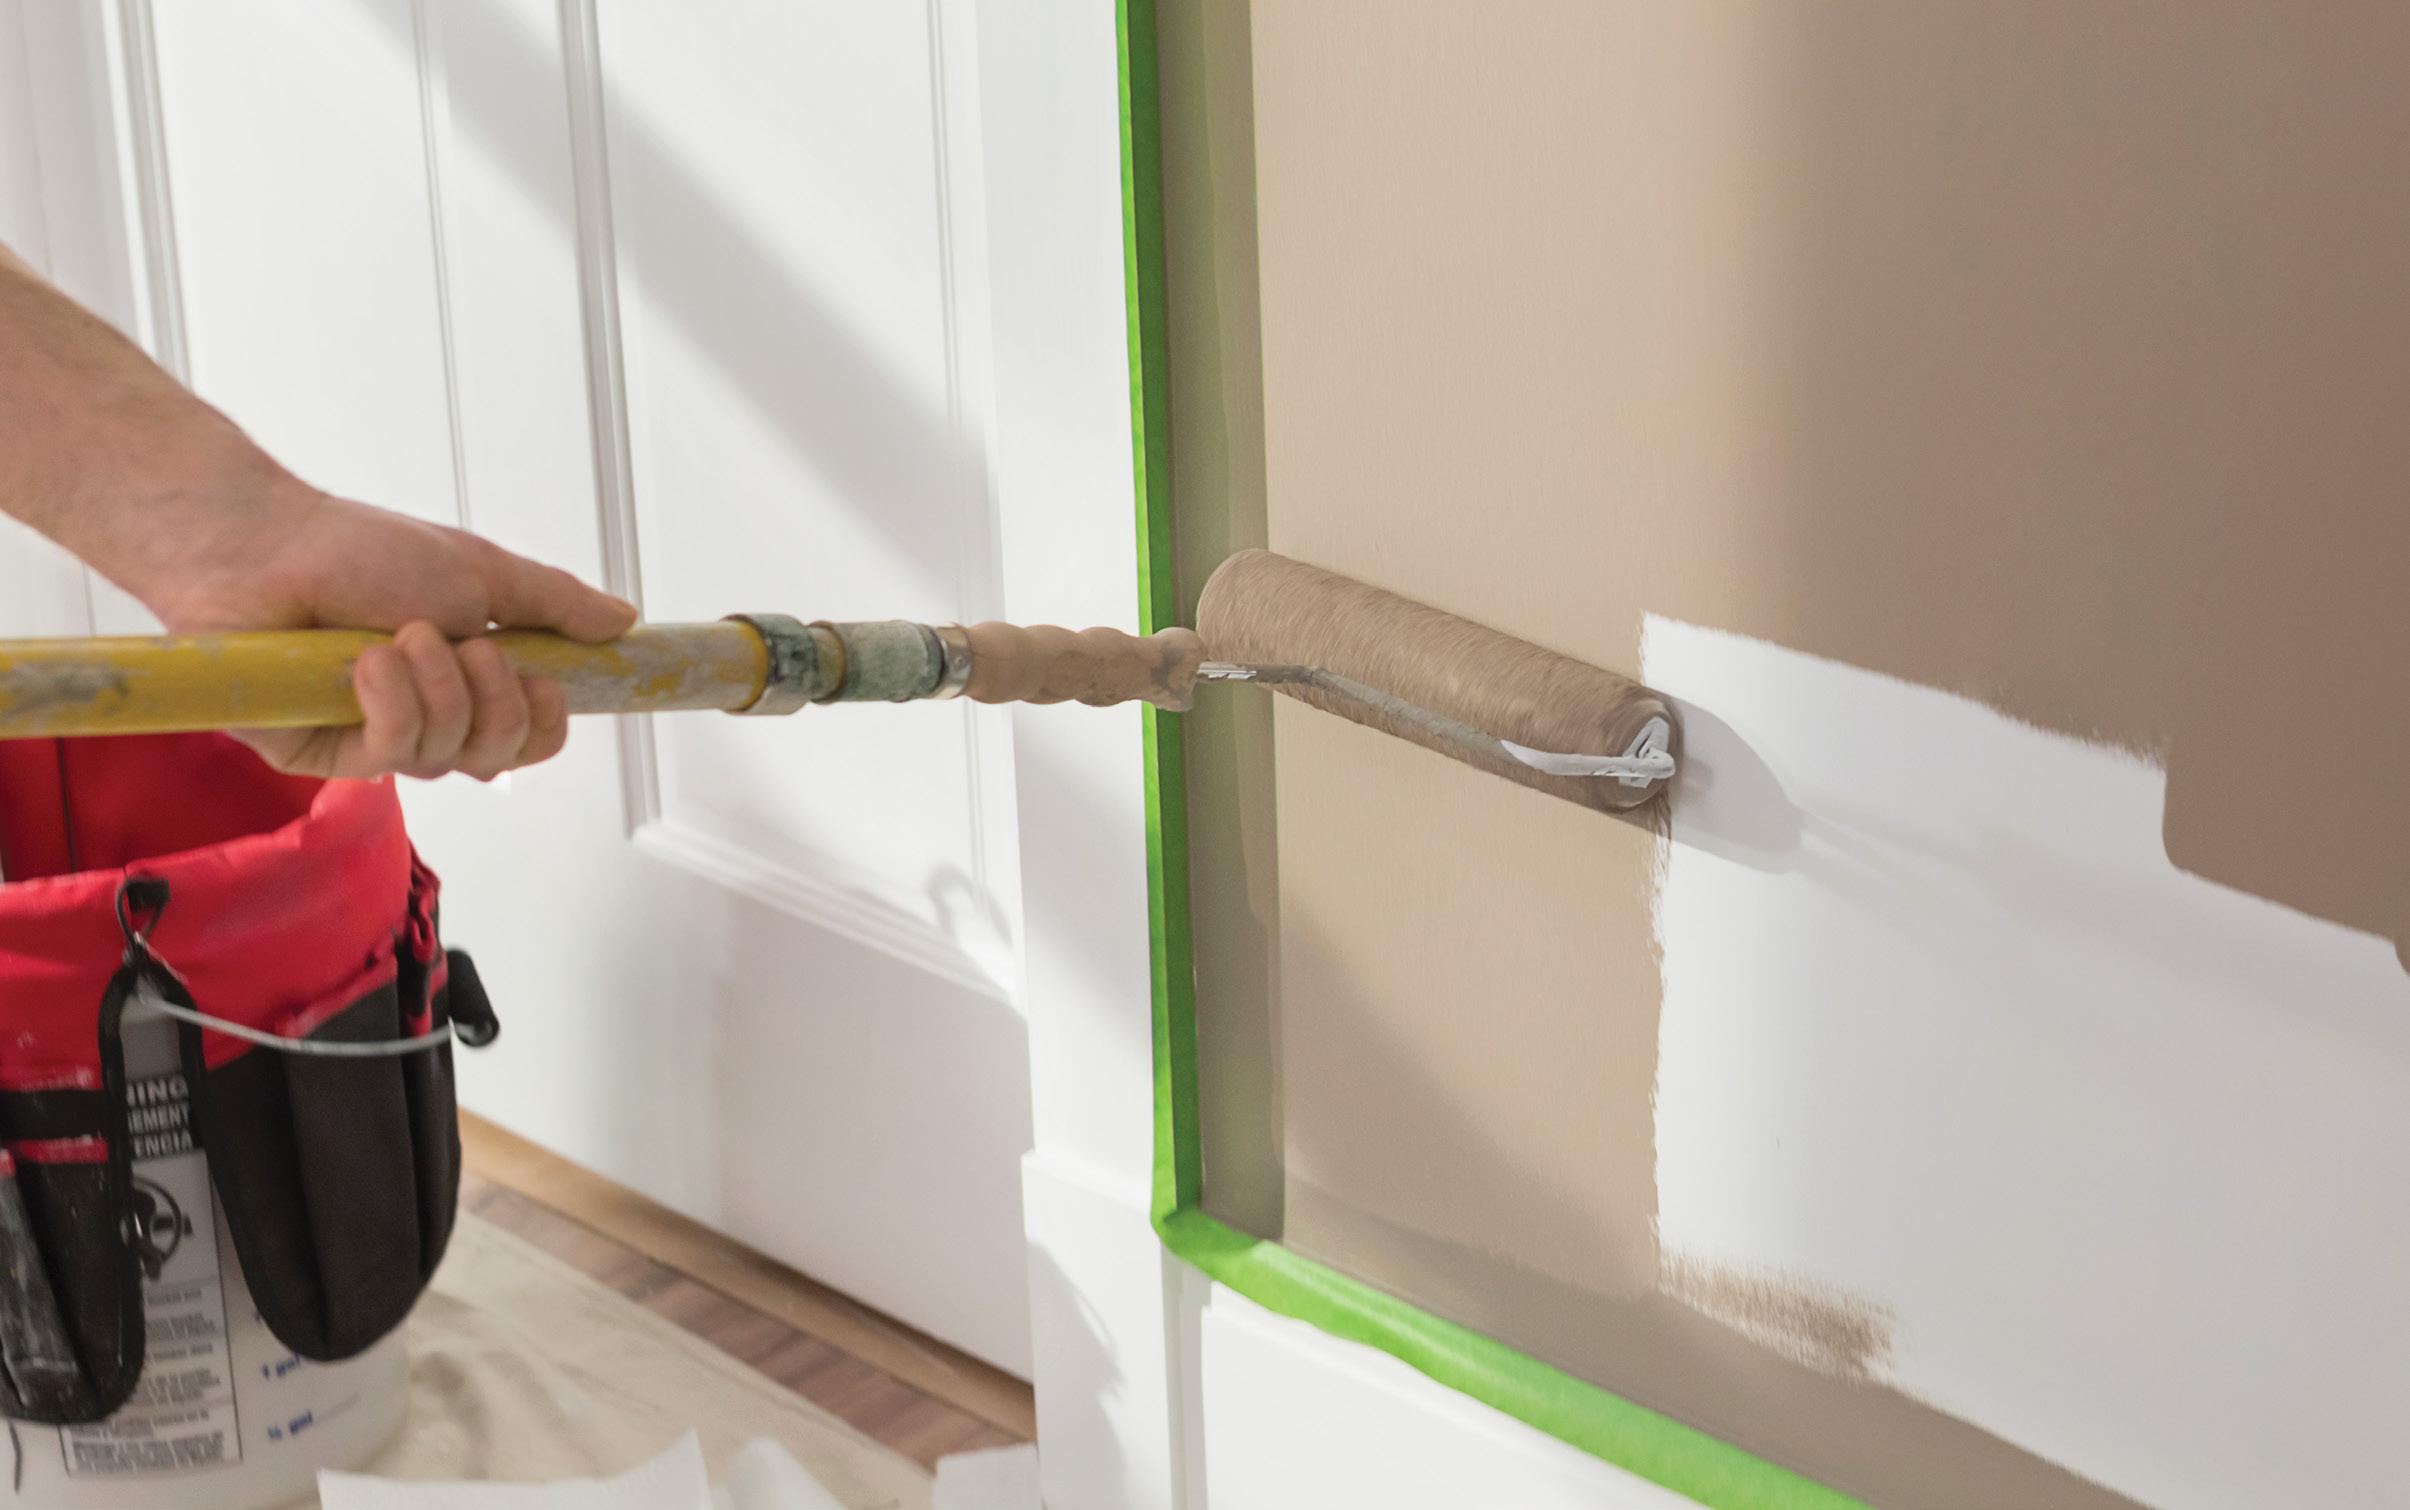
ROLLING
For the average interior residential repaint, the majority of surface area will be covered by rolling. Larger than a brush, but more controlled—and affordable— than a sprayer, rollers are ideal for walls and ceilings. Rolling is also recommended for textured surfaces like stucco, concrete and brick that are difficult to cover with a brush.
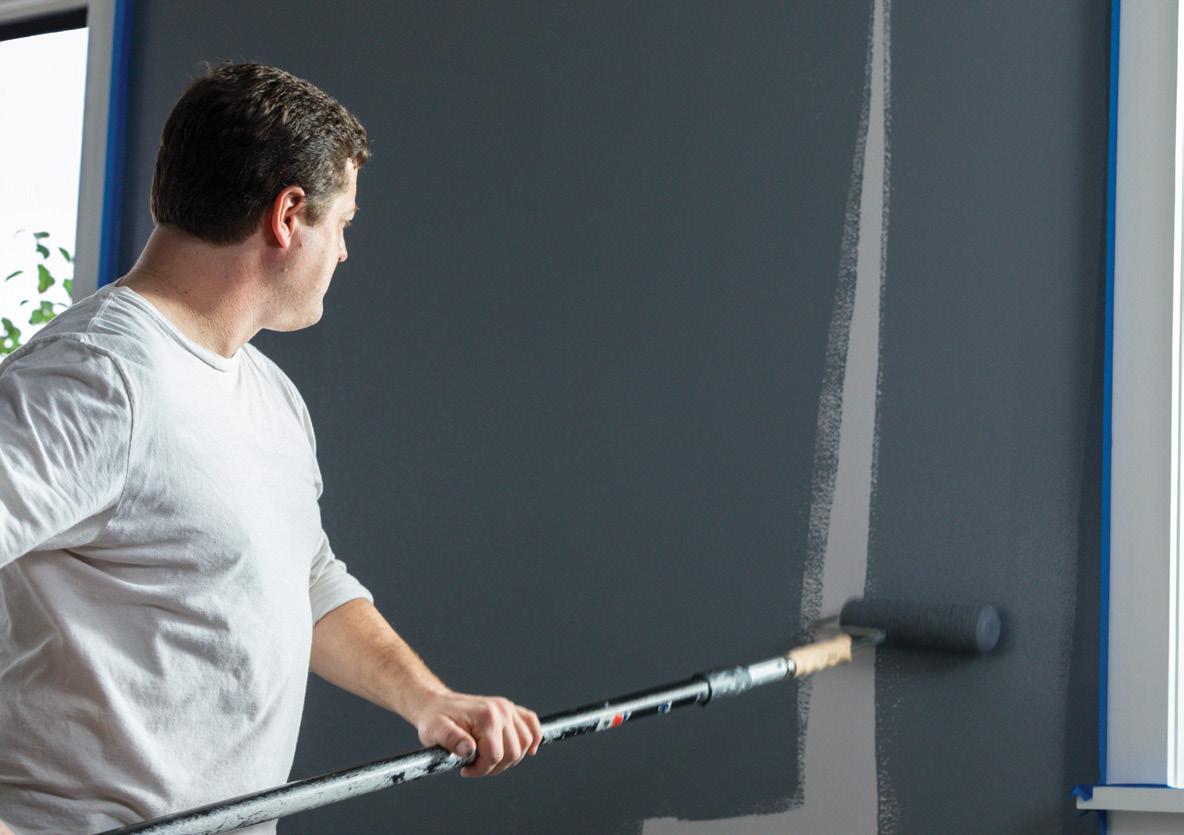
1. Choose a roller size and nap that will allow you to move comfortably, maintain
SPRAYING
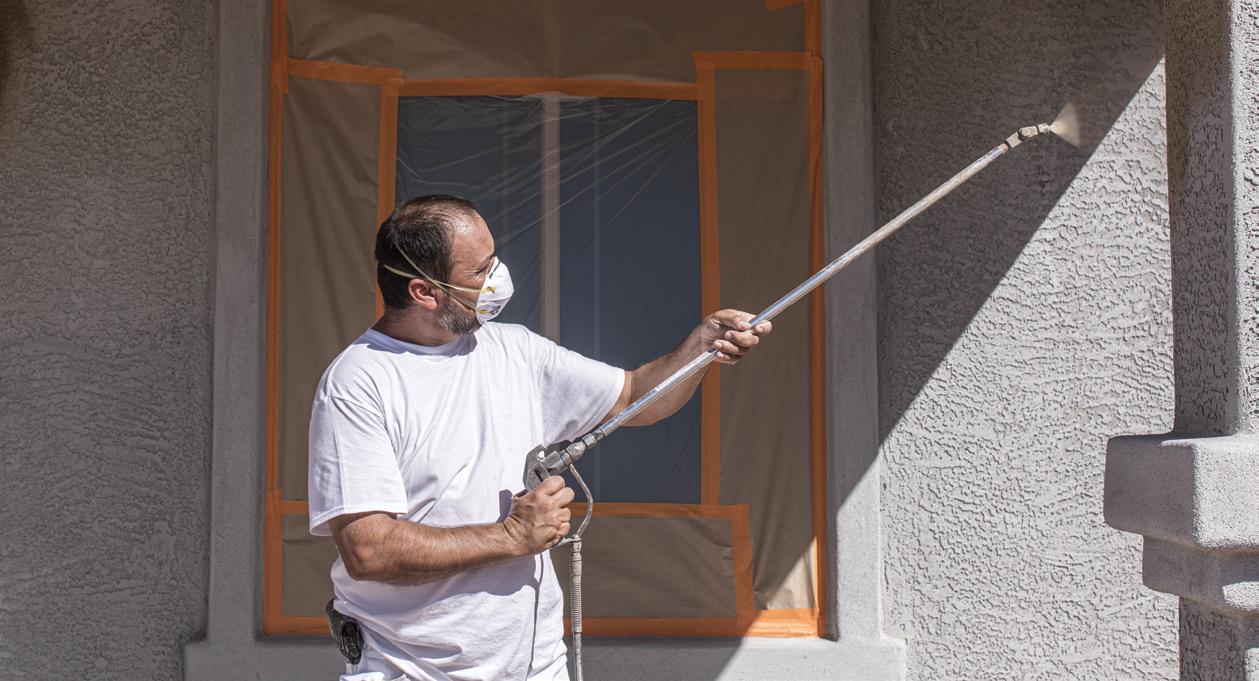
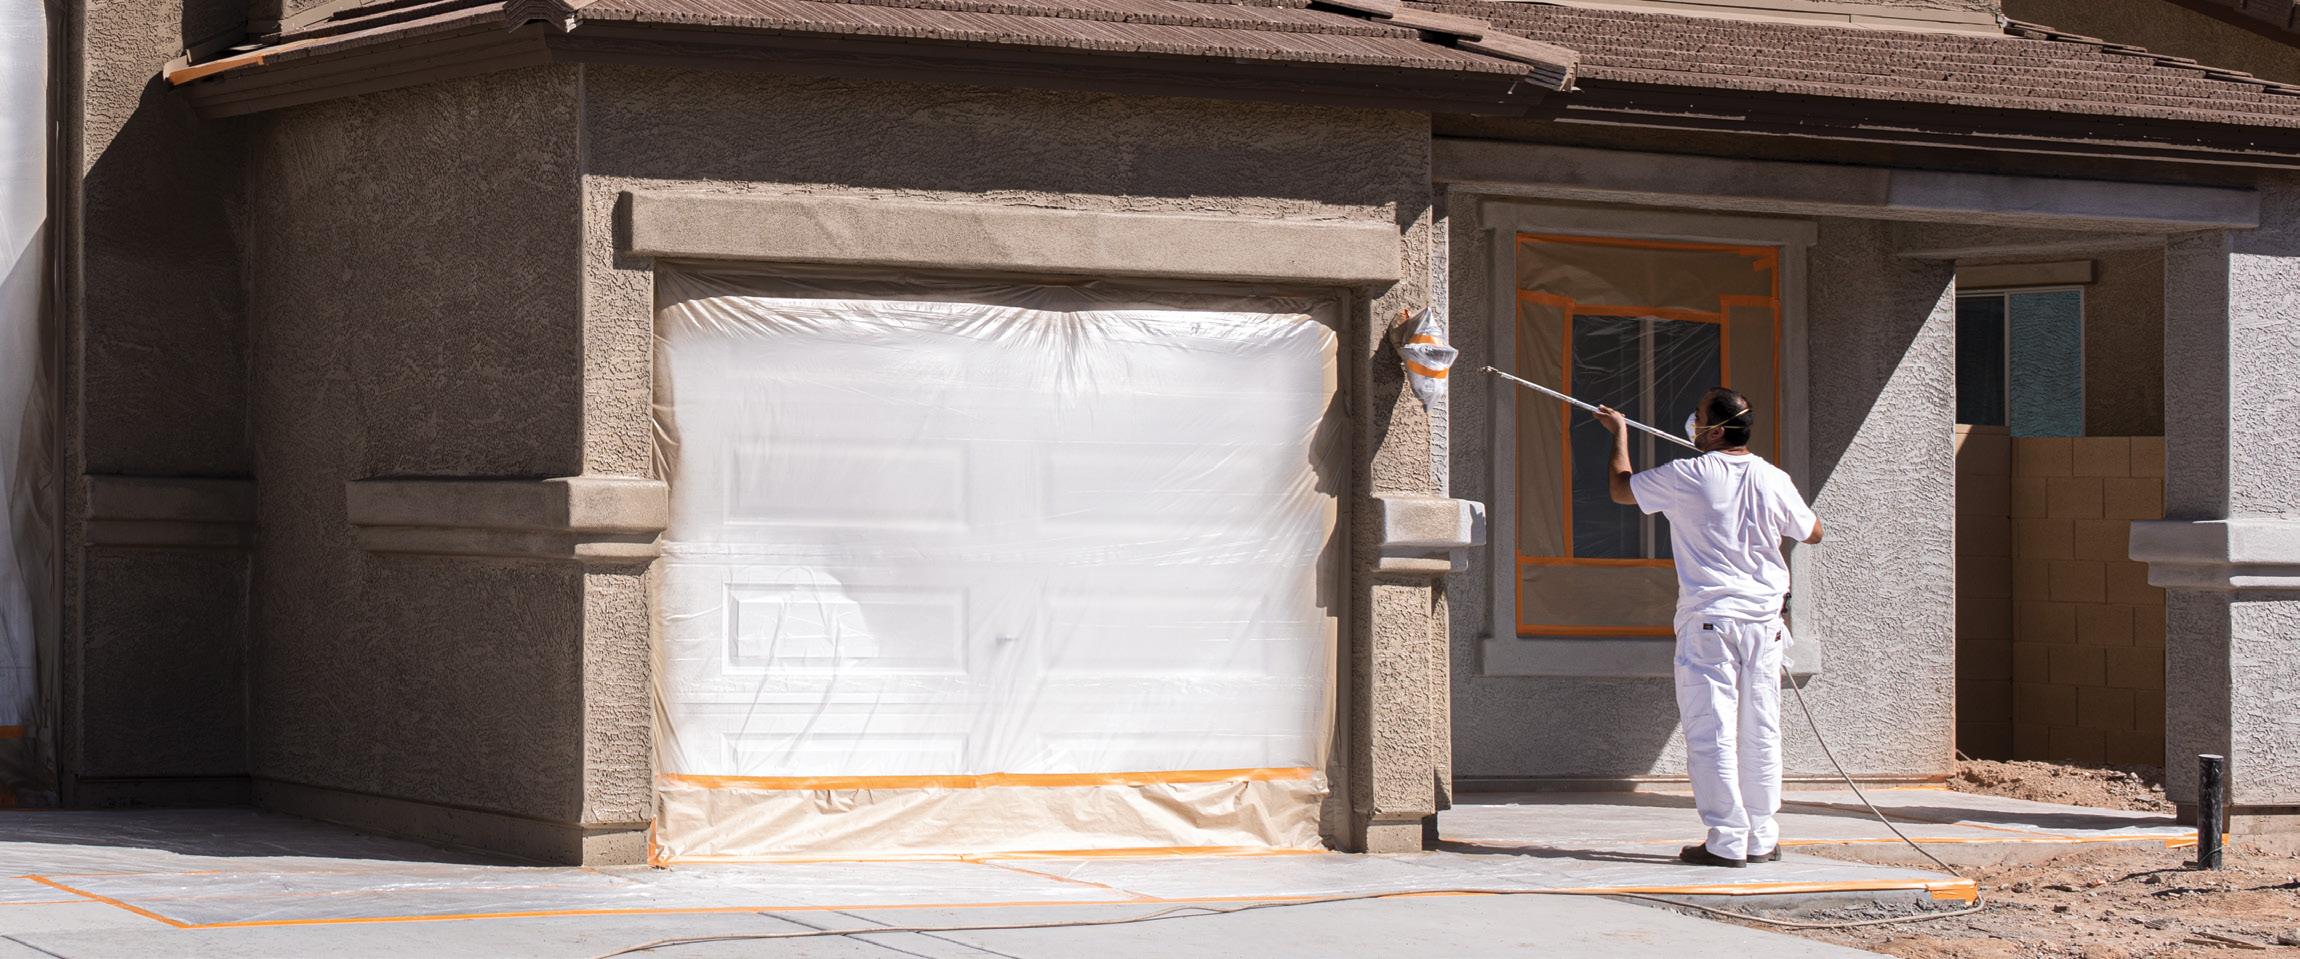
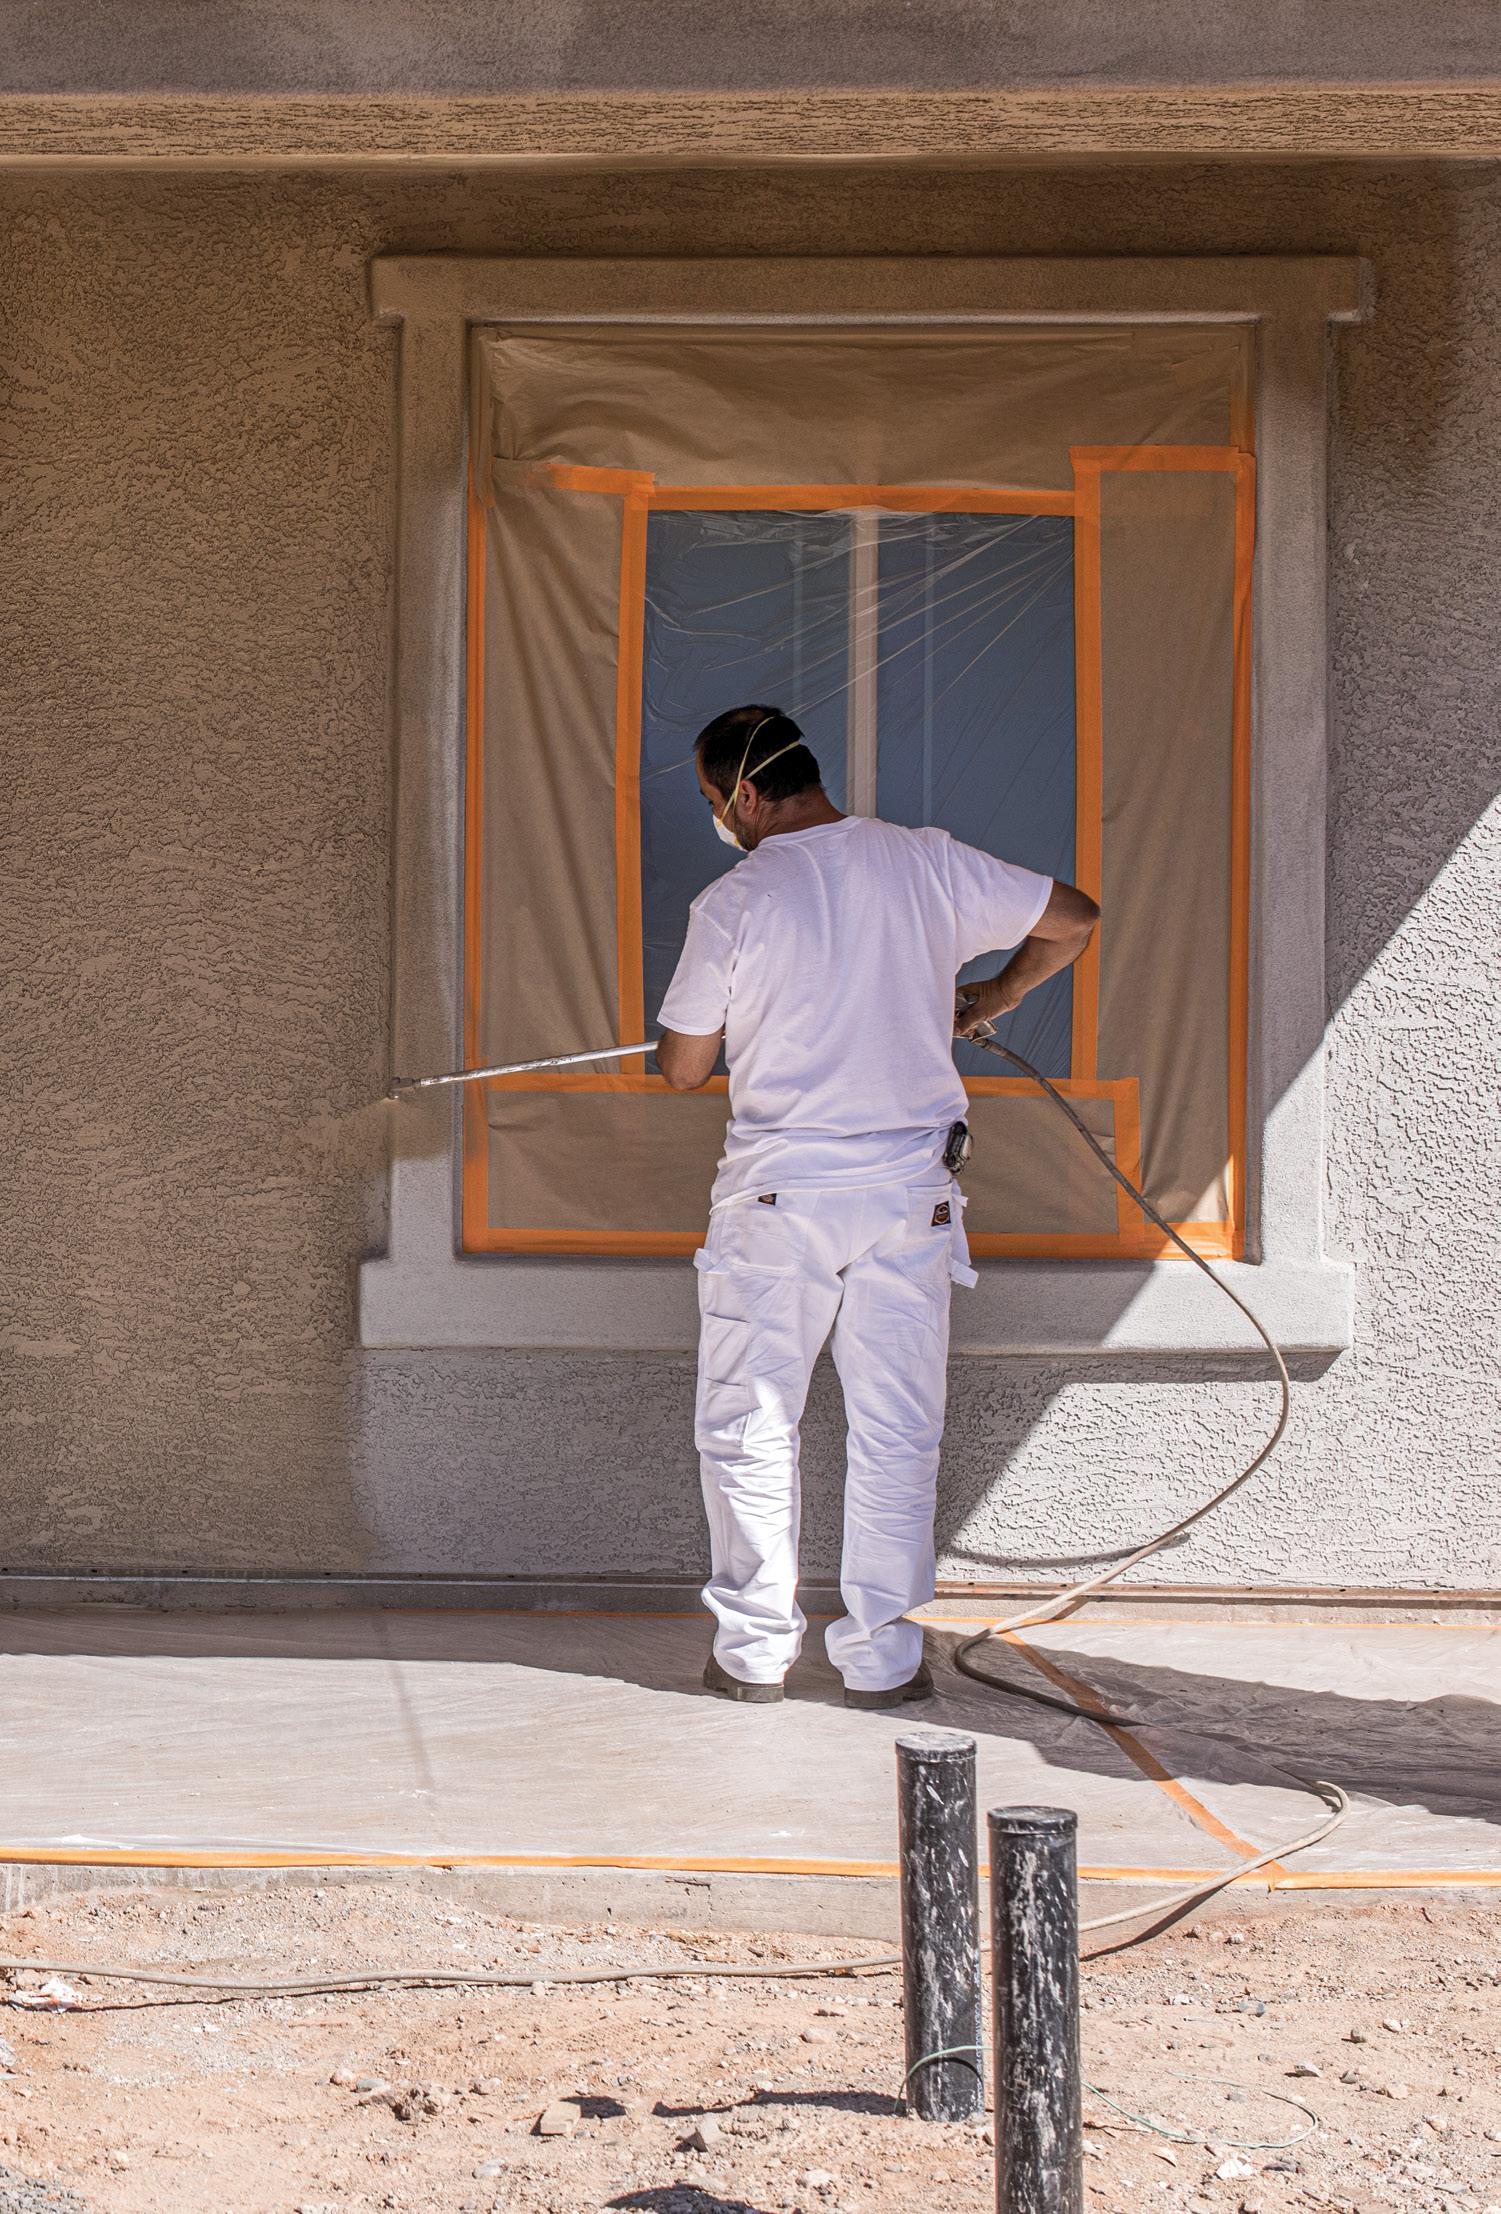
For achieving a consistent, high-quality finish over large areas with minimal trim or detail, nothing beats the efficiency of spraying. This is why it is a popular choice for new construction and commercial interiors. Spraying is also the preferred method for evenly covering highly textured exterior surfaces like stucco, concrete, brick and wood.
1. Familiarize yourself with your specific sprayer equipment before you begin painting, either by reading the instruction manual or getting a direct lesson from a more experienced member of your team.
2. Be sure to follow the instructions on the paint
accurate control of your rolling motion and deliver consistent coverage. For tips on roller selection, check out Section 02: Tools of the Trade.
2. Saturate the roller before you begin, and frequently reload the roller to avoid dry napping, which pulls paint off the wall rather than applying it. Reload as often as necessary to maintain even coverage.
3. To prevent the roller from dripping onto the floor,
rotate the roller as you transfer it from the tray to your paint surface.
4. Begin by placing the roller on the surface in the center of your range of motion, and then roll up and down from the center point.
5. Position the roller frame on the side opposite the direction you are painting toward. For instance, if you are rolling up and down while working toward the right, then position the roller frame on the left. Doing this will deliver a mild pressure that will keep the roller firmly in place, whereas rolling the other way may cause your roller to slowly work its way off the roller cage. Some painters prefer to switch back and forth to compensate for roller shifting.
6. When rolling a wall, avoid making contact with the ceiling or trim, as this will result in additional work to cover up those areas.
Find a comfortable position where the furthest extent of your reach is just shy of touching the ceiling or trim, and then maintain that position while rolling paint in that area. Ideally, it should reach to the point where you can blend and feather the edge where the rolled-on paint meets the paint you brushed on when cutting in the edges. This will prevent you from making unwanted contact while also helping you apply your paint more quickly and efficiently.
7. As you roll the paint, check for even distribution and make corrections before moving on. Waiting too long before correcting insufficient coverage can create a tacky surface caused by applying fresh paint over paint that has already started to dry.
8. Overlap the rolling path by about 50% to maintain a wet edge to ensure even paint coverage across the entire surface.
container when thinning your paint so you get the proper consistency for coverage without clogging.
3. Select the proper spray tip or nozzle for the type of paint you are using.
4. Hold the spray gun approximately 12 in. from the surface you want to paint, and maintain an even distance from the surface. Try not to angle or fan the spray gun during application.
5. Move the spray gun side to side or up and down in a long, continuous motion. Begin moving the spray gun before pulling the trigger, and release the trigger before completing the end of the motion.
This will prevent overapplying paint at start points and end points.
6. Be consistent with your spray motion. Mixing side-to-side and up-anddown motions within one area may result in inconsistent coverage. The direction you choose should be determined by the construction of the surface and the ease of your reach.
7. Overlap your spray pattern by about 50% to ensure even coverage.
8. If lighter edges appear along your spray pattern, increase the spray pressure or change the spray tip (airless) or adjust the compressor psi and/or nozzle (air powered) incrementally until the spray pattern is even from edge to edge. Work at the lowest pressure possible to avoid overspray and paint waste.
TOOLS OF THE TRADE
ESSENTIAL GEAR FOR PRO RESULTS
Skill development is the most important part of your growth as a painting pro—and part of that is knowing what tools and materials to reach for on the job. From paints and tapes to brushes and sprayers, the right tools can level up your quality faster and help you work more efficiently along the way. Section 02 covers all the gear that will help you succeed on your growth trajectory.
14 ROOKIE PAINTER’S HANDBOOK
[ SECTION 02 ]

15 A HOW-TO GUIDE FOR NEW PAINTING PROS
UNDERSTANDING PAINT TYPES
Many factors come into play when selecting paint for a project, including customer preferences, the type of surface you’ll be covering and environmental conditions like heat and humidity. You also need to consider costs beyond the paint itself, which can be impacted by factors like drying times and clean up. To help you make the best choice, here’s a general overview of interior versus exterior paint, finishes and sheens, and the three most common types of paint: oil, acrylic and latex.
APPLICATION
INTERIOR VS. EXTERIOR INTERIOR
Interior paint typically has less odor and fewer volatile organic compounds (VOCs), which makes it suitable for enclosed spaces and relatively safer for a building’s indoor air quality—and for building occupants to breathe. It is not designed for exposure to the elements like rain, snow or extreme temperature fluctuations.
EXTERIOR
Exterior paint is formulated with additional ingredients like fungicides to make it durable enough to withstand outdoor extremes and resist fading and mildew. However, the additives tend to give off higher amounts of VOCs over time, which can cause health issues if inhaled. So never use an exterior paint for indoor applications, or vice versa.
FINISH SHEEN LEVELS
Sheen is the term used to describe the amount of light reflected by a painted surface once it’s dry. These are the six basic levels of paint sheen, from lowest to highest:
» Flat » Matte
» Eggshell
» Satin
» Semi-gloss
» Hi-gloss
The higher the sheen, the more durable the paint is, but higher sheens also tend to be less forgiving—they reveal imperfections in the surface or paintwork more easily. Flat and matte paints tend to hide flaws on painted surfaces because less light reflects off of any imperfections.
16 ROOKIE PAINTER’S HANDBOOK
TOOLS OF THE TRADE [ SECTION 02 ]
MATERIAL MAKEUP OIL, ACRYLIC & LATEX
OIL
How it’s made: Oil paint is made by blending a natural oil like linseed oil with pigment and resin.
Ideal surfaces:
» Cabinets
» Doors
» Exterior wood
» Metal
» Molding
» Trim
Benefits:
» Dries to form a hard, durable, moisture-resistant finish
» Easy to keep clean over time
» Maintains its color intensity
Drawbacks:
» Long drying time
» Requires a cleaning solution to clean up spills and tools
» Strong odor, requires good ventilation
» Overall higher cost in materials and time
ACRYLIC
How it’s made: Acrylic paint is made by adding pigment to an acrylic polymer emulsion.
Ideal surfaces:
» Drywall
» Interior and exterior surfaces
» Masonry
» Metal
» Plastic
» Vinyl
» Wood
Benefits:
» Water-based and water-soluble
» Fast-drying
» Easy to clean up with soap and water
» Versatile—can add other substances like acrylic gels and pastes to change the finish
Drawbacks:
» Must work quickly to maintain a wet edge
» Difficult to remove once it’s dry
LATEX
How it’s made: Latex paint is made using a blend of vinyl or acrylic resin with pigment in a water base.
Ideal surfaces:
» Concrete
» Drywall
» Stucco

Benefits:
» Water-based and water-soluble
» Fast-drying
» Resists chipping and cracking
» When still wet, spatter and spills clean up easily
» Variety of finishes and sheens
» Low odor
» Often the least expensive
Drawbacks:
» Fast dry time means you need to move quickly to maintain a wet edge
» High humidity can prevent paint from adhering or spreading evenly
» Shows brush marks
» Not ideal for metal or plastic
A fast drying time can be both an advantage and a disadvantage by allowing you to complete a job quickly but requiring you to work swiftly. Make sure to check the drying time of your paint before getting started so you can pace your work to maintain a wet edge and create a quality finish.
HOW MANY COATS?
In pro painting, every job is a tricky balance between costefficiency and achieving quality results—and the number of coats you apply resides somewhere in the middle, depending on the job. With walls, generally plan to apply at least two coats to achieve even coverage and a consistent color and finish. For detail work like kitchen cabinetry or
ornate wood trim, you may need three or more coats with sanding in between to ensure smooth, consistent surfaces. Choosing a high-quality paint can also help ensure proper coverage and keep the number of coats to a minimum. Also, using high-quality brushes and rollers will help you attain a more even distribution of paint from coat to coat.
17 A HOW-TO GUIDE FOR NEW PAINTING PROS
CHOOSING BRUSHES
Paint brushes can be used on virtually any paintable surface, but they tend to work best on smooth or moderately textured surfaces and in smaller spaces. Compared to paint rollers and sprayers, paint brushes require more time to cover an area and more reloading, which is less of a concern for smaller jobs. Of the three primary painting tools, brushes deliver the highest control and precision and the lowest cost and clean up.
TYPES OF BRISTLES
Bristles are the natural or synthetic materials that make up the tip of the brush, and different bristle materials behave in different ways, which is why it is important to select the right type of bristle for your painting job. Nylon and polyester bristles generally work best for latex and water-based paints, and natural bristles like animal hair work best for oil-based paints, varnishes and stains.
CHOOSING A BRUSH SIZE
The size of the paint brush you use should be determined by the size and level of detail of the area or object you want to paint. Larger areas that require less precision can typically be painted using a brush that's 4 in. wide or larger. When painting small areas or items that require attention to detail, a brush of 2 in. or smaller will be easier to control.
TWO BRUSHES EVERY PAINT PRO NEEDS
BRUSH SHAPES
Another option when selecting a paint brush is the shape of the bristles. Straight-edged bristles are better for painting large areas where speed and efficiency are the focus. Angled bristles are better for tighter areas that require greater control over the paint line and for cutting in along windows, doors and baseboards. Angled brushes are also ideal for painting molding, trim and window frames.
Every professional painter keeps a core set of brushes on hand that are designed to tackle the everyday work and most common types of paint tasks. Here are two brushes that many painters consider essential, along with tips on where to use them in your daily painting work.
FLAT PAINT BRUSH
» Size range: 3 in. to 6 in.
» Bristle type: Nylon or polyester for water-based paints; natural for oil-based, varnish or stain
» Where to use: Walls, ceilings, doors, exterior siding, decks, fences
» Why this brush: The flat shape delivers a clean square edge, and the size holds an ample amount of paint for covering larger surface areas
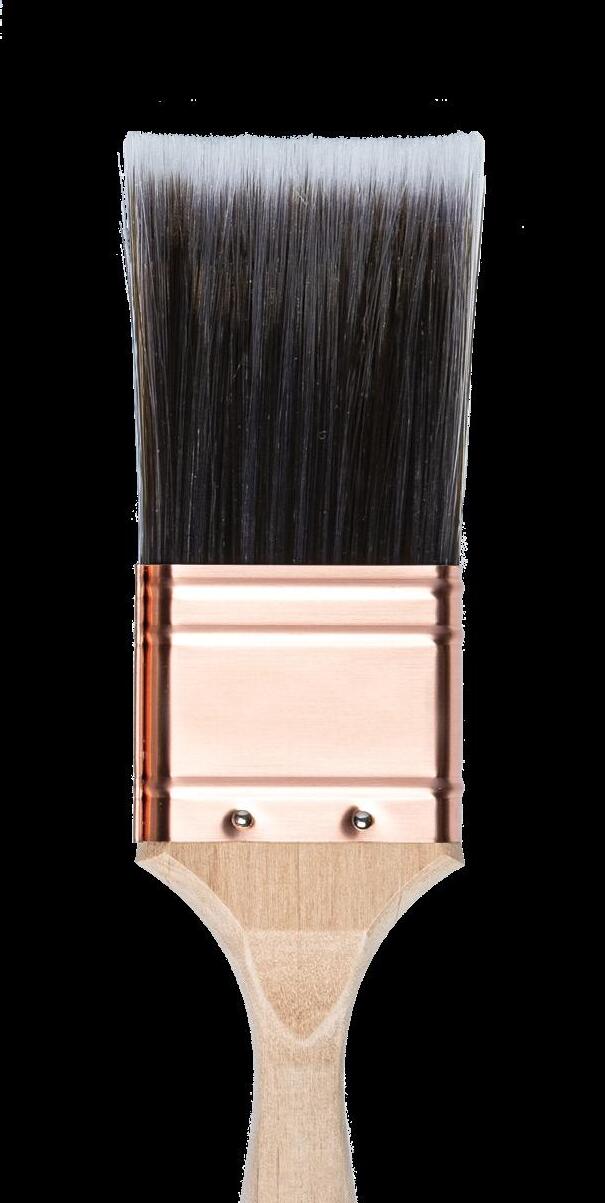
ANGLED SASH BRUSH
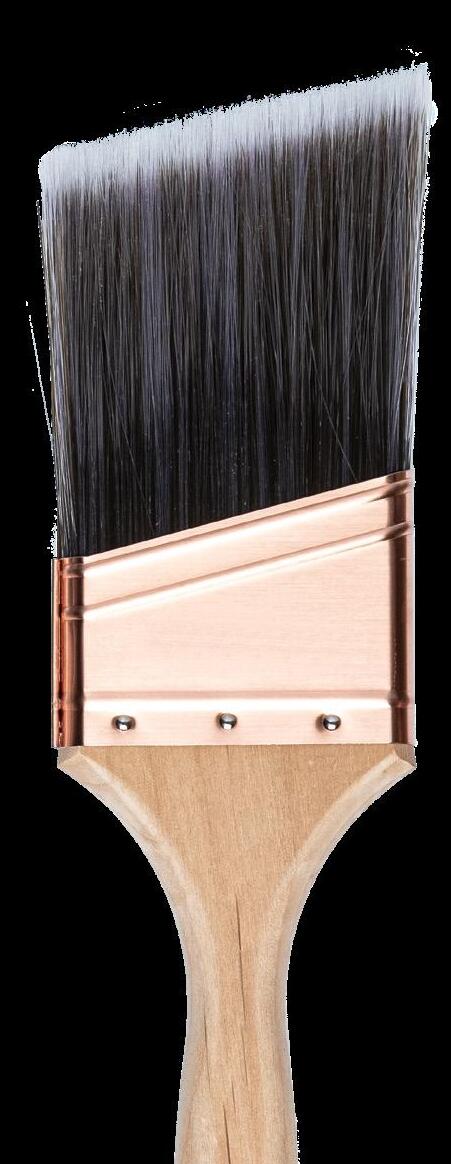
» Size range: 1-1/2 in. to 2-1/2 in.
» Bristle type: Nylon or polyester for water-based paints; natural for oilbased, varnish or stain
» Where to use: Window frames, trim, molding, cutting in of walls and ceilings
» Why this brush: The angled shape and tapered bristles deliver tighter control for more detailed work, and the small size holds less paint, which allows you to press and angle the brush in tight spaces without drips
18 ROOKIE PAINTER’S HANDBOOK
TOOLS OF THE TRADE [ SECTION 02 ]
HOW TO RECOGNIZE A QUALITY BRUSH
Like any other professional tool, it is always worth investing in quality paint brushes. High-quality brushes hold more paint, apply it more evenly and are easier to clean. And they won’t leave you with bristles stuck in your paint. How do you recognize a quality brush?

» The bristles are tightly packed all the way through the ferrule and spring back when you bend them.
» The ends are flagged (i.e. split) to create good paint release and a smooth finish.
» The bristles vary in length so the brush comes to a point for more detailed work.
» No more than a couple of loose bristles should come out when you run your hand over the brush and pull gently.
Each year, inPAINT magazine conducts an online survey of its pro readership, which includes asking about their “go-to brands” for various tools. Purdy® and Wooster® consistently achieve top rankings for brushes.
19 A HOW-TO GUIDE FOR NEW PAINTING PROS
CHOOSING ROLLERS
The paint roller is a ubiquitous tool used by professional painters who want a quick and inexpensive way to cover walls, ceilings and other larger interior and exterior surfaces. Paint rollers can be used on a variety of surface types, and they are an affordable option when paint sprayers can’t be used or are costprohibitive. Best results are achieved by selecting a roller size and nap length suited to the surface texture you will be painting. Rollers are generally not recommended for small surfaces or detailed projects.
ROLLER SIZES
Rollers for large areas like walls and ceilings are available in sizes from 7 in. wide up to 18 in. wide. While wide rollers hold more paint and reduce loading frequency, they also require more space for the painter to wield the roller while offering less control over the rolling motion.
For baseboards or smaller areas, rollers are available in widths smaller than 7 in. A smaller roller requires less space for the painter and provides tighter control of the rolling motion, but it holds less paint and requires more frequent loading.
When selecting your roller size, choose the one that allows you to move comfortably in the space where you will be painting and offers the greatest control of the rolling motion while still allowing you to work efficiently. It’s important to note that rollers also come in smaller diameters (less than 1-1/2 in.) for situations in which you want to roll paint under or behind an object or inside a tighter space.
“It’s good to always have a couple 4-in. mini rollers, 6-in. mini rollers and a few standard 9-in. rollers in 1/2- to 3/4-in. nap,” says Parker Smith, Owner of Smith & Company Painting in McMinnville, Oregon. “For some faster production, 18-in. rollers work well in many situations.”
20 ROOKIE
PAINTER’S HANDBOOK
TOOLS OF THE TRADE [ SECTION 02 ]
NAP LENGTH
The word nap refers to the length of the fiber on the paint roller, and the nap determines how much paint is applied and how deeply it can penetrate the surface.
Short naps that are 1/4 in. or shorter are designed to create smooth finishes on surfaces that have little or no texture, such as smooth drywall, wood and plaster.
Longer naps in the 3/8 in. to 1/2 in. range are better suited for moderately textured surfaces, which can include more textured types of drywall, wood and acoustical tile and even lightly textured concrete.
The longest naps that are 3/4 in. to one inch or longer are reserved for extremely rough surfaces, like stucco, rough concrete and brick.
HOW OFTEN TO CHANGE A ROLLER
Rollers do not need to be replaced after every coat of paint. If you plan to return to the job and use the same paint, you can use the same roller for one or two days if you seal it properly and don’t allow the paint to dry out. After that, it should be discarded.
If any part of your roller begins to dry out or break down, replace it immediately with the same type of roller to maintain a consistent finish. Doing this will save you rework and retouching later on.
QUALITY MATTERS
While rollers are a relatively inexpensive painting tool, investing in a quality roller can make a big difference in your application efficiency and in the final appearance of your painted surface. Low-quality rollers can cause a number of issues, such as leaving visible lines along the edge of the rolling area and fitting poorly on the roller cage, and these issues can end up costing additional time and money on touch-ups. Spending a little more up front on a quality roller will save you time and money in the end, and you will get a great finish that will make your customers happy. To make sure you are getting a quality roller, do the following before you buy:
» Squeeze the roller cover
» If it returns to its original shape, that’s a good indicator of quality
» Choose a roller with a plastic core
» Plastic will hold up better and will be easier to clean if you are planning to reuse the roller
Each year, inPAINT magazine conducts an online survey of its pro readership, which includes asking about their “go-to brands” for various tools. Purdy®, Wooster® and Sherwin-Williams® consistently achieve high rankings for roller covers.
21 A HOW-TO GUIDE FOR NEW PAINTING PROS
CHOOSING SPRAYERS
Air powered and airless are two basic types of sprayers used by most residential and commercial painters to quickly cover large areas while delivering consistent, high-quality finishes. Whether you need guidance in selecting a sprayer for a job or you want to get the best results from the spraying equipment that is available to you, you can start by understanding where these types of equipment are used, how each type works and the advantages and disadvantages of each. Then, follow up with a review of application tips to ensure optimal coverage and a quality finish.
AIR-POWERED PAINT SPRAYER VS. AIRLESS PAINT SPRAYER
AIR-POWERED PAINT SPRAYER
How it works:
Compressed air mixes with the paint, atomizes it and forces it out of the spray gun nozzle in tiny droplets. The compressor setting and the nozzle opening control the amount of paint released and determine the paint pattern.
Advantages:
» Smooth, uniform finishes
» Easier to control, thus better for novice painters
» Low operating psi prevents damage to surrounding surfaces in cases of overspray
» Typically less expensive than an airless paint sprayer
Disadvantages:
» Requires connection to an air supply (compressor), making it less portable
» Can cause air bubbles in finish because air can sometimes mix with the paint
» Longer setup time than an airless paint sprayer
AIRLESS PAINT SPRAYER
How it works:
High pressure forces paint through a small opening in the spray tip and disperses it in tiny droplets in a fan-like pattern. The sprayer’s pressure setting and the spray tip control the amount of paint released and the pattern.
Advantages:
» High-quality finishes (no air bubbles)
» Higher transfer efficiency rate than air powered (more paint reaches the surface)
» Extremely portable (no air compressor)
Disadvantages:
» Technique is more challenging to perfect, requiring a skilled painter
» High operating psi can damage surrounding surfaces if spray is misdirected
» Typically more expensive than an air-powered sprayer
22 ROOKIE PAINTER’S HANDBOOK
TOOLS OF THE TRADE [ SECTION 02 ]
TYPES OF PAINTS THAT CAN BE SPRAYED
While specialty paint products are available that claim to be designed specifically for paint sprayers, buying a specialty paint for spraying is often unnecessary. Instead, simply start with a high-quality paint to get the best results from your sprayer. Oilbased enamels, acrylic paint, latex paint, stains and varnishes are all appropriate for spraying, though some may require thinning to lower their viscosity to allow the paint to flow more freely through the sprayer nozzle. Different types of paint also require different clean-up methods for your spraying equipment. For instance, oil-based enamels clean up with paint thinner, turpentine or mineral spirits, while water-based acrylic paints and latex paints clean up with water.
QUALITY MATTERS
Buying a paint sprayer is a much larger investment than brushes and rollers, so you want to make sure you choose a highquality sprayer that not only will get the job done, but will also be easy to set up, use and clean up. Here are a few features to look for that can help you find a sprayer you’ll be happy with. A knowledgeable supplier will be able to review all of these considerations and more with you to help you select the best sprayer for your needs.
» Consider how much paint you will be using and how often you might be filling the sprayer reservoir. This can help you choose between a sprayer with a cupstyle reservoir and hopper-style reservoir or one that draws paint directly from the paint bucket.
» Sprayers with smaller reservoirs are more nimble around the jobsite but need to be refilled frequently. Those with larger reservoirs are more difficult to move but can last much longer between reloads.
» Consider how much time it will take to clean up your sprayer, and look for one that is easy to take apart and maintain.
» If you will be moving around a large area, look for a sprayer that has a longer hose and power cord or one that has wheels or a backpack, depending on your portability requirements.
Each year, inPAINT magazine conducts an online survey of its pro readership, which includes asking about their “goto brands” for various tools. Graco® and Titan® consistently achieve top rankings for sprayers.
23 A HOW-TO GUIDE FOR NEW PAINTING PROS
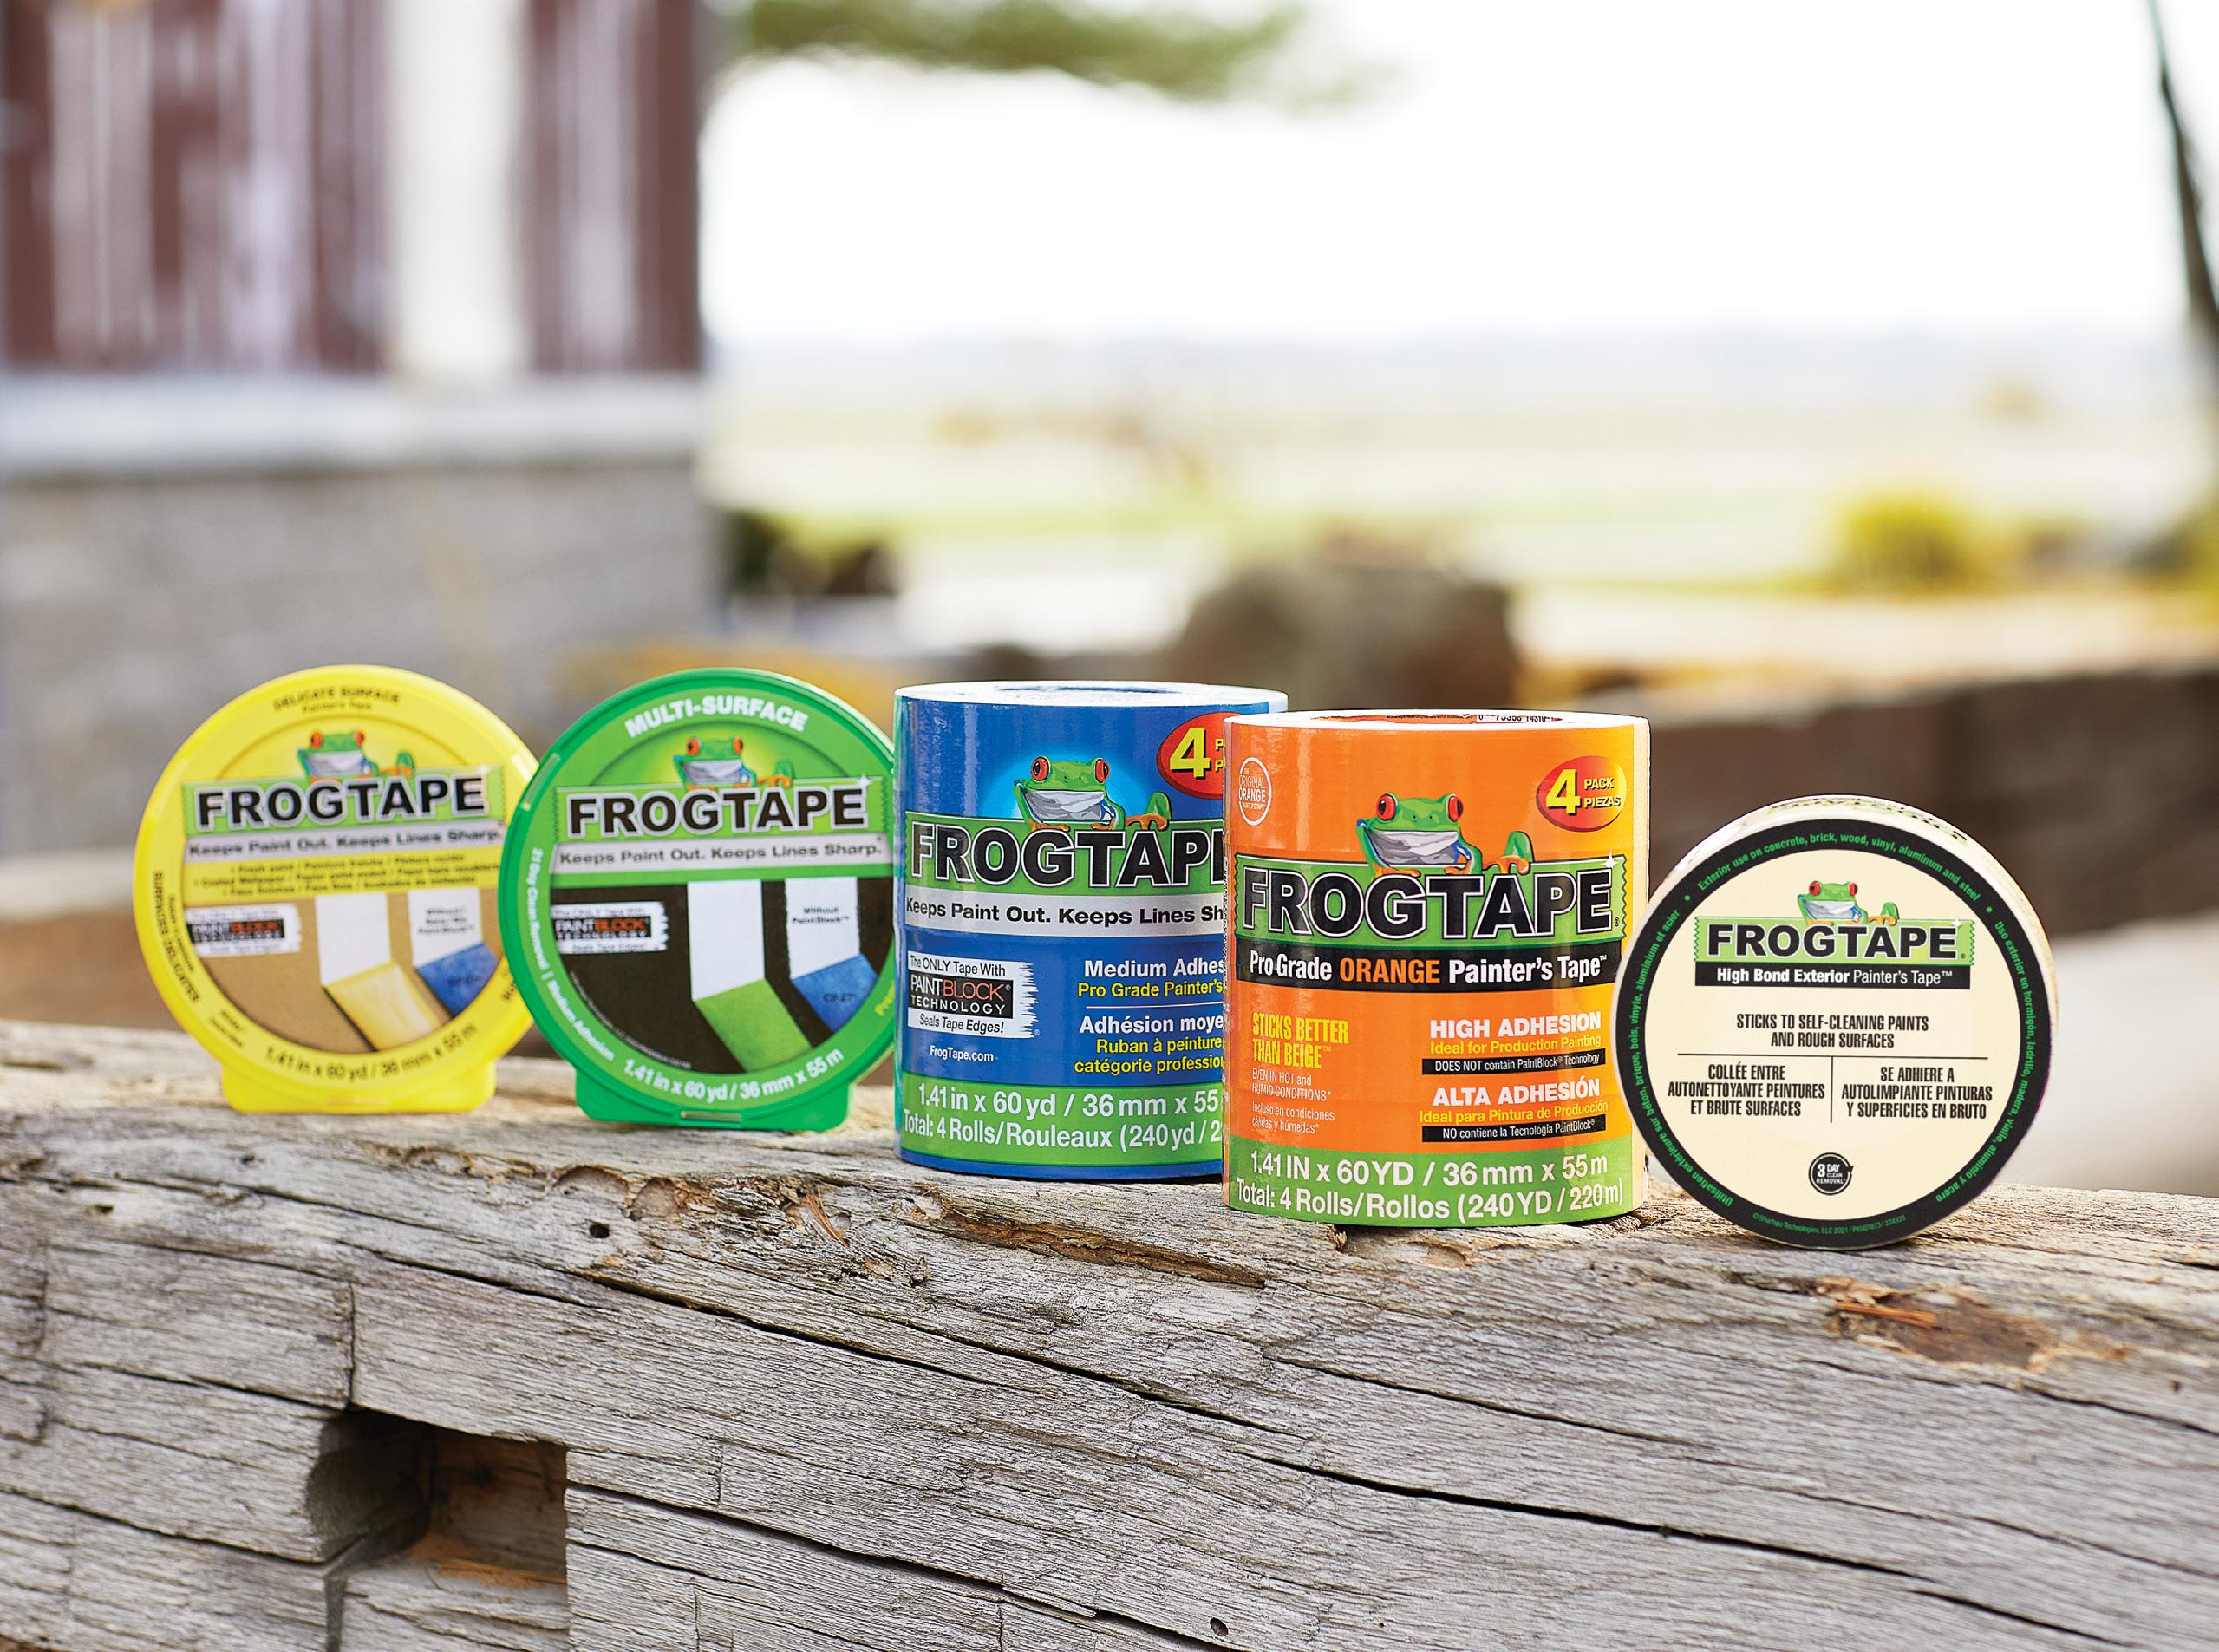
CHOOSING THE RIGHT FROGTAPE®
The painter’s tape market is vast, with a variety of tapes offering different features designed for different kinds of applications. But for painting pros, there’s no substitute for a high-quality, professional-grade painter’s tape.
Tapes like FrogTape® are designed specifically for pros, with technology that levels the playing field to help painters at any level of experience produce professional quality results— all while helping you work more efficiently.
Knowing the details of how different painter’s tapes are to be used can be a major game-changer for your painting process—and it’ll help prevent damaged surfaces or mistakes that require time and money in touch-ups or rework.
Here’s a breakdown of the different types of FrogTape® and their intended applications.
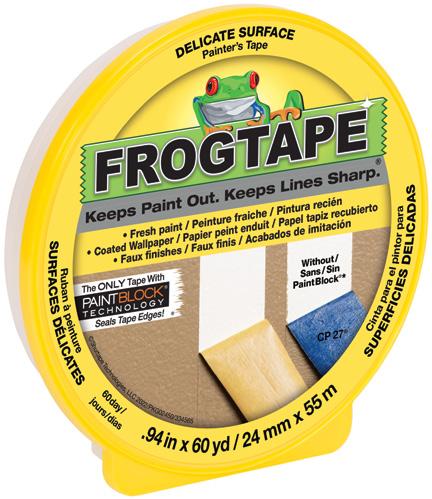
Delicate surface application, ideal for: freshly painted walls (after 24 hours), coated wallpaper and faux finishes
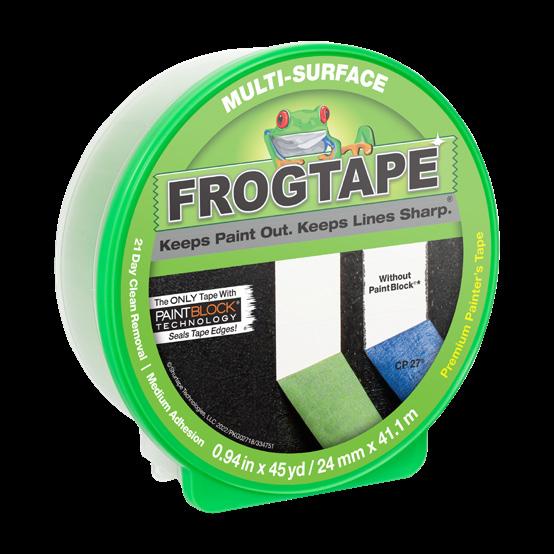
Multi-surface application, ideal for: painted walls, trim, metal and glass 60-day clean removal 21-day clean removal
24 ROOKIE PAINTER’S HANDBOOK TOOLS OF THE TRADE [ SECTION 02 ]
Contains PaintBlock® Technology
Contains PaintBlock® Technology
DELICATE SURFACE MULTI-SURFACE
Premium washi paper for sharp paint lines
Premium, ultra-smooth paper for sharp paint lines Available in single rolls Available
in contractor single rolls and multi-packs
Single rolls are packaged in plastic container to provide long-lasting tape edge protection
Single rolls are packaged in plastic container to provide long-lasting tape edge protection
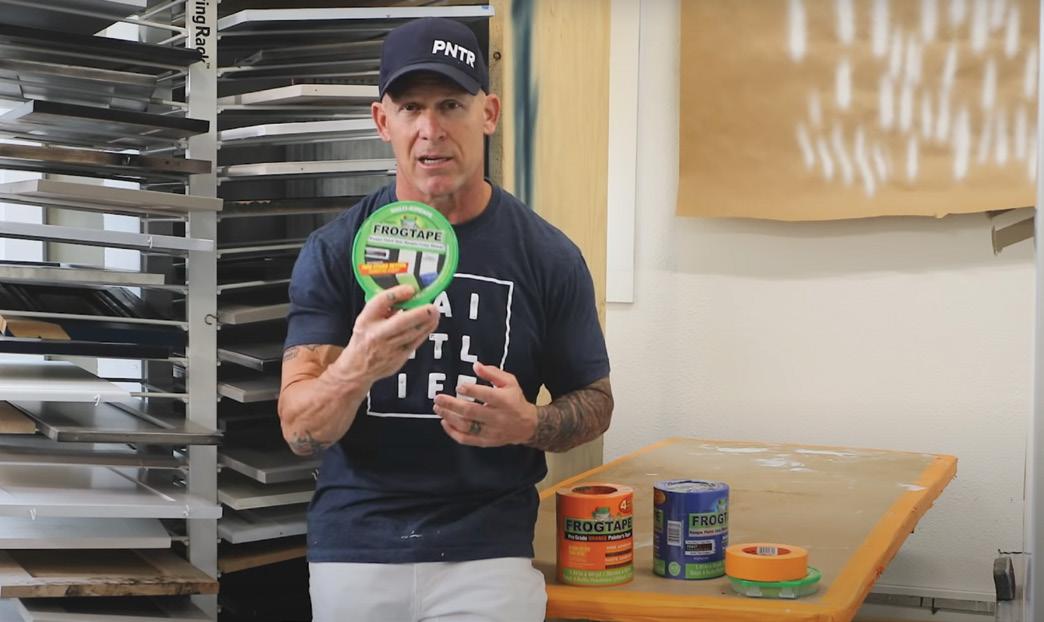
VIDEO: A TAPE FOR EVERY KIND OF JOB
Watch The Idaho Painter talk about how he uses each kind of FrogTape® for different masking applications.

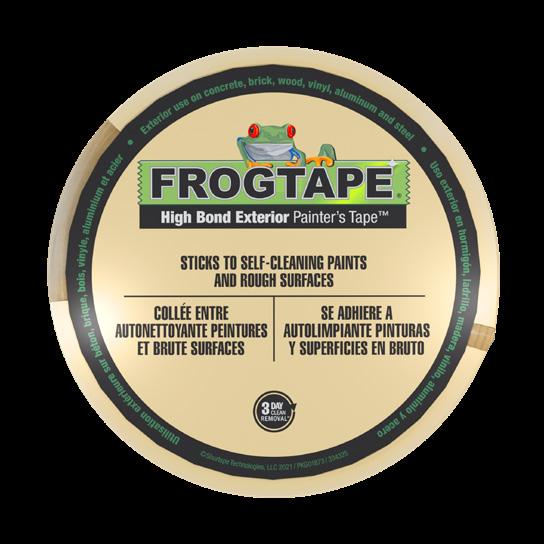
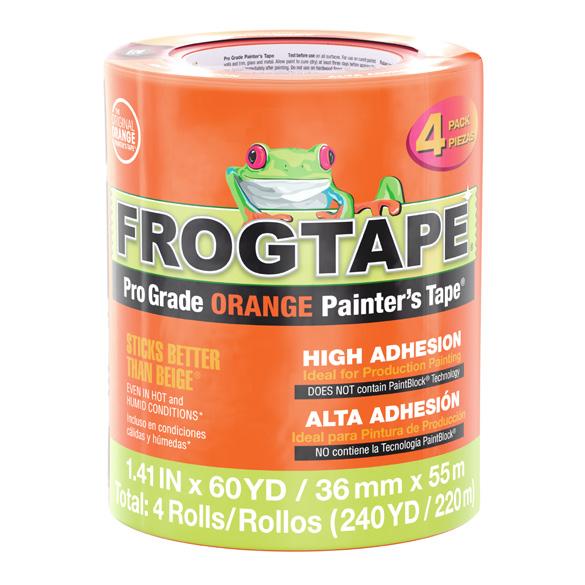
PRO GRADE PRO GRADE ORANGE™ HIGH BOND EXTERIOR
Contains PaintBlock® Technology
Does not contain PaintBlock® Technology
Does not contain PaintBlock® Technology
Multi-surface application, ideal for: painted walls, trim, metal and glass
Production painting, ideal for: walls, trim, metal, vinyl, concrete and stucco
Exterior specialty application, ideal for: concrete, brick, wood, vinyl, aluminum and steel
14-day clean removal
3-day clean removal
3-day clean removal
Smooth crepe paper for professional results
Quality crepe paper that conforms to varied surfaces
Quality crepe paper that conforms to varied surfaces
Available in contractor multi-packs
Available in contractor single rolls and multi-packs Available in single rolls
Packaged for the pro— when long-term tape storage is not needed
Packaged for the pro— when long-term tape storage is not needed
Packaged for the pro— when long-term tape storage is not needed
25 A HOW-TO GUIDE FOR NEW PAINTING PROS
WATCH THE VIDEO NOW
SOFT SKILLS
NAVIGATING THE INDUSTRY
Learning to prep surfaces and produce sharp lines is essential in the painting industry. But skills growth isn’t limited exclusively to prepping and painting. From interactions with coworkers and customers to knowing where the best job opportunities are, industry experience can take your career trajectory to the next level. Section 03 covers useful skills beyond actual painting.
26 ROOKIE PAINTER’S HANDBOOK
[ SECTION 03 ]
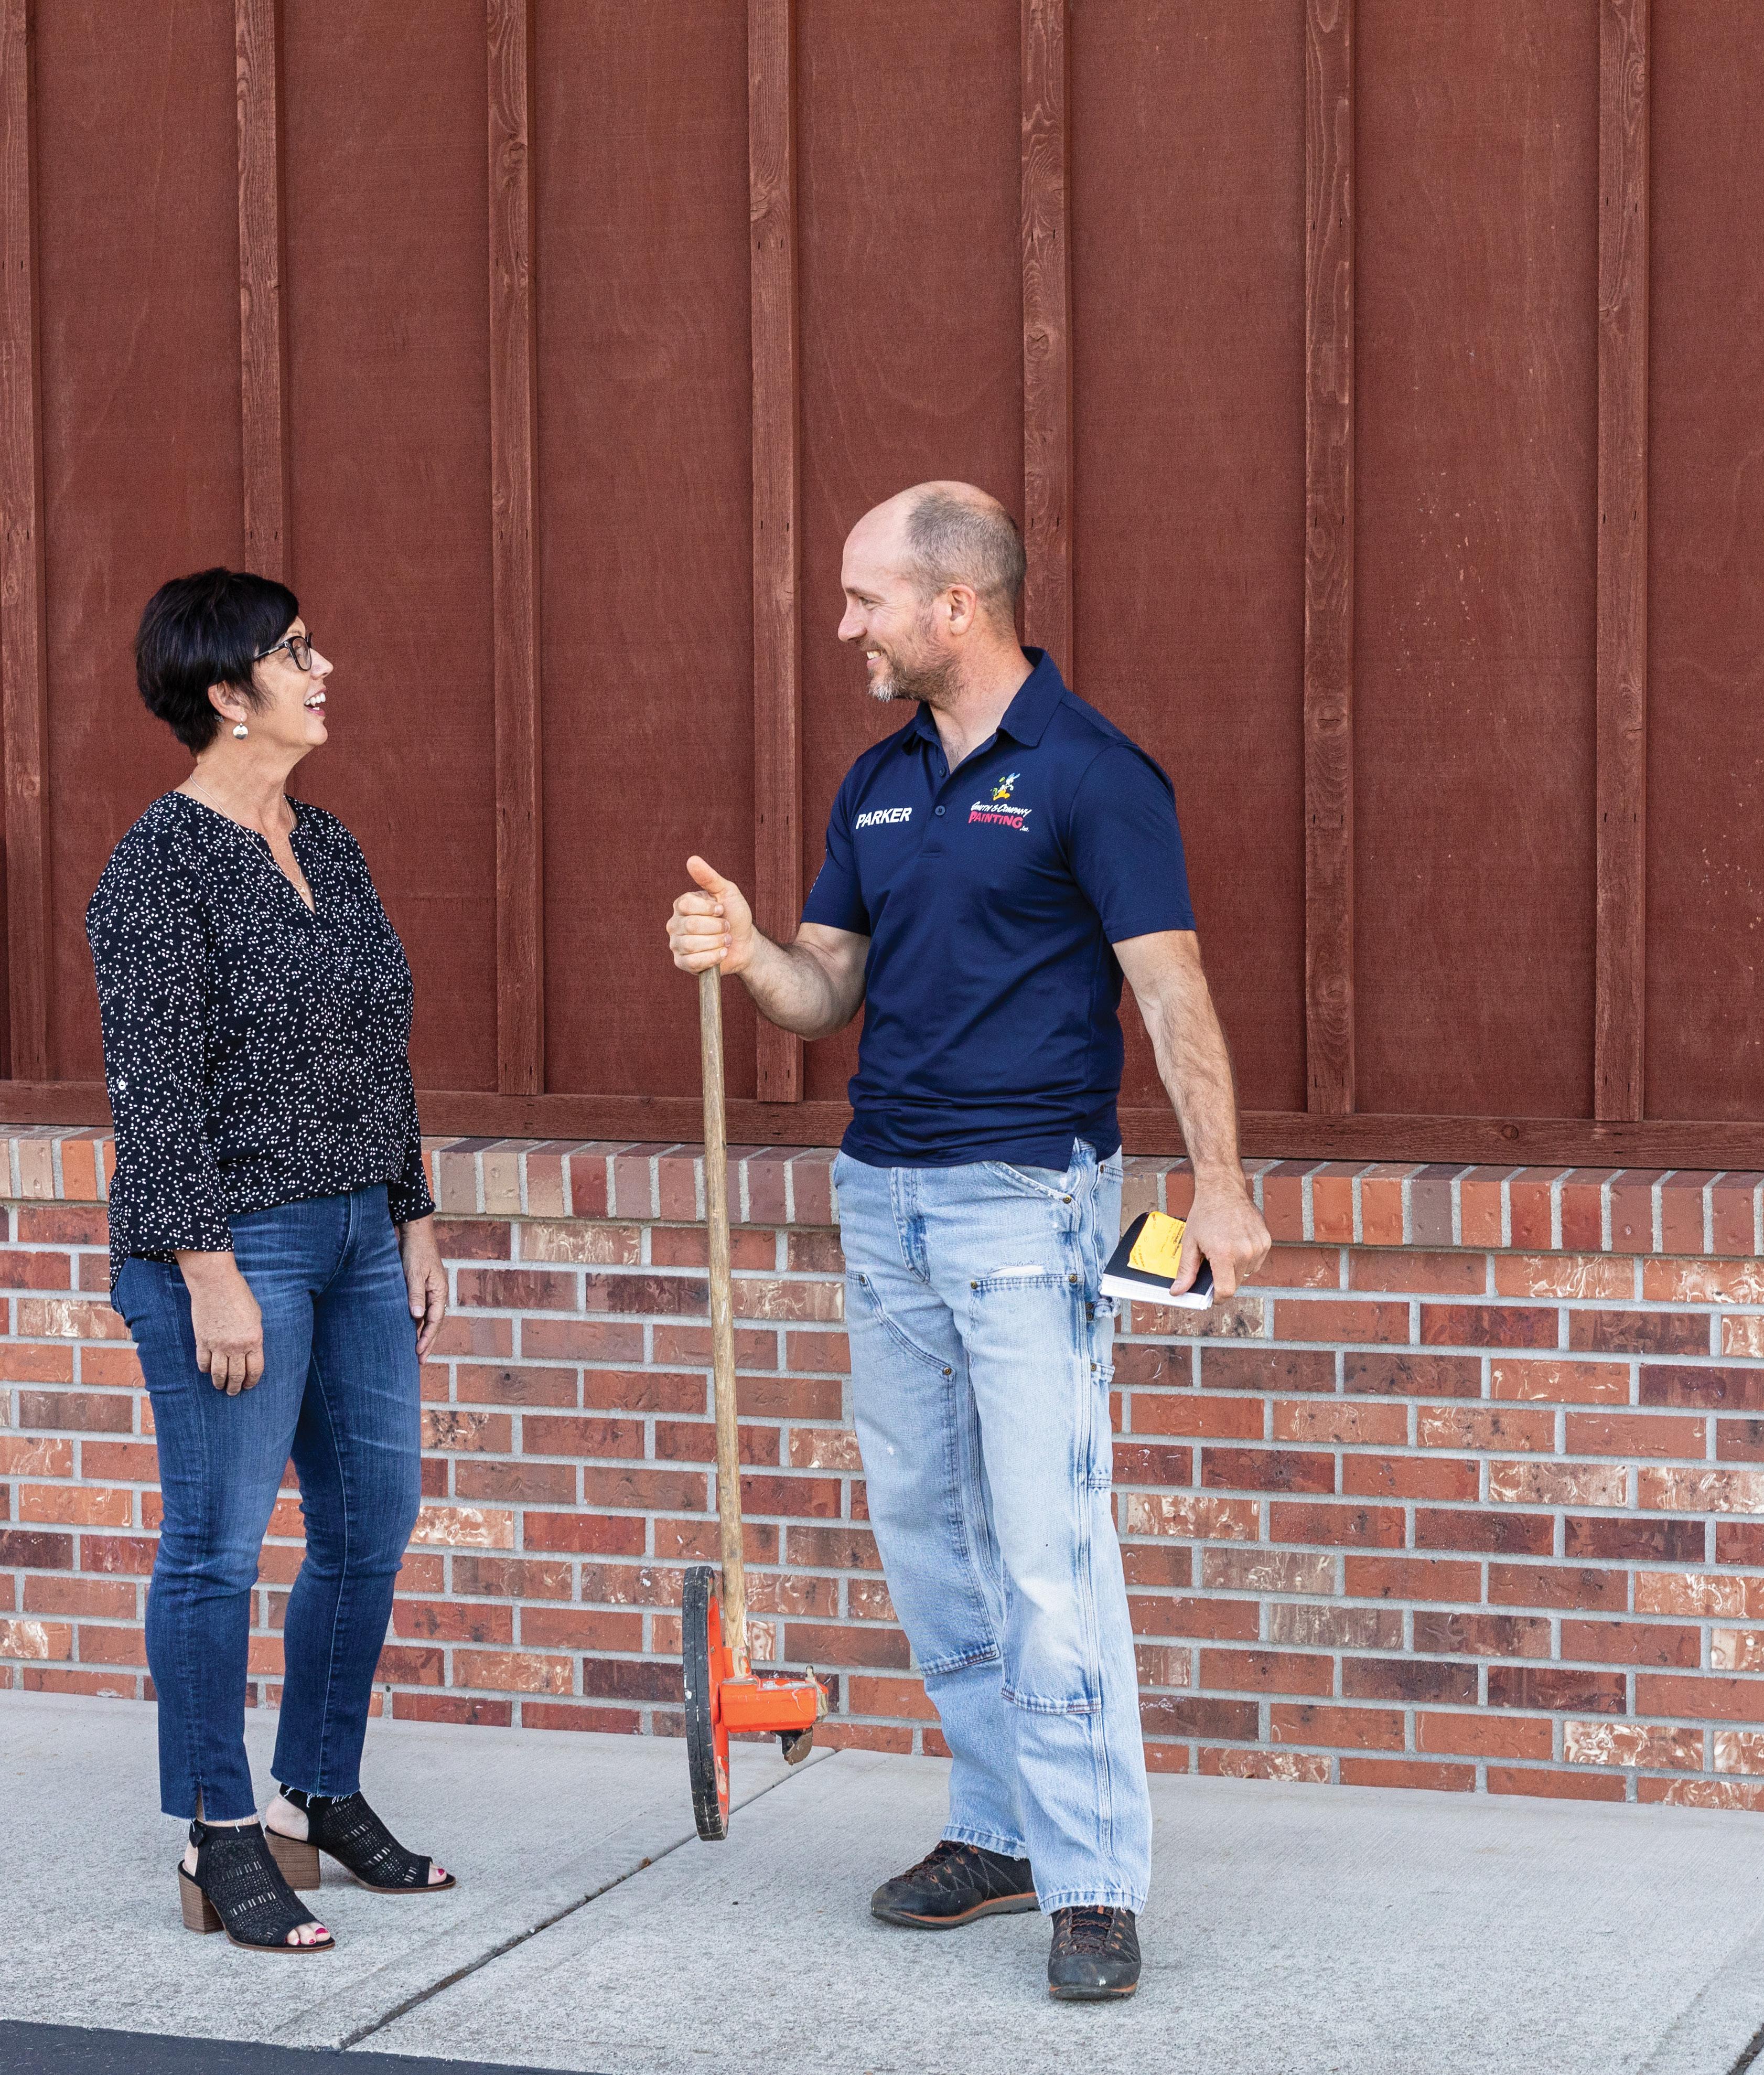
PHOTO COURTESY OF SMITH & COMPANY PAINTING
27 A HOW-TO GUIDE FOR NEW PAINTING PROS
POLISHING YOUR PEOPLE SKILLS
Best practices in painting techniques are skills all professional painters must master to survive in the industry. But skills like effective communication and attributes like a willingness to collaborate are what will help you thrive. That’s because when it comes to hiring and assessing employees, painting companies are increasingly weighing attitude, work ethic and trustworthiness more than skill with a brush or industry experience.
“The painting skills are easy enough to teach. But if someone is 20, 25, 30 years old and doesn’t have a good attitude, there’s nothing I’m going to do to change that,” says Parker Smith, Owner of Smith & Company Painting in McMinnville, Oregon. “It’s important to me to be able to build relationships and to put together a team with people I can get to know and trust.”
Here are some basic tips to help you be more valuable to customers, coworkers and employers.
28 ROOKIE PAINTER’S HANDBOOK SOFT SKILLS [ SECTION 03 ]
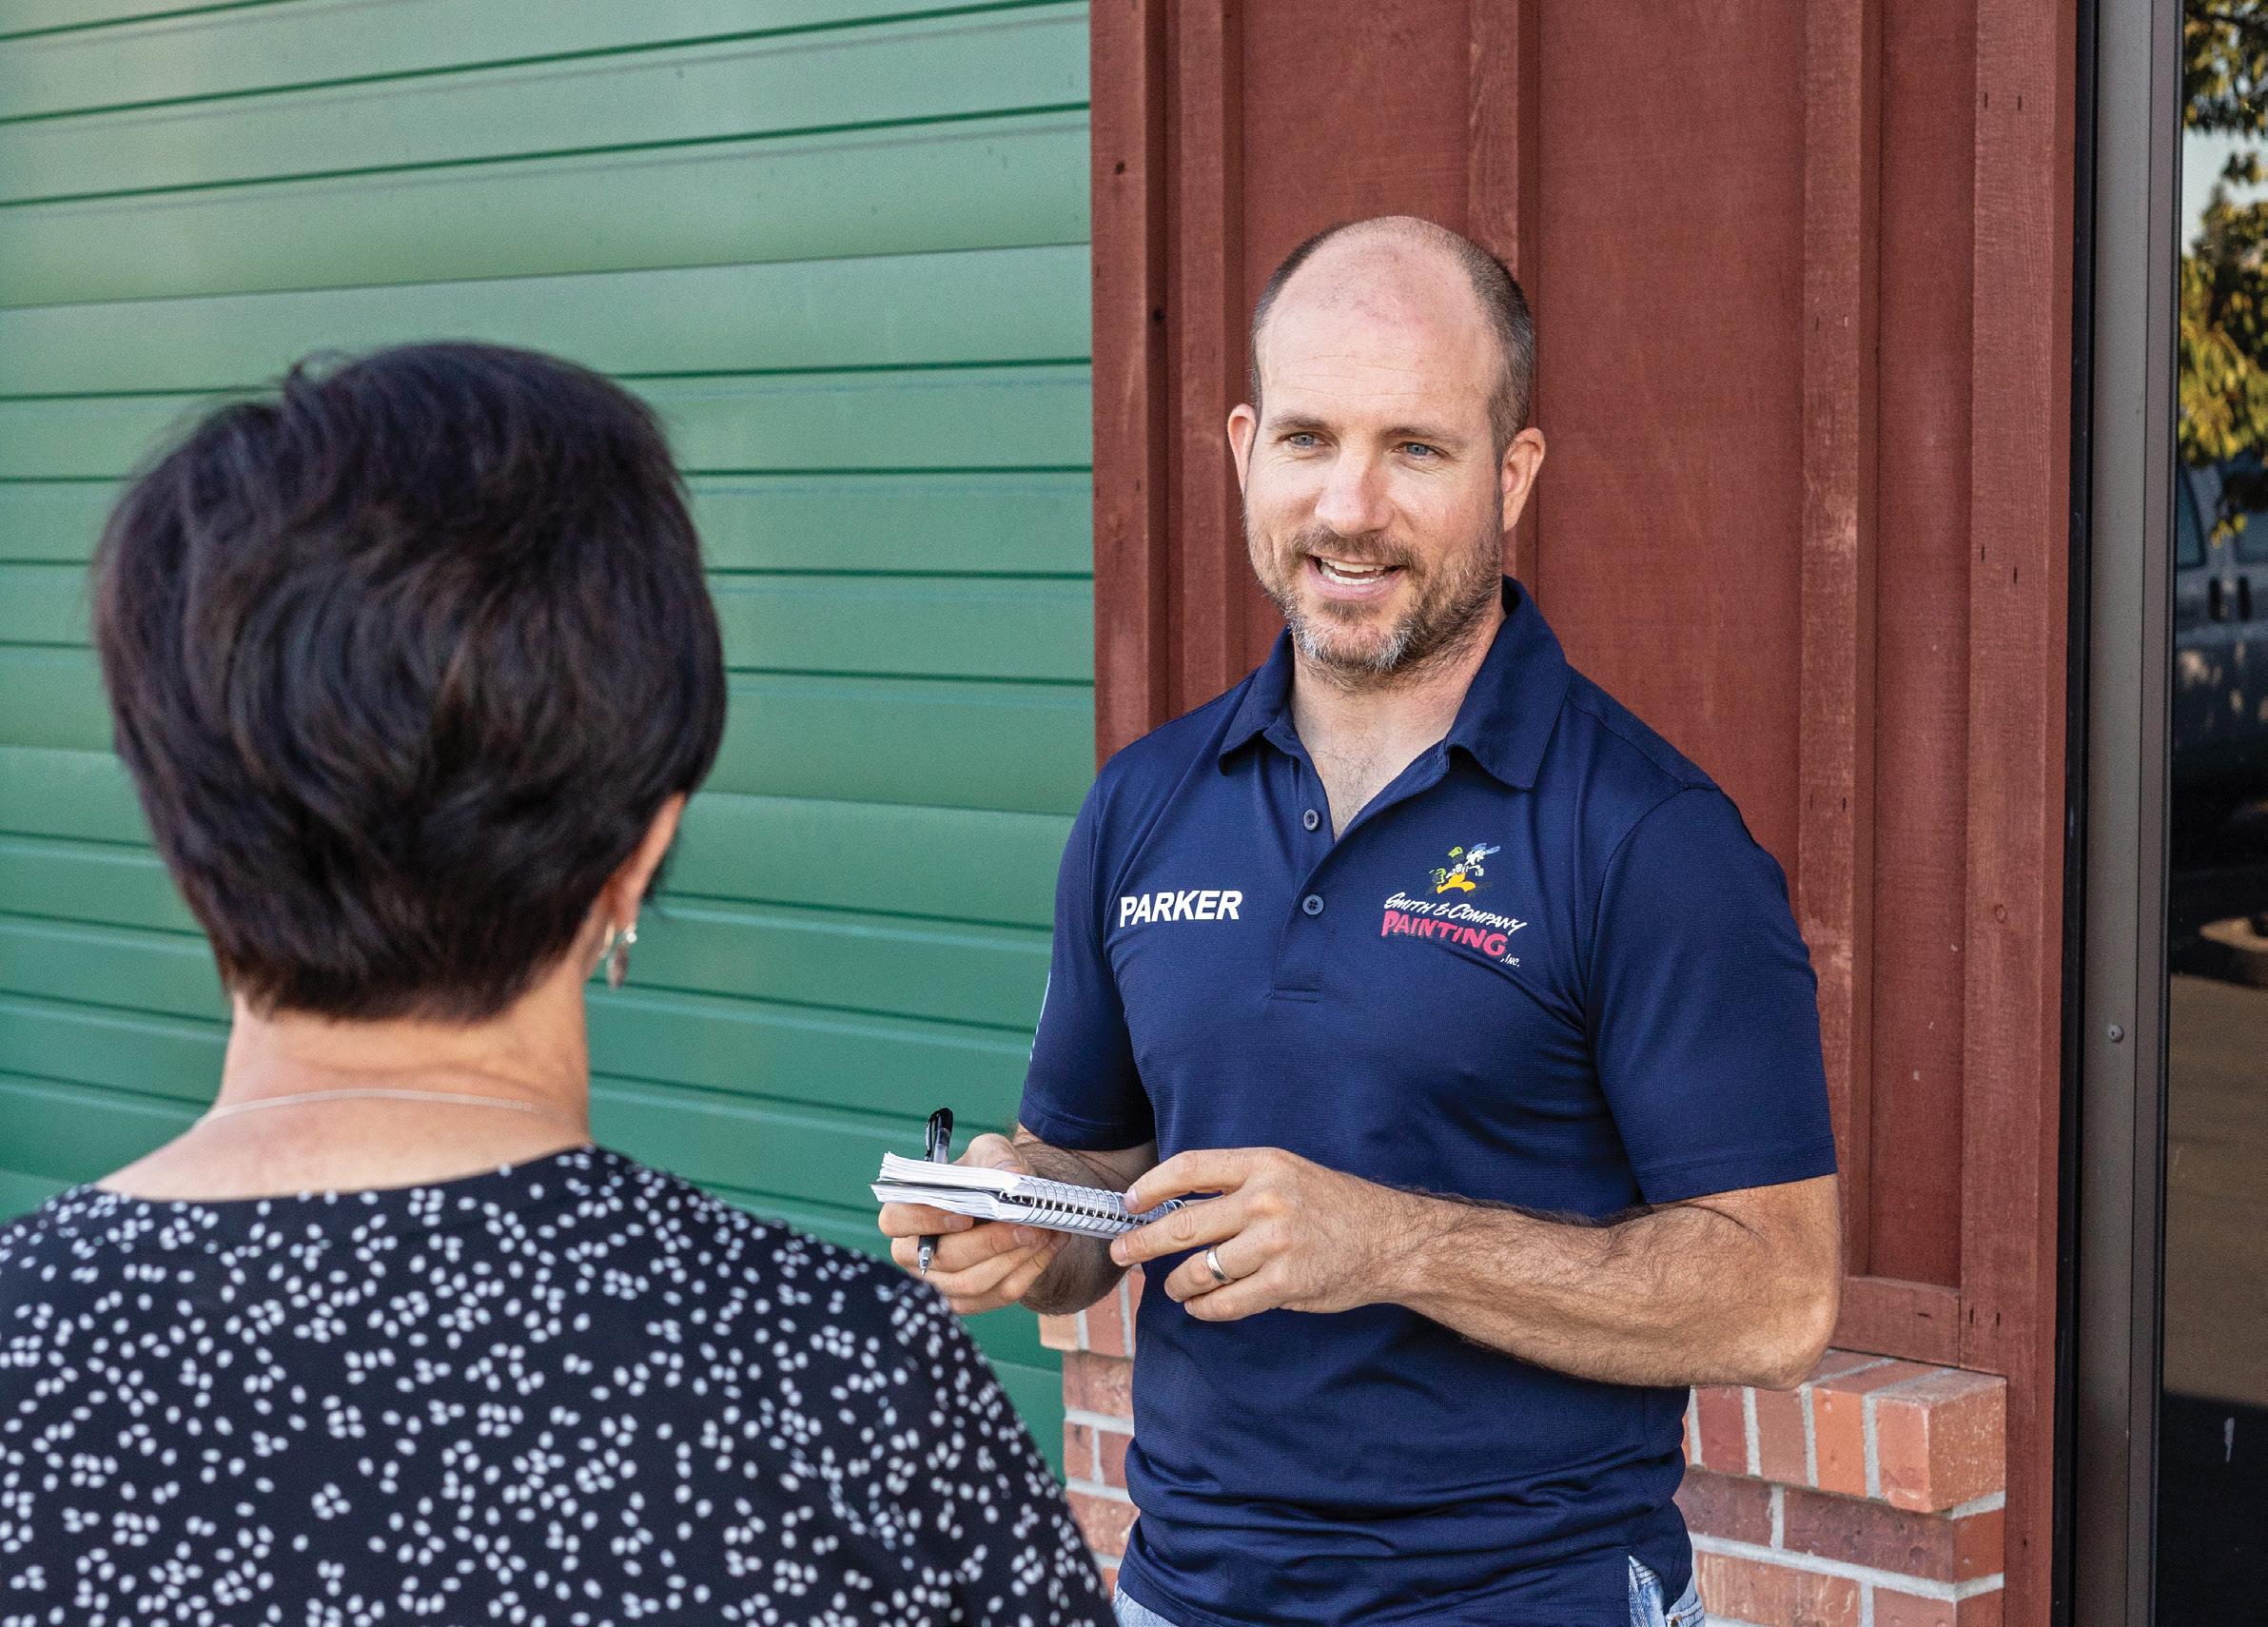
PHOTO COURTESY OF SMITH & COMPANY PAINTING
THINK BEYOND PAINTING
Even if you’re not an estimator or team leader, the very nature of your work puts you in frequent and direct contact with your coworkers and customers. So mastering communication and customer service will make you a well-rounded, valuable and desirable employee.
Communicating clearly, nurturing customer relationships and properly caring for property while on the jobsite are all vital aspects of your ability to provide excellent service (not to mention work well with others on your team).
“I have team members going into clients’ homes—they have to be honest, trustworthy and caring,” Smith says. “When the work is excellent, our team is kind and caring, and they complete a job quickly and efficiently—that is when we create repeat clients.”
Experience is the best teacher when it comes to real-world job interactions. To help familiarize yourself with customer service basics and common talking points, it’s helpful to shadow a more experienced coworker or a customer relations team member during interactions with clients. You can even practice taking the lead on some interactions to build your confidence. This also helps to build a solid rapport with your coworkers and contributes to a collaborative culture on your team.
BE OPEN TO LEARNING NEW SKILLS
Tools, technologies and customer expectations are always evolving in the painting industry. A willingness and motivation to learn can help you work more efficiently, look more valuable to your employer and help your painting company grow.
Accepting training tips and work criticism is a good place to start. When you’re apprenticing, your work won’t be your finest. But you have to go through those early trials and make mistakes to ultimately refine your craft. And one of the most valuable training resources is usually just a few feet away: journeymen and masters on your team. Tap into their knowledge and experience. Ask them to critique your work—and take that criticism as a learning opportunity. Lean on them for insider tips to help you work smarter and yield better results. The more you collaborate with your team, the faster you’ll improve and the more enjoyable your work environment will be.
Learning the ins and outs of social media marketing and other online tools is another great way to grow in the industry. Brush up on the basics of paid Facebook and Instagram posts. Learn how Google business profiles can help your company get in front of more potential customers. Offer to step up and help the company broaden its marketing efforts. Even if these aren’t your primary job responsibility, your hustle and enthusiasm won’t go unnoticed.
PAY IT FORWARD
As you make your way from apprentice to journeyman to master, one way to make yourself infinitely more valuable to your company and your coworkers is by being willing to train other employees—and not just with painting skills but also with the interpersonal skills you glean throughout your experience.
A willingness to train other employees magnifies your company impact and positions you as a leader who can take on bigger and better responsibilities.
If your company doesn’t have an official training manual, offer to start writing down your process as you train new employees to help give your future trainers a document to work from. Then allow them to shadow your next new-employee training process.
As you master communication and collaboration, you’ll be empowered with opportunities for upward mobility and share in the success of coworkers and the company at large. That’s good for you, your business and the industry.
29 A HOW-TO GUIDE FOR NEW PAINTING PROS
MAKING A GOOD FIRST IMPRESSION
Employers and customers form opinions quickly. In fact, you often have just seconds to make a first impression. With so little time to earn the trust of your boss, your team and your customers, you need to make sure your introduction is one that expresses a sense of confidence and responsibility.
Here are a few tips to help you look good, exhibit confidence and instill trust when engaging with your team or meeting new customers.

30 ROOKIE
HANDBOOK SOFT SKILLS [ SECTION 03 ]
PAINTER’S
PHOTO ABOVE COURTESY OF SMITH & COMPANY PAINTING
ARRIVE ON TIME OR EARLY
Not only is time money to you and your employer—it’s also valuable to your customers. Making someone wait is inconsiderate, and it can be a factor in getting negative reviews. To help keep yourself prompt, factor in prep time—including loading your truck or a quick change of clothing (more on that later). Then, add on extra travel time to accommodate for unforeseen circumstances, like roadwork or heavy traffic. Being late never leads to a good first impression, and it’s an easy factor to control.
WEAR A UNIFORM
Uniforms don’t have to be expensive or uncomfortable. They can be as simple as a clean T-shirt with a company logo and a clean pair of painter’s pants. Uniforms are important because they make you easy to identify and more credible to customers.

CLEANLINESS MATTERS
This applies to your personal appearance and your work vehicle. It’s a good idea to have a clean shirt and pants in your truck just in case you need to make a quick change. Not only do clean clothes make you look better—they also help you feel more confident. When meeting inside a business or residence, keep customers’ floors clean by wearing disposable work booties over your shoes.
Make sure your truck or work area remain clean too. Set aside time to wash your vehicle, organize loose papers and discard empty drink containers and trash. A dirty truck or messy work area can convey your work quality is disorganized and messy too.
MIND YOUR BODY LANGUAGE
Use your customer’s name when introducing yourself—make good eye contact, and remember not to slouch. Good posture radiates self-confidence. When explaining a job to a customer, give them time to digest what you are saying by speaking slowly and clearly. Don’t use hard-to-understand terminology or rush through your explanation of the scope of the project. When you take your time, you build trust with your customer. This helps you manage their expectations for the project and answer their questions.
31 A HOW-TO GUIDE FOR NEW PAINTING PROS
HOW TO JOIN A GOOD TEAM
Many trades enjoy a direct funnel of talent from vocational education programs and trade schools, which are experiencing a renaissance in the wake of America’s mounting college debt problem and the destigmatization of education in the trades. But in the painting industry, organized recruitment initiatives or formal educational programs are incredibly scarce.

So the onus falls directly to you, the aspiring painter, and painting companies in the field to make connections directly.
Here are a few tips on how to land your perfect painting job.
WHERE TO FIND EMPLOYERS
Whether your preference is large-scale commercial painters with lots of vertical growth opportunity or smaller shops with a nimble team, understanding where to find potential employers is the first step in getting hired.
Larger regional companies tend to take a strategic advertising approach, with advertising across many media channels, from radio and billboards to print and digital ads and social media. If you’re looking for work, they’ll typically find you just as easily as you’ll find them.
If small, local businesses are more your comfort level, you may need to be more deliberate with your search. Social media is a good place to start. With fewer people covering a wider spectrum of responsibilities, and typically smaller advertising budgets, smaller shops often rely on the low cost and accessibility of paid social media posts for advertising. And since Facebook and Instagram are two of the most business-friendly and widely used platforms, getting the word out about employment in their business coverage area is fast and easy.
32 ROOKIE PAINTER’S HANDBOOK SOFT SKILLS [ SECTION 03 ]
PHOTO COURTESY OF SMITH & COMPANY PAINTING
WHAT TO LOOK FOR IN AN EMPLOYER
Competitive pay and fringe benefits offer obvious appeal, but if you’re just beginning your painting career, you may not bring the experience or cachet that warrants a higher position with higher pay. However, a positive work culture and great work environment with respect, opportunity for advancement and a team-minded atmosphere can be just as rewarding as competitive pay.
A company’s culture starts with investing in its people. If your experience doesn’t put the ideal financial rewards within your reach yet, look for companies that show opportunities for personal growth. A well-rounded training program and the opportunity to learn new skills can be a huge benefit. It can instill a sense of ownership of your role in the company and put you on a track to take on more responsibility—and earn more pay as you do.
“My secret weapon is asking employees, ‘How can I help you get ahead?’” says Kevin Nolan, President of Philadelphia-based Nolan Painting. “You can achieve anything you want to do in the world if you help other people get what they want.”
Nolan Painting starts all new painters, regardless of skill or experience, at a base perhour rate and puts them on a progressive training track to grow skills and pay quickly. At 60 days, they evaluate behavior—punctuality, customer service, attitude, teamwork and the like. At 90 days they evaluate skill—painting a door or window. If employees are performing up to standards at 90 days, they automatically get a raise to $16 per hour and are on track to earn $20 per hour, which they can reasonably attain in one to two years.
“If you treat people with respect, you listen to what they have to say and you’re out for their best interests, you’re going to have a good culture,” says Nolan. “That’s going to increase morale.”
HOW TO MAKE THE TEAM—AND REMAIN THERE
In the trades, there’s more work to be had than workers available to perform that work. Even in an industry like painting, where in many parts of the country the work ebbs and flows seasonally, businesses still often scramble to find reliable talent to cover the influx of projects. And because of that, employers are increasingly focusing on soft skills, which are harder to teach, than painting experience.
Even the most specialized painting skills can be taught and learned. What can’t be taught are work ethic, self-motivation, flexibility, a positive attitude and a collaborative spirit.
Nick Slavik, Owner of Nick Slavik Painting & Restoration Co. in New Prague, Minnesota, and host of weekly Facebook broadcast Ask a Painter Live, has developed his own hiring rubric. He calls it the “Decent Human Being Theory.”

“I find happy people looking for a job they can love,” Slavik explains in one of his videos. “I find them where they’re unappreciated, with no connection to the place they work. They seek satisfaction. …Then I devote my life to giving them the chance to love the craft like I do.”
Whether you have some experience as a subcontracted painter or you’re coming from an adjacent work industry—or even an unrelated one—the most important aspects to convey about yourself are professionalism, reliability, clear communication, teammindedness and a willingness to learn (see the "Polishing Your People Skills" article on page 28 for more on this topic).
That means from your very first inquiry through your interview process and training as an apprentice, be sure to let your eagerness to learn and desire for teamwork be known.
33 A HOW-TO GUIDE FOR NEW PAINTING PROS
HOW TO LOWER YOUR RISK FOR JOBSITE FALLS
The primary business goal of any painting operation is growth. The primary business function is to paint surfaces. But when it comes to you, the employee, neither of these take top priority. The most important factor is to stay safe on the job.
On the surface, that may seem obvious. But jobsite realities offer no shortage of serious safety risks day in and day out. Painters ascend and descend towering extension ladders. They scale scaffolding and platforms multiple stories up. They traverse perilous rooftops. The risk factors are high, and you are constantly operating in scenarios in which one misstep could lead to a potentially fatal fall—which happens more frequently than you might think.
According to recent U.S. Bureau of Labor data, slips, trips and falls caused nearly 800 fatalities in 2018 and many more injuries in the workplace. Within the construction industry, falls are the number one cause of fatalities, with an average of more than 10,000 seriously injured and more than 200 construction workers killed every year. That’s roughly one-third of all on-the-job injury deaths.
THE RISK FOR PAINTERS
Painters in particular are exposed to several occupational risk factors for falling. “These injury risk factors can be classified into three major groups: environmental factors, job task factors and human factors,” says Dr. Hongwei Hsiao, Chief of the Protective Technology Branch at the National Institute for Occupational Safety and Health (NIOSH) and author of Fall Prevention and Protection: Principles, Guidelines and Practices
Environmental factors include variations in structure configurations, work heights, weather and lighting conditions. Job task factors include worker overreaching, overhead painting, ladder and scaffold access, mobile platform use, time constraints and availability and use of fall protection devices like guard rails, safety nets and fall arrest harnesses. And human factors include a worker’s health, age, risky behaviors and situational awareness.
Painters are second only to roofers in the incidence of nonfatal falls on the job, according to the most recent statistics. And falls from ladders, specifically, make up nearly a third of all fall fatalities. In starker terms, a work-related ladder fall fatality occurs, on average, every two days.
But perhaps the most notable detail among them all is this: These falls are preventable. It’s no surprise, then, that for 10 years in a row, fall protection has been the most frequent violation of the Occupational Safety and Health Act standards, with thousands of violations every year.
THE RISING COSTS OF FALLING
Small-business contractors may be particularly at risk for falls, says Hsiao. “Often, workers and employers may not respect the potential severity of fall hazards or may not be familiar with the resources available to address these challenges,” he notes.
Adhering to Occupational Safety and Health Administration (OSHA) fall protection standards is, first and foremost, about saving lives and protecting painters.
But there’s also a strong business argument for maintaining stringent safety standards: Falls and injuries are financially costly for painting businesses, both directly and indirectly.
First are the direct medical costs the business will incur from a fall, including workers’ compensation claims. Workers’ compensation costs differ by construction subsector, but a National Academy of Social Insurance study estimated that workers’ compensation costs for construction industry employers are 71% higher than the percentage for the overall goods-producing industries combined. Claims related specifically to falls from ladders or scaffolding average out at nearly $70,000 per incident, according to OSHA.
Direct medical costs, however, are just the beginning. There are also the costs of OSHA penalties that will hit your employer— costs that have consistently increased over the years—for any preventable hazard that led to the fall. A single OSHA violation can
34 ROOKIE PAINTER’S HANDBOOK SOFT SKILLS [ SECTION 03 ]
cost upward of $13,000. Failure to correct the factors that caused the violation can cost that amount per day until they’re corrected, and a willful or repeated violation can cost more than $130,000.
Related to OSHA penalties are the costs of remediating the safety problem (including, in some cases, costly equipment repair or replacement), regulatory paperwork, inspections for approval to return to active work and lost production from downtime.
Other indirect costs of an injury, which are often harder to calculate, can include lost productivity, increases to insurance premiums, lower morale for you and your coworkers and the potential loss of new business if the company’s reputation takes a hit. The Safety Management Group estimates the indirect costs of an on-the-job injury total, on average, four to 10 times the amount of the direct costs, with a $2,500 emergency room visit ballooning to a cost of $10,000 to your business.
Employees aren’t free from financial impact either—workers' compensation may cover some of your salary, but if you’re out of work for an extended period, that can impact your own income.
SAFETY TIPS AND TOOLS
On the flip side, according to OSHA, businesses with employees who follow an effective safety and health program can save $4 to $6 for every $1 invested in time or resources. That requires effort and commitment from everyone at the company—from leadership to brand-new employees. It’s everyone’s responsibility to prioritize fall safety training and to take a strict safety regimen seriously—for you, your coworkers and your company.
A good starting point is to familiarize yourself with the fall prevention standards of the Fall Prevention Campaign, a combined effort by OSHA, NIOSH, the Center for Construction Research and Training (CPWR) and the National Occupational Research Agenda. If your company isn’t familiar with these standards, make a recommendation to your supervisor.
The campaign is founded on three basic principles:
1. Planning ahead to get the job done safely. This means knowing what time and extra safety gear are required to get the job done safely, then ensuring those costs are reflected in estimates to your customers.
2. Making sure the company has the right equipment to keep you and your coworkers safe. If you are 6 ft. or higher off the ground, you’re at risk of serious injury or even death. Choosing the appropriate ladders, platforms and scaffolding for your specific job is a critical step in helping to reduce the hazard of falls.
3. Getting trained to use the equipment properly. The right equipment only goes so far. Your team members need to know the proper methods for setting up their gear and using it to prevent falls on the job.
There is an abundance of free industry resources available to help inform you and your coworkers and to keep safety at the forefront of everyone’s focus while on the job.
FREE RESOURCES FOR LADDER SAFETY AND FALL PREVENTION
Painters are exposed to several occupational risk factors for falling. What can you do to minimize your risk? Here are a number of free industry resources that are available to help inform and train you and your coworkers and to help keep safety at the forefront of everyone’s focus while on the job.
SAFETY IS GOOD BUSINESS
While a company’s main business goal may always be growth, the company can’t grow without first ensuring the safety of its people—and it only takes one incident to inflict a lot of damage to your company’s morale, reputation and bottom line. Armed with the right information, tools and training, you will be better positioned to approach every job with safe working standards.
BEFORE THE JOB STARTS
» ALI Online Ladder Safety Training: An online tool to offer training in the proper selection, care and safe use of stepladders and single and extension ladders.
» CPWR Safety Climate Workbook: A series of worksheets to help businesses self-assess their safety culture and take steps to improve it, from communication to employee empowerment.
» CPWR Webinar: A 25-minute, guided safety selfassessment video, presented by Dr. Linda Goldenhar, Research and Evaluation Director at CPWR.
ON THE JOB
» NIOSH Ladder Safety App: A smartphone app that includes an angle-measuring tool to help you set an extension ladder at the proper angle; tips to plan your job and select the right size and type of ladder for your job while considering time, materials and tools required; a checklist for ladder mechanical inspection; and more.
» CPWR Toolbox Talks: A collection of toolbox talks to offer during lunch breaks, including multiple topics on fall prevention. New topics are added on an ongoing basis.
ONGOING REFERENCE
» NIOSH Fall Prevention Fact Sheet: A safety checklist with accompanying illustrations and best practices for working on roofs, ladders and scaffolding.
» OSHA Ladder Booklet: Short-form information about how falls from ladders, scaffolds and roofs can be prevented.
» OSHA Portable Ladder Quick Card: A handy, bulleted list of ladder safety do’s and don’ts to keep on hand for your crew.
35 A HOW-TO GUIDE FOR NEW PAINTING PROS


To learn more, visit FrogTape.com/Contractors BROUGHT TO YOU BY FROGTAPE® BRAND PAINTER’S TAPE