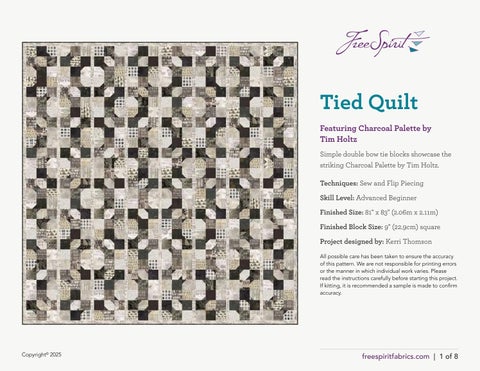
Tied Quilt
Featuring Charcoal Palette by Tim Holtz
Simple double bow tie blocks showcase the striking Charcoal Palette by Tim Holtz.
Techniques: Sew and Flip Piecing
Skill Level: Advanced Beginner
Finished Size: 81" x 83" (2.06m x 2.11m)
Finished Block Size: 9" (22.9cm) square
Project designed by: Kerri Thomson
All possible care has been taken to ensure the accuracy of this pattern. We are not responsible for printing errors or the manner in which individual work varies. Please read the instructions carefully before starting this project. If kitting, it is recommended a sample is made to confirm accuracy.
FABRIC REQUIREMENTS (Tech edited by: Alison M. Schmidt)


FABRIC REQUIREMENTS (continued...)
Design Color
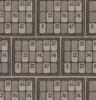
Q Dictionary Neutral
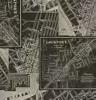
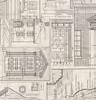
R Model Airplanes Parchment
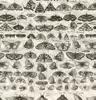
S Butterflies Parchment
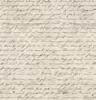
T Typography Parchment
* includes binding
Backing (Purchased Separately)
44" (1.12m) wide
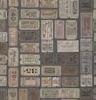
Charcoal Tickets Charcoal
OR 108" (2.74m) wide Expedition Multi
PWTH008.NEUTR 1⁄2 yards (0.46m)
PWTH174.PARCHMENT 1⁄2 yards (0.46m)
PWTH004.PARCHMENT 3⁄8 yards (0.34m)
PWTH175.PARCHMENT 3⁄8 yards (0.34m)
Swatches


ADDITIONAL REQUIREMENTS
• 89" x 91" (2.26m x 2.31m) batting
• 100% cotton thread for piecing
PWTH312.CHARCOAL 73⁄4 yards (7.09m)
QBTH007.MULTI 25⁄8 yards (2.40m)
CUTTING
WOF = Width of Fabric
Fabrics A, N and O, cut from each:
(3) 31⁄2" x WOF; subcut
(25) 31⁄2" squares
(7) 13⁄4" squares
(1) 13⁄4" x WOF; subcut
(22) 13⁄4" squares
Fabrics B, E, F, P, Q and R, cut from each:
(4) 31⁄2" x WOF; subcut
(39) 31⁄2" squares
Fabrics C, D and G, cut from each:
(3) 31⁄2" x WOF; subcut
(33) 31⁄2" squares
(2) 13⁄4" x WOF; subcut
(31) 13⁄4" squares
Fabric H, cut:
(4) 31⁄2" x WOF; subcut
(36) 31⁄2" squares
(24) 11⁄2" x WOF for sashing and borders
Fabric K, cut:
(3) 31⁄2" x WOF; subcut
(31) 31⁄2" squares
(2) 13⁄4" x WOF; subcut
(28) 13⁄4" squares
Fabric I, cut:
(5) 31⁄2" x WOF; subcut
(46) 31⁄2" squares
Fabric J, cut:
(3) 31⁄2" x WOF; subcut
(33) 31⁄2" squares
(2) 13⁄4" x WOF; subcut
(31) 13⁄4" squares
(10) 21⁄2" x WOF for binding
Fabrics L and M, cut from each:
(3) 31⁄2" x WOF; subcut
(29) 31⁄2" squares
(2) 13⁄4" x WOF; subcut
(30) 13⁄4" squares
Fabrics S and T, cut from each:
(3) 31⁄2" x WOF; subcut
(32) 31⁄2" squares
Tied Quilt
INSTRUCTIONS
Notes:
• All seam allowances are 1⁄4" and pieces are sewn right sides together. Press the seams as shown in the diagrams.
• This quilt is pieced for a scrappy vintage feel. To help develop the scrappiness, more pieces will be cut than are required for greater choice. Fabrics are assigned into light and dark values. Select fabric combinations that are pleasing to you for a unique quilt or use the Quilt Layout diagram as a guide for fabric placement.
Tied Blocks
1 Sort the cut squares into a light and a dark value group as listed below (all the 13⁄4" squares will be in the Dark group).
• Light - Fabrics B, E, F, H, I, P, Q, R, S and T
• Dark - Fabrics A, C, D, G, J, K, L, M, N and O
2 Select (4) each 31⁄2" and 13⁄4" Dark squares and (5) 31⁄2" Light squares. On the wrong side of each 13⁄4" square, draw a diagonal line from corner to corner.
3 Place (1) marked 13⁄4" square, right sides together, on the lower left corner of (1) 31⁄2" Light square, with the line running across the corner as shown. Sew along the drawn line (Fig. 1). Trim to a 1⁄4" seam allowance below the line and press the seam open to complete the Upper Right Unit (31⁄2 2" square).
1
1
4 Repeat Step 3 to add 13⁄4" squares to the lower left and upper right corners of (1) 31⁄2" Light square and to the upper right corner of (1) 31⁄2" Light square to complete the Center and Lower Left Units, respectively. (Fig. 2)
Fig. 2
Fig. 2
Fig.
5 Arrange the (4) 31⁄2" Dark squares, (2) 31⁄2" Light squares and the (3) Units in a nine-patch, placing the units in their named positions and the remaining (2) Light squares in the upper left and lower right corners. (Fig. 3)
QUILT TOP ASSEMBLY
Tied Quilt
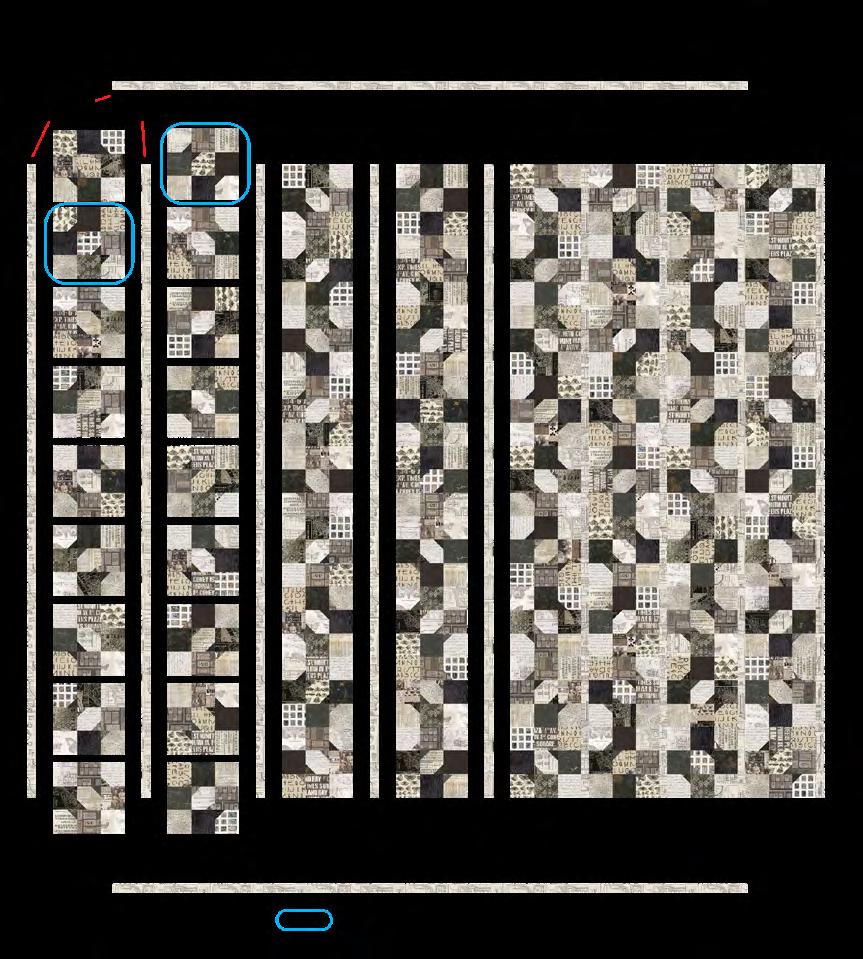
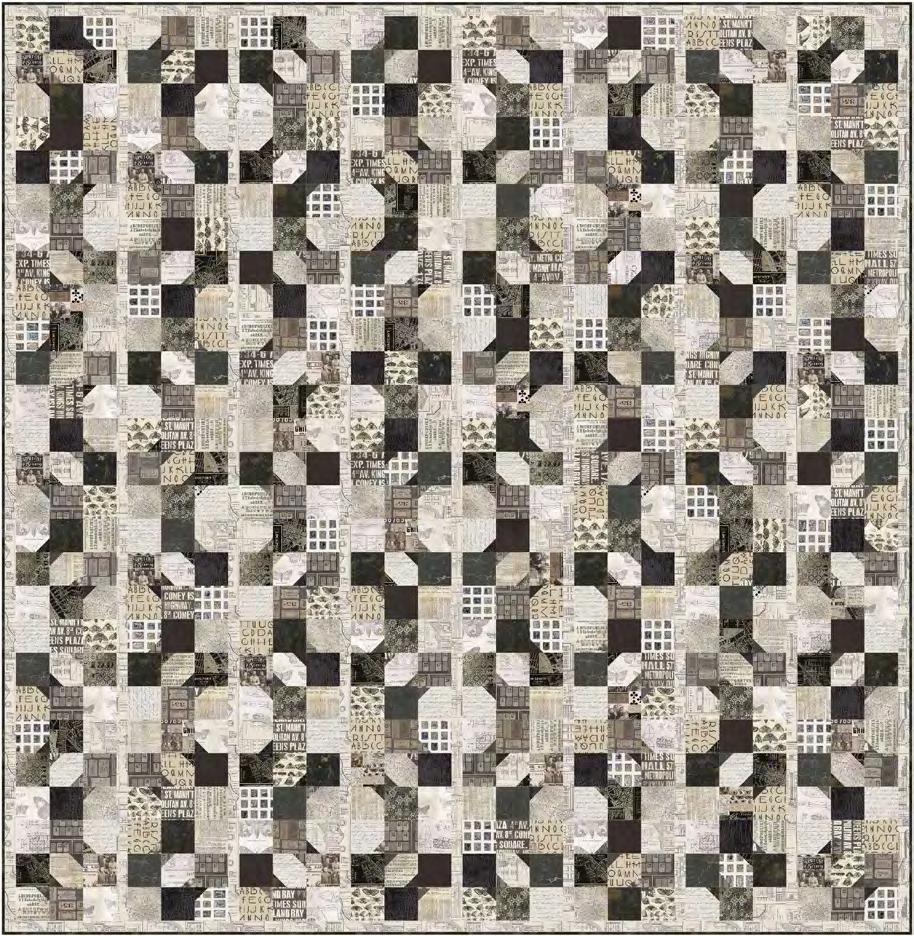
Note: Follow the Quilt Layout diagram (page 8) while assembling the quilt top.
8 Sew (9) Tied Blocks together, rotating the second and every other even block in the column 90° to complete a Column 1 (91⁄2" x 811⁄2"). Repeat to make a total of (4) of Column 1.
9 Sew (9) Tied Blocks together, rotating the first and every other odd block 90° to complete a Column 2 (91⁄2" x 811⁄2"). Repeat to make a total of (4) of Column 2.
10 Sew (3) 11⁄2" Fabric H strips together, end to end, to form a long strip. Starting from one end, cut (1) 11⁄2" x 811⁄2"
6 Sew the 31⁄2" squares and Units together in rows. (Fig. 4) Sew rows together to complete (1) Tied Block (91⁄2" square).
Fig. 4
4
7 Repeat Steps 2 to 6 to make (72) Tied Blocks.
Sashing/Border Strip. Sew the leftover of the pieced strip to (2)more 11⁄2" Fabric H strips and cut a second 11⁄2" x 811⁄2" Sashing/Border Strip. Repeat this process to sew and cut a total of (11) Sashing/Border Strips.
11 Sew the (8) Columns together between (9) Sashing/Border Strips. Sew a Sashing/Border Strip to the top and to the bottom to complete the Quilt Top (811⁄2" x 831⁄2").
Fig. 3
FINISHING
12 Sew together the 21⁄2" Fabric J binding strips end to end using diagonal seams. Press seams open. Press the binding strip in half wrong sides together.
13 Layer backing (wrong side up), batting, and quilt top (right side up). Baste the layers together and quilt as desired. Trim excess batting and backing even with the top after quilting is completed.
14 Leaving an 8" tail of binding, sew the binding to the top of the quilt through all layers matching all raw edges. Miter corners. Stop approximately 12" from where you started. Lay both loose ends of binding flat along quilt edge. Where the loose ends meet, fold them back on themselves and press to form a crease. Using this crease as your stitching line, sew the two open ends of the binding right sides together. Trim seam to 1⁄4" and press open. Finish sewing binding to quilt.
15 Turn the binding to the back of quilt and hand-stitch in place.