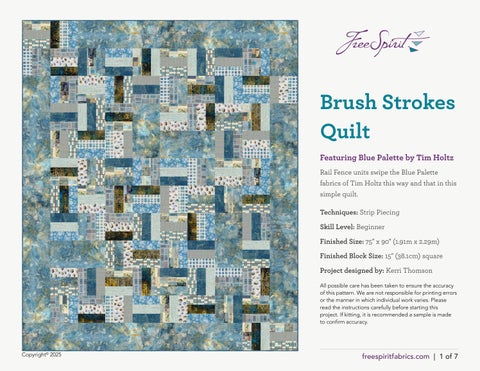
Brush Strokes Quilt
Featuring Blue Palette by Tim Holtz
Rail Fence units swipe the Blue Palette fabrics of Tim Holtz this way and that in this simple quilt.
Techniques: Strip Piecing
Skill Level: Beginner
Finished Size: 75" x 90" (1.91m x 2.29m)
Finished Block Size: 15" (38.1cm) square
Project designed by: Kerri Thomson
All possible care has been taken to ensure the accuracy of this pattern. We are not responsible for printing errors or the manner in which individual work varies. Please read the instructions carefully before starting this project. If kitting, it is recommended a sample is made to confirm accuracy.
Brush Strokes Quilt
FABRIC REQUIREMENTS (Tech edited by: Alison M. Schmidt)
Design
A Blue Collage Blue
B Blue Stamps Blue
PWTH281.BLUE 1⁄2 yard (0.46m)
C Blue Tickets Blue PWTH282.BLUE 5⁄8 yard (0.57m)
D Blue Map Blue PWTH283.BLUE* 11⁄8 yards (1.03m)
E Blue Script Blue
F Blue Eggs Blue
G Blue Numbers Blue
PWTH284.BLUE 1⁄2 yard (0.46m)
PWTH285.BLUE 1⁄2 yard (0.46m)
PWTH286.BLUE 1⁄2 yard (0.46m)
H Blue Tapestry Blue PWTH287.BLUE 1⁄2 yard (0.46m)
I Blue Tiny Print Blue PWTH288.BLUE 1⁄2 yard (0.46m)
J Blue Vintage Blue PWTH289.BLUE 21⁄4 yards (2.06m)
K Gilded Mosaic Gold
*includes binding
Backing (Purchased Separately)
44" (1.12m) wide
Blue Tickets Blue
PWTH140.GOLD 1⁄2 yard (0.46m)


PWTH282.BLUE 51⁄2 yards (5.03m) OR 108" (2.74m) wide
Receipt Aqua QBTH010.AQUA 23⁄8 yards (2.17m)
ADDITIONAL REQUIREMENTS
• 100% cotton thread in colors to match
• 83” x 98” (2.11m x 2.49m) batting


CUTTING
WOF = Width of Fabric
Fabric A, cut:
(7)3" x WOF
Fabrics B, E, F, G, and I, cut from each:
(4)3" x WOF
Fabric C, cut:
(6)3" x WOF
Fabric D, cut:
(5)3" x WOF
(10)21⁄2" x WOF for Binding
Fabrics H and K, cut from each:
(5)3" x WOF
Brush Strokes Quilt
Fabric J, cut:
(7)8" x WOF for Borders
(2)8" x WOF; sub-cut
(4)8" x 151⁄2" rectangles
(1)8" square
(3)3" x WOF
INSTRUCTIONS
• All seam allowances are 1⁄4" and pieces are sewn right sides together. Press the seams following the arrows in the diagrams.
• This quilt is designed to give a scrappy vintage feel. To help with the scrappiness, more pieces are cut than required to allow for a wider variety of choices. Select fabric combinations that are pleasing to you for a unique quilt or use the Quilt Layout diagram as a guide for fabric placement. The Rail Fence units will be rotated in multiple directions in their final assembled position in the blocks, so directional fabrics will most likely not be kept right-reading. You may choose to enhance the scrappiness when piecing units by deliberately orienting directional prints differently when they are next to each other in strip sets.
Brush Strokes Quilt
Strip Set Construction
• To cut the pieces necessary from each strip set, sew the three strips together matching selvages all at the starting end to achieve the most usable fabric in the strip set.
• When pressing the strip sets, place the strips on the ironing surface as straight as possible, then press lifting the iron straight up and down, gently opening the seam with your fingers, to eliminate curving in the strip set.
2 From each Strip Set cut (5) 8" segments for a total of (85) Rail Fence units (8" square). (Fig. 2)
1 Select (3) different 3" x WOF strips and sew together in a Strip Set (8" x WOF). (Fig. 1) Repeat to make (17) Strip Sets.
3 Select (4) Rail Fence units and lay out in four-patch, placing the rails perpendicular to each other. (Fig. 3)
Fig. 1
Keep strip ends even at starting point.
Strip Set Make 17
Fig. 2
Rail Fence Unit Cut 85 8"
Block Construction
Brush Strokes Blocks
Fig. 3
4 Sew the Rail Fence units together into (2) rows of (2) units. (Fig. 4)
Brush Strokes Quilt
Partial Blocks
7 Select (2) Rail Fence units and (1) 8" x 151⁄2" Fabric J rectangle.
8 Sew together the (2) Rail Fence units, placing the rails perpendicular to each other. (Fig. 6)
5 Sew the (2) rows together to complete (1) Brush Strokes Block (151⁄2" square). (Fig. 5)
6 Repeat Steps 3 to 5 to make (16) Brush Strokes Blocks.
9 Sew the 8" x 151⁄2" Fabric J rectangle to the bottom of the Rail Fence row, to complete (1) Partial Block (151⁄2" square). (Fig. 7) Fig. 7
10 Repeat Steps 7 to 9 to make (4) Partial Blocks.
Fig. 4
Brush Strokes Block Make 16
Fig. 5
Fig. 6
Partial Block Make 4
Brush Strokes Quilt
QUILT TOP ASSEMBLY
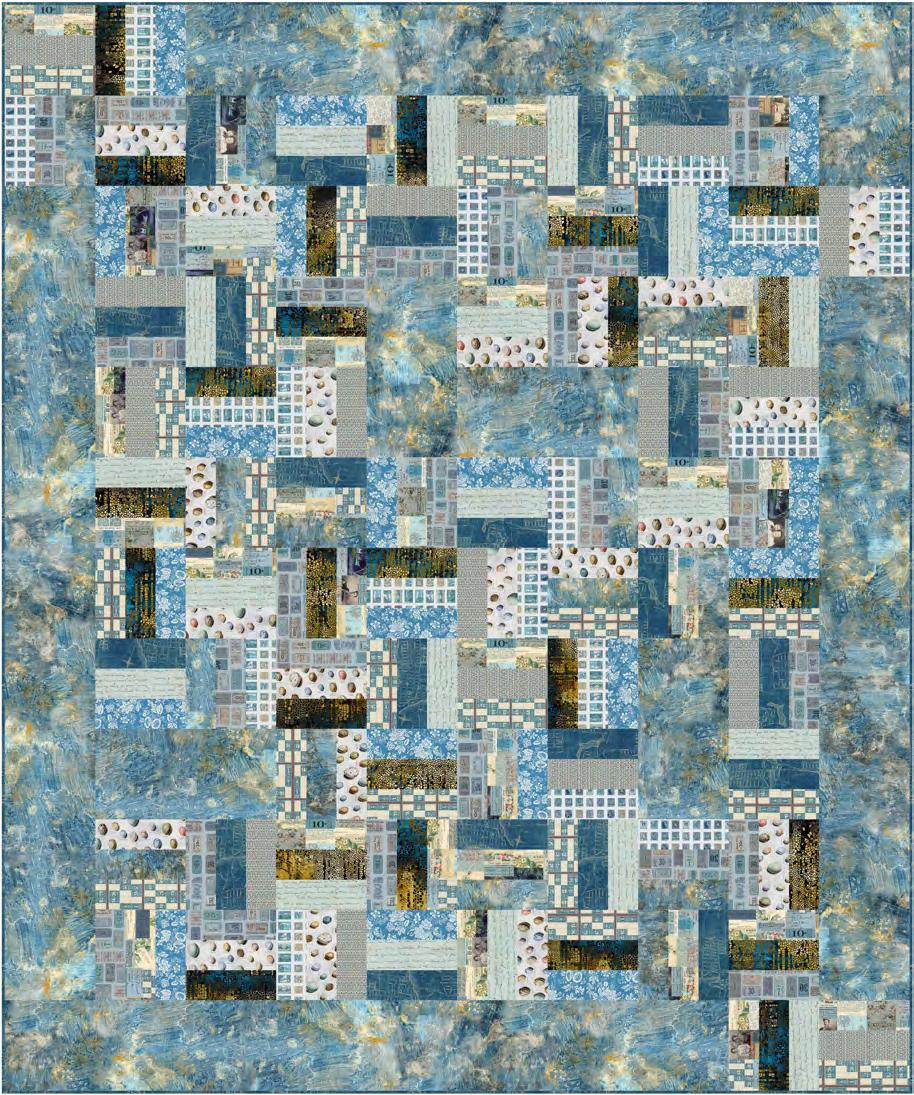
• Follow the Quilt Layout diagram (page 7) while assembling the quilt.
• Lay the quilt out on a design wall or floor before sewing, adjusting the blocks to create movement across the quilt.
17 Sew a Rail Fence unit to one end of the 8" x 68" Border Strip, placing the rails parallel to the length of the border, to complete the Left Side Border (8" x 751⁄2"). Sew the Left Side Border to the left-hand edge of the Quilt Center, pinning to match the seams at the upper end of the border.
11 Sew together (4) Brush Strokes Blocks to complete Row 1 (151⁄2" x 601⁄2"). Repeat to make Row 3 and Row 5.
12 Sew (2) Partial Blocks between (2) Brush Strokes Blocks, orienting the large Fabric J rectangles perpendicular to each other as shown, to complete Row 2 (151⁄2" x 601⁄2").
13 Sew (2) Brush Strokes Blocks between (2) Partial Blocks, orienting the large Fabric J rectangles perpendicular to each other as shown, to complete Row 4 (151⁄2" x 601⁄2").
14 Sew the Rows together in numerical order to complete the Quilt Center (601⁄2" x 751⁄2").
15 Sew together (5) 8" x WOF Fabric J strips, end to end, into a long strip. Cut (3) 8" x 601⁄2" Border Strips.
16 Sew together (2) 8" x WOF Fabric J strips, end to end, into a long strip. Cut (1) 8" x 68" Border Strip.
18 Sew a Rail Fence unit to one end of (1) 8" x 601⁄2" Border Strip, placing the rails parallel to the length of the border. Then sew the 8" Fabric J square to the opposite side of the Rail Fence unit to complete the Right Side Border (8" x 751⁄2"). Sew the Right Side Border to the right-hand edge of the Quilt Center, pinning to match the seams at the upper end of the border.
19 Sew a Rail Fence unit to one end of the remaining 8" x 601⁄2" Border Strips, placing the rails parallel to the 8" side of the borders. Then add the remaining Rail Fence units to the ones just sewn, placing the rails perpendicular to the adjacent units, to complete (2) Top/Bottom Borders (8" x 751⁄2").
20 Again, referring to the quilt assembly diagram for orientation, add the Top and Bottom Borders to the quilt center, pinning to match the seams at the ends of each border, to complete the Quilt Top (751⁄2" x 901⁄2").
Brush Strokes Quilt
FINISHING
21 Sew together the 21⁄2" Fabric D binding strips end to end using diagonal seams. Press seams open. Press the binding strip in half wrong sides together.
22 Layer backing (wrong side up), batting, and quilt top (right side up). Baste the layers together and quilt as desired. Trim excess batting and backing even with the top after quilting is completed.
23 Leaving an 8" tail of binding, sew the binding to the top of the quilt through all layers matching all raw edges. Miter corners. Stop approximately 12" from where you started. Lay both loose ends of binding flat along quilt edge. Where the loose ends meet, fold them back on themselves and press to form a crease. Using this crease as your stitching line, sew the two open ends of the binding right sides together. Trim seam to 1⁄4" and press open. Finish sewing binding to quilt.
24 Turn the binding to the back of quilt and hand-stitch in place.


Quilt Layout Diagram