Tiling in swimming-pools
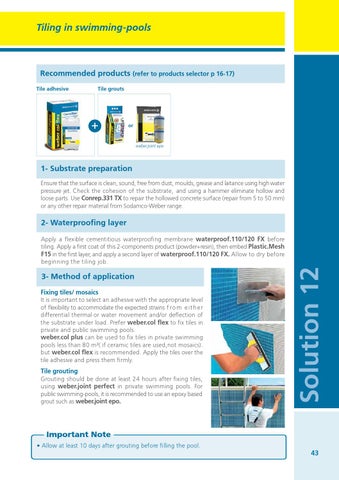
Recommended products (refer to products selector p 16-17) Tile adhesive
Tile grouts
+
or
weber.joint epo
1- Substrate preparation Ensure that the surface is clean, sound, free from dust, moulds, grease and laitance using high water pressure jet. Check the cohesion of the substrate, and using a hammer eliminate hollow and loose parts. Use Conrep.331 TX to repair the hollowed concrete surface (repair from 5 to 50 mm) or any other repair material from Sodamco-Weber range.
2- Waterproofing layer
3- Method of application Fixing tiles/ mosaics It is important to select an adhesive with the appropriate level of flexibility to accommodate the expected strains f ro m e i t h e r differential thermal or water movement and/or deflection of the substrate under load. Prefer weber.col flex to fix tiles in private and public swimming pools. weber.col plus can be used to fix tiles in private swimming pools less than 80 mÂł( if ceramic tiles are used,not mosaics). but weber.col flex is recommended. Apply the tiles over the tile adhesive and press them firmly. Tile grouting Grouting should be done at least 24 hours after fixing tiles, using weber.joint perfect in private swimming pools. For public swimming-pools, it is recommended to use an epoxy based grout such as weber.joint epo.
Solution 12
Apply a flexible cementitious waterproofing membrane waterproof.110/120 FX before tiling. Apply a first coat of this 2-components product (powder+resin), then embed Plastic.Mesh F15 in the first layer, and apply a second layer of waterproof.110/120 FX. Allow to dry before beginning the tiling job.
Important Note • Allow at least 10 days after grouting before filling the pool.
43