2 minute read
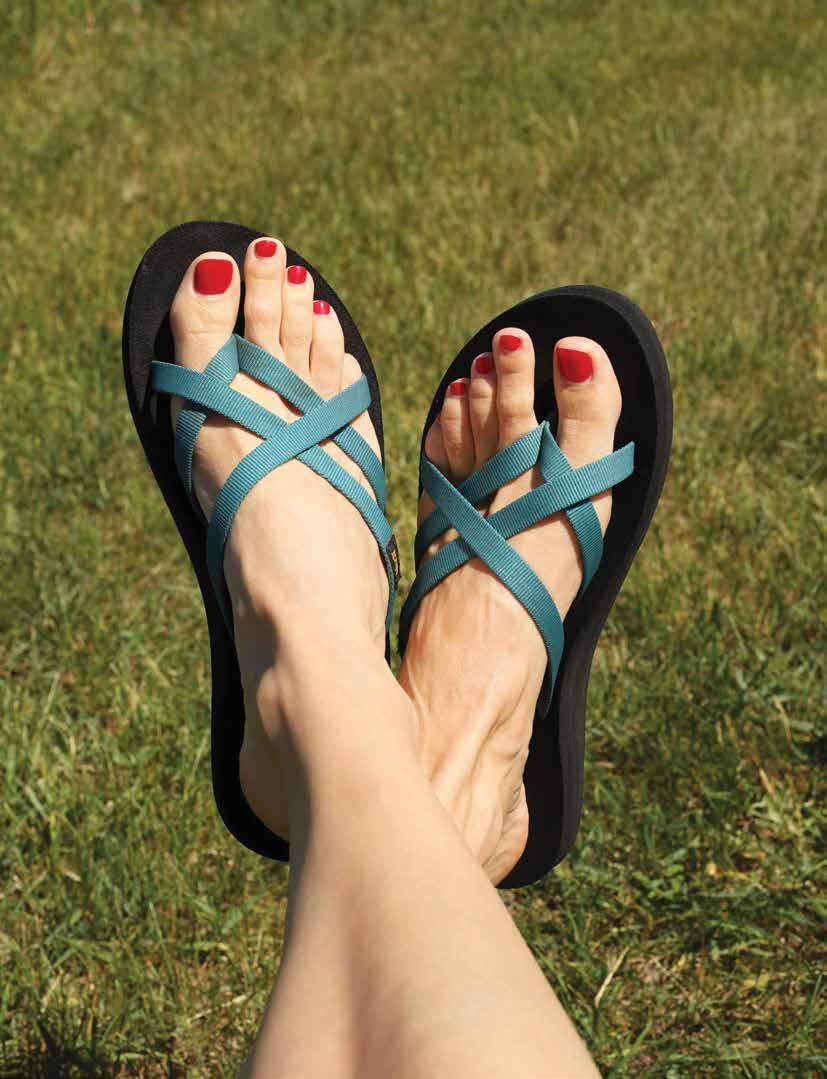
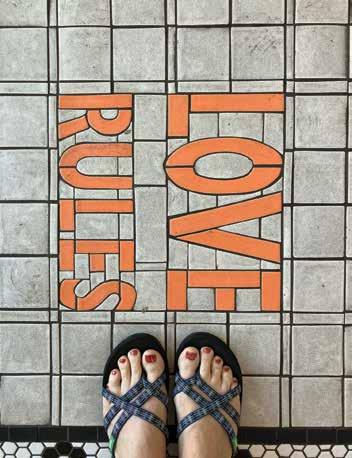
Summer pedicure: A splash of color


By Molly Milroy The Woman Today
Summertime is here in the Northland! The winter boots and wool socks are put away and it’s time for your feet and toes to dance free in the sun. Think long walks on the beach, swimming at the lake, and wearing those cute sandals you scored on sale last fall. It’s time to pamper your footsies and add some sparkle to your toes with a DIY summer pedicure.
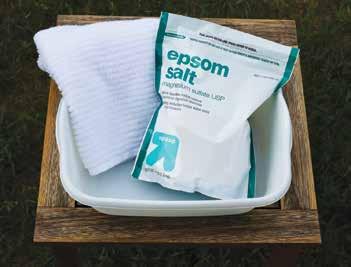
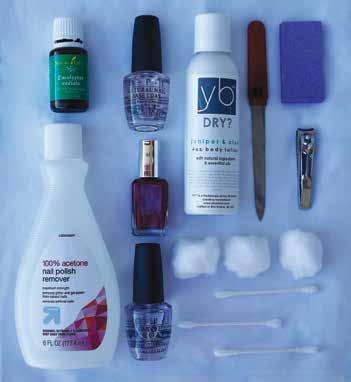
Items needed: basin, warm/hot water, Epsom salt, essential oil and carrier oil, towel, pumice stone, nail clippers, nail file, buffer, lotion, toe separator or cotton balls, base coat polish, toenail polish, nail polish remover, cotton swabs, top coat polish.
Foot soak and massage
The first step in a DIY pedicure is pampering yourself with a soothing foot soak. Take a basin large enough for both feet and add warm to hot water, depending on your preference. Next add ½ cup of Epsom salt to the water. In a separate bowl, mix 3-5 drops of essential oil with 1 tablespoon of carrier oil. Then add this mixture to the basin water. The Epsom salt and essential oil mixture will help soothe the feet. Soak your feet for 10-15 minutes while listening to Harry Styles, Aretha Franklin, or whomever is your current jam.
After you’re done with the soak, pat dry with a towel. Then take a pumice stone focusing on your heels and any part of your foot that has callouses. Make sure not to scrape too hard, as you want to keep your feet smooth, not raw.
The next step to your summer pedicure is trimming your toes. Clipping your nails straight across and then shaping them with a nail file is recommended. Stroke the nail file in one direction instead of back and forth. Next buff the top of the nails with the buffer, creating a smoother texture on the nail bed.
My favorite part of a pedicure, other than colorful toes of course, comes next. Use a foot cream or moisturizer and give yourself a mini foot massage. If you are feeling like a queen, massage your ankles and calves, too. Oh, so soothing!
Colorful toes
Finally, it’s time to paint those toes. But wait, before adding that splash of color to your little piggies, make sure to apply a base coat layer. This will prevent the nail polish from touching your nails, keeping them healthier. It will also ensure your pedicure lasts longer, and it will keep the colored polish from staining your nails after removal.
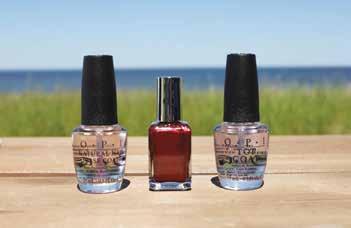
Once the base coat is dry, it’s time to paint! Using a toe separator may make it easier, or simply place cotton balls between the toes. First roll the bottle of nail polish in your hands to get the air bubbles out. Then start with a thin coat of paint in the middle of the toe making your way to the sides. Typically, three strokes will suffice. Applying two coats of paint will give it a cleaner, fresher look. Use a cotton swab and nail polish remover to dab away at any polish that got on the skin. Lastly, add a top coat to seal the nail polish, helping the pedicure last longer as well.
To enhance the experience, make it into a party and invite some girlfriends, your mom, or a niece over. Sit outside on the porch and enjoy the sunshine, while sipping on a cold glass of lemonade. If it’s too breezy or colder out that day, move the party indoors and add scented candles and relaxing music. This will give it more of a spa-like experience. By adding a splash of color to your toes, it will make those summer days that much brighter.
In addition to a basin, warm water, Epsom salt and towel, items needed for your pedicure include essential oil and carrier oil, pumice stone, nail clippers, nail file, buffer, lotion, toe separator or cotton balls, base coat polish, toenail polish, nail polish remover, cotton swabs,and top coat polish.
Give