
2 minute read
Curl up with these cute quilling crafts


STORY AND PHOTOS BY MARY RASCH
There are some crafts that make your heart melt, and as a proud parent, you just have to frame them. I’m definitely going to do just that to preserve and enjoy these little works of art. The technique is called quilling, and although it looks intricate, my 9-year-old daughter has ample dexterity, patience and determination to create these scenes.
Quilling has been around for centuries, but like so many art forms, its popularity has ebbed and flowed throughout its history. Thanks to social media, talented individuals have shared their amazing works, inspiring people to pick up a quilling tool and try their hand at this technique. What is quilling? My daughter prefers to call it “curling” which is a good description. Most often you roll,
Materials:
Quilling paper
Scissors
Googly eyes
Tacky glue or quilling glue
Quilling tool (optional)
Tweezers
Quilling Techniques:
Tight Coil loop, twist or coil thin strips of paper into pictures or scenes and secure both the rolled end and the whole picture in place with glue.
Take a look at these simple designs that we found as examples and recreated. My daughter worked on the worm and ducks, and I created the bird and sheep. All four scenes were made using the simple techniques shown below. — MDT
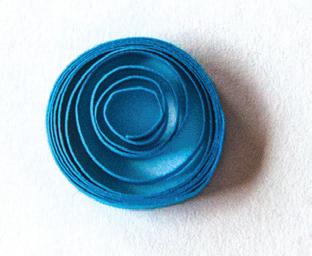
Using a quilling tool or large needle, coil paper tightly and secure end with glue.
Loose Coil
Begin by wrapping paper tightly around quilling tool or needle and let it loosen a bit, gluing the end to secure the coil.
Tear Drop
Depending on the desired look, create a tight or loose coil, glue the end and pinch one side of the circle to create a teardrop shape.
Scroll
Begin by rolling a coil but leave the end loose.
Arrow
Follow the instructions for the teardrop and finish the shape by inverting the end opposite of the point.
Projects: Birdie

Roll a loose coil for the head of your bird. Next roll a scroll, allowing the end piece to have enough paper to roll into part of the tail feather. At the point of the tail feather, pinch the roll into a teardrop as shown in the picture. Create two small scrolls to add more fluff to the tail. Create an arrow for the beak and secure each piece to the paper with glue. Using green paper, roll one large scroll into the branch for the bird to sit on. Then, create two loose coils to pinch into a teardrop shape, both different sizes. Secure these as leaves on the branch.

Caterpillar
Roll seven loose coils from green paper and two tight coils using both black and white paper. Attach each coil

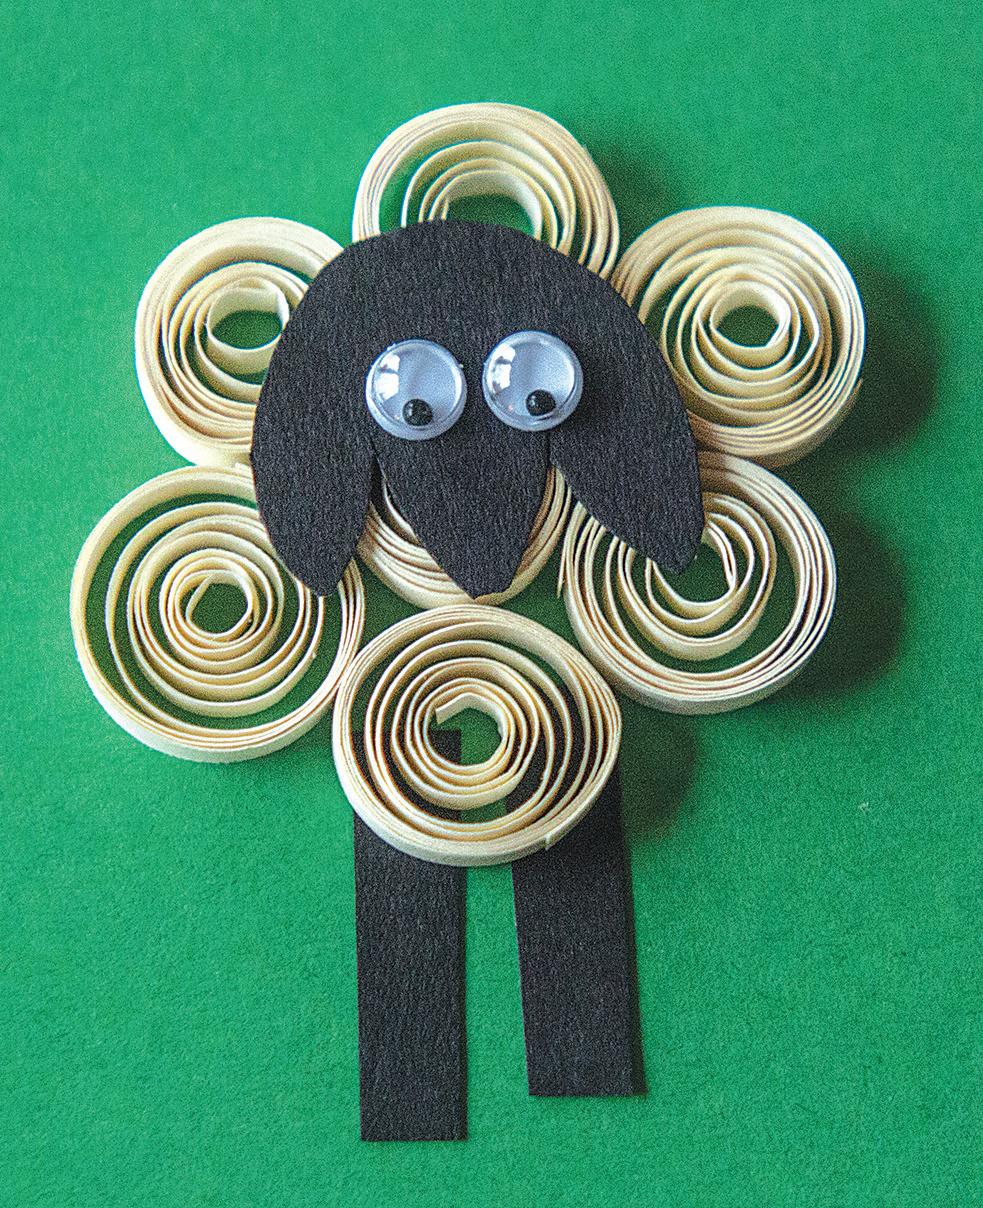
Sheep
Roll seven loose coils out of white or off-white paper securing each end with glue to prevent unrolling. Place these to create the body of the sheep on top of two short strips of black paper, which will be the legs. Cut out a head similar to that shown in the picture. Glue the head in place and two googly eyes on top.


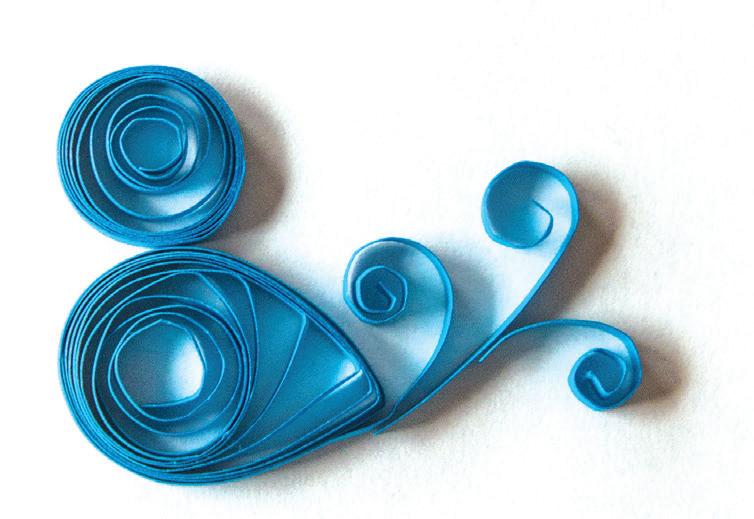
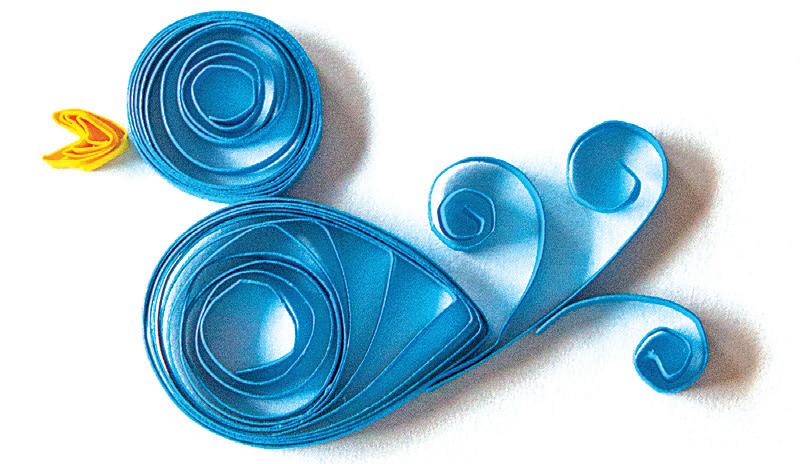
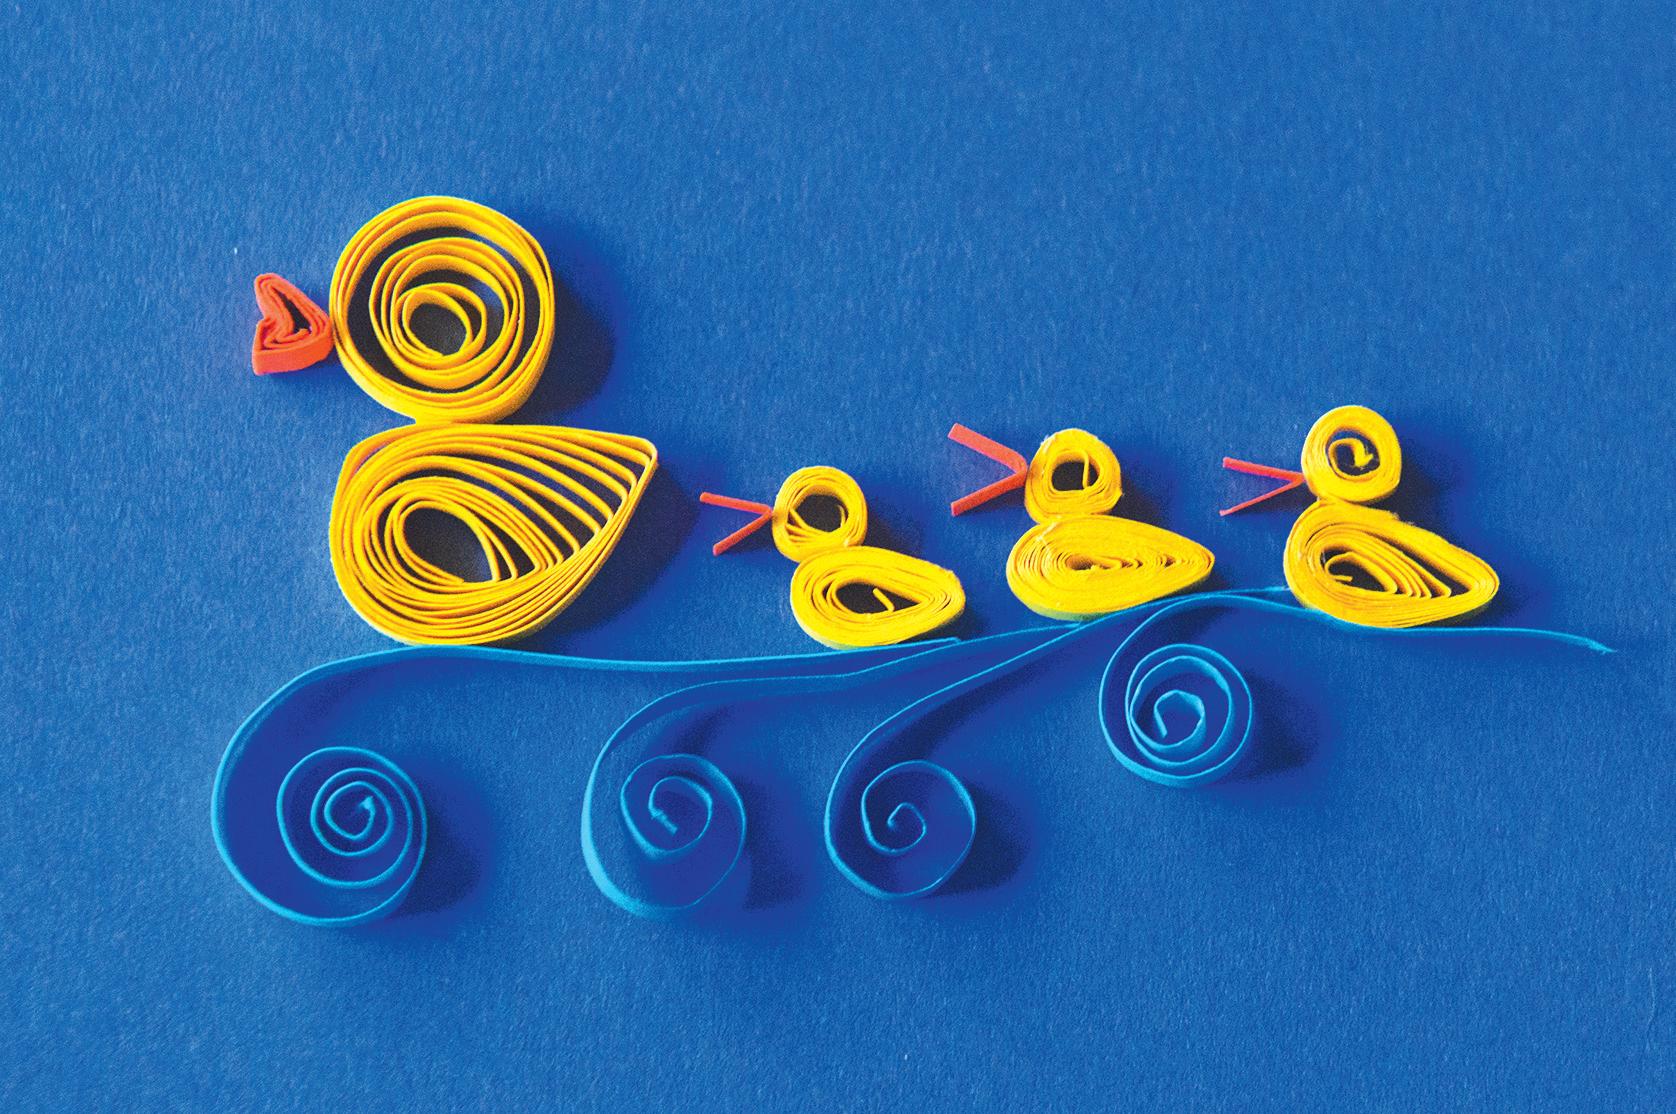
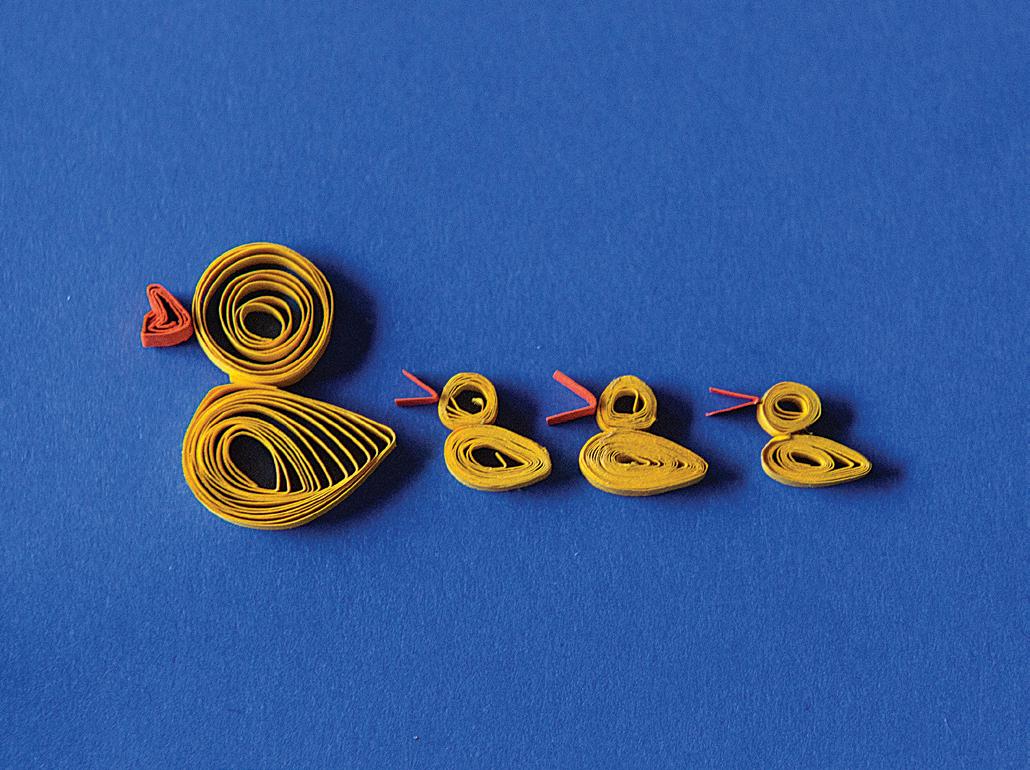
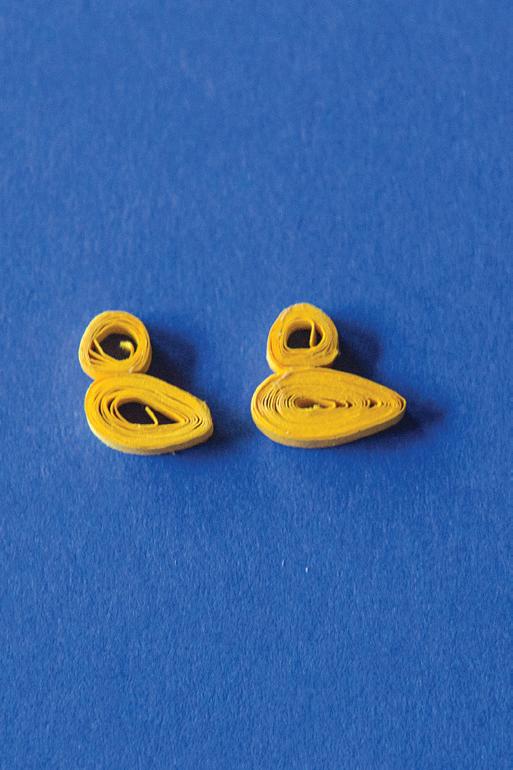
Mama and Baby Ducks
Begin by rolling three tight coils for the baby duck heads, then three tight coils for the baby duck bodies, pinching them into a teardrop shape. Connect the heads to the bodies with glue. Next, create an arrow shape using the instructions above. It almost looks like you’re creating a heart. This is the mama duck’s beak. For the baby ducks, take three small sections of orange paper and fold them in half. Using a tweezers, glue them in place. Next, roll four scrolls and place them as desired below the ducks to create a swimming scene.


Registration Open
Registration Open
LSYC’s Summer Sing camps:
LSYC’s Summer Sing camps:
Now offering two weeks for Summer 2019
Now offering two weeks for Summer 2019
July 29 - August 1
July 29 - August 1
August 12 - 15
August 12 - 15
First Lutheran Church
First Lutheran Church 9:00 - 4:00
9:00 - 4:00
Registration Fee: $150 (includes t-shirt, water bottle, lunch, & snacks!)
Registration Fee: $150 (includes t-shirt, water bottle, lunch, & snacks!) www.lsyouthchorus.org www.lsyouthchorus.org

001790986r1
001790986r1


