
2 minute read
Favorite things brought to life


STORY AND PHOTOGRAPHY BY MARY RASCH
Raindrops on roses and whiskers on kittens; bright copper kettles and warm woolen mittens; tiny button bikes and hearts on a string, these are a few of my favorite things! Here some of my latest creations that might inspire you and your crew to dig into your crafting supplies. They are cute and sweet, but it just might be the fact that they are ridiculously easy to create that makes me like them even more.
BUTTON BIKE
If there is a biker in your life, they are going to love this bitty button artwork. You’ll need three things: wire, needle-nose pliers and two buttons. There is no wrong way to create the bike. You are basically sculpting with wire. I started with one wheel, twisted it and moved on to creating the body of the bike, handlebars, seat and finally the second wheel … and if you know any unicyclists, this gets even easier!
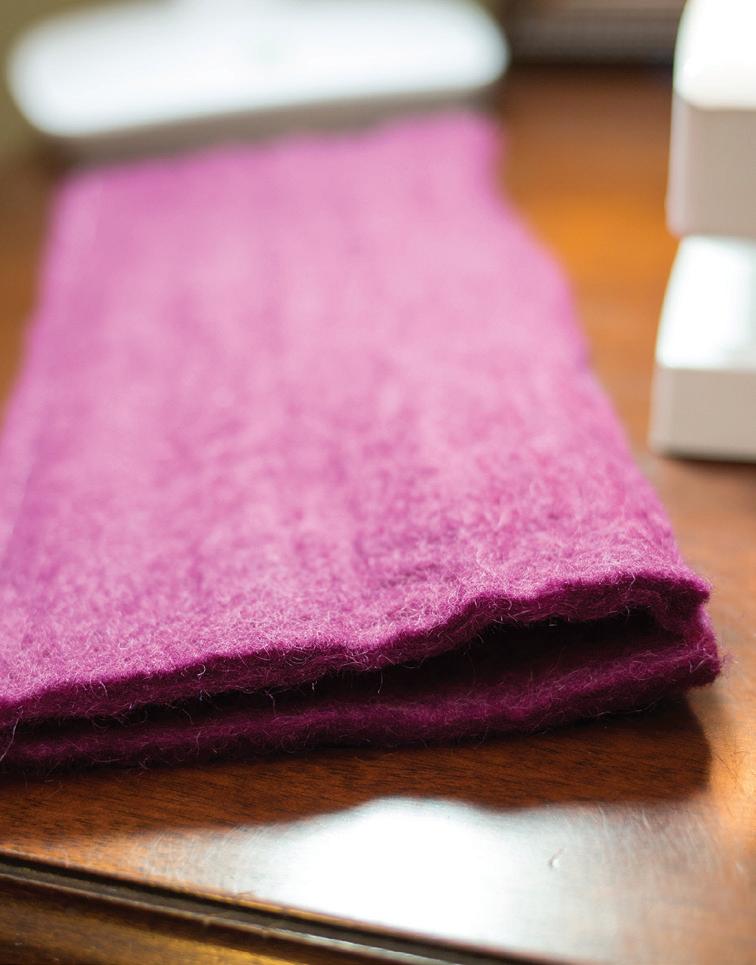
Felted Hearts
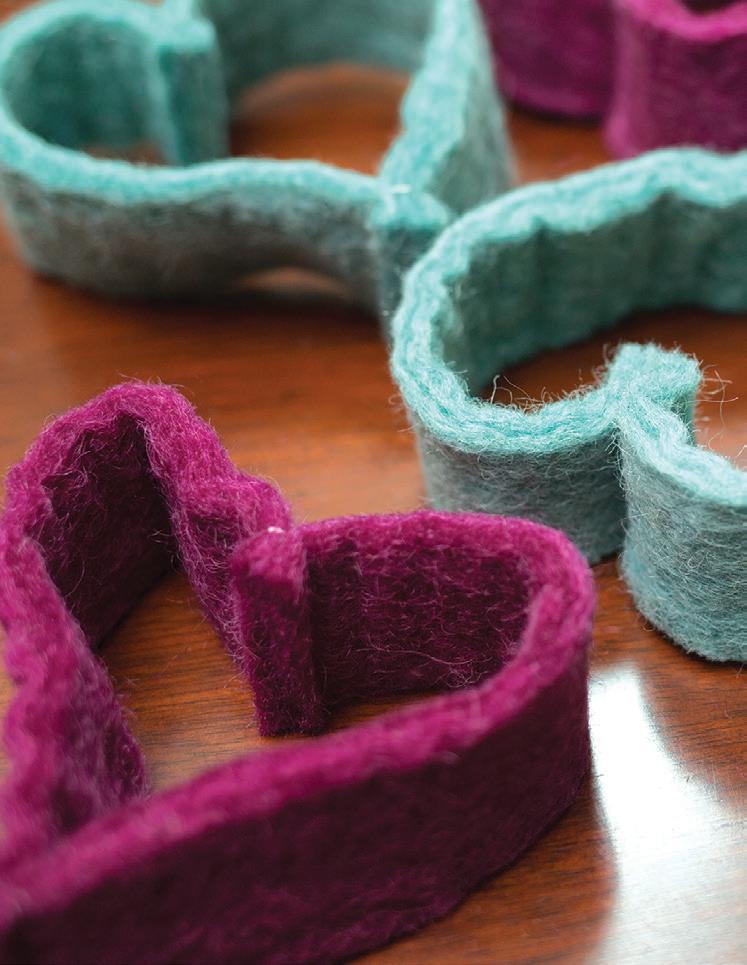
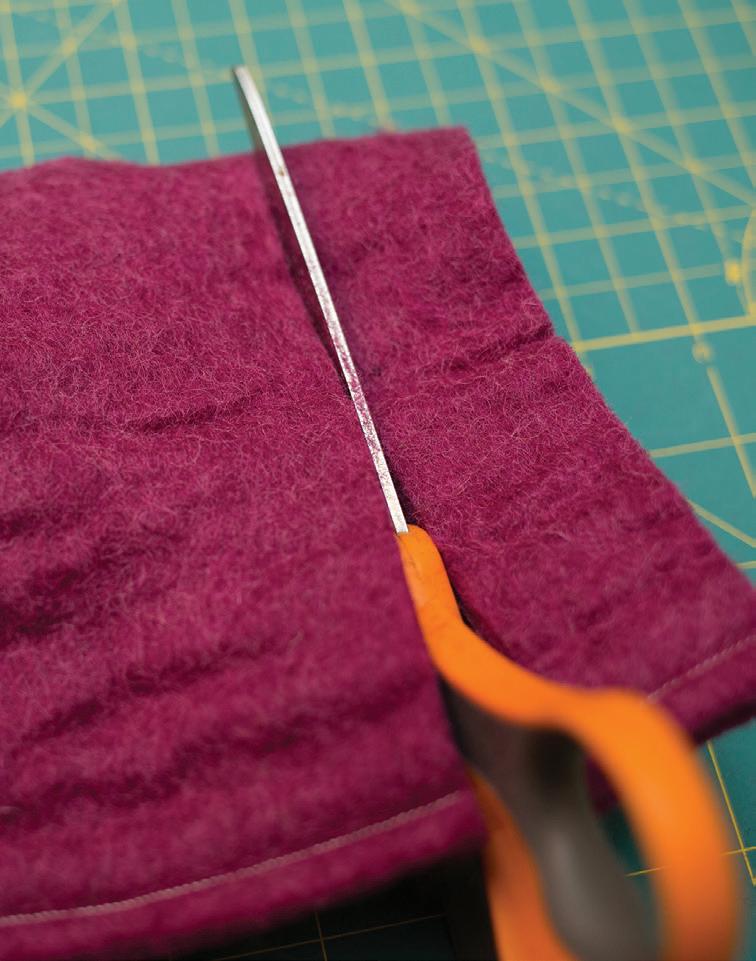
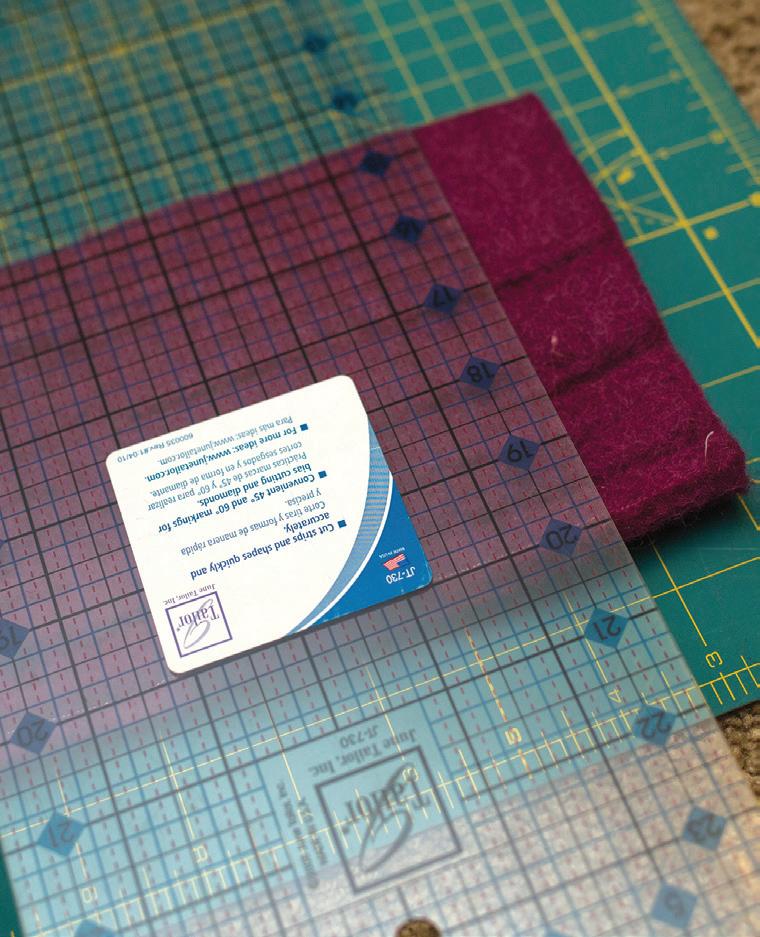
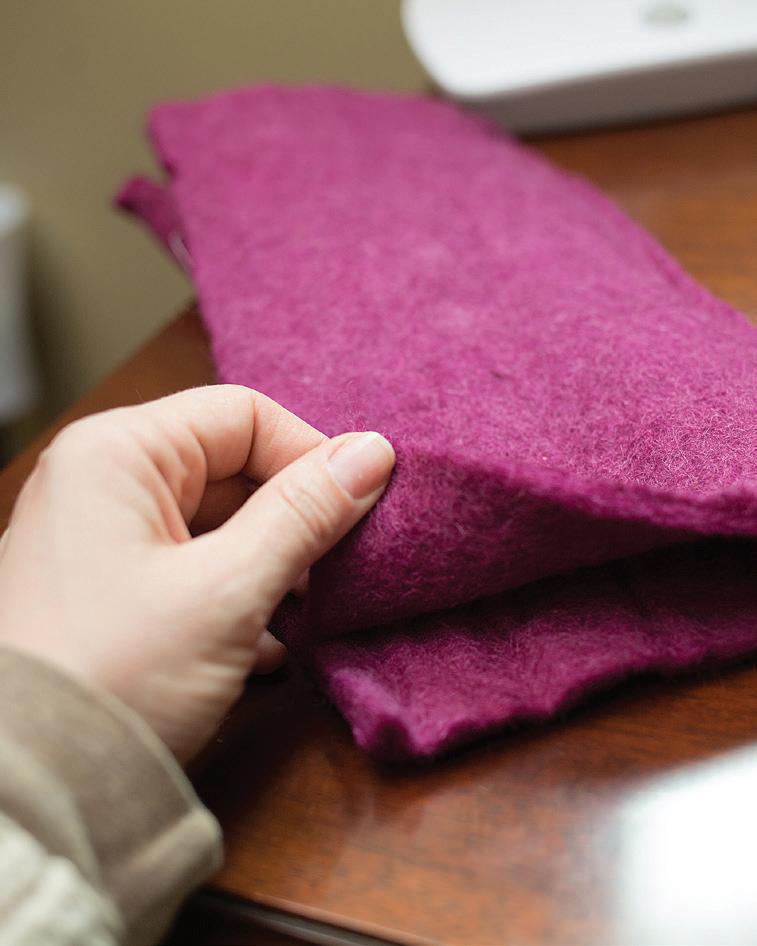
There is something about felted wool, and a sweet, homemade garland of felted wool hearts makes my heart happy. Here is what you will need: 12-inchsquare sheets of 100 percent felted wool, twine, a large needle, a sewing machine, thread and scissors. Slice your wool sheet in half, stack the sections on each other and sew along the long edge. Flip the project so the seam that was just sewn is now on the inside and sew along the other long edge. Cut the heart tube into sections 1.5 inches wide to create the hearts. Next, thread the twine through your large needle and connect the hearts as shown in the picture.


Hands On
2 3 4 5 6 7 8 continued on page 24 1 continued from page 23
Create Your Own Hair Ties


Standing in the sewing isle of a local discount store, I was amazed by the assortment of darling buttons. My daughter picked out a pair of angel buttons, but I was at a slight loss as to where we could put them so that she could enjoy them often. Finally, it dawned on me: hair accessories! Here’s what you need: two buttons (with a plastic ring on the back instead of button holes) and two matching, thin hair ties. Simply slide the hair-tie into the ring on the back of the button so that there are two even loops on either side of the ring. Put one loop through the other loop and pull it through until the loop is tight against the ring.
“LOVE-LY” TEA-TOWELS

Your kids will love their involvement with this project. Think of a message you would like printed on a tote bag, pillowcase, or dish towel. We picked out tea towels and decided where my daughter’s message to her nana and papa should go. We folded it exactly how someone would hang it over a towel rack, in three sections. She wrote her message in pencil in the center section toward the bottom edge of the towel. When she was finished, I traced over her handwriting with sharpie markers that are made for fabric. This is the simplest way to do this project, and it looks great. However, if you are good at embroidery, it would be great to go over the writing with stitching. Either way, I definitely I want my kiddos to make these towels for me so I can keep their little messages for years to come! —


