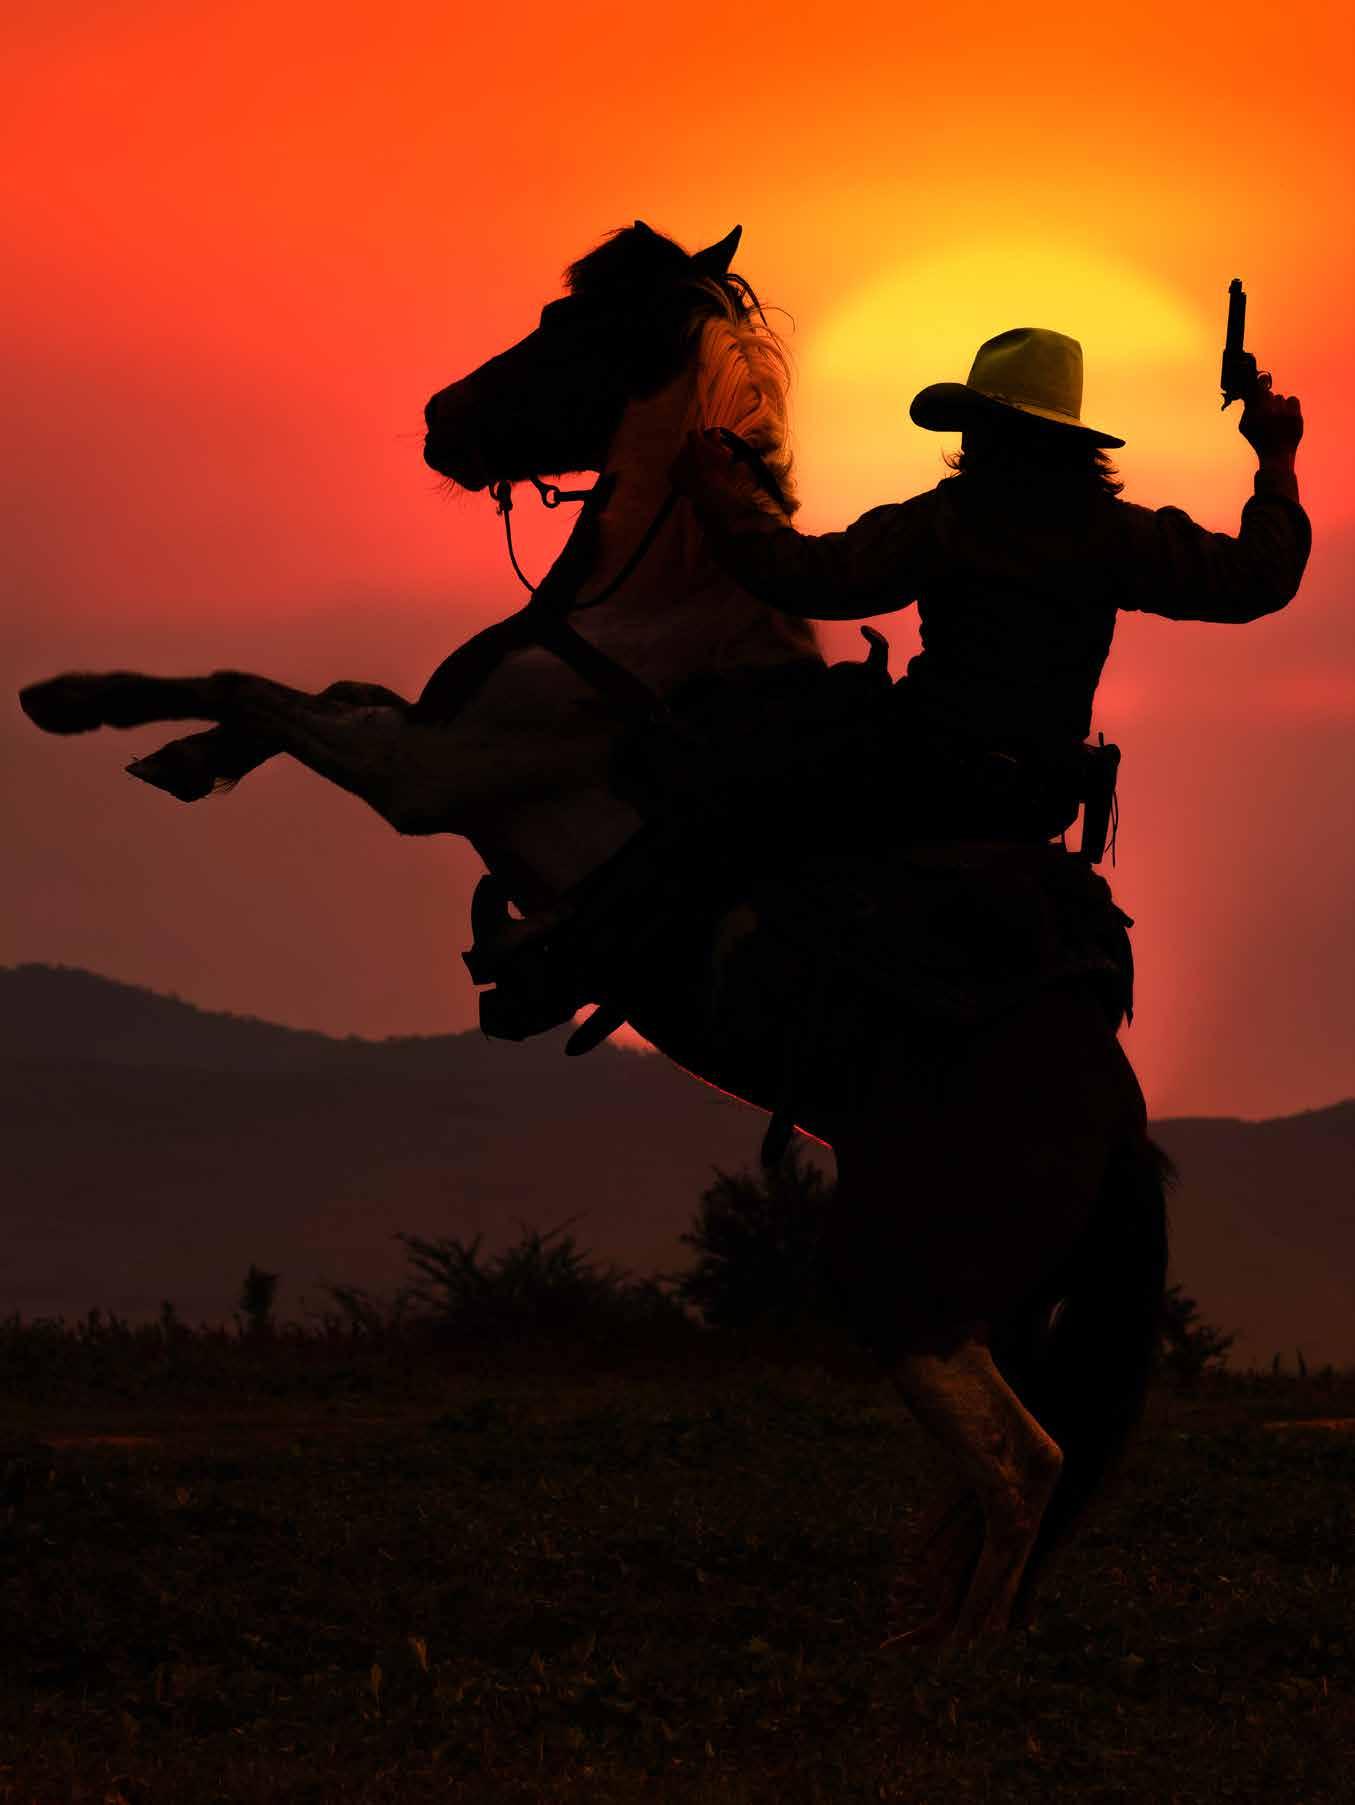


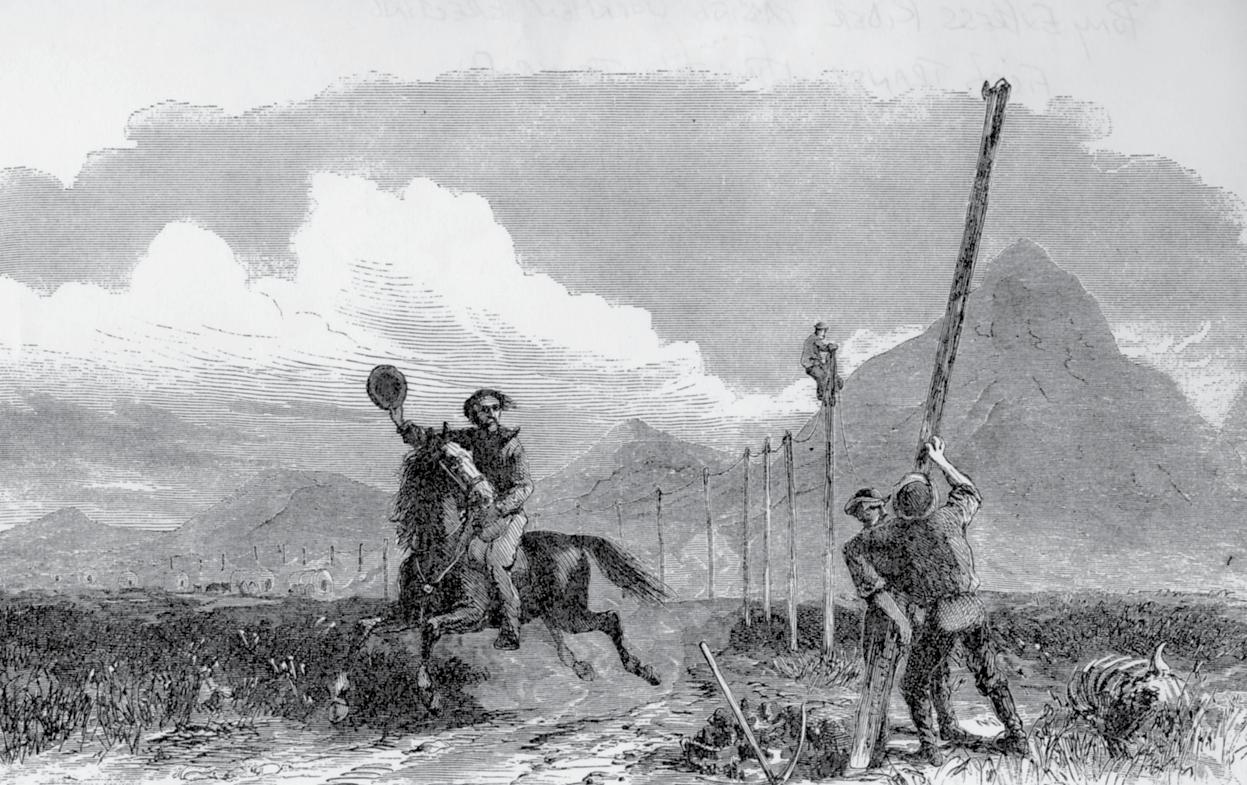
The Pony Express was in business for less than nineteen months, but the brave young men who delivered the U.S. mail over rugged mountains and waterless deserts still inspire tales of endurance and daring. It was 164 years ago this month that riders first set out from San Francisco and St. Joseph, Missouri, to deliver the mail across 1,966 miles in just ten days. The remote and tortuous route over the Rockies, Great Basin, and Sierra Nevada traveled through some of the roughest country in the West.
The Pony Express was the brainchild of California Senator William Gwin and the proprietors of an established western stage and overland freight company, W.H. Russell, Alexander Majors, and William B. Waddell. Before the California gold rush, letters bound for the West Coast were deposited at Independence or St. Joseph, Missouri, to be picked up by any traveler willing
to carry them. In 1849, a governmentsubsidized operation known as the U.S. Mail Steamship Company began carrying letters from New York to the Isthmus of Panama, which were then transported north by Pacific steamships to San Francisco. Letter and newspaper deliveries from cities along the East Coast took at least thirty days and were expensive.
Over the next decade, Californians increasingly demanded that a more direct overland mail route be established, but Congress could not agree where. Many businessmen and politicians believed that the inevitable transcontinental railroad would follow this new overland route, but with tensions building toward Civil War, southern and northern interests were stalemated. Before the Pony Express, mail and dispatches were carried by stagecoaches that used a southern route between St. Louis, Missouri and San Francisco, via Texas and Los Angeles, and took 20 days. In 1860, the principals behind the Pony Express decided to use a more direct route that ran from Salt Lake City, Utah, through central Nevada into Carson
Continued on Page 6

While almost all bird seed may look pretty much the same to you, it doesn’t to the birds you’re feeding. Knowing what kinds of seeds different birds like can help you attract a variety of fine feathered friends to your feeders.
Consider these popular seed types and the common backyard birds they attract:
Sunflower – Black sunflower seeds attract blue jays, goldfinches, woodpeckers, purple finches, chickadees, titmice and nuthatches. Striped sunflower seeds appeal to chickadees, doves, grosbeaks, northern cardinals, nuthatches, titmice and woodpeckers. Sunflower hearts (also known as “hulled sunflower” and “sunflower chips”) attract chickadees, common redpolls, juncos, doves, finches, goldfinches, grosbeaks, nuthatches, pine siskins, titmice and woodpeckers.
Nyjer – These lightweight, tiny seeds are a favorite of goldfinches. Put nyjer seeds in a hanging feeder with tiny holes so the small seeds won’t get blown away. Nyjer also attracts redpolls, juncos, doves, indigo bunting and pine siskin.
Safflower – These white seeds are slightly smaller than black sunflower seeds. Because they are bitter, grackles, blue jays, starlings – and squirrels – don’t like them. However, they do attract doves, purple finches, chickadees, titmice and downy woodpeckers.
White millet – Good for scattering on the ground, white millet attracts ground feeders such as juncos, sparrows, indigo buntings, towhees and mourning doves.
Cracked corn – Popular with ground feeders, cracked corn appeals to doves, crows, jays, sparrows, juncos
and towhees. Avoid getting finely cracked corn as it’s vulnerable to rot and can quickly turn to mush.
When choosing a bird seed mix, pay attention to the ingredients list on the package. Bird seed is required by law to list ingredients in order of content. Some cheaper mixes have filler seeds such as wheat, red milo, red millet or “assorted grain products.” Most backyard birds won’t eat those, and your seed mix could end up wasted on the ground.







Continued from Page 3
City, and on to Genoa. Riders spurred their ponies into Woodford’s and Friday’s stations, and then up and over the Sierra Nevada via Johnson’s Pass (Echo Summit) south of Lake Tahoe. Operating the Pony Express was a tremendous undertaking; it required 500 horses, 190 stations and 80 experienced riders.
In the spring of 1860, Bolivar Roberts, superintendent of the Western division of the Pony Express, arrived in Carson City. He posted help
wanted advertisements in local newspapers — “YOUNG, SKINNY, WIRY FELLOWS, not over eighteen. Must be expert riders willing to risk death daily. Orphans preferred. WAGES $25 per week.” Regardless of weather and road conditions, Pony Express riders were expected to make their runs on time. The messengers were usually required to ride 75 miles, but the ponies were changed at relay stations positioned every 25 miles. Letters, newspapers, or dispatches were written on tissue paper and wrapped in oil silk, then sealed. The mail was inserted into a leather satchel which fit firmly over the saddle. The rider, galloping into a remount station, had only to jerk free the mail satchel and throw it onto his fresh horse, before racing off again.
Of all the Pony Express routes, none was more treacherous than the run between Sacramento and Genoa. Weather in the Sierra can be the worst in the country. Nearly 40 feet of
snow falls there in an average winter, sometimes more.
The maiden eastbound run of the Pony Express began with a big celebration on the afternoon of April 4, 1860. All of San Francisco turned out to cheer the steamer Antelope as it chugged away from the city and into the Delta towards Sacramento. Ten hours later, express rider William (Sam) Hamilton was waiting impatiently on a rain-soaked Sacramento dock. The Antelope was more than two hours late and Sam was worried about his buddy, Warren Upson. Warren had the run following his.

It had been raining for days in Sacramento and a blizzard was raging in the mountains. It would be nearly impossible for Warren to carry the mail through the blinding snowstorm at all, let alone on time. (In order to meet the 10-day delivery deadline from San Francisco to Missouri, the tag-team of young riders was expected to make the run from Sacramento to Salt Lake City in just three and a half days.)
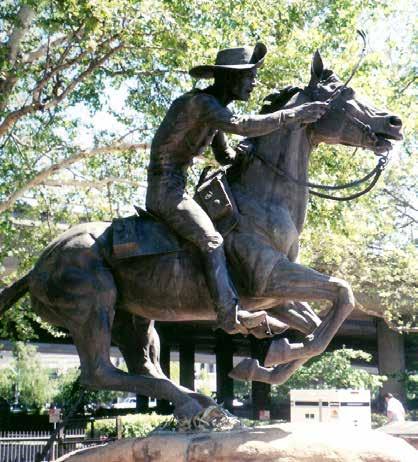
The Pony Express monument in Old Sacramento. Photo from Author’s collection. Ruins of Fort Churchill in Nevada, one stop on the Pony Express. Photo courtesy of Aaron JonesAs soon as the steamer bumped the pier, Sam grabbed the mail pouch and was on his way. Despite the rain, darkness and muddy road, he pushed his white mustang to full speed. His route followed what is now Highway 50, past Folsom, Placerville and on to Sportsman Hall. Sam Hamilton drove his horses hard, tearing through the first 20 miles in just 59 minutes.
The wind-driven rain fell in slanted sheets as Sam’s horse climbed the west slope of the Sierra. Sam reached Sportsman Hall at dawn. Hamilton’s relief, Warren Upson, grabbed the mail pouches from his exhausted friend. He pushed his horse though Hope Valley and then into Strawberry Valley. The animal fought snow depths to its chest. At times Upson had to dismount to pull his floundering pony through the drifts. Hour after hour the young man and his steed fought the blizzard. At last, both stumbled into Friday’s Station, Nevada, and the end of their route. Warren Upson had carried the first eastbound mail 55 miles
over the snow-choked Sierra Nevada in just eight hours. That batch of mail arrived in St. Louis, Missouri, nine days later and right on time.
Several Pony Express riders became famous for incredible feats of endurance. One epic ride occurred along the Nevada route when Robert “Pony Bob” Haslem rode 380 miles non-stop. The fastest trip of record happened in March 1861 when riders carried President Lincoln’s inaugural address west. The entire run from Missouri to San Francisco was accomplished in just seven days and 17 hours.
Despite its legendary fame, the Pony Express was a short-lived phenomenon. The transcontinental telegraph, hailed as the new electric highway, was completed on October 24, 1861.
The Pacific telegraph signaled the end of the Pony Express. From the first run on April 3, 1860, until its last on November 20, 1861 — a span of barely nineteen months the riders covered some 616,000 miles, enough to circle the earth 24 times. The Pony Express existed for only a brief period of time, but the brave boys and their ponies will never be forgotten.
Tahoe historian Mark McLaughlin is an award-winning author and professional speaker. com. You can read more at www.thestormking.com

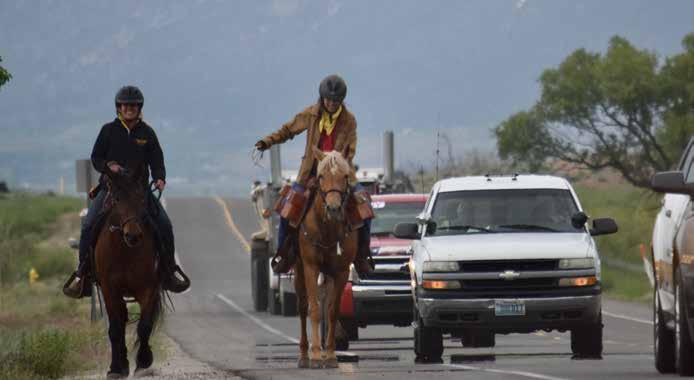
 The National Pony Express Association operates a Re-ride through 8 States following the original Pony Express trail. The Riders on the Pony Express Re-Ride carry mail placed in a mochila which fits over the saddle and is transferred to a fresh horse at each exchange. Photo Courtesy of Truckee resident and Re-ride particpant, Bill Aaron.

As the chill of winter melts away, there's a collective sigh of relief as spring breathes new life into our surroundings. Along with blossoming flowers and chirping birds, this season calls for a rejuvenation of our living and working spaces. Spring clean-up isn't just about tidying up; it's about decluttering the mind and reviving the soul. Whether it's your home or office, here's your comprehensive guide to achieving a fresh start this spring.
Before diving into the cleaning frenzy, take a moment to set clear goals. Identify areas that need the most attention and prioritize tasks accordingly. Whether it's tackling the overflowing closet or organizing the chaotic desk, having a roadmap will keep you focused and motivated.
Clutter can weigh us down mentally and physically. Embrace the mantra of "less is more" and declutter
with purpose. Start by sorting items into three categories: keep, donate/ sell, and discard. Be ruthless in your decision-making process. If you haven't used or worn something in over a year, it's time to let it go.
Once you've cleared out the excess, it's time to organize what remains. Invest in storage solutions that maximize space and streamline your belongings. Utilize bins, baskets, and shelves to keep items neatly categorized and easily accessible. Adopt a "home for everything" approach to maintain order in the long run.
A thorough spring clean-up isn't complete without a deep cleaning session. Dust forgotten corners, scrub away grime, and banish cobwebs to unveil the true beauty of your space. Don't forget to tackle often overlooked areas like baseboards, light fixtures, and behind appliances. Consider using eco-friendly cleaning products to minimize environmental impact.
Extend your spring cleaning efforts beyond the confines of your home or office. Revitalize outdoor spaces by sweeping away debris, pruning overgrown vegetation, and power washing surfaces. Create a welcoming atmosphere with potted plants, vibrant flowers, and cozy seating areas. A well-maintained exterior enhances curb appeal too.
In today's digital age, clutter isn't limited to physical spaces. Take time to declutter your digital life as well. Delete unnecessary files, organize folders, and unsubscribe from unwanted emails. Streamline your digital workspace for improved productivity and peace of mind.
As you embark on your spring cleanup journey, prioritize sustainability. Opt for reusable cleaning tools, recycle unwanted items, and consider donating gently used belongings to charitable organizations. Embrace mindful consumption habits to reduce waste and minimize your ecological footprint.
A successful spring clean-up isn't just a one-time event; it's a commitment to ongoing maintenance. Establish a routine for tidying up and staying organized throughout the year. Set aside time each week for quick touch-ups and monthly deep cleaning sessions. Consistency is key to preserving the atmosphere you've worked so hard to achieve.

Spring clean-up isn't merely a chore; it's an opportunity to breathe new life into your surroundings and foster a sense of renewal. You can transform your home and office into spaces that inspire and uplift. So roll up your sleeves, put on your favorite playlist, and let the spring cleaning commence!





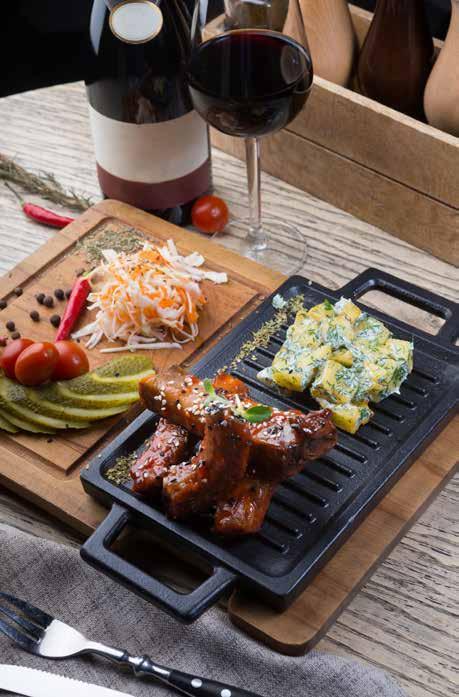
Wine tasting is an art form, a sensory journey that takes us through the flavors, aromas, and textures of various wines. Each type of wine possesses its own unique characteristics, influenced by factors such as grape variety, terroir, and winemaking techniques. Understanding these nuances not only enhances our appreciation of wine but also helps us pair it effectively with food, elevating the dining experience to new heights. In this guide, we'll explore the diverse world of wine, offering insights into each type along with expert recommendations on food pairing.


tropical fruits, with notes of vanilla and butter in oak-aged expressions. It pairs beautifully with rich seafood dishes like lobster and scallops, as well as creamy sauces and poultry. Unoaked Chardonnays are ideal for lighter fare such as salads and grilled vegetables.
Sauvignon Blanc is known for its vibrant acidity and herbaceous aromas, often reminiscent of freshly cut grass, green bell pepper, and grapefruit. This refreshing wine is a perfect match for salads, goat cheese, and seafood dishes like ceviche or oysters. Its zesty character also complements dishes with herbal elements, such as pesto pasta or grilled asparagus.
Cabernet Sauvignon, the "king of red wines," is revered for its bold flavors of dark fruits, cassis, and hints of cedar and tobacco. Full-bodied and structured, it pairs
exceptionally well with red meat dishes like steak and lamb, as well as hearty stews and aged cheeses. The tannins in Cabernet Sauvignon help cut through the richness of fatty foods, making it a classic choice for indulgent meals.
Pinot Noir is prized for its elegance, displaying delicate flavors of red berries, cherry, and earthy undertones. Its silky texture and balanced acidity make it a versatile companion for a variety of dishes, including roasted poultry, salmon, and mushroom-based dishes. Pinot Noir's subtle nuances shine brightest when paired with simple, flavorful cuisine that allows its finesse to take center stage.
Continued on Page 12

Chardonnay, often referred to as the "queen of white wines," is celebrated for its versatility and wide range of styles. This wine typically exhibits flavors of apple, citrus, and






Continued from Page 10

Merlot is known for its plush texture and ripe fruit flavors, often showcasing notes of plum, black cherry, and chocolate. This medium-bodied wine pairs wonderfully with a range of dishes, from grilled pork and duck to pasta with tomato-based sauces. Its smooth tannins and approachable style make it an excellent choice for casual gatherings and everyday enjoyment.
Riesling is prized for its versatility, spanning a spectrum from bonedry to lusciously sweet. It boasts vibrant acidity and aromatic complexity, with flavors of citrus, peach, and floral notes. Dry Rieslings are fantastic with spicy cuisine, sushi, and fresh seafood, while sweeter styles complement dishes like spicy Thai curry or fruity desserts.
Syrah/Shiraz offers bold flavors of dark berries, pepper, and smoked meat, with a rich, full-bodied profile. It pairs beautifully with grilled meats, especially lamb and beef, as well as game dishes and hearty stews. The peppery notes in Syrah/Shiraz complement dishes with spice and depth, making it a
favorite choice for robust, flavorful meals.
Exploring the world of wine is a journey of discovery, where each bottle holds a story waiting to be told. By understanding the unique characteristics of different wine varieties and their ideal food pairings, we can enhance our enjoyment of this timeless beverage. Whether indulging in a rich Cabernet Sauvignon with a juicy steak or savoring the delicate flavors of Pinot Noir with roasted chicken, the perfect pairing elevates the dining experience, creating moments to cherish and savor. Cheers to the joy of wine and the endless possibilities it brings to the table!


"Wow! We are so impressed with Christy and her team. We have just closed the sales of our 2nd home in Truckee and we couldn't have asked for a better experience! We were fully prepared for the property to sit for a while because of the slow market. But Christy and her team help us move swiftly, from initial consultation to market analysis, fixing things up, staging, and closing. Every step of the way has been fast and seamless. She is so on top of things, professional, easy to communicate with, and such a pleasure to work with! If you have any real estate needs, look no further!"


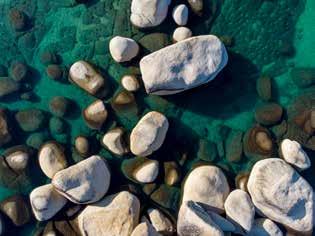
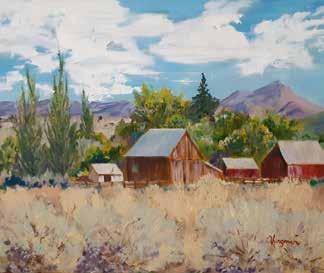




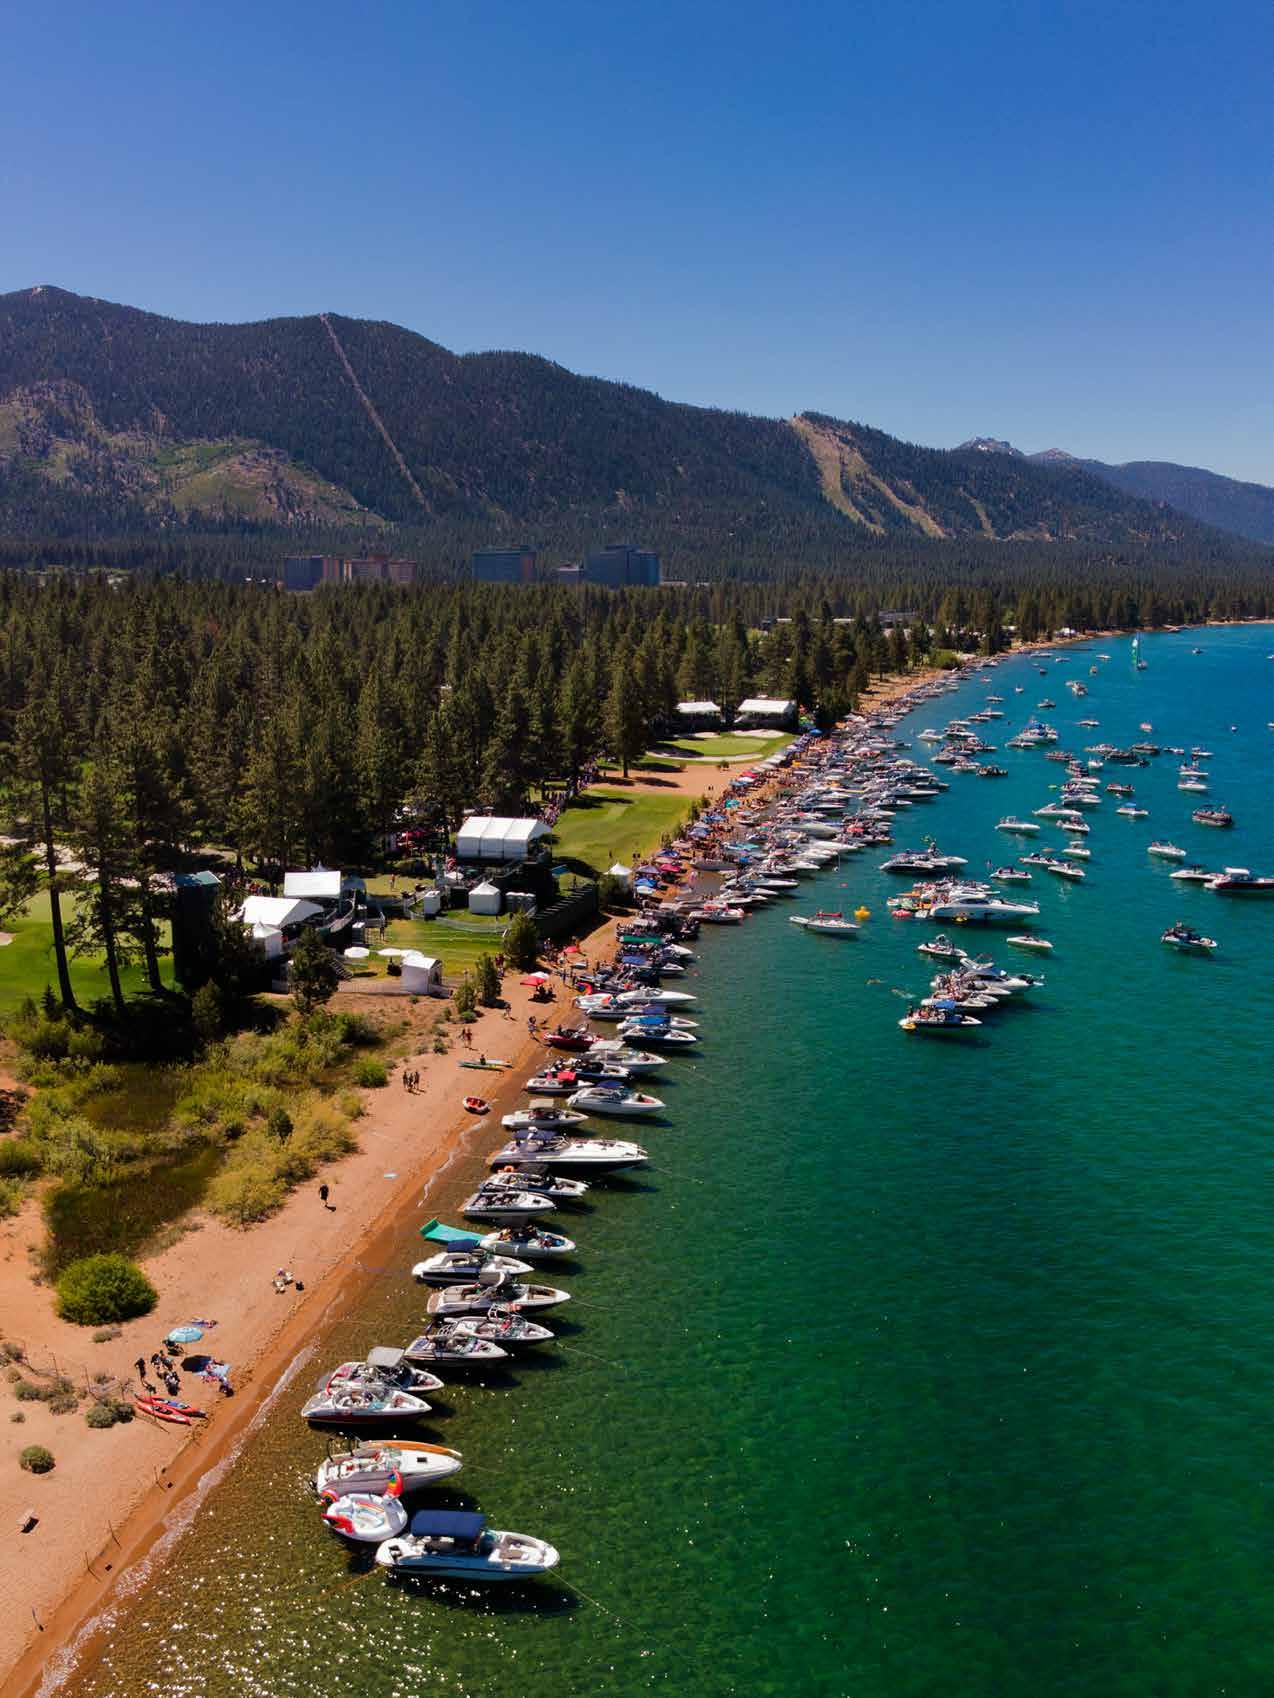
As winter loosens its grip and the landscape around Lake Tahoe comes to life, spring unveils a treasure trove of lesser-known destinations waiting to be explored. While the main attractions of the area are undeniably captivating, there’s a charm in venturing off the beaten path to discover the hidden gems that dot the region. Here are some enchanting day trips that promise to add a touch of adventure and serenity to your springtime getaway near Lake Tahoe.
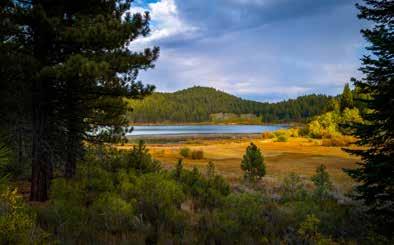
Tucked away in the eastern foothills of the Sierra Nevada, Spooner Lake offers a peaceful retreat away from the hustle and bustle of more popular destinations. Start your day with a tranquil stroll along the shores of the lake, where the still waters mirror the surrounding forested slopes. Keep an eye out for diverse bird species and perhaps catch a glimpse of deer or other wildlife roaming the area. Pack a picnic and find a secluded spot to enjoy a meal amidst the serenity of nature.

For a unique outdoor experience, head to Van Sickle Bi-State Park, a hidden gem straddling the California-Nevada border just south of Lake Tahoe. This lesser-known park offers a network of trails winding through dense forests and open meadows, with stunning views of the lake and surrounding mountains at every turn. Explore the historic ruins of the Van Sickle family homestead and immerse yourself in the natural beauty of this secluded sanctuary.
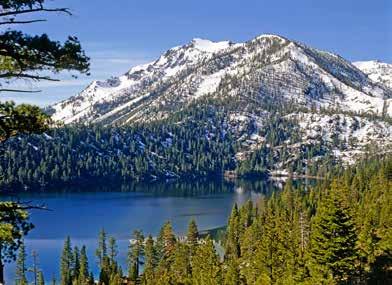
While neighboring Lake Tahoe often steals the spotlight, Fallen Leaf Lake quietly captivates visitors with its pristine beauty and serene atmosphere. Located just a short drive from South Lake Tahoe, this area boasts crystal-clear waters framed by towering pine trees and rugged mountain peaks. Spend the day kayaking or paddleboarding on the lake, or embark on a leisurely hike along the surrounding trails to soak in the breathtaking scenery.
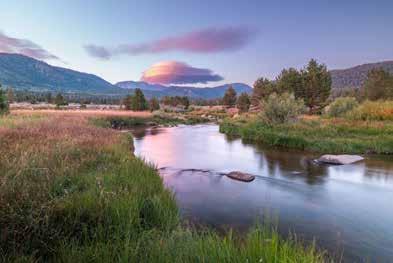
Escape the crowds and venture into the picturesque Hope Valley, a tranquil oasis nestled in the shadow of the Sierra Nevada. The valley comes alive in the springtime with vibrant wildflowers carpeting the meadows and the rushing waters of the West
Fork Carson River. Take a scenic drive along Highway 88, stopping to admire the panoramic vistas and perhaps indulge in a picnic beside the babbling creek. For a more immersive experience, explore the network of hiking trails that crisscross the valley, offering glimpses of its natural splendor at every turn.
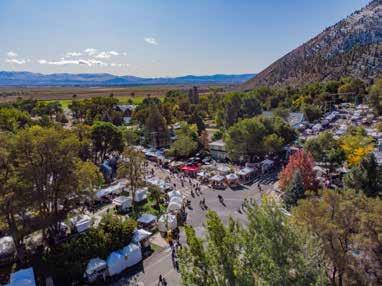
Step back in time with a visit to the historic town of Genoa, Nevada’s oldest settlement, located just a short drive from Lake Tahoe. Wander through the town’s quaint streets lined with charming wooden buildings dating back to the 19th century. Explore the Genoa Courthouse Museum to learn about the town’s rich history and pioneer heritage, then relax with a meal at one of the local eateries or cafes. Don’t miss the chance to stroll through the nearby Genoa Cemetery, where gravestones dating back to the mid-1800s offer another glimpse into the town’s past.
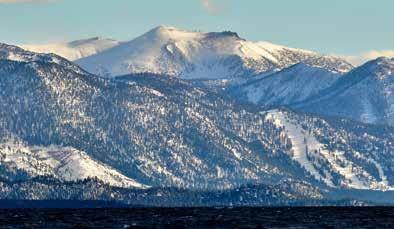
For the adventurous souls seeking a challenge, Freel Peak offers a thrilling day of hiking and panoramic views. Tucked away in the Carson Range, this lesser-known peak is the highest point in the Lake Tahoe Basin,
Continued on Page 18

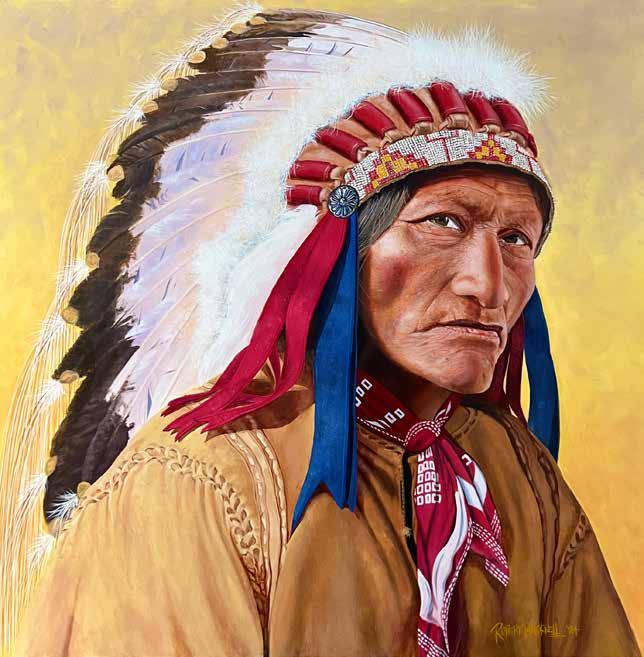
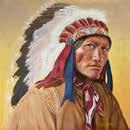
24” x 24” Oil on Panel
Robert Bucknell
“High Bear was a Lakota Sioux Chief born in the mid 1800’s. He was likely the same Chief High Bear who was a delegate to the Indian Congress that took place in 1898 in Omaha, Nebraska in conjunction with the Trans-Mississippi International Exposition.
More than 500 studio portraits of Native Americans were taken during this event and also at the Greater American Expo held there the following year. This original oil painting is a derivative of the black and white photo by Heyn & Matzen copyrighted in 1900 which is registered with Library of Congress under the public domain. I chose to paint this man because he undoubtedly had experienced many injustices imposed on his people by white settlers, and I felt the expression on his face strongly reflected that. I hope my interpretation does Chief High Bear’s memory justice.“
“Drawing and painting has fascinated me since I was a young boy. As I got older I noticed that historically the progress of painting realistically was interrupted in the 1800’s by impressionism and again in the 1900’s by abstract painting. In the early 70’s some of us young artists were captivated by hyper-realism and I’ve attempted to follow that course throughout my career. Apart from simply making something look real, I strive to
express passion through the use of dramatic color and composition. I’d like to think that my work causes the viewers heart to beat just a little faster.”
Robert Bucknell is an award winning artist with a long career as a commercial artist. Born in Colorado and raised in Sacramento, he began painting signs and murals in the 70’s while studying art in college. Mostly self-taught, he was influenced by the realism of Salvador Dali, Maxfield Parrish, Alphonse Mucha, and Norman Rockwell.
Robert moved his family to Carson City in 1989 and started Bucknell Arts with his wife Diane. In the late 90’s he transitioned into full time
mural painting and spent more than 20 years traveling throughout the U.S. painting large scale landscape and wildlife murals for natural history exhibits. His murals have been displayed in public, government, residential, and commercial places, including more than 30 Cabela’s Sporting Goods Stores.
Now retired from traveling for mural work, Robert has turned his attention back to his meticulous photo-realistic style of oil painting. He’s been asked whether he does “paint-overs”, which is simply painting over a photograph. He does not use this method nor does he use an airbrush for his fine art pieces.
Continued from Page 16
offering unparalleled vistas of the surrounding mountains and shimmering lakes below. Lace up your hiking boots and embark on the journey to the summit, where you’ll be rewarded with sweeping views stretching as far as the eye can see.
Experience the beauty of spring along the Truckee River Bike Trail, a scenic pathway that winds its way from Tahoe City to Squaw Valley. Rent a bike or take a stroll along the paved trail, which offers breathtaking views of the rushing river and lush meadows. Stop at one of the riverside picnic areas to enjoy a snack.

Carson Pass, located on the southern shore of Lake Tahoe, is a gateway to some of the region’s most spectacular landscapes. Drive along Highway 88, the Carson Pass Scenic Byway, and marvel at the panoramic vistas of towering peaks and alpine meadows. Take a short hike to the iconic Carson Pass overlook for unparalleled views of the surrounding wilderness. If you’re feeling adventurous, embark on a longer trek along the Pacific Crest Trail, which traverses the rugged terrain of the Sierra Nevada.

Hidden away in the backcountry of Lake Tahoe, Marlette Lake offers a secluded escape surrounded by pristine wilderness. Accessible via the Marlette Flume Trail or the North Canyon Trail, this serene alpine lake is a paradise for outdoor enthusiasts. Hike or bike along the scenic trails that wind through old-growth forests and open meadows, taking in breathtaking views of the lake and surrounding peaks along the way. Pack a lunch and enjoy a peaceful picnic by the water’s edge, far from the crowds of more popular destinations.

Tucked away in the mountains south of Lake Tahoe, Grover Hot Springs State Park offers an oasis where visitors can soak in natural hot springs surrounded by towering pines. Take a leisurely drive through scenic mountain valleys to reach this hidden gem, where you can relax in the park’s geothermal pools or explore the network of hiking trails that meander through the forested hillsides. Keep an eye out for wildlife, including deer, bears, and a variety of bird species that call the park home.
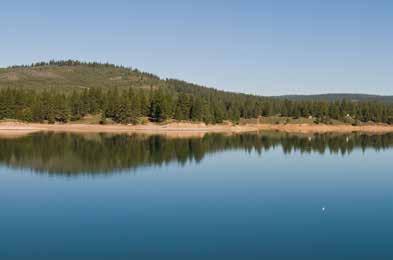
Escape the crowds and discover the serene beauty of Boca Reservoir, nestled in the Truckee River watershed. This tranquil reservoir, located
just a short drive from Truckee, offers excellent opportunities for fishing, boating, and picnicking in a peaceful setting surrounded by dense forests and rolling hills. Pack your fishing gear and try your luck catching trout, bass, and other freshwater species, or simply relax by the water’s edge and enjoy the serenity of this hidden oasis.
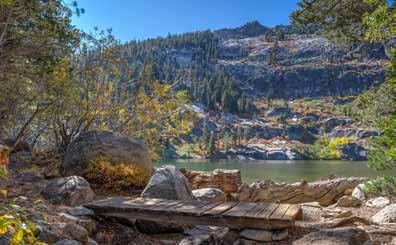
Hidden away in a remote canyon southwest of Lake Tahoe, Angora Lakes offer a tranquil retreat away from the crowds. Accessible via a short hike from the parking area, these two sparkling alpine lakes are renowned for their crystal-clear waters and stunning mountain scenery. Spend the day lounging on the sandy beaches, swimming in the cool waters, or picnicking beneath the towering pines. For the more adventurous, embark on a hike to nearby Angora Peak for panoramic views of the surrounding landscape.
Day trips near Lake Tahoe promise to unveil a side of the region often overlooked by visitors. Whether you’re seeking solitude in nature, exploring hidden historic treasures, or conquering towering peaks, these hideaeays offer a unique and unforgettable springtime adventure in the heart of the Sierra Nevada.












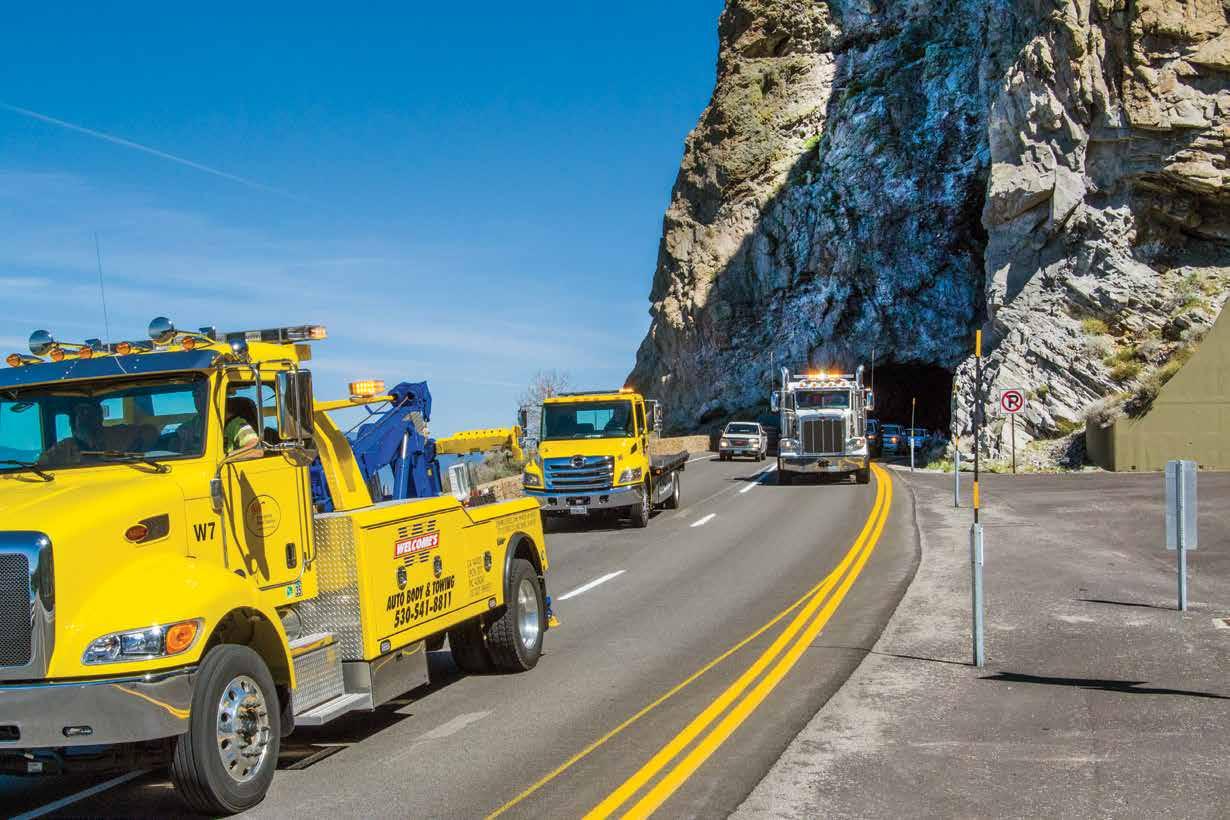
As the weather warms up and summer approaches, it's essential to ensure your car is prepared for the season's adventures, whether you're embarking on road trips or sticking to your daily commute. From checking vital fluids to inspecting tires and ensuring your air conditioning is in top shape, here's a comprehensive checklist to get your vehicle ready for the summer months ahead.
Fluid Levels:
Engine Oil: Check and change if necessary, ensuring it's at the proper level.
Coolant: Ensure coolant levels are adequate, especially in warmer weather.
Brake Fluid: Check brake fluid levels and look for signs of leaks.
Transmission Fluid: Inspect and top up if needed according to your vehicle's manual.
Windshield Washer Fluid: Keep your windshield clean by topping up washer fluid.
Battery Health:
Check the battery for corrosion and ensure connections are tight.
Test the battery's charge and consider replacing it if it's nearing the end of its lifespan.
Air Conditioning System:
Test the air conditioning system to ensure it's functioning correctly.
Check for any strange smells or noises, which may indicate issues that need addressing.
Replace cabin air filters if they are dirty or clogged for improved air quality.
Tires:
Inspect tire tread depth and look for signs of uneven wear.
Check tire pressure, including the spare, and inflate to the recommended levels.
Rotate tires if necessary for even wear and improved performance.
Brakes:
Check brake pads and rotors for wear and tear.
Listen for any unusual noises while braking, which may indicate brake issues.
Ensure brake fluid levels are adequate and look for leaks around brake lines.
Lights and Signals:
Test all exterior lights, including headlights, brake lights, turn signals, and hazard lights.
Replace any bulbs that are burnt out or dim for optimal visibility on the road.
Wipers and Wiper Fluid:
Inspect windshield wipers for wear and tear, replacing them if necessary.
Ensure the wiper fluid reservoir is filled to maintain visibility during summer showers.
Cooling System:
Check radiator hoses and clamps for signs of wear and leaks.
Inspect the radiator for debris or blockages that may affect cooling efficiency.
Consider flushing and refilling the cooling system if it's due according to your vehicle's maintenance schedule.

Belts and Hoses:
Inspect belts for cracks, fraying, or signs of wear, and replace if needed.
Check hoses for leaks, bulges, or soft spots, replacing any damaged hoses to prevent coolant leaks.
Emergency Kit:
Ensure your car's emergency kit is up to date and stocked with essentials like water, non-perishable snacks, a first-aid kit, a flashlight, jumper cables, and basic tools.
Clean and Detail:
Give your car a thorough cleaning inside and out to remove winter grime and prepare it for summer.
Wax the exterior to protect the paint from sun damage and maintain a shiny appearance.
By following this checklist and addressing any issues before hitting the road, you can ensure a safe and enjoyable summer driving experience. Taking the time to properly prepare your vehicle will not only enhance its performance but also provide peace of mind knowing that you're ready for whatever the summer season brings.
Need more room to STOR your toys?
Stor-All has solutions for you!
•Enclosed RV and Boat Stoarge
•Three LocationsWithin 1 hour of Tahoe
•24-Hour Access
•Climate Control Units
•Tahoe Resident Specials! Starting at $50/mo! 775.265.3533



Few things go together quite like fresh spring air, warm sunshine and a menu made up of delicious brunch bites. Whether you’re hosting a crowd or simply gathering your loved ones around the family table for quality time together, a menu of morning favorites can appease appetites of all kinds.
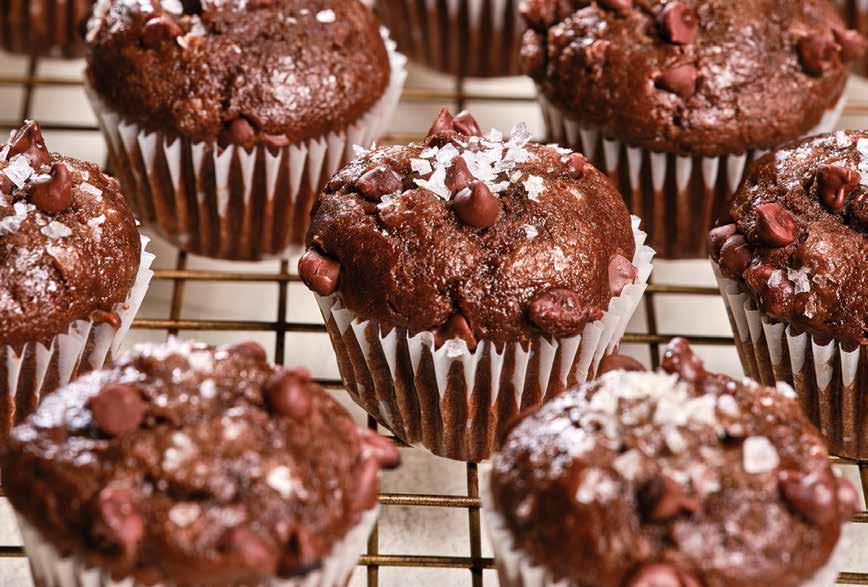
From sweet to savory and back again, you can turn your midmorning meal into a full-blown feast with a menu made up of pleasing dishes such as this French Toast Casserole, which can serve as a make-ahead twist on the breakfast classic; customizable Breakfast Burritos that pack a protein punch; and a bite-sized treat like Double Chocolate Chip Mini Muffins for a sweet finishing touch to any brunch occasion.
An exciting twist on a breakfast classic, it’s hard to beat this French Toast Casserole when putting together your brunch spread. Crisp on top while soft and moist in the middle, it comes fresh out of the oven with the aroma of maple syrup
and pecans that will have the whole house eager for a bite. It’s easy enough to make fresh in the morning but can also be prepared the night before so all you have to do is add the topping and pop it in the oven.
1 loaf French bread (about 1 1/2 pounds), cut into 1-inch cubes
5 large eggs
1 1/2 cups unsweetened milk
2 tablespoons brown sugar
2 teaspoons vanilla extract
1 teaspoon cinnamon
1/4 teaspoon nutmeg
1/4 teaspoon sea salt maple syrup, for serving
Topping:
2 tablespoons unsalted butter or coconut oil, melted
2 tablespoons brown sugar
1/2 cup chopped pecans
1 cup frozen strawberries
1 cup frozen blueberries confectioners’ sugar, for dusting
Grease 9-by-13-inch baking dish. Place bread cubes in baking dish. In large bowl, whisk eggs, milk, brown sugar, vanilla, cinnamon, nutmeg
and salt. Pour mixture evenly over bread cubes.
If making casserole ahead, cover baking dish and refrigerate overnight. If baking immediately, let stand 30 minutes at room temperature to allow bread to soak up egg mixture.
Preheat oven to 350 F.
To make topping: Drizzle casserole with melted butter and sprinkle with brown sugar and pecans. Top with strawberries and blueberries.
Cover and bake 35 minutes then uncover and bake 10-20 minutes, or until topping is browned and egg mixture has mostly set.
Remove from oven, cover loosely with foil and let stand 10 minutes. Dust with confectioners’ sugar. Serve with maple syrup.
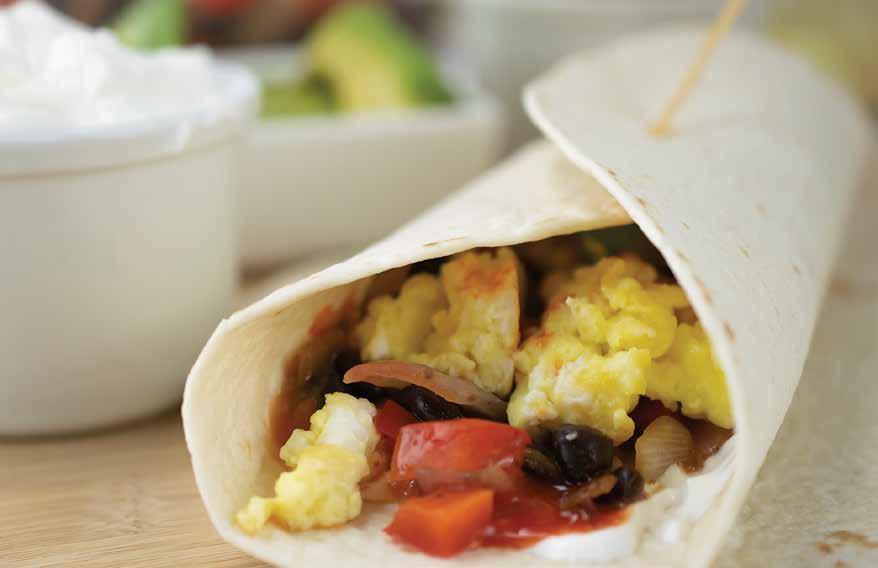
When you’re craving something hearty and rich, switch up your brunch habits with wholesome and filling Breakfast Burritos. With protein to keep you full, veggies for a touch of added nutrition and hot sauce to pack a powerful punch of flavor in every bite, this hearty recipe will keep you full and bursting with energy until your next meal. Plus, they’re easy to make in a matter of minutes and totally customizable to accommodate every palate.
2 teaspoons canola oil
1 small red onion, diced
1 red bell pepper, seeded and diced
1 can black beans, drained and rinsed
1/4 teaspoon red pepper flakes salt, to taste pepper, to taste
4 eggs
4 egg whites
1/2 cup shredded pepper jack cheese
nonstick cooking spray
4 flour tortillas
1/4 cup sour cream
1/4 cup salsa
1 large tomato, seeded and diced
1 avocado, sliced hot sauce (optional)
In large skillet, heat canola oil over medium heat. Add red onion and red bell pepper; cook 8 minutes. Add black beans and red pepper flakes; cook 3 minutes. Season with salt and pepper, to taste. Transfer to dish.
In medium bowl, whisk eggs and egg whites. Stir in cheese until combined. Heat large skillet over low heat, add egg mixture and scramble 3 minutes, or until cooked through.
Spread sour cream over tortilla. Spread salsa over sour cream. Spoon 1/4 bean mixture over salsa. Spoon 1/4 scrambled eggs over bean mixture. Top with diced tomatoes and avocado. Drizzle with hot sauce, if desired. Roll-up burrito. Repeat three times with remaining ingredients and serve.
Flavorful French toast, filling breakfast burritos and favorite fruits make a feast to look forward to, but no brunch spread
is complete without a chocolatey bite to cap off the meal. In fact, make it a double.
These Double Chocolate Chip Mini Muffins offer a combination of two kinds of rich chocolate complemented by the caramel notes of C&H Light Brown Sugar for an irresistible dessert in bite-sized form. Tiny, tasty treats are a perfect way to send guests off with one sweet final bite.
Muffin Batter:
2 cups all-purpose flour
1/2 cup unsweetened cocoa powder
1 teaspoon baking soda
1/2 teaspoon salt
1 package (10 ounces) mini semi-sweet chocolate chips
2 large eggs
1/2 cup C&H Light Brown Sugar, packed
1/2 cup C&H Granulated Sugar
3/4 cup sour cream
1/2 cup vegetable oil
1/2 cup whole milk
1/2 teaspoon instant espresso (optional)
2 teaspoons vanilla extract
2 tablespoons flaked sea salt (optional)
Preheat oven to 350 F. Line mini muffin pan with mini cupcake liners.
In large mixing bowl, use whisk to combine flour, cocoa powder, baking soda and salt. Add chocolate chips and stir to ensure chocolate chips are coated in flour mixture. In separate large mixing bowl, use wire whisk to whisk eggs and sugars until ingredients are combined and sugars are dissolved. Add sour cream, oil and milk. Whisk again to combine. If using espresso powder, add to vanilla then add to wet ingredients. Whisk vanilla espresso mixture into other liquid ingredients.
Pour liquid ingredients on top of dry ingredients. Using rubber spatula, mix until just combined, being careful to not overmix. Batter should be thick and shiny.
Using tablespoon or two spoons, spoon muffin batter into liners. Batter should be filled almost to top of each liner. Top each muffin with flaked sea salt before baking, if desired.
Bake muffins on center rack 6 minutes. Rotate pan and bake 6 minutes, or until toothpick inserted in muffin comes out clean. Once muffins finish baking, place muffin pan on cooling rack to cool completely.
Find more recipes to inspire your next brunch menu at Culinary.net. Visit chsugar.com to find more delectable dessert recipes.
Updating the flooring can help infuse new life into tired, outdated bathrooms. For an upscale, polished look that doesn’t have to break the bank, consider installing tile flooring.
Before you get started, you’ll want to make some decisions about the look and feel of your flooring:
Ceramic or stone? Weigh factors such as porosity, how slippery the surface may be when wet and how well it retains heat or cold. Ultimately, your decision hinges on the needs and uses of your family.
Complement or contrast? Define the overall style want as well as the colors and tones that will best achieve your vision.
Big or small? Generally, the larger the tile, the fewer grout lines, and too many grout lines in a smaller space can create the illusion of clutter. However, smaller tiles can eliminate the need to make multiple awkward cuts, and small tiles are perfect for creating accent patterns or introducing a splash of color.
When you’ve got your overall look and materials selected, keep these steps in mind as you begin laying the flooring.
1. Prepare your subfloor. Use a level to check for uneven spots; you need an even surface to prevent cracks in the tile or grout as well as rough spots that could pose tripping hazards. Use patching and leveling material to create a consistent surface. Apply a thin layer of mortar then attach your cement backer board with screws. Cover joints with cement board tape, apply another thin layer of mortar, smooth and allow to dry.
2. To ensure square placement, draw reference lines on the subfloor using a level and carpenter square. Tile should start in the middle of the room and move out toward the walls, so make your initial reference lines as close to the center as possible. Mark additional reference lines as space allows, such as 2-foot-by-2-foot squares.
3. Do a test run with your chosen tile by laying it out on the floor. There are color variations in most tile patterns, so you’ll want to verify each tile blends well with the next.

4. Mix tile mortar and use the thin side of a trowel to apply mortar at a 45-degree angle. Use the combed side to spread evenly and return excess mortar to the bucket. Remember to apply mortar in small areas, working as you go, so it doesn’t dry before you’re ready to lay the tile.
5. When laying tile, use your reference lines as guides. Press and wiggle tile slightly for the best adherence.
6. Use spacers to create even lines between one tile and the next, removing excess mortar with a damp sponge or rag.
7. As you complete a section of tile, use a level and mallet to verify the tiles are sitting evenly.
8. Let mortar dry 24 hours before grouting.
9. Remove spacers then apply grout to joints, removing excess as you go.
10. Allow grout to dry per the manufacturer’s instructions then go back over tile with a damp sponge to set grout lines and clean grout residue.
11. Once grout has cured – usually at least a couple weeks – apply sealer to protect it.
• ALUMINUM/VINYL/WOOD WINDOWS
• MIRROS & SHOWERS

• COMMERCIAL STOREFRONTS
• CHANGE SINGLE GLASS TO DUAL

• “LOW-E GLASS”


