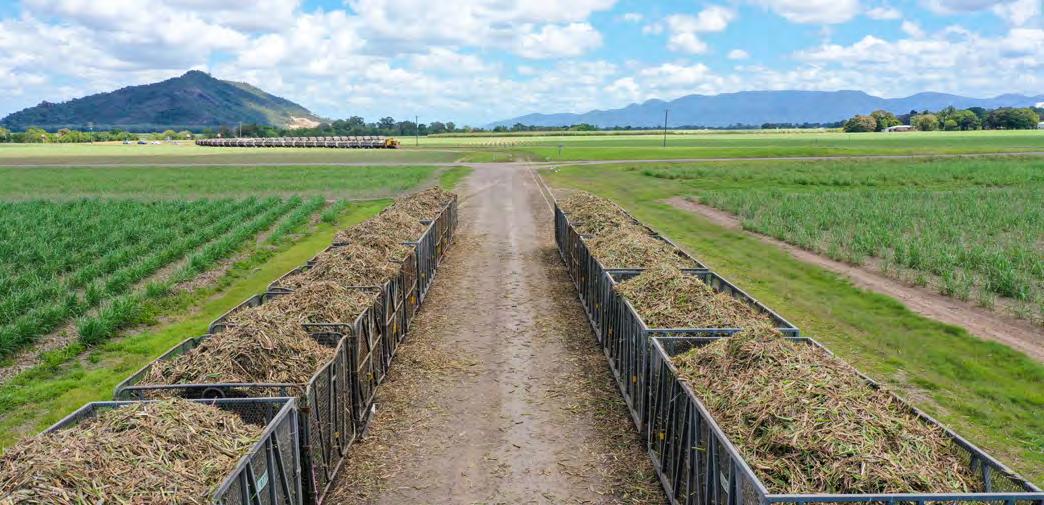
Pictured: Innisfail BMP grower Joe Zappala.
SOIL SAMPLING
A CRITICAL ACTIVITY FOR NUTRIENT MANAGEMENT Supplied by Danielle Skocaj (SRA), Bernard Schroeder (USQ), John Panitz (Morrisey Ag) and Barry Salter (SRA)
Soil sampling assists in determining suitable management strategies to optimise crop performance. Different assays are available to assess a range of important soil chemical, physical and biological properties. This article focuses on soil sampling to determine crop nutritional requirements and better manage nutrient inputs. Why soil sample? •
Diagnose nutritional problems and soil chemical constraints (such as acidity, sodicity, salinity)
•
Determine crop nutrition requirements
•
Reduce the risk of under-fertilising and cost of over-fertilising
•
Monitor the effectiveness of nutrition and amelioration programs
•
Optimise other crop management practices by understanding soil properties
When to soil sample? To assess nutritional and soil ameliorant requirements for sugarcane, soil sampling should be completed straight after harvesting the last ratoon crop and prior to cultivation. If conducting significant earthworks, including laser levelling, soil sampling is best delayed until afterwards. If break crops (for example soybeans, mungbeans, vegetables or cucurbits) are grown between cane crops, seek advice on the
best soil sampling strategy to identify the nutritional requirements for all crops. How to soil sample? There are five important steps in the soil sampling process: Step 1: Planning Review available information to develop a ‘fit for purpose’ soil sampling strategy. Identify which blocks need to be sampled and consider soil variability, position in the landscape, topography, crop performance and management history. Sampling each block individually will provide a more accurate assessment but it may be possible to rationalise the number of samples due to common soil types and management history. Following this assessment, the most suitable soil sampling pattern can be identified for each block. Try to collect samples at the same time each year, avoid sampling immediately after high rainfall or irrigation and delay sampling for at least two months after applying any ameliorants or fertiliser.
Industry Spotlight sponsored by Smartcane BMP
28
Step 2: Collection Clean hands and equipment – to avoid sample contamination wash hands prior to sampling. Ensure equipment is clean (to manage farm hygiene sanitise with 70% methylated spirits) and hasn’t been in contact with fertiliser. Use the right equipment – soil sampling plan, soil auger or probe, plastic handled bucket, clean plastic bag/s and permanent marker. Avoid using or touching galvanised surfaces (like bucket handles and vehicle trays) during sample collection to prevent contamination. Collect samples from the correct position on the row – this will be influenced by fertiliser placement in the previous crop. Generally, soil samples are collected from the shoulder of the cane row (about halfway between the centre of the cane row and centre of the inter-row). If fertiliser was applied using a side-dress applicator, cores should not be collected from the fertilised zone of the shoulder. For reliable results, avoid collecting samples from non-cropped areas,