Tools and Materials Embroiderers are lucky that we don’t need lots of expensive or spaceconsuming equipment to enjoy our hobby, and an added bonus is that fabric, threads, needles and scissors are easy and light to take around with us, making embroidery an ideal hobby for travelling and to take on holidays. Your embroidery “kit” need only contain a very few tools for successful stitching - you can see my collection in the picture at the bottom of this page. You will need the following basic supplies. Be sure to purchase good quality items - you won’t be able to produce good results with cheap and nasty materials - and the frustration and annoyance you’ll experience may well put you off stitching altogether.
The starting point for a successful project is a good needle that is the right size for the project, and is nice and sharp. It should also be shiny so it will slide effortlessly through your fabric - the plating does wear off needles in time, so if your needle looks a little tarnish and/or feels slightly sticky, then it’s time to change to a new one. The eye of your needle should be large enough to take your thread without difficulty and the doubled thread should pass through your fabric easily. If not, then try a larger needle size. Needle sizes are marked by numbers - the lower the number, the larger the needle. My preference is to use a size 6 needle with 2 strands of cotton floss. There are four types of needle that are used for embroidery: crewel, tapestry, chenille and betweens. I would recommend that newbies start with a crewel (embroidery) needle that comes in sizes 1 to 10. Crewel needles have sharp points to pierce the fabric more easily and long eyes to take on or more threads of stranded floss or wool. Apart from the long eye they are the same in length and point as ordinary sewing (sharps) needles. 7
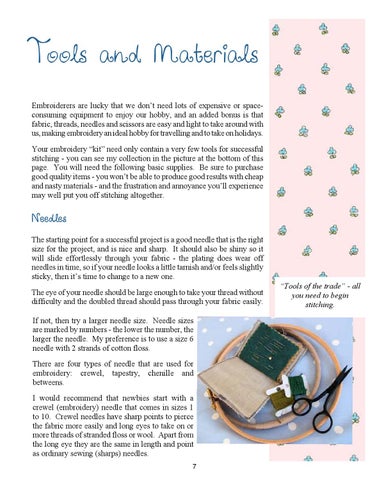
“Tools of the trade” - all you need to begin stitching.