3 minute read
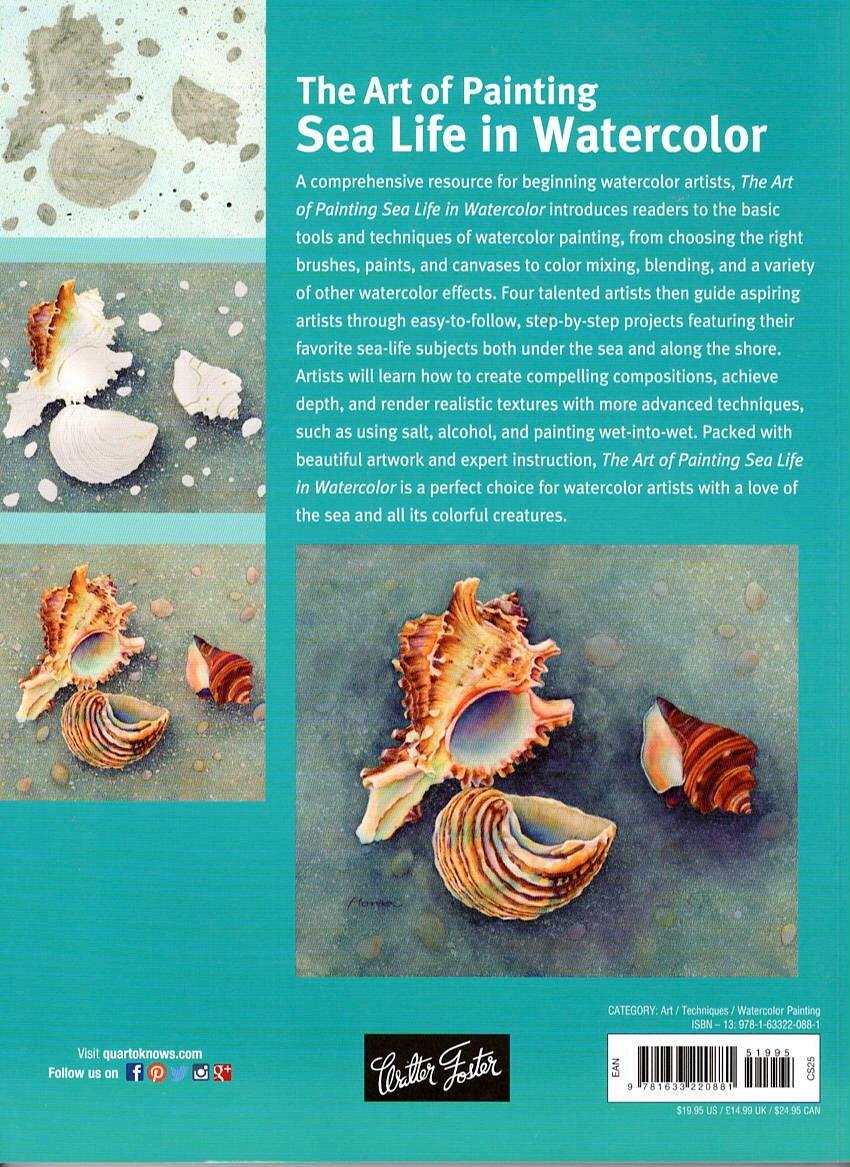
book “Basic Cartooning” [1 of 2]: book layout / © Walter Foster—Quarto Publishing

![kid’s art instruction book “Learn to Draw Birds & Butterflies” [page 2 of 2]: book layout / © Walter Foster—Quarto Publishing](https://assets.isu.pub/document-structure/230314023925-f602ac725fb91f4074488ea2a2898e2c/v1/c0e766dc76d880e70b6a0a2b27afdc31.jpeg)
Tools & Materials
Advertisement
Facial Expressions
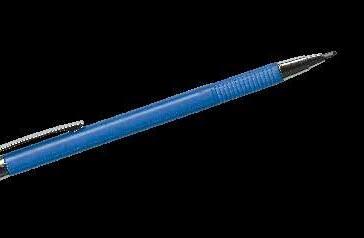
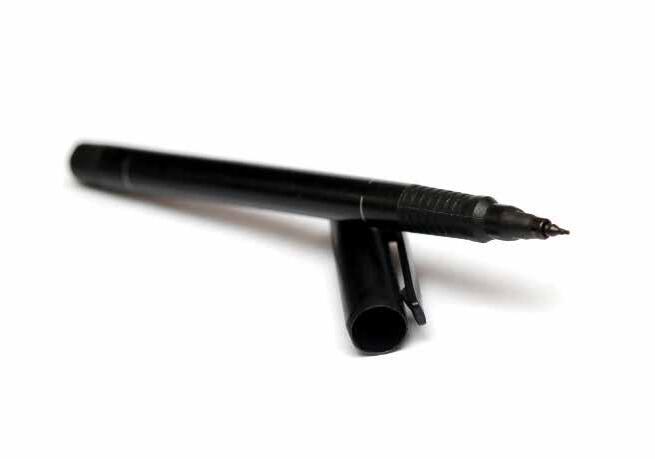
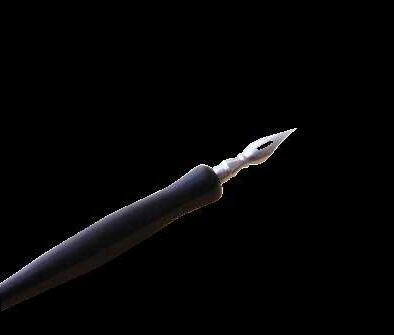
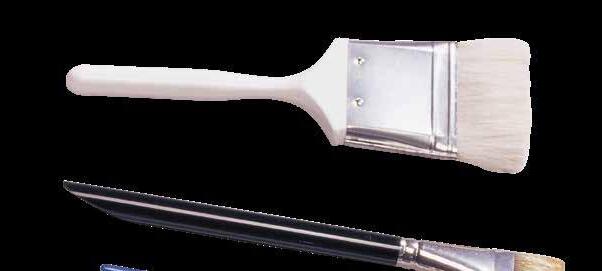
inking with these tools. They often leave lines that stay wet for several minutes. Make sure you allow for plenty of drying time!
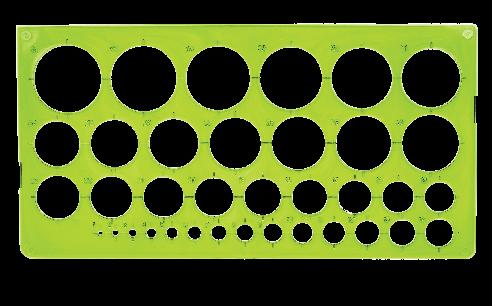
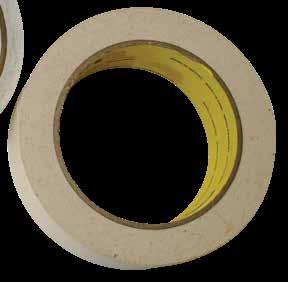
Templates & Ruler You can find circle, ellipse, and curve templates at any art supply store. These templates are perfect for making dialog balloons. You’ll also find it handy to keep a ruler nearby. For lettering your illustrations you should also have a T-square, set squares, and Ames guide (see page 66).
Facial Features
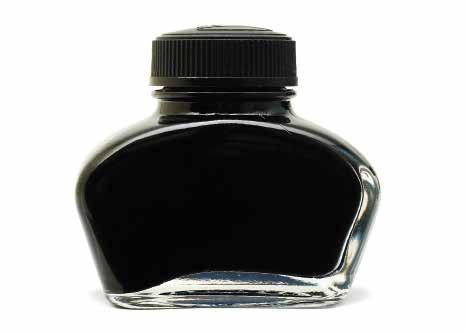
India Ink India ink is black ink made of carbon. It is a traditional inking material for comic book artists.
Facial features and expressions are essentially just lines and shapes arranged to convey an emotion or thought. I’ve drawn a series of shapes in a box. have arranged these shapes differently to make 4 expressions. It is amazing; there are an endless variety of expressions you can make by just picking a few simple lines!
A. Happy Face In this example, I’ve made a smiling face, with raised eyebrows and an upturned mouth. The face looks eager and pleased.
B. Grumpy Face use the same shapes here, but flip some of them. The mouth and eyebrows are now upside down from how made them in the last face. The nose is pointed down too, which reinforces the frowning look.
C. Insecure Smile still use the same shapes, but here duplicate some shapes and change the size and scale of others. This allowes me to create facial hair and a new expression.
D. Scared Face In this example, continue to alter the size and scale of some shapes, and duplicate some more. The shape used for the nose before have now used for the bottom lip. My old mouth has become a nose, and I’ve duplicated the round shapes of the pupils to become nostrils and the mouth.
Expressions
By drawing different expressions for the same character, you can begin to develop the range and depth of their emotions. It’s good to figure out what distinguishing characteristics of the character need to remain, so that you can recognize it as the same person no matter what crazy face you have them making!
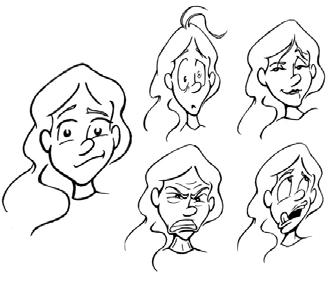
For her frightened expression, stretched out her face. A tiny mouth in proportion to her face makes her look very meek, while some unkempt hair gives her a rattled appearance. Next draw her face showing intrigue. A single lock of hair sweeping over her forehead, heavy eyelids, and a cocked eyebrow all work together to show intrigue and interest. Anger is often shown best in the eyebrows, so in the next drawing draw her eyebrows pointing downward, a puffed curve under the squinted eyes, and her teeth gritting ferociously. Finally, draw her being goofy. created this expression by rolling her wide-open eyes and making her mouth open with her tougue sticking out.
Before putting these concepts into actual cartoon characters, let’s take a look at the individual features that provide much of the expressions and overall look of cartoon faces.
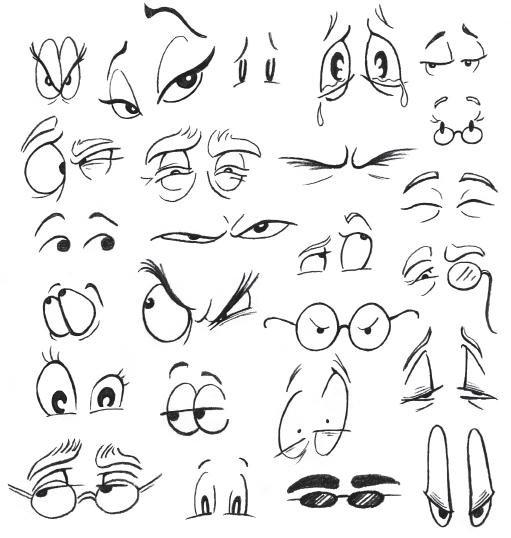
Eyes
Eyes express the most feeling and emotion, so it is good to practice drawing them. Look at all the different sets of eyes I’ve drawn. Can you get some sense of the character based on just the eyes? Sometimes the eyes tell you if the character is young or old, male or female. You can often tell what the character is feeling or trying to do. Notice the shapes and lines that effectively suggest certain expressions. Also notice how big the whites of the eyes are, how large the pupils are, or how prominent the eyelids are. These are all elements that can be modified to create different expressions. In these examples, can you spot some eyes that look like a character just hit their thumb with a hammer? Can you find the secret service agent, or the person who is having a hard time staying awake?
David & Goliath
For this cartoon let’s create a pair of characters that showcased different choices in body design and size. David and Goliath are a perfect example of a disparative duo. The two mismatched opponents that have spawned innumerable references to an underdog pitted against a seemingly unbeatable foe are ideal for cartooning!

1. First draw the basic shapes of each character’s body. Then add lines showing where their arms, legs, and faces will go.
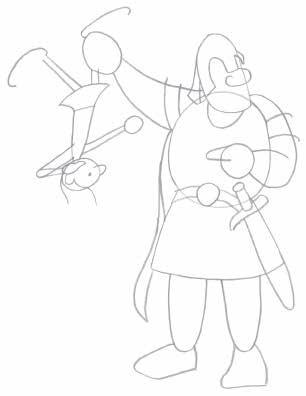
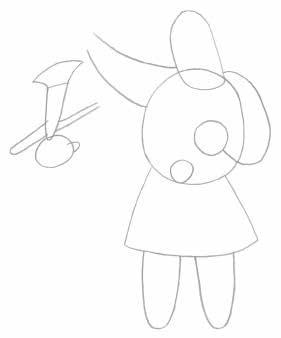
2. Mark Goliath’s outstretched fist and add curved lines that map his helmet, nose, armor, sword, feet, and cape. With David, add lines that show where his legs are, one being held and the other outstretched. Exaggerate his feet, making them about as long as his legs, then draw the shapes for his hands, and mark his hairline and eye.

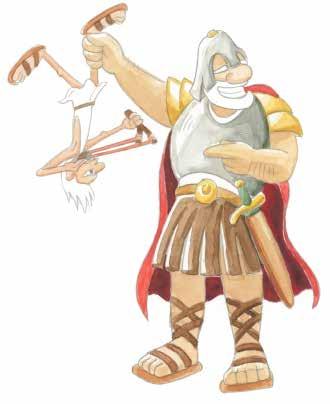
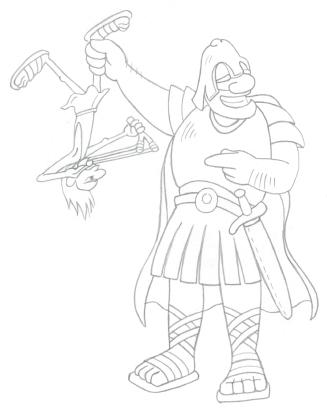
3. On David, add the bubble-like toes and short parallel lines to create his sandals. In his outstretched hand add the V-shaped slingshot and create lines for his fingers. Draw a wavy line for a scowl and an eyebrow. On Goliath, add lines to his fist-circles and feet to create fingers and sandal straps. Draw horizontal sausages for his eyebrows and a wide smile.
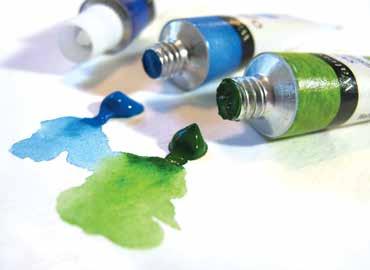
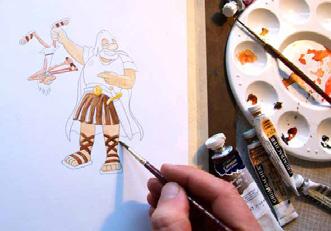
shadows, use less water when mixing the pigment to make a darker shade of the color. Where want lighter shades, add more water to dilute the color. Leave some areas white to create highlights, such as on the armor and skin. Don’t paint in any areas you plan to fill in with black. 24 25
Tools & Materials

Painting Techniques