5 minute read
my City Oasis


by Britta Bonette
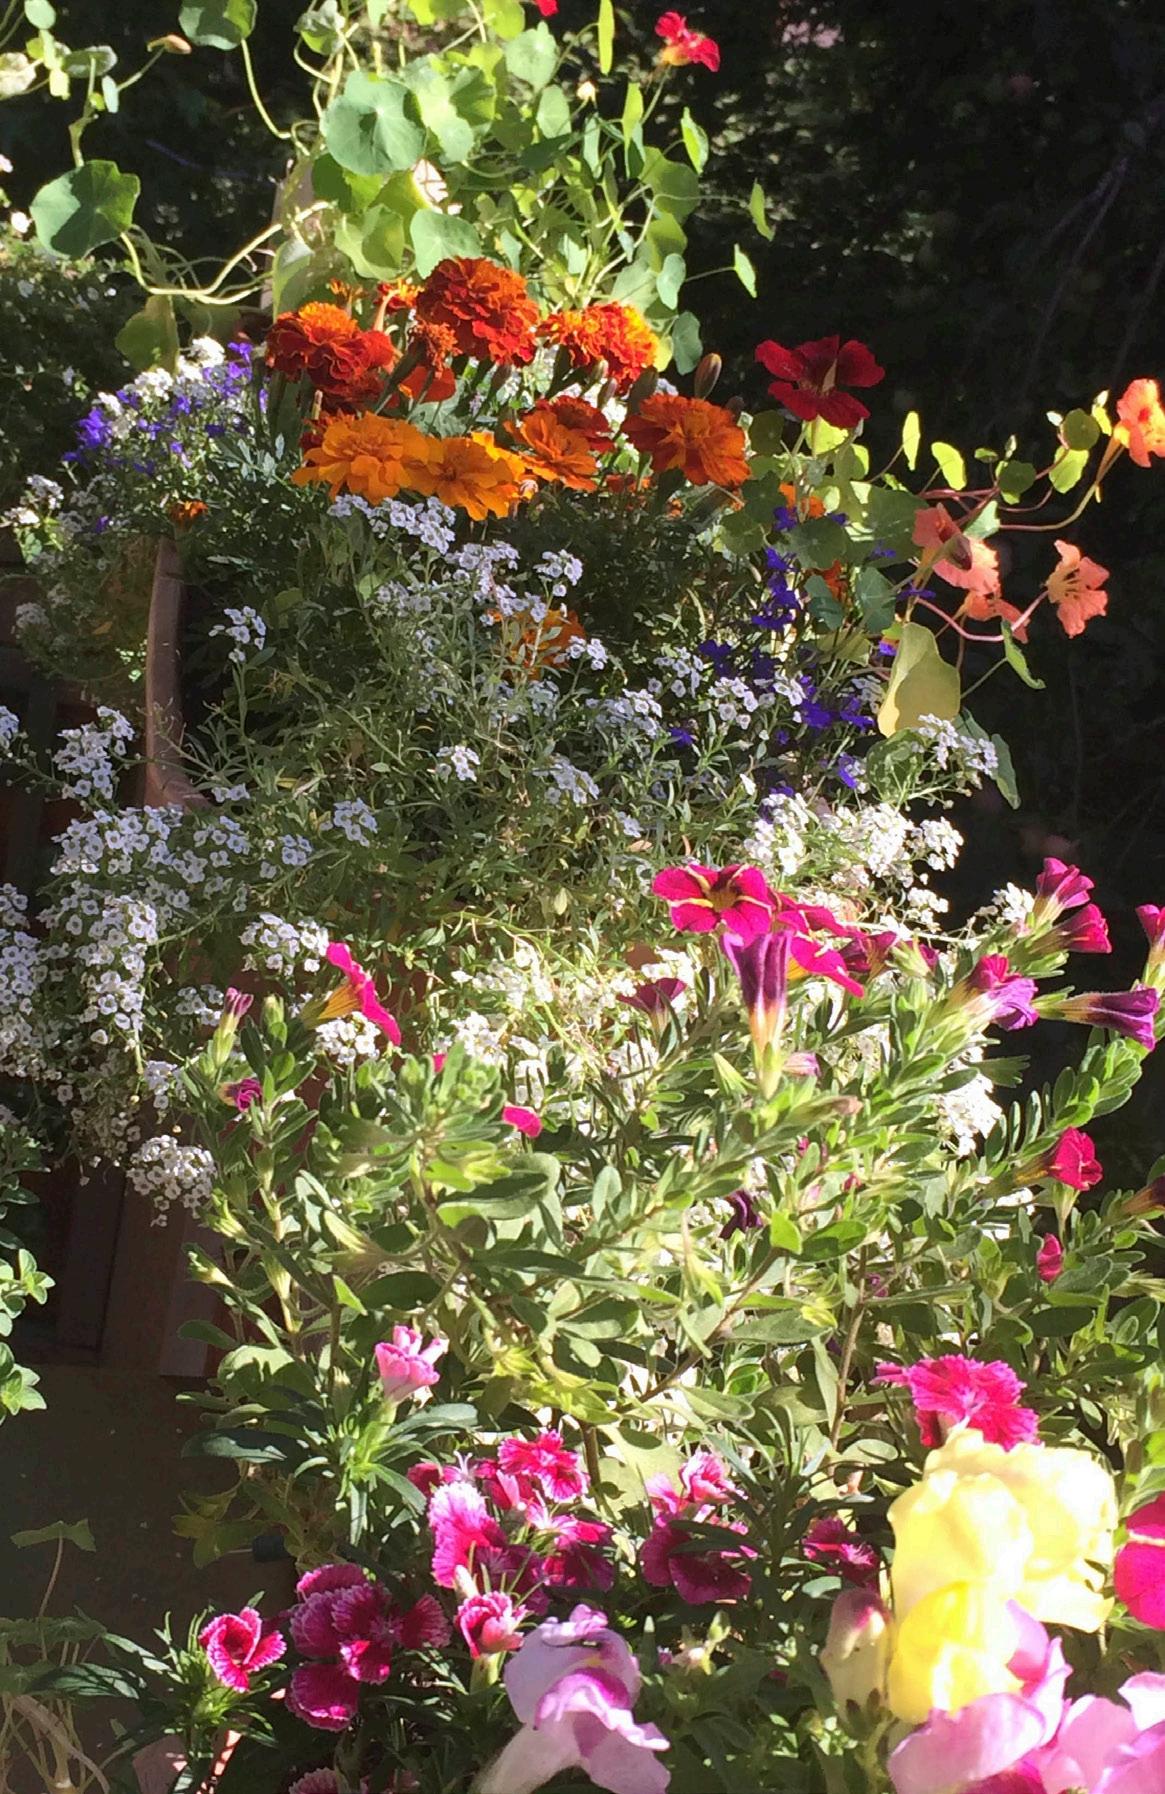
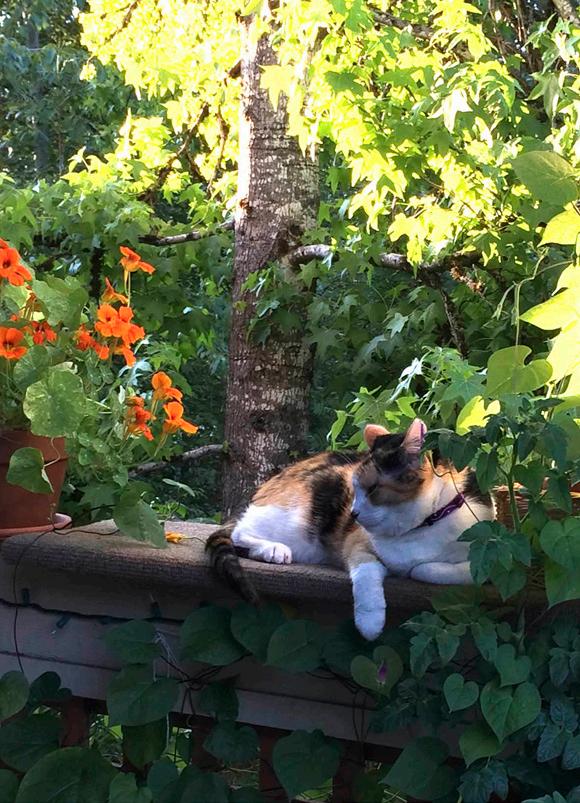
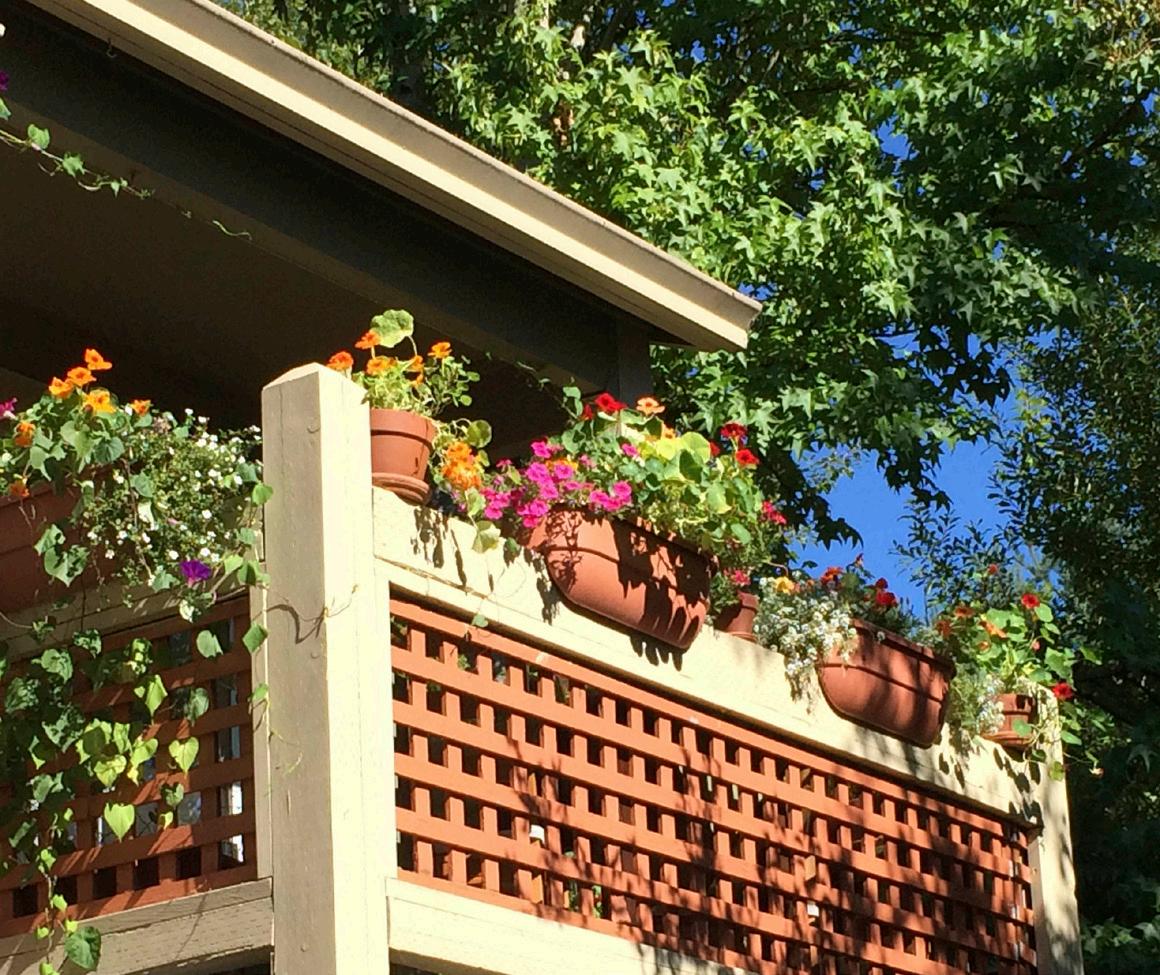
Finding a quiet place where you are surrounded by beautiful and restful sounds and sights of nature, is almost a must in our fastpaced world. Recently, I found myself moving back to a busy metro in the Pacific Northwest but was lucky to find a small but loveley apartment. I am a gardener at heart and equipped with a bright green thumb, so I was grateful to have found this little piece of urban paradise. I have a corner balcony next to an unuccupied and undeveloped piece of land, so I have lots of green to look at. This is truly a saving grace for me, as this my little “oasis” has given me so much joy and peace. Until I can find a “real” garden of my own, this is my flowering heaven in the midst of all the the noise and chaos.
Advertisement
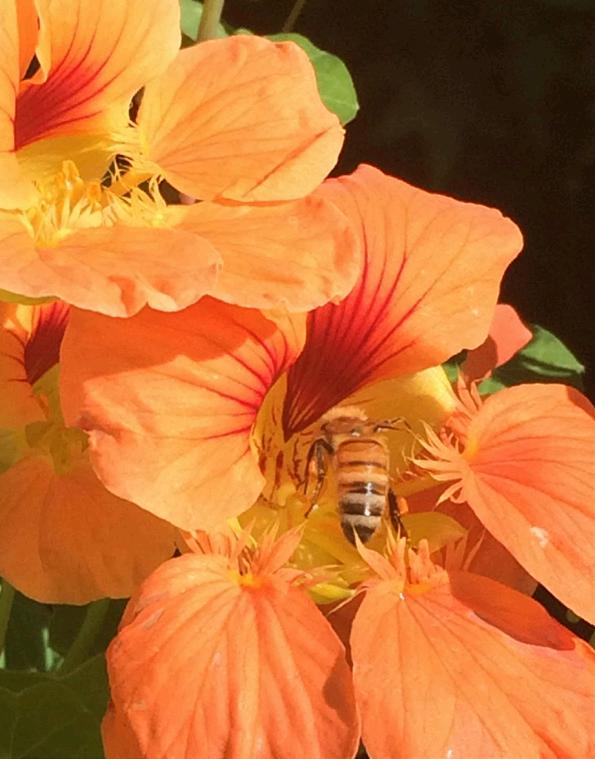
A bumble bee caught buzzing around in my Nasturtiums all summer long, feverishly bulding their nectar reserv.
Flowers always make people better, happier, and more helpful; they are sunshine, food and medicine for the soul.
— Luther Burbank
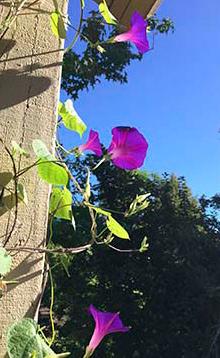
My all time favourite is the Morning Glory. Every morning it surprises me with a brand new gorgeus flower opening its bright eye to the sky.
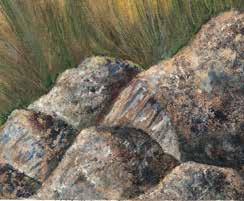
I am sharing this short pictoral story about my oasis to show the joy this has given me. I have so much love for all the growing plants that surrounds me and the beauty and peace I feel while spending time in my flower garden. Ever since I was a little girl, I would find a corner somewhere where I could find peace, solitude and even some room for imagination, play and fanatsy. It could be by the rocks down by the lake or in the forest under a tree. Finding comfort in solitude is a wonderful gift. In our noisy, distracting and electronic environment we live in, it’s important to have that special corner where we can have our own oasis and to really notice the world by out feet; listening to the insects on the ground (did you know even ants have a voice?), the birds, crickets, dragonflies, bees and even an occational fly. Go out there today, find a corner in your world where you can have your own quiet oasis
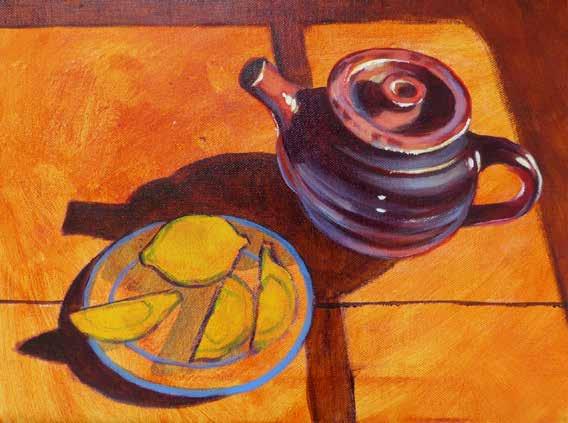
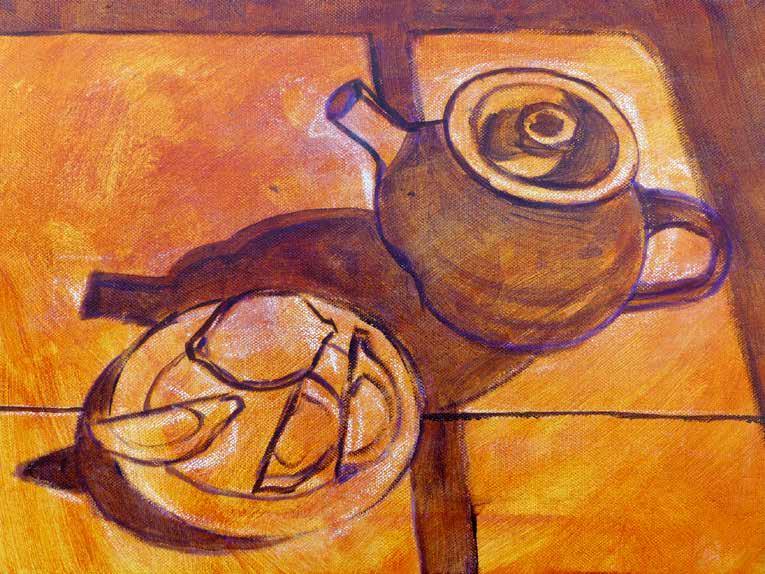
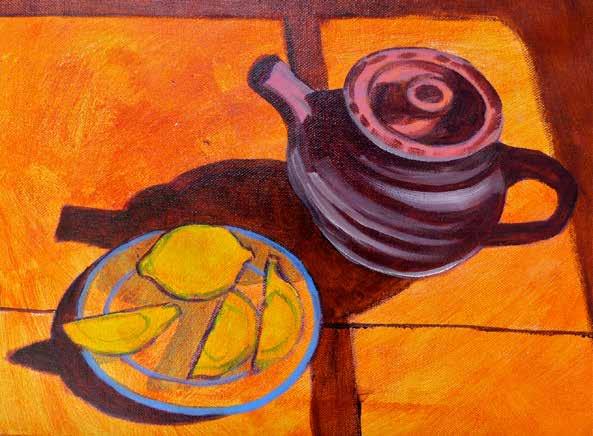
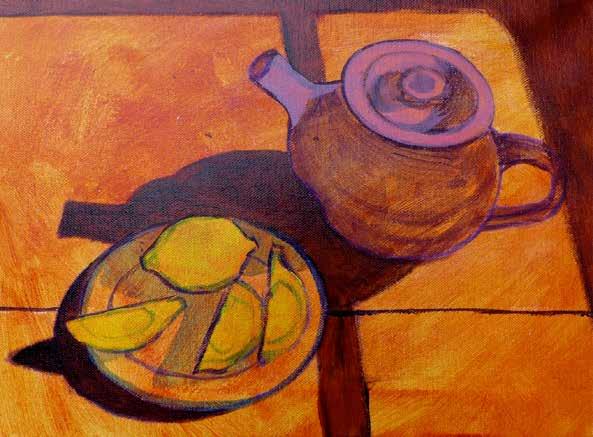
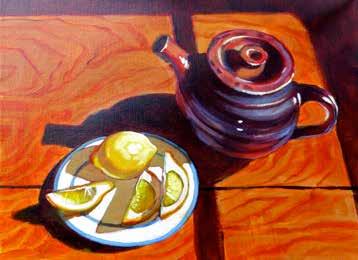
Oil & Acrylic Techniques

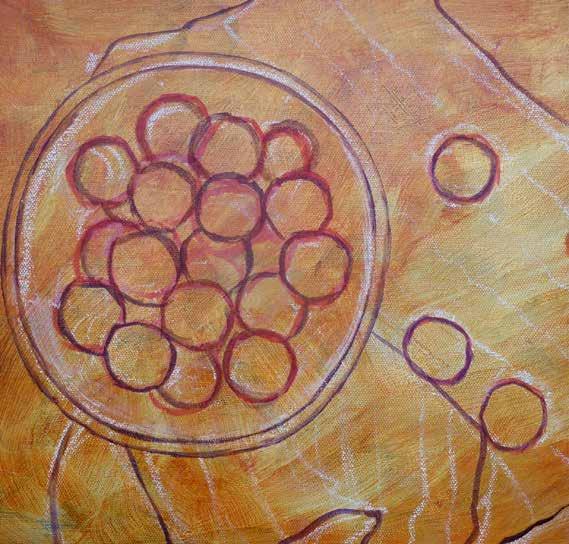
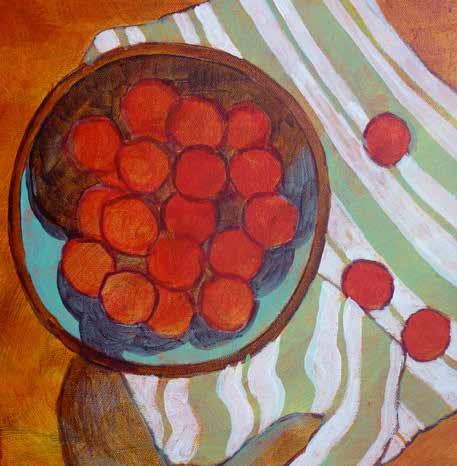
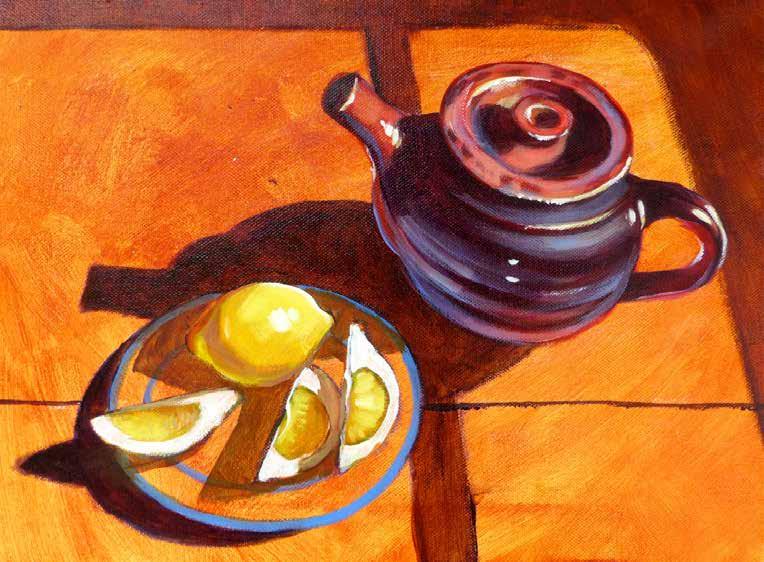
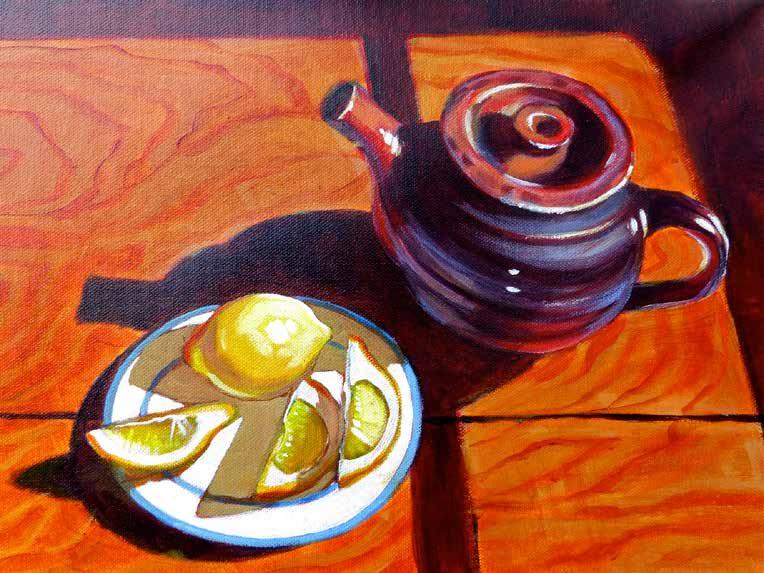
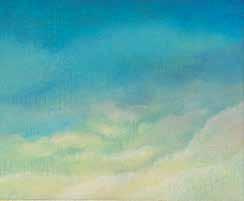
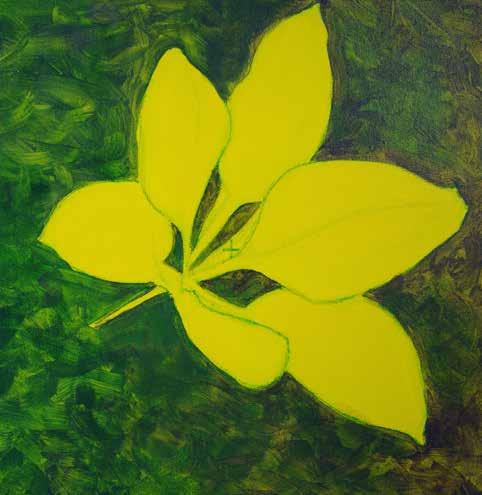
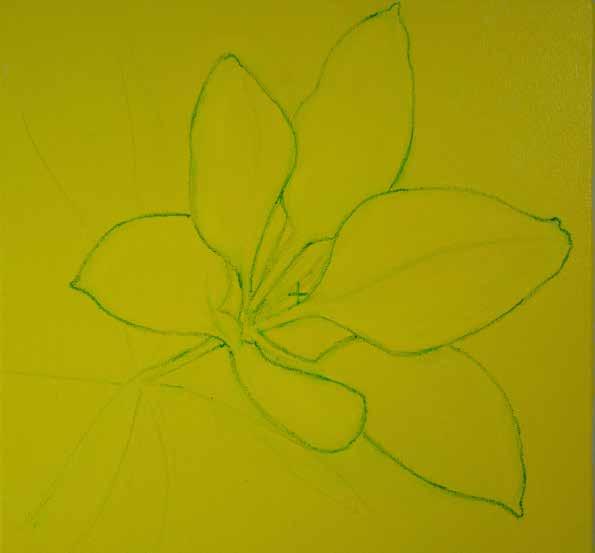
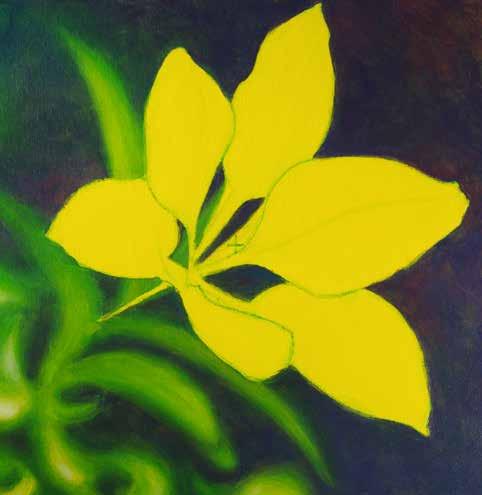
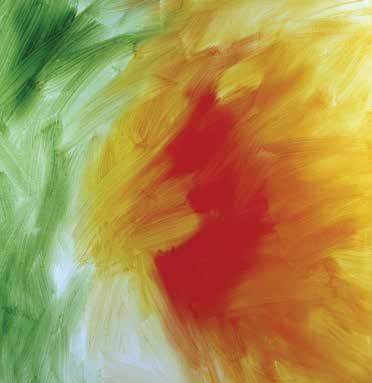
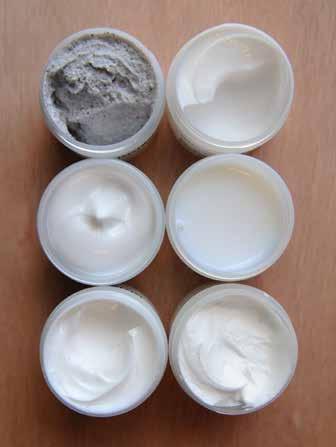
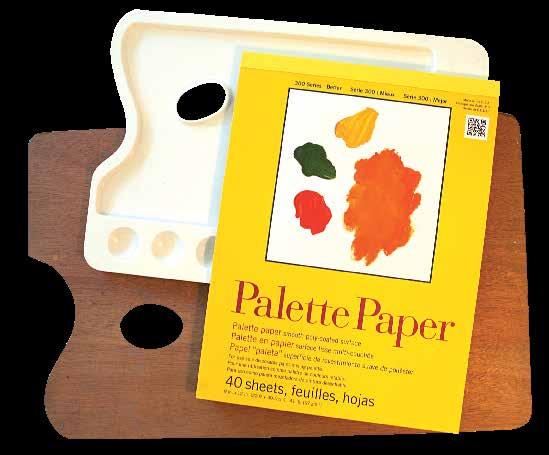
There are many different ways to approach a blank support. Some artists begin by toning (or covering) it with a thin wash of color. This “underpainting” provides a base for building colors, and sometimes it peeks through in the final painting. This process prevents your final artwork from ending up with unpainted areas. The underpainting is generally a neutral color; warm colors work well for earth-toned subjects, and cool hues suit most other subjects.
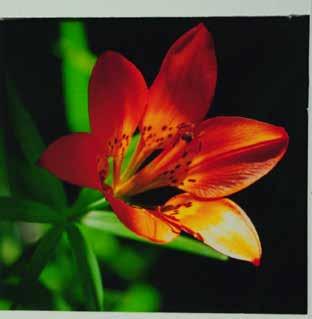
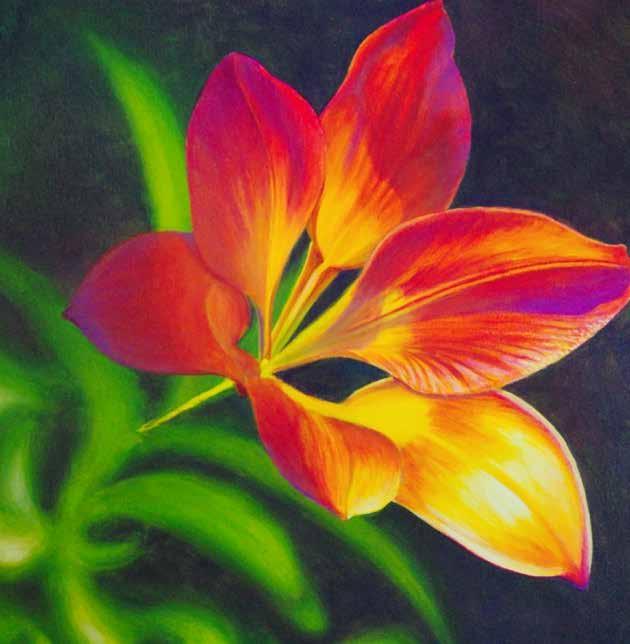
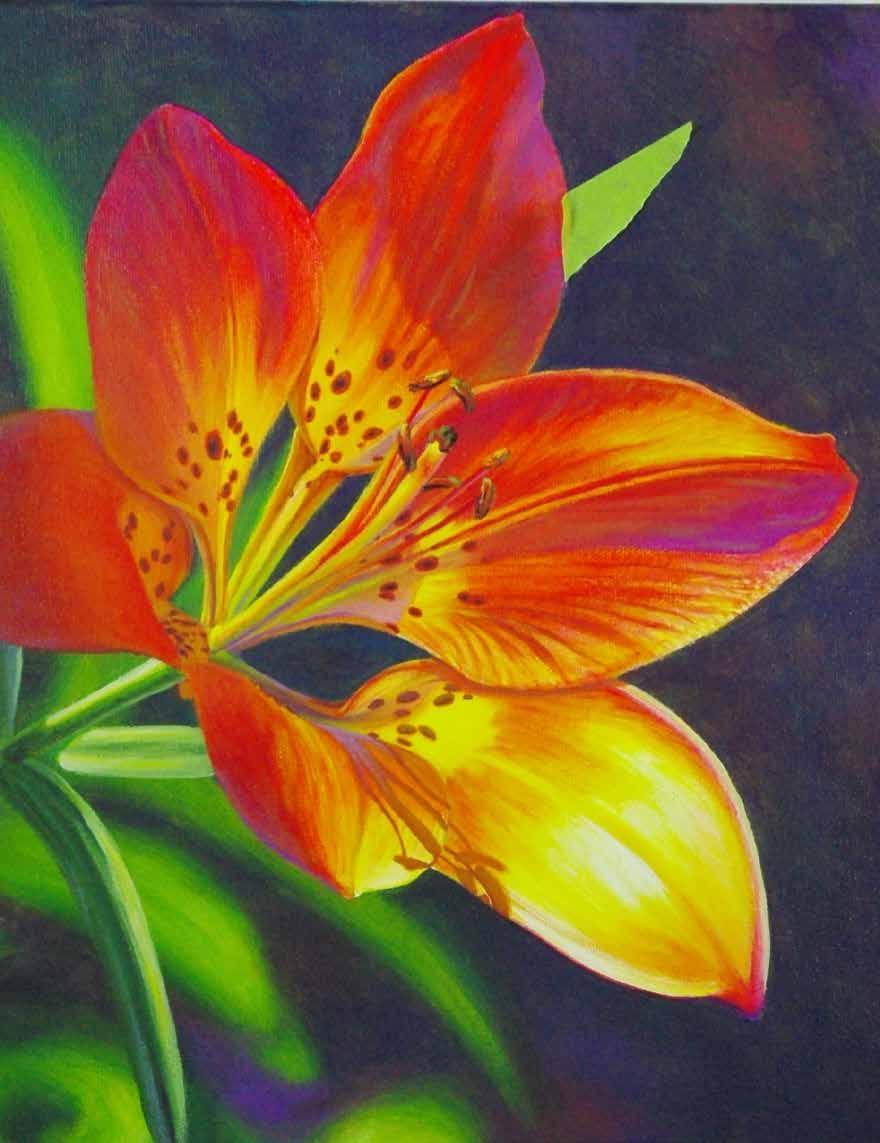
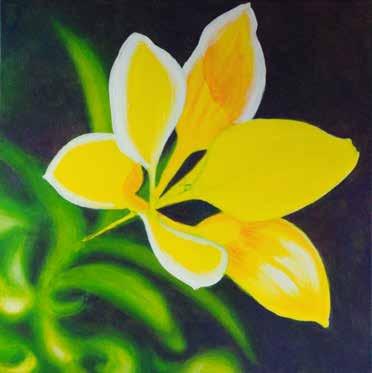
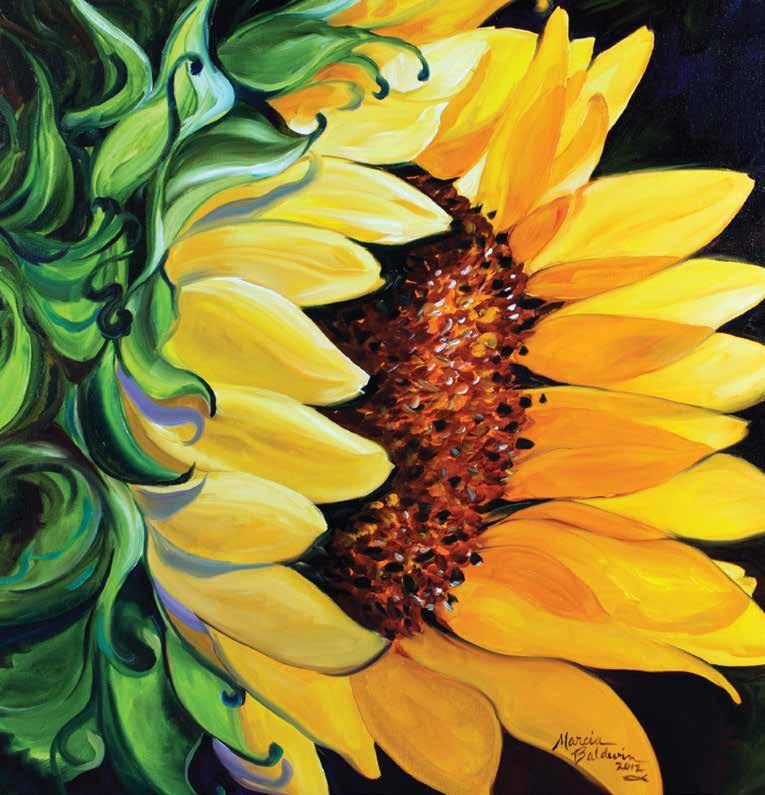
Tiger Lily

CHAPTER 1
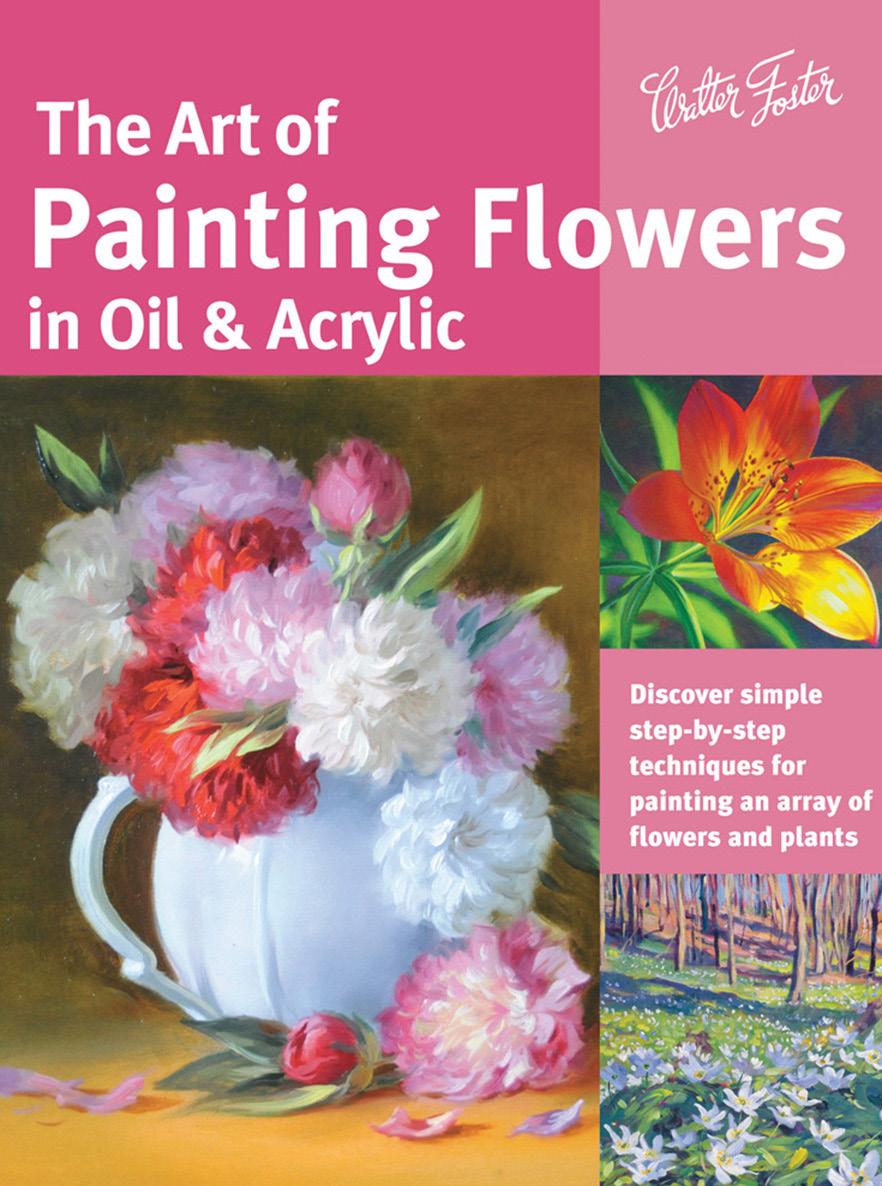
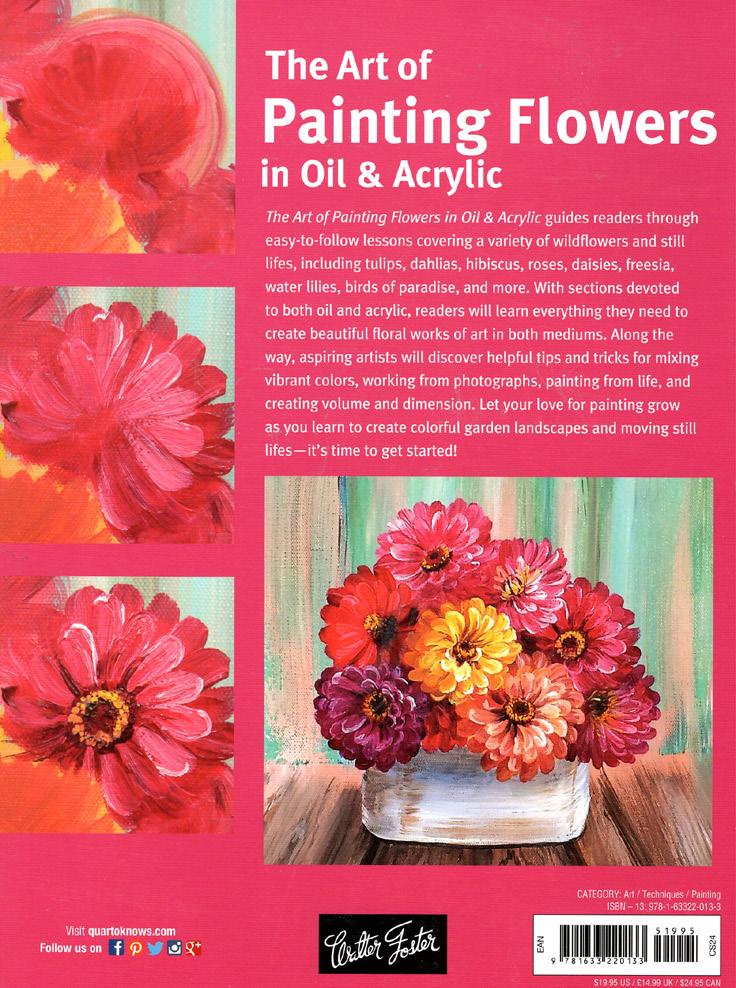
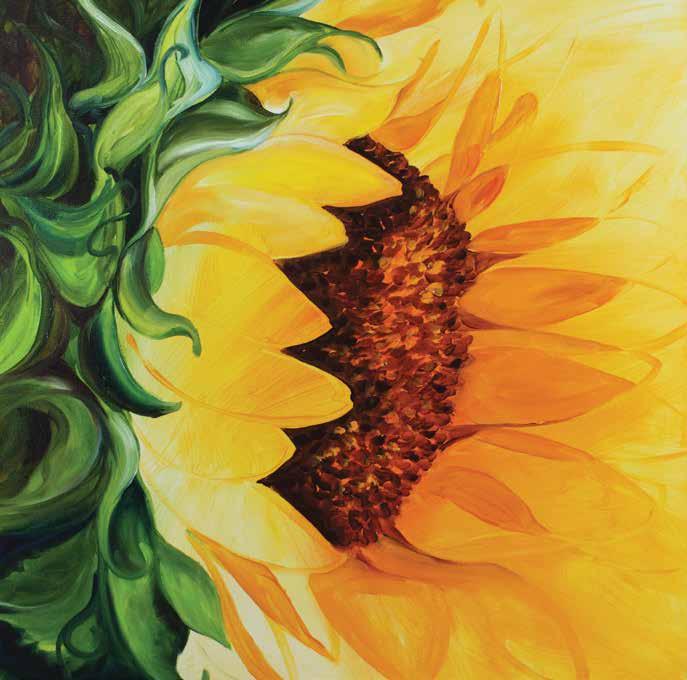
Flower Portraits
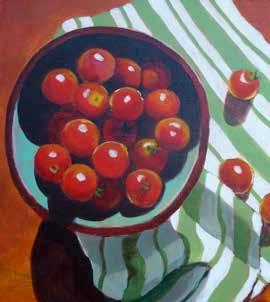
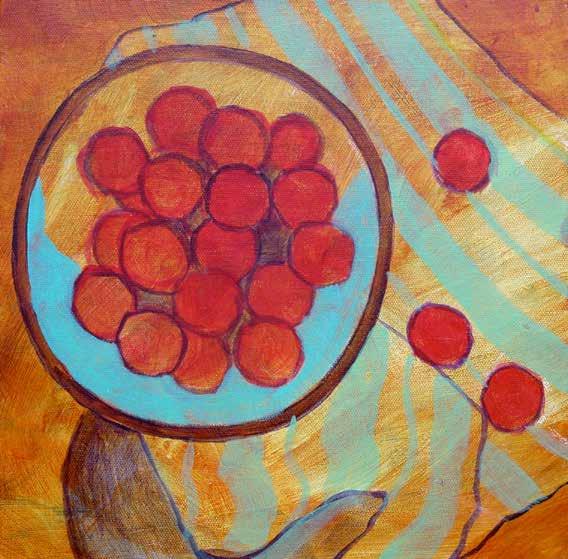
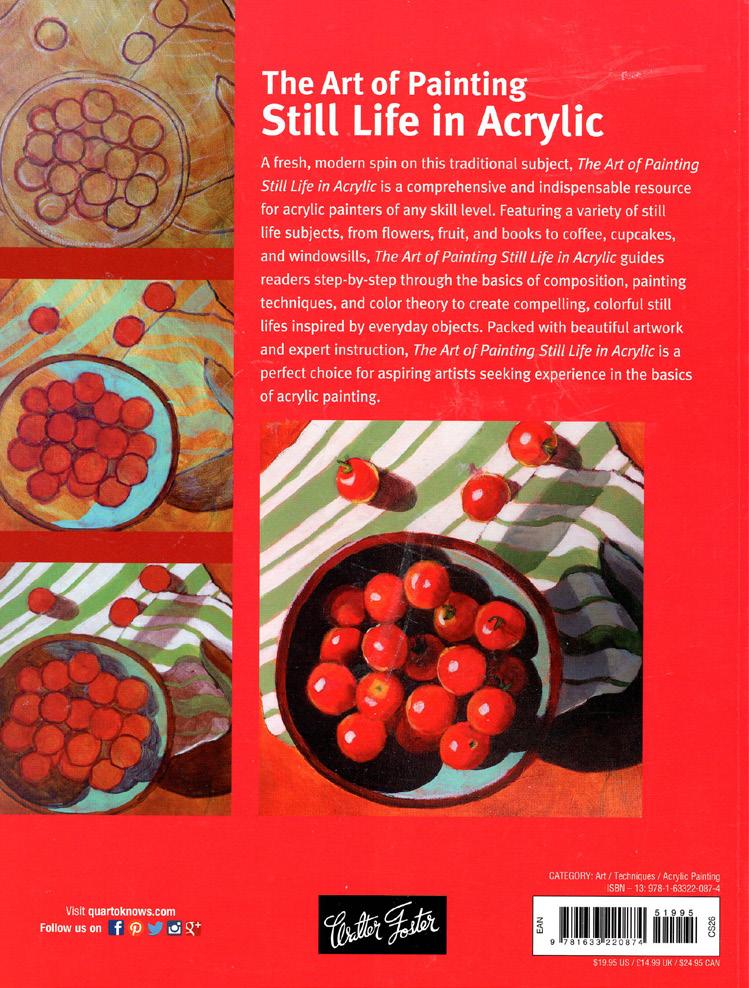
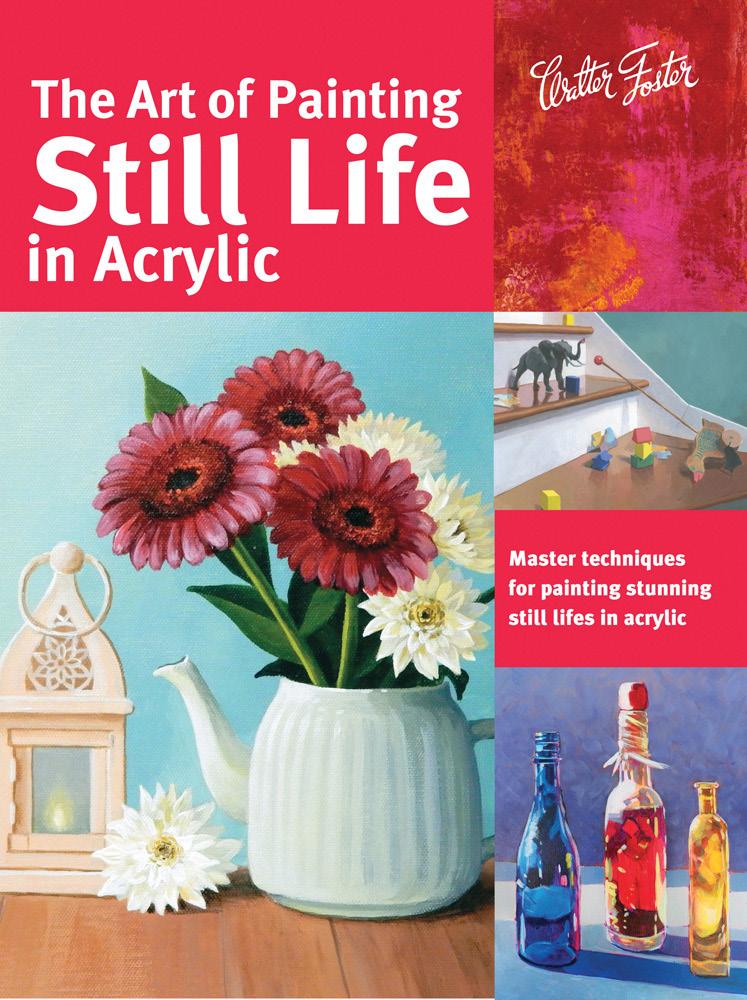
Still Lifes
Chapter 2
with Judy Schafers and Marcia Baldwin with Linda Yurgensen
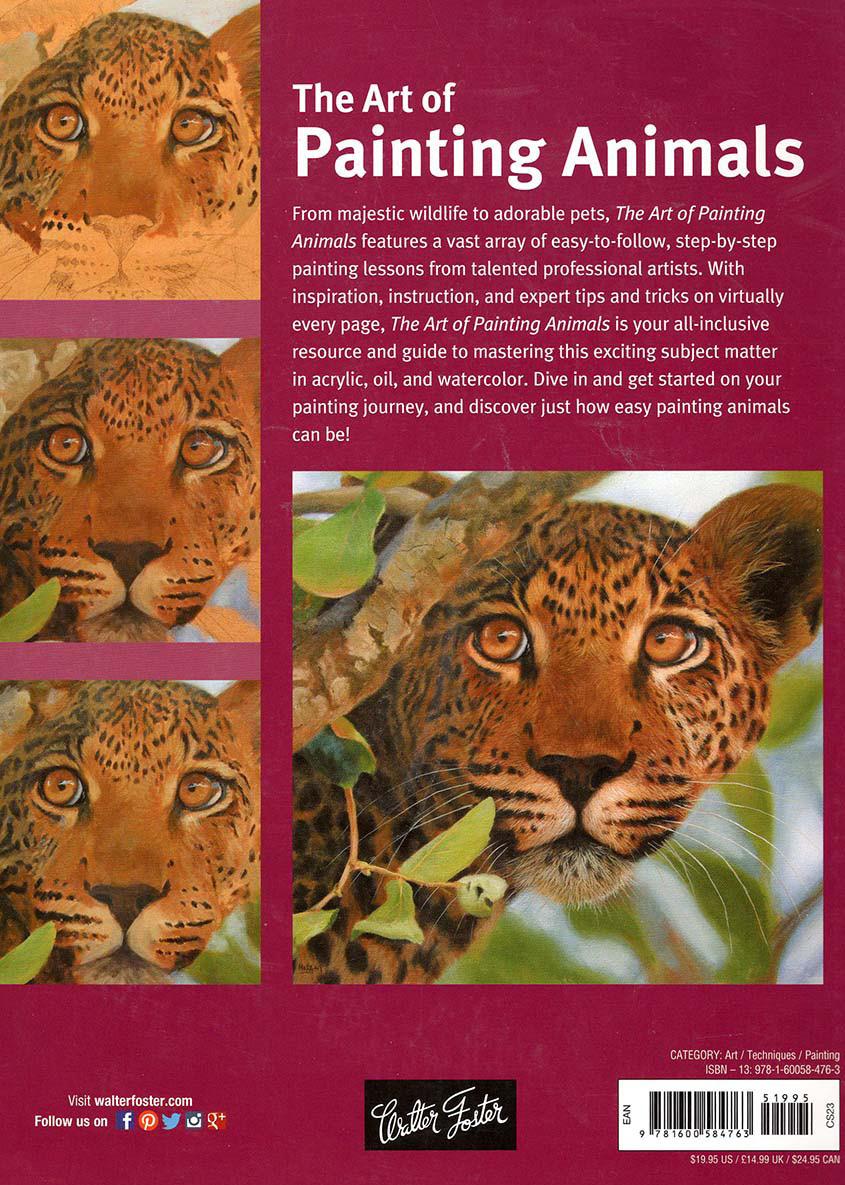
Painting Animals in Oil
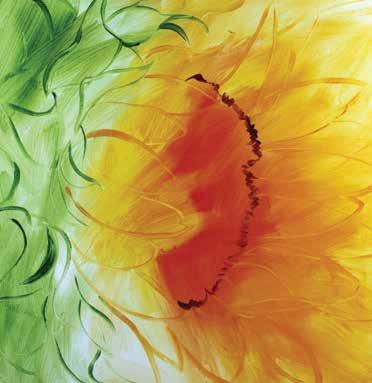
Just as a portrait of a person must capture the personality of the sitter, a successful flower portrait must convey the unique characteristics and natural beauty of the subject. Colors should be true and texture accurate to the point that viewers can feel the flower simply by looking at it. The step-by-step lessons in this chapter show how to create dynamic flower paintings that achieve these important traits. They’ll also inspire you to use your freshly honed skills to paint other flower portraits with your own special touch.
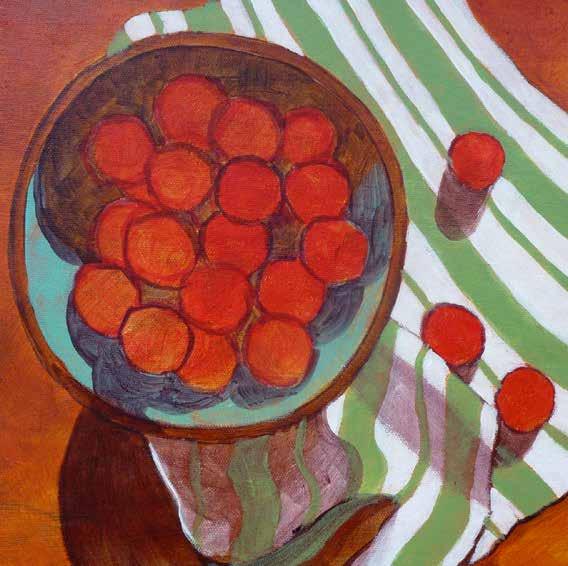
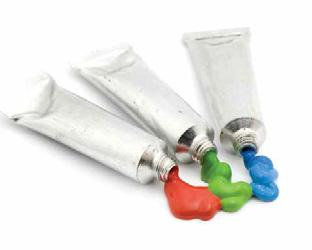
with Lorraine Gray & Jason Morgan Omni quiae videlit doluptatur, sin pe estium que perum velitio nemperiam dolorio ssitiscit facearum exped maximod ipitaquia vel enderum fuga. Officidem eturepudi reperitiis doluptatur? Quia plit, quamendant rempedis sitis aut quiscilia simin con pos eossunt iandis apistiam, qui nulparc hilignihit fugia quis autemod ipienti atessit utate verspid qui cum am rem imus alique voluptius invello reiuntio. Me dolupiciet quasseditius velessi dogia quis autemod ipienti atessit utate verspid qui cum am rem imus alique voluptius invello reiuntio. Me dolupiciet quasseditius velessi doloresci loresci auda qui cores the paint. Although you can technically paint straight from the tube, most artists add medium to extend the paint and to build an oil painting in the traditional “fat over lean” layering process. The drying oils and resins mentioned on the following pages can be used as mediums, but the term “medium” in oil painting generally refers to mix of oil and solvent, with the solvent accelerating the drying process. Because oil-based paints do not mix with water, artists traditionally use solvents for paint thinning and cleanup. If you choose to purchase a solvent, be sure it is intended for fine-art

Animal Features & Textures
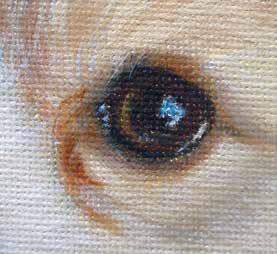
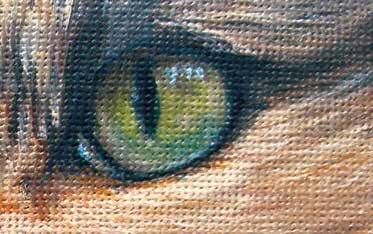
draw in the shape of the eye and the pupil with my number 00 round brush. While the paint is wet, mix burnt sienna and burnt umber and paint the dark brown iris. To soften the outer edge, mix burnt sienna with just bit of burnt umber and shade around the outer part of the eye. When the paint is dry thin some cadmium yellow and paint a soft brush stroke to the left of the pupil to show some light reflection. I add highlights to the eye with white and a bit of ultramarine blue.

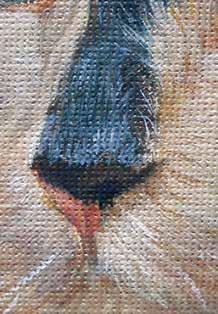
Long Fur for Tails & Manes tip of the nose. With my round 00 brush make a diluted mix of cadmium red with a little bit of alizarin crimson and white for the pink color on the lower nose. While wet, mix more white into the color mix and paint the lighter pink color. Doing so while the paint is still wet blends the colors, avoiding hard edges. If you use acrylics you can use slow-drying medium to allow you to blend the colors while the paint is wet. Once dry use my round 00 brush to add the fur texture on the bridge of the nose with mix of burnt umber and little white.
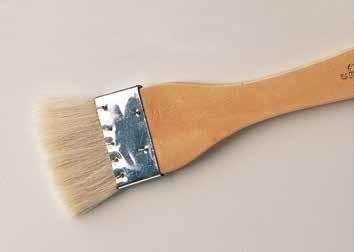
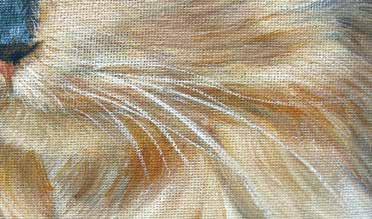
This example is of a dog’s long fluffy tail, but you can use the same technique for horse manes and tails. To achieve this fluffy texture the background needs to be wet so the paint blends. Use a slow-drying medium if you are working with acrylics to keep your paint wet. build up the background in three layers using a mix of burnt umber and burnt sienna. I let each layer dry before applying the next, making the last layer slightly thicker than the first two. When I’m happy with the background paint the tail while the last layer of paint is wet. For the dark cream undercolor use mix of yellow ochre and bit of burnt sienna. With my large no. 8 filbert brush I use sweeping brush stokes to flick the brush up into the wet background color, starting at the center of the tail. Then lighten my cream mix by adding some white and use the same brush and technique to flick in highlights.
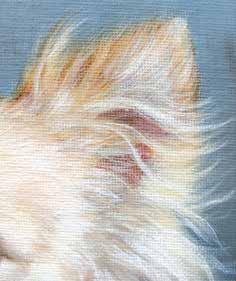
Ears use similar technique for ears as for tails. First I paint thin layer of a burnt sienna and burnt umber mix with my no. 8 filbert brush for the darker ear color. For the center of the ear I use a thin mixture of cadmium red and little alizarin crimson. When dry, paint a thin layer of burnt umber over the pink to tone it down. Once dry, I start my next layer. Using my no. 3 round brush mix burnt umber with some white to create beige. Painting in the direction the fur grows, flick some fur texture on the ear. clean my brush and mix raw sienna and some white for cream. Using the same brush strokes, flick on more fur texture. The beige color is still wet so the cream blends in slightly for soft, fluffy look. do the same technique with some white paint and then let the painting dry. add more white highlights where needed. To get a soft, fluffy look, be careful not to use paint that is too thick.


