
1 minute read
GOOD BREAD


Did you know scientists are researching to discover if yeasts are unique to you! Bread makers have taken advantage of natural yeasts and bacteria to bake bread for thousands of years. Yet, these organisms remain a mystery to us. Is it the flour we use, or do the yeast organisms come from water, air, or bakers’ hands? Find out more about this study by clicking HERE.
Sourdough bread making became a significant phenomenon during the COVID shutdown. Ironically, this is when I started my home bakery, Edward’s Kitchen. I have now been baking my simple sourdough bread for over 8 years. I started my starter in 2014 in Maine. During this time leading up to the opening of my home bakery, I discovered methods that greatly simplify the sourdough bread-making process. Before I introduce you to the tips and tricks, let me help you start your unique sourdough starter.
Advertisement
Ingredients
1.5 cups of any flour of your choice
1 tablespoon of sugar
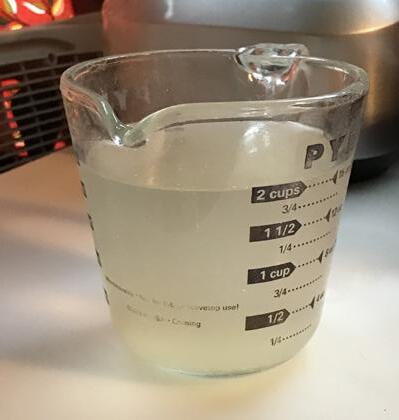
1 3⁄4 cups of potato water at room temperature
Cook’s Note:
You should get in the habit of smelling your starter. It will change subtly but should always have a pleasant yeasty, almost beer-like odor. If it smells unpleasant or stops bubbling or rising, the starter has been contaminated and should be thrown out.
Method
amount 2 cups
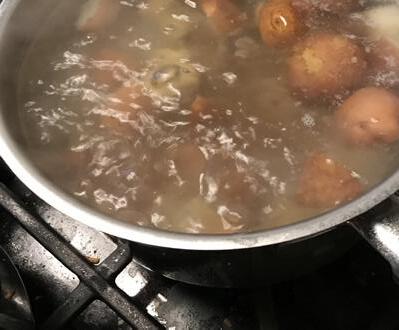
1. Reserved unsalted potato water from your boiled potatoes you make for dinner
2. Measure the flour in a medium size glass or stainless bowl.
3. Add the sugar, then whisk to combine.
4. Pour the cooled potato water into the flour mixture, then stir with a wooden spoon until combined. You do not want to over-mix the flour; this will cause the gluten to form.
5. Cover loosely with a plate or a couple of cotton towels.
6. Leave the covered bowl in a warm dark spot in you r kitchen for 24 hours. (60° to 70° F)
7. After 24 hours, you should see that the flour mixture has risen or bubbles at the top of the mix. (If this has not happened, try stirring in a ½ teaspoon of some dry yeast from the store. Let it sit covered for another 2 to 4 hours.)
8. Put the starter in a jar with a screw-top lid. (This starter does not make enough to bake with. ‘See Feeding Your Starter’.)
9. Put this starter in your fridge to keep until you are ready to bake. Keep the lid loose to welcome more natural yeast to your starter.
Be sure to mark the jar as ‘Sourdough Starter’ to prevent someone from throwing it away.


